
1. Half-Moon Tray Centerpiece with a Vertical Stem
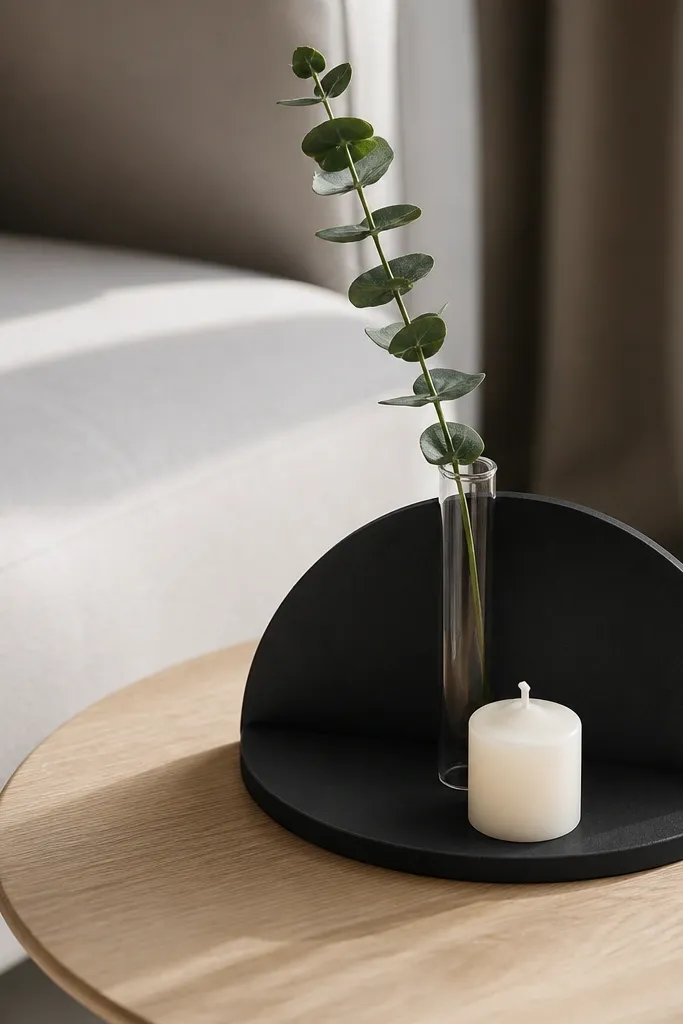
Cut a scrap wood board into a 14-16 inch wide half-moon shape or buy a cheap half-moon tray and refinish it. Sand to 220 grit, then seal with matte clear poly for a modern finish. Add a small riser block on the tray center-back so the vase sits higher by about 2-3 inches. Finally, place a mini ceramic candle holder and a small stone or faux sphere on the opposite side for balance.
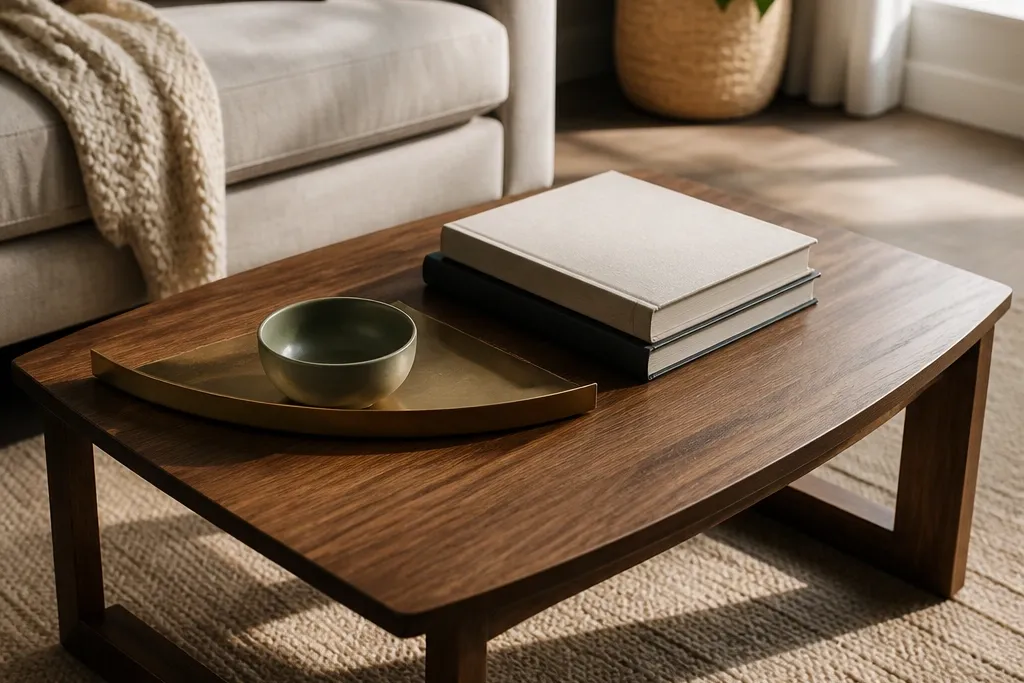
A half-moon tray is a cheat code for small tables because it keeps the front edge visually lighter while still giving you a defined styling zone. Put a tall stem inside the curved back edge so the height reads upward instead of spreading sideways. The look is clean even with just three objects. Use this when your table is narrow and you want decor that doesn’t block sightlines to the couch or TV.
Skip thisAvoid filling the tray edge-to-edge; leave at least a 1.5-2 inch blank border.
Editor's noteUse felt pads under the vase and candle holder so the tray never shifts when you pick up coasters.
2. Stacked Books with a Painted Bookend and a Mini Bowl
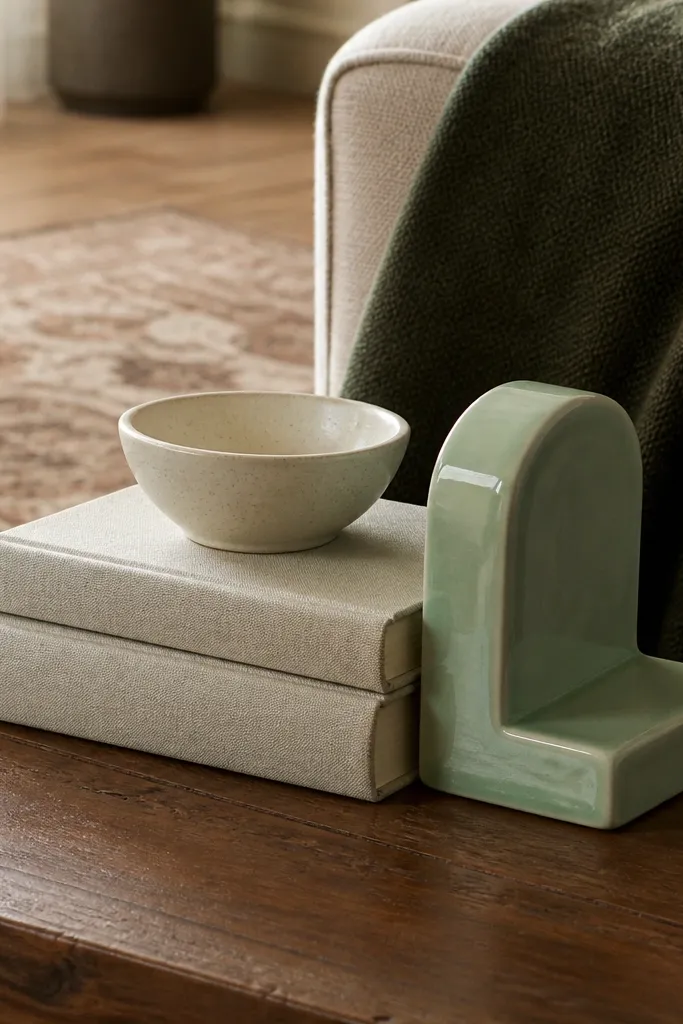
Stacked books make height without adding bulk, and a painted bookend turns “random stacks” into a deliberate display. Add a mini bowl on top or beside the stack for a soft landing point that looks finished in photos. This is ideal when you want decor that still lets you reach the surface quickly. It also works well if you already have books and want to style without buying much.
Choose two books with similar thickness so the stack doesn’t tilt. Wrap one book’s spine with adhesive paper or paint the spine area using acrylic in a solid color that matches your accent (sage, terracotta, or deep navy). Make a simple bookend from a scrap of plywood or MDF cut to 4-5 inches tall and 2-3 inches wide. Paint it matte, let it cure fully, then prop the bookend behind the stack. Finish by adding a small ceramic or glass bowl (about 5-7 inches wide) with a couple of decorative items like a single dried orange slice or three river stones.
If your books slide, add a thin rectangle of non-slip shelf liner under the stack.
Don’t stack books with mixed heights; aim for a 1 inch max difference.
3. Reclaimed Wood Slat Shelf Strip for a Single Line Display
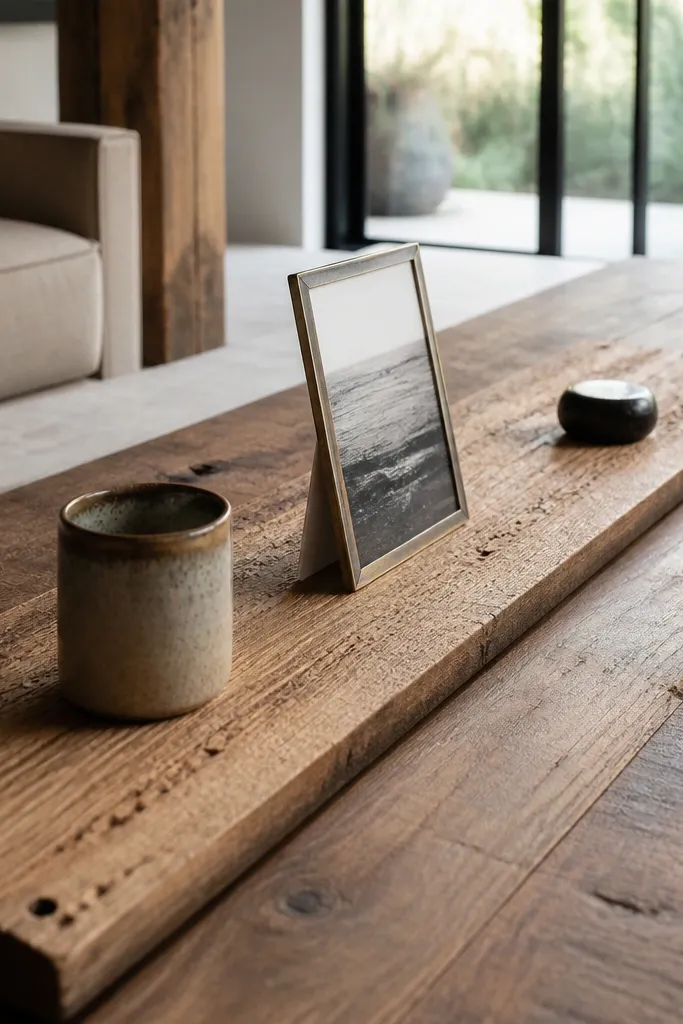
A narrow shelf strip gives you a “curated shelf” look while keeping everything in one clean line. The slats add texture and hide minor clutter because small objects sit behind the wood grain. This works when you have a long, shallow table and you want decor that doesn’t spread across the entire surface. It also photographs well because the wood pattern creates depth.
Cut reclaimed wood or any scrap board into a 24-26 inch long strip, 3-4 inches deep. Sand lightly, then stain or paint in a warm neutral; use a dark walnut stain if your room is light. Attach a simple backing strip underneath if you want stability, then seal with satin clear coat. Place two small felt pads under the ends so it doesn’t scratch the table. Set one slim vase or bud vase on the center and add one low object at the far end like a small bowl or sculptural candle holder.
Keep the display to two objects on the strip so the slats don’t look busy.
Skip tiny random items; one line display should stay intentional.
4. DIY Floating Candle Tray with Heat-Safe Liner
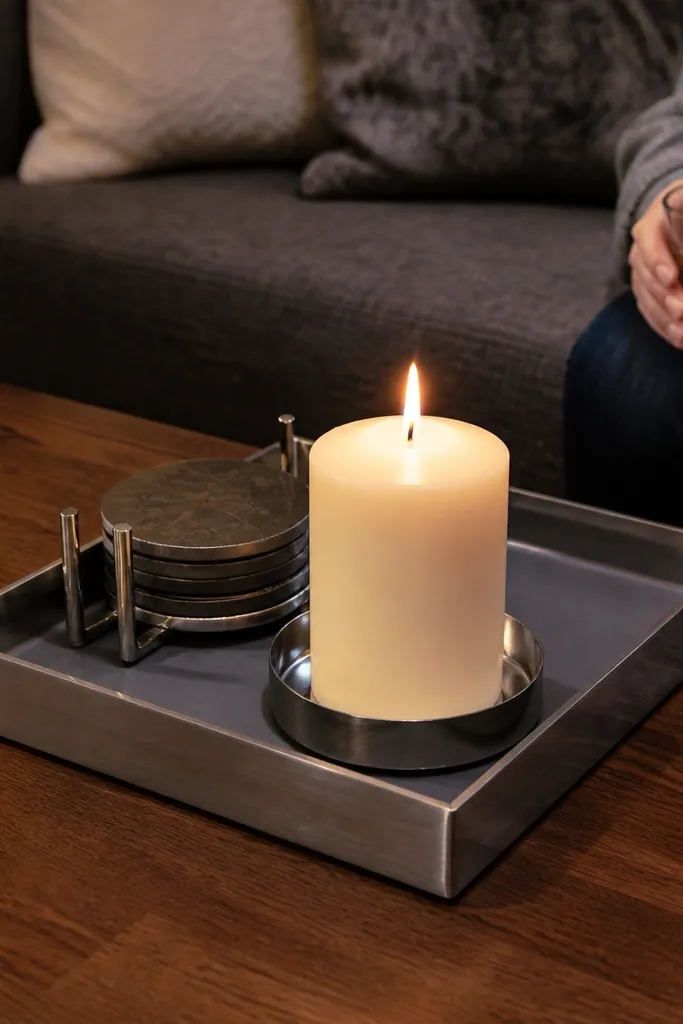
Build a tray from thin scrap wood or cut a 12x18 inch rectangle from plywood. Cut a second layer of thin wood strips to form shallow sides about 1 inch tall. Sand all edges, then paint or stain the tray; seal with a water-resistant topcoat. Add a heat-safe liner (ceramic tile or metal drip tray material) centered inside the tray. Place one pillar candle or LED candle (real wax only if you use a proper heat-safe base) and add a second object like a small matchbox holder or a tiny vase.
This is one of the best small-space looks because it adds glow without taking over the tabletop. A candle tray with a heat-safe liner creates a crisp “event” look in daylight and at night. Use it when your table is near a walkway and you want decor that feels tidy and safe. The clean tray edges also frame your candle so it looks like part of the design.
Skip thisDon’t use bare wood for candle drips; seal and line it.
Editor's noteUse painter’s tape to mask edges while you stain so you get sharp lines.
5. Glass Jar Bud Vases in a Cluster of Three
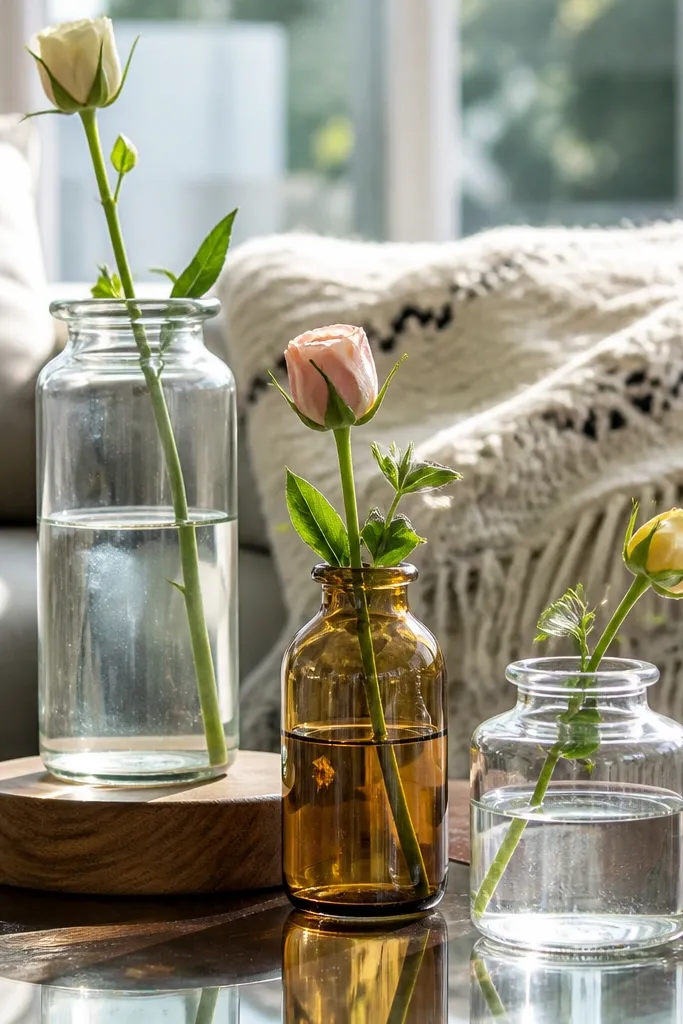
Use three glass jars with similar shape but different heights (aim for 3-6 inches tall). Wash and remove labels, then dry completely. If you want a uniform look, spray paint the jar lids only in a matte finish and leave the glass clear. Arrange jars in a triangle cluster on a small tray or directly on the table. Add one stem per jar, keeping the tallest stem about 2-4 inches taller than the other two.
A cluster of three bud vases looks styled even when you only have a few stems. The glass reads airy, which matters in small rooms where solid decor can feel heavy. Vary the jar heights by using slightly different jar sizes or adding a thin wood riser under one. This works if you like a light, modern look and want something that changes with the seasons.
Skip thisDon’t crowd the jars with lots of stems; one stem each looks intentional.
Editor's noteCut stems at an angle and keep water levels low so the cluster doesn’t look messy.
6. Mini Gallery Frame Leaner with One Oversized Print
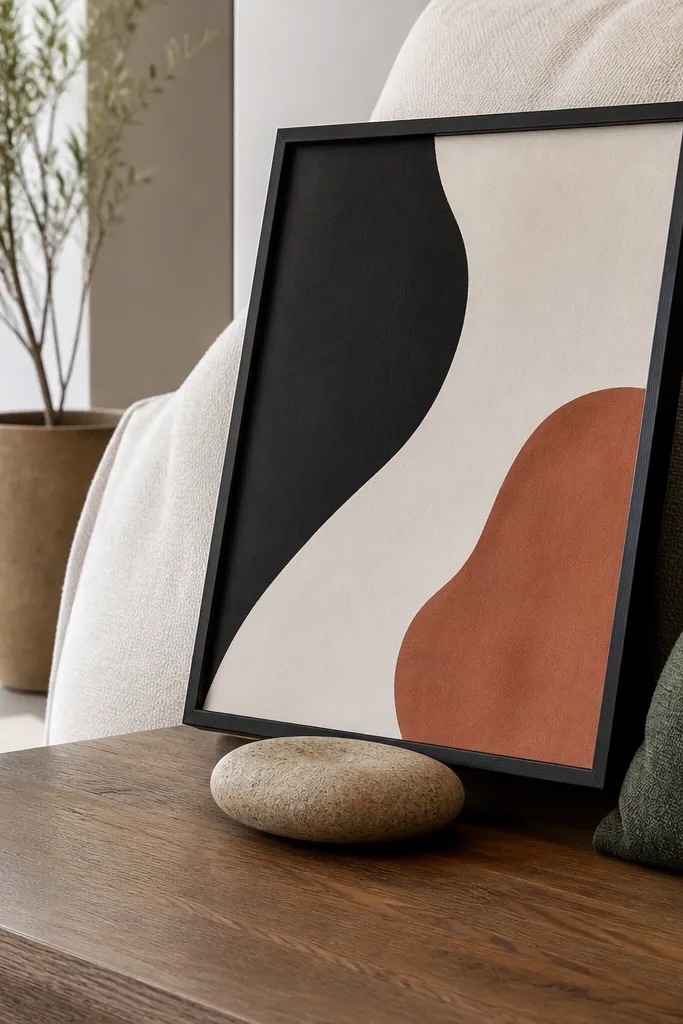
A leaner frame gives you vertical interest without adding height stacks everywhere. Using one oversized print (even a small frame) makes the look graphic and photo-friendly. It’s great when you want decor that looks “wall-like” but you can’t hang anything. Keep it simple: one frame, one print, one base object.
Find a small frame, 5x7 to 8x10, and remove the backing and glass if needed. Print or cut a bold graphic image on matte paper and replace the backing. Use foam board behind the print so it stands up crisply. Lean the frame on a thick book or a small wood block placed on a tray. Add one accessory next to it, like a single ceramic sphere, and keep the rest of the table clear.
Choose matte paper for the print; glossy paper reflects kitchen/living room lights.
Skip multiple frames; two frames on a small table becomes clutter fast.
7. Sealed Wood Coaster Stack with a Sculptural Ring Holder
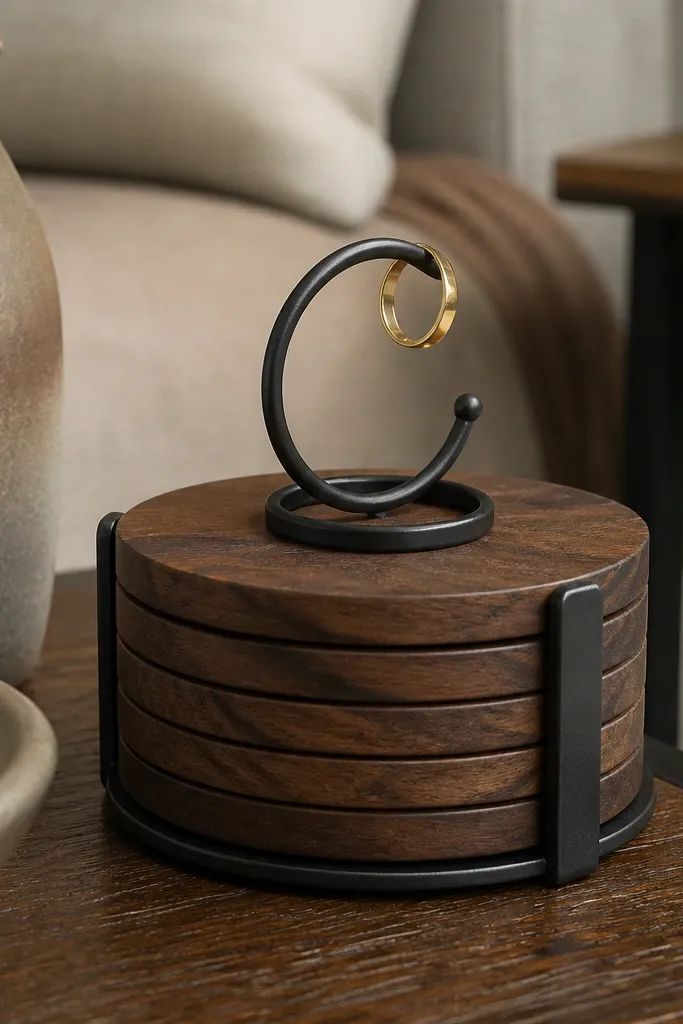
This idea looks styled while solving a real problem: your table gets messy with random cups, remotes, and coaster chaos. A sealed wood coaster stack creates a neat, textured base, and a ring holder or small stand adds a sculptural accent. It’s perfect for families or anyone who actually uses the table. The best part is that the decor is functional, so it stays put.
Cut or buy 6-8 coasters, then seal them with matte clear coat if they’re raw wood. Stack them in a tight pile and place the stack on a small tray or directly on the table. Make a ring holder from a short metal stand or a scrap wood block drilled with a 1-inch hole; paint matte black for contrast. Place the ring holder upright on one side of the coaster stack. Finish by adding one small dish for keys or loose change so the styling stays practical.
Seal coasters on all sides so they don’t warp when they meet condensation.
Don’t use a tall ring holder that blocks your view across the room.
8. Concrete Look Planter Bowl with One Tall Grass Stem
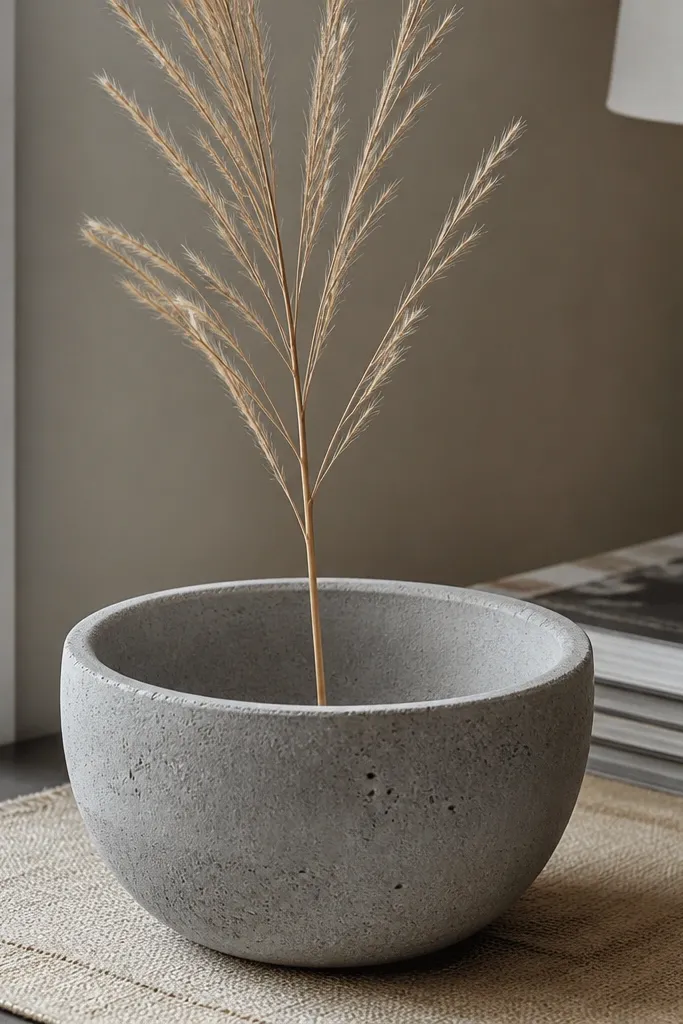
A concrete-look planter bowl adds weight and texture, but keeping it to one tall grass stem keeps it from feeling heavy or cluttered. The contrast between matte concrete and thin greenery looks sharp in photos. This works for apartments where you want decor that feels grounded but minimal. It also hides the “empty vase problem” because one stem is enough.
Buy or DIY a small bowl planter about 6-8 inches wide. If DIY, use a concrete-look casting medium in a silicone mold and seal with a stone sealer. Place a small floral foam puck or a water-absorbing insert in the center. Add one tall grass stem cut so it stands 10-14 inches above the tabletop. Position the bowl on a tray or on a placemat to protect the surface.
Roughen the rim lightly with fine sandpaper after sealing so it doesn’t look plastic under light.
Skip multiple stems; thin greenery clusters look messy on small tables.
9. Pegboard Cutout with Removable Mini Hooks for Seasonal Swaps
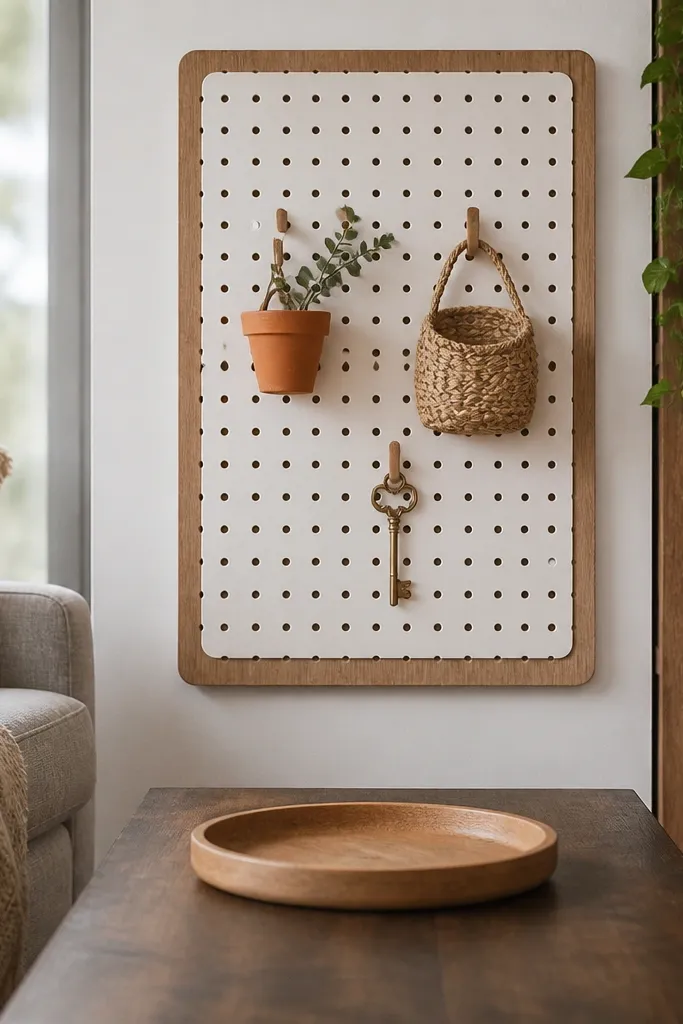
Cut a piece of pegboard or perforated board to about 10-14 inches wide and 12-16 inches tall. Sand edges, then paint it matte (black or soft cream). Attach 3-5 small hooks in a vertical line using screws. Mount the board upright on a small base block so it sits stable on the table. Hang one small object set like two tiny frames and a mini dried wreath, then keep the rest of the table open for drinks.
A pegboard cutout gives you a vertical “grid” that makes small-space styling feel organized. The removable hooks let you swap decor for seasons without rebuilding anything. It’s especially good if your style changes often or you get bored with the same setup. The grid structure also keeps small items from drifting around.
Skip thisDon’t hang more than three items; small pegboards look crowded fast.
Editor's noteUse strong command strips on the base if you rent, but screw hooks into the pegboard itself.
10. Monochrome Ceramic Stack with One Matte-Glazed Accent
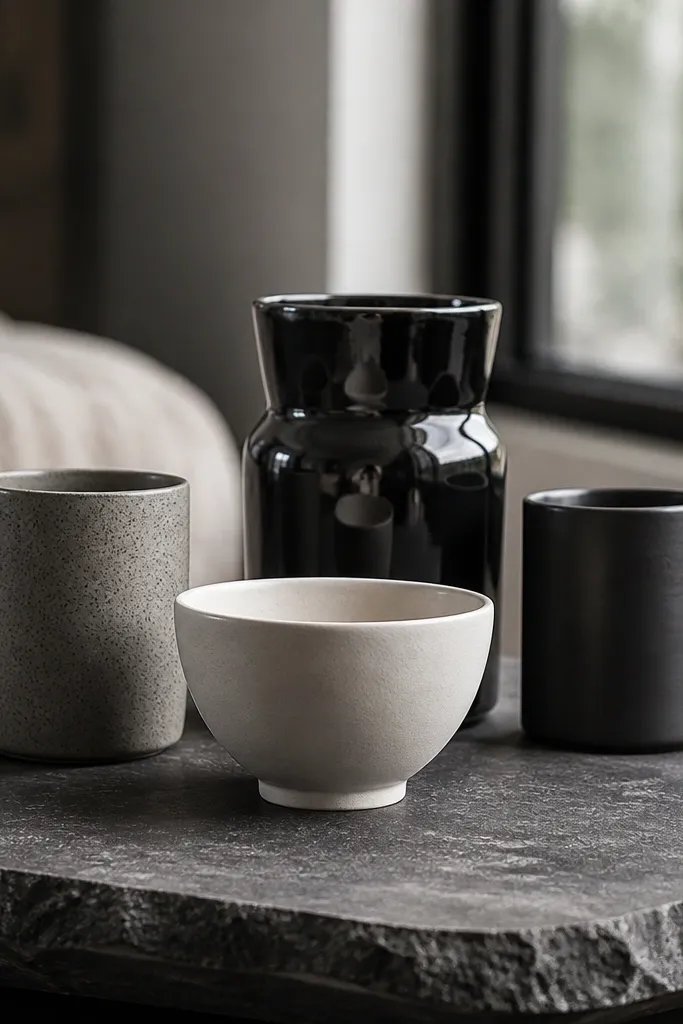
Pick 3-4 ceramic pieces in the same color family: for example, cream matte, speckled cream, and one taupe or charcoal glossy piece. Stack two items for height and place the glossy piece slightly forward for light-catching. If the pieces don’t stack safely, glue small felt dots to contact points or use a thin wood riser. Arrange on a small tray so the stack stays in one zone. Keep everything within a 10-12 inch footprint.
Monochrome stacks look expensive because the shapes do the work. The key is using pieces with different textures: matte glaze, speckled ceramic, and one smooth glossy accent. You get a sculptural look without needing lots of items. This is ideal when you want a calm, modern vibe and your room already has pattern in pillows or rugs.
Skip thisAvoid mixing too many colors; two tones max looks intentional.
Editor's noteWipe ceramics with a microfiber cloth before styling so fingerprints don’t dull the finish.
11. DIY Floating Shelf Box on the Table Edge for Remotes
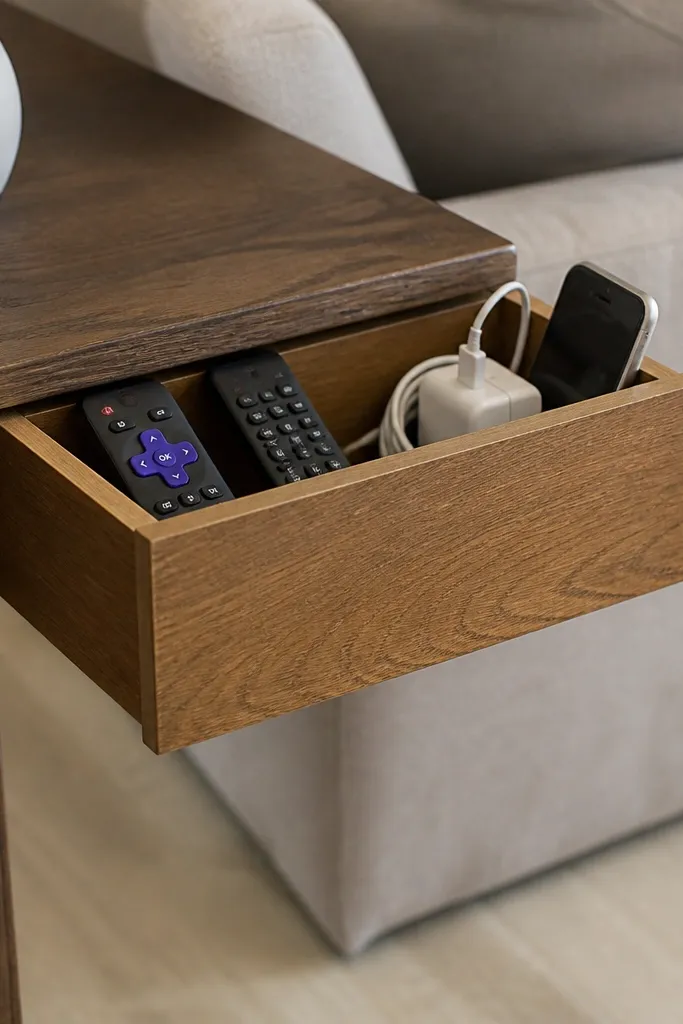
Build a shallow box about 16-18 inches long, 4-5 inches deep, and 3-4 inches tall. Use 1/2 inch plywood for the base and front, then add a back strip for rigidity. Sand, paint matte in a color that matches your room trim, and seal. Attach it to the table edge using furniture mounting brackets or screws from underneath. Place a thin felt liner inside so remotes slide less and won’t scratch.
This is decor that solves the real mess: remotes, chargers, and random cords. A table-edge shelf box keeps those items contained while still looking like part of the design. When it’s clean and minimal, your whole table looks more styled without extra objects. It’s perfect for small living rooms where you can’t hide clutter under a coffee table.
Skip thisDon’t place the box in the center; edge placement keeps the table usable.
Editor's noteAdd a small slot on the side for charging cables if you want it to stay tidy.
12. Linen Wrapped Mini Basket with One Color-Pop Dried Arrangement
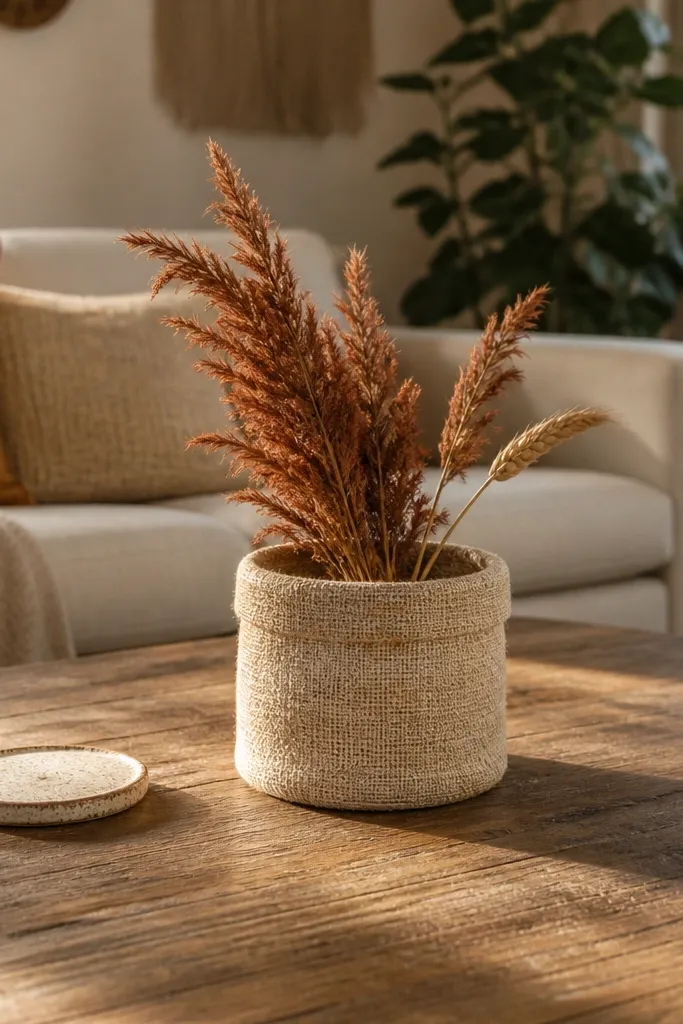
Wrap a small basket frame with linen fabric using fabric glue or a staple gun for a tight pull. Trim the edges neatly and seal the glue points so they don’t snag. Place a small clear vase insert or a foam base inside the basket so the dried stem sits upright. Add one tall dried stem (like pampas, wheat, or dried hydrangea) cut to 10-12 inches above the rim. Set the basket on a tray or place mat to protect your tabletop.
A mini basket adds texture and softness, and one dried arrangement gives you a clear focal point. Linen looks natural and hides the “oops I dropped a coaster” problem because the basket interior can be messy without showing. This is great for boho-modern spaces that still want clean lines. Keep the arrangement to one main stem so the basket stays airy.
Skip thisAvoid stuffing the basket with multiple stems; one is cleaner on small surfaces.
Editor's noteSpray a light mist of matte hairspray on the stem so it sheds less fluff.
13. Mirrored Acrylic Tray with Faux Marble Coaster Set
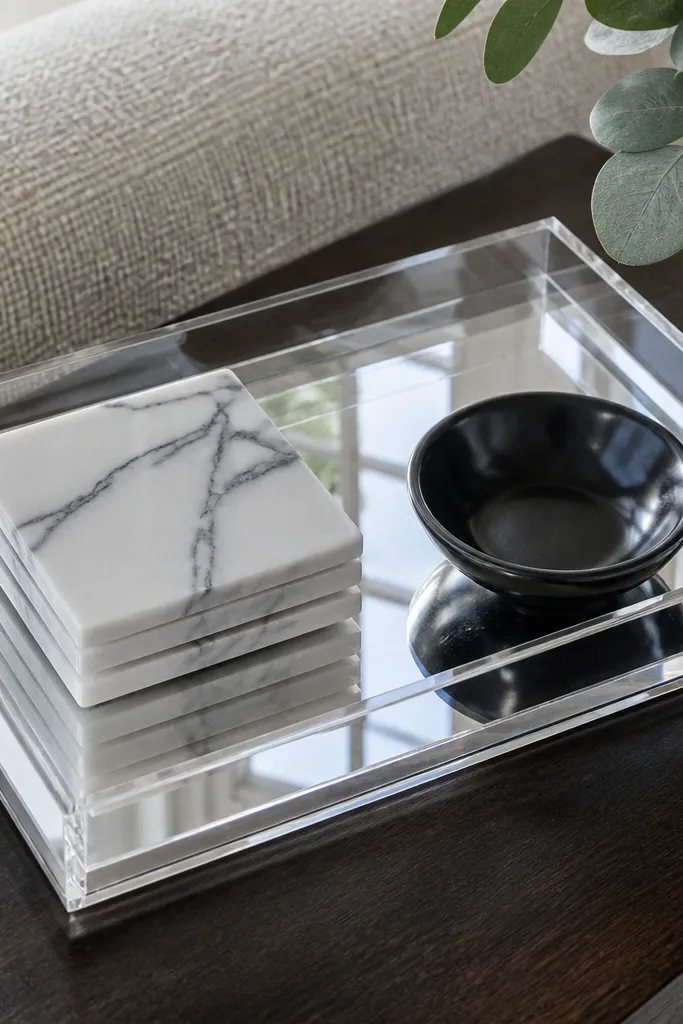
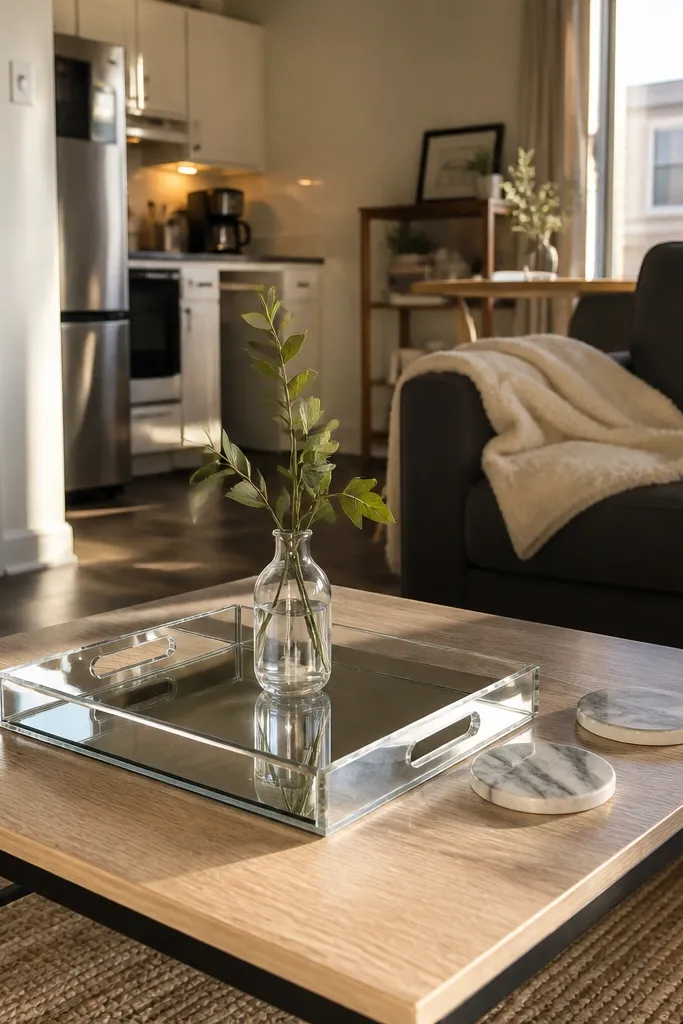
Buy or cut a mirrored acrylic sheet into a tray base about 12x20 inches. Add a thin frame strip on the edges using acrylic glue so it doesn’t look like a flat sheet. Seal the back side with a protective film if you’re cutting it yourself. Place 4-6 faux marble coasters in a tight circle on the tray. Add one small centerpiece like a clear glass votive or a single sculptural candle.
A mirrored tray makes small tables feel bigger because it reflects light and creates depth without adding height. Pair it with faux marble coasters for a crisp, high-end look. This combo works when your table is dark or your room lighting is flat. The reflection also makes the decor photo-ready even with simple objects.
Skip thisAvoid placing lots of small items on a mirrored tray; it multiplies visual noise.
Editor's noteWipe mirrored surfaces with alcohol on a microfiber cloth to remove haze.
14. Painted Metal Utensil Cups as a "Desk-Style" Pen Holder for Sticks
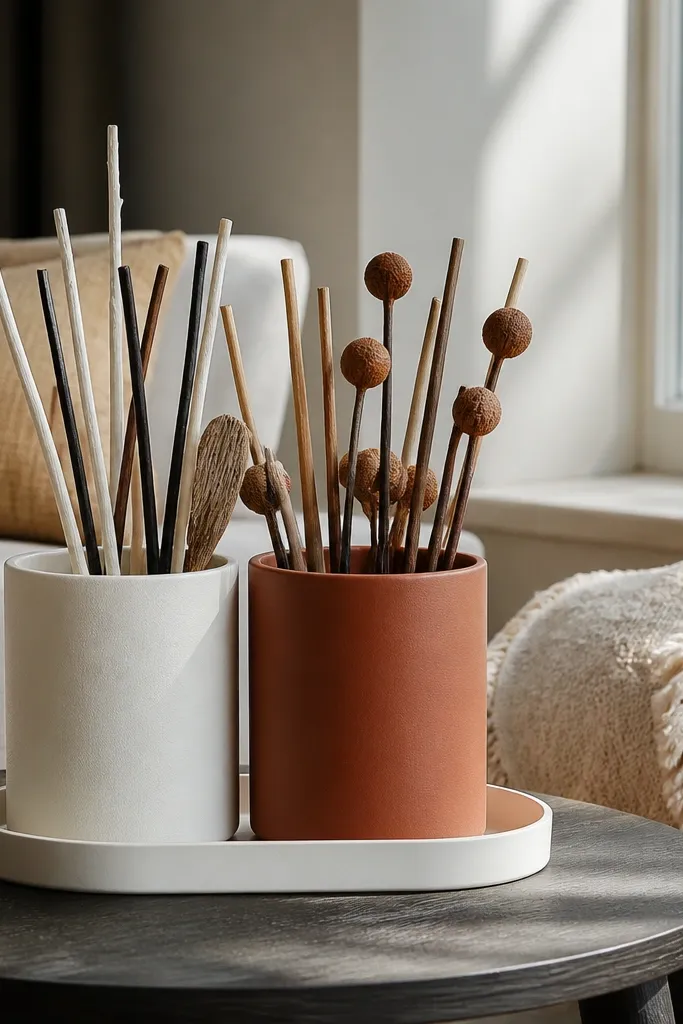
Find two metal cups or utensil holders and remove any labels. Sand lightly, then spray paint matte (black, sage, or brushed nickel look). Fill each cup with a few decorative twigs or dried branches cut to 8-12 inches tall. To keep sticks from sliding, use floral foam or small pebbles inside each cup. Place both cups on a narrow tray so the “cluster” stays in one spot.
Metal cups look graphic and “intentional” when you use them like a holder for decorative sticks. It’s a clean DIY trick because you’re repurposing everyday items into a modern display. Use two cups of different heights so the arrangement feels balanced, not random. This works great for small coffee tables where you want vertical interest but hate bulky vases.
Skip thisDon’t use wet branches; they stain cups and make the look messy.
Editor's noteCut sticks to different heights in 2-inch steps for a cleaner silhouette.
15. Floating Candle and Matchbook Display on a Narrow Wooden Board
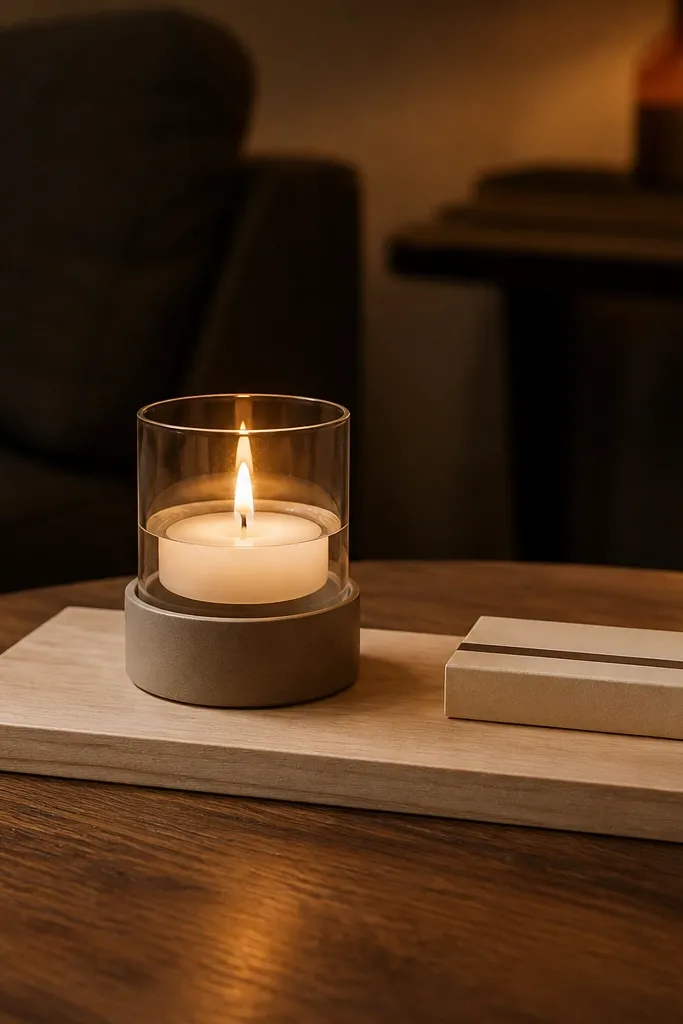
A narrow board turns a single candle into a styled moment. Add a matchbook or small box and it reads like a curated desk display, not random decor. This is perfect if you like warm light and you want the look to stay minimal. It also keeps your candle centered so it doesn’t tip the table’s balance.
Cut a board to 6-8 inches wide and 14-18 inches long. Sand to 220 grit and stain to match your floors or furniture. Seal with matte clear coat and let it cure. Attach two small adhesive bumpers on the underside so it doesn’t slide. Place one candle in the middle and add a matchbook holder or small box on one end; keep the height spread under 8 inches.
Use a candle with a wide base so it looks stable and reads solid in photos.
Don’t add more than one small box; the board should look calm.
16. DIY Tiered Wood Risers with One Small Plant
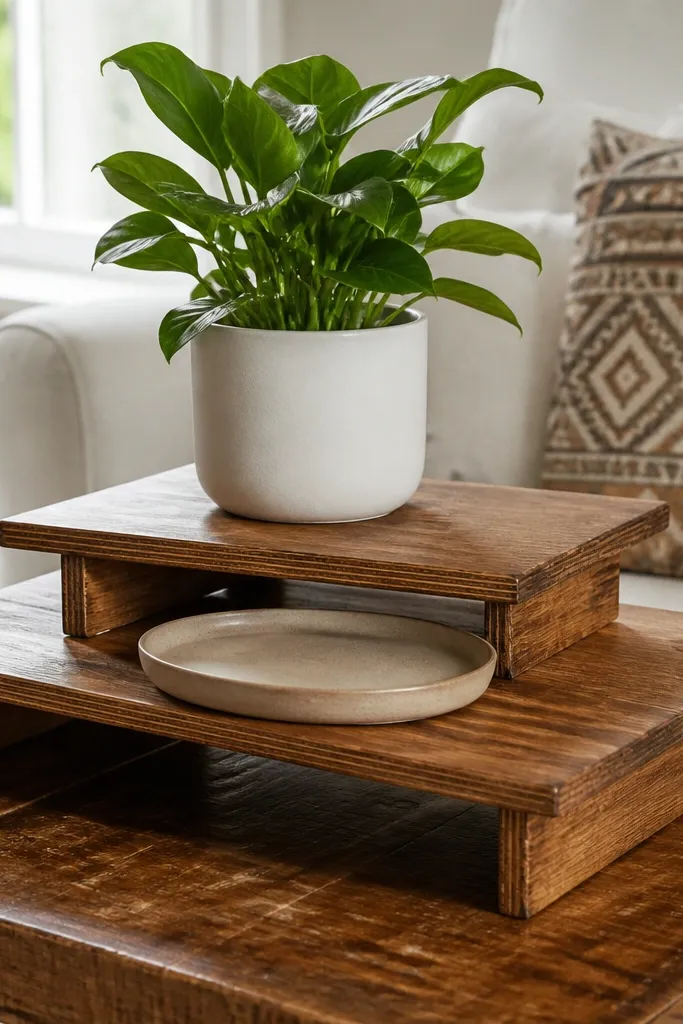
Tiered risers are the fastest way to fake “more height” without adding more items. Put one small plant on the top tier and one neutral piece on the lower tier, and the whole setup looks intentional. This works if your room needs a little life but you don’t want a full plant shelf. It also keeps the plant at a good viewing height.
Build two simple risers from scrap plywood: a small base 10-12 inches wide and a top platform 6-8 inches wide. Cut legs or blocks so the top sits 4-6 inches above the base. Sand, then paint or stain both tiers and seal. Place the riser on a tray if your table is glossy. Add one small potted plant on top and a single decorative object on the base, like a ceramic bead dish.
Seal the underside of the riser too; it stops water rings from condensation.
Avoid multi-plant displays; one plant keeps the tiered look clean.
17. Thrifted Tray with Removable Vinyl Labels for a Clean System
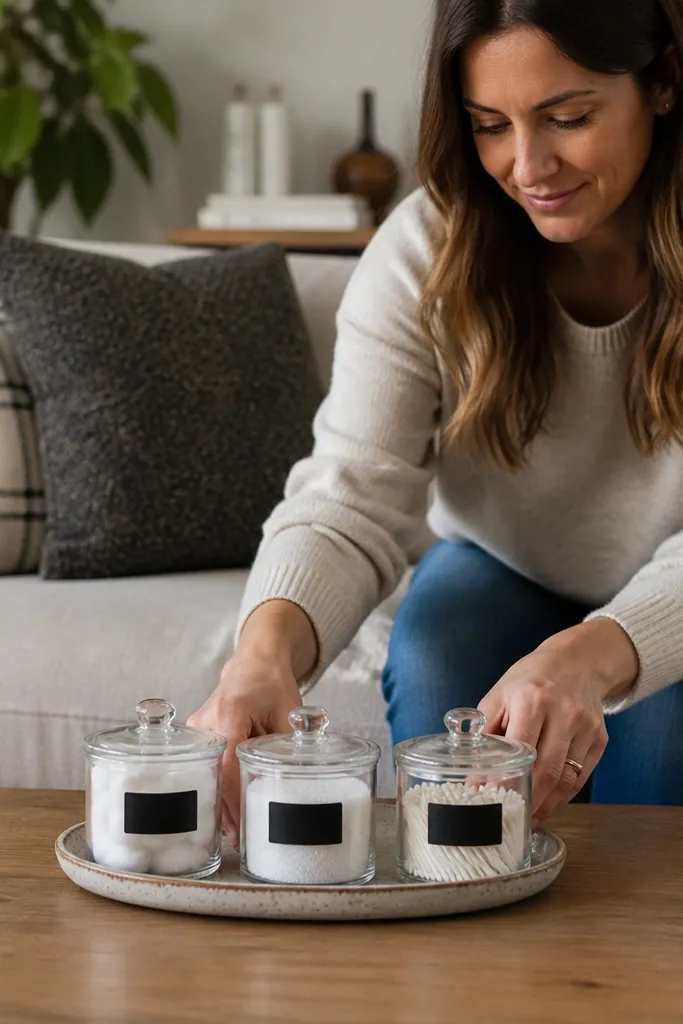
This idea makes small-space decor look organized instead of random. A thrifted tray gives you the shape, and removable vinyl labels turn your containers into a neat system. You get visual order without needing expensive decor. It’s ideal if your coffee table collects odds and ends and you want the look to stay tidy.
Find a shallow tray (about 12-18 inches long) and clean it thoroughly. Use small clear jars or fabric pouches inside the tray for items like cotton rounds, matches, or remote batteries. Cut vinyl labels with a simple font style and apply them to the jar lids or pouch fronts. Seal the tray with a clear topcoat if it’s raw or painted. Arrange items in a tight grid: two on the left, one larger on the right.
Use removable vinyl if you rent or swap seasons; it peels cleanly when you want a new look.
Skip tiny labels everywhere; one or two labels are enough for the effect.
18. Round Mirror Underlay with a Single Sculptural Object
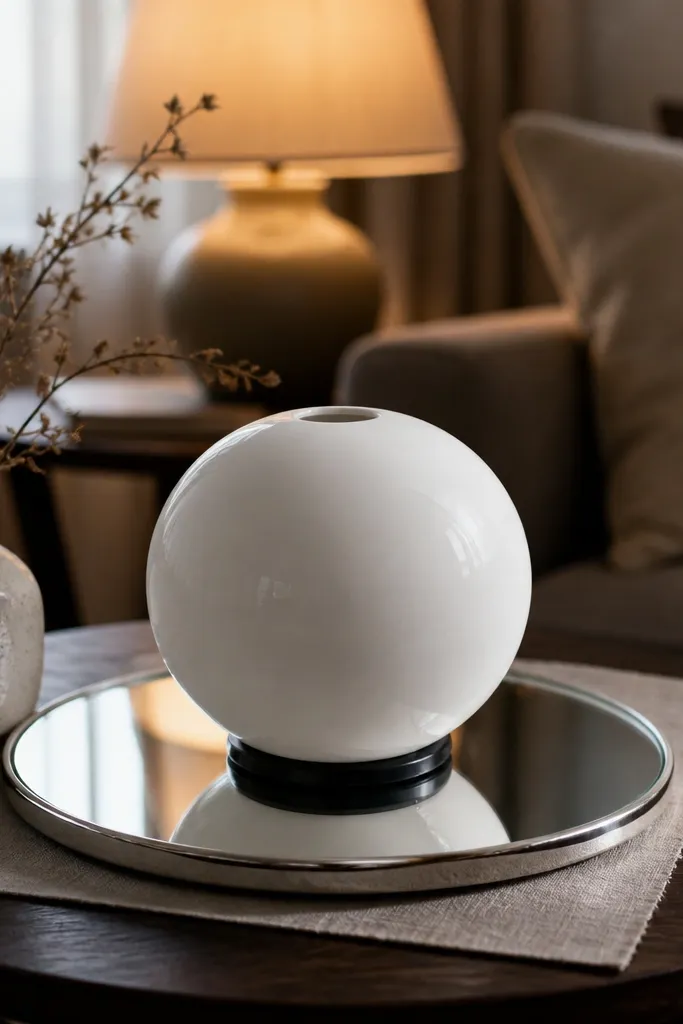
Cut or buy a round mirror underlay about 8-10 inches wide. Place it on a protective mat so the mirror doesn’t scratch your tabletop. Add one sculptural object on top, centered and upright. If your object is short, use a thin wood riser so it sits 1-2 inches above the mirror. Finally, keep the surrounding area empty so the reflection has room to do its job.
A round mirror underlay makes the table feel brighter and more spacious because it reflects light directly under your focal piece. Pair it with one sculptural object and you get a gallery-style look without crowding. This is the best move if your space is dim and you want decor that looks good even in evening lighting. Keep the object simple — a ceramic orb, a small stone, or a candle holder.
Skip thisAvoid placing multiple objects on the mirror; the reflection will make them look chaotic.
Editor's noteUse a microfiber cloth right before photos; smudges show fast on mirrors.
19. Seagrass Coaster Ring with a Small Ceramic Dish
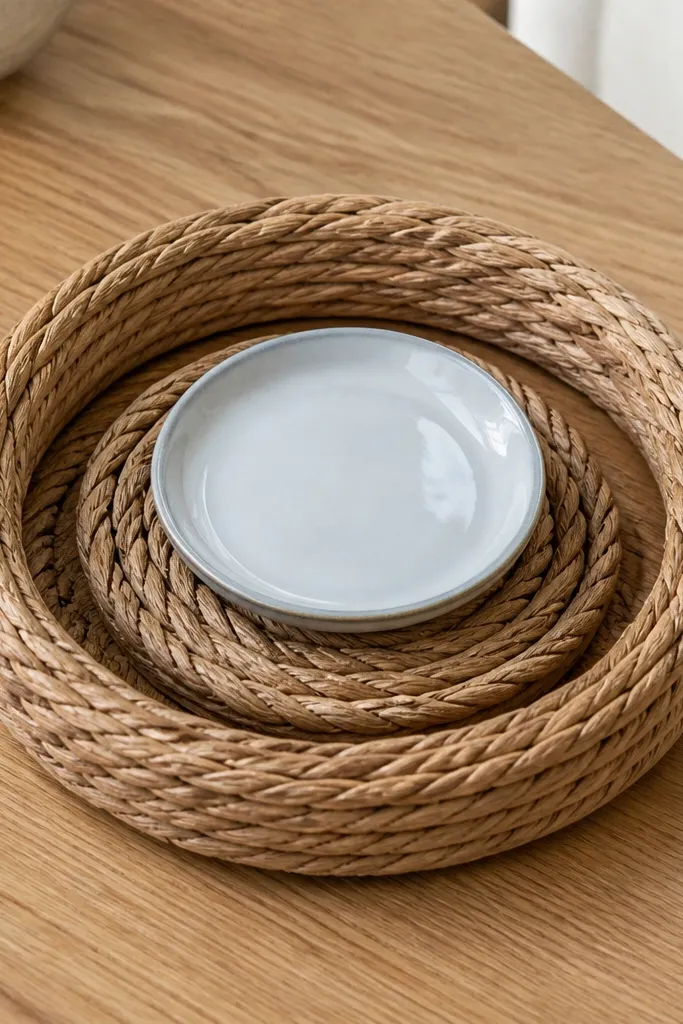
Buy or DIY a seagrass ring coaster, around 10-14 inches wide. Place it on the table as your anchor. Add a small ceramic dish (about 4-6 inches wide) in the center and fill it with one type of item like three stones or a single candle snuffer. If you want a pop, use terracotta or sage ceramic. Keep the rest of the table clear.
A seagrass ring adds a woven frame that makes a small tabletop look styled even when you only use one dish. The texture is what sells it — it reads warm and intentional, and it hides small messes like a slightly messy coaster stack. Put a small ceramic dish in the center for a clean focal point. This works well for small tables in neutral rooms that need texture without clutter.
Skip thisDon’t add extra decorative items around the ring; it should feel framed, not crowded.
Editor's noteSeal the seagrass ring with a light clear spray made for natural fibers so it resists spills.
20. Vertical Wood Block with a Mini Shelf for One Plant and One Tray
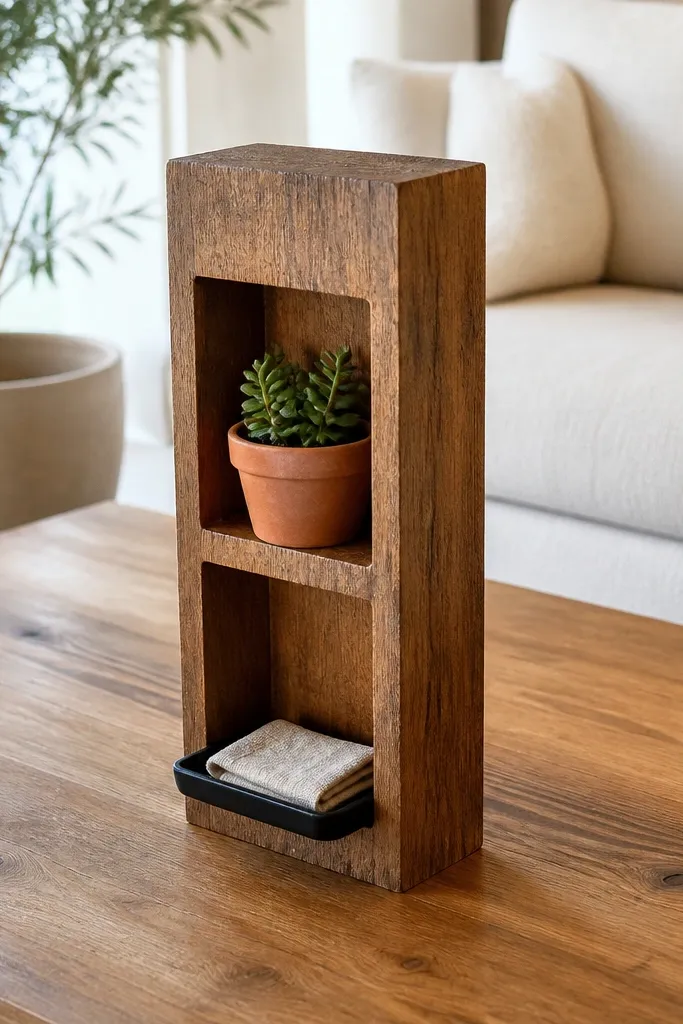
Cut a vertical wood block about 3-4 inches wide and 10-14 inches tall. Add a small top shelf using a second piece of wood about 6-8 inches wide, secured with wood glue and short screws from underneath. Sand and seal everything with satin clear coat. Place the block on a tray or mat for protection. Put a small plant on the shelf and a tiny tray or dish on the lower front ledge, keeping the total footprint under 12 inches wide.
A vertical wood block adds height while keeping the footprint tiny. The mini shelf gives you a place for one plant and a small tray, so the look stays balanced and clean. This is a great option for narrow tables where you can’t fit a tall vase without taking up space. Wood grain also adds texture that reads well in photos.
Skip thisAvoid tall plants that reach above the block; the silhouette should stay controlled.
Editor's noteRound over the block edges with a 1/8 inch roundover bit or sand by hand so it looks finished, not DIY-sharp.



