
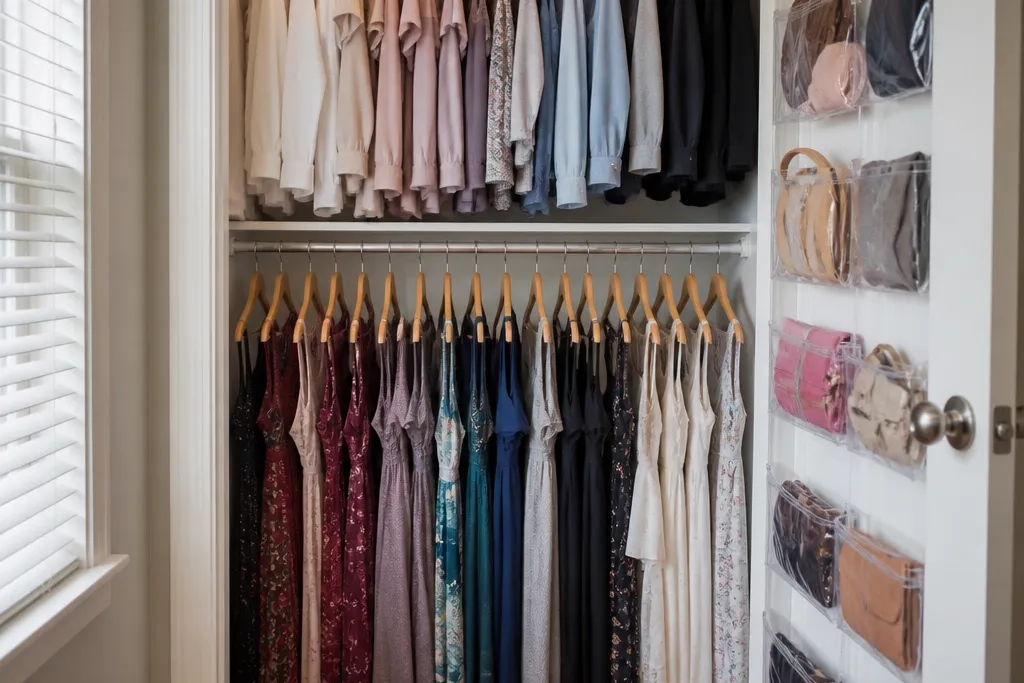
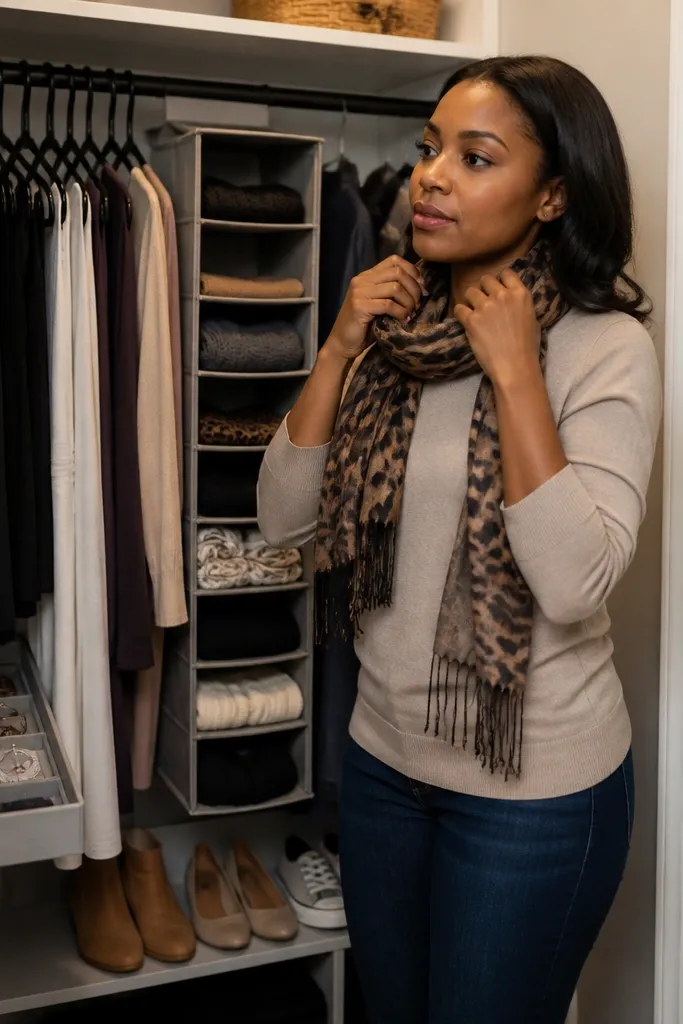
1. Double-Rod Split for Short and Long Clothes
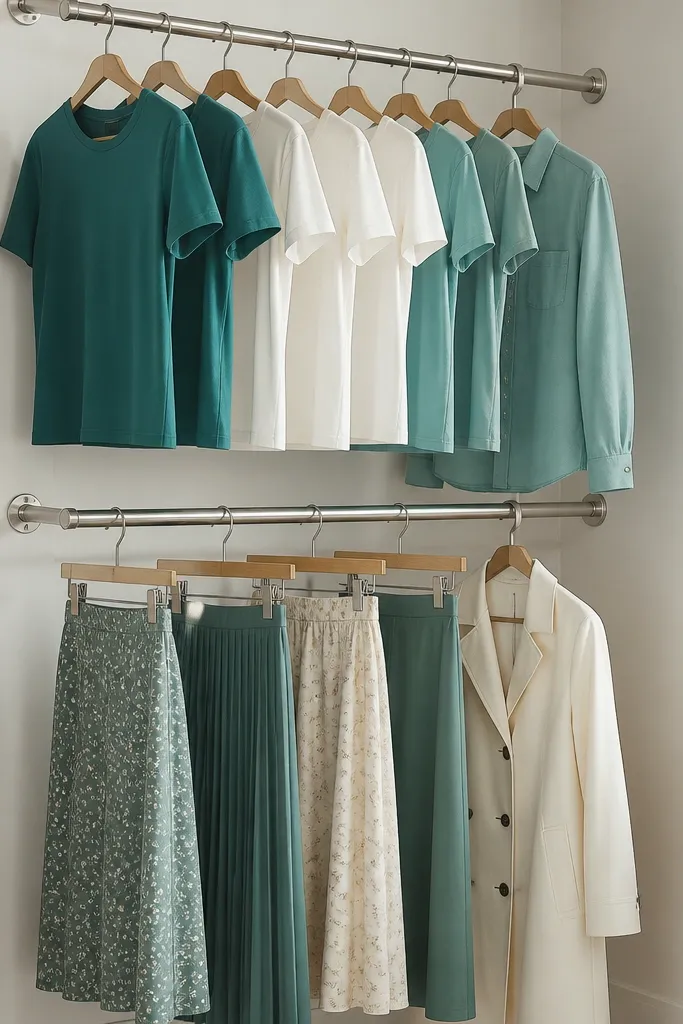
This is the cleanest way to gain hanging capacity in a shallow closet without changing your closet footprint. You split the rod height so short items hang higher and long items keep the clearance they need. The look is crisp because the rods run parallel and the hangers line up. Use it for tees, button-downs, skirts, and coats so your closet stops turning into a pile at the bottom.
Editor's noteUse the same hanger type for both rods so the visual line stays uniform.
Start by measuring your closet interior height from the floor to the underside of the top shelf or ceiling. Mark a lower-rod height that leaves at least 2 inches of clearance for coat hangers and hems, then mark the upper rod so short items clear the lower hangers. Install two matching rods with brackets anchored into studs if possible; if you can’t, use proper drywall anchors rated for the load. Finally, add a simple shelf or bin stack above the upper rod so the top stays neat.
Skip thisDon’t place the upper rod too high or the hangers will hit the ceiling or look cramped.
2. Slim Shoe Treads That Slide Under Hanging

If your shoes currently live on the floor, you’re losing the best real estate in a small closet. These slim trays slide under hanging so your closet keeps a vertical, gallery-like look. The angled fronts help you see pairs without rummaging. It also keeps dust off shoes since they’re contained and slightly lifted.
Editor's noteAdd a small stop block on the rail so trays don’t drift out when you pull one pair.
Pick trays or build shallow wooden treads using 3/4-inch plywood and 1x2 rails. Measure the clearance under your lowest hanging rod and choose a tray height that leaves at least 1 inch of room for the shoe toe. Mount two side rails to the closet wall at the exact tray height, then slide in the treads. Finish by adding a fabric or rubber strip along the rail edges so the trays glide quietly.
Skip thisSkip deep trays — they steal clearance and make the closet feel smaller.
3. Door-Swing Overlap Organizer With Hooks
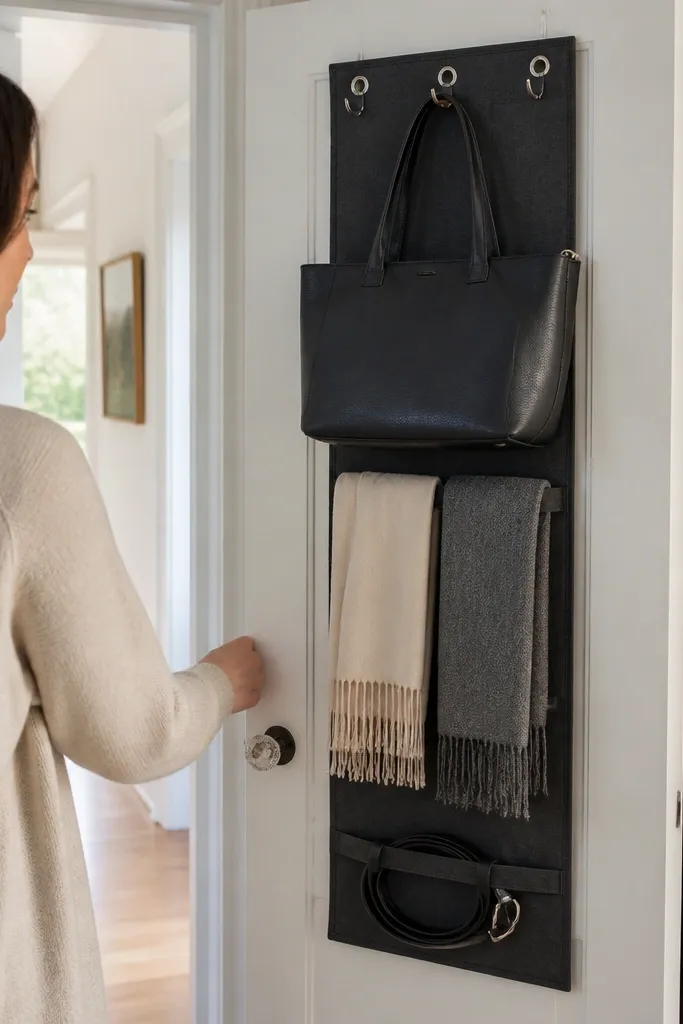
The inside of your closet door is usually wasted space. A door organizer with hooks gives you a place for bags, scarves, belts, and even workout gear so your closet stays visually calm. The look is tidy because everything hangs vertically in one area instead of spreading across the floor. Choose an organizer that stays flush when the door closes so it doesn’t snag or warp.
Editor's noteUse black hooks or matching finishes so the hardware looks intentional, not random.
Remove the door and lay it flat if you can, then mark hook locations where they won’t interfere with the door handle. Use a combination of screw-in hooks for belts and a fabric pocket section for smaller items. If you’re using an over-door rack, check the door swing clearance first and measure the thickness of the organizer. Reinstall and test the door opening and closing slowly to confirm nothing rubs or catches.
Skip thisDon’t place hooks too close to the door edge or the door will press items into the frame.
4. Clear-Lid Drawer Bins for "Find-It-Fast" Items
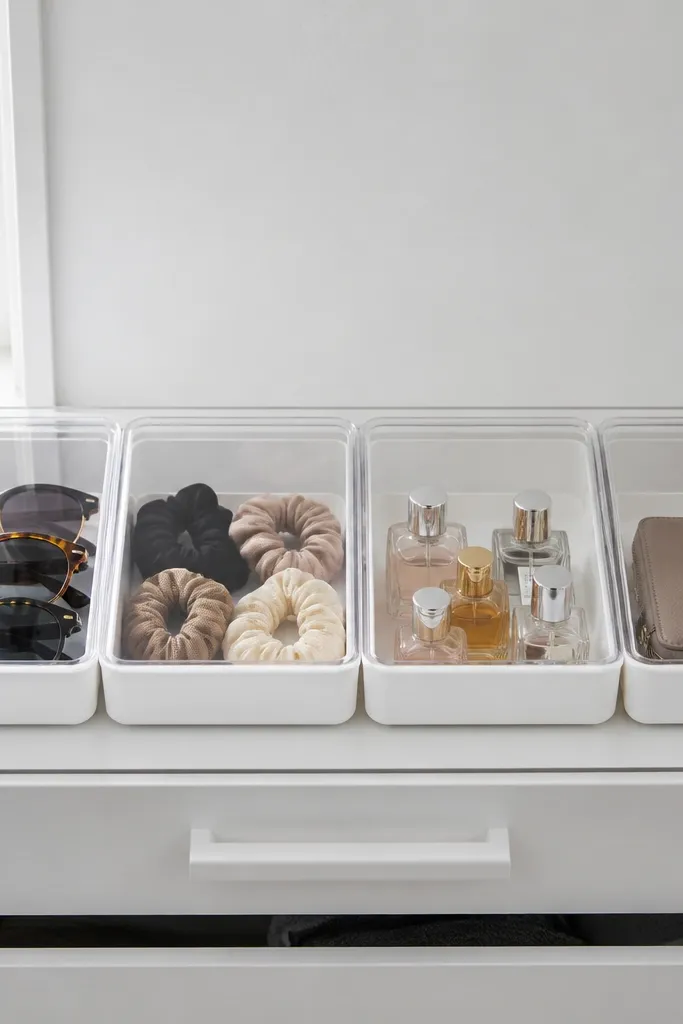
Clear-lid bins are the fastest way to make a small closet feel organized without spending time labeling every piece. You can see what’s inside from the doorway, so you stop opening three different containers to find one item. The look stays clean because lids create a uniform top line. This works best for accessories, folded basics, and seasonal items you rotate.
Editor's noteUse color dots on labels by category (scarves, belts, hats) so you can scan even if the text is small.
Measure your shelf width and depth, then buy or build bins that fit with a 1/4-inch gap on each side for smooth stacking. Add label cards on the front edge at eye level when you stand at the closet opening. If you build, use 1/4-inch plywood dividers inside the bin so items don’t mix. Place bins in a consistent height set — for example, two bins per shelf — so the closet looks balanced.
Skip thisDon’t mix bin heights on the same shelf — it breaks the clean, photo-ready lines.
5. Wall-Mounted Shelf System With Hidden Brackets
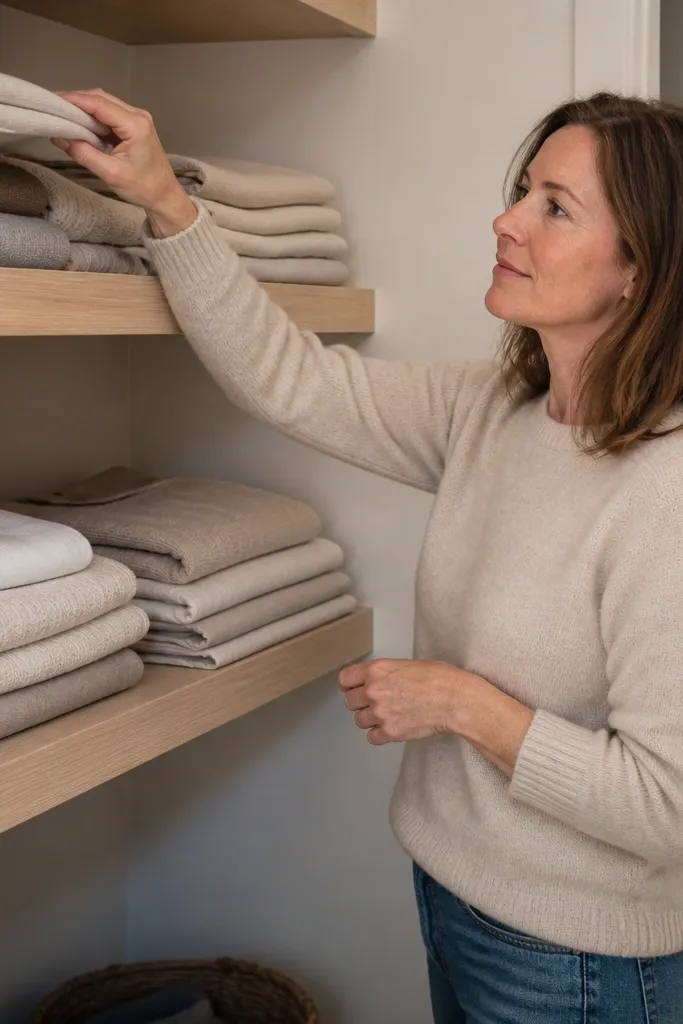
Floating shelves give you more storage without adding bulky furniture lines. In small closets, that matters because you’re trying to avoid visual clutter. Hidden brackets keep the look sleek, and the shelves make folded items look intentional instead of piled. This is ideal for sweaters, folded tees, and linen sets that you want to keep off the floor.
Find studs along the closet wall using a stud finder, then mark bracket locations based on your shelf length. Install a ledger line for alignment, then attach hidden brackets to the studs. Cut shelves from 3/4-inch plywood and sand the edges smooth so they don’t snag fabric. Finish with paint or a clear topcoat, then place items using shelf dividers to keep stacks square.
Use a 1-inch lip on the shelf front so folded items don’t slide forward when you reach in.
Skip brackets into drywall only — shelves sag and the closet instantly looks messy.
6. Hanging Organizer With Color-Coded Sections
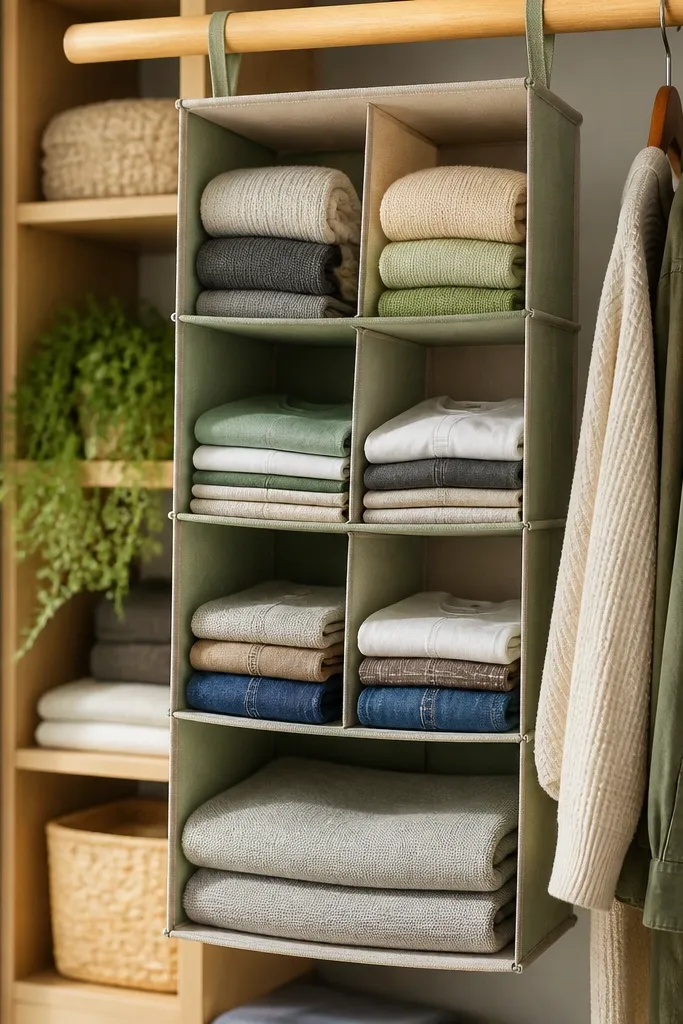
This is for people who want the convenience of drawers but the look of a tidy closet wall. A hanging organizer with compartments lets you keep small folded items visible and separated, so nothing turns into a single wrinkled heap. The aesthetic stays consistent when the organizer uses the same color fabric and the sections are symmetrical. It works for kids closets, guest rooms, and anyone who hates rummaging.
Choose an organizer sized to your closet width so it doesn’t bunch against the wall. Hang it from a rod or install an attachment rail so it stays straight. Use compartment sizes by item type: larger sections for hoodies, smaller sections for socks and scarves. Put dividers or small bins inside if the compartments are too wide so items don’t slide.
Pick one fabric color and stick to it for every hanging organizer piece so the closet looks designed.
Don’t overload compartments — once they bulge, the whole thing looks chaotic.
7. Belt and Scarf Peg Rail With Staggered Rows
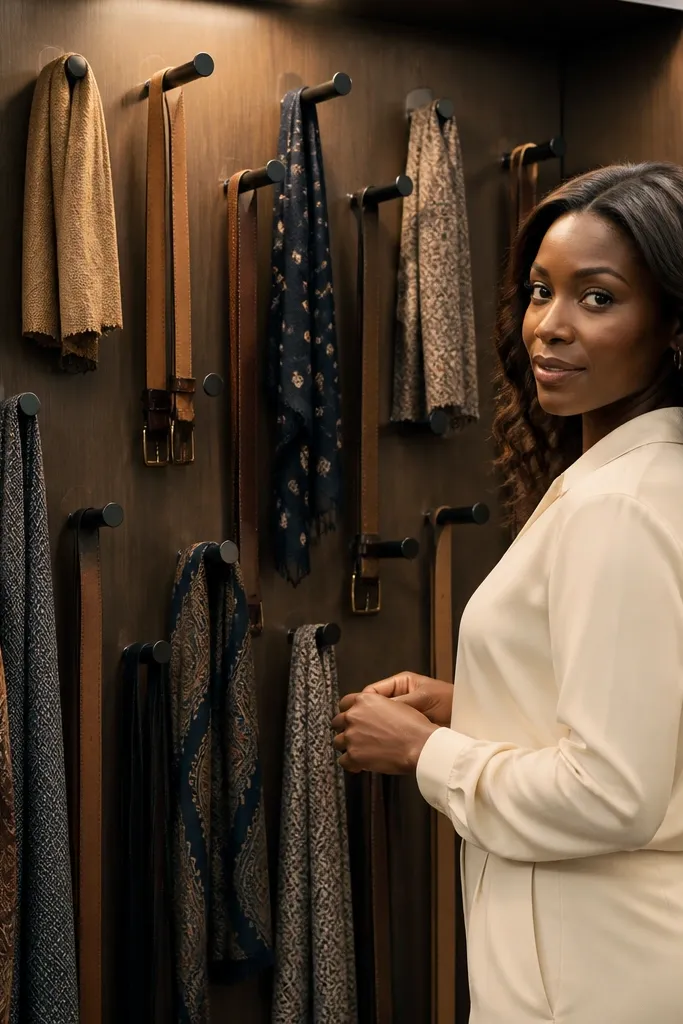
Belts and scarves are the quickest way to make a small closet look messy. A peg rail solves it because it turns floppy items into a clean grid. The staggered rows make different lengths sit at different heights, so everything is visible without pulling. It also looks intentional because the hardware creates a pattern.
Editor's noteKeep scarf hooks plastic-coated so delicate fabric doesn’t snag.
Mount a peg rail or slotted rail to the closet wall using screws into studs. Add S-hooks or small belt hooks spaced about 2 to 3 inches apart. Stagger belt hooks higher for longer belts and lower for shorter ones so they don’t overlap. For scarves, use ring clips or small hooks that hold fabric without stretching, then separate by length or color.
Skip thisSkip tight spacing — if hooks touch, scarves twist and belts tangle.
8. Over-the-Rod Basket Line for Extra Layers

If you need storage but don’t want to install shelves, baskets over the rod add usable space instantly. They create a second tier above hanging clothes, which is perfect for small closets that already feel tight. The open sides let you see what’s inside, and the metal finish looks modern. Use baskets for folded sweaters, workout gear, or bulky items that don’t fit in drawers.
Editor's noteUse one basket size across the closet so the visual rhythm stays clean.
Measure the rod diameter and closet width so you buy baskets that clamp or hang securely. Install the baskets across the rod with even spacing, leaving at least 1 inch of clearance so clothes don’t rub. Add a thin fabric liner if you want a softer look and to prevent small items from slipping through. Place items in consistent stacks, then add a small bin at the back for items you rarely reach for.
Skip thisDon’t stack heavy items too high — the baskets can tip when you reach.
9. Fold-Down Shelf for Bags and Small Goods
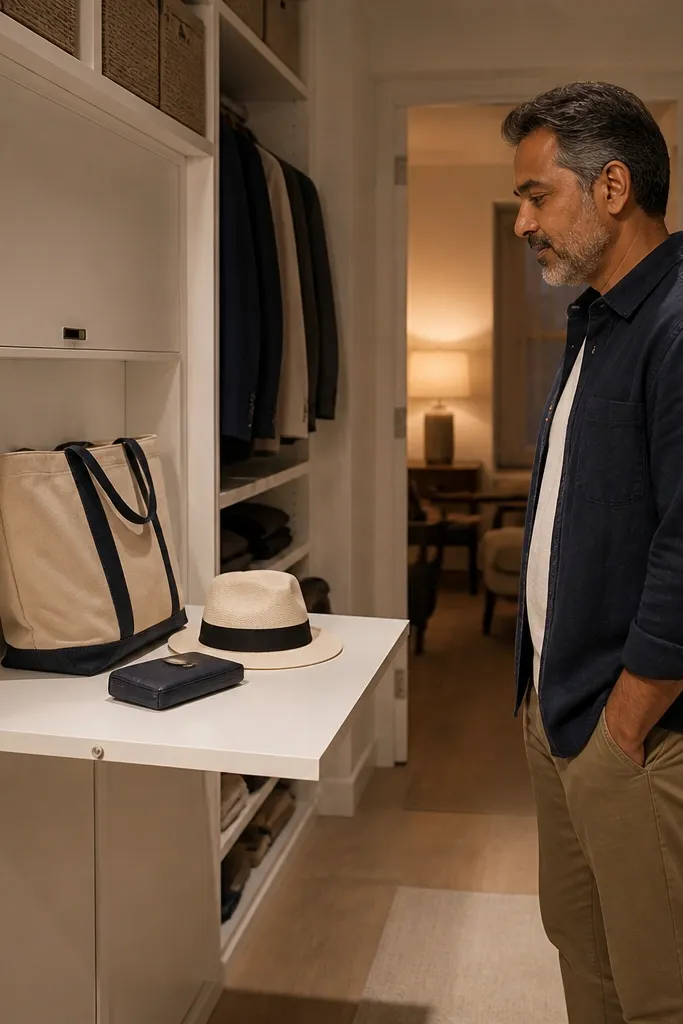
A fold-down shelf sounds fussy, but it’s a smart solution when your closet has no room for a permanent shelf. It gives you a flat landing for bags, hats, and “grab and go” items while keeping the wall clear when you don’t need it. The look is clean because the shelf disappears into the wall plane. This works best for entry-adjacent closets or apartments where every inch counts.
Editor's noteFinish the board with matte paint or a sealed stain so it wipes clean.
Find a stud near the door side or back wall, then mark the shelf height so bags sit at about chest level when opened. Install a sturdy wall hinge bracket for a fold-down shelf rated for the weight you’ll store. Use a 1x12 board or 3/4-inch plywood cut to size, then round the front edge for a softer look. Add a lip or small stop so bags don’t slide off when you set them down.
Skip thisDon’t mount it where the door hits the shelf when opened.
10. Vertical Divider Cubby for Knitwear Stacking
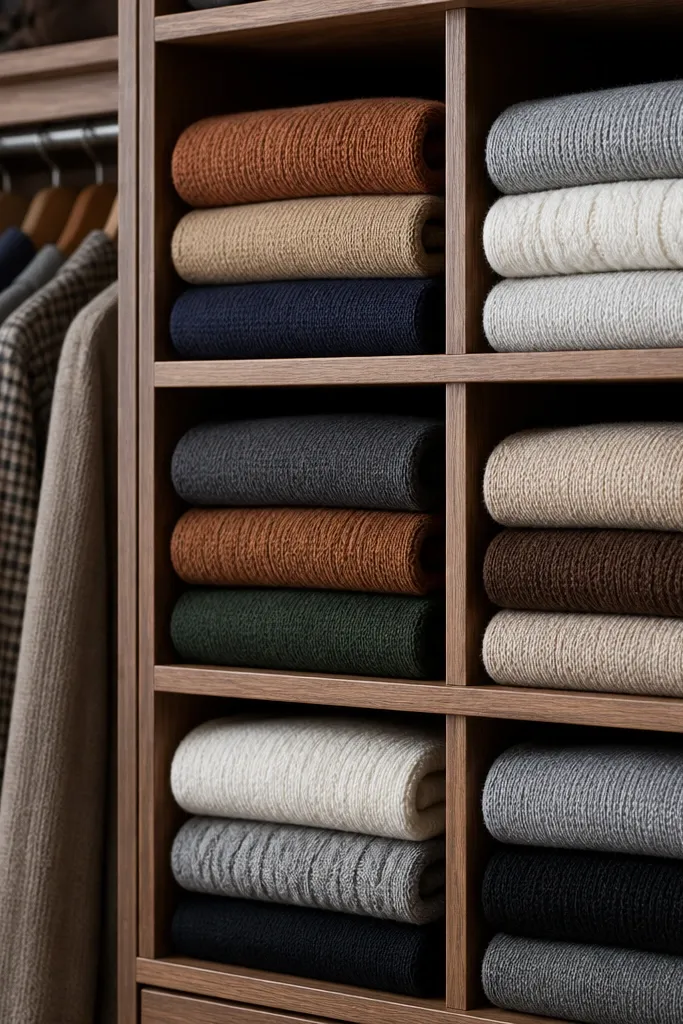
A cubby with vertical dividers turns knitwear from a collapsed pile into neat stacks that look good. Dividers stop sweaters from sliding and wrinkling, and they make it easier to pull one item without disturbing the rest. The visual payoff is big in small closets because you get clean, repeating rectangles. This is ideal for folded sweaters, beanies, and fabric bundles that need structure.
Editor's noteUse a light color finish inside the cubby so dark knits don’t disappear visually.
Build a basic box frame using 1x2 lumber and plywood for the back if needed. Cut dividers from 1/2-inch plywood and space them so folded items sit with a 1/2-inch gap. Install the frame on the closet wall or on an existing shelf so it’s stable. Sand edges smooth, paint the inside a light color, and set dividers so each cubby lines up vertically.
Skip thisSkip tight cubby spacing — if items jam, you’ll stop using the system.
11. Fabric Hanging Pouches for Jewelry and Small Accessories
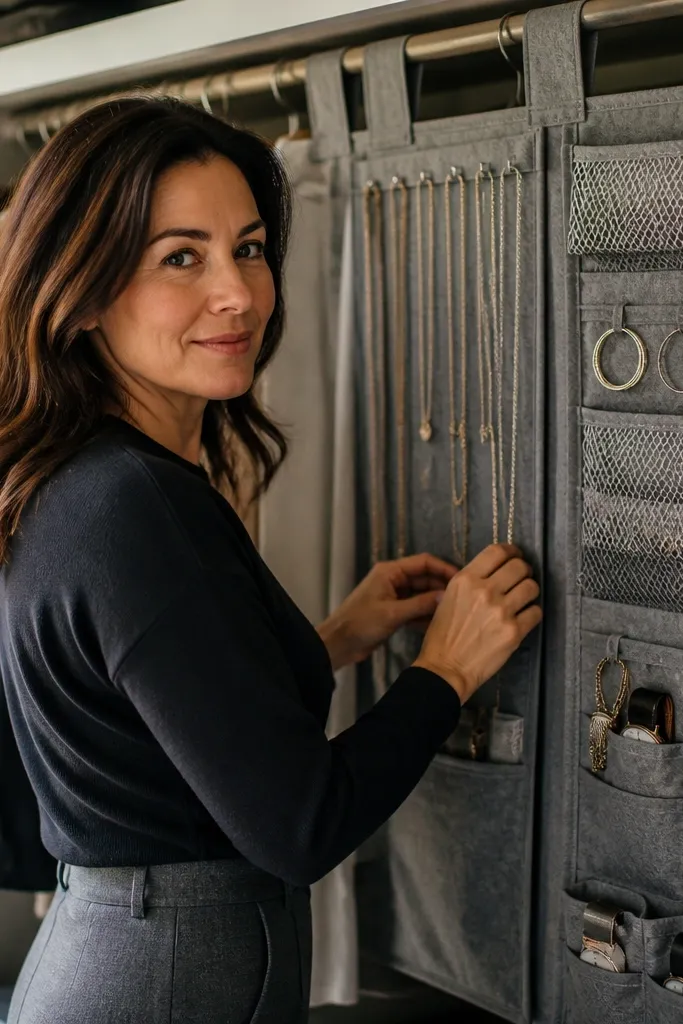
Jewelry and small accessories are the reason closets feel cluttered even when you don’t have many clothes. Hanging fabric pouches keep items contained, and the look is soft rather than boxy. You can arrange pouches by type so necklaces don’t tangle with earrings. It’s also an easy upgrade because it uses the inside of the door or a side wall without building carpentry.
Editor's noteAdd a small piece of foam or cardboard at the bottom of each pouch so it stays upright.
Choose pouches with clear front windows or small labeled pockets so you can identify items quickly. Mount a slim rail or use adhesive hook strips rated for fabric weight, then hang the pouch line evenly. If you’re using a door, make sure the pouch doesn’t swing and bump the door edge. Fill pouches by category and keep each pouch under half full so zippers close cleanly.
Skip thisDon’t hang heavy bags of beads or tools in fabric pouches — seams will stretch.
12. Pegboard Closet Back Wall for Custom Hooks and Shelves
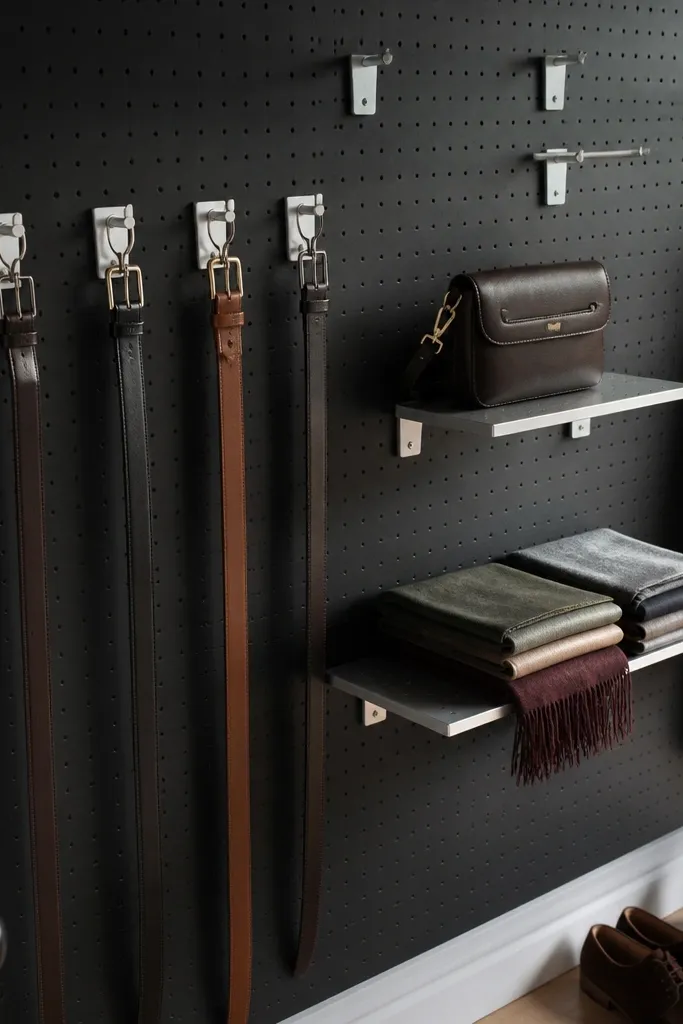
Pegboard is one of the most photogenic ways to organize a closet because it looks like a designed system, not random storage. You get modular hooks and small shelves that you can rearrange as your wardrobe changes. It’s great for small spaces because it uses the wall without adding bulky units. Use it for belts, bags, hats, and folded items in small baskets.
Editor's noteUse a limited set of hook types so the hardware looks uniform across the wall.
Cut pegboard to fit your closet wall panel size, then paint it the same color as the closet for a clean look. Anchor pegboard into studs with screws every few inches along the top and sides. Add hooks and small shelves in a grid so spacing stays consistent. Put heavier items on the lower hooks and baskets, and keep small accessories on the upper line.
Skip thisSkip placing pegboard where you can’t reach — if it’s too high, the system becomes decorative and unused.
13. Rolling Drawer Cart for Socks and Underwear
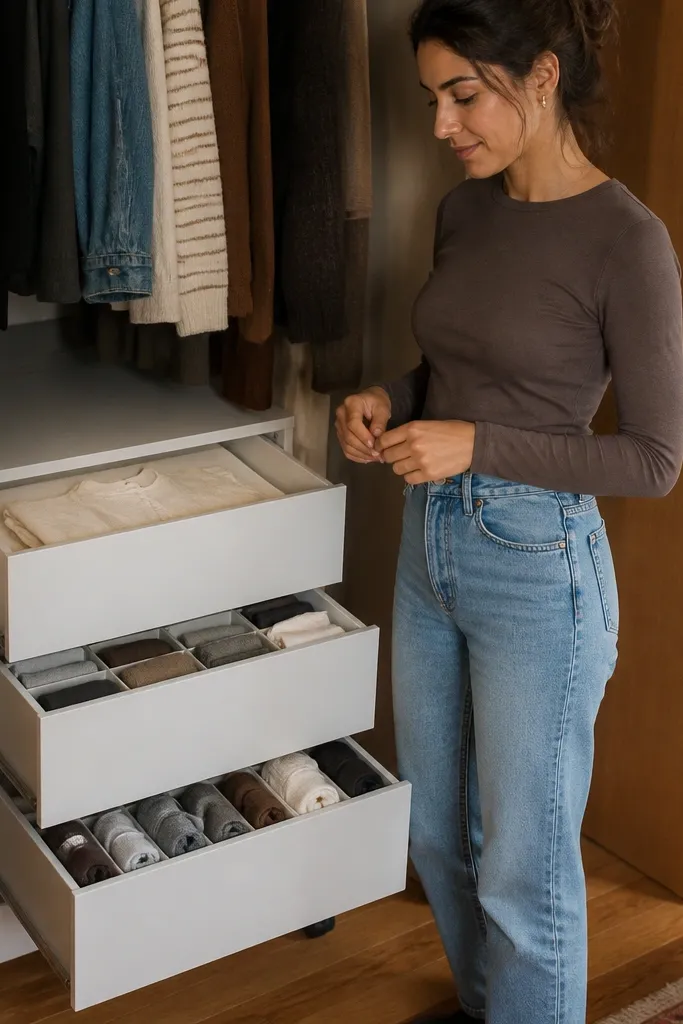
A rolling drawer cart makes a small closet feel like a boutique dressing room. It turns your most-used items into sliding, labeled sections you don’t have to dig for. Since it’s on wheels, you can pull it out just enough to grab what you need, which keeps the closet opening tidy. This works best when your closet has a narrow shelf or floor area you want to keep visually clear.
Editor's noteChoose carts with a matte finish so fingerprints don’t show and it stays looking sharp.
Measure the closet opening width and choose a cart that leaves at least 1 inch of clearance on each side. Place it on a level surface, then label each drawer with a single category. Use drawer inserts or small bins so socks don’t turn into a jumble. To keep the look clean, cover the cart top with a shallow tray for items you set down temporarily.
Skip thisDon’t store wet items or laundry in drawers — it smells and ruins the clean look.
14. Stackable Shelf Cubes With Matching Fabric Bins
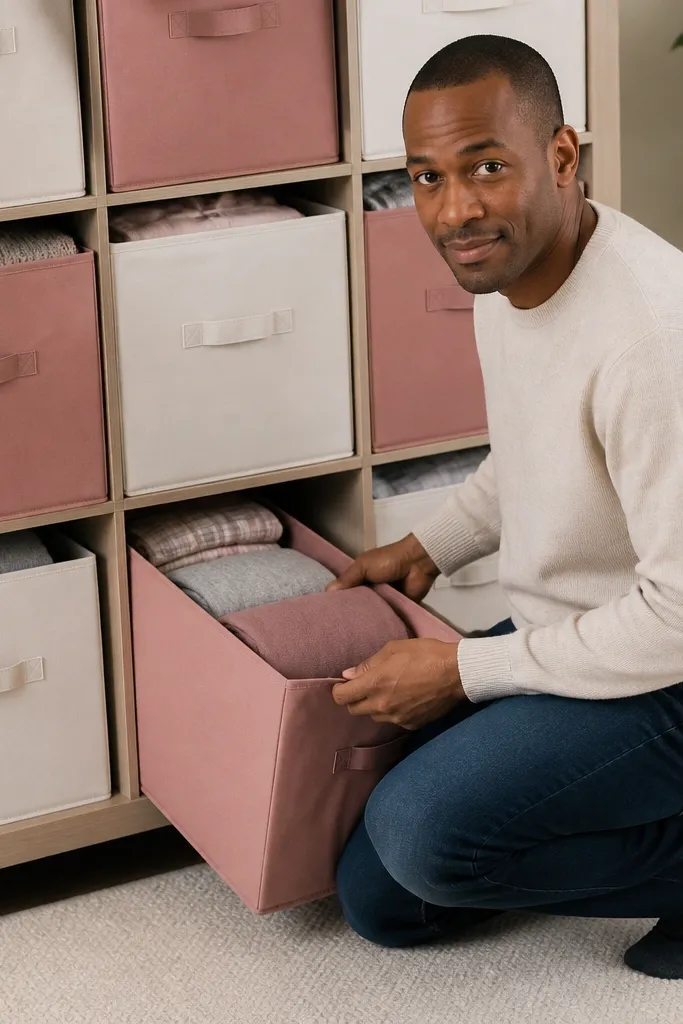
Cube shelving plus matching fabric bins is one of the most controllable ways to make a small closet look put-together. Fabric bins hide mess while still letting you see the structure of the shelf grid. The look stays cohesive when every bin is the same color and the shelf lines align. Use this for everyday folded items, seasonal accessories, and anything that needs containment.
Editor's noteUse bin sizes that match the category — don’t cram small items into oversized bins.
Pick a cube system that fits your closet width and height so you don’t create awkward gaps. Install the cubes level, then insert fabric bins sized for each cube opening. Keep one category per cube and label only the front edge of bins you can see easily. If cubes sit close to hanging clothes, leave a small gap so bins don’t rub and collect lint.
Skip thisDon’t mix bin colors across the same shelf — it looks like clutter even when it’s organized.
15. Folded-Linen Shelf With Photo-Label Fronts
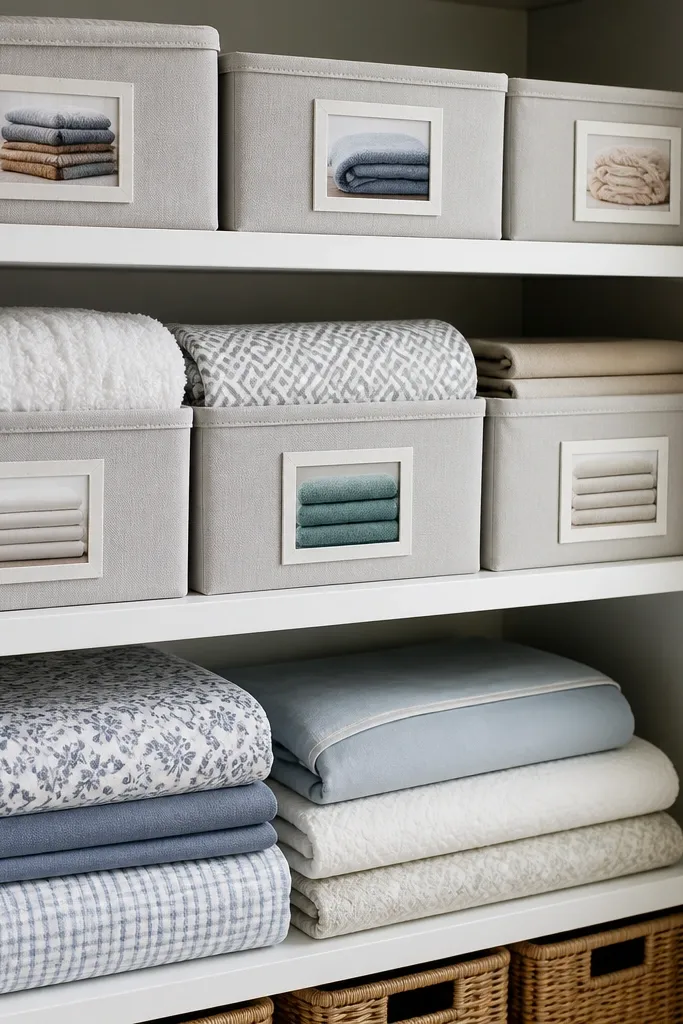
If you rotate seasonal items, photo labels make small closets feel effortless. Instead of reading tiny text, you see the item shape and color instantly, which reduces drawer opening and keeps the closet neat. The shelf looks clean because cards line up and the bins or stacks stay square. This is great for linens, extra blankets, and formalwear accessories stored in categories.
Editor's noteUse matte label holders so glare doesn’t hide the labels in bright light.
Choose a shelf height where you can reach the front edge comfortably, then use uniform bins or basket trays. Create label cards that show a simple photo of the item or a color swatch, printed on cardstock and slid into a clear label holder. Place the stacks or folded bundles into the same orientation so the photo matches what you see. Keep the label holder on the front lip so it stays visible when you open the closet.
Skip thisSkip handwritten labels on small bins — they look messy and get ignored.
16. Corner Closet Vertical Ladder for Hats and Bags
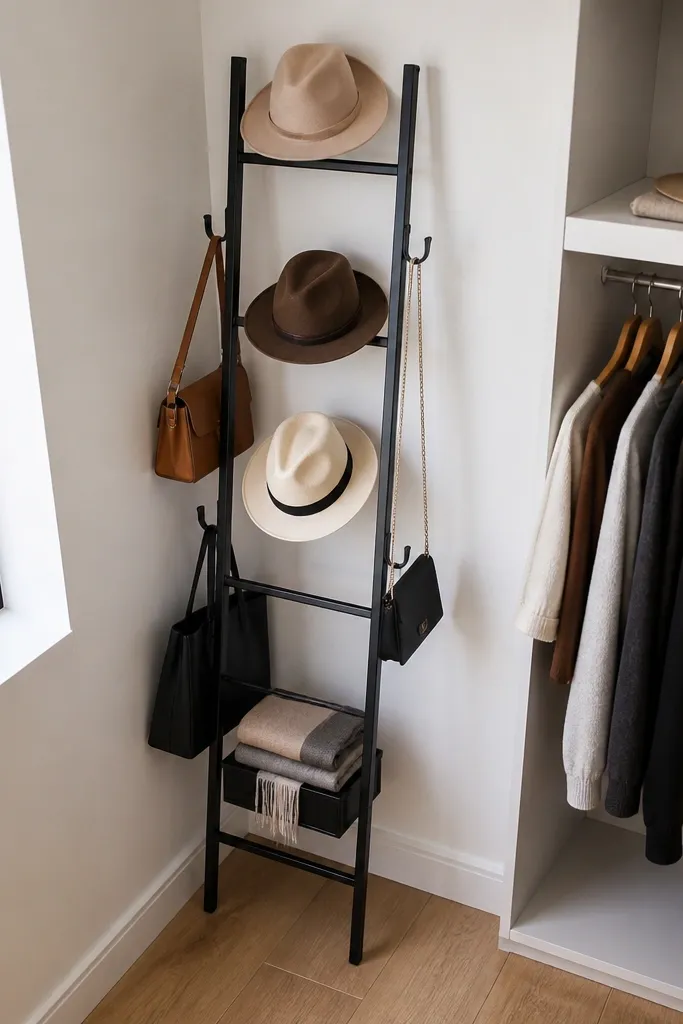
Corners are dead space in small closets, and a slim vertical ladder turns that corner into a display. It’s visually light because the ladder has open sides, so it doesn’t feel like furniture. Use it for hats, bags, and folded scarves so your closet looks styled rather than stuffed. This works best in corner closets or closets where the back wall is narrow.
Buy a narrow ladder-style rack or build one from 1x2 lumber with two vertical rails and evenly spaced rungs. Sand and stain or paint it to match your closet hardware finish. Secure the ladder to the wall with two anchors into studs or use a wall bracket system rated for the load. Hang hats from small hooks on rungs, and use a hook at the top rung for a bag strap.
Add small felt pads at contact points to protect delicate hats and prevent scratch marks.
Don’t overload the top rung — the ladder shifts and everything looks off.
17. Hanging Sweater Sleeve Dividers on a Rod
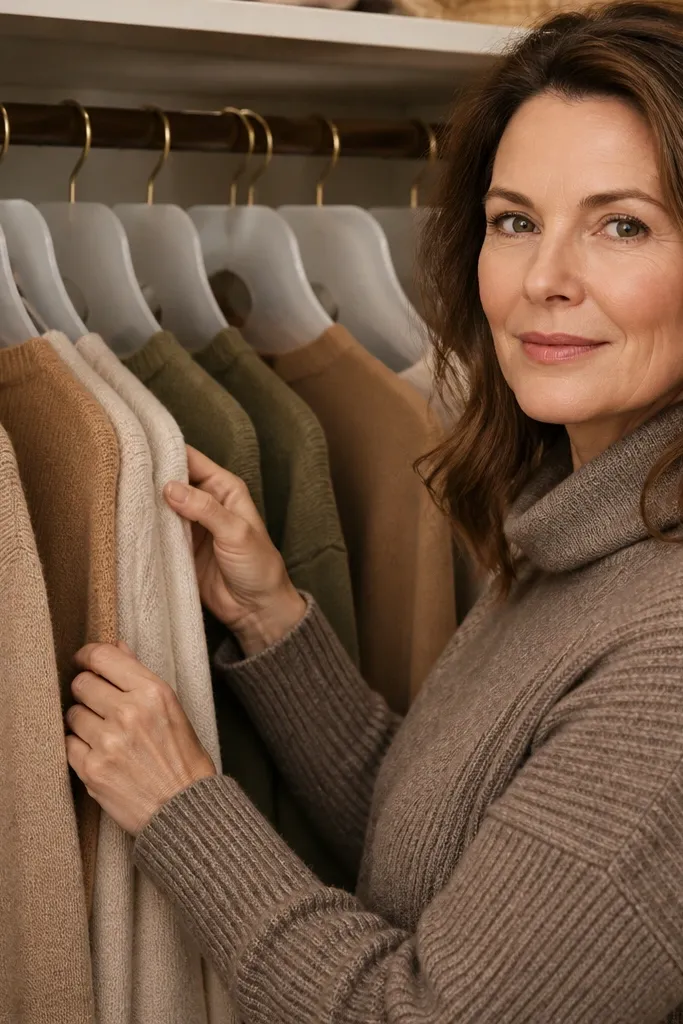
Sweaters are the reason small closets look messy even when everything is technically hung. Sleeve dividers separate garments so they don’t braid together, and that keeps the closet looking orderly. The look is clean because garments hang with space between them, showing the line of each sweater. This works best for chunky knits, cardigans, and long-sleeve tops.
Editor's noteFold the sweater hem slightly over the hanger so it doesn’t stretch and sag over time.
Install a rod at your normal hanging height, then add a divider system that attaches along the rod. Use either adjustable fabric dividers or small plastic separators designed for rods. Hang sweaters using consistent hanger orientation so sleeves sit flat between dividers. If sweaters are heavy, add one divider per hanger width so the garment doesn’t pull the separator out of place.
Skip thisSkip thin dividers — if they flex, sweaters still tangle.
18. Bottom Shelf With Removable Baskets for "Floor Stuff"
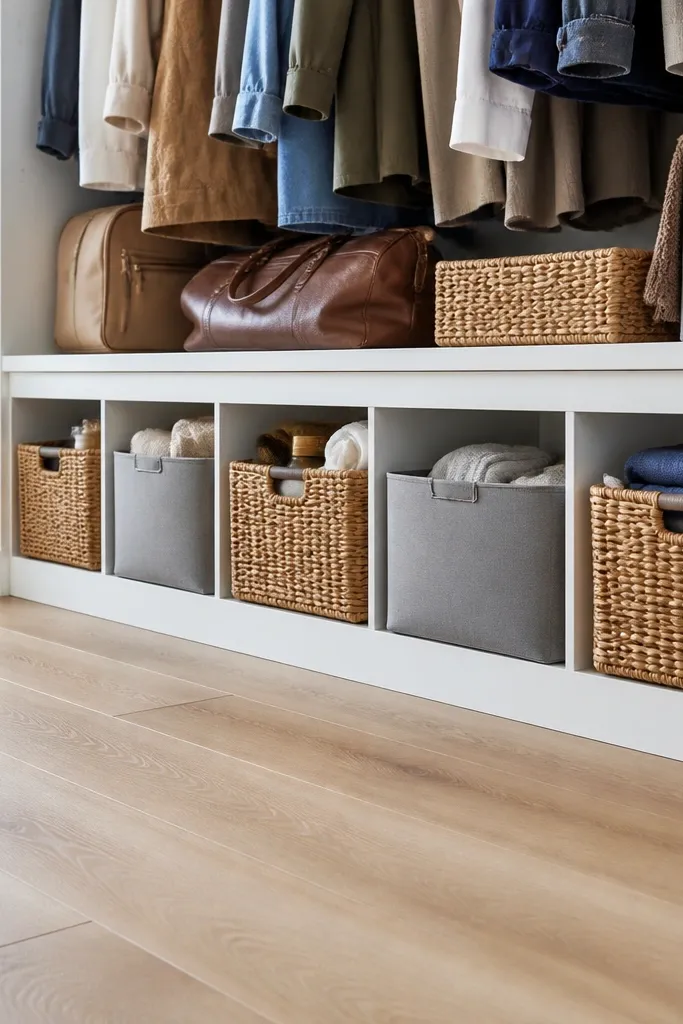
The floor of a small closet is where visual clutter lives. A fixed bottom shelf with removable baskets keeps that area contained while still letting you grab items quickly. The baskets give you a neat boundary line that looks tidy in photos and in real life. Use it for small bags, cleaning supplies, and seasonal accessories.
Editor's noteUse baskets with handles that match your other hardware finishes for a cohesive look.
Install a bottom shelf using 3/4-inch plywood and L brackets anchored into studs. Add a front rail or lip so baskets can sit without sliding forward. Choose baskets with flat bottoms that fit snugly, leaving a 1/8-inch gap so you can lift them out easily. Place a label on each basket front and keep only one category per basket.
Skip thisDon’t store loose items on the shelf — once baskets overflow, the system stops looking clean.
19. Magnetic Spice-Style Label Strip for Closet Shelves
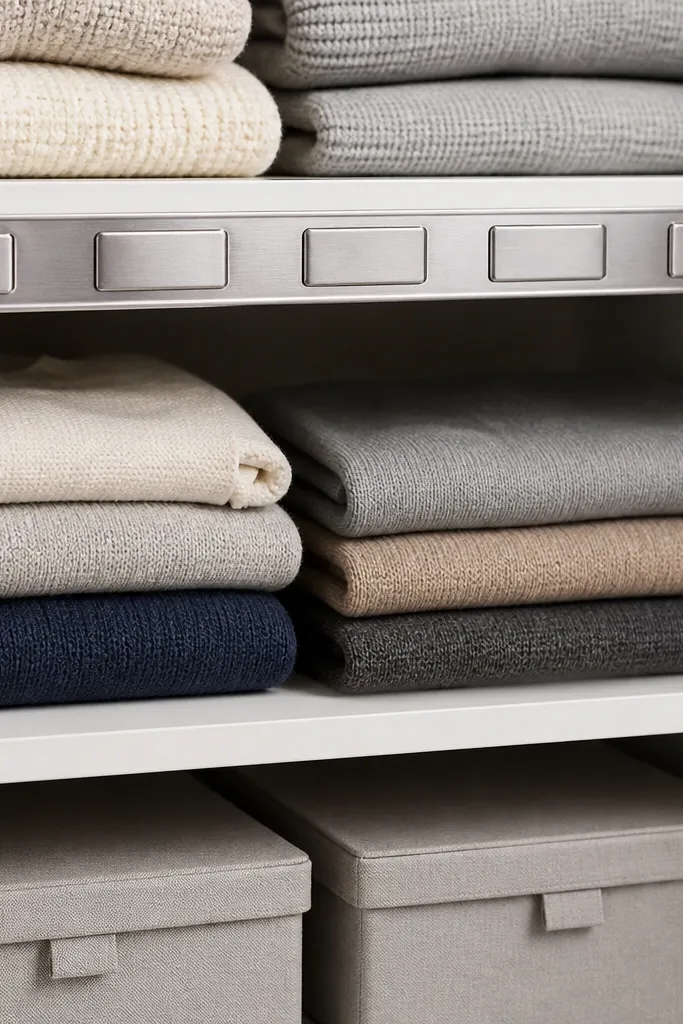
Small-space closets fail because you forget where things live, so you end up cramming. This label strip system fixes that with a clean, visible “scan line” across your shelves. It looks tidy because the tags sit flush in a slim metal track, not dangling on string or tape. You can label folded sweaters, storage boxes, or shoe bins without writing directly on plastic. It takes about an afternoon and basic tools, and it works best in narrow reach-in closets where you only have one or two seconds to find something. The result is a closet that stays organized even when you’re busy.
Editor's noteUse white cardstock with black text and a tiny icon (sock, scarf, belts) so you can find things without reading every word.
Cut a piece of thin metal strip (brushed aluminum or galvanized steel) to match the width of your shelf run, leaving a 1/2-inch gap at each end for a clean look. Mount it centered under the shelf front using two to four small countersunk screws and predrilled pilot holes, or use a strong removable adhesive if you rent. Make label cards from cardstock or thick label tape, then add a small magnetic backing strip to each card so it snaps onto the metal. Put the labels where your eye lands first — usually the front edge of the top shelf or the shelf just above hanging clothes. Add a clear acrylic cover strip if you want the labels to resist dust from folded knits.
Skip thisSkip plain masking tape labels — they curl, get fuzzy at the edges, and start looking messy fast.
20. Stacked Linen Closet Pull-Out Hamper Drawer Unit
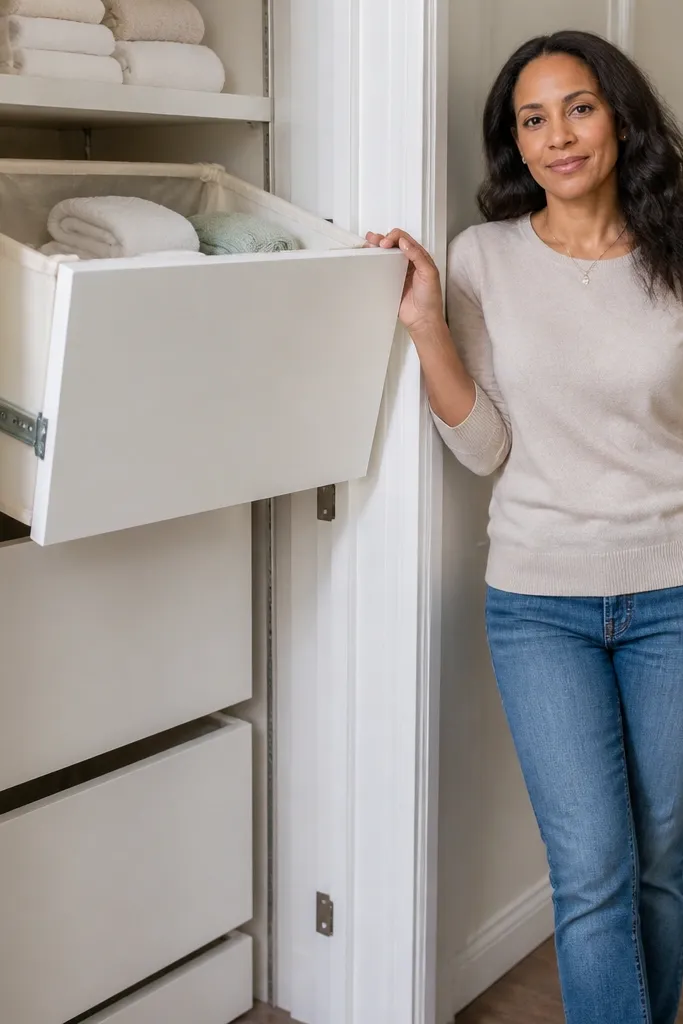
If your closet floor is cluttered, it’s usually laundry, towels, and “I’ll deal with it later” items. A pull-out hamper drawer unit keeps that mess hidden while still letting you drop clothes in one motion. The look is photogenic because the drawer front stays flat and uniform, with fabric bins that show just enough texture. This works in small closets where you can’t spare a separate hamper — especially in corners or under a shelf. It’s also a good fix for shared spaces because everyone sees the same opening and the same sorting spots. Build it once and your closet stays cleaner without needing constant re-stacking.
Editor's noteLine the drawer bottom with a thin rubber shelf liner so the bins don’t slide and the fabric doesn’t snag on wood grain.
Choose a location under a shelf or along a closet side wall with at least 28 inches clear width and 18 inches depth. Build a simple carcass from 1/2-inch plywood: two side panels, a back panel, and a bottom, with an open front for the drawer slide hardware. Install full-extension drawer slides rated for 75+ lb, screwed into the side panels with pilot holes, then mount the drawer front panel (1/2-inch plywood) to the moving box so it aligns flush. Add two removable fabric hamper bins with rigid frames or wire baskets inside the drawer — set them on a fixed crossbar so they stack neatly, leaving 1/2-inch gaps for airflow. Finish by rounding sharp edges with sandpaper, adding a small stop block to prevent over-pull, and wiping everything with a dry cloth before you insert the bins.
Skip thisDon’t use flimsy half-depth slides — they sag under a loaded hamper and the drawer starts rubbing against the frame.



