
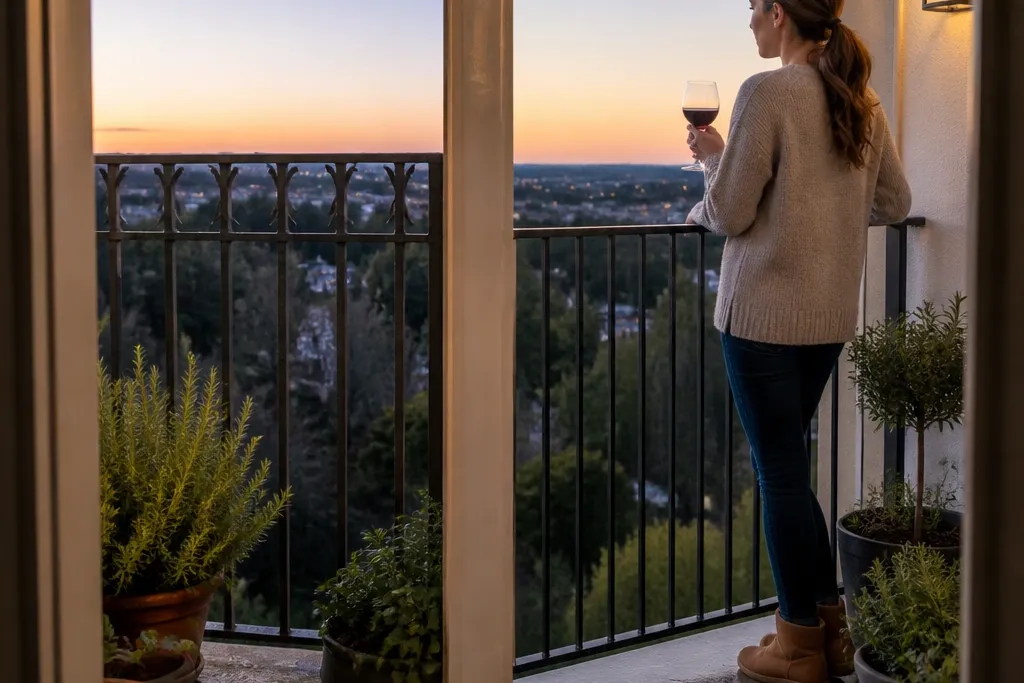
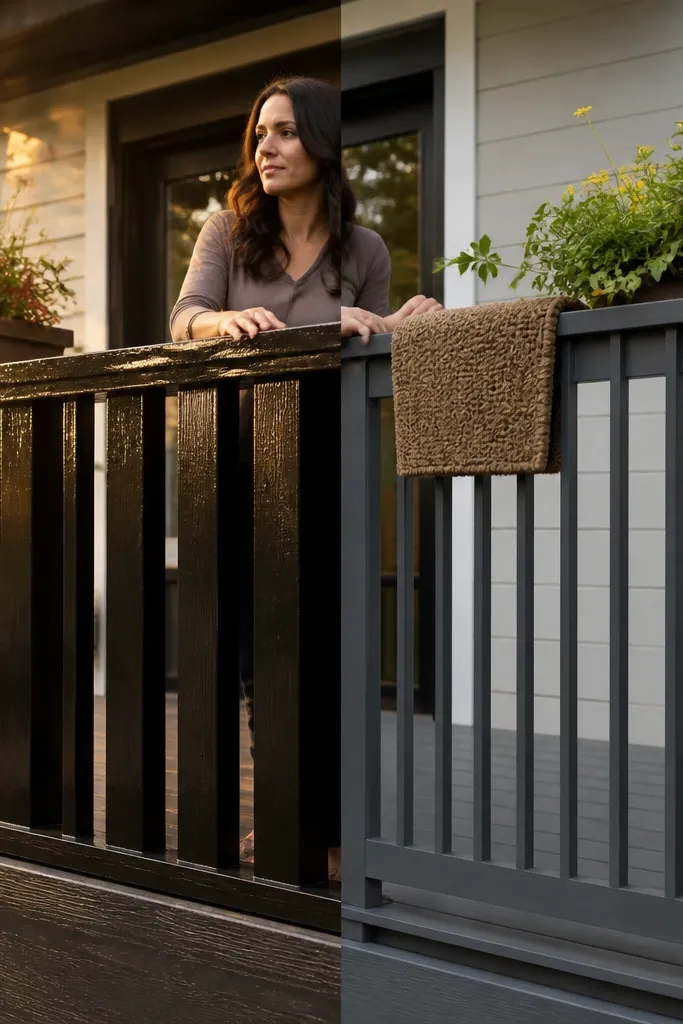
1. 3-post layout that keeps the view open
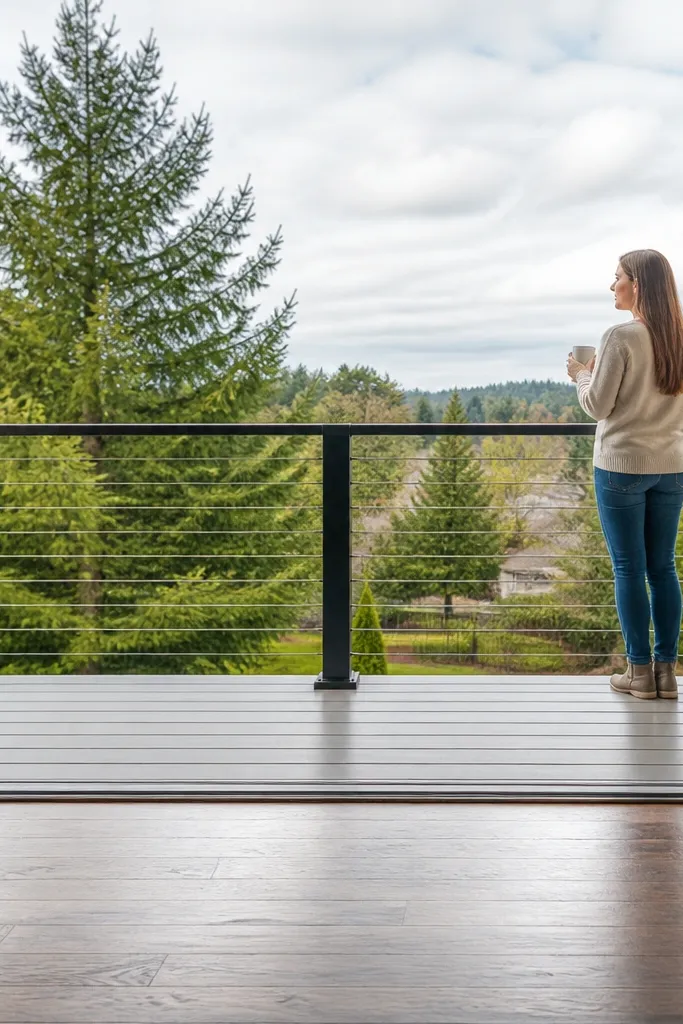
If your balcony is narrow, extra posts are the silent killer of the “after” look. A railing with too many supports breaks the sightline every time your eye moves, which makes the space feel smaller than it is. A three-post layout works best when you have two solid end points and one middle structural anchor. You get a calmer visual rhythm, and you can repeat the infill pattern without odd slivers. This is a great DIY target for a typical 36-48 inch run where you want the view to feel continuous.
Editor's noteBefore you drill, tape painter’s tape strips along the wall where the posts land and stand back — you’ll immediately see if the spacing feels cramped.
Start by marking your end post locations using string lines from wall to wall so the railing stays straight. Then pick one middle anchor point that keeps the two spans similar in length — aim for within 1/2 inch of each other. Dry-fit your top rail and posts, then confirm you can install the infill without forcing cut pieces. Finally, pre-drill and use the correct anchor hardware for your surface before you tighten everything fully.
Skip thisDon’t add a post “because it feels sturdy” — every extra post makes a small balcony look tighter.
2. Cable railing with tight vertical alignment
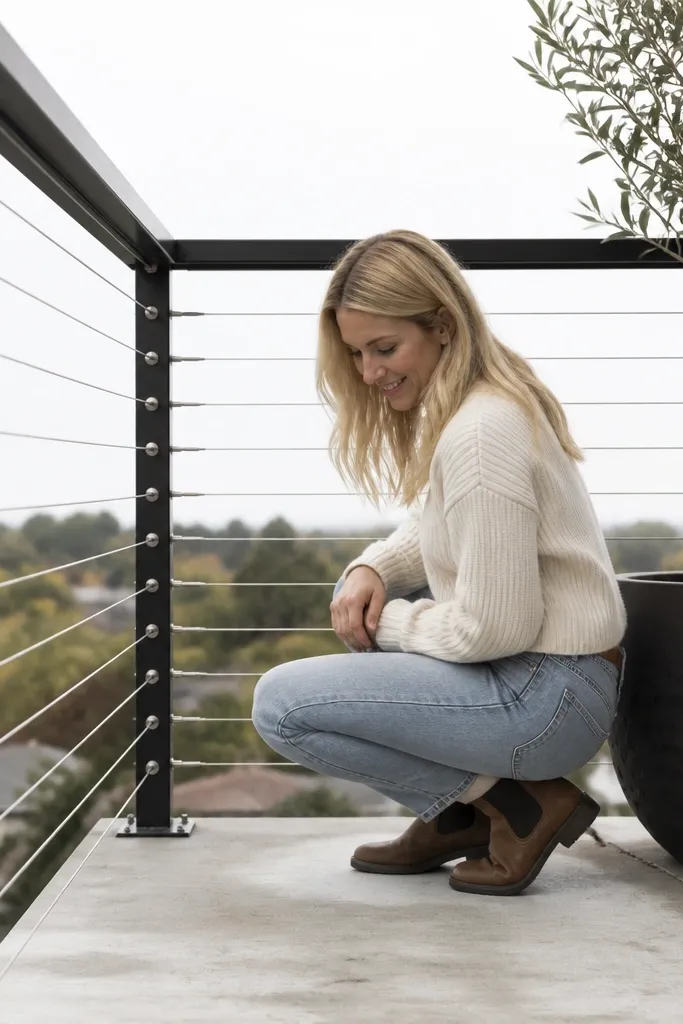
Cable railing looks light, but only if the cables line up perfectly. The common before problem is cables that splay because the anchors aren’t positioned consistently, so the whole thing looks messy. Tight, evenly spaced cable runs keep the balcony airy while still preventing leaning. Use this when you want a clean, modern look without bulky pickets. It’s also one of the easier infill systems to repeat because you can measure spacing and cut all cables to a consistent plan.
Choose cable anchor posts with mounting points that match your cable spacing plan, then lay out the holes using a spacing jig or a marked template. Install the top and bottom cable mounting points first, then thread cables one by one with the tensioner hardware. Pull each cable to the same tension, then clamp and trim. Finish by checking alignment from three angles and tightening any hardware after the cables settle.
Label each cable run (left to right) on masking tape so you don’t mix lengths during tensioning.
Don’t eyeball cable spacing — uneven gaps make the whole railing look DIY-in-a-bad-way.
3. Horizontal slats for a "wider" balcony feel
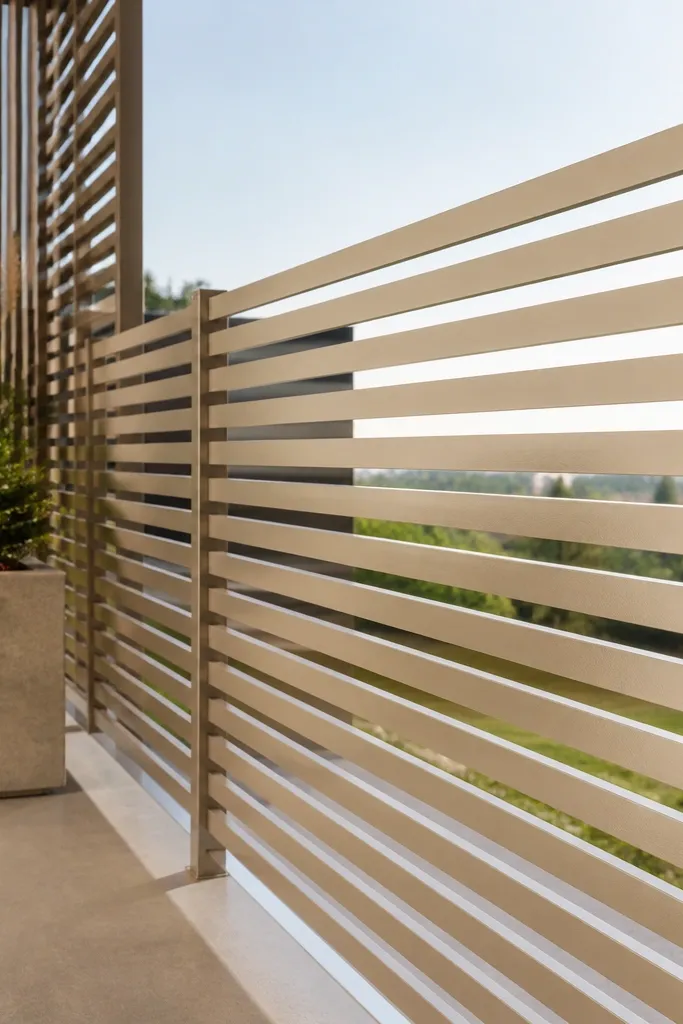
Horizontal slats trick your brain into reading the balcony as wider because the lines move sideways instead of chopping the view. The before mistake is using thick, tall slats that look like a fence — that blocks light and makes the balcony feel smaller. Slim slats with consistent spacing give you privacy without the heavy visual weight. This works well on balconies that get strong sun where wood needs a serious finish. Plan on choosing a rot-resistant wood or a metal-slatted alternative if you don’t want maintenance.
Start by building or buying a metal frame with sturdy top and bottom rails at your chosen height. Mark slat positions with a spacer block that matches your desired gap, then attach slats so each one sits flush to the frame. Apply a marine-grade exterior finish in two coats, then add a third coat to the end grain if your slats are wood. Let everything cure fully before you treat the railing like it’s ready — finishes shrink as they cure.
If you use wood, sand the slats to a uniform thickness before assembly so the gaps stay even after finishing.
Don’t use random-width slats — uneven thickness shows up in every photo.
4. Glass panel with slim aluminum frame
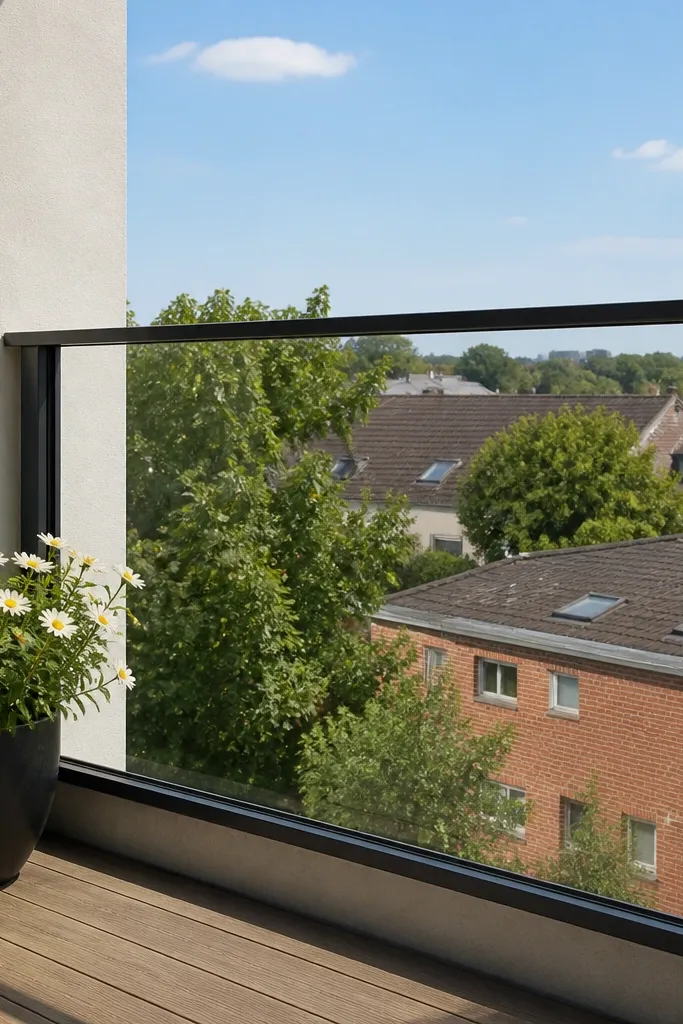
If your goal is maximum visibility, a glass panel is the cleanest before and after move. The before problem is bulky framing that makes the glass look like a box and blocks the view more than you expected. A slim aluminum frame keeps the barrier visually thin while still giving you a crisp boundary. This is a strong choice for small balconies facing open scenery. The look is also more “architectural” without requiring a lot of artistic detailing.
Pick a glass infill thickness and frame system designed for railing use, not random interior glass. Install the posts with correct spacing, then mount the frame rails with shims so the glass sits level. Set the glass using manufacturer gaskets so you get even contact and no rattling. Finish by tightening all frame hardware and checking for movement at the corners by pressing gently along the panel.
Use a level on the frame rails during installation — tiny out-of-level errors make glass look crooked in daylight.
Don’t reuse old gaskets or hardware if the system is designed for new parts — loose glass always turns into noise.
5. Powder-coated steel pickets that don't glare
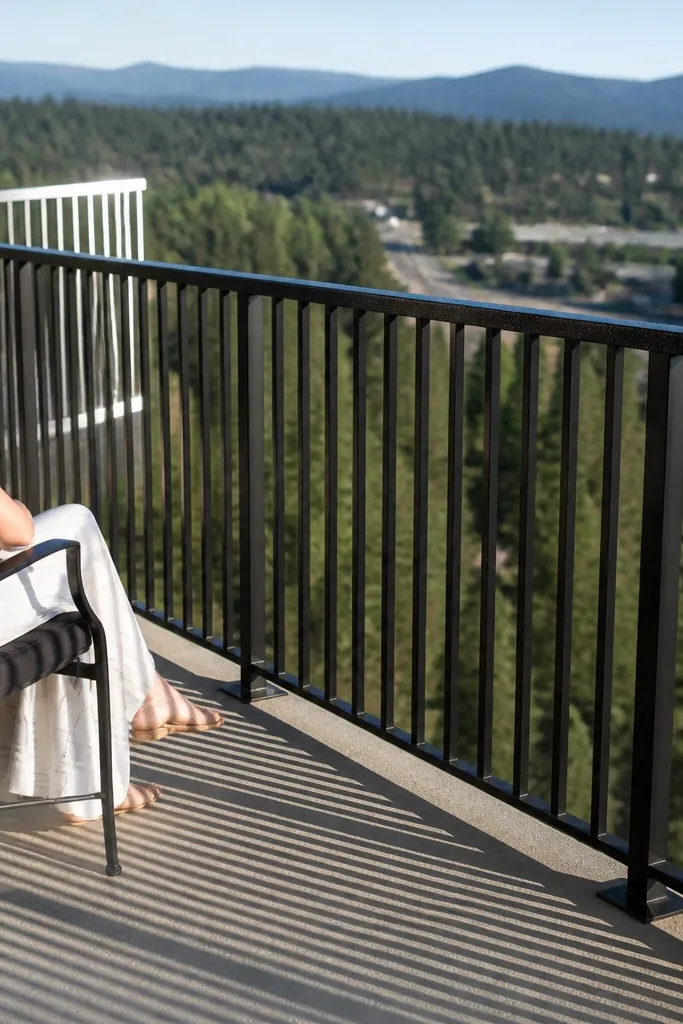
Vertical pickets can make a small balcony feel busy, but only when the finish is glossy and the pickets are thick. Matte, powder-coated steel with slimmer pickets reads cleaner and reduces glare on sunny days. The before mistake is shiny metal that reflects light and draws attention to every spacing inconsistency. This option works when you want a classic railing silhouette but with a modern finish. It’s also durable enough for DIYers who don’t want to re-stain every season.
Choose a powder-coated system or have steel components powder-coated with a finish meant for outdoor exposure. Lay out picket spacing with a single spacer so the gaps stay consistent along the entire run. Install the top rail first, then attach pickets from the top down so you can keep them aligned. Finish by adding end caps and checking for sharp edges where you might brush clothing or hands.
If you’re cutting pickets, deburr the edges and touch up with a matching outdoor paint so rust doesn’t start at the cut line.
Don’t mix glossy and matte pieces — the shine difference makes the whole railing look patchy.
6. Matte aluminum railing with hidden fasteners
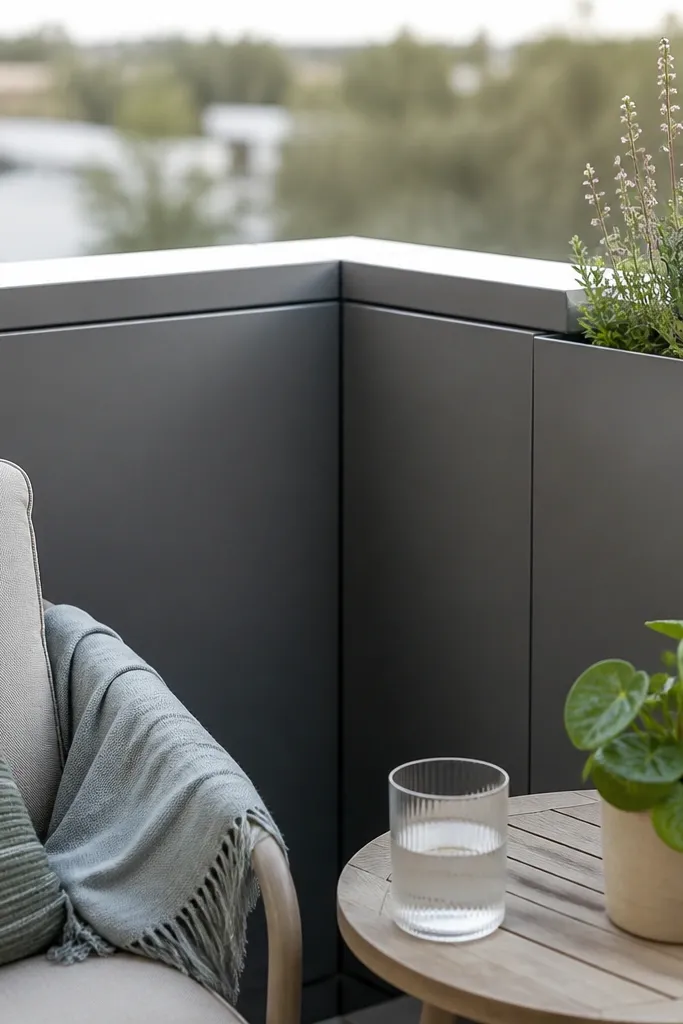
Hidden fasteners matter more on small balconies because every visible screw line interrupts the clean geometry. The before version usually has exposed hardware that looks cluttered in close range. Matte aluminum keeps the look calm and doesn’t require the same maintenance as wood. This is a smart DIY choice if you want a crisp, low-fuss railing that still looks intentional. It also resists rust well in coastal or wet climates.
Buy an aluminum railing system designed for concealed fasteners, or plan your own with internal mounting plates. Dry-fit the rails to confirm alignment before you drill anything — aluminum is unforgiving if you misplace a hole. Install mounting plates inside the frame, then attach the outer rail sections so the screws disappear from view. After assembly, do a firm wiggle test at each post and re-check rail straightness.
Use painter’s tape around drill points to reduce scratches and keep the finish clean.
Don’t drill visible-face holes “just to make it easier” — it ruins the after look.
7. Two-tone railing that frames the balcony
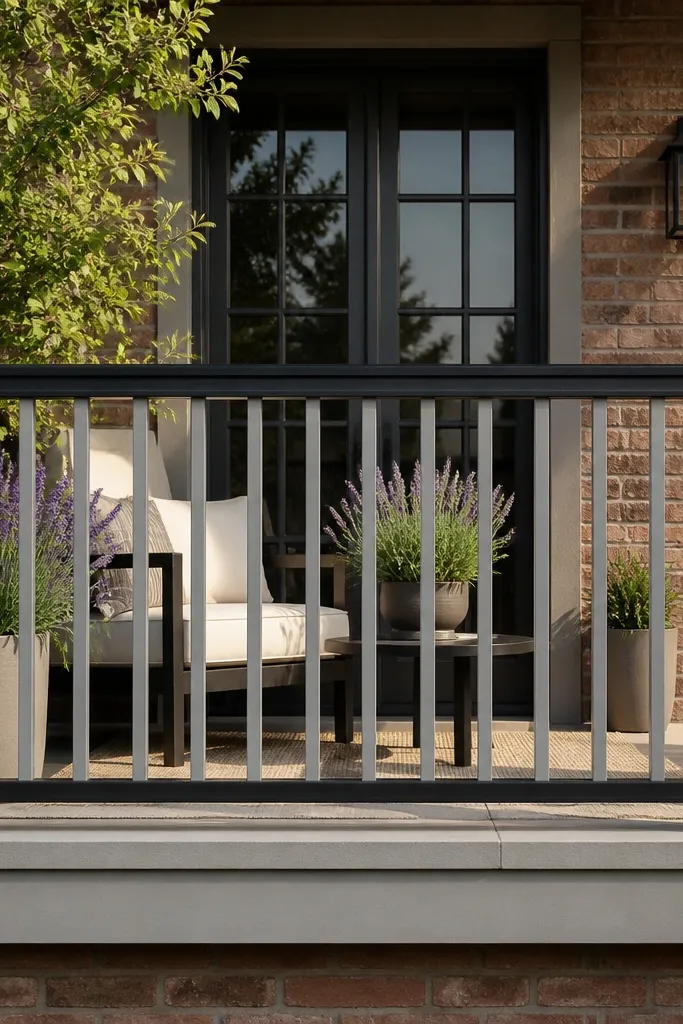
Two-tone railings can make a small balcony feel designed instead of crowded, but only when you control contrast. The before mistake is using two colors that fight each other — bright infill with dark posts, or vice versa, so your eye bounces around. A safer approach is dark top rail and posts, then a lighter infill that still blocks leaning. This works especially well when your balcony floor and wall colors are neutral. It also hides minor imperfections because the eye focuses on the shape, not tiny alignment errors.
Pick one base color for posts and top rail, then choose a lighter shade for infill that’s still outdoor-rated. Paint or powder-coat in separate batches so finish thickness is consistent. Assemble the frame first, then install the infill so the color break sits in a straight line. Once everything is installed, wipe down with a clean microfiber and check the color match under both shade and direct sun.
Test the two finishes on a scrap board outside in daylight for 24 hours — the contrast changes once the coating cures.
Don’t choose colors based on a phone screen — indoor sample photos lie.
8. Reinforced base plates for no-wobble posts
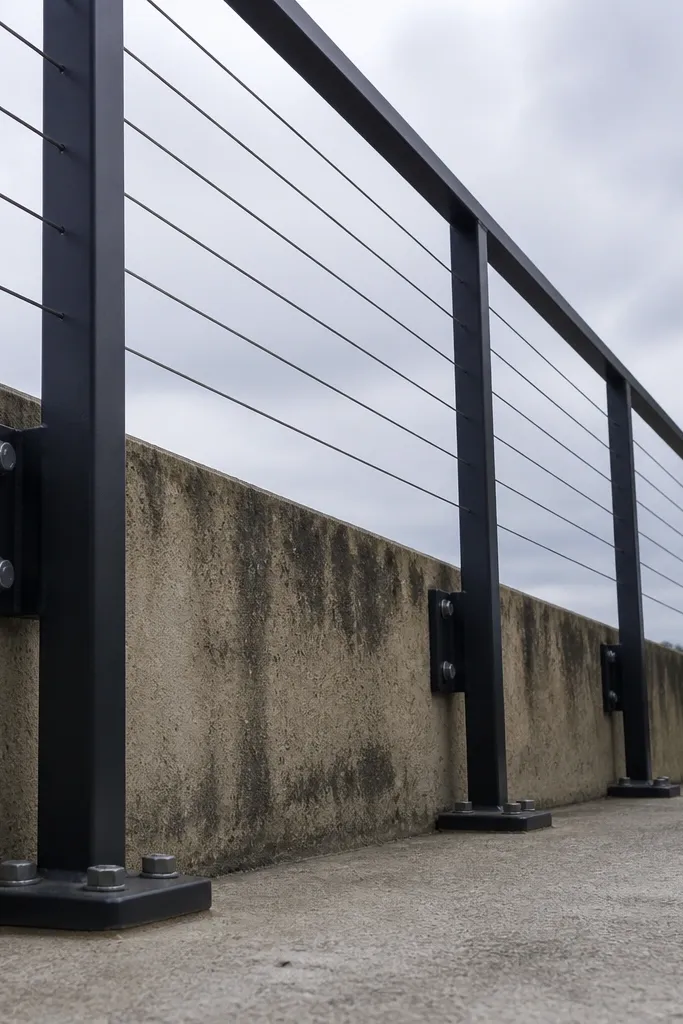
Wobble is what ruins most small-space railing before and after photos. People think the infill is the problem, but the real issue is base attachment. If posts flex even a little, the whole railing feels cheap and looks crooked in every angle. Use reinforced base plates to spread load and keep the posts rigid. This upgrade is worth it even if you already have a railing you like, because it improves both safety and the visual straightness.
Start by removing the old posts and cleaning the mounting surface down to solid material. Use base plates sized to spread force, then mark bolt locations with a template so you don’t drift. Drill anchors for your balcony material type and install with the right anchor system. Set posts on the plates, level them, tighten hardware evenly, then re-check plumb before adding infill.
Add a thin shim only if needed, and use corrosion-resistant shims — don’t rely on random wood scraps.
Don’t mount posts straight to crumbly concrete or cracked tile without proper anchors.
9. Top-rail height tuned to real comfort

Rail height is the difference between a railing that feels like part of your balcony and one that makes you lean awkwardly. The before mistake is copying a generic height without considering how you actually use the space — sitting, leaning on the rail, or standing to look out. For a small balcony, your top rail also affects how much sky you see above the barrier. Set it based on your body and the balcony layout so you don’t end up with a rail that blocks your view when you stand. You also get better photo lines because the top rail sits where your eye expects it.
Editor's noteIf you have a sliding door, measure the door track height and make sure the rail doesn’t visually crowd the opening.
Measure from your balcony walking surface to your preferred hand/forearm resting point while standing naturally. Then set the top rail height to land that point consistently along the whole run. Check for door clearance and any screen or planter obstructions before finalizing. Install top rail first, then build infill to match the distance between top rail and base rail so spacing stays even.
Skip thisDon’t set height by guessing from a store display — balconies change the proportions fast.
10. Mesh infill for pets and wind without the fence look
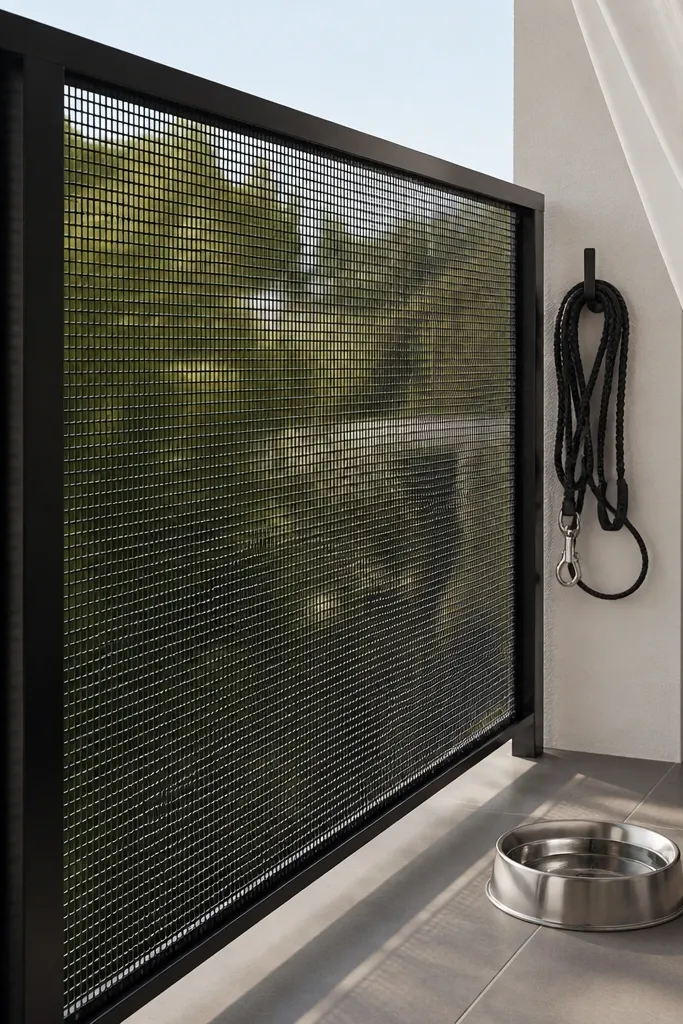
Mesh infill can solve two problems at once: pets from leaning out and wind-driven debris. The before mistake is using bulky mesh or adding it after the fact with ugly straps, which makes it sag and look patched. A properly framed mesh panel stays taut, reads clean, and keeps the balcony usable. This is a strong option for small balconies where you still want an open look but need more barrier. It also works for privacy at a distance without turning the whole thing into a solid wall.
Editor's noteTension the mesh in cooler temperatures so it doesn’t loosen after heat cycles.
Build a rectangular frame for the mesh with a top and bottom rail plus side rails so the mesh has support on all edges. Use outdoor-rated mesh and cut it slightly oversize, then stretch into the frame. Attach with mechanical fasteners or a pin-and-clamp system designed for mesh, not zip ties. Once mounted, check tension by pressing at the center and confirming it doesn’t deflect much.
Skip thisDon’t mount mesh directly to posts without a frame — it sags and looks messy fast.
11. Wood top rail with metal posts for the best of both
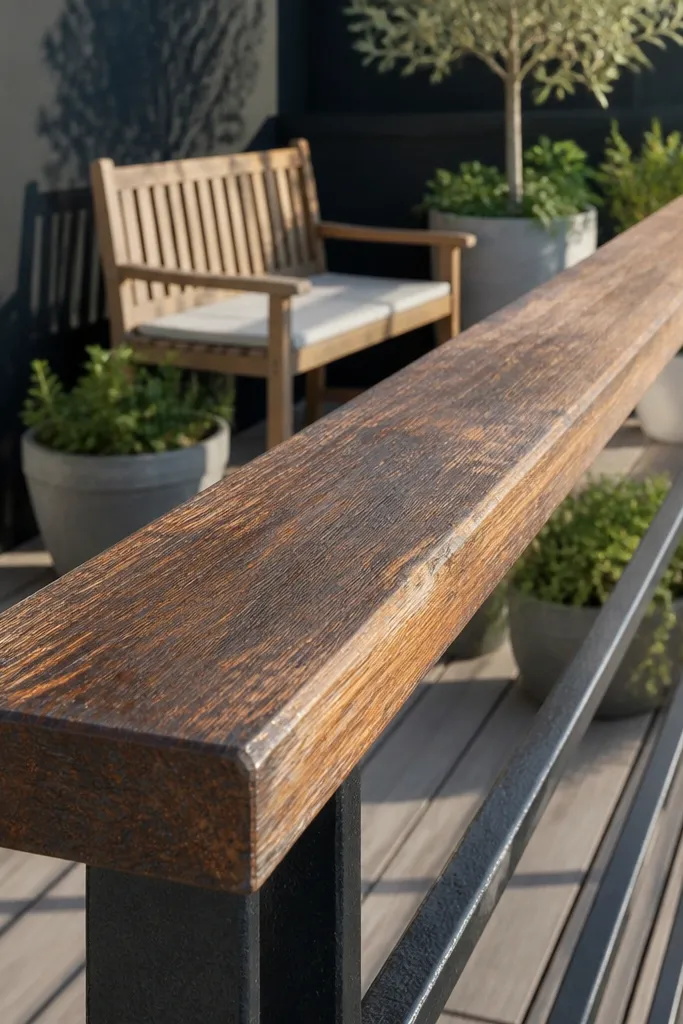
Mixing materials is how you get comfort without losing durability. The before problem is wood rails that crack or peel because they weren’t sealed correctly, or metal rails that feel cold and look harsh. Wood top rails give you a warm hand feel and a more natural look, while metal posts keep structure stable and resistant to rot. This combo also hides small imperfections because the wood grain draws the eye to the top line. It’s a smart DIY plan if you want the railing to look higher-end without building everything from scratch.
Editor's noteRound the top rail edges with a consistent radius so it looks intentional and feels good.
Install metal posts with rigid base plates first so the structure is square. Then attach a wood top rail using exterior-rated brackets that allow slight expansion. Sand the wood smooth, then apply a marine varnish or exterior oil system with multiple coats. Let it cure fully, then mount any end caps and check that the wood edge is rounded so hands don’t catch.
Skip thisDon’t use interior wood finish on an outdoor top rail — it fails at the edges.
12. Slender vertical rails with consistent spacing math
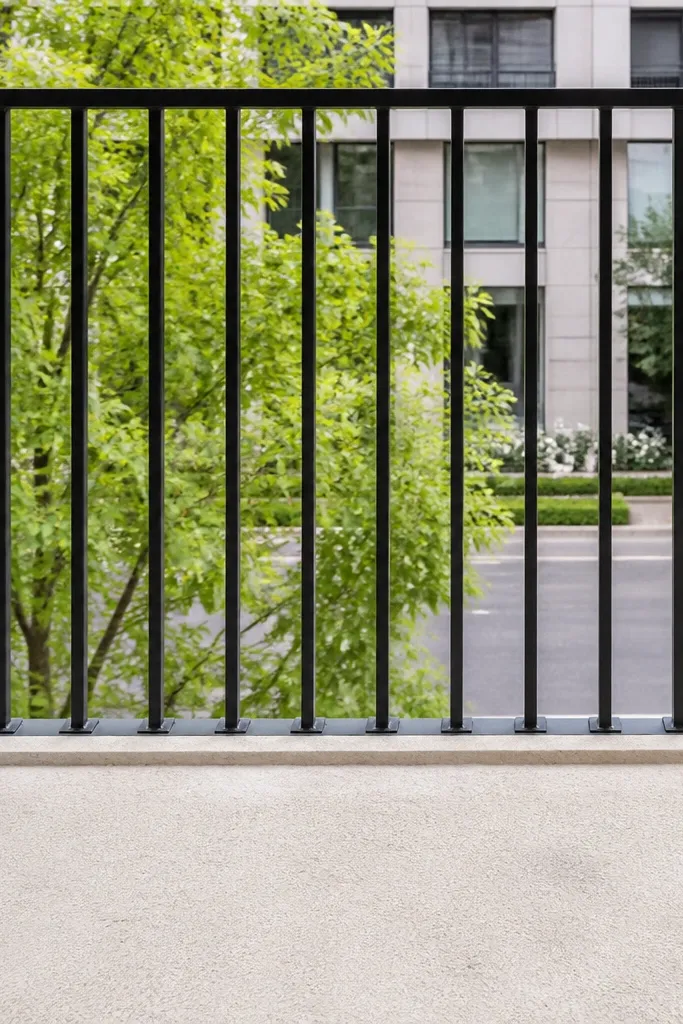
Thin vertical rails can look airy and modern in a small space, but only if the spacing is mathematically consistent. The before mistake is “close enough” spacing, which shows up immediately because your eye sees gaps as stripes. Consistent gaps also help with wind and debris flow without turning the balcony into a mesh wall. Choose this when you want a clean look that still provides barrier coverage. It also works with both wood and metal frames, so you can match your existing balcony style.
Editor's noteMake a one-inch spacer block from scrap plywood and label it — use it for every gap so you don’t drift.
Measure the clear width between posts and decide on a gap target, then calculate the number of rails that fit exactly. Lay out the first and last vertical rail positions so you don’t end up with a weird narrow filler at one end. Pre-mark rail positions on the top and bottom rails, then attach verticals with a jig or spacer block. Finally, check spacing with a ruler across the entire run and adjust before the adhesive or permanent fasteners lock you in.
Skip thisDon’t start with the middle rail and work outward — the end gaps usually get ugly.
13. Stair-step infill to match uneven balcony edges
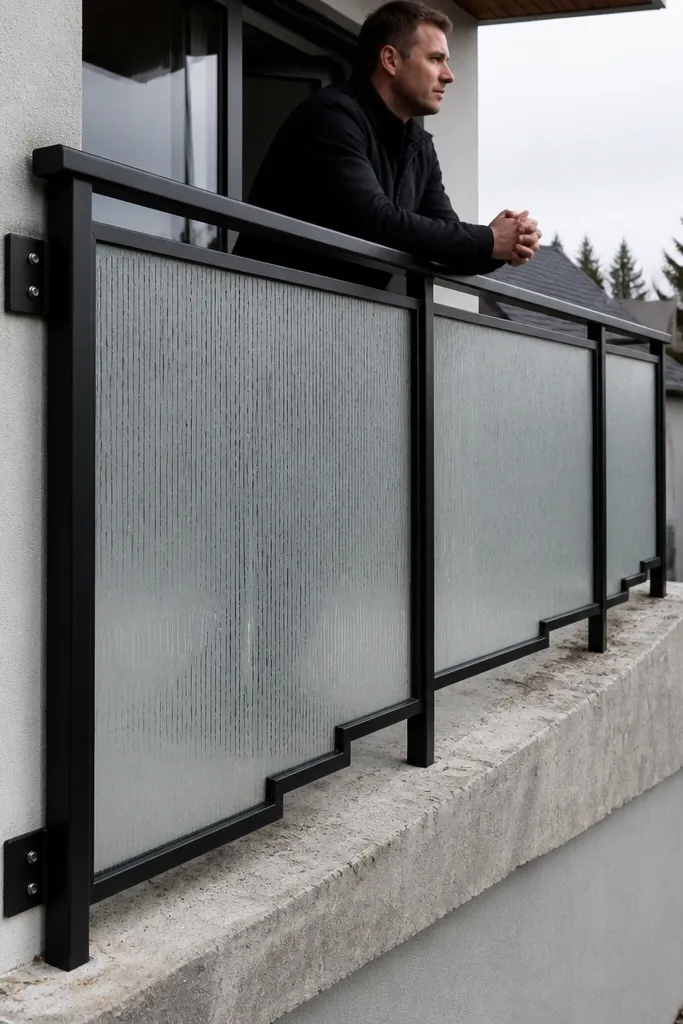
Uneven balcony edges are real, and the before mistake is forcing a straight infill panel anyway. You end up with gaps at the bottom or a top rail that looks level but the infill doesn’t. A stair-step approach lets the infill follow the actual geometry while keeping the overall railing line clean. This is especially helpful on balconies with older tile or slight slope toward a drain. The after looks “designed” because the small variation is intentional, not accidental.
Start by identifying where the balcony edge is off — use a straightedge across the mounting line and mark the high and low points. Then plan infill segments so the cut lines land where you can hide the transition at a post or a corner. Build the infill in short sections, not one long panel, so you can adjust each segment to the local height. After installation, seal any cut edges and verify the hand clearance stays consistent along the top rail.
Use a laser level or long spirit level for the mounting line, not just the floor — the railing cares about the mounting plane.
Don’t force level infill by bending frames — it stresses the structure and shows later.
14. Powder-coat touch-up strategy for cut ends
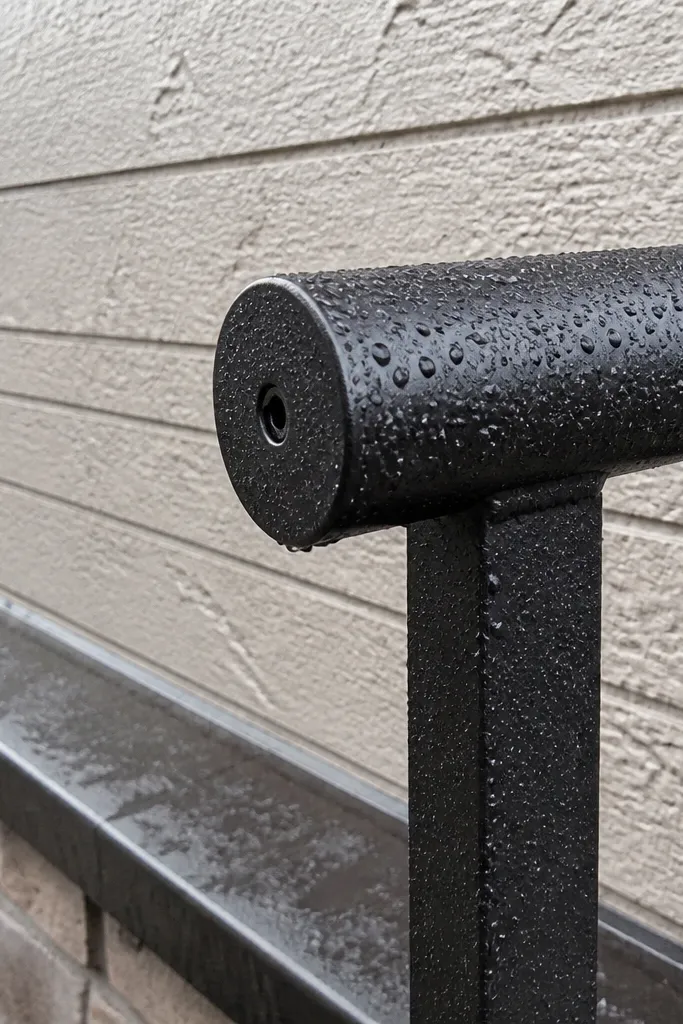
The before problem isn’t the railing look — it’s the long-term failure that shows up as rust streaks and peeling at the cuts. Small-space balconies are exposed and close to walls, so rust marks up the surrounding surfaces fast. When you cut steel or drill holes, you break the coating barrier. A simple, real touch-up plan keeps the after photo clean and prevents corrosion from starting at the edges. This matters even if you’re buying a pre-finished system, because any DIY adjustment creates new raw metal.
Editor's noteWarm the paint can in a bucket of warm water — thin coats spray smoother and cover better.
After cutting, deburr the edges and clean with a degreaser so paint sticks. Use a metal primer designed for outdoor use, then apply a matching topcoat paint in thin layers. Let each layer dry fully before assembly, and don’t smear touch-up paint over oily fingerprints. After installation, inspect every cut end and bolt hole for missed spots, then do a second light coat if you see bare metal.
Skip thisDon’t skip primer at cut edges — topcoat alone fails quickly where coating is broken.
15. Weather-sealed railing base trim that hides gaps
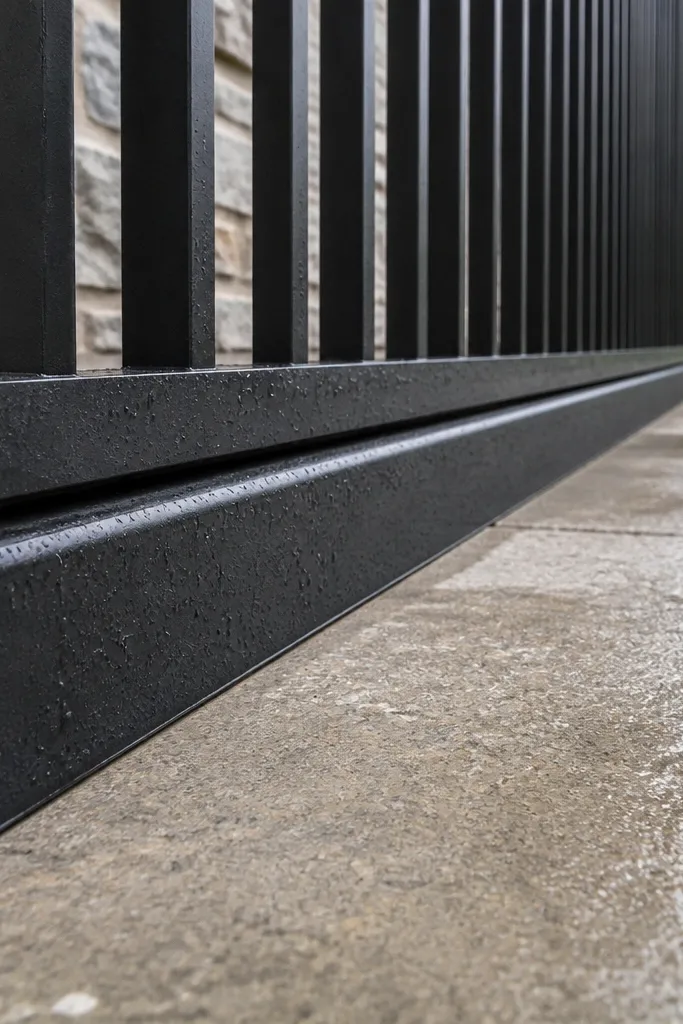
Gaps at the base look worse on small balconies because you see them from standing height and from indoors. The before mistake is leaving raw mounting lines exposed, which collects water and makes the railing area look unfinished. Base trim gives you a clean visual line and reduces water intrusion around anchors. It also helps hide minor unevenness without messing with the railing geometry. This is an easy improvement if your structure is solid but the bottom edge looks messy. It makes the after look more “built” and less “installed.”
Editor's noteUse a flexible exterior sealant and keep it continuous — pinholes become water tracks.
Measure the gap between the railing base and balcony surface, then choose exterior trim that matches your railing frame width. Install trim after posts and top rail are stable so you’re not fighting movement. Use sealant compatible with your surfaces and apply a continuous bead where water could travel. Screw or clip the trim into place where possible, then tool the sealant edges for a smooth line and let it cure before exposure.
Skip thisDon’t rely on caulk alone without trim — it cracks and pulls away from vibration.



