
1. Buying glass for privacy, then realizing you still see silhouettes
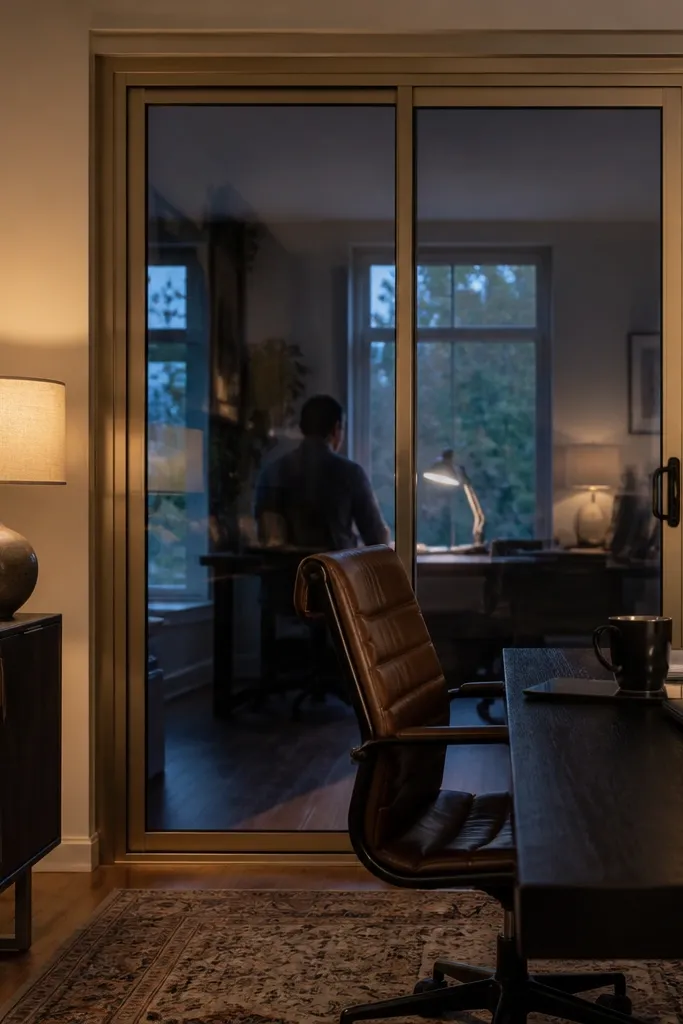
First, decide what you need to hide: people in motion, faces, or just light. Then pick glass type based on that — frosted or obscure glass for silhouettes, patterned for partial visibility, and clear only if you can live with outlines. Finally, plan your shade location before install so you’re not trying to retrofit hardware after the frame is in place.
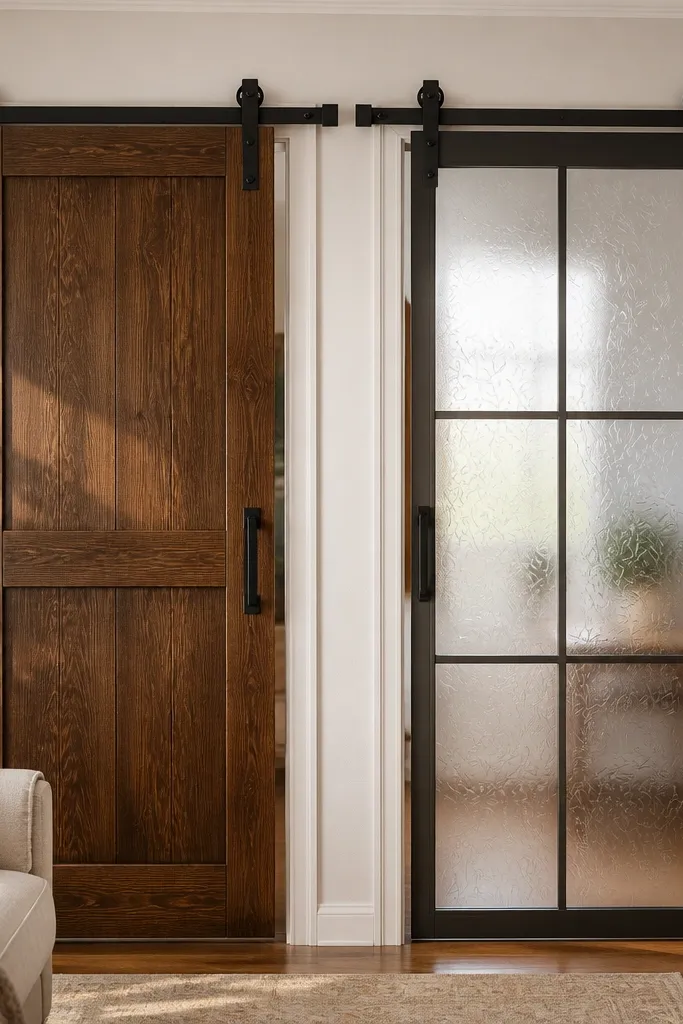
The mistake is treating “glass sliding door” like it automatically equals privacy. Clear glass shows movement and outlines, and reflections can make the room feel busier, especially in the evening. If you want glass, choose frosted or patterned glass so the door still looks light but doesn’t give a window effect. I’d also pair it with a shade you can close — even a simple roller shade on the same wall — because light control is a separate decision from door material.
Skip thisDon’t buy clear glass and “hope curtains will fix it” later.
Editor's noteHold the glass sample against a light source and check it from both sides at night; glare surprises people.
2. Choosing sliding barn door width that doesn't cover the opening
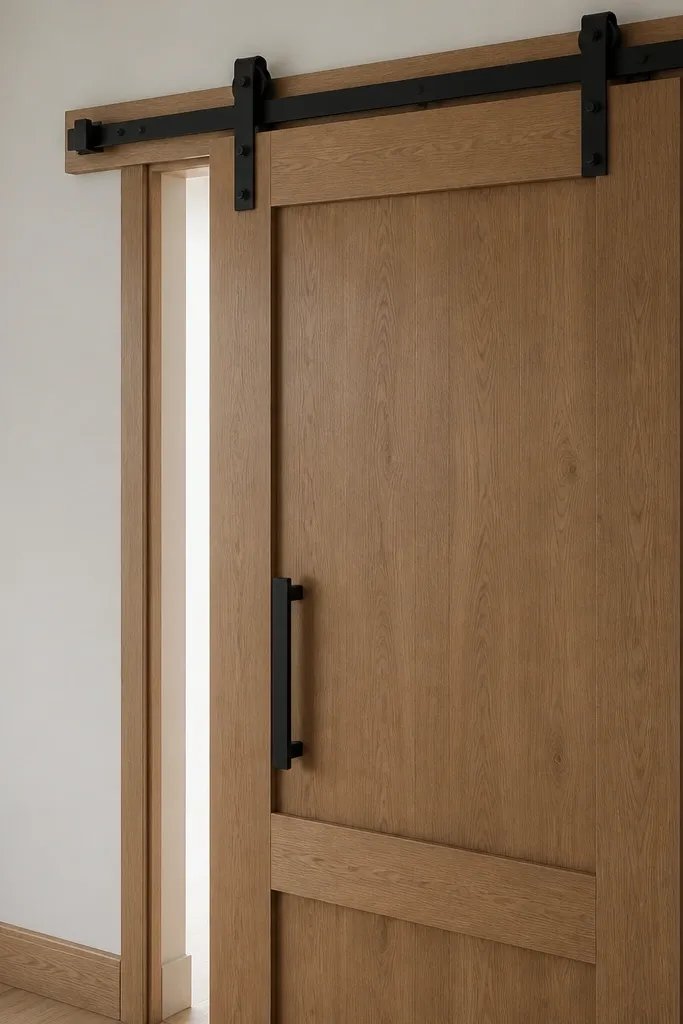
A sliding barn door that’s too narrow leaves a light gap at the side when it’s closed. It also looks wrong because the door doesn’t “own” the opening — you see the trim and the wall behind it. The fix is overlap, not a different color or handle. If you want it to feel closed off, you need enough door width to cover the opening plus a little extra for light and small shifts in travel.
First, measure the opening width where light leaks — not the rough framing measurement. Then choose door panel width so it overlaps the opening by at least 2 inches on each side when fully closed, accounting for the door’s hang position from the track. Finally, test the overlap by marking the track position and sliding the panel by hand before you commit to fasteners.
When in doubt, add width. Extra overlap costs less than living with a permanent gap.
Don’t size the panel to the opening width and call it a day.
3. Ignoring track load rating and using a flimsy rail
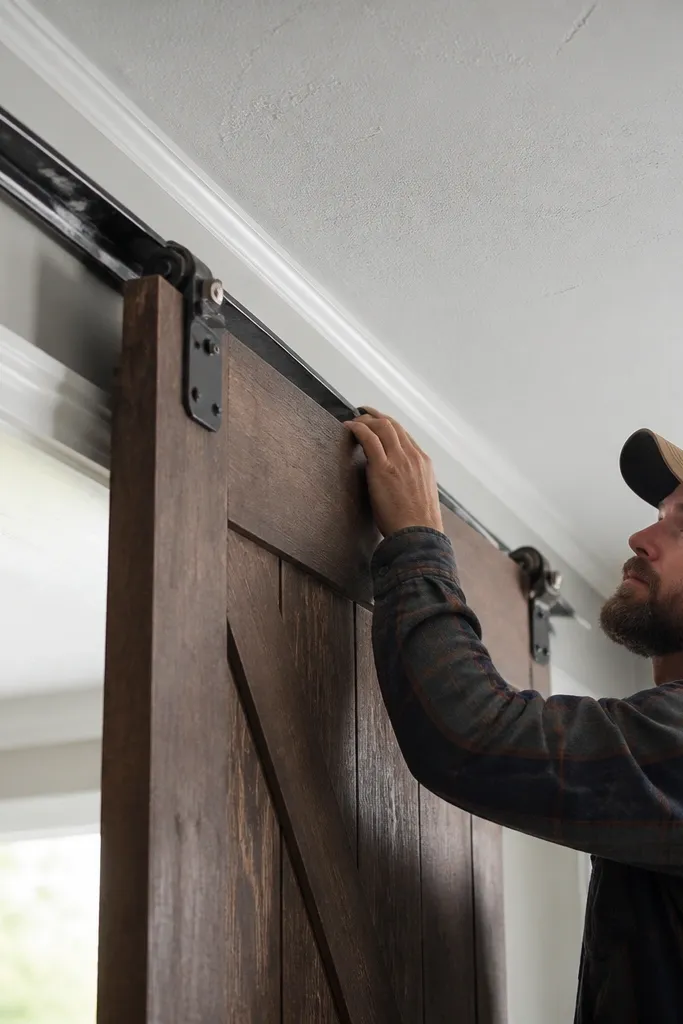
People assume the door’s look is what matters, but the track’s strength is what decides if the door stays straight. A heavy wood barn door on a light decorative rail can sag over months, and glass doors can bind if rollers aren’t matched to the panel weight. The result is grinding, uneven travel, and doors that drift out of their stops. Buy hardware matched to the door weight and panel thickness, not just the aesthetic.
First, weigh or look up the door panel weight, including any add-ons like trim or hardware. Then match that weight to the track and roller system rating from the manufacturer — don’t guess. Finally, check that the roller wheel size and bearing type are compatible with the rail, because mismatched systems wear fast and get noisy.
If the door has thick trim, count it in the weight and thickness; it changes roller load.
Don’t use a “light-duty” rail because it looks cleaner.
4. Mounting the track to drywall instead of framing
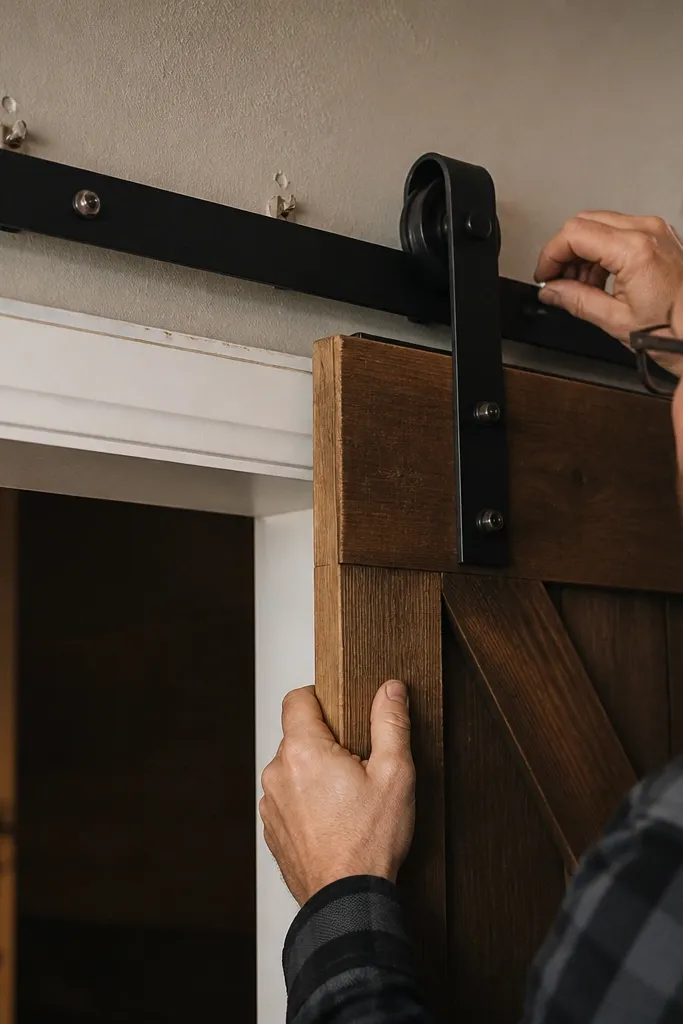
First, locate studs or install blocking where the track will mount. Then mount the track using structural screws that bite into wood or metal framing, with washers if the rail has small mounting holes. Finally, after installation, pull-test the track hard before hanging the door — if it flexes, fix it now.
This mistake turns a smooth sliding door into a future repair. Drywall anchors pull out under repeated loads, and the track slowly shifts down or tilts. That tilt is what causes the door to rub the frame or drift away from the stop. Barn doors are especially sensitive because the door acts like a lever when you pull it.
Skip thisDon’t rely on toggle bolts or anchors as the primary load path.
Editor's noteUse a stud finder, then confirm with a small pilot hole so you’re not guessing.
5. Not leveling the track - making every roller problem worse
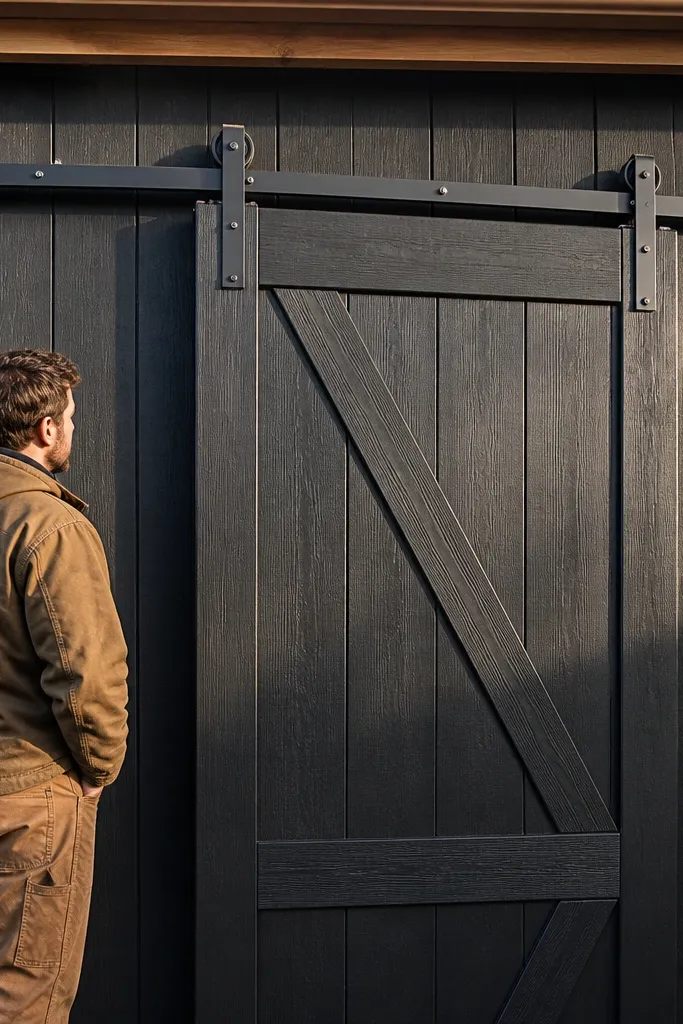
First, mark your hang height on both ends of the installation area. Then set the track using a long level (at least 24 inches) and shims behind mounting points if needed. Finally, tighten everything only after you confirm level in two directions: left-to-right and front-to-back against the mounting surface.
A track that’s even slightly out of level creates a permanent bias: the door rides one side, rubs, or drifts toward the lower end. With glass doors, that can mean the panel doesn’t sit square in the frame, so you get uneven gaps and harder closing. With barn doors, it shows up as a panel that looks “off” and a top guide that constantly gets hit. Leveling is the fix that beats almost every hardware upgrade.
Skip thisDon’t tighten every screw before you check level; you’ll trap the mistake.
Editor's noteShim the track, not the door. Shimming the door makes the hardware do extra work.
6. Using the wrong overlap for glass frames and getting side gaps
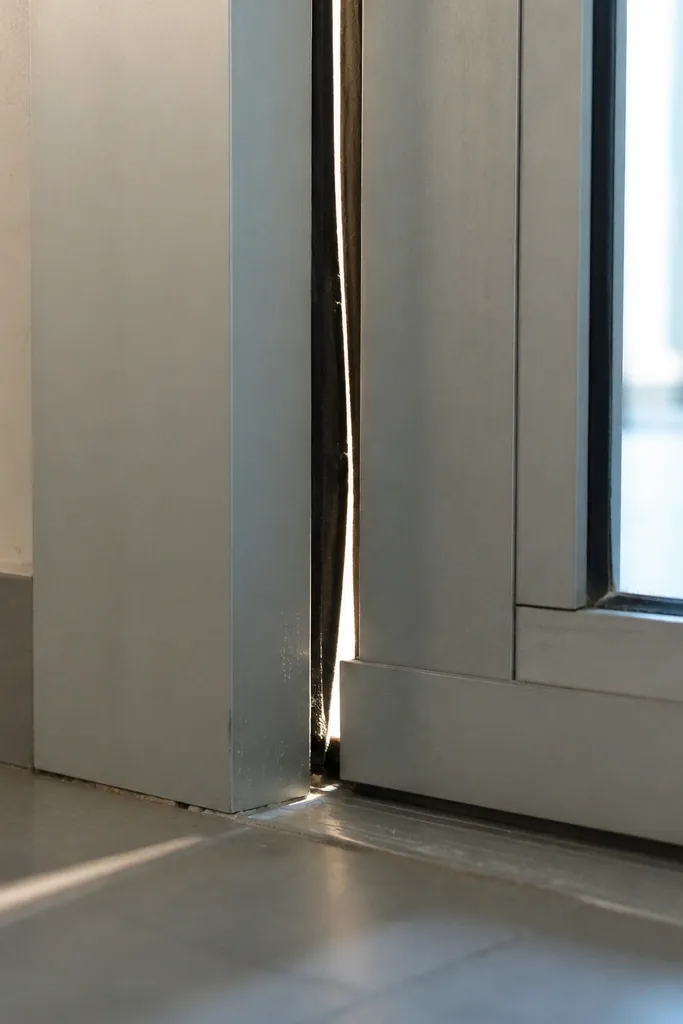
Glass sliding doors often come with a frame and seals, but those seals only work if the door closes far enough and stays aligned. If you mount the frame too far back or don’t account for roller travel, you end up with a visible light gap. That gap also means drafts and noise slip through. Barn doors are more forgiving because the panel face covers more, but glass doors need the travel and stop locations to be exact.
First, dry-fit the frame and check how far the door panel travels before it reaches the stop. Then adjust the stop position so the door fully closes into the seal contact without forcing the rollers. Finally, test with a flashlight along the edges — if light leaks, adjust travel before finishing trim.
Use painter’s tape to mark the door’s travel path before adjustments; it makes changes obvious.
Don’t skip the flashlight leak test after the first adjustment.
7. Buying the wrong glass option for sound control
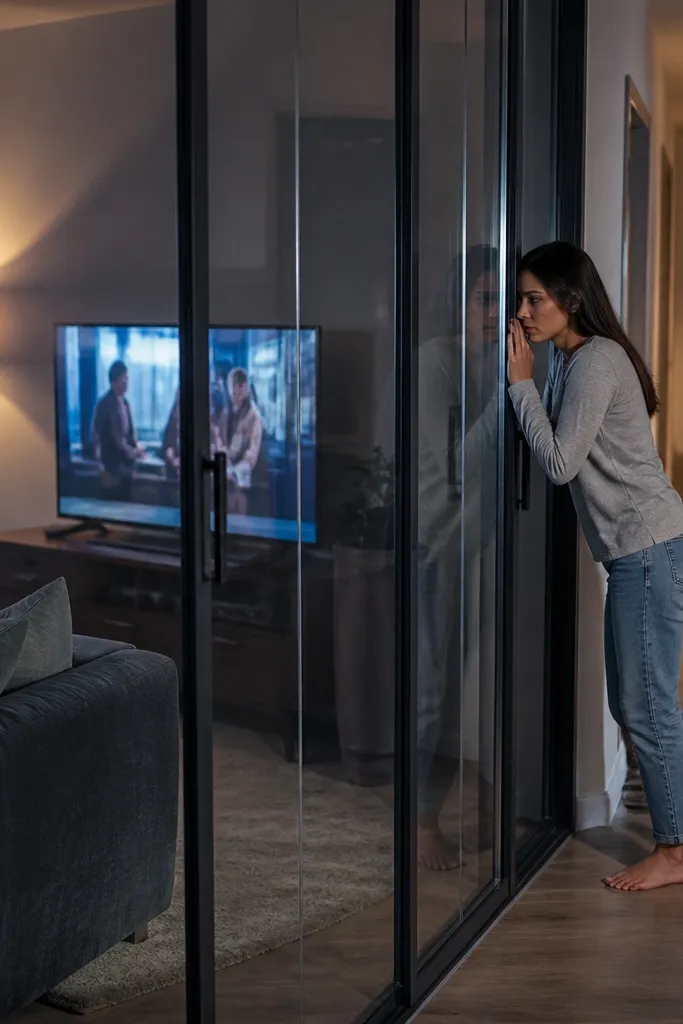
People pick glass because it looks modern, then act surprised when it doesn’t damp sound. Thin glass transmits voices and TV noise, and the sliding hardware doesn’t seal like a solid slab door unless it has proper gaskets. If sound matters, glass needs thicker panels and a system designed for sealing. Sliding barn doors win here because the wood face and mounting can block more sound even with simple weatherstripping.
First, check panel thickness and glass type in the product spec, not the marketing photos. Then choose a system with proper seals and a guide that keeps the panel pressed at closure. Finally, add a door sweep or gasket where the system calls for it, and test sound by closing the door with music playing at a low volume.
If the glass is clear and thin, plan for white noise or a shade panel; don’t expect silence.
Don’t assume “glass” equals “quiet” because it looks solid.
8. Skipping the floor guide and getting a crooked door
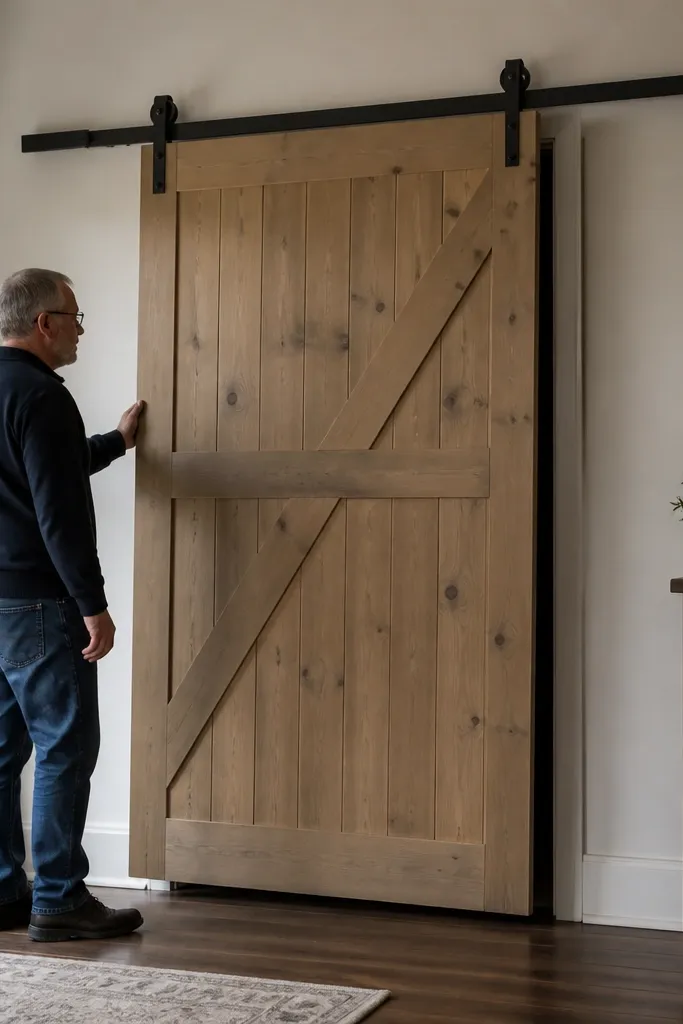
A sliding barn door needs guidance so the panel doesn’t drift as you open and close. Without a bottom guide or floor track, the door can twist slightly, and that twist makes the top rollers ride unevenly. Glass doors also benefit from guidance because the frame expects the panel to stay square. The fix is a guide system that matches the door — especially when floors aren’t perfectly level.
First, check whether your door kit includes a bottom guide or a floor guide block. Then install it according to the kit, aligning the guide with the door’s bottom edge so it only corrects drift, not fight it. Finally, slide the door open and closed while watching the gap at the top and sides; adjust the guide position until the door stays straight.
Mark the door’s bottom edge position before installing the guide so you don’t calibrate from a moving target.
Don’t rely on the track alone to keep the panel straight.
9. Using the wrong screws for barn door hardware into studs
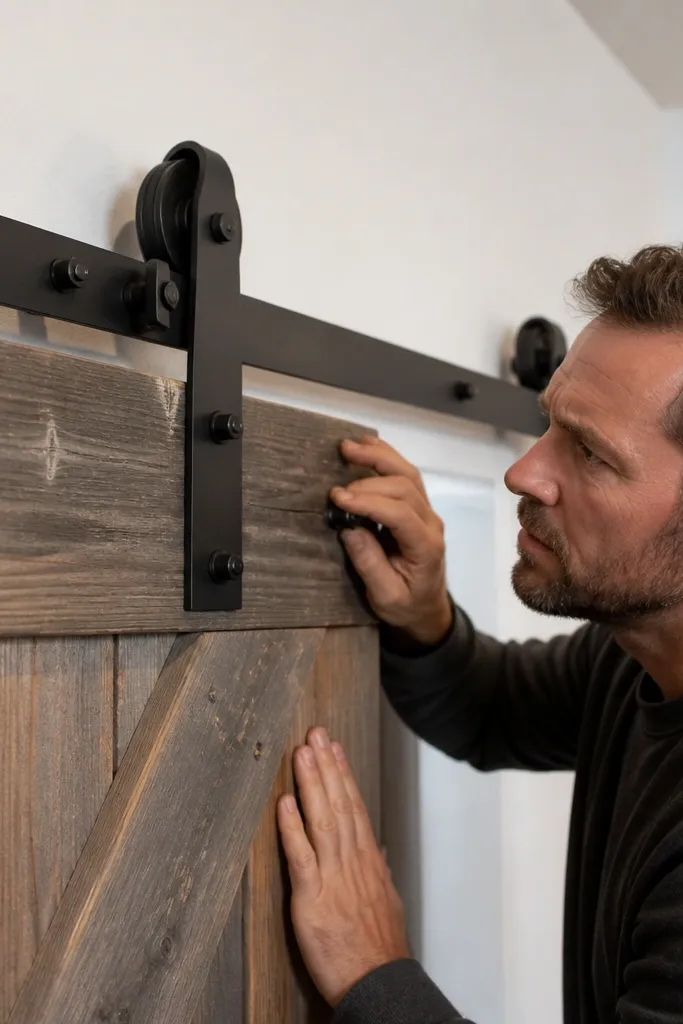
This is a quiet failure. People use short drywall screws or small wood screws because they fit quickly, then the hardware loosens as the door is used. Once the track shifts even a hair, you get scraping, rattling, and a door that starts to “creep” away from the stop. The fix is using the correct screw length and type for the mounting surface so the hardware stays put under repeated sliding loads.
First, identify the mounting material — solid wood studs, engineered studs, or metal framing. Then choose screws with enough length to bite into the framing with a safe margin, and use washers if the rail hole size is small. Finally, pre-drill if the rail or studs are prone to splitting, and re-check tightness after the first week of use.
If you hear a click when the door hits the stop, tighten the guide and rail screws before lubricating anything.
Don’t use “whatever came in the box” when the box screw length is clearly short.
10. Putting the handle on the wrong side for your hand reach
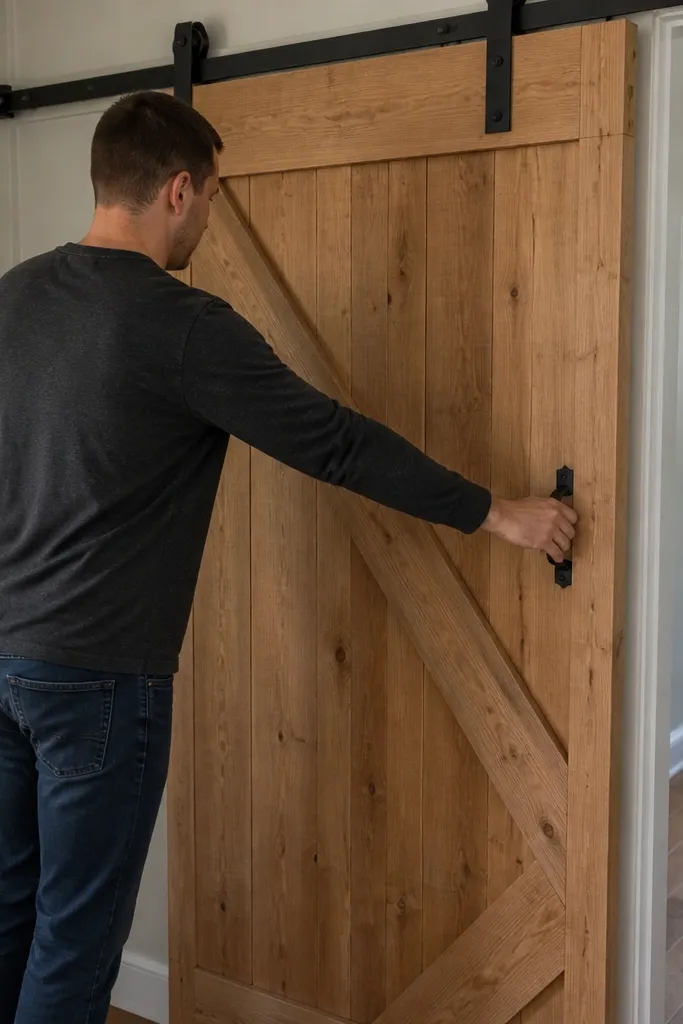
First, stand where you’ll open the door and measure comfortable handle height from the floor for your body. Then check that your hand path clears trim and doesn’t require you to twist your wrist or pull at an angle. Finally, adjust the handle location before final mounting — wood doors allow you to change hardware placement more easily than glass systems.
This mistake isn’t about looks. It’s about how often you’ll hit the wall or struggle to pull the door smoothly. With barn doors, the handle position also affects how you apply force, which changes how your door rides through the rollers. If the handle forces you to pull sideways, you’ll wear the guides faster. Glass doors often use different pull points, but the principle is the same: placement should match your reach from the entry path.
Skip thisDon’t mount the handle because it matches the photo; mount it for your reach.
Editor's noteDry-fit the handle with tape, then open and close the door ten times without thinking. If your shoulder lifts, move it.
11. Choosing a barn door panel that's too thin and warps
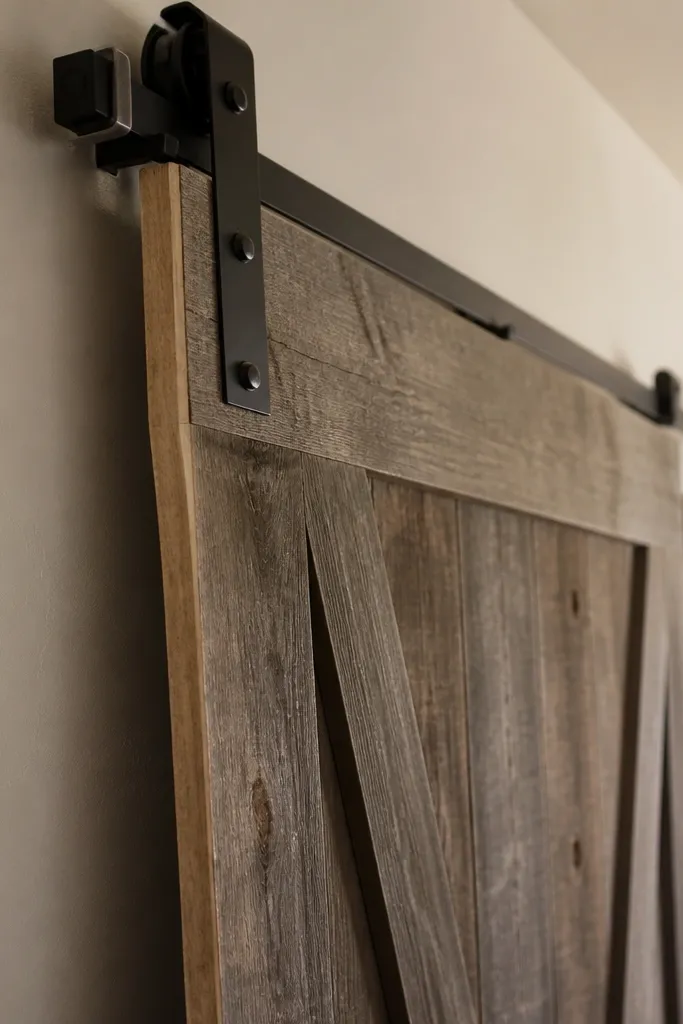
A barn door panel that’s too thin can warp or flex, especially if it’s MDF without proper sealing. Once it bows, the top roller load changes and the panel rubs the guide. People blame the hardware when the real issue is the panel itself. Thicker panels hold flat better, and sealing the edges matters because moisture moves through the wood face and especially through exposed edges.
First, pick a door panel thickness that matches the hardware system — check the kit’s recommendations. Then seal all edges and faces if the door is unfinished or lightly finished, paying extra attention to the bottom edge. Finally, install with the door plumb and make sure the guide contacts the door evenly across its travel.
If you use MDF, prime and paint the edges hard; that’s where warping starts.
Don’t use an ultra-thin “salvaged” door on a serious track system and expect it to stay flat.
12. Over-lubricating rollers and attracting dust
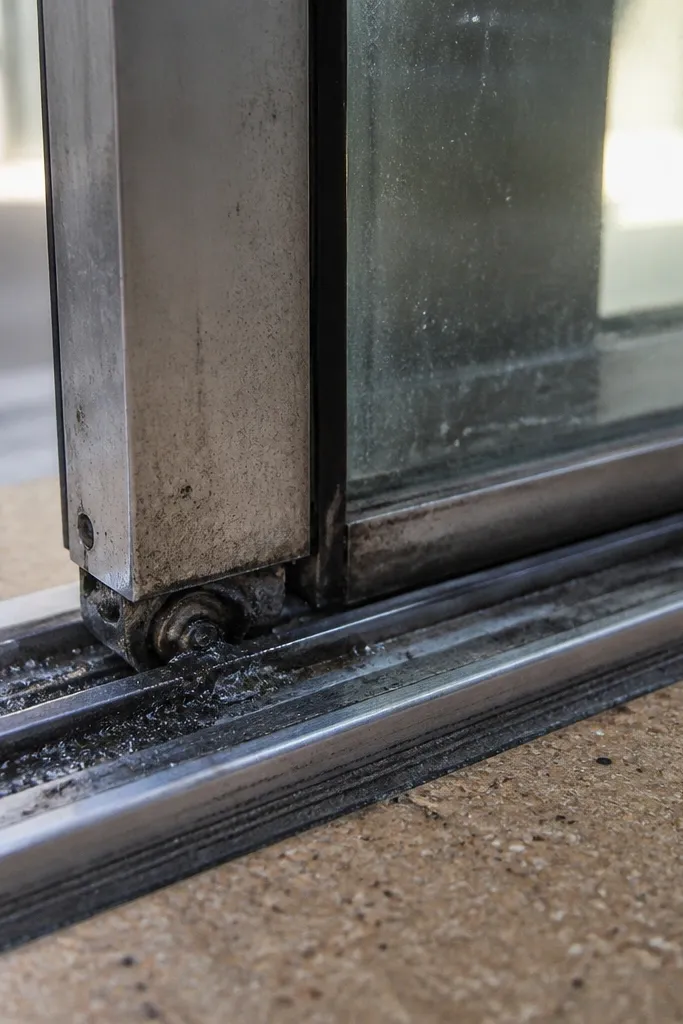
Lubrication is good, but too much turns into a sticky dust magnet. That dust becomes abrasive paste, and your rollers start to feel gritty even if they were smooth at first. Glass doors with metal frames can also get grime transferred to the glass surface. The fix is controlled lubrication using the right type and doing it sparingly, then wiping off excess so the track stays clean.
First, clean the track and rollers with a dry cloth, then a lightly damp cloth if allowed by the roller material. Then apply a tiny amount of recommended lubricant — usually a dry PTFE or a light silicone in small spots — and spin the door to distribute it. Finally, wipe any visible excess so dust doesn’t stick during the next few weeks of use.
If the door feels smoother but louder, you probably applied too much and trapped grit.
Don’t flood the track with oil or grease and leave it.
13. Painting barn door hardware after install
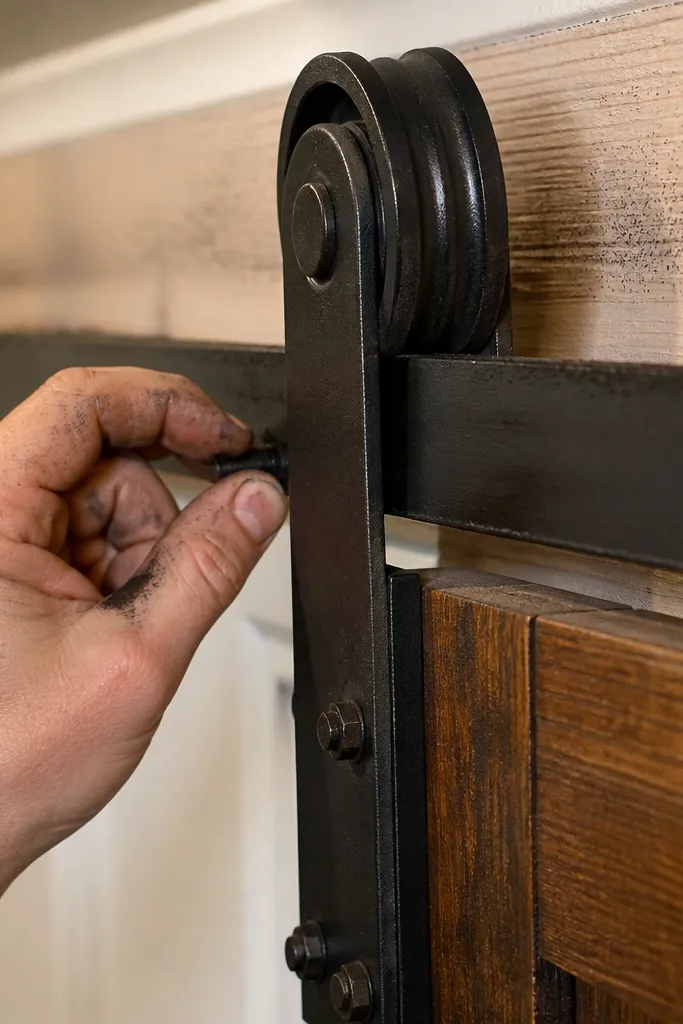
Paint on rollers or track surfaces changes friction in a way you can’t predict. It also makes the door feel sticky as the paint cures, and you end up sanding or re-lubing later. With barn doors, people paint the header and trim and accidentally get overspray or brush marks on the rail. Glass doors can have similar issues if seal areas get painted. The fix is to paint the wood or trim parts only, and protect the moving hardware completely.
First, mask the track, rollers, and any guide contact points with painter’s tape and plastic sheeting. Then paint or stain the header and door panel, letting everything cure fully before you remove the masking. Finally, inspect the rail contact surfaces for any paint residue and wipe them clean before hanging the door.
If you already painted hardware, run a dry cloth through the rail and check for tackiness before sliding the door.
Don’t paint over the roller track path.
14. Installing a glass door without accounting for thermal expansion and gaps
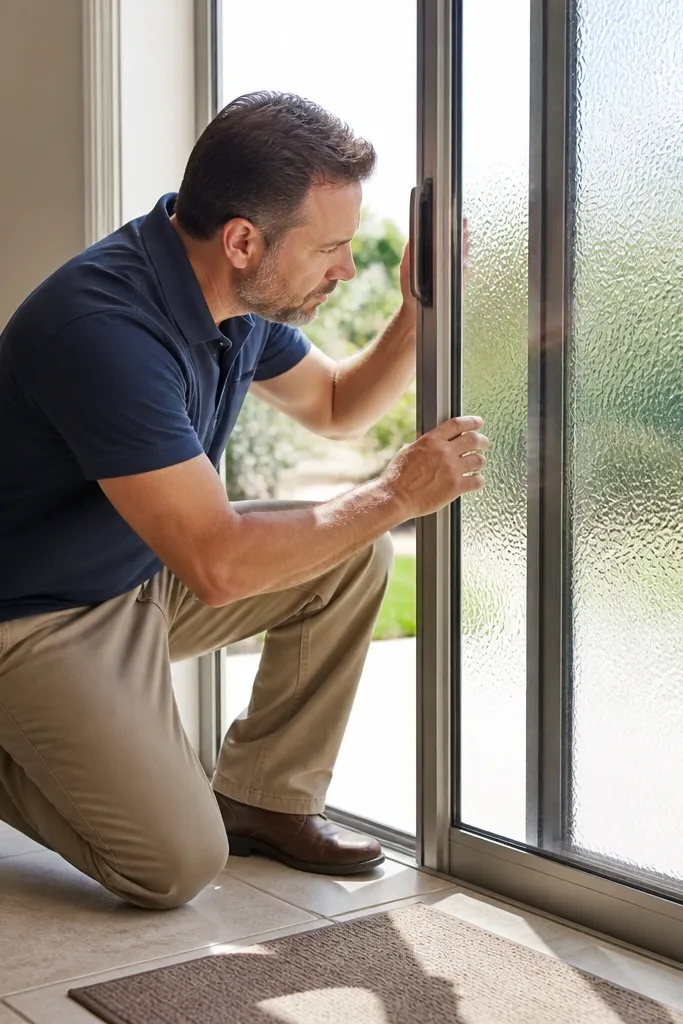
First, follow the manufacturer’s installation instructions for clearance and seal contact points. Then set the stops so the door hits the stop without pushing hard into the frame. Finally, check smooth travel at two times of day — morning and evening — and adjust the stop or roller height if you feel binding.
Glass and metal expand differently with temperature changes. If the system is installed with no room for movement, the door can bind when the weather swings. You’ll notice it first as a door that slides fine in the morning and drags later. Barn doors also expand, but they tolerate more because the panel face is forgiving and the hardware is less dependent on precise seal compression. Glass doors need proper installation and correct stop setup.
Skip thisDon’t remove the spacer shims that come with the glass door kit.
Editor's noteDon’t tighten stop screws “as hard as possible”; stop contact should be controlled, not forced.
15. Using a barn door track that's too short for full travel
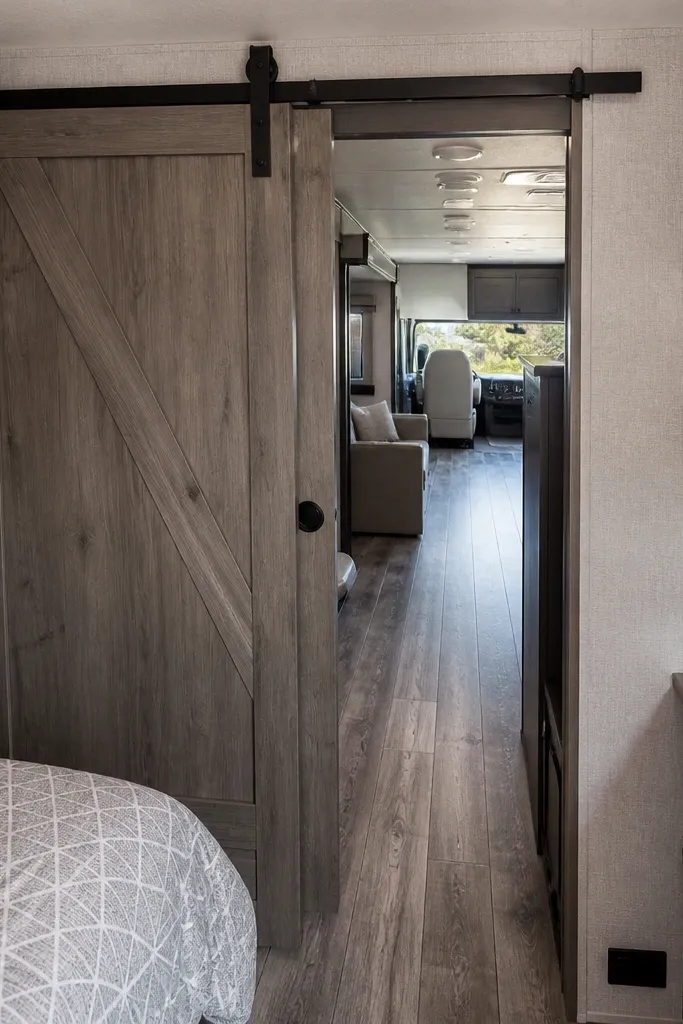
A track that’s too short makes the door stop early, which means you never clear the opening. That leads to awkward entry and frequent bumping, and the door will wear the guide from repeated contact. Glass doors can also stop short, but barn doors make it obvious because the door panel physically blocks the space. The fix is track length and travel planning — not a new door color.
First, calculate the travel you need: opening width plus clearance so the door fully clears the opening edge. Then choose a track length that allows that travel and still mounts securely to framing. Finally, set the open stop so the door doesn’t slam into trim or the wall — adjust it after you confirm the door clears completely.
Add 2 inches of clearance beyond your “just clears it” point so you’re not scraping trim during daily use.
Don’t cut track length to save money if the door won’t fully clear.
16. Choosing a bottom "floor track" that collects grit
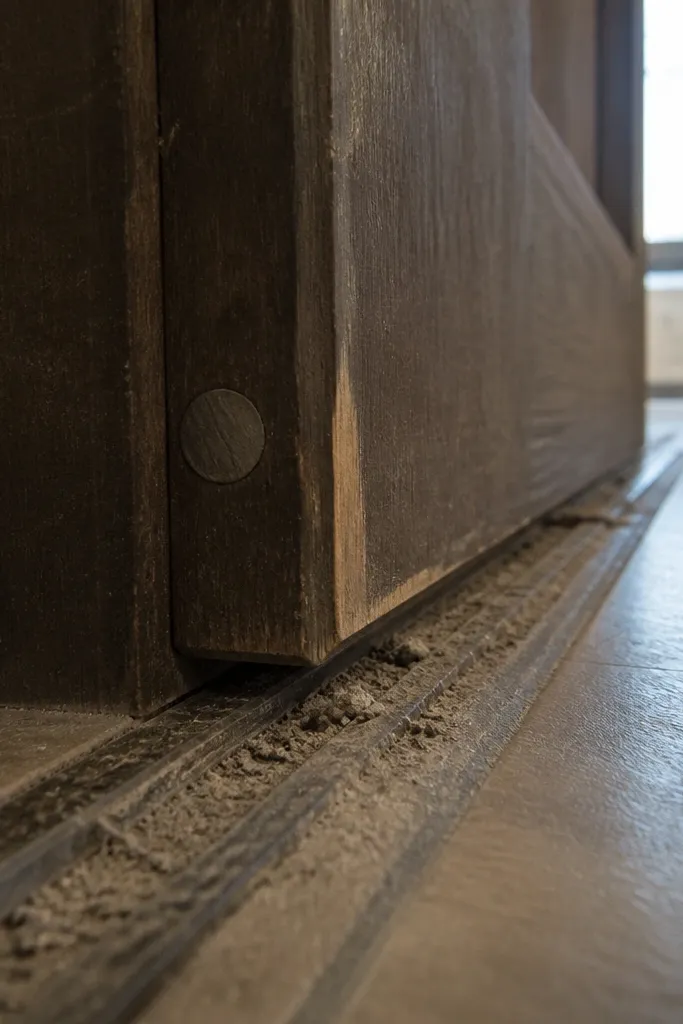
First, decide whether you can realistically clean a floor track — kids, pets, and outdoor shoes make this harder. Then choose a guide system that uses a minimal-contact guide or a sealed track design. Finally, set up a cleaning routine: vacuum the track weekly and check for buildup before it hardens.
Floor tracks look stable, but they trap dust, sand, and hair. That grit turns into friction, and you end up cleaning it constantly or living with a door that drags. Glass systems sometimes include bottom tracks too, and they become a maintenance chore. Barn doors can work with a bottom guide that doesn’t collect as much debris, depending on the hardware. The fix is to choose a bottom guide style that matches your living conditions and commit to cleaning.
Skip thisDon’t install a full exposed floor track in an entryway if you don’t want maintenance.
Editor's noteRun a magnet-tipped tool or small brush along the track to pull out stuck grit before it becomes paste.
17. Using the wrong door height relative to the floor
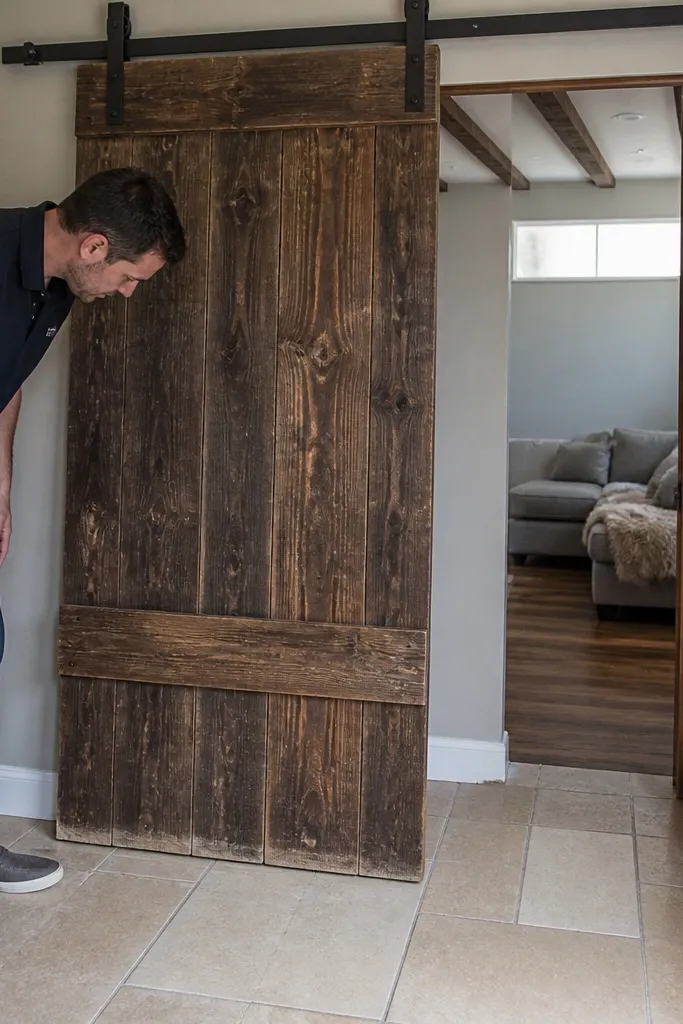
First, measure floor-to-track clearance at multiple points across the opening area. Then set the hang height so the door has consistent clearance over the guide and won’t drag even on the highest spot of the floor. Finally, adjust guide height and roller height after install, then test travel across the full open-close range.
Door height mistakes show up immediately: scraping, hard closing, or a door that doesn’t align with the guide. Uneven floors make it worse because one side rides higher and the panel twists. Glass doors also need consistent clearance in their frame seals; too low and you bind, too high and you get gaps. Barn doors can tolerate small differences but not enough to ignore it. The fix is setting height with measurement and shims, not eyeballing.
Skip thisDon’t assume your floor is level just because the room looks level.
Editor's noteUse a scrap spacer under the door to set height while you tighten roller brackets.
18. Ignoring wall thickness and buying the wrong mounting kit
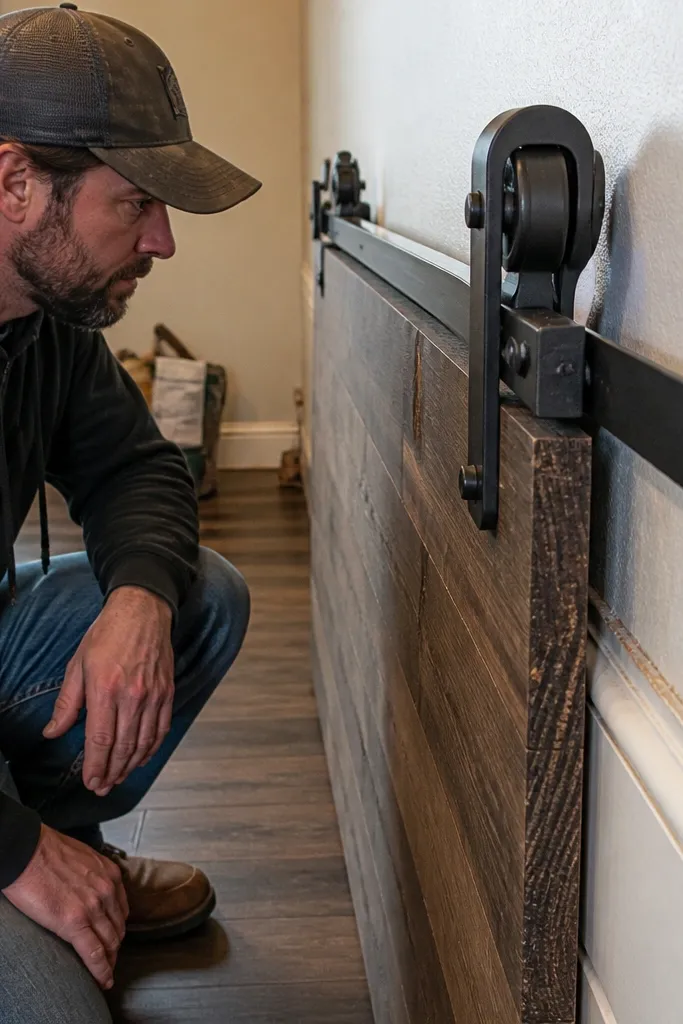
First, measure the distance from the wall surface to any trim, baseboard, or obstruction in the door’s travel path. Then choose a track mounting kit that includes the correct standoff or spacing for that distance. Finally, dry-fit the door on the track and slide it through the full travel to confirm clearance before tightening everything.
This is one of the most common “why won’t it slide” problems. If the mounting kit assumes a different wall thickness or stud spacing, the track ends up too close to the wall. Then the door rubs baseboards, trim, or the edge of the frame. Glass doors can also rub the frame seals, which makes them feel stiff. The fix is selecting the mounting kit and spacers that match your wall build.
Skip thisDon’t mount the track first and hope clearance appears after the door is hung.
Editor's noteMark the rubbing point with pencil on the door edge; it tells you exactly where to adjust spacing.
19. Not planning for the door's 'open position' wall space
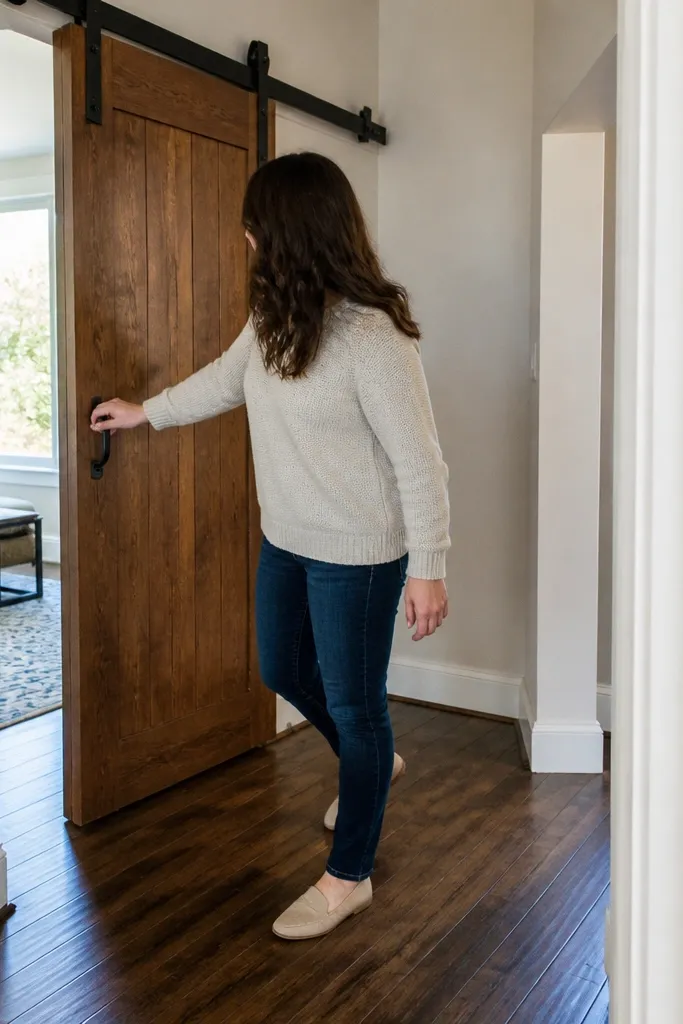
First, mark the opening edge and then mark where the door’s front edge lands when fully open. Then check that path against light switches, outlets, and any hallway furniture — measure the clearance from the panel to the nearest obstruction. Finally, adjust track placement or choose a different door width so the open position sits where you planned, not where the photo made it look.
People plan the closed position and forget the open position. Sliding barn doors can take up a big section of wall, and glass doors with frames take even more because you need clearance around the frame. If you place the track too close to a corner or doorway, the open door becomes a bump hazard. The fix is mapping where the panel ends up fully open and checking it against furniture, switches, and foot traffic.
Skip thisDon’t assume the door will slide into “empty space” just because the wall has room.
Editor's noteUse painter’s tape to outline the door’s open footprint on the wall before you buy hardware.
20. Choosing a barn door style with the wrong bottom seal
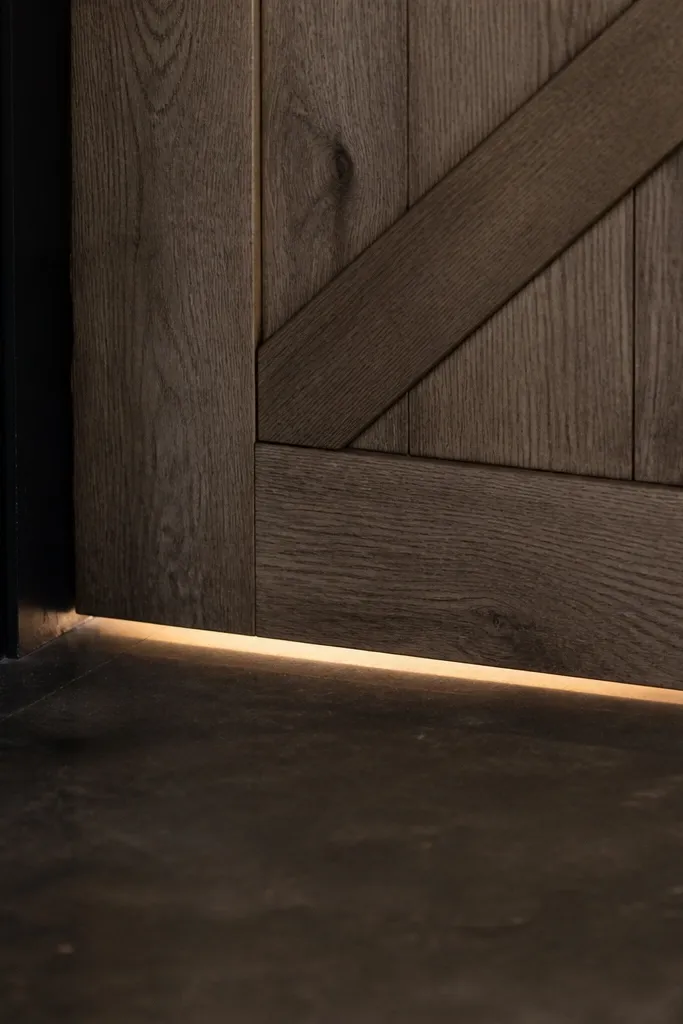
First, measure the gap under the door when it’s fully closed and identify the target — light block, draft block, or sound control. Then choose a bottom sweep or seal system that matches your floor type, including how it handles carpet. Finally, install the sweep so it maintains contact during travel without dragging, and re-check after a few weeks when wood settles.
Barn doors often look great but leak light underneath if you don’t use a bottom seal or sweep. That’s a materials mismatch — you picked a handsome door and ignored the bottom gap that drafts and sound use. If you’re installing in a bedroom, closet, or bathroom area, that under-gap matters more than people think. Glass doors can seal better with gaskets, but barn doors need help because they’re mounted on the wall with a gap to the floor.
Skip thisDon’t leave the bottom gap untreated if you care about light and privacy.
Editor's noteFor uneven floors, choose a flexible seal that can compress slightly instead of a rigid sweep.



