
1. Adhesive-Mounted Picture Frame Wainscoting Panels
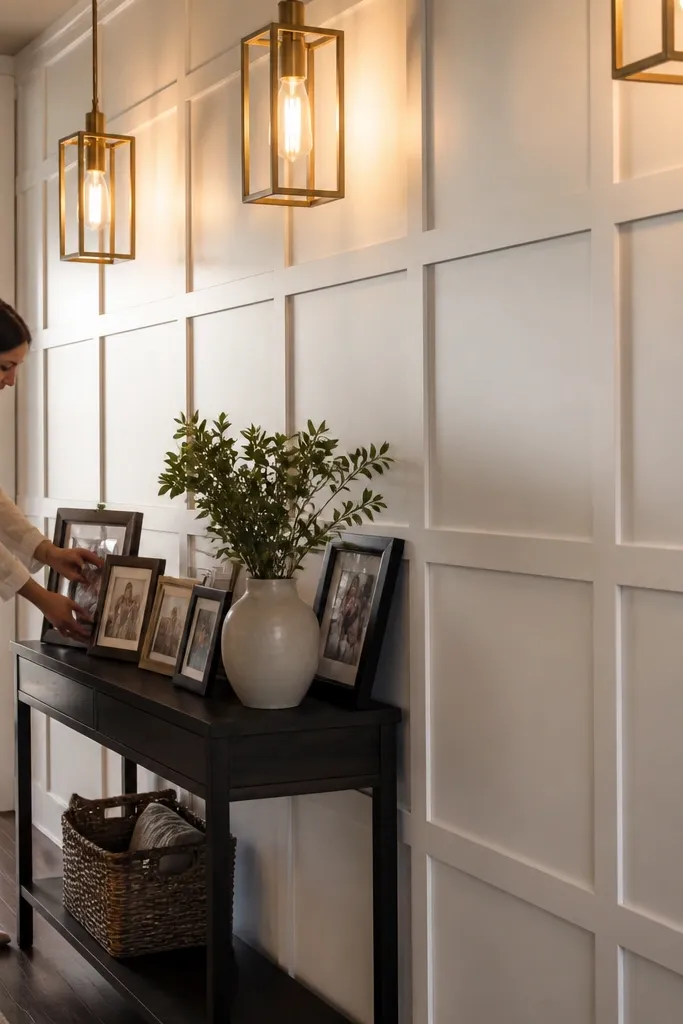
This is the renter-friendly wainscoting idea I’d start with when you want the framed, gallery-wall look and you don’t want to drill. You mount the trim as a grid of rectangles, so the wall reads structured even if your room has busy lighting or furniture. Use MDF trim for sharp corners and paint it the same color as your walls for a clean, built-in effect. The look is photogenic because the panel edges create strong lines, not random patchy texture. Skill level is beginner — the real work is getting a level layout so every rectangle lands on the same rhythm.
Start by cleaning the wall with dish soap and water, then let it fully dry. Snap a level line for your top rail height (48-54 in from the floor) and mark your panel grid with a pencil using 18-24 in panel heights. Cut trim pieces, dry fit them, then apply adhesive in short, even beads on the back of each piece (follow the adhesive label for drywall) and press firmly for the required dwell time. Finally, fill any tiny edge gaps with paintable caulk, prime/seal cut edges, and paint two coats for solid coverage.
Editor's noteDo a test press on one small scrap area first — some painted walls need extra surface prep for strong hold.
Skip thisSkipping the level snap line leads to panels that drift and show up instantly in photos.
2. Drop-In Wainscoting Using Removable Rail + Panel Inserts
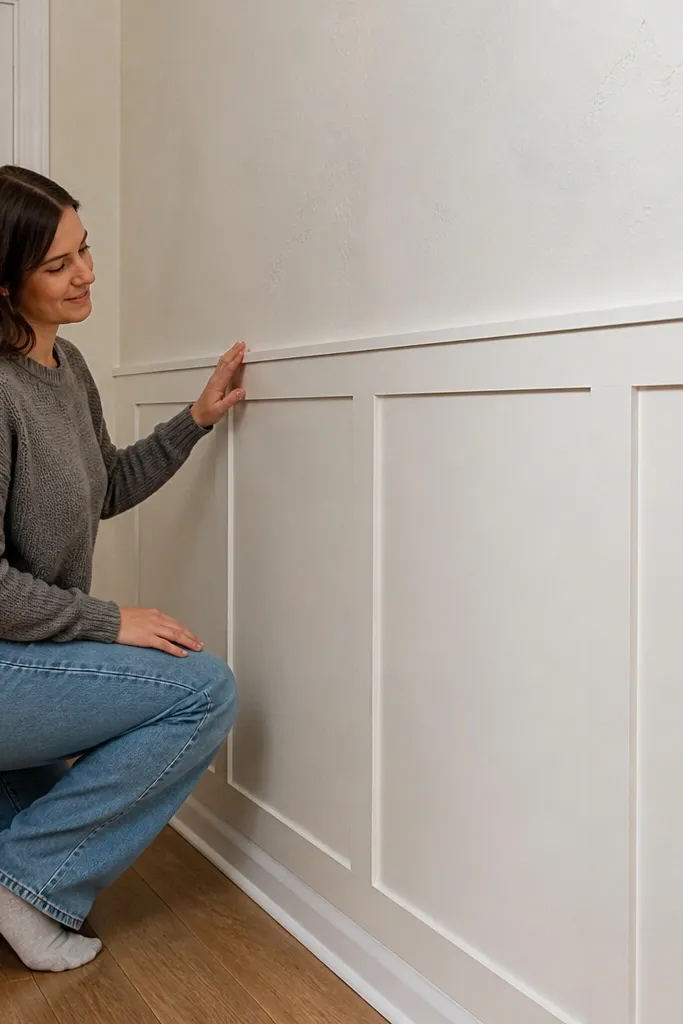
If you want maximum renter safety, this approach is smart because the panels become inserts rather than one permanent trim wall. The wall gets a recessed, finished look without you fastening every small piece into drywall. It also hides minor wall unevenness because the panel insert can sit on a backer strip and you can adjust the reveal by millimeters. For photos, recessed panels catch light differently than flat trim, so the wall has depth even when the color is simple. Time is about a weekend for one wall if your measurements are tidy and you’re patient with the first layout.
Mount a removable top rail and bottom ledger using adhesive plus a few low-profile anchors where you can patch easily later. Cut panel inserts from 1/4 in MDF or lightweight PVC sheets sized to the inside opening, leaving a 1/8 in gap for expansion and easy removal. Install the inserts last, sliding them into place so the edges stay crisp and consistent. Seal cut edges with primer, then caulk the rail edges lightly for a smooth paint finish.
Editor's noteUse spacers when sizing inserts so every panel reveal stays the same — 1/8 in uniformity looks intentional.
Skip thisForcing tight-fit panels without leaving a small gap makes them pop or bind when humidity shifts.
3. Baseboard-Skimming Wainscoting Without Removing Trim
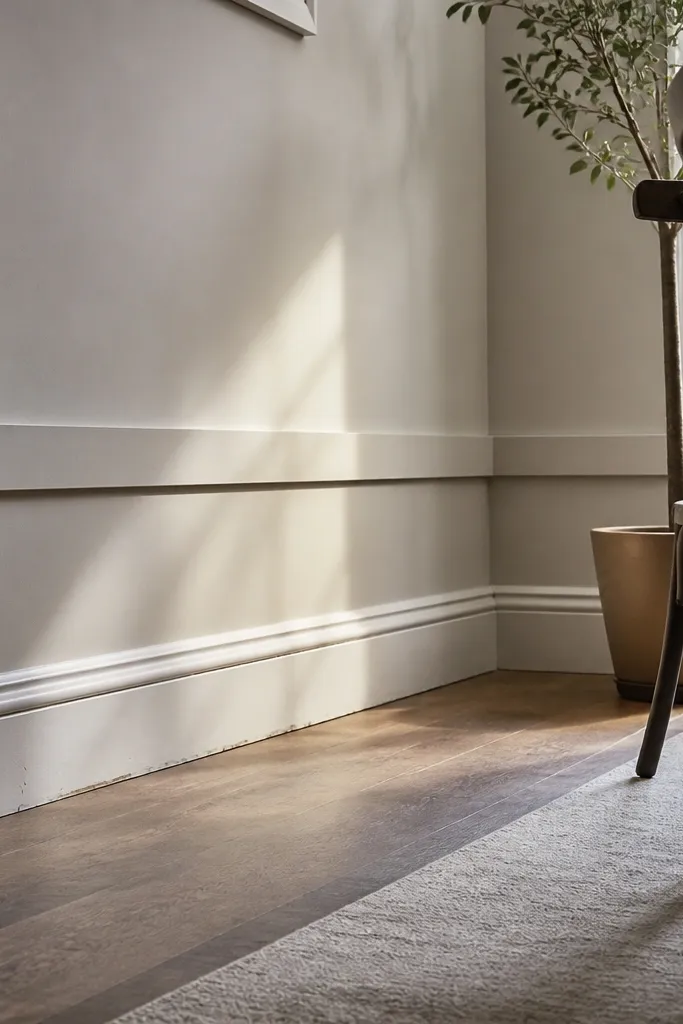
This is a budget win because you don’t have to remove baseboards to get a clean wainscoting bottom line. You create a bottom rail that “skims” above the existing baseboard, which looks designed instead of improvised. It’s especially good in rentals where baseboards are nailed and stubborn, or where the wall has old patch lines you don’t want to disturb. The aesthetic is modern-traditional: simple rails and straight panel lines that read crisp in daylight. If you can use a miter saw and measure carefully, this is a solid DIY project that doesn’t drag on.
Measure up from your existing baseboard to set the bottom rail height, usually 2-4 in above the baseboard top so it visually clears doors and trim. Mark the bottom rail and top rail heights, then create a panel grid between them with consistent spacing. Cut vertical stiles to fit between rails and attach rails first, then stiles, using adhesive rated for trim plus brad nails only if you can easily patch the tiny holes. Caulk the seams where rails meet panels, prime, then paint two coats for a smooth finish.
Editor's noteIf your baseboards aren’t perfectly level, set the bottom rail to the highest point and work downward — it keeps the panel grid looking straight.
Skip thisTrying to hide a crooked baseboard by “eyeballing” rail height makes the whole pattern look off.
4. PVC Flat-Panel Wainscoting for Moisture-Prone Rooms
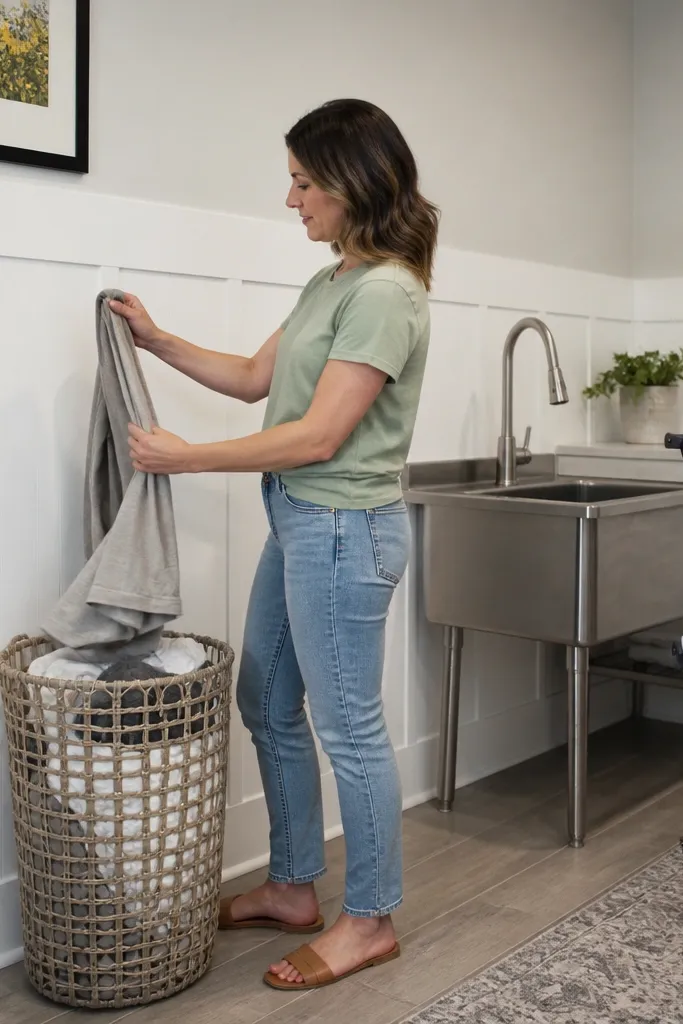
PVC trim is the move for renters who have a bathroom, laundry room, or entryway where humidity and cleaning are real. PVC doesn’t swell like some wood trims, and it resists scuffs from wipes and hands. Visually, flat panels with a top rail look clean and architectural, and PVC gives you crisp edges that photograph well. This setup also tolerates minor wall texture better because the material is more forgiving than super-fussy wood. Skill level is beginner to intermediate: you still need a careful layout, but the material behaves more predictably.
Use a PVC chair rail/top rail profile and flat panel trim pieces sized to your panel grid. Clean the wall thoroughly and apply primer if your adhesive requires it for painted drywall. Attach the rails first along your level lines, then glue and press the flat panel trim pieces into a rectangle pattern. Seal seams with paintable caulk that works on PVC, then paint with a trim paint that bonds to plastic surfaces.
Editor's noteUse a foam roller for paint — it reduces brush marks on smooth PVC and keeps the panel lines crisp.
Skip thisSkipping the right paint bond step can lead to peeling at seams after a few months.
5. MDF Beadboard-Style Wainscoting With a Modern Top Rail

Beadboard-style wainscoting looks cozy and classic, but you can modernize it by pairing it with a straight, simple top rail and clean panel caps. MDF is budget-friendly and paint-ready, and it gives you that crisp edge definition that cheap foam products often lack. This is a good renter option because you can mount larger sections, reducing the number of seams you have to perfect. In photos, vertical lines make the wall feel taller, which helps smaller rooms. The tradeoff is that you need straight cuts and consistent spacing so the “beads” don’t drift.
Decide your wainscoting height (42-48 in for small rooms, 48-54 in for standard ceilings) and mark a level top line. Cut MDF panel strips or beadboard sheets to fit between side edges, then dry fit them on the wall so you can adjust for outlets. Mount the top rail first, then adhesive-mount the beadboard sections, pressing firmly along edges and seams. Caulk the perimeter, seal cut edges with primer, and paint. For outlet areas, cut openings neatly with a jigsaw and test-fit before final placement.
Editor's noteUse a scrap spacer along the vertical joints to keep reveal width consistent across the whole wall.
Skip thisMounting beadboard over a wavy wall without checking flatness creates visible ripples.
6. Chair Rail + Half-Wall Picture Trim (No Full Panel Grid)
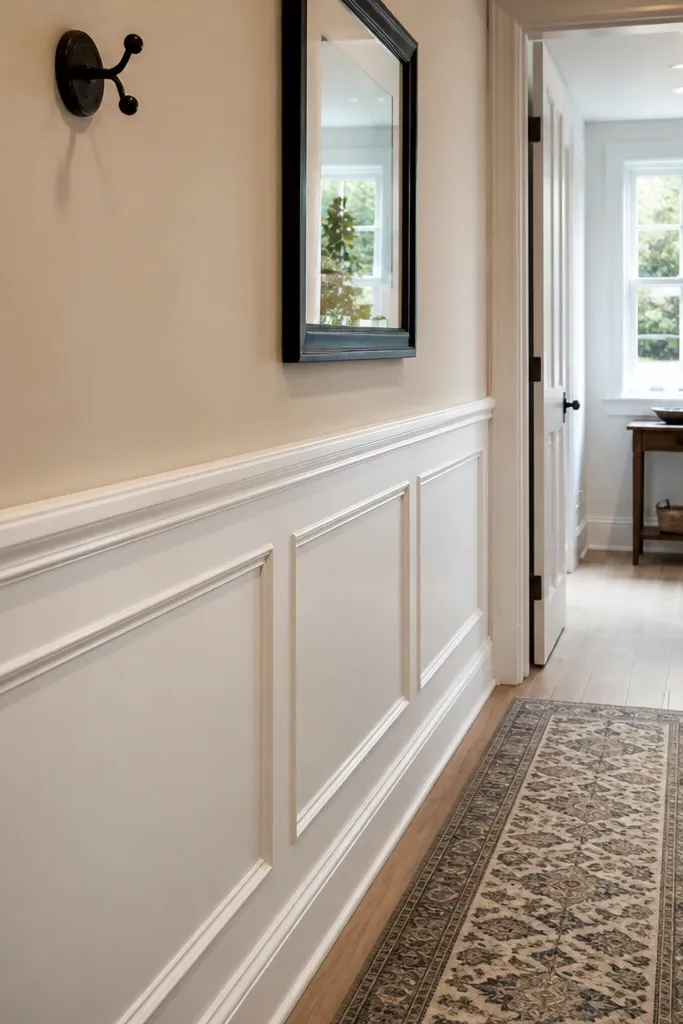
This is the easiest renter-friendly wainscoting idea when you want the look but don’t want to build a full panel grid across the whole wall. You install a chair rail at the right height and add smaller picture-frame sections below it, which reads like intentional design instead of partial trim. It’s budget-friendly because you use less trim length, and it’s forgiving if your wall has minor imperfections. The aesthetic is balanced in hallways, dining nooks, and bedrooms where a full wall can feel heavy. You still get photogenic lines, but with fewer cuts and fewer seams.
Set your chair rail height at 48-52 in from the floor for most rooms, then mark it with a level. Create one or two framed sections below depending on wall width, keeping frame heights around 18-22 in for harmony. Cut rails and frame members from MDF or PVC, attach the chair rail along the line, then glue the frame pieces inside the opening. Finish by caulking the edges, priming, and painting two coats to lock in crisp boundaries.
Editor's noteKeep your frames centered on the wall width so the pattern looks “designed,” not patched together.
Skip thisMaking frames too tall or too small relative to the chair rail makes the proportions look off in photos.
7. Removable French-Panel Style Wainscoting With Corner Blocks
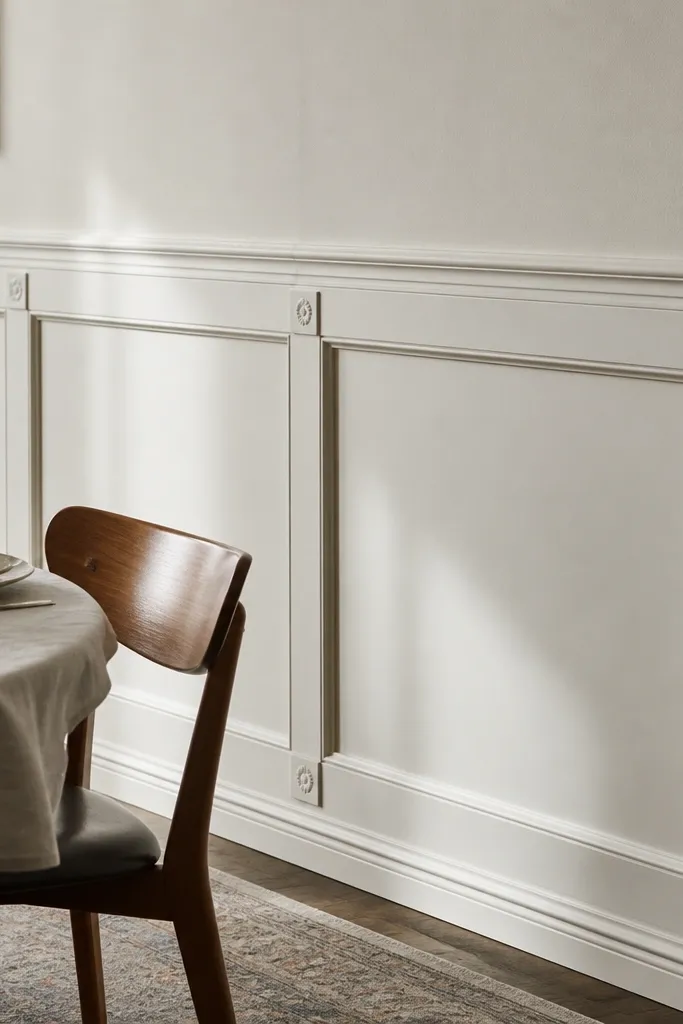
If you want something that looks more ornate without turning into a complicated carpentry project, this style nails it. Corner blocks add a lot of visual interest in pictures, and you can keep the main structure simple: rails plus vertical stiles. For renters, the key is to treat corner blocks and trim sections as removable modules so you can take it down later with minimal drywall cleanup. It also hides small wall flaws at corners because blocks cover the mess where lines meet. This is best for living rooms and dining rooms where you want the wall to look like it belongs with a nicer interior.
Choose a top rail profile and matching corner blocks, then plan panel widths around 14-20 in depending on wall space. Mark your top rail height and panel grid lightly with pencil, then dry fit corner blocks so you can see how they sit at the corners. Install the top rail first with adhesive and removable-friendly anchors at the studs only if needed. Glue the corner blocks and the vertical/horizontal trim sections as modules, then caulk the edges lightly and paint after the caulk cures fully.
Editor's notePre-paint trim pieces before installation when possible — it hides tiny cut-edge misses and speeds the final finish.
Skip thisOver-caulk can blur the panel lines; use a thin bead and tool it once.
8. Cable-Managed Wainscoting Backer Strip for Clean Outlet-Free Looks
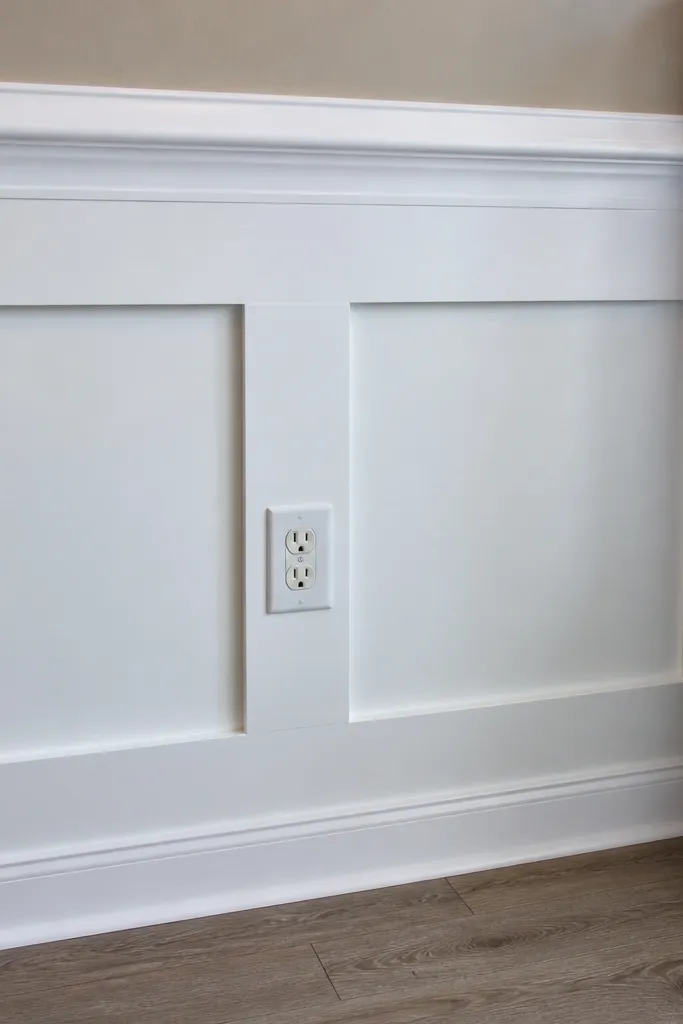
A lot of DIY wainscoting looks messy around outlets and cords. This setup makes the wall look intentional by planning the backer strip and outlet cutouts so cables don’t force crooked trim. You mount a thin backer strip behind the lower panel area, then route cables through the wall area you’re covering so the trim sits flat. The result is cleaner seams, straighter edges, and a better photo because the outlet area looks framed instead of patched. It’s a renter-friendly wainscoting idea when you want to keep your wall usable and your installation looking sharp around hardware.
Turn off power at the breaker, remove outlet covers, and map where your trim will land. Install a thin backer strip only in the areas you need behind the lower panel sections, using adhesive rated for drywall and small temporary fasteners you can remove later. Route cables through the covered area, then cut panel openings so the outlet frame sits flush and centered. Attach the panel trim sections over the backer strip, caulk the perimeter, and reinstall outlet covers after painting.
Use a level and a flexible measuring tape to center frames on outlets — centering only “close enough” looks off in close photos.
Cutting panel holes after you glue trim often leads to jagged edges that are hard to hide.



