
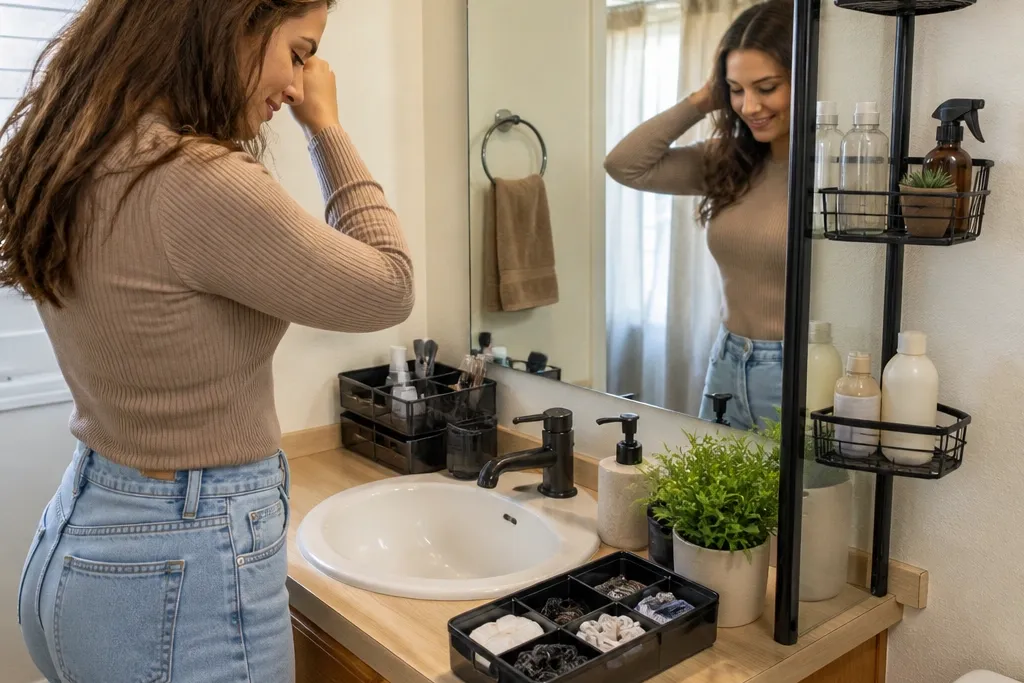
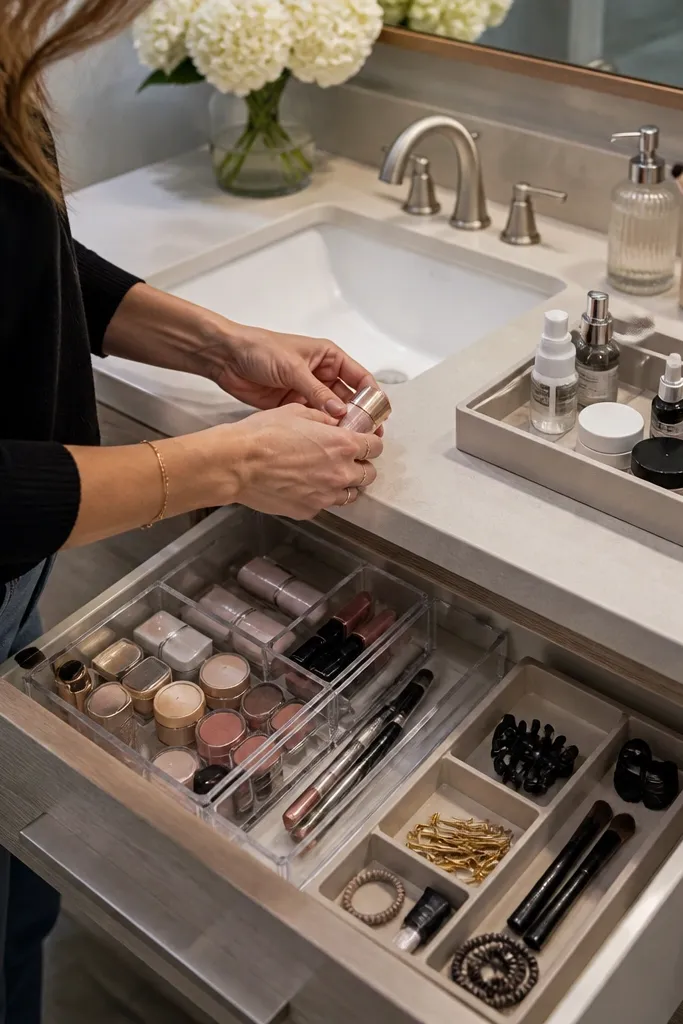
1. Magnetic Spice-Rack Strip for Wall-Adjacent Vanity Tools
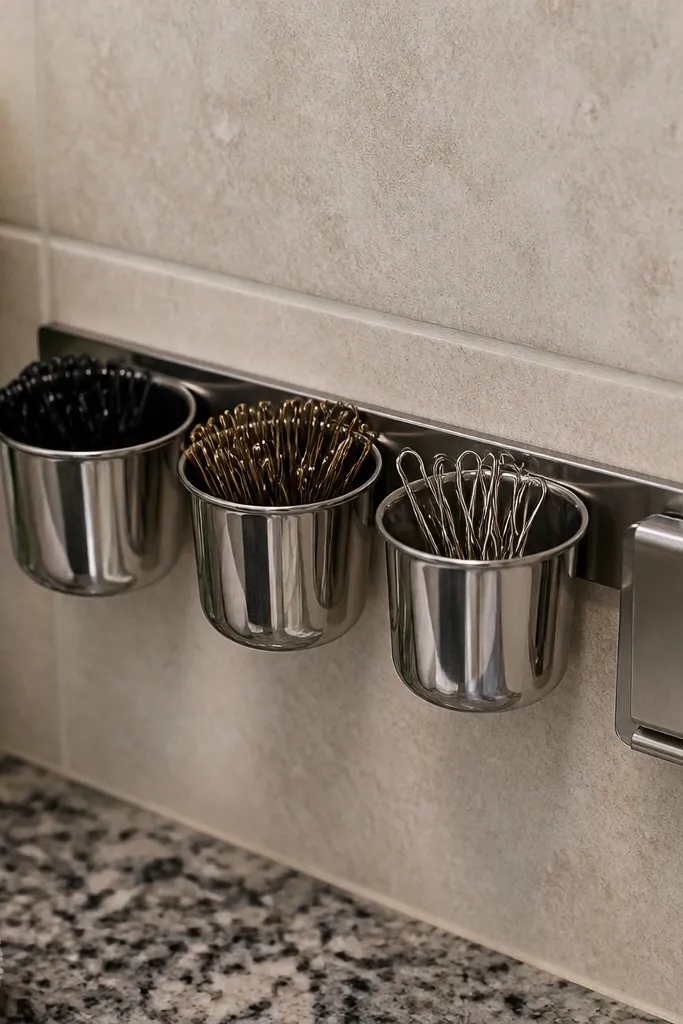
This is a good renter-friendly vanity organization move when your counter is crowded but you still want tools off the surface. A slim magnetic strip holds metal items like bobby pins, clip tins, and small stainless cups without drilling. The look is tidy because everything sits in a straight line and stays visible, so you’re not digging through a drawer every morning. Use it beside the vanity, not over the mirror, and keep items low so it doesn’t block your face when you’re doing makeup. Skill level is easy — you’re just mounting the strip and filling cups — and it takes about an hour end-to-end.
Editor's noteWipe the wall with rubbing alcohol first so the adhesive strip bonds without peeling later.
Start by measuring the side wall next to your vanity table and pick a strip width that leaves 2-3 inches of clearance from the cabinet edge. If you can’t drill, use removable magnetic-friendly mounting means like a peel-and-stick magnetic base or adhesive strip kit made for metal accessories; press it firmly for the full hold time on the label. Then add two small metal cups or a narrow cup tray that screws onto the strip area. Finally, group your items by grab frequency: daily clips in the top cup, backups in the second cup, and keep the bottom empty for a clean look.
Skip thisDon’t hang heavy metal bins — the adhesive mount should hold small cups only.
2. Clear Acrylic Drawer-Liner Sections for Makeup That Looks Neat
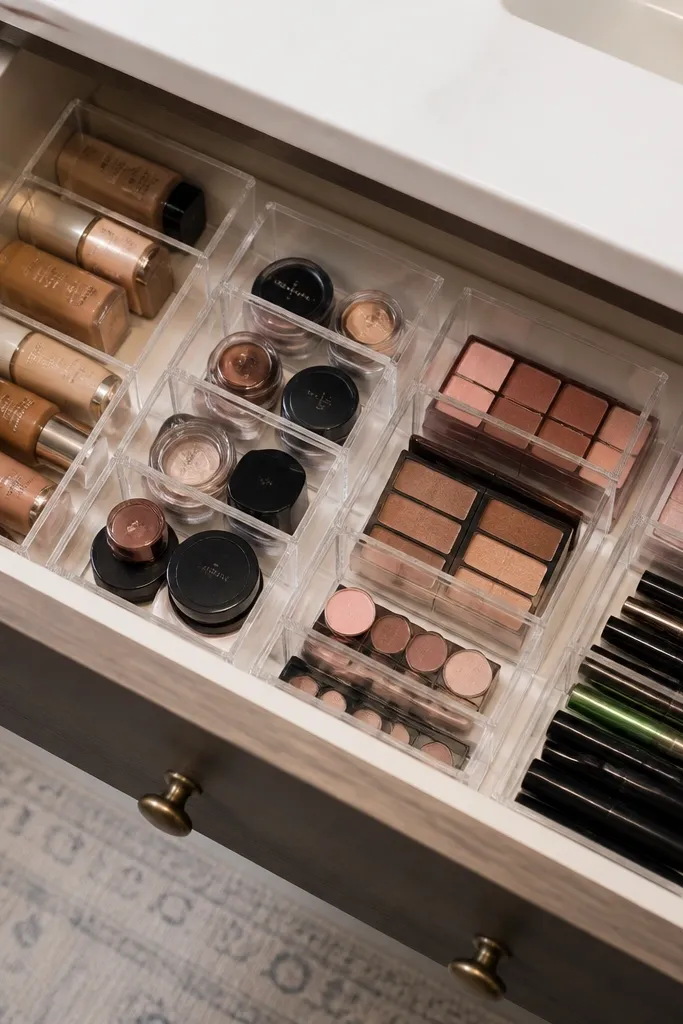
If your vanity drawer turns into a mixed pile, clear acrylic sections fix it without shrinking your usable space. Acrylic looks clean in bathroom lighting and makes it easy to spot what’s inside, so you stop rummaging and stop repacking everything. The partitions also stop bottles from sliding and clanking, which keeps the drawer from looking messy even when you’re rushing. This works best for small drawers under 18 inches wide where you need order fast. It’s a solid DIY project for beginners and takes about 30-45 minutes.
Editor's noteUse a thin rubber pad under the acrylic if your drawer has a glossy base — it reduces sliding.
Start by pulling everything out and measuring the drawer’s inside length and width, then choose acrylic liners or cut-to-fit organizer sheets that match those dimensions. If you’re using modular acrylic dividers, dry-fit them first so they line up with drawer corners and don’t block the drawer track. Place the liner down, then set dividers into place and press firmly to seat them. Finally, add slim labels on the drawer face with painter’s tape so you can read categories at a glance.
Skip thisDon’t use thick dividers that steal depth from your taller bottles.
3. Corner Tension-Rod Shelf for Hair Tools and Spray Bottles
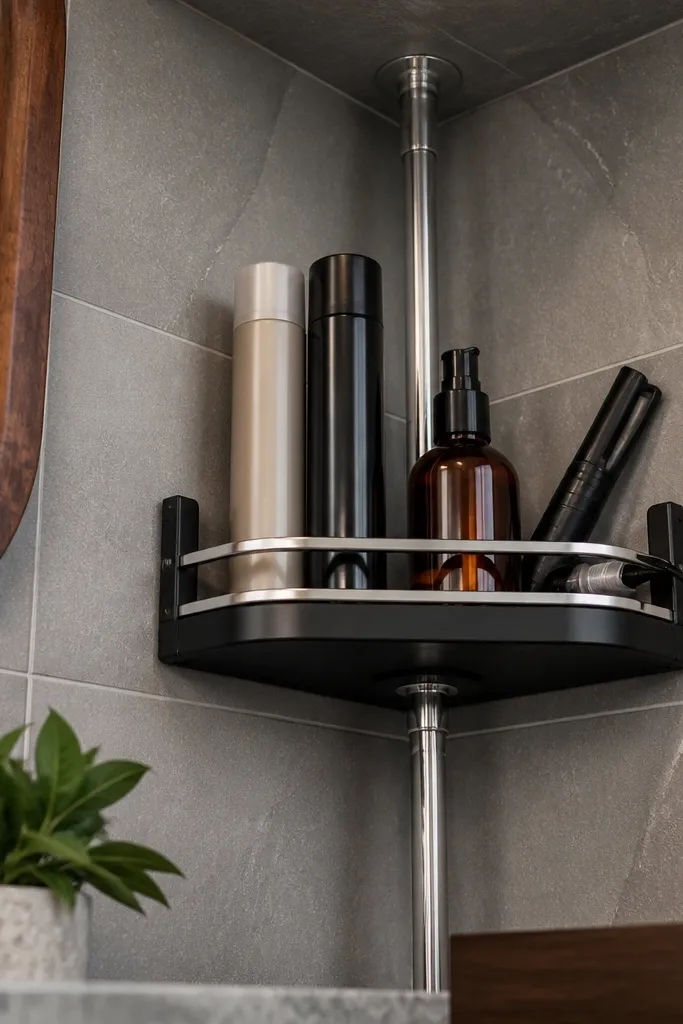
A corner tension-rod shelf is renter-friendly vanity organization that looks intentional because it uses vertical space. You get a narrow “ledge” for hair sprays, heat protectant, and styling tools without crowding the counter. The shelf keeps bottles upright, and the rod creates a clean frame that looks like a built-in. This is perfect for tiny rooms where the vanity is near a shower door or tight wall and you can’t add cabinets. Build time is about 1-2 hours depending on how neatly you measure.
Measure the corner gap where the rod will sit, and pick a tension rod with adjustable length that matches that range with a little extra pressure. Install the rod first at the height you want, then attach a shallow shelf bracket or add a small rod-compatible tray that sits securely on the rod ends. Place only bottles with flat bottoms and keep the tallest items in the back edge of the tray. Finish by wiping the shelf and arranging items by height so it looks styled, not random.
Put a small strip of felt under bottle bases to prevent scratches and squeaky movement.
Avoid putting heavy tools like a full-size hair dryer on a tension rod shelf.
4. Pegboard Vanity Backer with Removable Hooks
Pegboard is one of the most photogenic ways to organize because the grid naturally creates order. With removable hooks and a lightweight backer panel, you can attach it without committing to permanent drilling. Use it behind the vanity table surface or on the back of a cabinet door so sprays, brushes, and daily tools have a dedicated spot. The look stays clean because items hang flat and don’t tip over on the counter. This is beginner-friendly if you keep the panel small and use the right adhesive mounting system.
Start by cutting or buying a pre-sized pegboard backer that fits the area behind your vanity table without blocking drawers. Choose a mounting method that matches your wall type: adhesive hooks for smooth painted surfaces or suction-style mounts if you’re on glass. Hang pegboard hooks first, then plan the layout: brushes on one side, small bottles in the middle using mini shelves, and hair ties in a tiny cup. Finally, add two small command-style labels on the pegboard for “Daily” and “Backups.”
Paint the pegboard the same color as your vanity or mirror frame so it disappears visually and looks built-in.
Don’t overcrowd the grid. Leave 30-40% empty so it still looks airy.
5. Stackable Ceramic Cup Set for Lip Products and Brushes
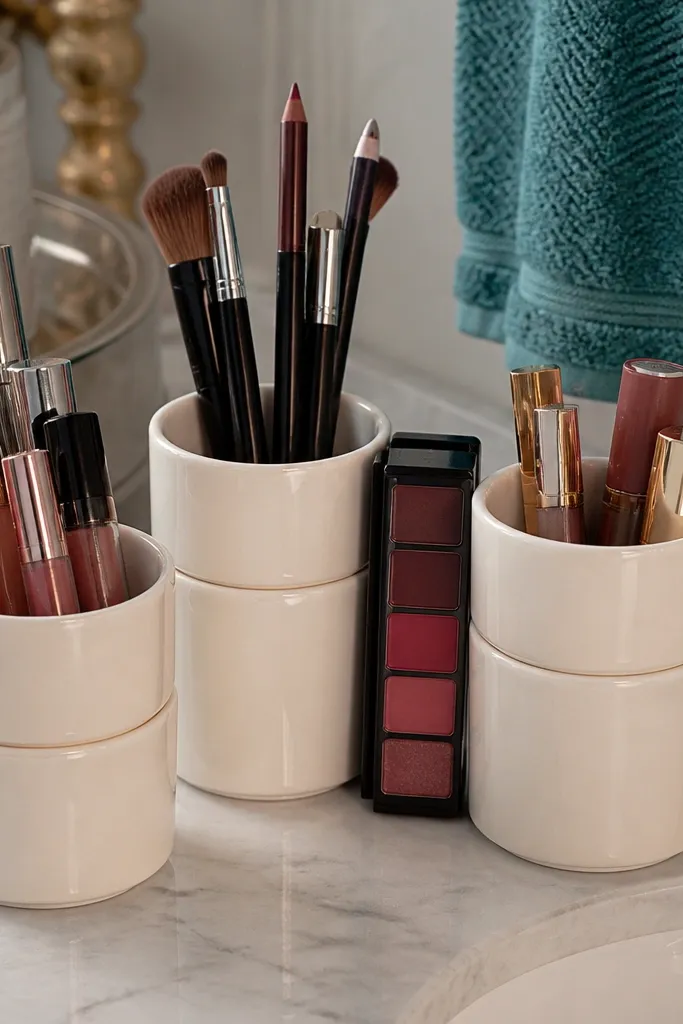
A ceramic cup set makes your vanity look styled because it creates a “gallery” effect instead of a chaotic counter. Use it for lip products, small palettes, and brush handles — the rounded shapes soften the bathroom vibe. Ceramic also looks good in natural light and doesn’t show smudges as easily as glossy plastic. This is renter-friendly because you’re placing cups on the counter or inside a drawer tray, no mounting required. It takes 20 minutes to set up and makes the whole surface feel more intentional.
Editor's noteWrap brush handles in a rubber band to keep them from splaying while you set everything down.
Start by choosing two to three cups with different heights so you don’t end up with a flat, cluttered stack. Place the tallest cup at the back of the vanity, then add a middle height cup for lipsticks, and a short cup for brushes. Use a small tray under the cups to prevent wobble and keep it visually bounded. Finally, group by color family or by finish (matte, gloss) so it looks curated.
Skip thisDon’t mix skincare and makeup in the same cup — it makes the counter look messy fast.
6. Magnetic Wall Strip for Metal Eyelash Tweezers and Clippers
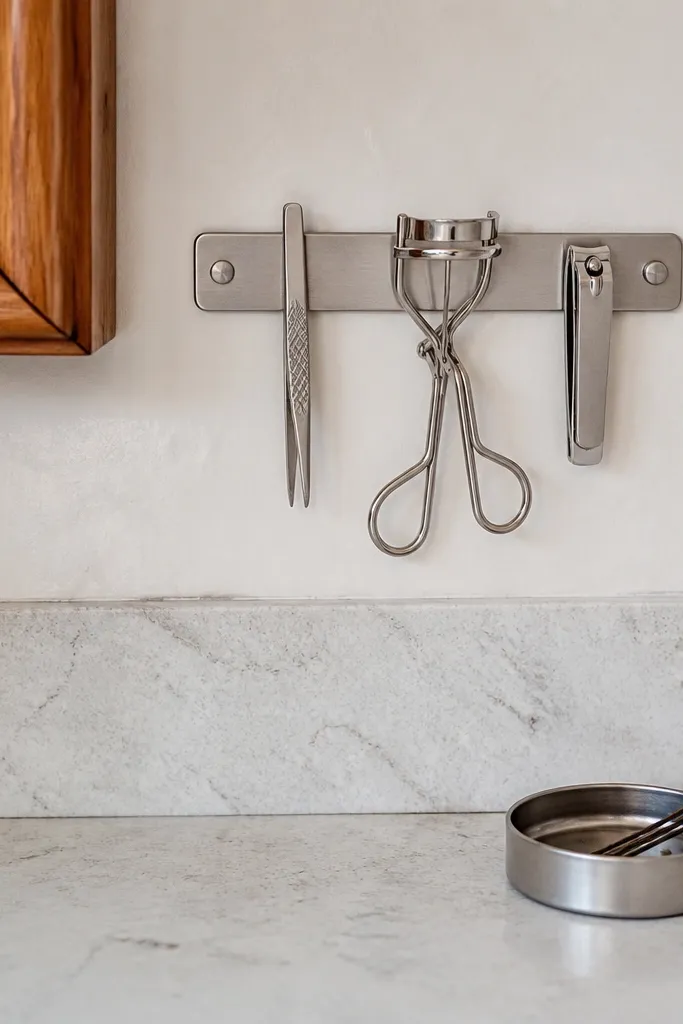
This idea is small but it changes the look of your daily routine. When tweezers, lash curlers, and small metal clippers have one home, they stop migrating across the vanity and getting lost under bottles. A magnetic strip keeps them aligned and makes your counter look less cluttered even when you’re using the space daily. It’s also renter-friendly because you can mount with removable adhesive strips made for lightweight metal accessories. This works best for people who keep tools in a drawer but want faster access.
Pick a strip length that fits the tools you actually use daily; 8-12 inches is enough for a tight vanity. Clean the mounting surface thoroughly, then apply a removable adhesive mount base and press for the full cure time. Place the tools on the strip in a consistent order so it looks neat, not random. If you want extra organization, add a small magnetic cup for tiny accessories like replacement blades or lash glue caps.
Keep the strip close to your mirror so you don’t have to walk across the room with tools.
Avoid mounting magnets on textured wallpaper — adhesion and alignment will be messy.
7. Under-Sink Lazy Susan in a Shallow Frame
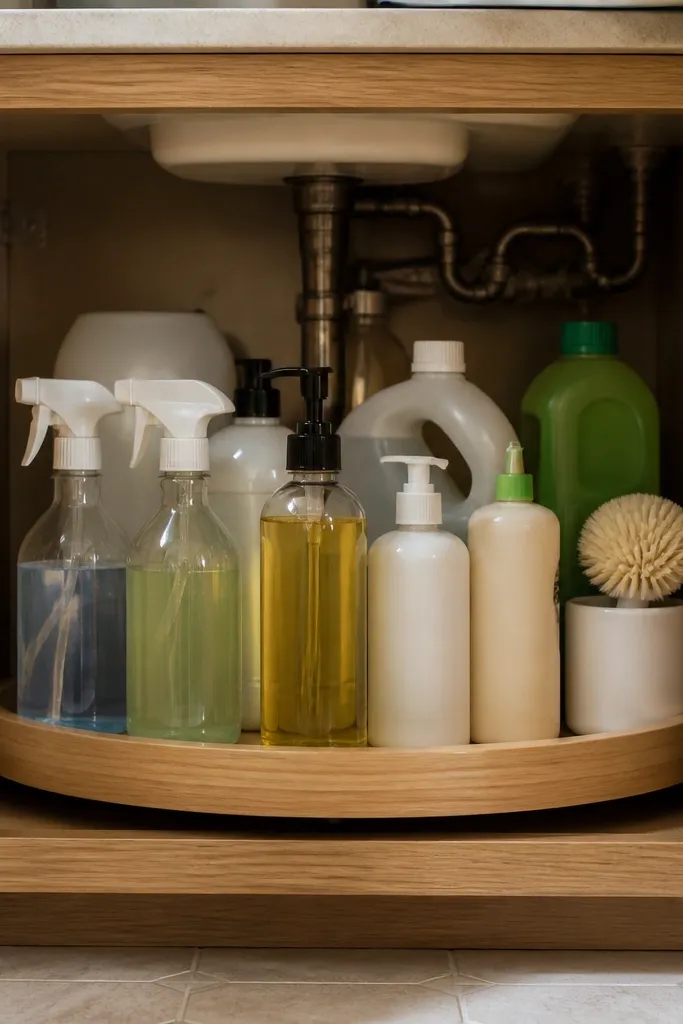
For tiny rooms, the under-sink area is where chaos hides. A shallow lazy susan keeps cleaners, backups, and extra toiletries from turning into a pile at the back. The look is clean because everything faces forward when you open the cabinet, so you don’t see a jumble of bottles. Choose a frame that matches your cabinet height so it doesn’t scrape the door. This is a strong DIY option because it’s a single install and then you just load it neatly.
Measure the inside cabinet diameter or width where the lazy susan will sit, and pick a shallow model that clears the cabinet door when open. Install it using the kit’s mounting or place it on a non-slip mat if the unit is designed to sit without screws. Add two or three labeled bins on the turntable: one for hair supplies, one for skincare backups, and one for spare paper goods. Finally, keep the top ring for the most-used items so you’re not digging every time.
Use a thin non-slip mat under the susan so it doesn’t rotate unexpectedly when you open the door.
Don’t store sprays loose — they roll and stain shelves.
8. Peel-and-Stick Drawer Organization Trays for Countertop Clutter
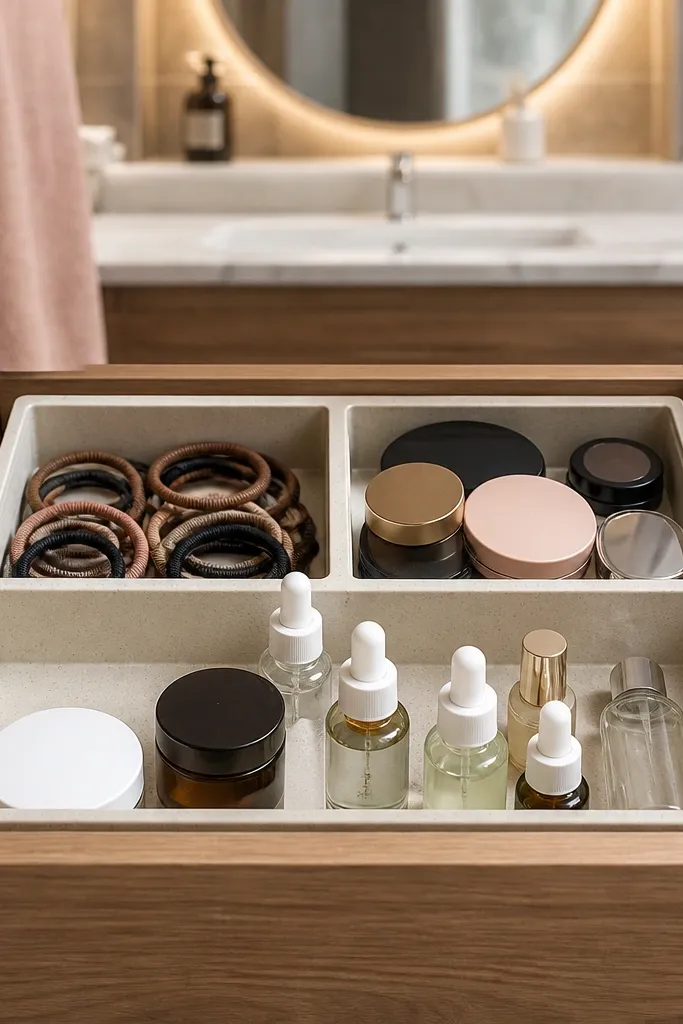
These trays make renter-friendly vanity organization feel instant because you’re building order without tools. Peel-and-stick organizers create “zones” inside drawers so bottles don’t slide and makeup doesn’t mix. They also make the drawer look styled when you pull it open, which matters if your vanity sits in a visible area. Choose trays with a matte finish to reduce glare from bathroom lights. This is great for small drawers and for people who want to rearrange without committing to permanent hardware.
Start by cleaning the drawer base with rubbing alcohol so the adhesive sticks well. Measure the drawer interior and choose a set of trays that fit with minimal trimming. Press each tray firmly from one side to the other so you don’t trap air bubbles. Then place bottles by size: tall items in one row, flat items in another, and keep a shallow tray for cotton pads or Q-tips.
Let the adhesive set overnight before you load heavy items so the trays don’t lift.
Don’t stick trays over dust or waxy cleaning residue.
9. Decorative Counter Tray with Removable Divider Insert
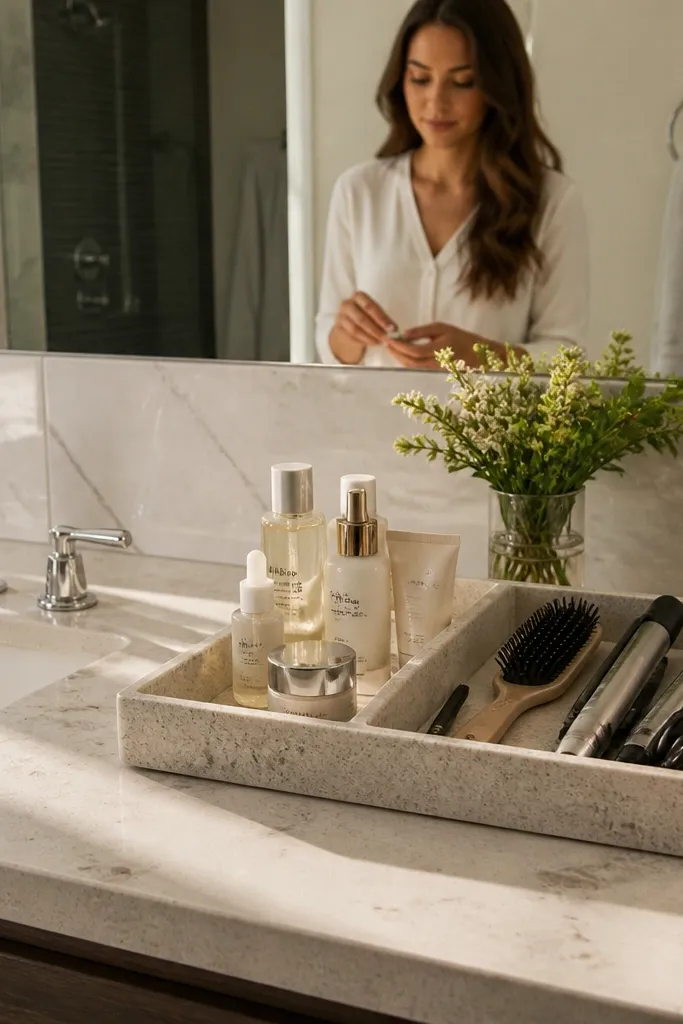
A counter tray is the fastest way to make a messy vanity look intentional. It creates a boundary line on the countertop, which stops items from spreading and makes photos look clean. Add a removable divider insert so your daily skincare doesn’t mingle with hair products. The tray also helps you wipe the counter in one pass because everything stays in one area. This works in tiny rooms because it doesn’t take extra footprint — it just makes the space behave.
Pick a tray that matches your vanity width and leaves at least 1 inch of space around the edges so it doesn’t look crowded. Choose an insert divider style: two long compartments for bottles and a small section for tools like a roller or tweezers. Place the tray at the most-used side of your mirror, usually the side where you reach first. Finally, set only daily items inside and move backups into a drawer or cabinet so the tray stays tidy.
Use felt pads under the insert so bottles don’t slide when you touch them.
Avoid choosing a tray that’s too small. If products hang over edges, it looks messy instantly.
10. Clear Lid Container Stack for Cotton Pads and Q-tips
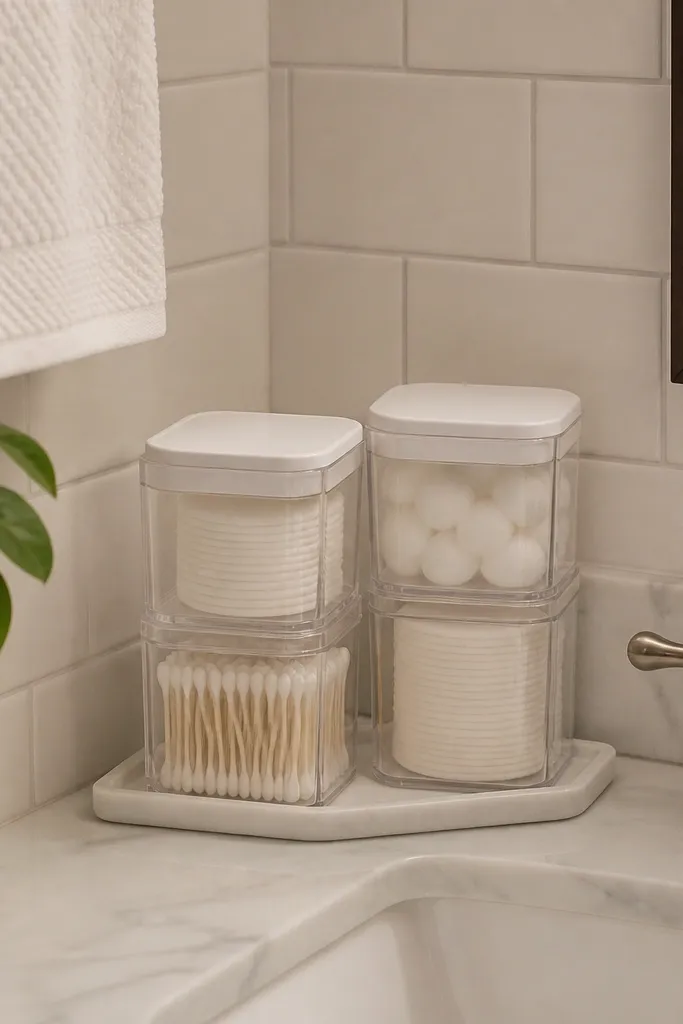
This setup makes the sink-area look clean because it hides the “bathroom basics” mess behind lids. Clear containers keep it visible, but the lid removes the visual clutter that happens when cotton pads spill into a box. It’s also renter-friendly and easy to refresh — swap labels or refill without tools. Place these containers near the sink edge so you’re not reaching across the table with wet hands. The look is bright and organized, especially with bathroom lighting.
Editor's notePut a small microfiber cloth in the drawer for quick lid smudges. A clear lid shows fingerprints.
Choose two container sizes: one wider for cotton pads and one taller for Q-tips so they don’t crowd. Remove any factory labels, then add simple printed labels with a black marker or label maker on the front. Arrange them side-by-side with a small gap so you can see each label. Finally, wipe the containers daily or as needed so they stay clear and don’t look cloudy.
Skip thisDon’t use frosted containers if your vanity light is dim — it makes contents harder to spot.
11. Fabric-Lined Drawer Tray for Hair Accessories
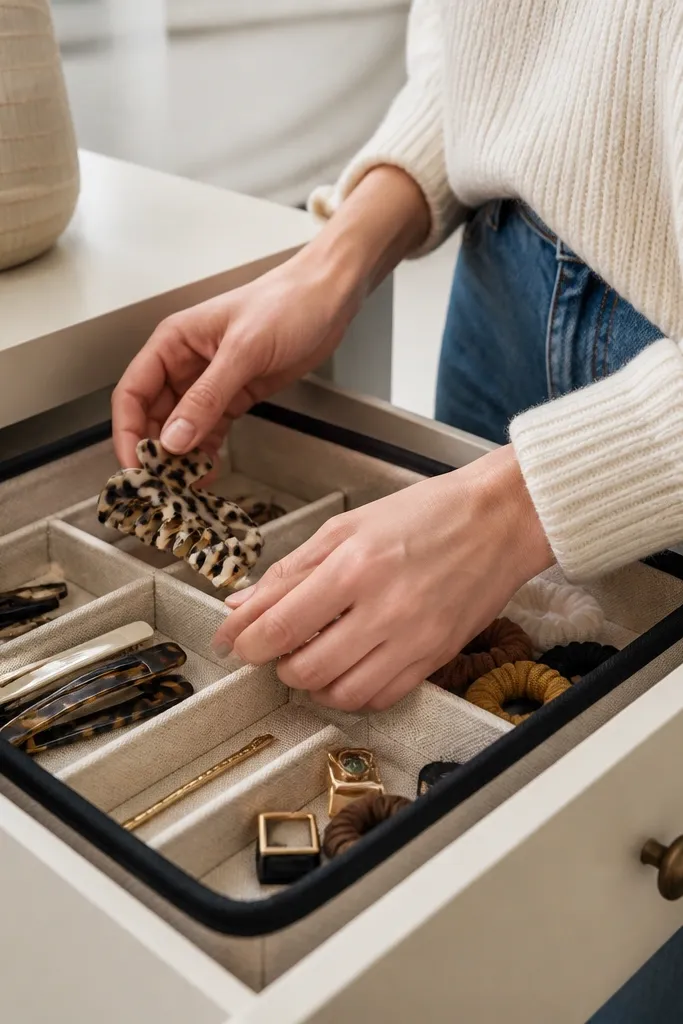
Hair accessories are the messiest category visually because they’re small and spread out. A fabric-lined tray gives them a soft landing and makes the drawer look styled instead of chaotic. Choose a fabric that matches your bathroom color palette — black and cream look sharp, and linen textures look expensive even when they’re simple. This is renter-friendly because you’re customizing a drawer insert, not changing the room. It takes about an hour if you’re making the tray liner from scratch.
Start with a drawer tray that fits your vanity drawer width and depth. Cut fabric slightly larger than the tray base and sides, then wrap and staple or glue it to the tray so edges stay smooth. Add small elastic bands or fabric loops inside the tray for hair ties and scrunchies so they don’t pile. Then place clips in a small compartment and keep the most-used items on top.
Use cotton canvas or twill for the liner — it wipes clean and doesn’t snag accessories.
Avoid slippery satin fabric. Clips slide and the whole tray looks messy.
12. Under-Mirror Shelf Organizer for Tiny Bottles
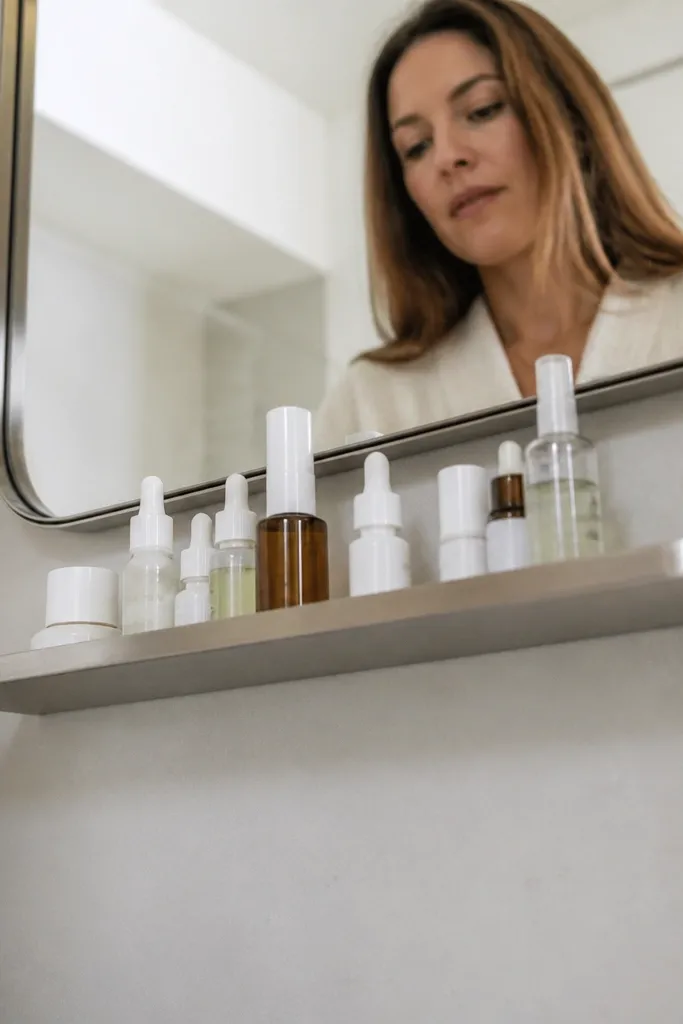
When your vanity counter is tiny, the space under the mirror is the next best real estate. A small under-mirror shelf holds face mists, skincare backups, and daily tools without eating counter space. The look stays clean because bottles are framed and aligned under the mirror, so the countertop stays bare for morning tasks. This is renter-friendly if you use a clamp-style shelf or adhesive-backed shelf designed for smooth surfaces. Build time is short, and the payoff is visible immediately.
Measure the clearance under your mirror and choose a shelf with a depth that fits your bottles without hitting the mirror frame. Install a clamp shelf if your mirror has a frame that can hold it, or use an adhesive shelf kit rated for small loads. Place the shelf centered under the mirror and add a small tray lip to prevent bottles from sliding. Arrange in a gradient height: tallest in the back, shortest in front.
Keep the shelf load light so adhesive mounts last — limit it to bottles with similar weight.
Don’t store glass items that are taller than the shelf — they look crowded and topple.
13. Drawer Divider Inserts for Flat Makeup Palettes
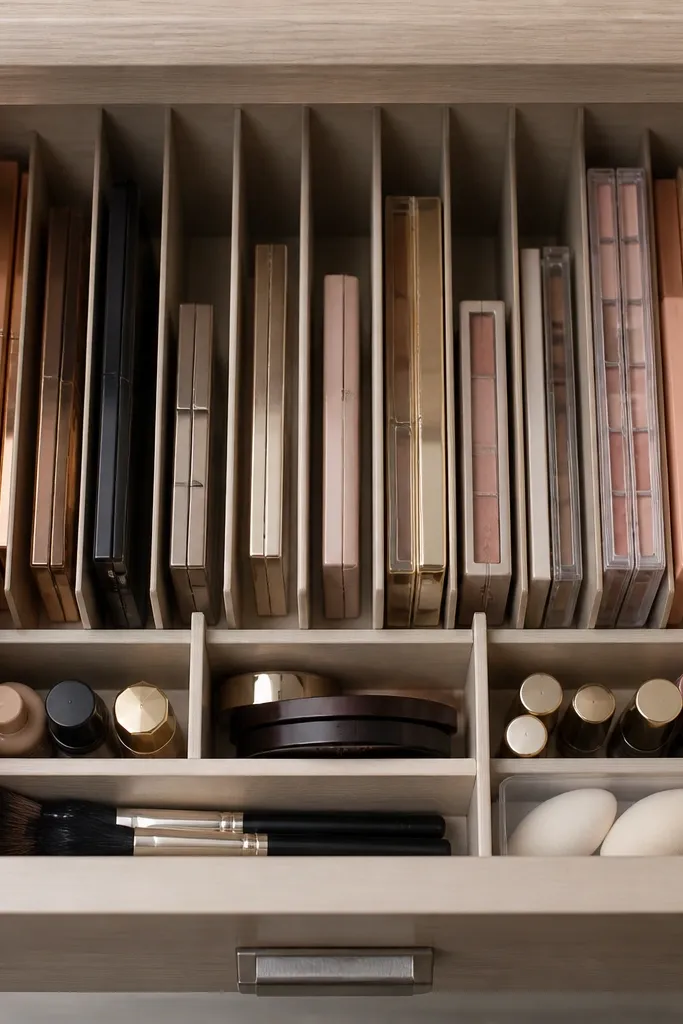
Flat palettes are the reason vanity drawers look messy — they tip, stack weirdly, and force you to dig. Upright divider inserts fix that by giving each palette a slot and keeping the drawer visually tidy. The look is photogenic because palettes line up like a neat set, not a crumpled stack. This is ideal for tiny rooms where you can’t add a separate makeup station. It’s a straightforward DIY upgrade that takes 30-60 minutes.
Measure your drawer height and width, then choose dividers that support the palette thickness with room for handles. If dividers are adjustable, set the spacing so palettes stand upright without leaning. Place a thin non-slip mat under the dividers to keep them from shifting when you open and close the drawer. Finally, add one shallow slot for brushes so they don’t get buried behind palettes.
Store palettes by finish — matte together, shimmer together — so your drawer looks intentional even before you use it.
Avoid stacking palettes on top of each other. It looks disorganized and makes daily access slower.
14. Removable Bathroom Door Organizer for Vanity Tools
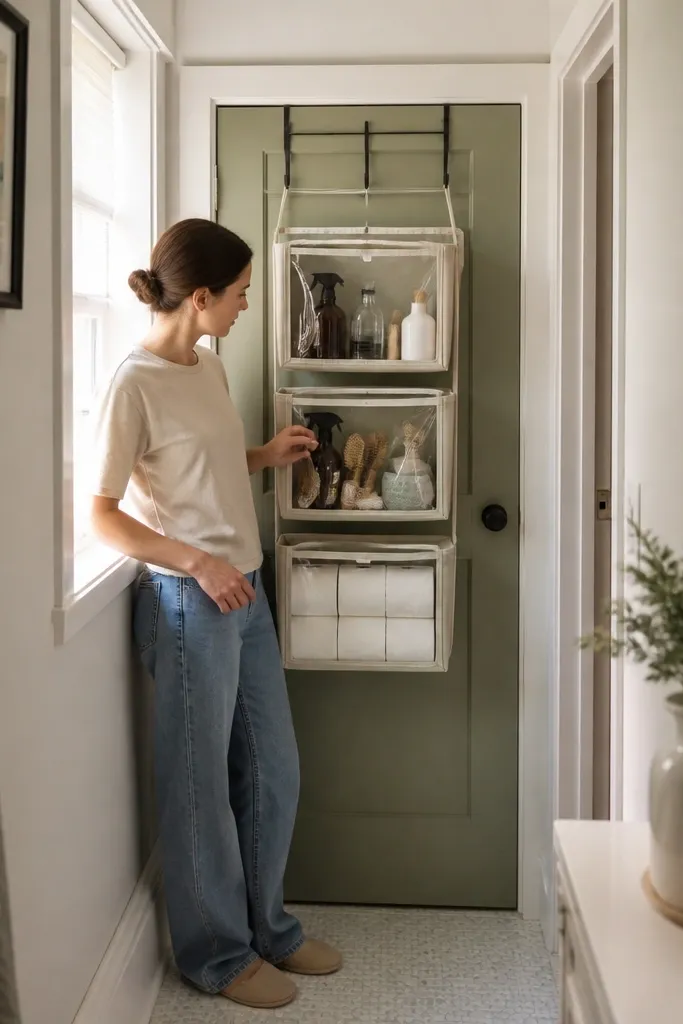
If your vanity table is in a tight hallway bathroom, the door becomes your hidden storage. An over-the-door organizer keeps tools and backups out of sight while still looking neat because baskets create consistent compartments. This is renter-friendly when it uses an over-door hook system rather than drilling. The look is clean when you keep only one item per basket and avoid dumping mixed categories. It also saves counter space for the part of the vanity you want to look good in photos.
Editor's noteUse matching clear zip pouches for backups — the door organizer stays visually calm.
Choose an organizer with small-to-medium mesh or solid baskets so bottles don’t slip through. Hang it at a height where the baskets aren’t too low to reach comfortably, usually 3-5 inches above your vanity counter. Assign baskets to categories: daily skincare, hair ties, backups, and a small one for cotton pads. Use zip pouches or small containers inside baskets so products don’t look scattered.
Skip thisDon’t fill every basket. Empty space makes the whole setup look curated.
15. Tiered Stand for Perfume and Daily Skincare

A tiered stand is one of the most photogenic ways to organize because it adds height without mess. Put perfume, face serum, and a small jar on the tiers so your items form a clear vertical layout. The stand also keeps bottles from touching each other, which reduces smudges and keeps glass from looking streaky. This works best for renters who want a clean look without mounting anything. It’s an easy DIY styling project that takes 10-20 minutes.
Pick a tiered stand with a stable base wide enough for your vanity — aim for at least 8-10 inches across for a small table. Use one tier for products you want to see daily and the top tier for a single statement item like a perfume bottle. Add a small tray at the base tier so smaller items like lip balm don’t roll. Finally, wipe the stand and arrange in a color pattern so it looks intentional.
Use museum gel pads or felt squares under bottles to stop sliding and reduce scratches.
Don’t overload tiers. If everything is the same height, it looks like clutter.
16. Lidded Woven Basket with Label Strip for "Bathroom Basics"
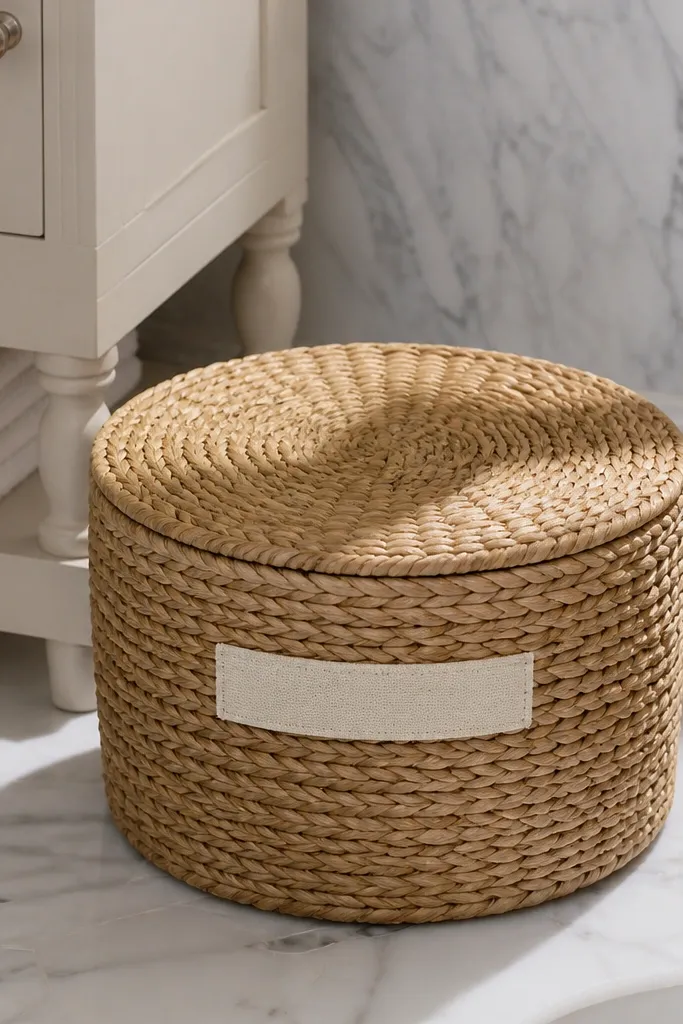
Woven baskets hide the stuff that makes bathrooms look chaotic: extra cotton pads, backups, and random packets. A lidded basket keeps the top surface visually clean while still letting you grab items quickly. The label strip makes it renter-friendly because you can reorganize later without rewriting the whole system. Choose a basket size that fits one category only — that’s what keeps it looking styled instead of like storage clutter. This works for tiny rooms because it adds softness and texture without taking drawer space.
Measure your vanity counter or a shelf area and choose a basket that fits within that footprint without touching edges. Add a label strip on the front using painter’s tape first to position it, then commit with a removable label option or adhesive label that peels clean. Keep the basket contents uniform: cotton pads, Q-tips, and backups in small pouches. Finally, place the basket in the least “photo center” area so the lid looks neat and not like a pile.
Line the basket with a thin cotton liner to stop lint and keep it from snagging.
Avoid mixing hair and skincare in the same basket. It turns into a dump fast.
17. Suction-Cup Mirror-Adjacent Organizer for Nail Tools and Mini Items
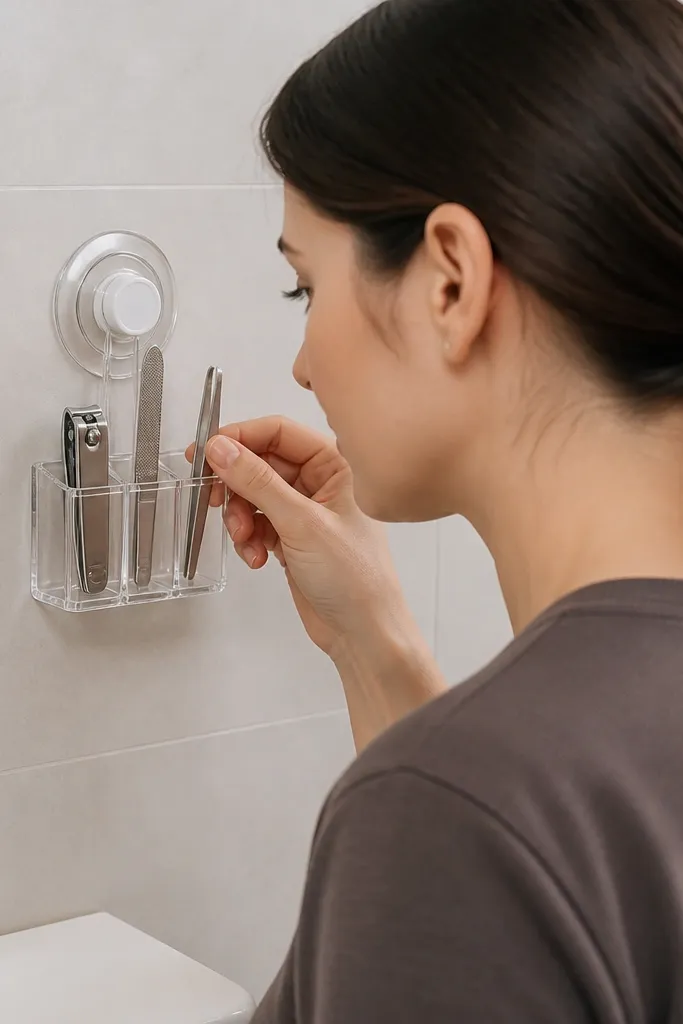
If you have a mirror you can place near the vanity, a suction-cup mini organizer keeps tiny tools from cluttering the counter. Nail clippers, files, and small tweezers look tidy when they’re stored in a single clear compartment. This is renter-friendly because suction cups remove cleanly and you don’t drill anything. It also keeps the vanity surface clear, which makes the whole room look bigger. This is a beginner project that takes 10 minutes.
Editor's noteRe-seat the suction cup weekly by removing and pressing it back on for a stronger hold.
Clean the mirror surface with glass cleaner and dry it fully so suction grips. Place the suction organizer at a height you can reach while standing at the vanity, usually near eye level but not blocking your face. Load only small items that fit without forcing them, and keep the heaviest piece in the bottom section. Finally, wipe the compartment so it stays clear and doesn’t look dusty.
Skip thisDon’t put liquids or heavy glass in suction organizers.
18. Counter-Top Cable-Free Charging Dock for Electric Tools
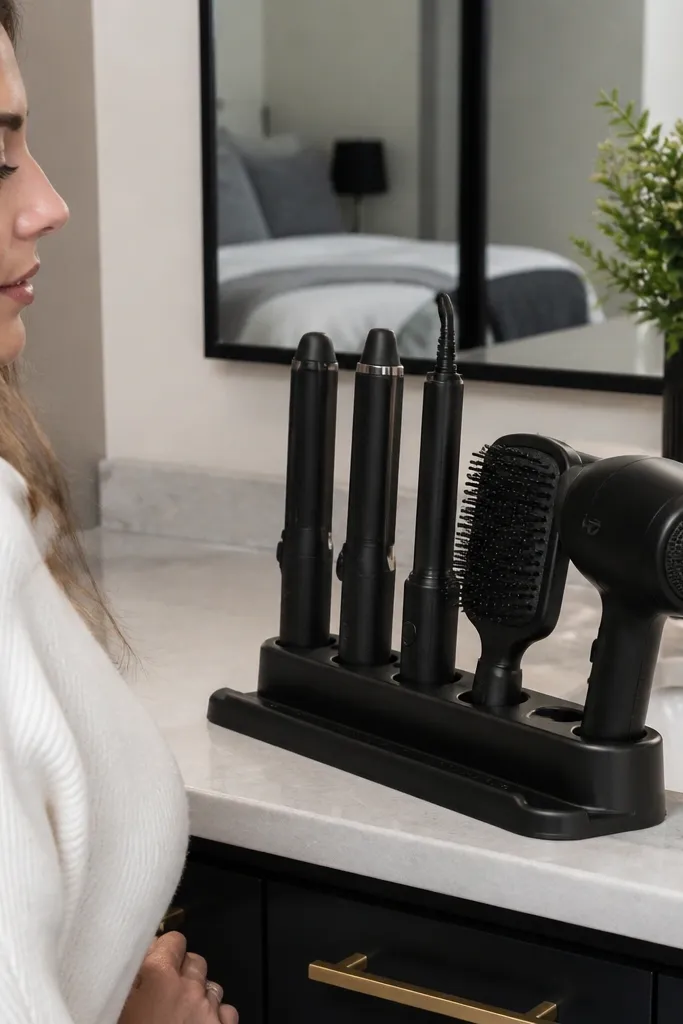
Hair tools with cords are the fastest way to ruin a pretty vanity table. A charging dock organizes the bases and keeps cords routed so they don’t drape across the counter. This creates a clean look because the cord stays in one line and the tools sit in a stable spot. It’s renter-friendly since you’re using adhesive cable clips or a removable cord management system, not wall rewiring. This is best for tiny rooms where you need everything to look neat even before you start styling.
Choose a charging dock or tray sized for your tool bases so they sit flat and don’t overhang. Place the dock on the vanity where outlets are reachable, then run the cord through removable adhesive cable clips along the back edge of the table. Use a Velcro strap to bundle the excess cord into a loop under the tray. Finally, keep the dock’s front surface clear so the organized tools look like part of the decor.
Use a small heat-safe mat under the dock if your tool base gets warm.
Avoid letting cords hang into open space — it looks messy and tangles.
19. Adjustable Shelf Insert for Drawers to Create a Vertical Makeup Zone
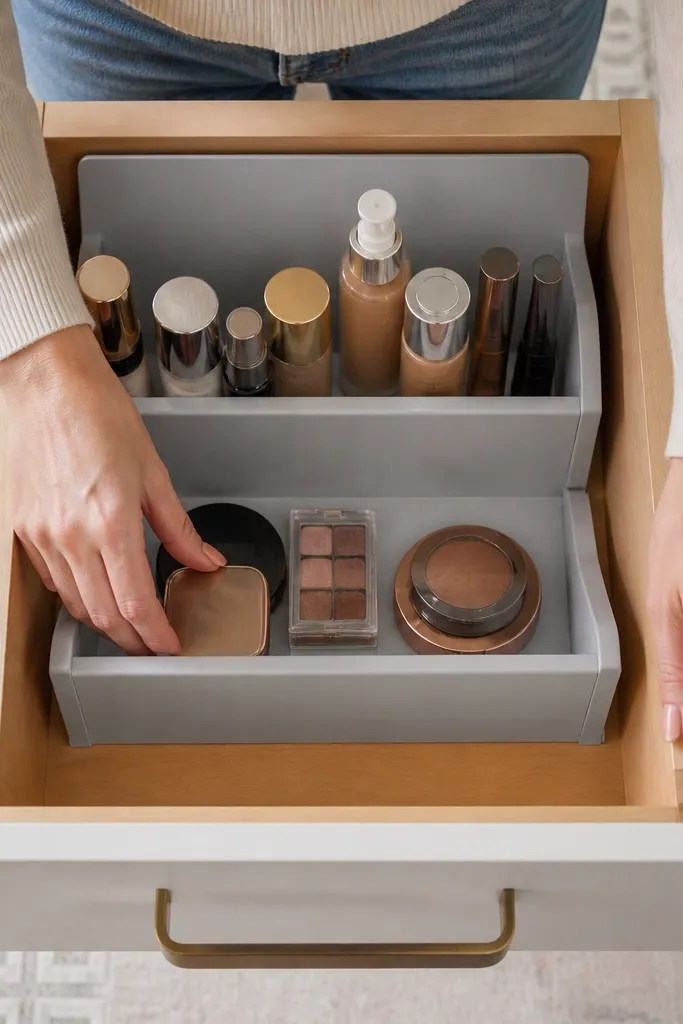
A vertical zone turns a shallow drawer into a makeup organizer that looks like it has more space than it does. Adjustable shelf inserts create two levels, so tall items don’t push everything else down into a pile. The look is neat because your drawer layout becomes structured, not flat and chaotic. This is renter-friendly because you’re adding interior organization, not changing the vanity. It takes about an hour to set up depending on how you fit the insert.
Editor's noteAdd a thin label on the insert edge so you remember what goes where after a quick reset.
Measure your drawer interior and choose an adjustable shelf insert system that can handle the width without bowing. Place the insert so it leaves room for the tallest items on the top level and keeps the bottom level shallow enough for palettes or compact items. Secure the insert using the system’s built-in clamps or non-damaging supports. Then fill by height: taller bottles up top, flat items below, and keep one open “grab” slot for what you use daily.
Skip thisDon’t make the top level too tight. You’ll end up forcing items and it will look messy.
20. Removable Vanity Shelf Overhang for Brush Cup and Daily Tools
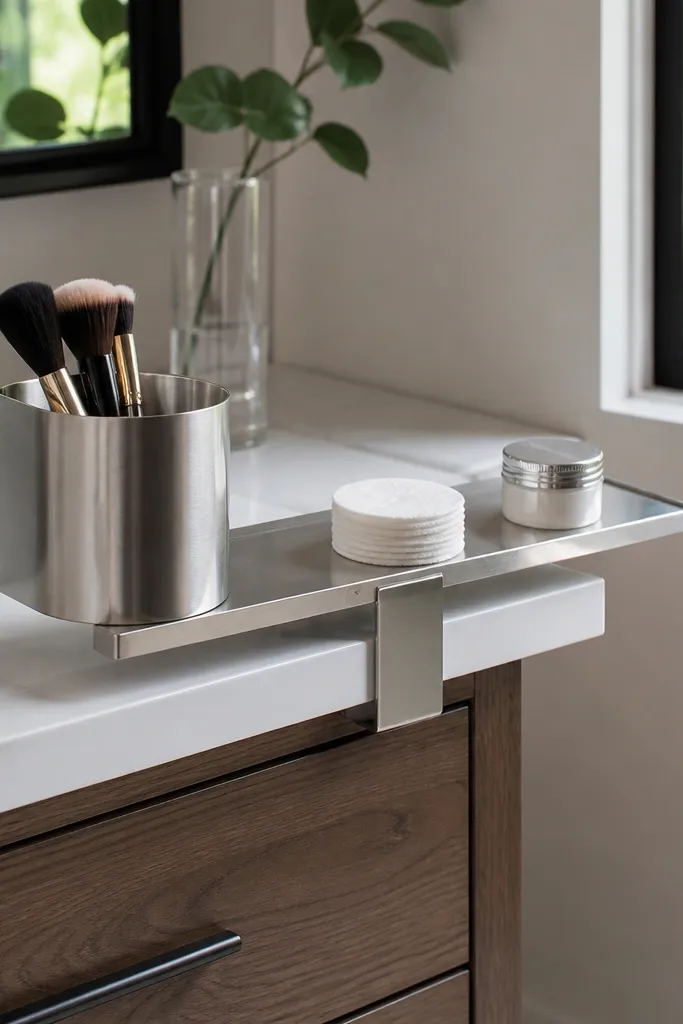
When your vanity table is narrow, a small overhang shelf creates a second “surface” above the counter without adding clutter. You can keep brush cups, cotton pads, and a tiny jar up high so the counter stays clean and photo-ready. A removable shelf bracket is renter-friendly if it clamps or uses adhesive pads designed for furniture mounting. The look is sleek because items are stacked vertically and aligned. This is a good DIY project for people who want a more magazine-style vanity setup.
Editor's noteUse a consistent spacing rule: keep 2 inches between shelf edge and tallest container for a clean silhouette.
Measure the space above your vanity counter and pick an overhang shelf depth that doesn’t block your mirror view. Choose a removable bracket system: clamp-on if the vanity frame allows it, or adhesive furniture mounts if the surface is smooth. Install the shelf level-first using a small level tool so it doesn’t look crooked in photos. Add a brush cup and one shallow tray on the shelf, then keep the counter below for a single decorative tray and essentials.
Skip thisDon’t mount the shelf too low. It will interfere with your hands and make the whole setup feel cramped.



