
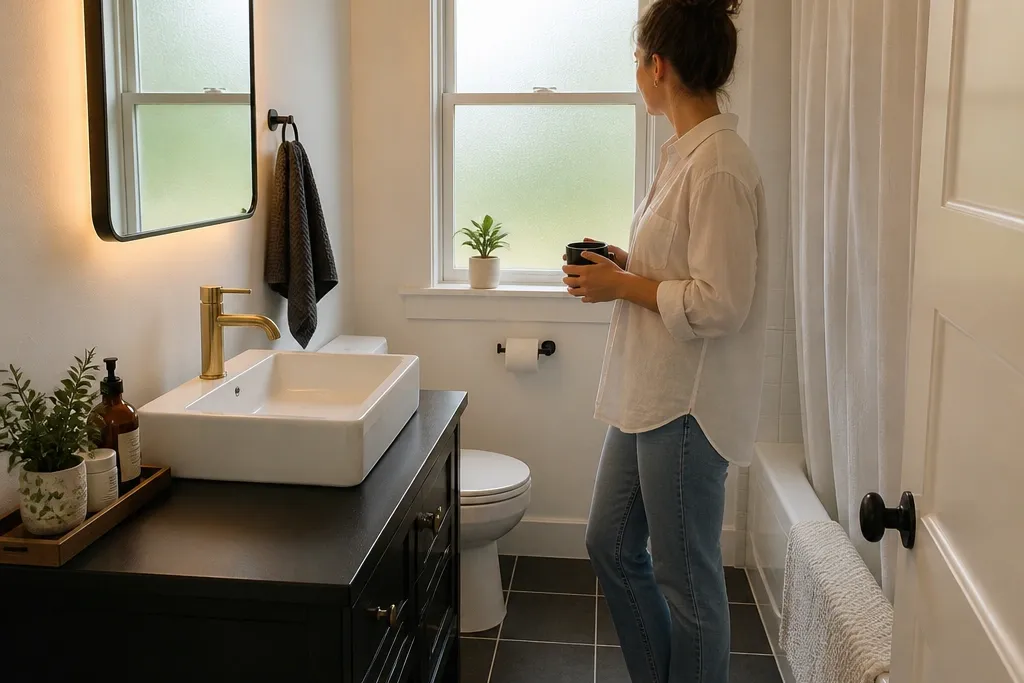
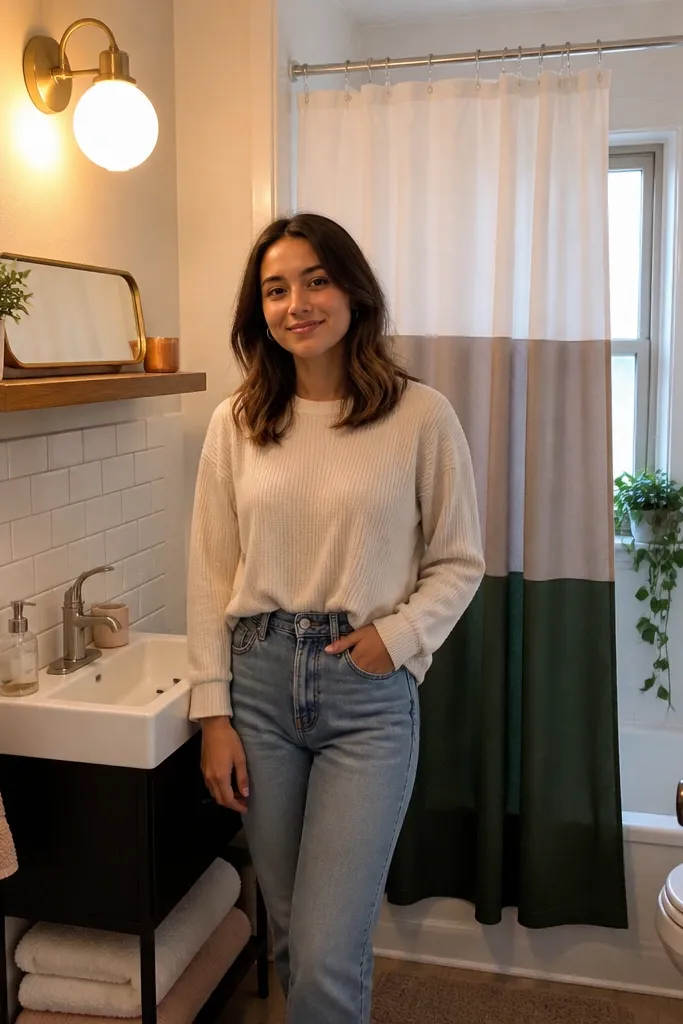
1. Framed mirror with a thin black border and warm bulb glow
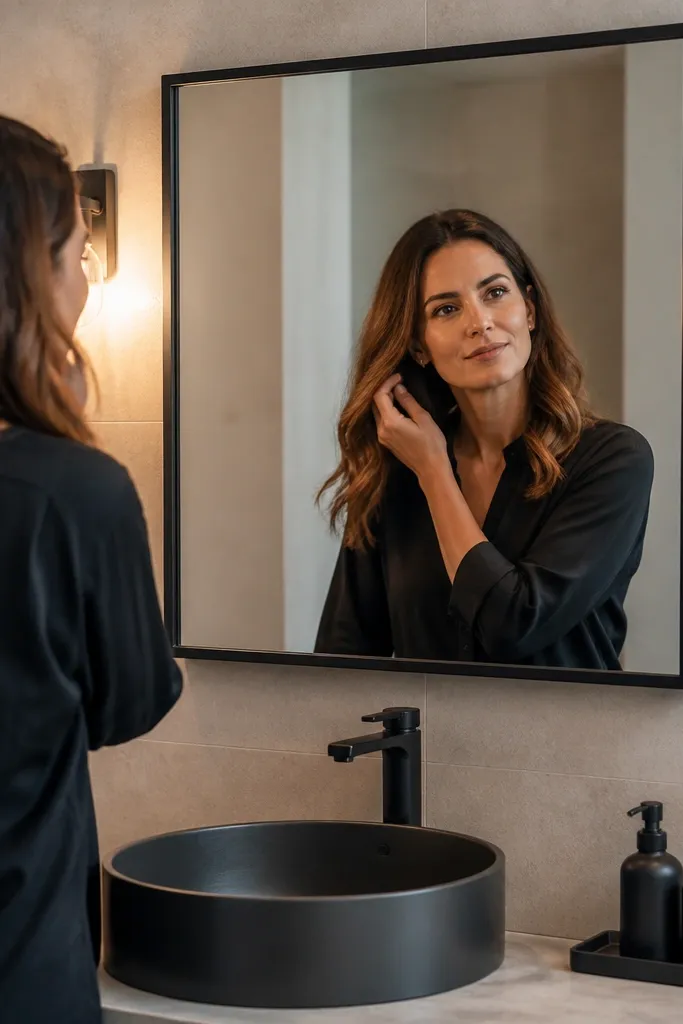
A framed mirror is the fastest way to make a small bathroom photograph like a real remodel. The thin black border adds definition without stealing space, and the warm light makes everything look cleaner and less gray. In a rental, you’re not changing plumbing or walls; you’re changing the frame and the way the room reflects light. Pair it with a simple tray and one matching soap bottle so the mirror area looks styled, not cluttered.
Start by measuring the mirror width and height and buying a frame that matches those measurements with a flat backing. If you can’t mount through the existing mirror, use a hanging method that attaches to the wall studs with a bracket and keeps weight off the mirror. Swap the bulb to a warm 2700K-3000K LED and test the brightness with the door closed for even glow. Finish by centering a small tray on the counter with two items max.
Editor's noteUse painter’s tape to mark center lines on the wall before you hang anything. Straight mirrors show up immediately in photos.
Skip thisDon’t pick a thick, ornate frame — it overwhelms a small bathroom and looks dated in pictures.
2. Peel-and-stick subway tile behind the sink in a perfect grid
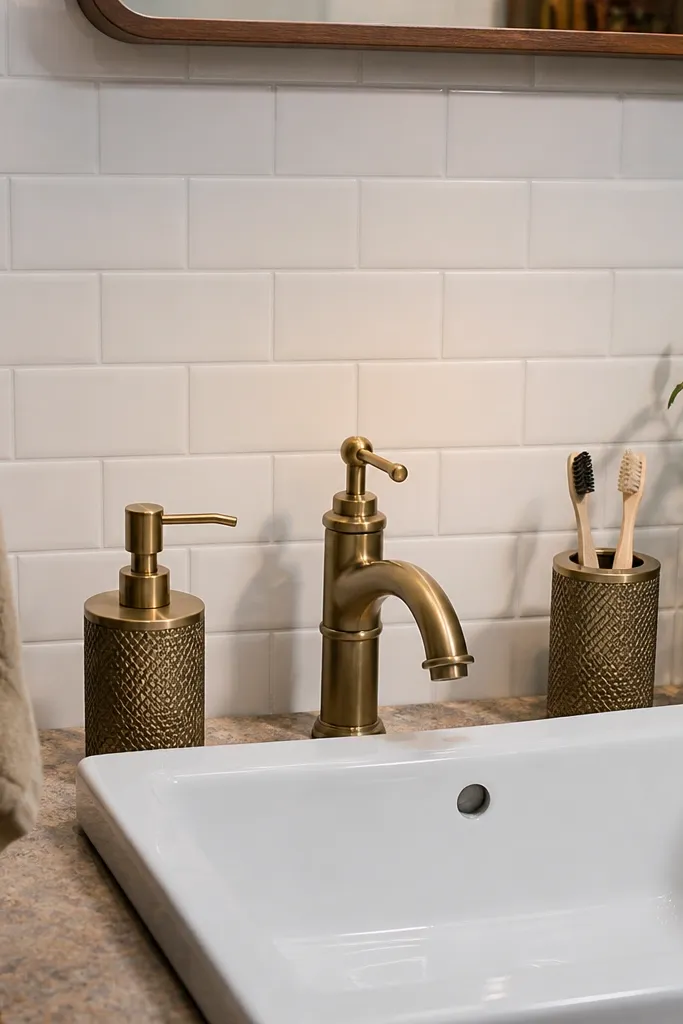
Subway tile looks expensive because it creates clean, repeatable lines. In a small bathroom, the backsplash is also a natural focal point, so the grid reads crisp even when the rest of the room is basic. Peel-and-stick works well here because the area is flat, contained, and easy to keep dry. For photos, the trick is grout-line realism: choose a tile with visible grout texture and keep the pattern aligned from edge to edge.
Clean the wall thoroughly with a degreaser wipe and let it dry completely. Dry-fit a few tiles to confirm the layout, then start at the center line so cuts land evenly on the sides. Press each tile from the middle outward, using a plastic smoothing tool to avoid bubbles. Seal the top edge with a thin bead of clear or matching caulk where tile meets the wall for a clean finish.
Use a sharp utility knife and replace blades often so cuts stay straight.
Don’t tile over glossy residue or dusty paint — the tiles lift and the photo looks uneven.
3. Tension rod shower curtain with crisp color block panels
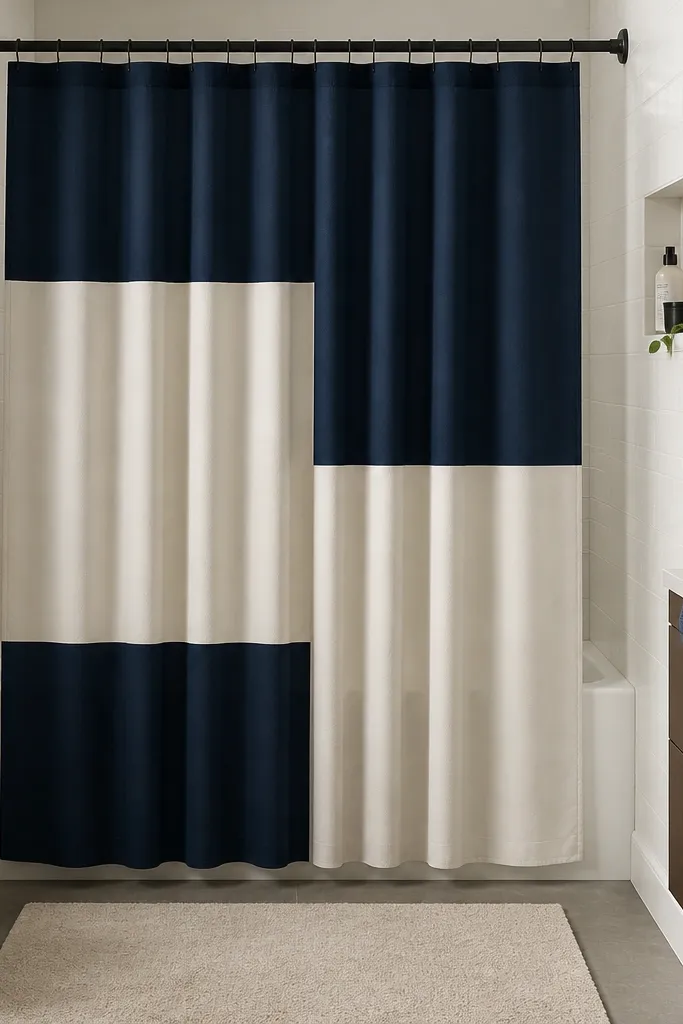
A shower curtain is the easiest “remodel-looking” change because it covers a large surface area. Color block panels add structure and make the bathroom look styled even if everything else is renter-basic. A tension rod keeps it installation-friendly and avoids drilling. In photos, the key is that the curtain hangs straight and doesn’t pool at the bottom.
Measure the shower width and buy a tension rod rated for your span. Install the rod at the highest point you can reach without bending it, then hang the curtain with matching rings or clips. Add a liner and clip it so the curtain fabric stays smooth on the outside. Use a weighted hem or curtain weights so the bottom line stays even.
If the curtain looks wrinkled, steam it and let it hang for a full day before you style towels.
Don’t use a curtain that touches the floor in a small bathroom photo — it looks cramped.
4. Over-the-toilet cabinet with glass doors and matching towel bar
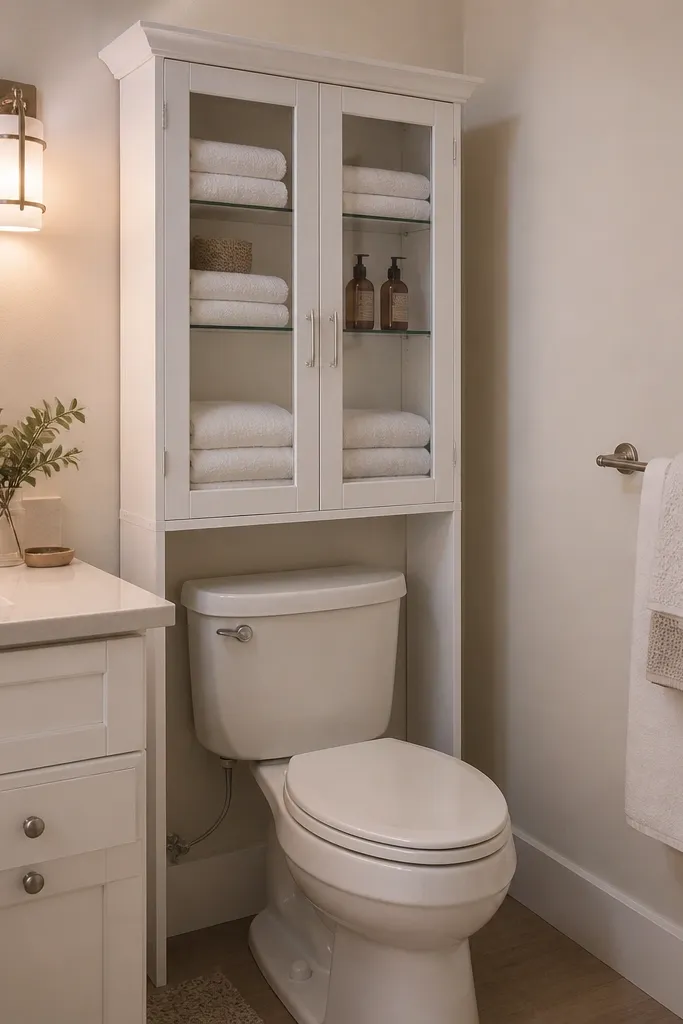
Storage changes how a small bathroom looks because it removes countertop clutter. An over-the-toilet cabinet gives you vertical storage without eating floor space, and glass doors make it look lighter than solid ones. When you keep towels folded the same way and add a couple of matching bottles, the cabinet reads like built-in storage. Choose a finish that matches your faucet or hardware so the whole bathroom looks intentional.
Measure from the top of the toilet tank to the ceiling and check the cabinet’s height and depth. Assemble the cabinet, then place it on the floor first to mark wall bracket points. Use the included anchors or toggle bolts if studs are behind drywall. Install a towel bar at the side height so towels sit neatly and don’t spill into the cabinet doors.
Style the cabinet with two shelves max for photos: towels on bottom, small baskets on top.
Don’t overload the shelves — glass doors show mess fast in bright bathroom lighting.
5. Floating shelf in warm oak with a single long mirror tray
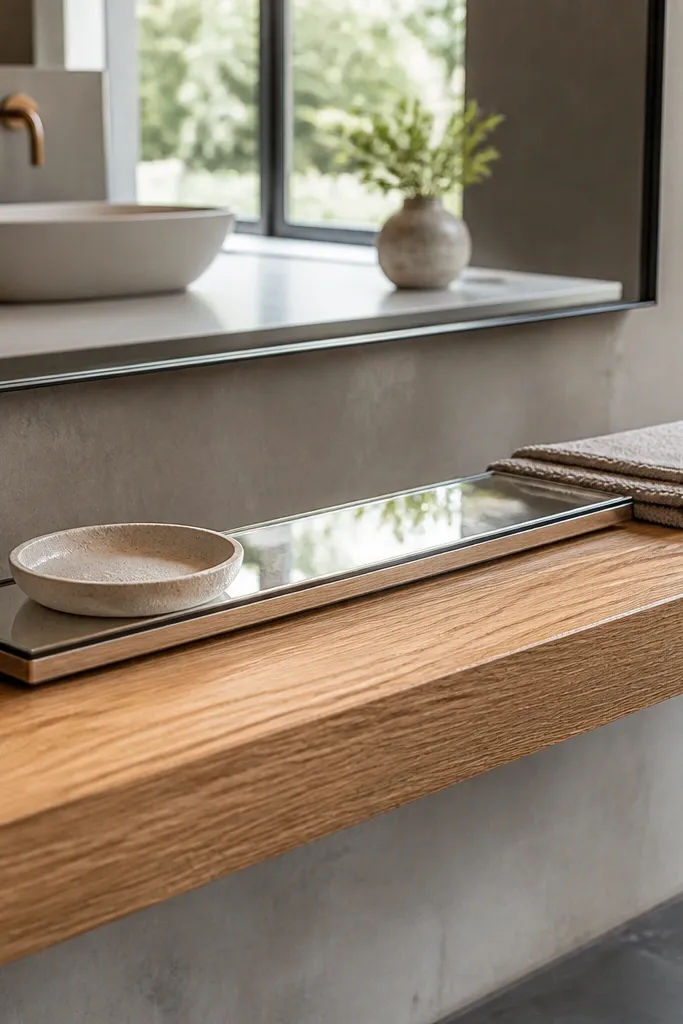
Floating shelves look clean and modern because they create a horizontal line that doesn’t block sight like a bulky cabinet. Warm oak adds softness against white tile or painted walls, and minimal styling keeps the room airy. This works especially well for renters because you can mount into studs and keep the shelf hardware tidy. In photos, the shelf becomes a styling platform that makes the whole sink area feel finished.
Find studs with a stud finder and mark the level line for the shelf. Use a shelf bracket kit built for small loads, then mount the bracket first and confirm level with a 2-foot level. Attach the shelf board, then sand the edge lightly if it feels rough. Style with one long tray and two items max so the shelf looks deliberate.
Use felt pads on the bottom of decor trays to prevent scratches and squeaks.
Don’t put a lot of small items on a floating shelf — it turns into visual noise.
6. Peel-and-stick floor tiles in a matte, grout-lined pattern
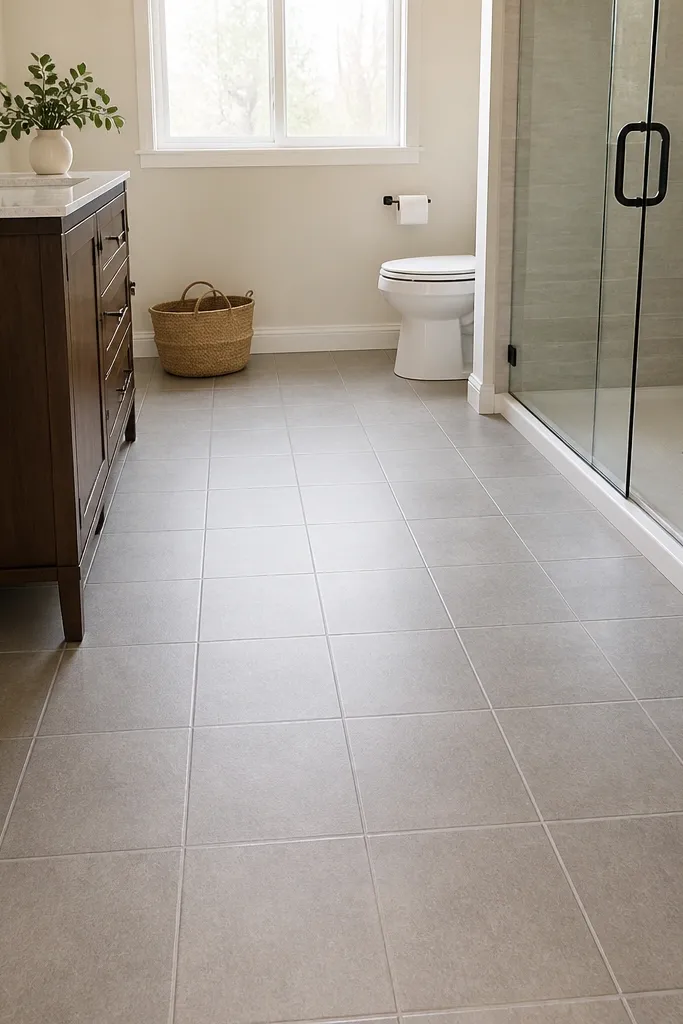
Floor tiles are where small bathrooms either look cramped or look designed. Matte, grout-lined peel-and-stick tiles photograph well because they don’t glare and they create a realistic grid. Choose a pattern that reads calm from across the room — a simple square or small rectangle beats loud geometric prints. If your current floor is stained or dated, this is the most noticeable renter-friendly fix.
Start by cleaning the floor with a residue-free cleaner and let it dry fully. Measure the room and dry-fit a row to find your best start point so you don’t end up with tiny slivers at the edge. Lay tiles one by one, using a straightedge and spacers if the system includes them. Seal edges with a thin trim strip where the tile meets the wall for crisp lines.
Use a flooring roller to press tiles down evenly. It reduces edge lift later.
Don’t install over waxed or glossy floors — tiles won’t bond and corners peel.
7. Painted vanity top look with peel-and-stick laminate edge banding
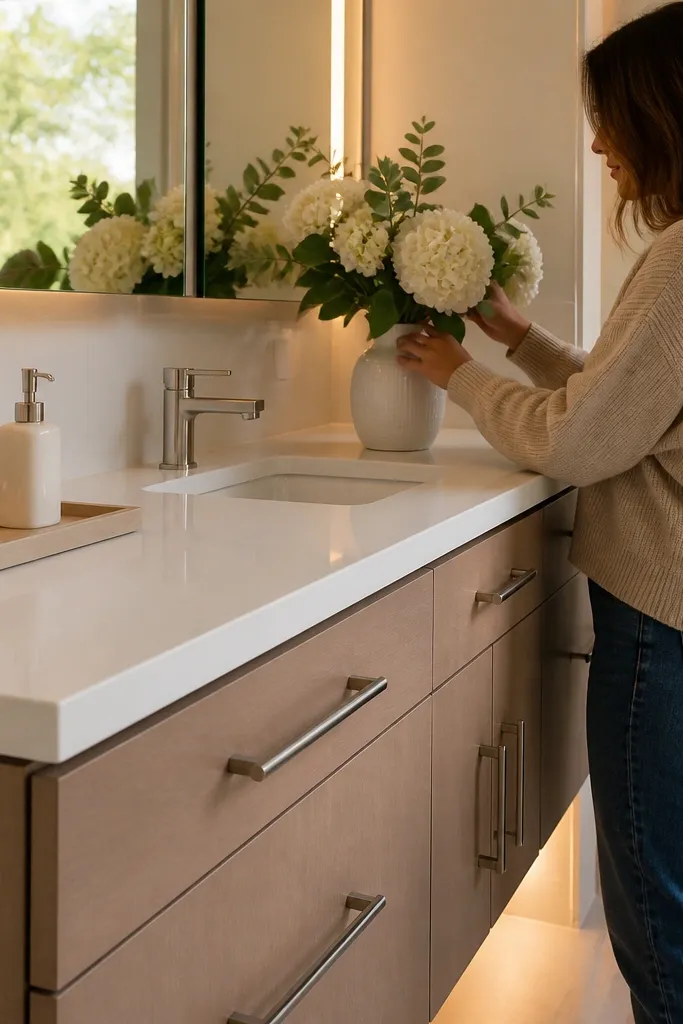
If you can’t replace a vanity, you can still make it look newer by fixing the visual mess at the edges. Peel-and-stick laminate edge banding gives you a clean border line that makes the counter look intentional in photos. Pair it with a simple countertop tray setup and matched cabinet hardware. This is a renter-friendly way to upgrade without sanding everything down.
Clean the counter edge thoroughly and dry it completely. Cut the edge banding to length, then apply it using a heat tool or iron set low to activate the adhesive. Trim with a sharp blade and press the seam firmly. Finish by placing a tray that hides any minor imperfections along the front edge.
Do a test patch on a hidden edge first. Some adhesives grab differently depending on surface texture.
Don’t wrap banding over dusty edges — the seam lifts and looks obvious on camera.
8. Matte black hardware swap with matching towel hooks
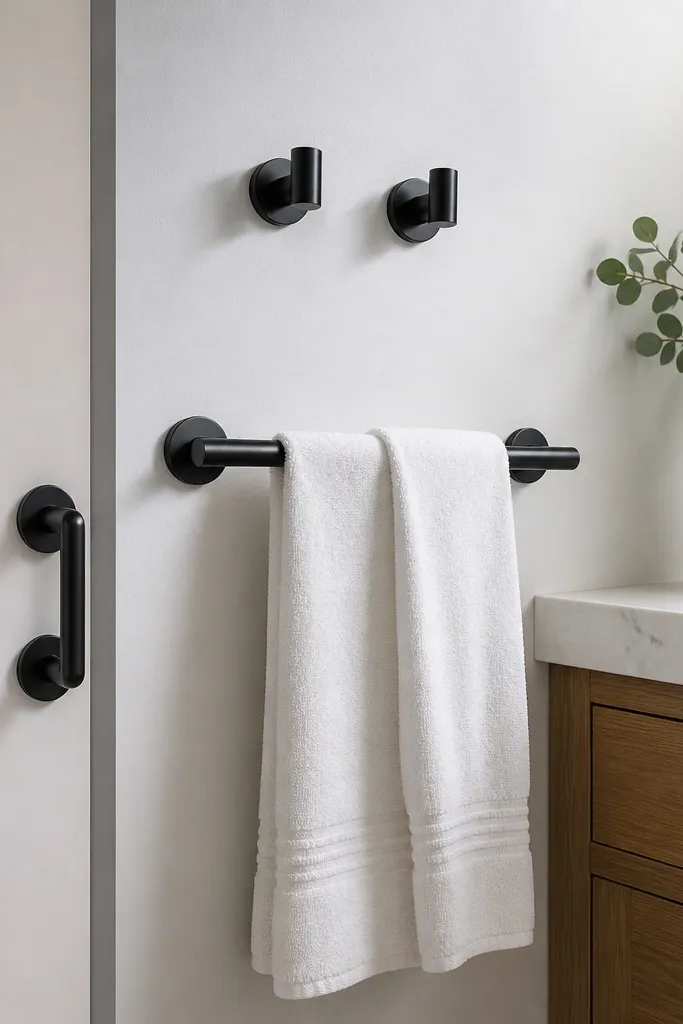
Hardware is small, but it changes the whole look because it creates consistency. A matte black finish makes white walls and light floors look sharper, and it hides minor water spots better than shiny chrome in real life. For renter-friendly updates, swapping pulls and adding removable hooks can be done without touching the wall finish much. In photos, the matching metal tones make the bathroom feel coordinated even when the layout stays the same.
Measure your existing cabinet pull spacing and buy replacements in the same hole pattern or plan for adapter plates. Remove old hardware carefully and clean the screw holes. Install new pulls with the right screwdriver torque so they sit flush. For towel hooks, use adhesive hooks rated for bathroom humidity and mount them with a level guide.
Editor's noteUse a small strip of painter’s tape to mark hook height before you peel the backing.
Skip thisDon’t mix finishes like chrome faucet with matte hooks — the mismatch reads messy in pictures.
9. Renter-safe wall art grid using removable frames and spacing tape
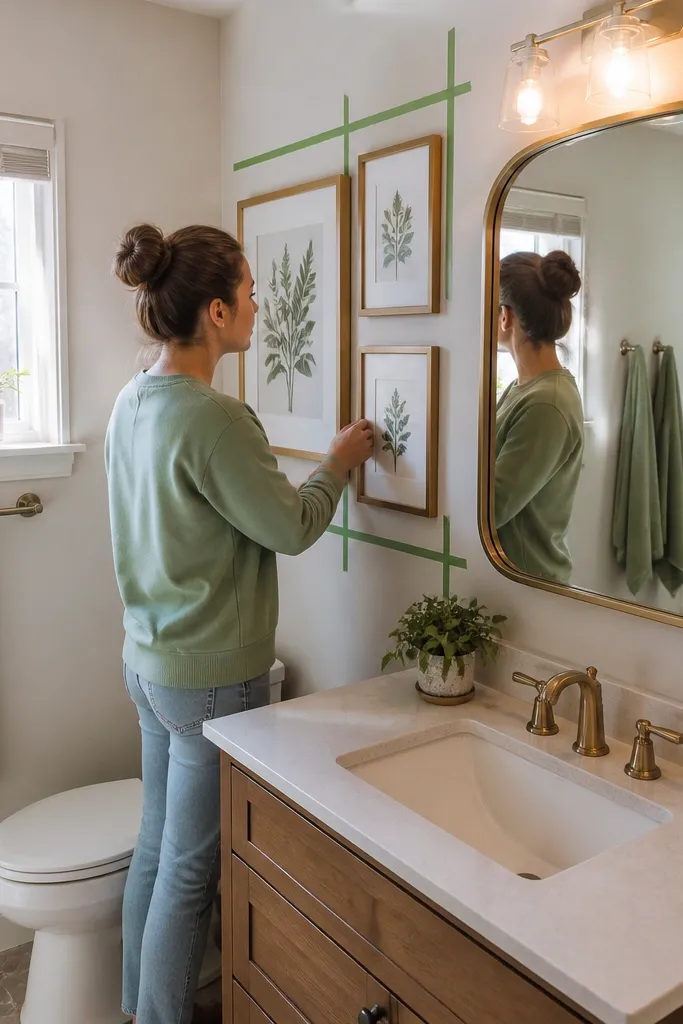
Wall art makes a small bathroom feel finished because it gives the eye something to land on beyond the mirror. A grid of two or three frames looks modern, and removable mounting keeps you from drilling into tile. Pick prints with one dominant color that repeats in your towels or rug. In photos, the spacing matters — crooked frames are the fastest way to make a bathroom look unfinished.
Plan your grid on paper first and decide frame sizes that fit the wall area. Clean the mounting surface with alcohol wipes, then apply removable adhesive strips following the frame weight rating. Use spacing tape to place frames evenly, then press each frame down firmly for the adhesive to grab. Step back and check alignment at eye height.
Choose frames with matte or satin finishes. Glossy frames flare under bathroom lights.
Don’t hang art too high above the toilet or sink — the composition looks off in photos.
10. Shower niche look with removable shelf and matching pebble tray
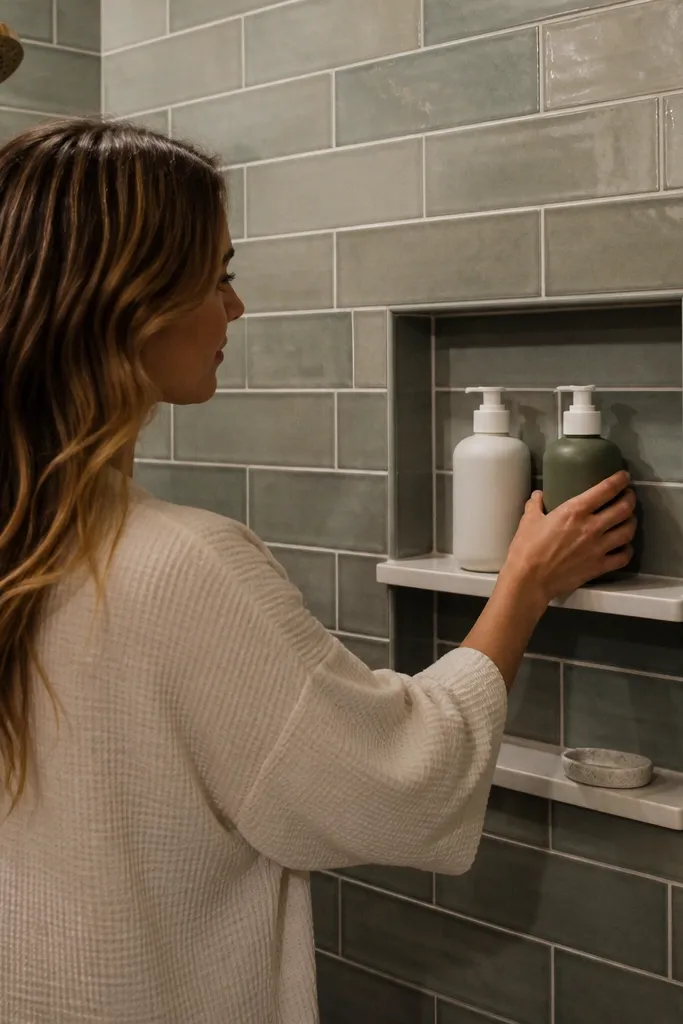
A built-in niche look makes a shower area feel custom, even if you’re using rental-safe hardware. A removable shelf keeps bottles off the floor and makes the shower look organized in photos. The pebble soap tray adds texture that reads cozy, not sterile. Keep the shelf styling consistent: same bottle shapes or colors, no random tall clutter.
Choose a rustproof removable shower caddy with strong suction or clamp mounts designed for tile. Place it so bottles don’t block the water stream and so the front edge stays level. Add a small tray for soap and keep shampoo bottles aligned side-by-side. Wipe the surface dry before mounting to improve adhesion and reduce slipping.
Editor's noteUse shower gel pumps that match your color palette. Visually, it matters more than you think.
Skip thisDon’t stack bottles vertically on a small shelf — it makes the shower look crowded.
11. Giant towel ring and matching robe hook on the same wall
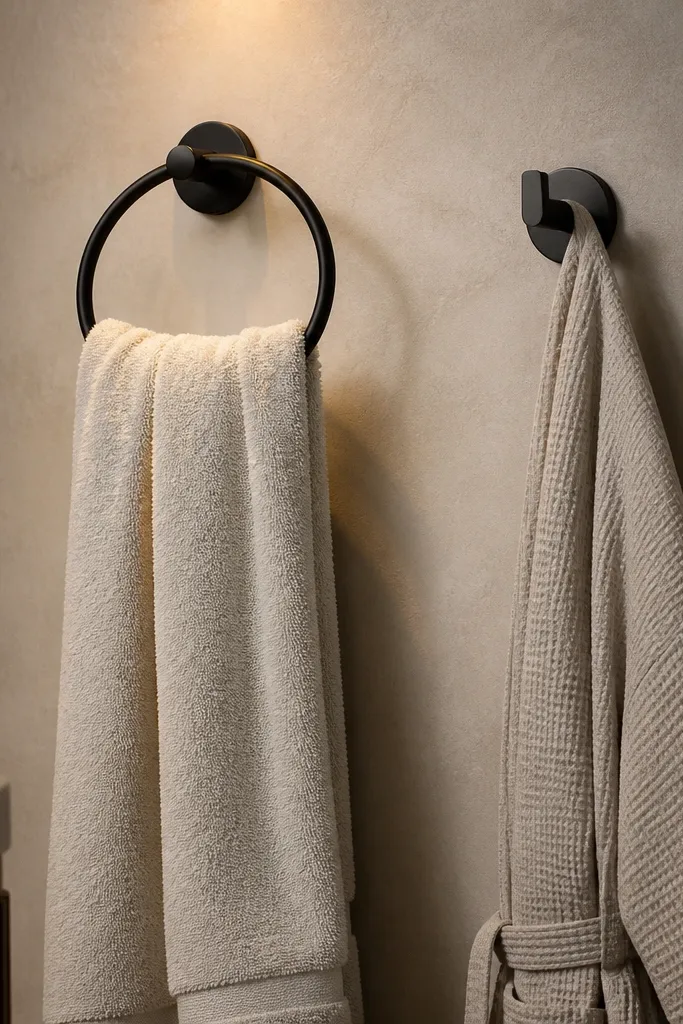
Towel placement changes the photo more than a lot of people realize. A larger towel ring keeps towels visible and neatly draped, while a matching robe hook gives you a second storage point. When both pieces are the same finish and placed at clean heights, the wall looks intentional. It also improves day-to-day use because towels dry in a better position.
Measure towel length and pick a towel ring diameter that lets towels fold without bunching. Mark the mounting height so the towel sits about mid-tile height above the floor for a balanced look. Install into studs when possible; otherwise, use rated anchors for tile. Add the robe hook next to it, keeping the same vertical center line across the two pieces.
Hang one hand towel and one bath towel in matching folds for the best photo symmetry.
Avoid tiny towel rings — towels look like they’re struggling and the photo looks cramped.
12. Framed mirror + peel-and-stick tile wall behind it for a clean focal panel
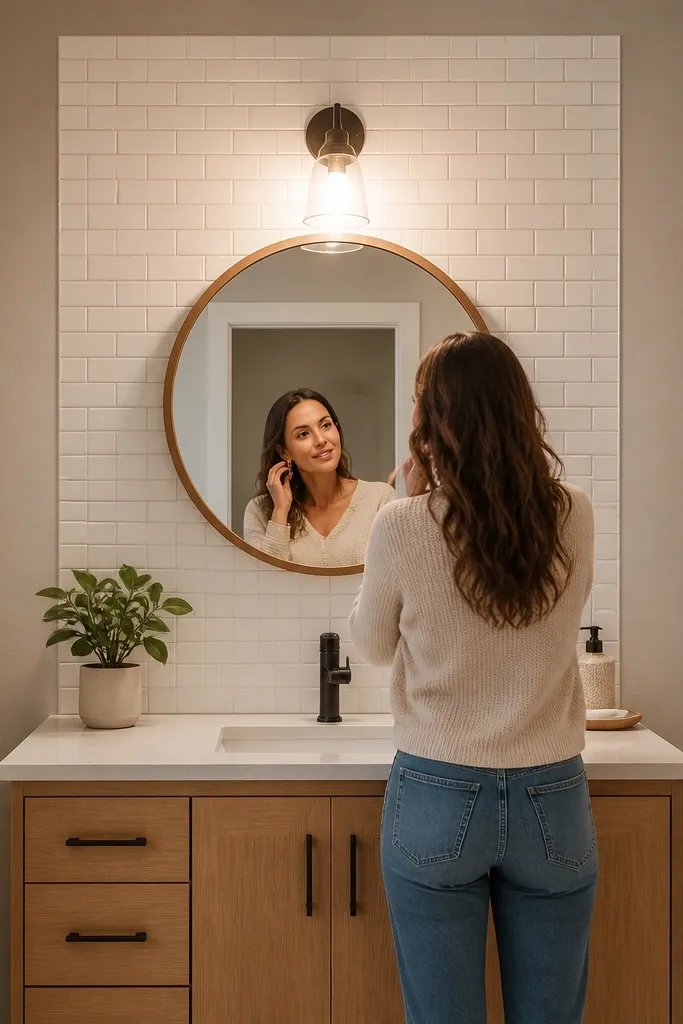
A tile panel behind the mirror creates a focal wall that makes everything else feel simpler. Even if you only cover a small rectangle, the photo reads like a designed feature wall. Peel-and-stick tile is renter-friendly here because the area is small and easy to keep straight. Choose a tile pattern that repeats the same width from top to bottom for a crisp look.
Measure the mirror and decide the panel dimensions so it sits centered with consistent margins. Tape the outline on the wall and dry-fit tiles before removing the backing. Apply tiles in rows, pressing firmly and checking alignment each row. Seal edges and caulk where the panel meets paint so there’s no visible gap.
Use a laser level or a long level for the first row. If row one is off, everything looks off.
Don’t cover uneven walls without checking — waves show up instantly on a flat tile pattern.
13. Matte white shower wall panels with removable caulk lines look
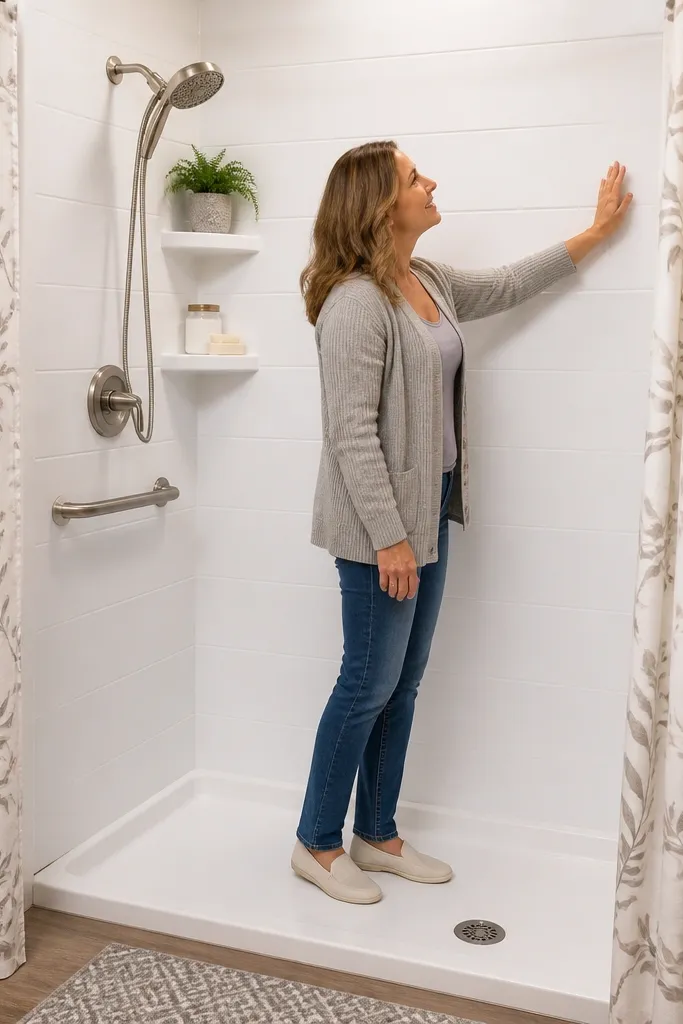
If your shower walls look dingy or old, you don’t need demolition to fix the photo. Smooth matte panels or tile-look coverings create a uniform surface that wipes clean and looks bright in pictures. The secret is the line work: clean edges around the corners and fixtures make it read “new.” This works best when you already have a mostly flat shower area and you’re aiming for a simple white base.
Pick a shower-safe wall covering system that includes corner pieces and water-resistant seams. Clean the surface and remove any loose caulk or grime so the panels sit flat. Install panels from the bottom up, using the included rails or spacers to keep seams even. Apply sealant only where the system calls for it and smooth with a caulk tool.
Keep seams dry during installation and don’t rush the curing time before using the shower.
Don’t use regular caulk meant for interior gaps — shower moisture will ruin it.
14. Small vanity makeover with peel-and-stick backsplash strip and matching tray
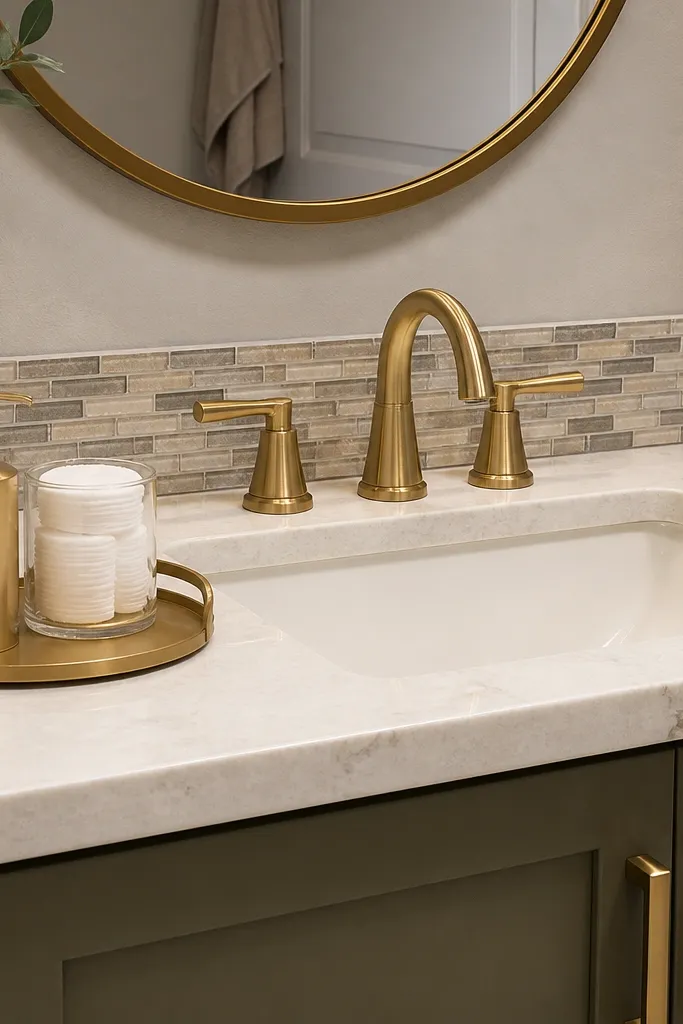
You don’t always need full backsplash coverage to get the “remodeled” look. A narrow strip of peel-and-stick tile behind the faucet and along the counter edge creates a clean visual boundary. Add a matching tray and keep items aligned so the photo looks curated. This is a good choice when you want impact but you have time for only one surface upgrade.
Clean the wall and measure the counter length so you can center the strip. Dry-fit tiles and cut a top row so the edges land straight. Apply tiles in place, pressing firmly and smoothing each piece with a plastic tool. Finish by styling with a tray that spans the counter width and places bottles in the same direction.
Editor's noteUse a ruler to keep the top edge perfectly level. That line is what your eye reads first.
Skip thisDon’t let the strip drift off-center — it looks like an afterthought in photos.
15. Renter-friendly shower curtain rod shelf with a slim plant and candles
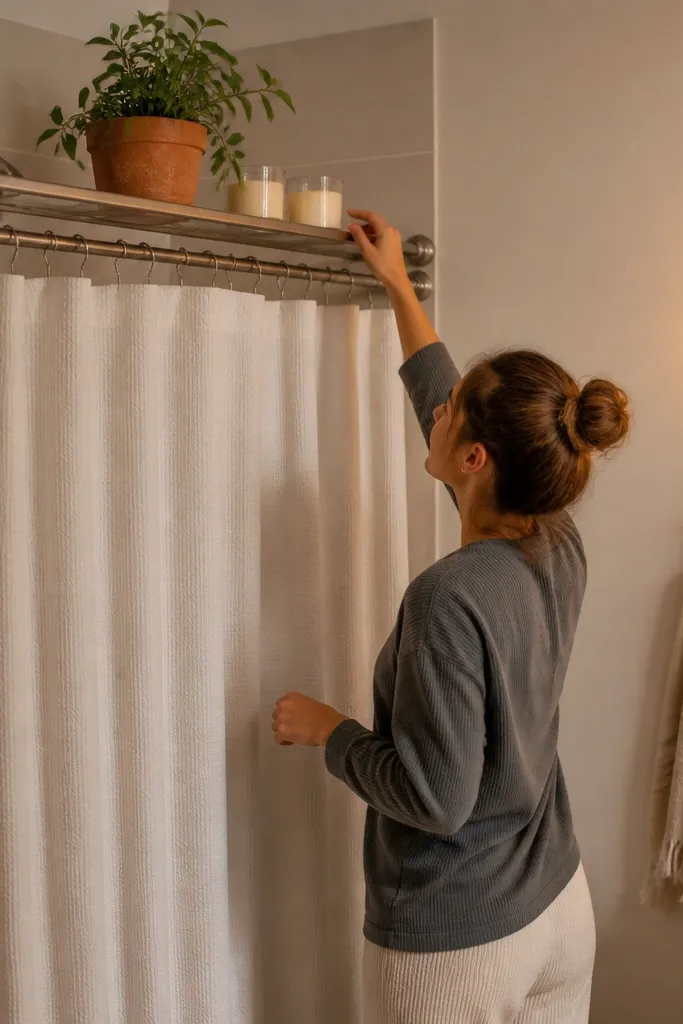
Adding a small shelf near the shower curtain rod gives you a styling area without drilling. In small bathrooms, vertical surfaces are where the photo gets interesting, and a slim plant or candle makes the space feel lived-in. The look works best with simple, neutral decor because bathroom lighting can wash out bright colors. Keep it minimal so the shelf doesn’t block the curtain line.
Choose a rod shelf that clamps securely to your tension rod or installs to a fixed rod without drilling. Tighten the clamps evenly and check it’s level before you place anything. Use lightweight decor only — a small plant in a ceramic pot and a single candle in a glass holder. Keep the shelf surface dry so adhesives and finishes last.
Pick plant leaves with darker greens. They photograph better under warm bathroom bulbs.
Don’t overload the shelf — the curtain fabric will shift and the photo looks messy.
16. Matte ceramic sink tray setup with matching soap dispenser and toothbrush cup
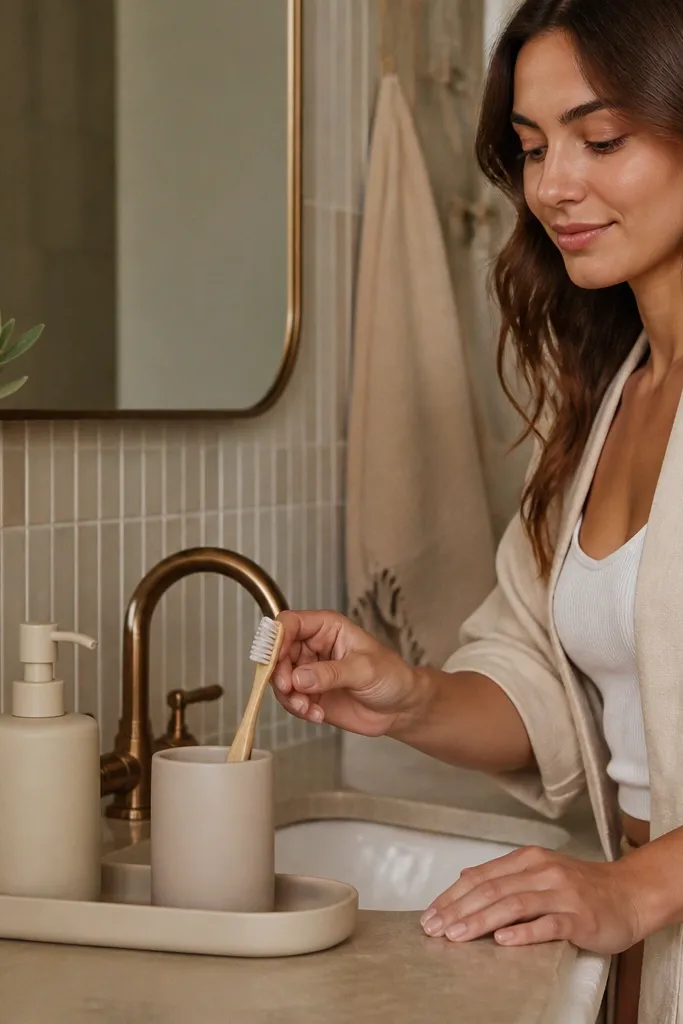
This is the styling upgrade that makes every other remodel decision look better. A matte sink tray anchors the counter visually and hides messy edges or mismatched items. Matching a soap dispenser and toothbrush cup to the tray color keeps the sink area from looking like a collection of random things. In photos, clean negative space matters more than expensive fixtures.
Pick a tray size that leaves at least 1 inch of clearance around the sink edges. Choose matching accessories in the same finish and color family. Wipe the counter and dry completely so items don’t slide. Place items in a simple layout: soap on one side, toothbrush cup centered or slightly off-center, and one optional small detail.
Editor's noteUse a lint roller on towels and a microfiber wipe on the mirror right before you take pictures.
Skip thisAvoid mixing too many materials like glass, chrome, and wood together on the sink.
17. Renter-safe cabinet door decals in a soft geometric pattern
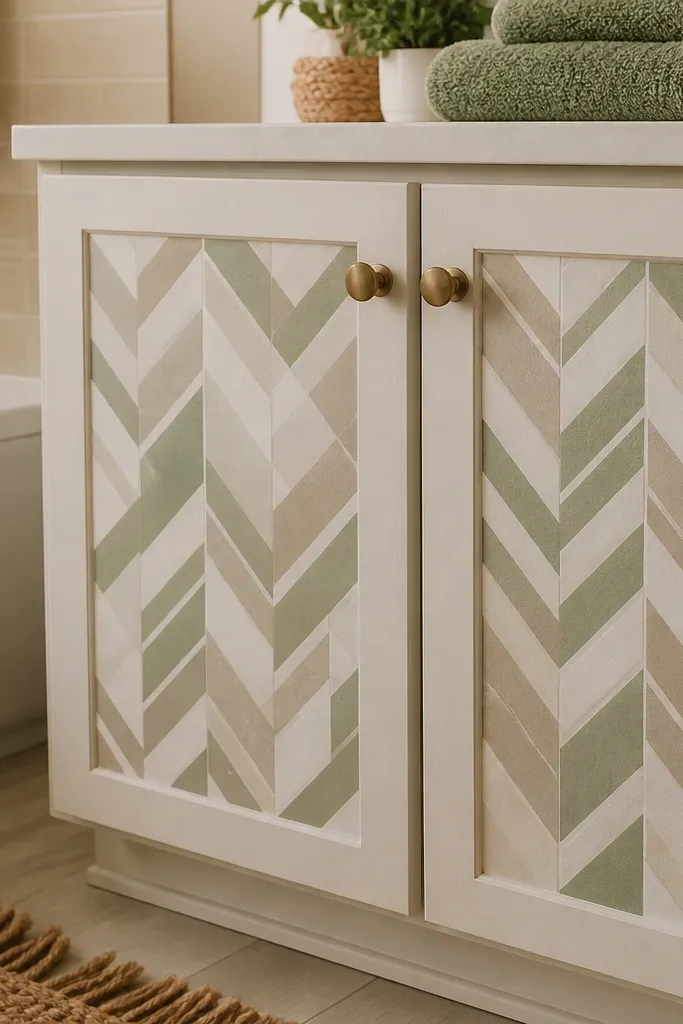
Cabinet doors are big blank areas in small bathrooms, and decals can make them look designed without repainting. A soft geometric pattern adds texture and interest without clashing with tile or shower curtains. Keep the color palette tight: one neutral base and one accent tone that matches your towels or rug. In photos, the decals create depth and make the vanity feel like furniture, not a storage box.
Choose vinyl decals made for cabinets and test adhesion on a hidden spot first. Clean the door surface with alcohol wipes and let it dry. Apply decals using a squeegee and alignment grid so edges line up with door frames. Seal lightly with a clear protective layer if the decal system recommends it.
Editor's noteUse a plastic ruler to press corners and prevent lifting along edges.
Skip thisDon’t apply decals over peeling paint or rough spots — the pattern will look bumpy.
18. Small bathroom gallery shelf with floating ledge and slim baskets
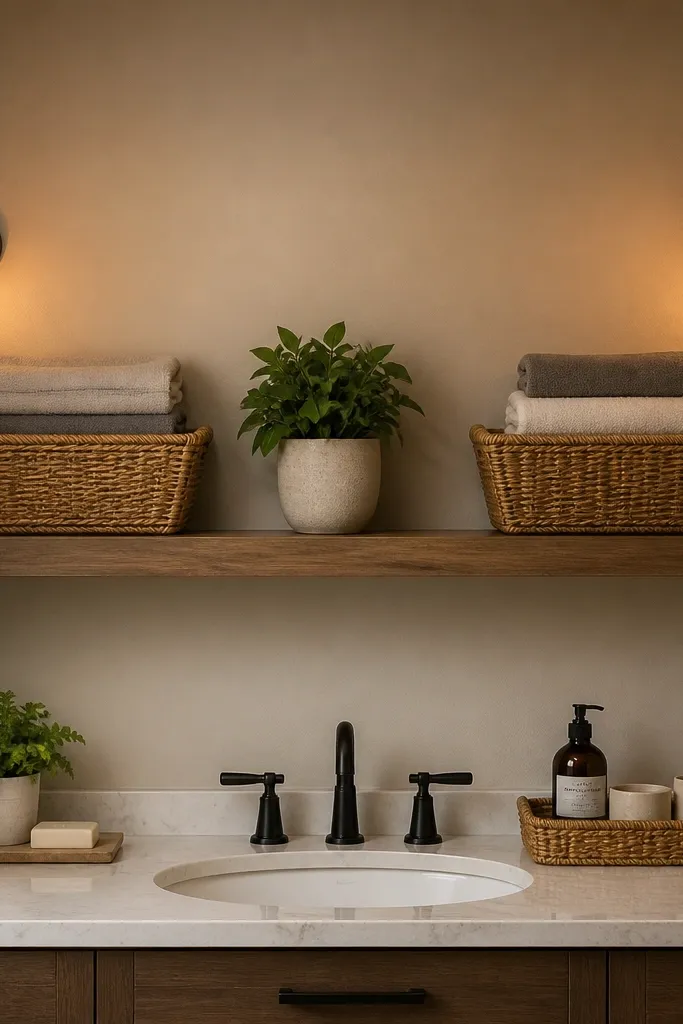
A floating ledge plus baskets gives you controlled storage that stays photogenic. The shelf line adds structure, and baskets hide daily items so the bathroom looks clean in every picture. This setup works well when your countertops are too small to hold much, and your walls are already mostly bare. Keep baskets uniform in color so the wall looks intentional.
Mount a ledge shelf with brackets into studs and confirm level. Choose slim baskets that fit the shelf depth with a little clearance so they slide in easily. Line the baskets with matching liners if you want a cleaner look. Style by placing towels or rolls in one basket and daily items in another, keeping the top shelf mostly empty.
Editor's noteMeasure basket heights against the shelf so you don’t end up with awkward overhangs.
Skip thisAvoid tall baskets on a low shelf — they block sightlines and make the room feel smaller.
19. Wall-mounted toilet paper holder with a matching storage caddy
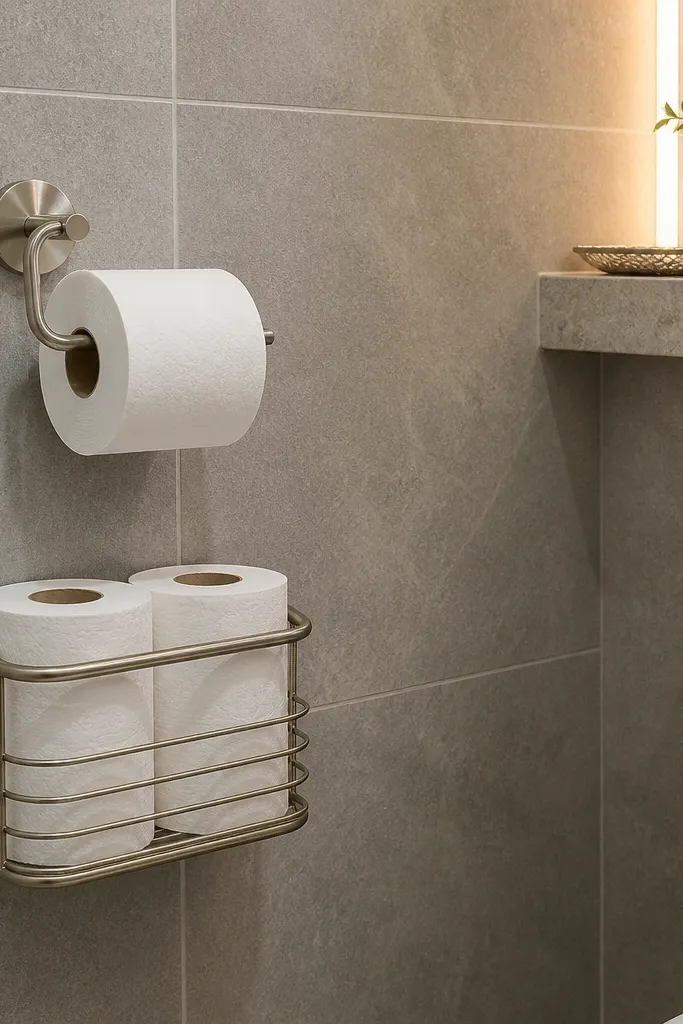
The toilet area is where photos often look unfinished because there’s nowhere to put extra rolls. A wall-mounted holder with a matching caddy keeps everything off the floor and creates a tidy vertical block. When the finish matches your towel hardware, the bathroom looks cohesive. Choose a design with clean lines and no cluttered hooks.
Measure the space beside the toilet and pick a holder width that leaves clearance for the lid. Mount into studs if possible; otherwise, use tile-rated anchors and keep screws tight. Attach the caddy so it sits level and doesn’t swing. Style with two rolls max and one small item like a spare brush or wipes in a small container.
Editor's noteKeep caddy items uniform in color so the holder area stays calm.
Skip thisDon’t use a holder with too many dangling hooks — it looks messy in bathroom photos.
20. Wallpaper accent panel behind the toilet with removable wallpaper strips
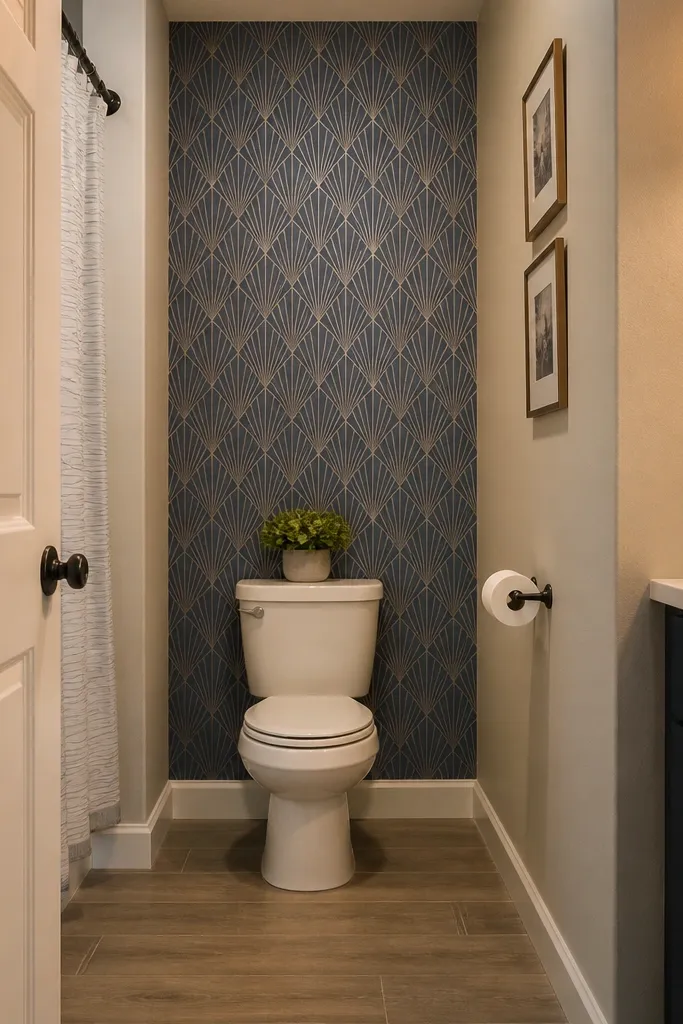
A single wallpaper panel behind the toilet makes the room feel designed because it gives the eye a backdrop. Removable wallpaper is a renter-friendly way to add pattern without committing to full-room change. Pick a pattern that scales for small spaces — medium florals or subtle geometric prints look better than tiny busy designs. The photo payoff is strong because the toilet area becomes the visual anchor.
Clean the wall and ensure it’s dry and smooth. Mark the panel rectangle with painter’s tape and cut paper to size with a sharp blade. Apply strips carefully using a smoothing tool and keep seams tight. Seal only the edges if the product calls for it, and avoid placing it directly over peeling paint.
Use a level line at the top and start from there. Wallpaper seams look obvious when they drift.
Don’t choose a high-gloss wallpaper — it reflects light and makes the panel look uneven.
21. Renter-friendly towel ladder with a neutral throw and one color pop
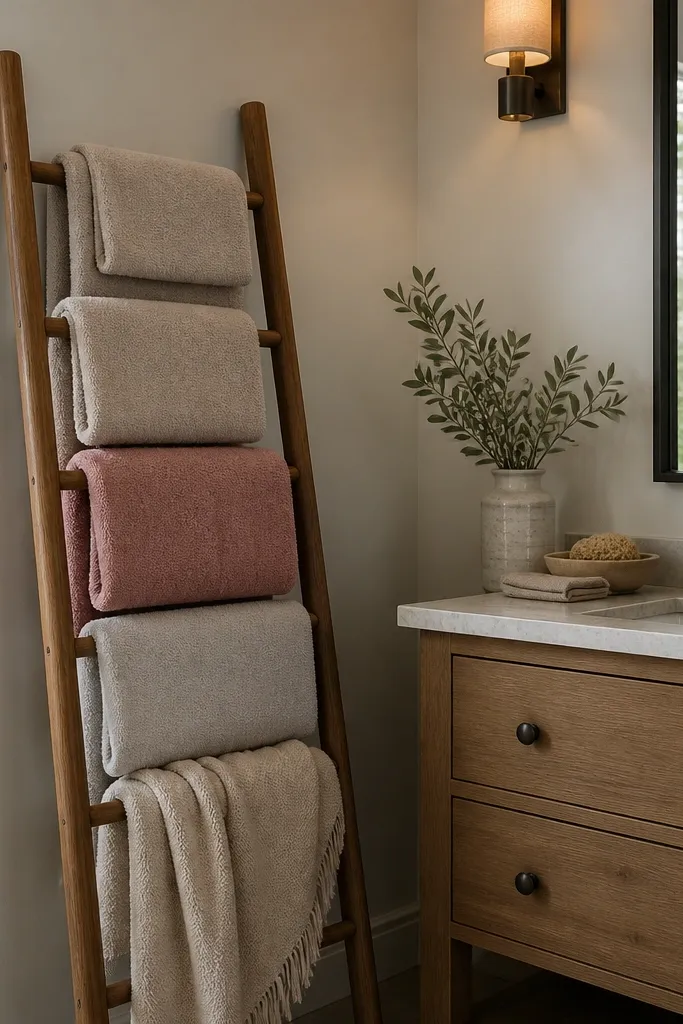
A towel ladder adds height and makes storage look like decor. In small bathrooms, it also gives you vertical organization without wall drilling if you choose freestanding. For photos, the ladder creates a repeating pattern with towels that looks intentional. Keep the ladder decor simple: folded towels in two shades and one neutral throw draped off one rung.
Pick a freestanding ladder that fits the space without blocking the door swing. Place it with the base on a soft mat or towel so it doesn’t scratch the floor. Fold towels into consistent sizes and hang them on alternating rungs. Add a small throw draped lightly so it doesn’t look like a blanket pile.
Editor's noteChoose one color pop (like terracotta) and repeat it in a small accessory like a toothbrush cup.
Skip thisAvoid ladders with lots of hooks and accessories — clutter shows up fast.
22. Matte white wainscot-look paneling using peel-and-stick wall trim
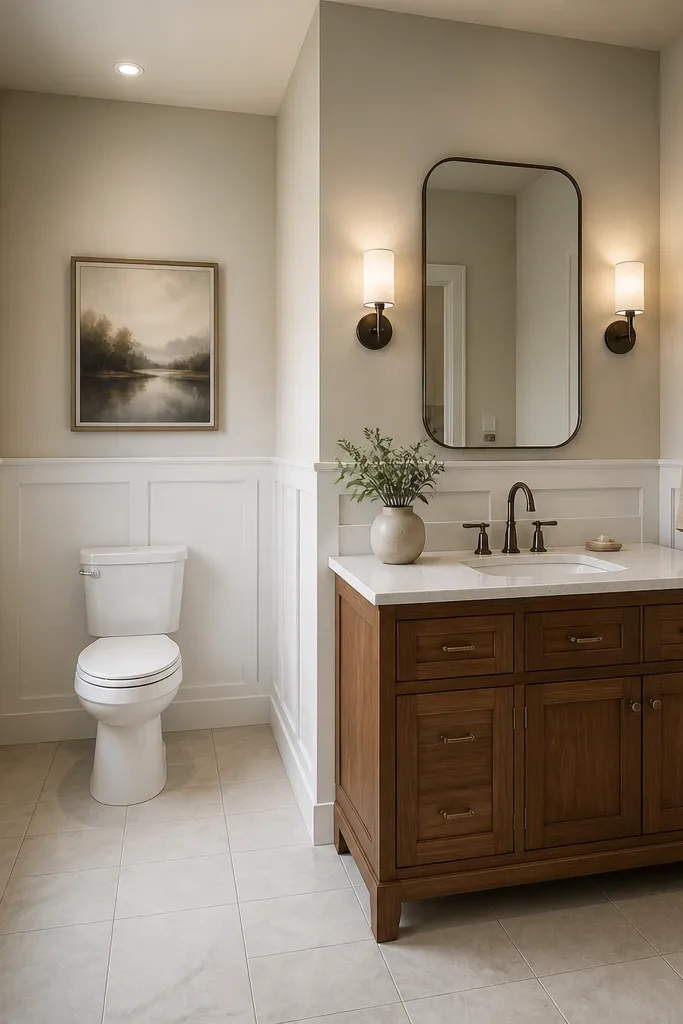
Wainscot-style trim makes a small bathroom look taller and more finished because it creates structured lines. Peel-and-stick wall trim gives you that panel look without carpentry or messy installation. The best part is how it photographs: the shadows in the trim lines add depth, even with simple lighting. Keep the base color matte white or soft warm gray so the trim reads clean instead of heavy.
Clean the wall and mark a straight reference line where the top of the trim should land. Apply trim strips in sections, pressing firmly and checking alignment with a level each section. Prime and paint only if the trim system requires it; otherwise, choose pre-finished trim. Finish by caulking the edges with paintable caulk for a crisp seam look.
Paint the trim the same day you install. Fresh caulk and paint gives you cleaner edges.
Don’t install trim over textured walls — the shadows will look uneven and sloppy.
23. Shower floor anti-slip runner in a pattern that matches towels
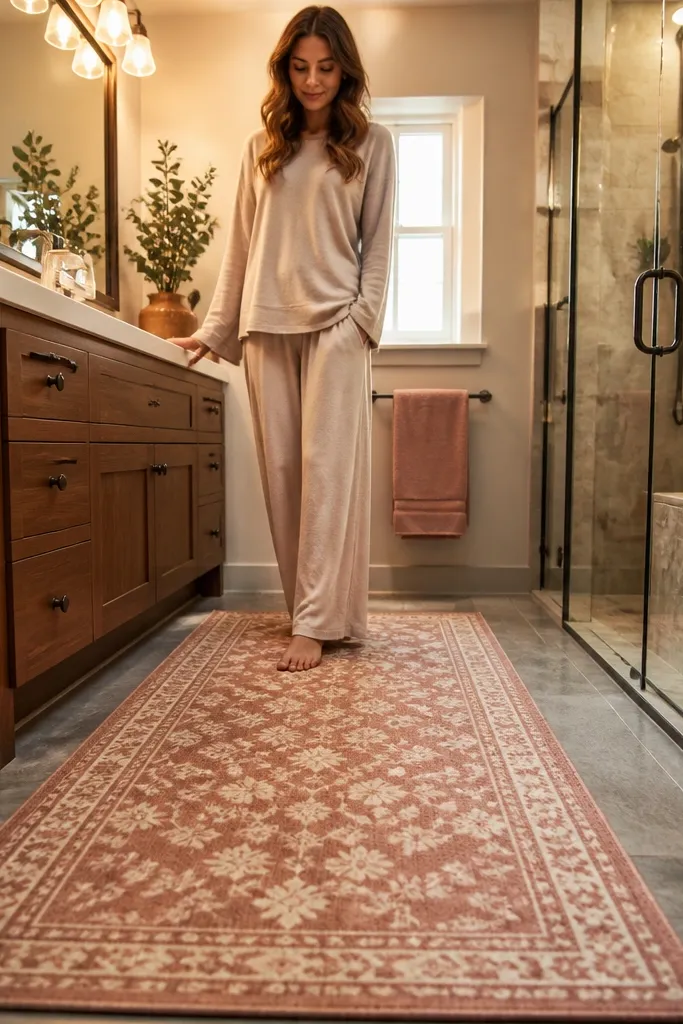
A shower runner seems minor, but in photos it’s one of the only things that adds pattern at floor level. When it matches the towel color palette, it ties the whole bathroom together. Choose an anti-slip fabric that looks matte and doesn’t bunch. This is a renter-friendly styling tool that improves both safety and appearance.
Measure the shower footprint and buy a runner with enough length to sit flat without curling. Wash and dry it before use so it lays smooth. Place it so the edges are visible but not wrinkled. Coordinate towel colors by pulling one color from the runner and using it on the towels.
Editor's noteUse a towel fold that repeats — same fold style on both hand and bath towels looks cleaner in photos.
Skip thisDon’t pick a glossy vinyl runner — it reflects bathroom lights and looks cheap.
24. Bathroom lighting swap: matte white vanity light with 3000K LEDs

Lighting is the difference between “okay” and “clean and intentional” in bathroom pictures. A matte white fixture spreads light without harsh glare, and 3000K LEDs keep skin tones looking natural and whites looking warm. Even if you don’t change the walls, the room photographs better because shadows soften. This is one of the most aesthetic upgrades you can do for a small bathroom.
Turn off power at the breaker and remove the old fixture. Confirm the mounting bracket and wire connections match the new light model, then install the new fixture securely. Use 3000K LED bulbs and check brightness by turning on for a full minute and looking at mirror reflections. Clean the glass covers or diffuser so the light looks even.
Editor's noteIf you see hotspots on the mirror, switch to bulbs with higher CRI (90+).
Skip thisDon’t use cool 5000K bulbs — the bathroom turns gray in photos.
25. Renter-friendly cabinet liner in a subtle pattern for a clean drawer look
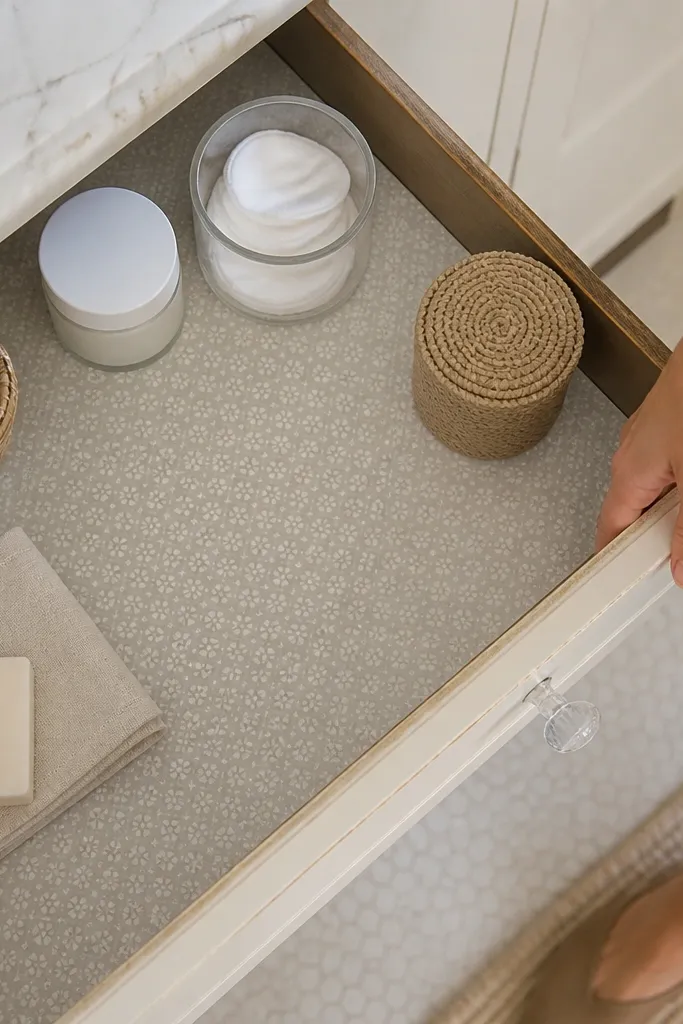
Photos catch drawer interiors when you open them, and liners make that moment look intentional. A subtle pattern hides small stains and gives the drawer a finished look, even if the cabinet is older. This also makes daily organization easier because items slide less on smooth surfaces. Choose liner colors that echo your towels or rug so the bathroom looks cohesive from every angle.
Measure each drawer base and cut liner to fit with a little extra for trimming. Clean the drawer with a damp cloth and let it dry so the liner adhesive sticks. If the liner is peel-and-stick, peel back gradually and press along the edges. Organize with one small bin per category so the drawer stays photo-ready.
Use clear bins for items you need often, so the drawer looks tidy without digging.
Don’t use a loud pattern liner — it competes with the rest of the bathroom.
26. Matte black towel bar mounted at the right height for a cleaner look
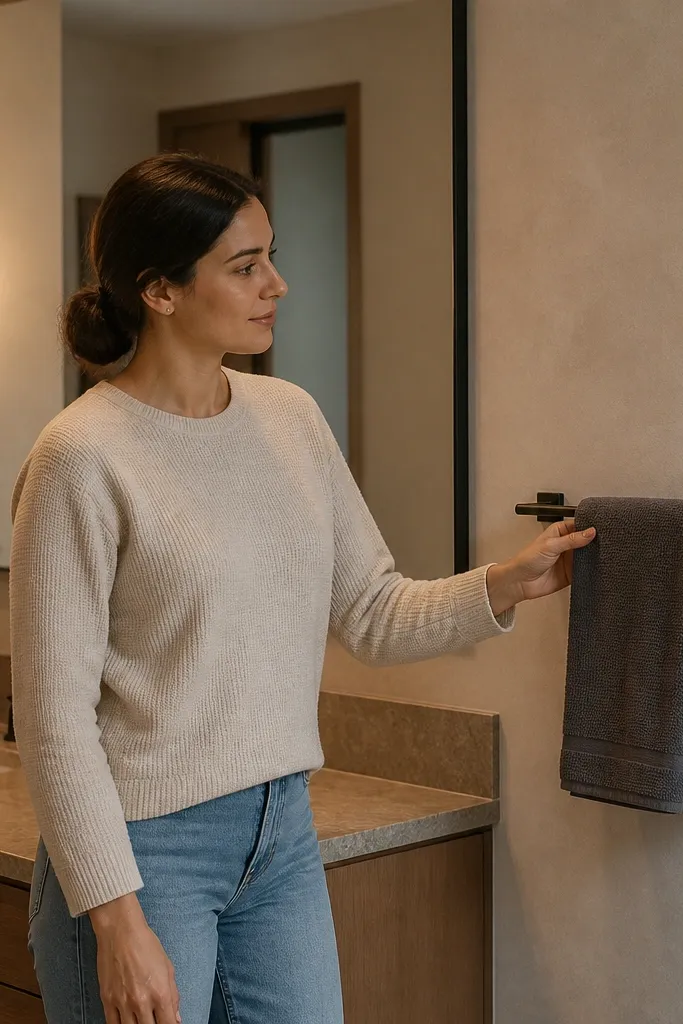
A towel bar looks better when it’s mounted at the right height. If it’s too low, towels drag and bunch. If it’s too high, towels hang awkwardly and the bar looks off. In photos, the right placement makes the bathroom look calm and measured, which is what you want in a small space. Choose matte black or brushed nickel so it matches your mirror frame and hardware.
Measure the towel length you actually use and mark a height so the folded towel sits about 2-3 inches above the floor line. Use painter’s tape to mark the bracket holes and confirm level. Mount into studs when possible, otherwise use rated anchors for the wall type. Hang towels with the fold aligned — one fold style, same orientation.
Editor's noteHang towels while they’re slightly damp and let them settle. They fold cleaner and hang straighter.
Skip thisDon’t mount over crooked tile lines — the bar line will read wrong in every picture.
27. Renter-friendly lighted vanity mirror strip (no wiring)
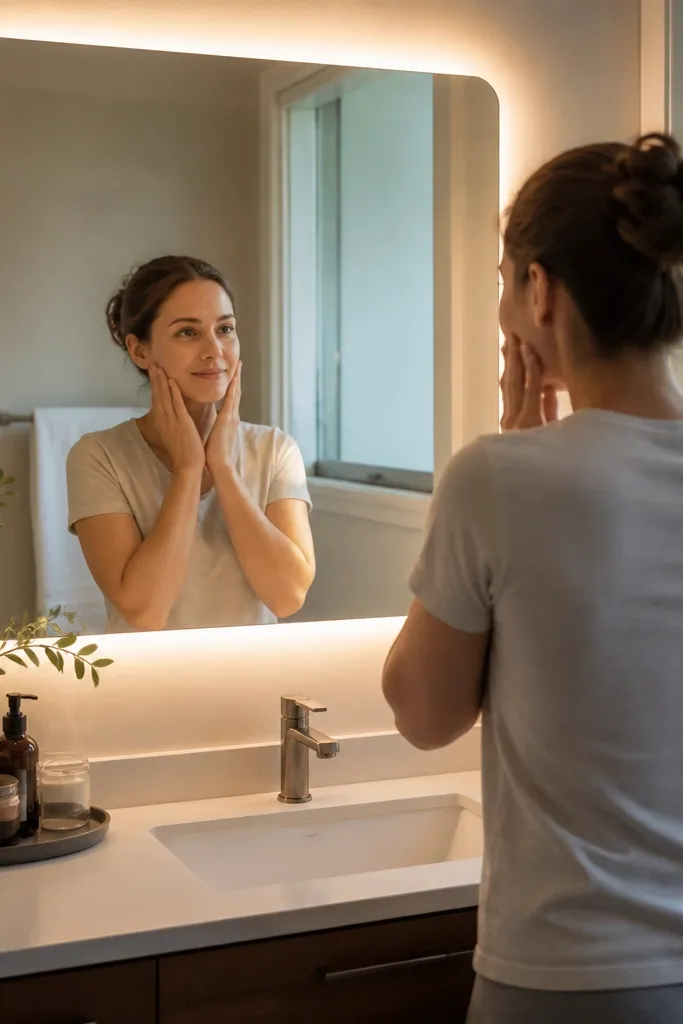
This is the easiest way to make a small bathroom feel bigger without touching plumbing or electrical. You get a clean, hotel-style glow around the mirror, and it makes counters look less cluttered because the light hugs the edges. Use a fog-resistant mirror and you solve the daily problem of a mirror that looks cloudy after a shower. This is a DIY that looks intentional in photos because the glow has a crisp outline, not a random lamp vibe. It fits renters, renters with ugly mirror edges, and anyone who wants a quick upgrade in about an hour.
Pick a fog-resistant mirror with a smooth frame so the LED strip adhesive sticks flat. Measure the mirror perimeter and cut a 12V or USB LED strip to length, leaving a 2 cm gap at the top corners so the light doesn’t glare. Clean the frame with rubbing alcohol, then apply the strip along the mirror sides and bottom edge using the included backing. Route the cord to the nearest outlet with a peel-and-stick cord channel so it looks neat, then test before you close anything up. Finish by placing a small tray on the counter that matches the mirror frame color so the whole photo reads cohesive.
Use a warm white LED strip (2700K-3000K) and dim it if your strip supports a dimmer — it photographs softer than bright cool LEDs.
Avoid mounting LEDs directly on textured paint or damp-prone areas where the adhesive won’t hold.
28. Peel-and-stick herringbone backsplash behind a tiny sink
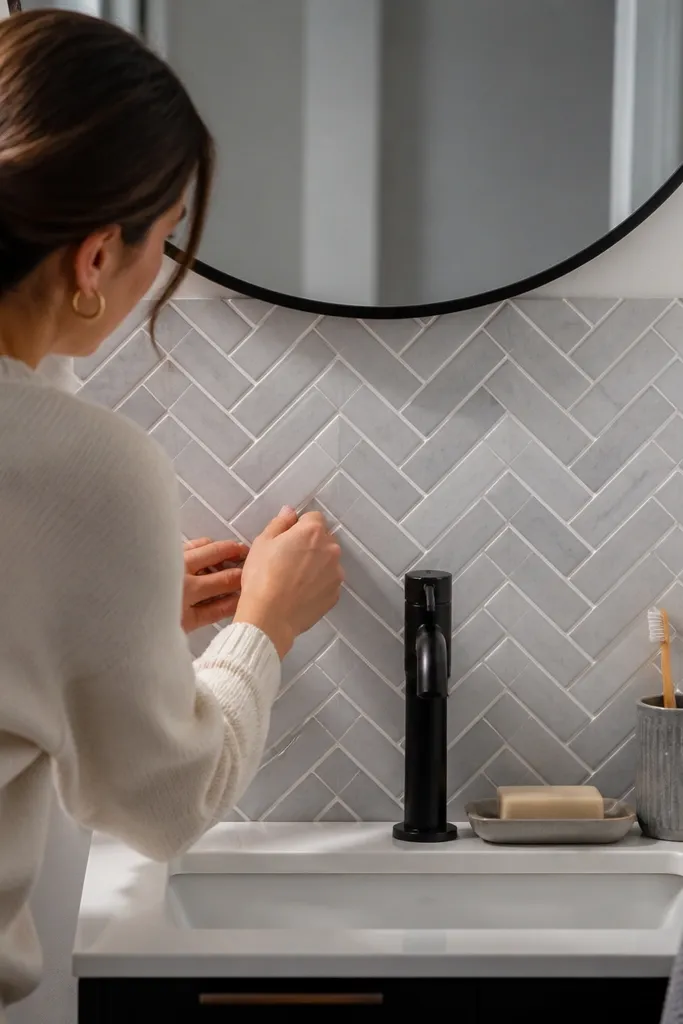
A small bathroom looks instantly more designed when there is a strong, clean backsplash line behind the sink. Herringbone is the move because it reads like real tile in photos even when you’re using peel-and-stick. This also fixes a common rental eyesore — the blank wall behind a tiny vanity that makes everything look unfinished. The finish is smooth and easy to wipe, and the pattern hides minor wall unevenness better than straight grout-looking sheets. This project suits bathrooms with a narrow counter, older paint, or a landlord that won’t approve tile.
Choose peel-and-stick backsplash sheets labeled for wet areas and measure the wall width from counter edge to the top of the backsplash you want, usually 36-42 inches. Dry-fit the first sheet section to find your center line, then mark it with a pencil so the pattern doesn’t drift. Apply starting from the center and press outward with a plastic smoothing tool, matching the herringbone seams as you go. Cut around the faucet and any outlet with a sharp utility knife, then seal the cut edges with clear silicone caulk where the backsplash meets the counter. Wipe off any excess caulk with a damp cloth before it skins over.
Use a hair dryer on low to warm the sheet before pressing corners — it helps the pattern lie flat without bubbles.
Avoid lining the first piece to the vanity edge instead of the center line — that’s how the herringbone starts looking crooked in photos.
29. Magnetic shower caddy with a clear soap dish rail
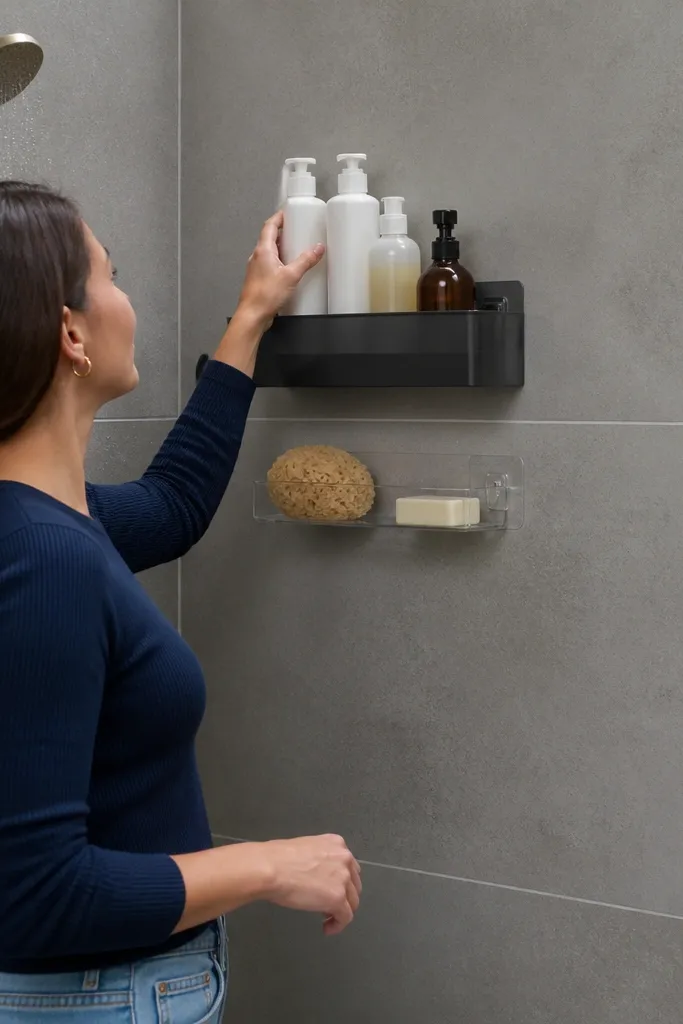
This gives you a clean, photo-ready shower wall without drilling holes. The trick is using a magnetic caddy and a slim clear rail for soap and a sponge — everything lines up and looks intentional instead of scattered. In small bathrooms, vertical organization matters because it clears the floor and makes the shower look larger. The clear dish also catches light, which makes the shower feel brighter in pictures. It’s a DIY-friendly upgrade that takes about 30 minutes and suits renters, especially if the landlord forbids mounting hardware.
Select a magnetic shower caddy sized for your shower wall and a separate slim clear rail with mounting strips designed for wet surfaces. Clean the tile or smooth metal surface with rubbing alcohol, then let it dry fully. Hold the caddy in place, mark the top edge with a pencil, and apply the magnet base or adhesive backing exactly on that line. Attach the clear rail using the included adhesive strips, keeping it 3-5 inches above the caddy so bottles don’t block the soap dish. Load the caddy with one bottle, one soap dish, and one sponge for a tidy look; keep extra items off the rail for better photos.
Editor's notePut the rail higher than you think by 1-2 inches — smaller showers look cleaner when items don’t sit at eye level.
Skip thisAvoid installing on glossy soap scum — even a perfect mount fails if the surface isn’t squeaky clean.
30. Painted faux wainscot with removable painter's tape lines
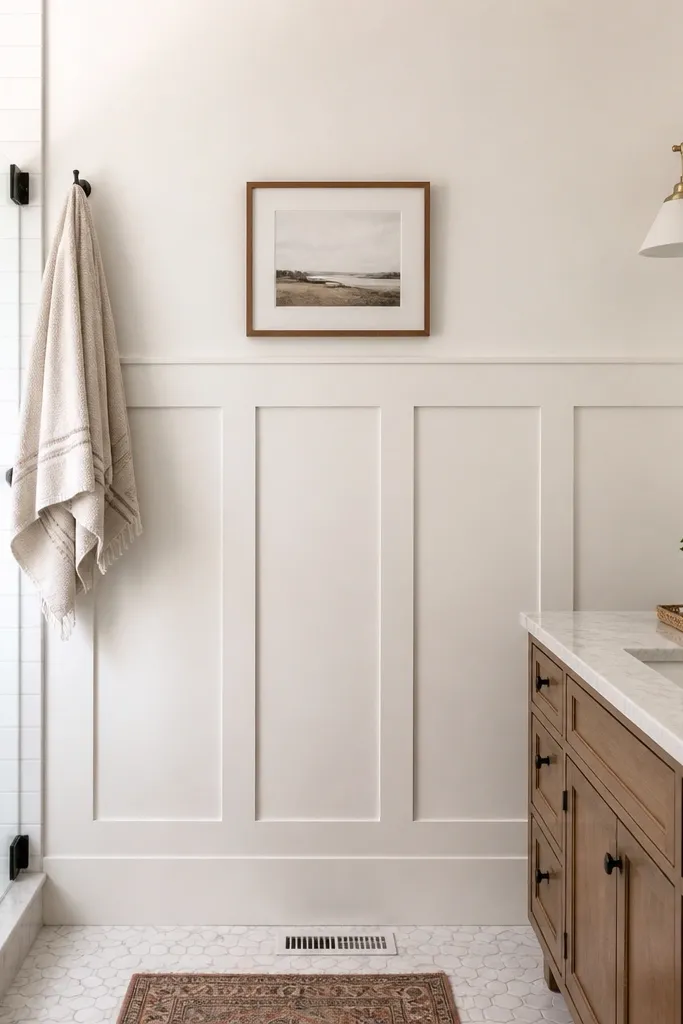
Crisp wall lines make a small bathroom look taller and more expensive, and faux wainscot does it without touching the ceiling. This version uses removable painter’s tape to create sharp boundaries you can photograph from the doorway. It fixes the flat, boring rental wall problem and gives you a built-in frame for art or a towel bar. Use two paint shades that are close in depth so the wall doesn’t look like a patchwork. This is a moderate DIY that’s still manageable in a weekend, especially if you already have a roller and a steady hand.
Pick your lower and upper colors and test them on a small patch so you know the undertone in bathroom light. Clean the wall, then measure the wainscot height from the floor, usually 32-36 inches for small bathrooms, and mark a straight level line. Tape the line with 1-inch painter’s tape, press the edges firmly, and paint the lower section first with a small foam roller. After it dries, remove the tape carefully, re-tape for the upper boundary, and paint the upper section, keeping the tape edge crisp. Let both coats cure, then remove any tape residue with a damp cloth and check the line under bright light.
Use a 2-inch angled sash brush for the tape edge — it paints clean right up to the tape without bleeding.
Avoid painting over dusty walls or skipping primer on glossy areas — the line will look messy even if your tape is perfect.



