
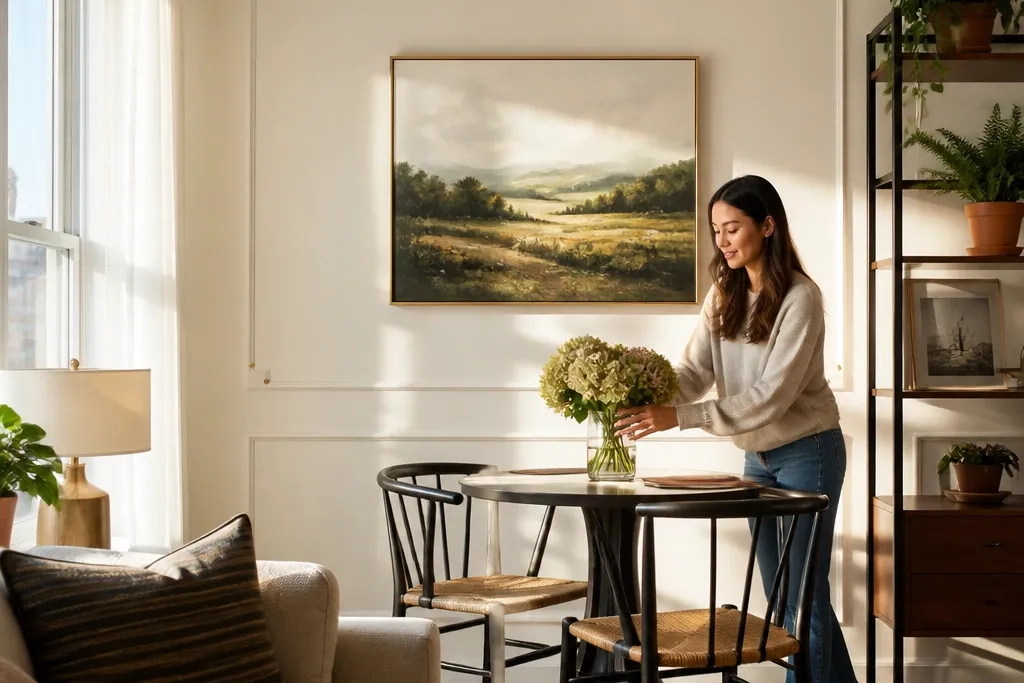
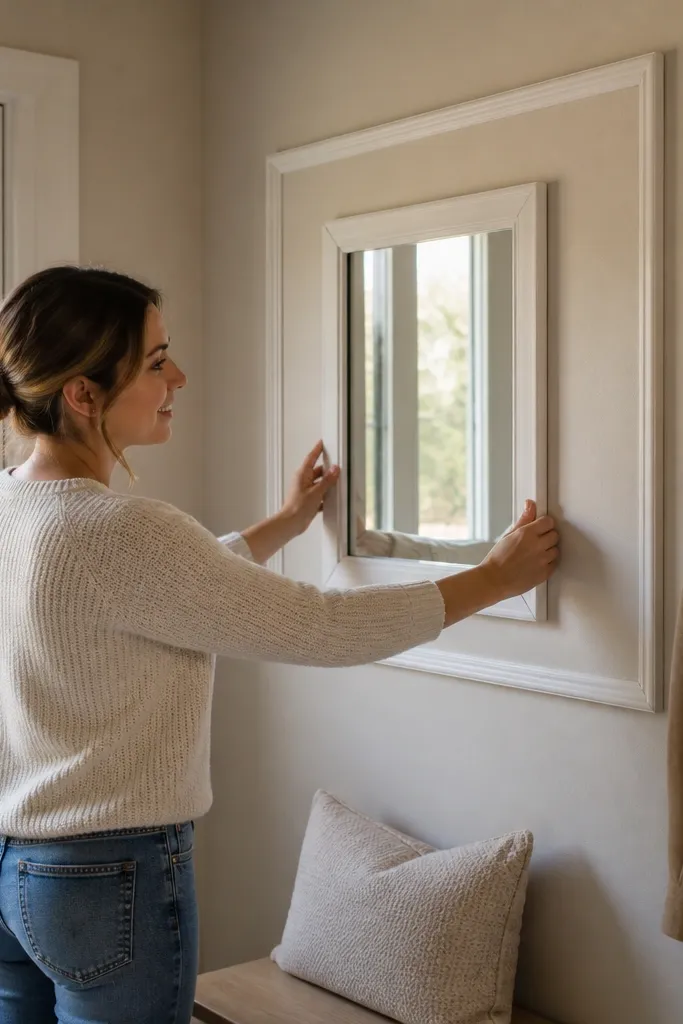
1. 2-Inch Picture Rail Band With Micro-Shadow Gap
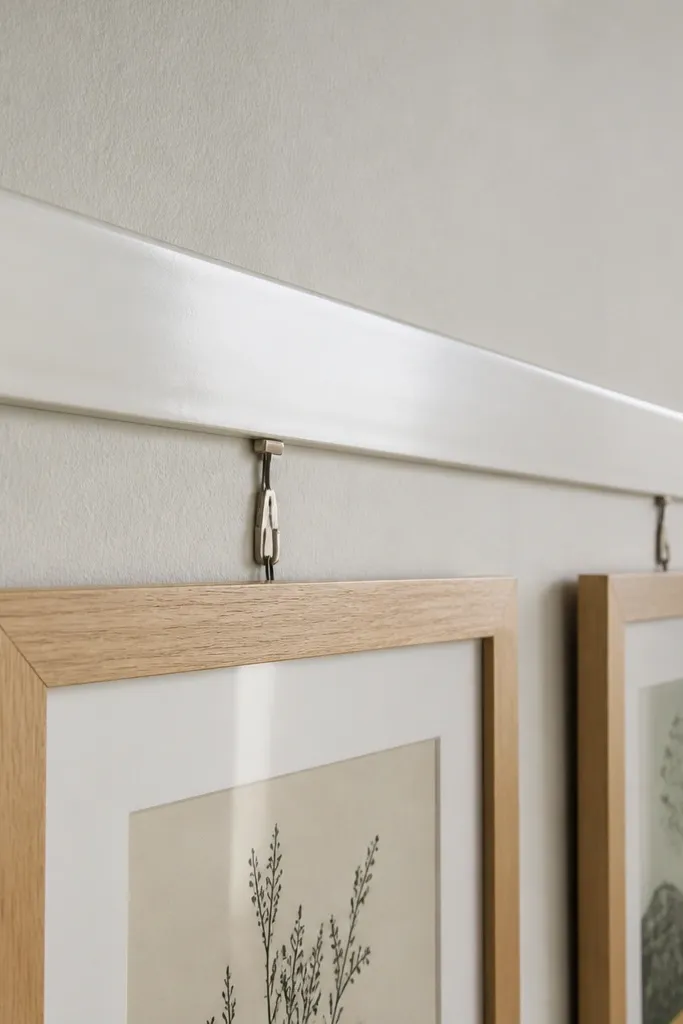
Start by marking a level line at the height you want the rail to sit (aim for 40-44 inches from the floor for most living rooms). Cut your PVC rail to length and dry-fit it so the ends meet cleanly at corners. Attach using small screws through the rail where you can later patch with paintable filler. Run a thin bead of paintable caulk along the top and bottom edges, then tool it smooth with a damp finger before painting.
A picture rail band is the fastest way to make a rental wall look dressed without covering half of it. This design uses a 2-inch-wide PVC rail plus a tiny spacer line that reads like a shadow gap in photos. The contrast is subtle but it makes the wall feel architectural instead of flat. It also works with art galleries because the band visually “holds” the space.
Skip thisDon’t skip caulk at the edges; the gap is what makes PVC look cheap in daylight.
Editor's noteUse a 6-inch level or a laser and check level at both ends of the room — picture rails show every wobble.
2. Classic Chair-Rail Panels in a 3x3 Grid
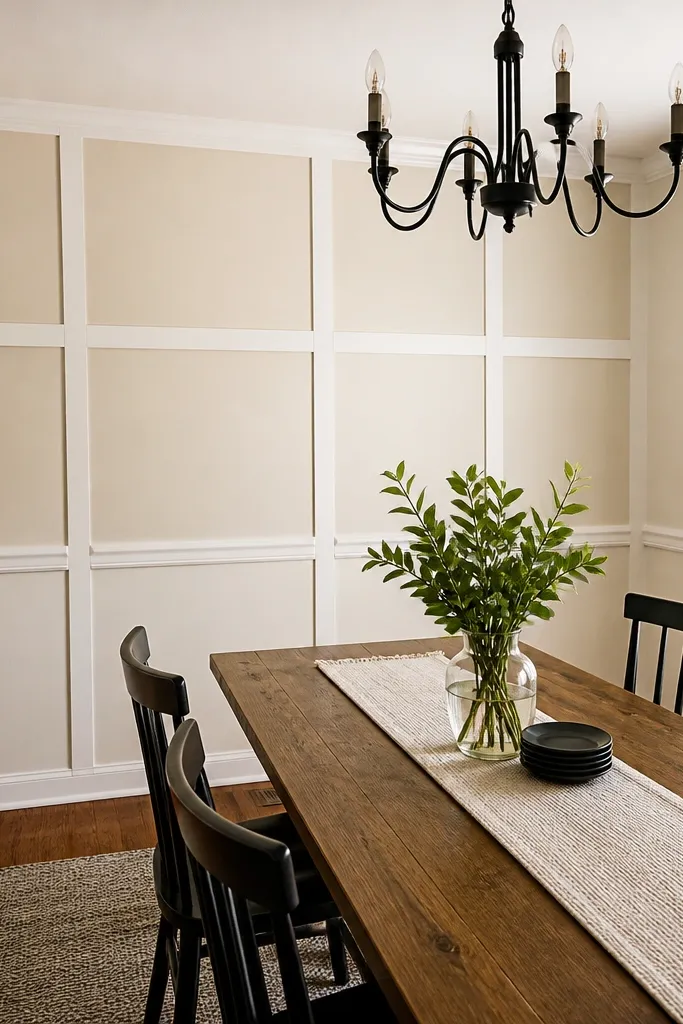
Chair-rail trim gives you instant “grown-up” structure. This version builds a 3x3 panel grid so your moulding looks deliberate even if your wall isn’t perfectly straight. The top rail frames the room, while vertical and horizontal pieces divide it into neat rectangles that photograph cleanly from angles. It’s a great choice for hallways and dining areas where you want the wall to feel finished without adding heavy built-ins.
Measure your usable wall height and width, then divide into a clean grid with equal panel sizes (aim for panels about 12-18 inches wide). Install the chair-rail horizontal pieces first at your chosen height, keeping them perfectly level. Add vertical stiles, then cap each panel with horizontal rails to form rectangles. Caulk all joints at corners, and paint the entire trim after it’s fixed so the seams disappear.
Cut panel lengths from the same batch and label each piece (A1, A2, etc.) to keep the grid consistent.
Don’t make random panel sizes; the look only works when the rectangles repeat.
3. Oversized Perimeter Frame Around a Focal Wall
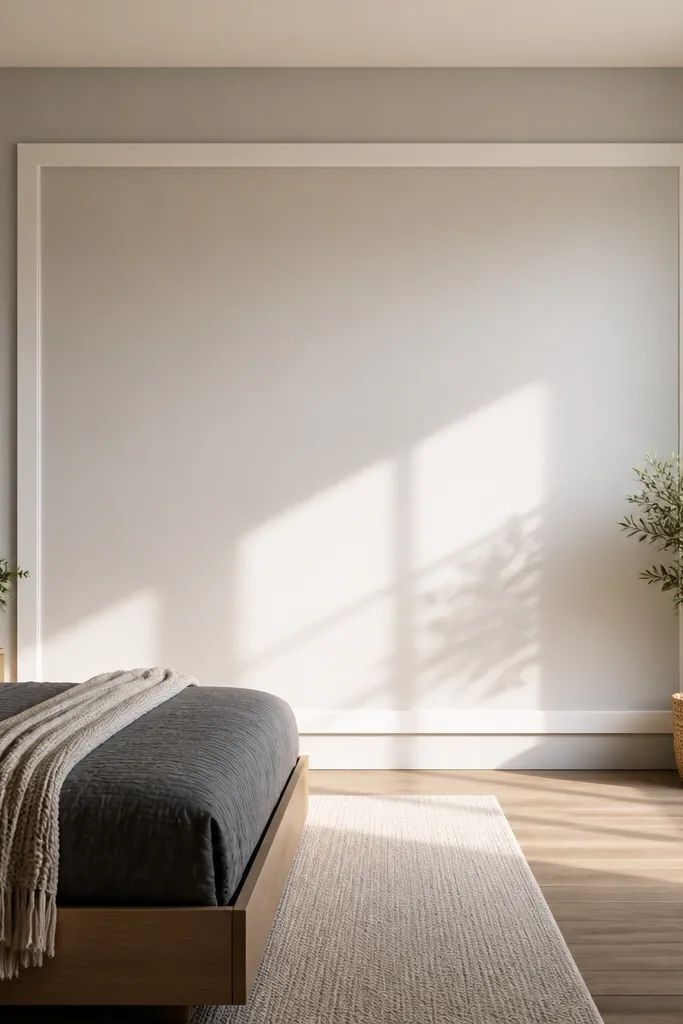
Pick your focal area and mark an even border around it, typically leaving 3-6 inches of wall space on each side. Cut the PVC frame pieces and dry-fit them to confirm the corners line up square. Attach with screws along the backer line so the edges stay tight. Seal the inside and outside corners with paintable caulk, then paint the moulding and touch up the wall edges for a crisp finish.
If you want the biggest visual impact per dollar, build a perimeter frame. This design makes a blank wall area look like it has built-in architecture, which is exactly what rentals lack. Use thicker PVC corner pieces or a simple flat profile with crisp edges to create a clean rectangle that reads well in photos. It also gives you a perfect place to hang a mirror, TV, or gallery art without the wall looking bare.
Skip thisDon’t rely on “eyeballing” the border width; one uneven side ruins the whole frame.
Editor's noteUse a corner jig or a miter saw stop so your frame corners land at the same angle every time.
4. Vertical Slat Moulding With 4-Inch Spacing
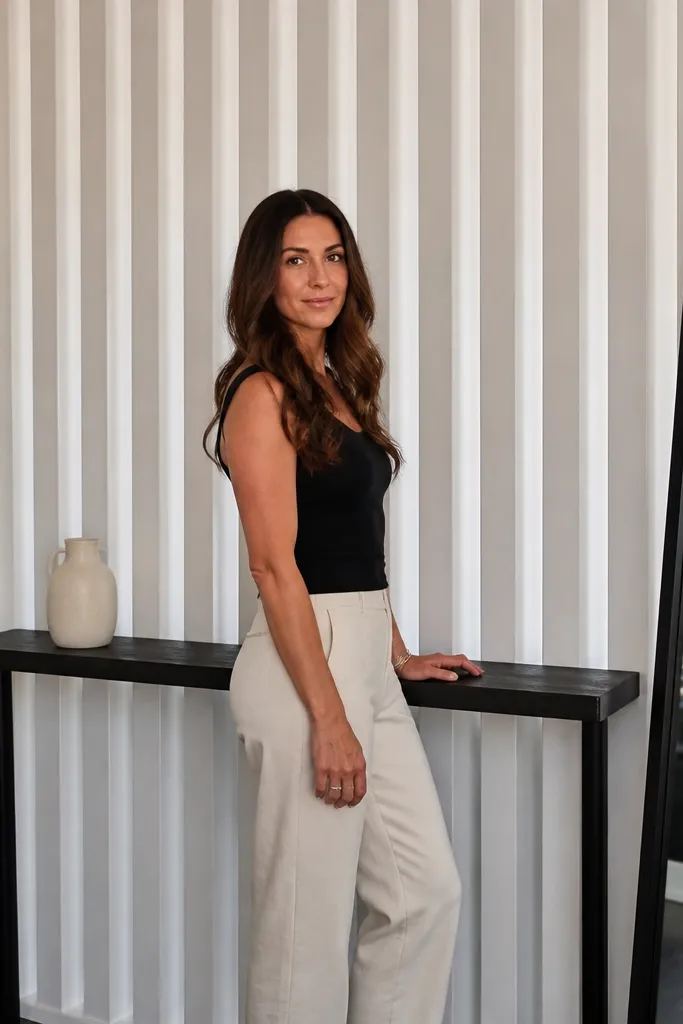
Measure your wall width and pick a repeat that lands cleanly (for example, 4-inch center-to-center spacing with a 2-inch border strip at each end). Mark a centerline for each slat, then cut all PVC strips to the same height minus 1/16 inch for fit. Install using a consistent attachment method, then caulk along each edge. Paint with trim paint after installation so the slats look like one continuous system.
Vertical slats make a wall look taller and cleaner, and they’re very photogenic because light catches the edges. This design uses evenly spaced strips for a modern, gallery-like vibe without needing a full wall covering. It works especially well behind a console table or bed headboard area. The lines also hide minor wall irregularities because the pattern gives the eye structure.
Skip thisDon’t install slats without a spacing template; uneven spacing reads instantly in photos.
Editor's notePre-mark slat spacing on painter’s tape stuck to the wall; it keeps your layout from drifting while you work.
5. Wainscot-Lite Bottom Half Panels
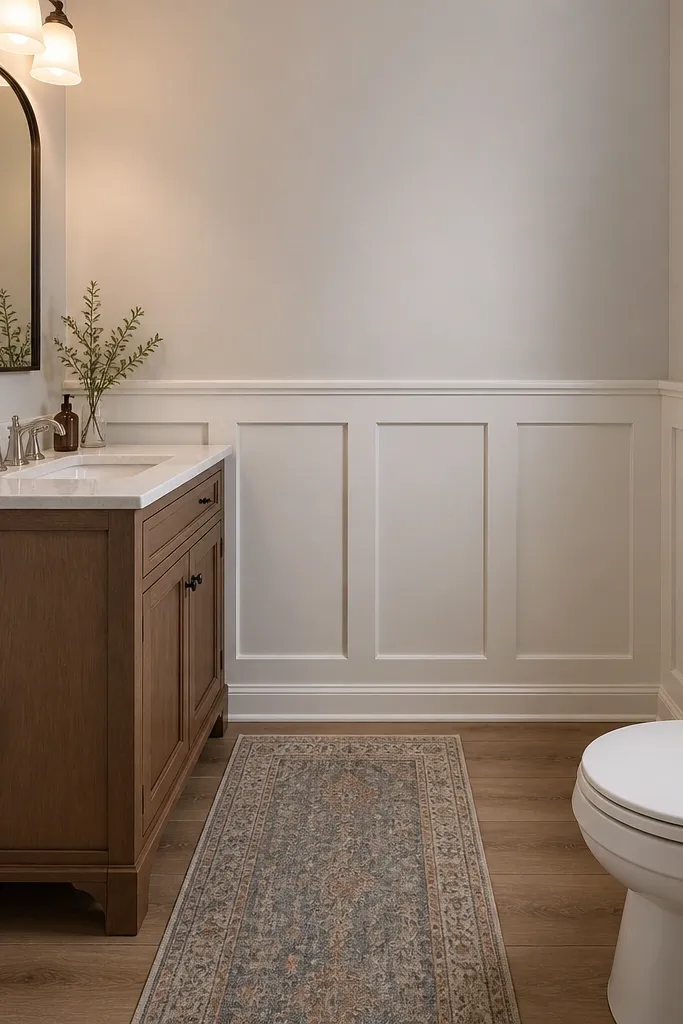
Full wainscoting can feel heavy, but wainscot-lite makes it lighter and renter-friendly. This design covers only the bottom half with PVC panel frames, then stops with a crisp horizontal rail. It’s a smart choice for entryways, powder rooms, or any wall that gets scuffed by bags and shoes. The panel look also adds depth, so it photographs better than flat paint alone.
Mark a horizontal line about 36-42 inches from the floor for the top of the wainscot rail. Install the bottom rail first, then add vertical stiles and top rails to create rectangles. Keep panel sizes consistent — 14-18 inches wide is a good target. Seal seams with caulk, let cure, then paint using a primer if your PVC needs it.
Use a slightly satin finish on the wall paint and eggshell on the trim so the trim edges catch light without glare.
Don’t make the wainscot rail too low; it shrinks the room visually.
6. Modern Floating Ledges in a 2-Row Layout
Choose two ledge heights and mark your layout with painter’s tape so the stagger is consistent. Cut the ledge pieces and attach them with screws at the back edge or adhesive rated for trim if your landlord allows. Install the bottom row first, then set the top row with the same measurement from the bottom rail. Caulk the seams and paint after everything is secure.
Floating ledges add a graphic, modern look and they photograph like minimal wall art. This design uses two horizontal rows of PVC ledges, staggered so the top row aligns with panel gaps below. It makes the wall feel styled even if you don’t hang anything. It also works in renters' spaces where you want impact without drilling into studs everywhere.
Skip thisDon’t use thick caulk to “fix” bad alignment; it makes the ledges look wobbly.
Editor's noteStagger by exactly the thickness of the vertical spacer you’re using so the shadow lines line up cleanly.
7. Corner-To-Corner Frame With Inner Bevel Detail
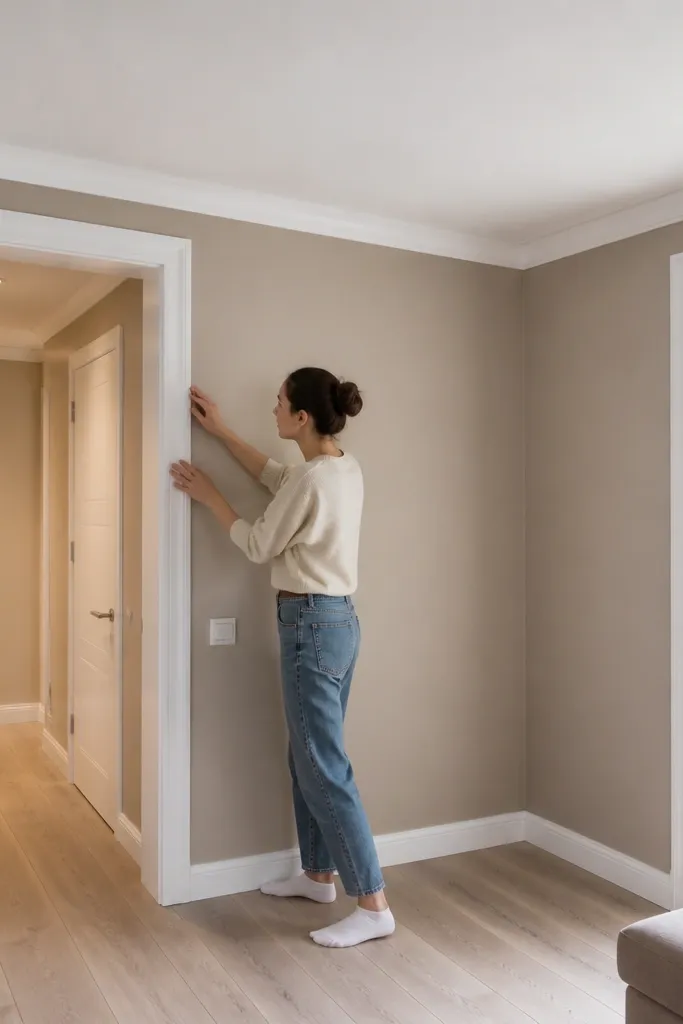
This is a clean way to make corner walls look intentional. The frame runs from one side to the other, with an inner bevel profile that creates a strong line even from far away. It’s great for apartments where corners eat light and make the room feel unfinished. The bevel detail also hides small gaps better than flat profiles because the shadow line does the work for you.
Measure the corner section and decide on a border width that looks balanced (3-5 inches is a solid range). Cut the outer frame pieces to span each wall section, then miter the corners. Fit, attach, and then add inner bevel pieces along the inside edge. Caulk both the outer and inner seams and paint in one pass for consistent color coverage.
Dry-fit corner pieces with tape first; if the bevel doesn’t meet, adjust before you drill or glue.
Don’t force mismatched bevel angles; gaps show even with caulk.
8. Tiny Picture Rail + Vertical Accent Strips
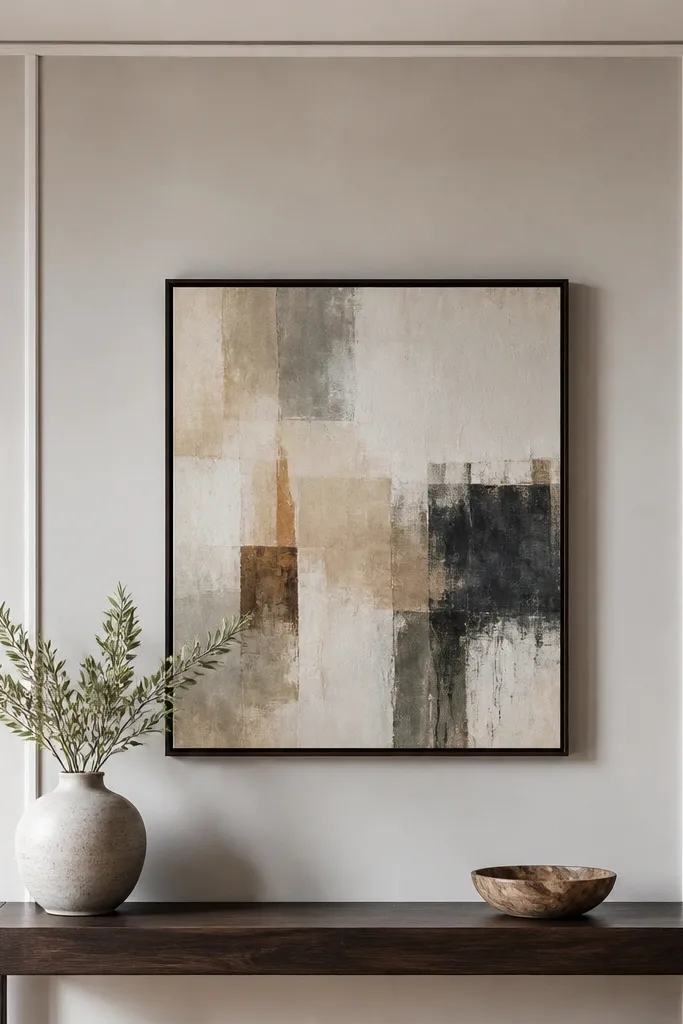
Install a slim rail around 52-56 inches from the floor, centered to your artwork or mirror area. Mark two vertical accent positions so they sit symmetrically around the center point. Cut vertical strips to the length you want, typically 18-24 inches, then attach with your preferred method. Caulk all edges, then paint so the rail and strips look like one continuous set.
This design is for renters who want “decor” without taking over the whole wall. A slim picture rail gives you the finished edge, and two vertical accent strips add a focal point that looks styled in photos. It’s especially good above a console table or in a living room corner where you don’t want a full grid. The vertical accents also help break up a long wall without making it busy.
Skip thisDon’t center the rail by eyeballing; measure from the room corners so it doesn’t drift.
Editor's noteKeep accents the same width and spacing from the center line so the composition reads cleanly.
9. Gallery Frame Panels Behind a Sofa
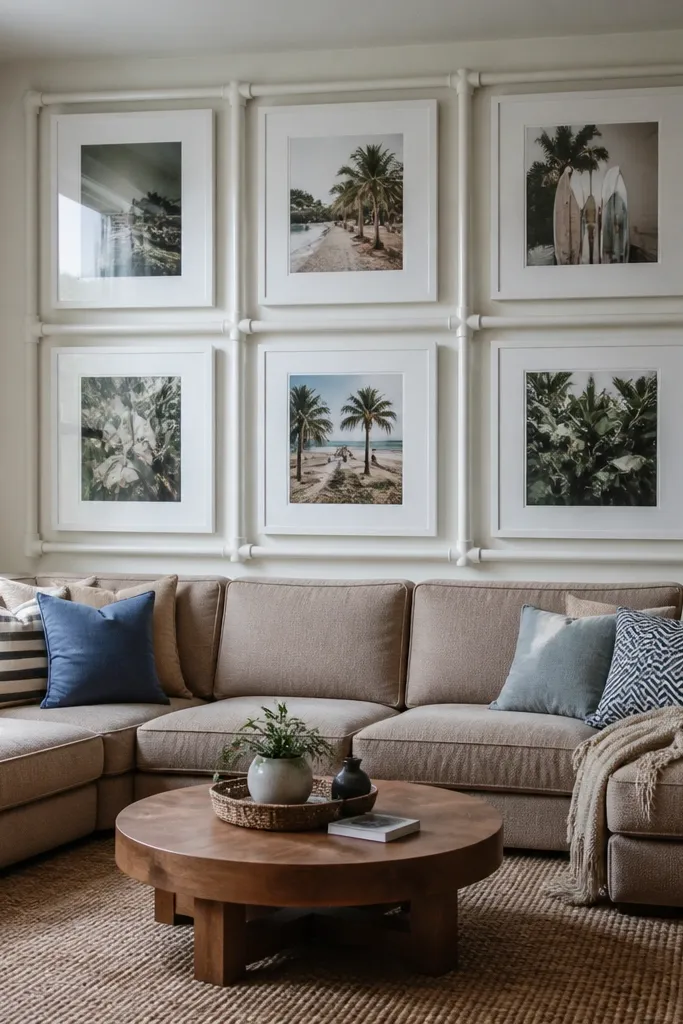
If you want the wall behind a sofa to look curated even when you change art, install framed panels. This setup creates a “gallery wall” structure with PVC rectangles so your prints look intentional. The frames also give you flexibility — swap artwork inside each panel without redoing trim. It photographs well because the rectangular rhythm creates depth.
Choose a layout with two or three large rectangles and one smaller rectangle to balance the composition. Install the outer perimeter frame first, then add inner dividers that create the rectangles. Keep the inside openings consistent by measuring from the inner edge of each outer piece, not from the wall. Caulk seams, let cure, then paint and add your art once the paint is fully dry.
Use painter’s tape to mark the inside openings so your artwork sits at the same level each time.
Don’t paint before the caulk cures; you’ll trap moisture and the seam can look uneven.
10. Renter-Friendly Half-Arch Panel Frames

A half-arch detail looks fancy but it’s doable with the right PVC profile and careful cutting. This design gives you a soft, decorative top inside a structured panel grid. It’s a great choice for a dining nook or entry wall where you want charm without a complicated full molding scheme. The arch shape reads clearly in photos because it creates a strong silhouette.
Pick a PVC profile that can be bent or is sold in arch-ready sections, then map out your panel rectangles first. Install the rectangular frame pieces, then cut and install the half-arch top using template measurements for each opening. Attach, then caulk around the arch edges so the curve looks smooth. Prime and paint so the arch and straight pieces match in finish and sheen.
Make a cardboard template for the arch height so every panel top lands at the same curve.
Don’t rush the arch fit; tiny gaps at the curve show more than straight-line gaps.
11. Geometric Cross Panels With 1-Inch Borders
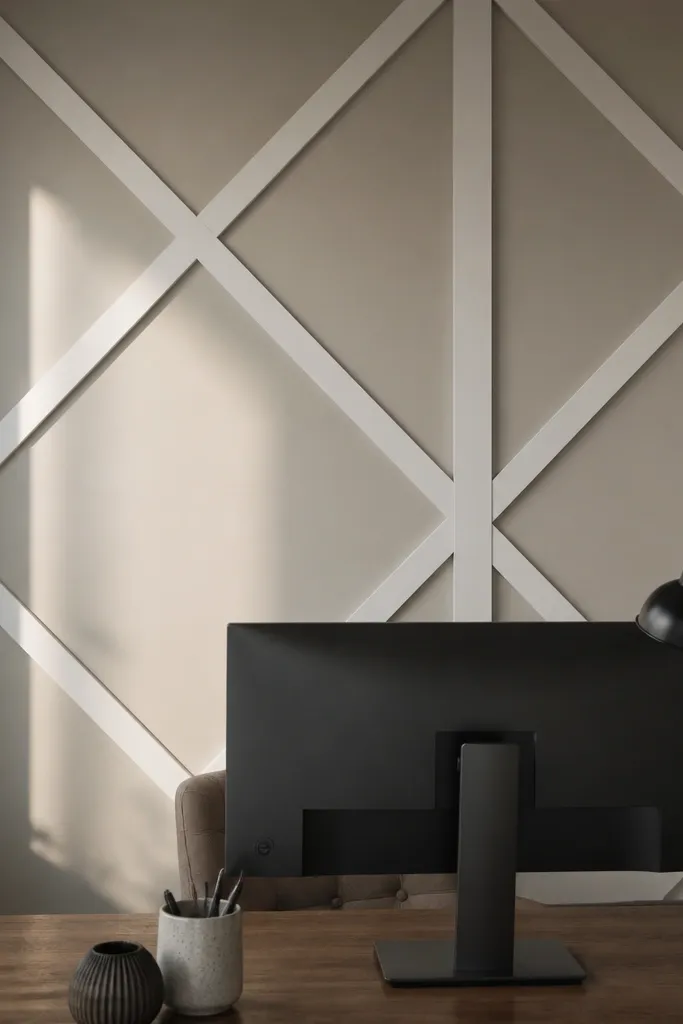
Mark the grid first — pick a panel size like 16x16 inches to keep cuts manageable. Install the border rails (1-inch PVC) to form squares, then add diagonal or cross strips inside each square depending on your chosen pattern. Dry-fit all cross members so the intersections meet neatly. Caulk each joint, then paint the whole pattern in one coat for consistent color.
Cross panels create a graphic look that reads modern and clean. Use thin 1-inch borders so the geometry stays crisp and doesn’t overwhelm the wall. This design works well on a feature wall behind a desk or in a small dining area. The best part is it hides imperfect wall edges because the geometry repeats and gives the eye something to “lock onto.”
Skip thisDon’t mix widths for the cross strips; that’s what makes geometry look messy.
Editor's noteUse the same diagonal angle for every panel; write it down and don’t change saw settings mid-run.
12. Tall Narrow Panel Columns for a TV Wall
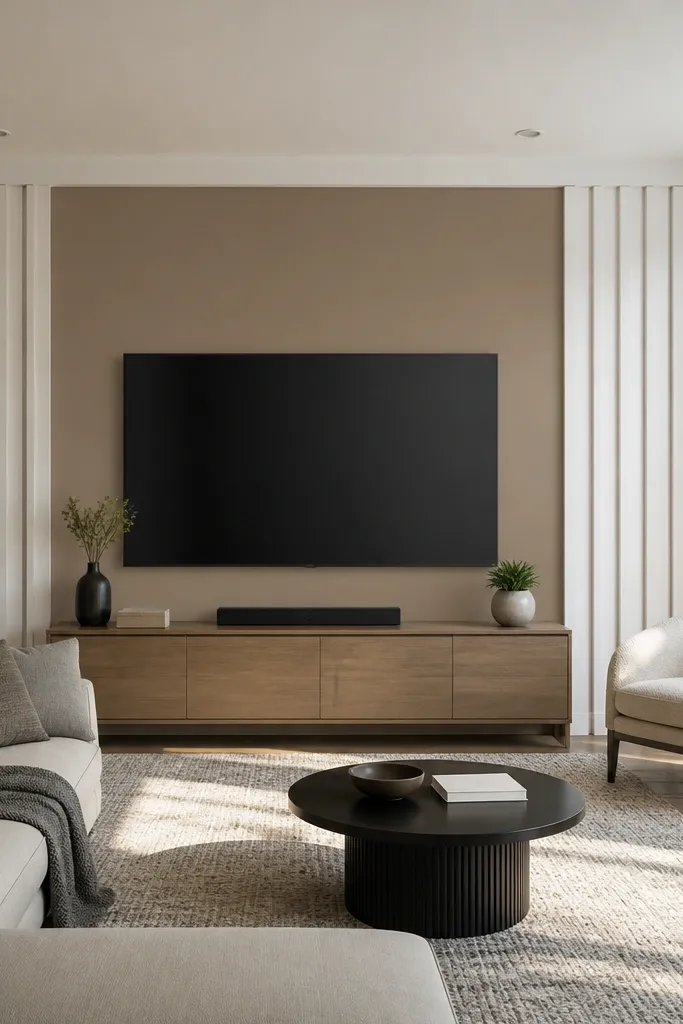
A TV wall can look unfinished fast. Tall narrow PVC columns frame the area without turning it into a full wall of trim. This design uses vertical panels of equal width so the wall looks structured behind the screen. It also gives you a clean “picture frame” effect for the TV or a large mirror, and it’s easy to keep renter-friendly because you can limit drilling to hidden zones behind the TV stand.
Decide on a central opening width that matches your TV or mirror, then build columns on either side. Use vertical PVC stiles and top/bottom rails to form narrow rectangles. Install the base and top rails first so the columns are square, then fill in the verticals. Caulk seams and paint, then confirm the edges look straight from the main viewing distance.
Mark your stud locations if you’re drilling; a few screws into studs makes the whole look sturdier.
Don’t center the columns based on the TV — center on the wall and let the TV frame “sit” inside.
13. Arched Top Framing on a Single Feature Panel
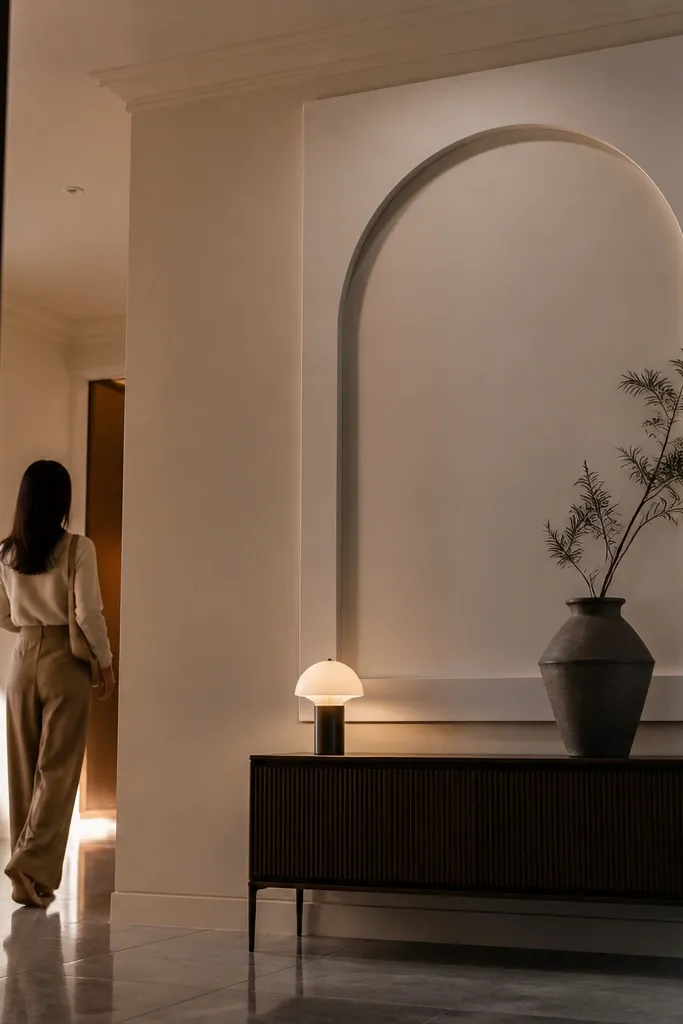
Mark a single rectangle area and install the outer frame pieces first. Add the arched top by installing a half-arch profile on top of the rectangle opening, then fill the sides with straight trim sections. Dry-fit everything before attaching so the arch sits centered. Caulk every seam, then paint the trim and touch up wall edges with a small angled brush.
This is the most dramatic look for one small section of wall. You build one large rectangle with an arched top cutout, then keep the rest of the wall plain. It photographs like a boutique interior because the shape is the focal point. It’s a good fit for renters who want to make one spot feel special — like above a console, in a reading nook, or behind a statement mirror.
Skip thisDon’t make the arch too tall; it shifts the look from classy to costume quickly.
Editor's noteUse a flexible measuring tape to confirm the arch height looks right from the floor, not just at eye level.
14. Shiplap-Look PVC Panels in Horizontal Rows
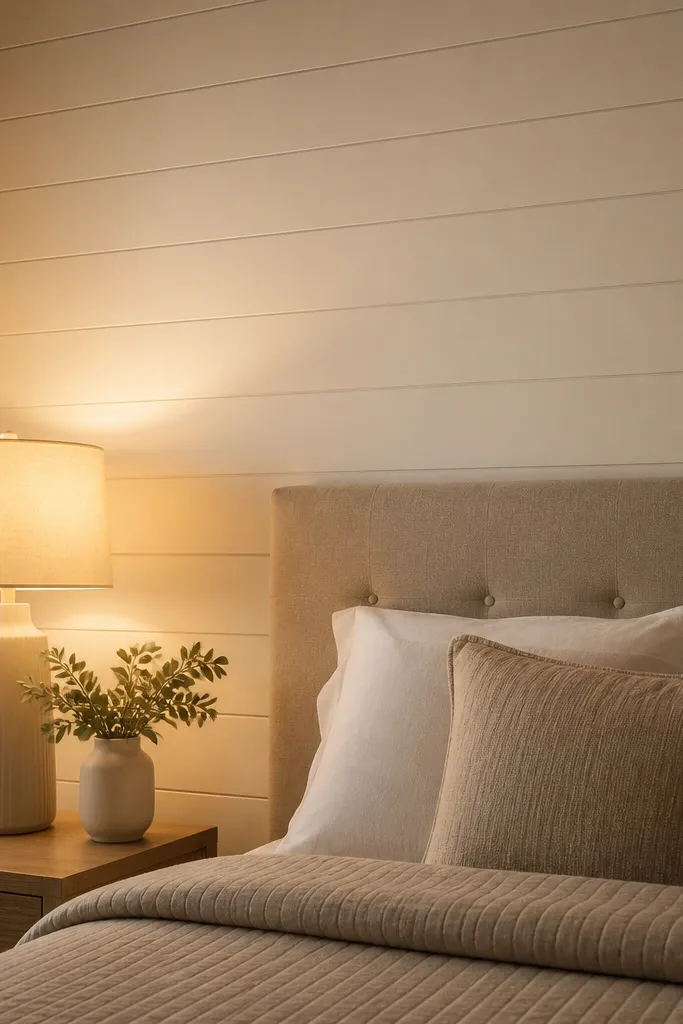
Choose a PVC panel system that already has the groove spacing built in, then plan wall coverage from a straight reference line. Install the first row perfectly level — that row sets everything else. Attach subsequent rows using the recommended fastener method and keep joints tight. Caulk the seams between rows and paint with a primer + topcoat to lock in the finish.
If you want that shiplap vibe but need a renter-friendly install, PVC panels with grooves give you the look without real wood expansion drama. Horizontal rows add texture and keep the wall looking cozy in photos, especially under warm lighting. This design is great for bedrooms, laundry areas, or any space where you want warmth but don’t want to commit to real planks. The key is consistent spacing so it reads like a designed wall treatment, not DIY chaos.
Skip thisDon’t skip leveling the first row; every crooked line snowballs across the wall.
Editor's noteStart your first row from the most visible corner so any tiny cut adjustments happen on the less noticeable side.
15. Modern Frame-and-Stripe Wall With Side Borders
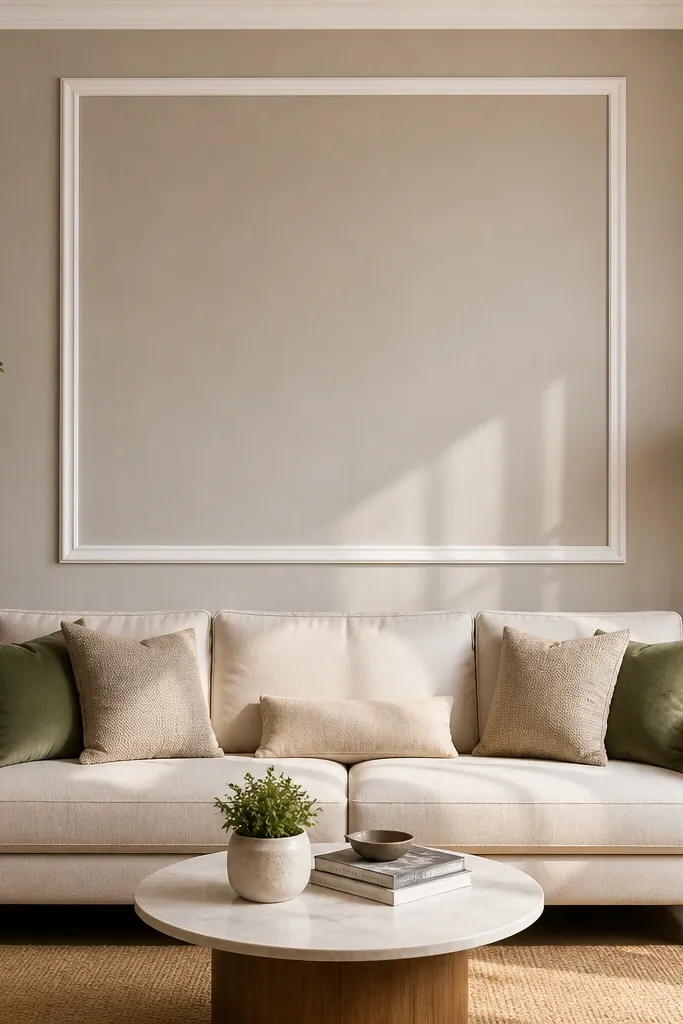
This design has a clean, modern graphic look without the fuss of a full grid. You install vertical side borders, then frame a center stripe area with top and bottom rails. The center can stay blank for a large art piece, or you can add removable peel-and-stick decor inside. It’s photogenic because the negative space stays crisp and the moulding lines do the styling.
Measure your center opening width and decide on border width (3-4 inches works well). Install left and right border pieces first, making sure they’re plumb. Add the top and bottom rails to complete the frame, then add an optional inner stripe using a thinner PVC strip. Caulk all perimeter seams, let cure, then paint for a uniform finish.
Use the same strip thickness across the side borders and inner stripe so the proportions look intentional.
Don’t overcrowd the frame with too many inner lines; one stripe looks sharp, three looks busy.
16. Step-Down Stair-Panel Trim for Entry Nooks
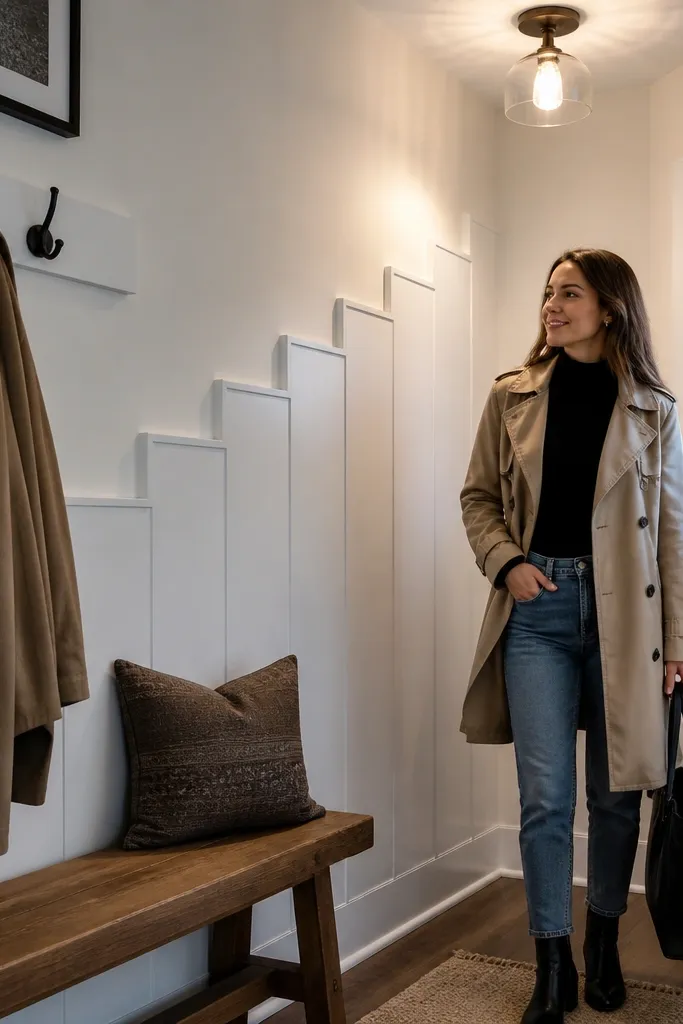
Pick a starting top height, then mark a consistent step size (like 6 inches) for each stagger. Install the first top rail and side rails to form the first rectangle, then build the next rectangle directly under it with the step offset. Keep all panel widths consistent so the steps look clean. Caulk joints and paint all trim at once so the shadow lines stay sharp.
Stair-step trim gives you motion on a wall without needing furniture to fill the space. This design uses staggered rectangular panels that step down by a consistent amount, so it looks like a built-in architectural detail. It’s ideal for entry nooks where you want something interesting at eye level but you don’t want a full wall grid. Photos love this because the steps throw shadows that show depth.
Skip thisDon’t vary the step offsets; mixed steps make it look accidental.
Editor's noteCut a single “step template” from cardboard to keep each offset identical across the wall.
17. Ceiling-Ledge Corners With a Single Perimeter Line
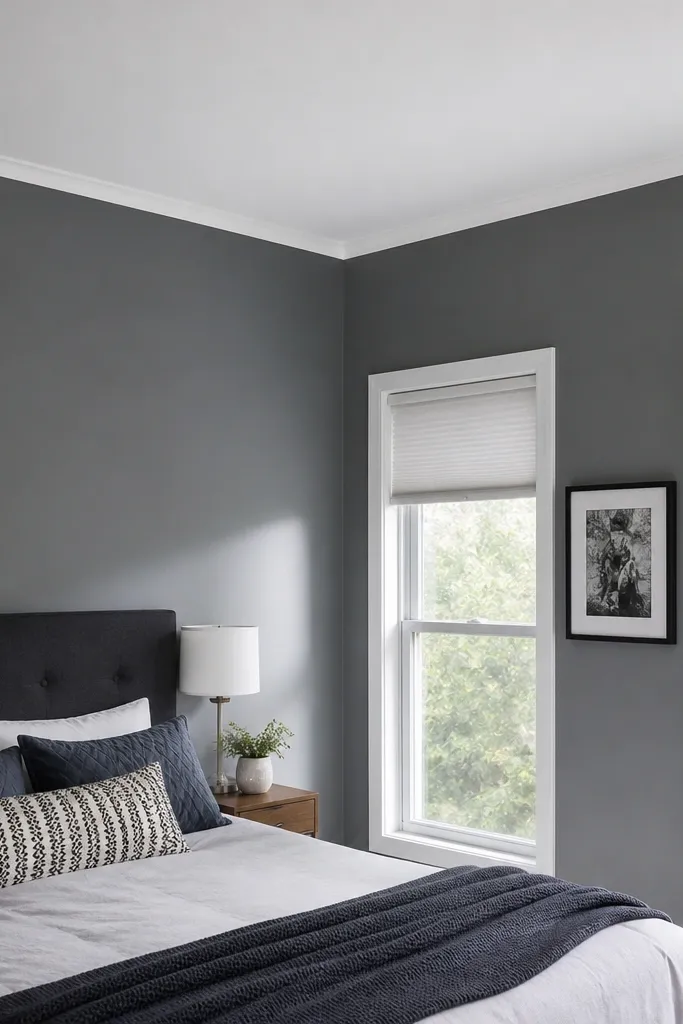
This look is subtle but it makes a room feel taller and cleaner in photos. You install a single PVC ledge line near the ceiling perimeter, then add corner detail pieces so it reads complete from every angle. It’s especially good in rentals because it doesn’t require filling big areas of wall — just careful straight lines. Pair it with a darker wall paint for high contrast, or keep walls light for a crisp, airy look.
Mark a level line around the room at your chosen distance from the ceiling (commonly 3-4 inches). Cut the perimeter ledge pieces and miter the corners for a tight fit. Attach along the line with small screws spaced every 12-16 inches, using caulk to bridge micro gaps. Paint trim and touch up with wall paint at the edge for a clean transition.
If your ceiling is slightly off, use the line you mark as your truth — don’t measure from the ceiling height everywhere.
Don’t install without checking corners; corner gaps show more at ceiling height.
18. Renter-Friendly Staircase Style Wall Panels
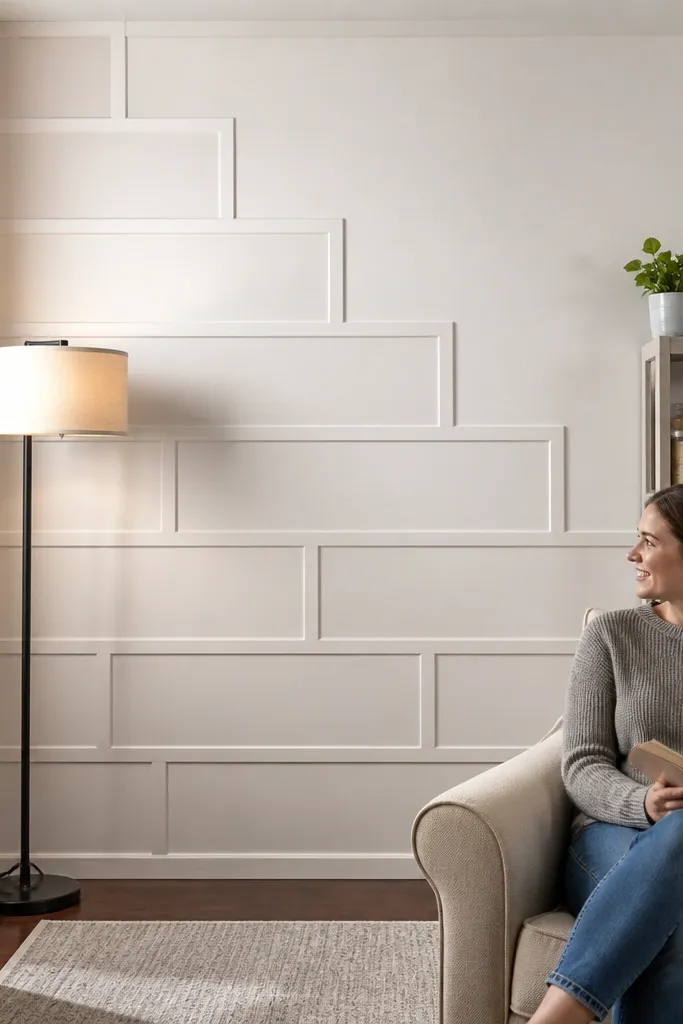
This design looks like built-in steps but it stays clean and installable. You create a staircase pattern of rectangles that climbs or descends across the wall, giving a strong graphic look for photos. It works well on feature walls in living rooms, kid rooms, or craft spaces where you want the wall to feel active. PVC keeps it lightweight, and the repeated rectangle rhythm makes it look intentional rather than random.
Start with a rectangle size you can repeat (like 14x10 inches) and decide if the staircase climbs left-to-right. Install the first rectangle border, then build the next rectangle by stepping up or down by a fixed amount each time. Use consistent spacing between rectangles so the steps look even. Caulk all seams and paint with trim paint; then add art or shelves inside the openings if you want extra styling.
Dry-fit the entire staircase on the floor using painter’s tape before cutting — it prevents layout mistakes.
Don’t change rectangle sizes mid-wall; the staircase loses its clean rhythm fast.
19. Minimal Flat Borders With One Center Rectangle
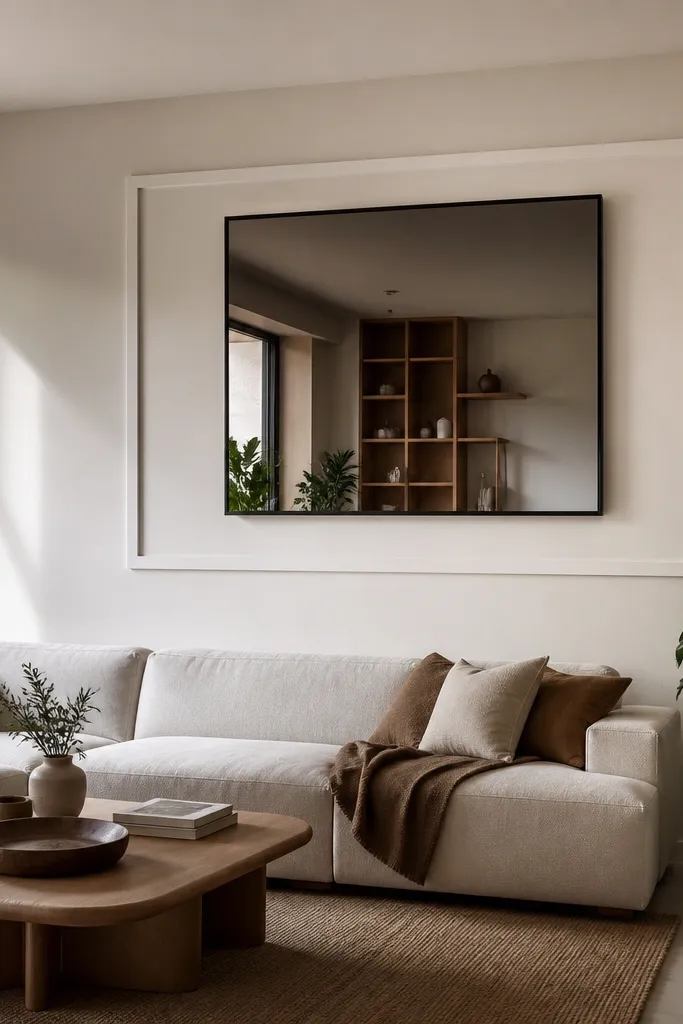
Mark a rectangle area centered on the wall and install the outer borders first. Use straight cuts for the long sides and clean miter cuts for corners. Attach with screws hidden behind the frame line where possible, then fill seams with paintable caulk. Prime if needed and paint the trim, then mount your art inside once everything is dry.
Minimal doesn’t mean boring. A single centered rectangle made from flat PVC borders looks like a custom built-in frame, and it’s one of the easiest renter-friendly moulding installs that still looks high-end. The wall stays mostly open, so the room doesn’t feel crowded. It’s a perfect backdrop for a large print, mirror, or clock and photographs cleanly because the lines are simple.
Skip thisDon’t use decorative profiles for this one; flat borders look best and read cleaner in photos.
Editor's noteUse a tape measure to confirm the rectangle is centered from both sides, not just one measurement.
20. Renter-Friendly "Rope Border" Trim Lines in a Double Loop
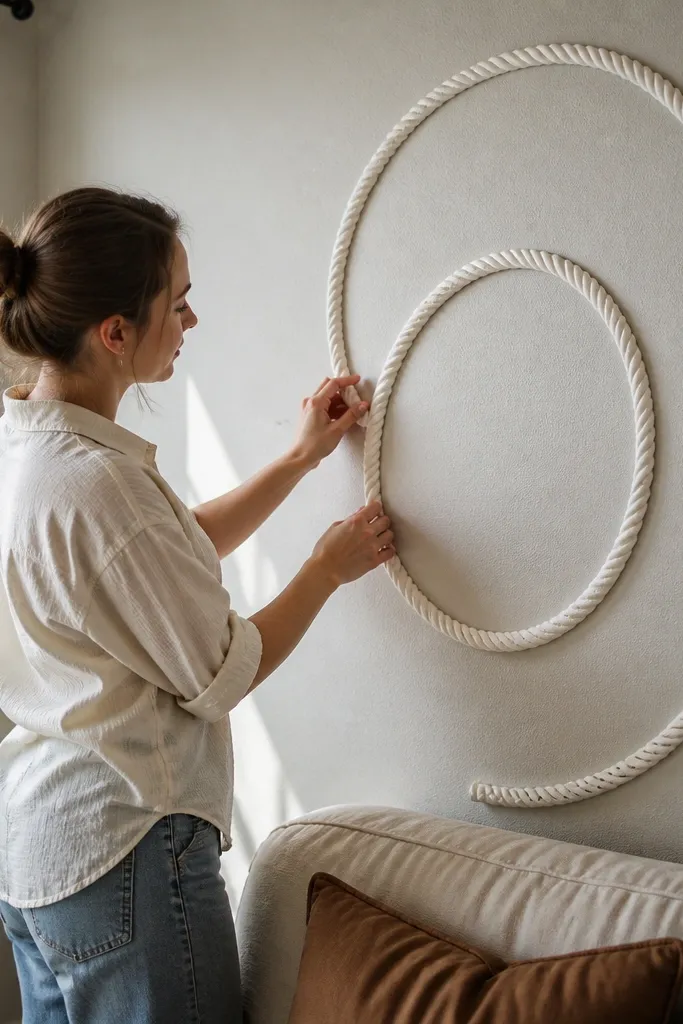
Measure the wall area where you want the loops, then map the outer loop first: pick a size that leaves at least 6 inches of breathing room from the ceiling and furniture. Sketch the loop on painter’s tape, then cut two matching lengths of PVC trim for the outer loop and two for the inner loop, using 45-degree miters at the corners where you’ll transition from straight to curved sections (you can also do gentle radius cuts if your trim supports it). Dry-fit with the tape, adjust until the gap between inner and outer loop is 2 to 3 inches, then apply PVC-safe construction adhesive in a zigzag on the back and press in place; clamp with painter’s tape and a couple of scrap blocks. After it sets, fill any micro-gaps with flexible PVC caulk, sand lightly with 220-grit, and paint everything the same color as the wall or in a crisp contrasting white — either way looks intentional. Finish by sealing the top and bottom edges of the trim with a thin caulk bead so dust and moisture don’t get into the seam.
This design gives you that custom-millwork vibe without eating your deposit. It uses simple PVC moulding strips to draw two rounded loops — one bigger, one tighter — so the wall looks styled even in a small rental living room. The trick is the “rope” profile: it reads textured from across the room, so plain paint still looks finished. You get a clear focal shape around a sofa, entry console, or TV corner, and you can install it with adhesive and light brad anchoring where needed. Skill level is beginner-friendly if you can cut clean miters and keep your lines level; plan for a long afternoon, not a weekend project.
Skip thisDon’t rely on caulk to fix misaligned cuts — it hides gaps, not crooked lines.
Editor's noteUse a laser level or a phone level app for the baseline, then place tape guides before you cut anything. If your PVC trim is rigid, build the “curve” out of short straight segments spaced evenly so the loop reads smooth rather than wavy.



