
1. Tension-rod linen panel with crisp pleats
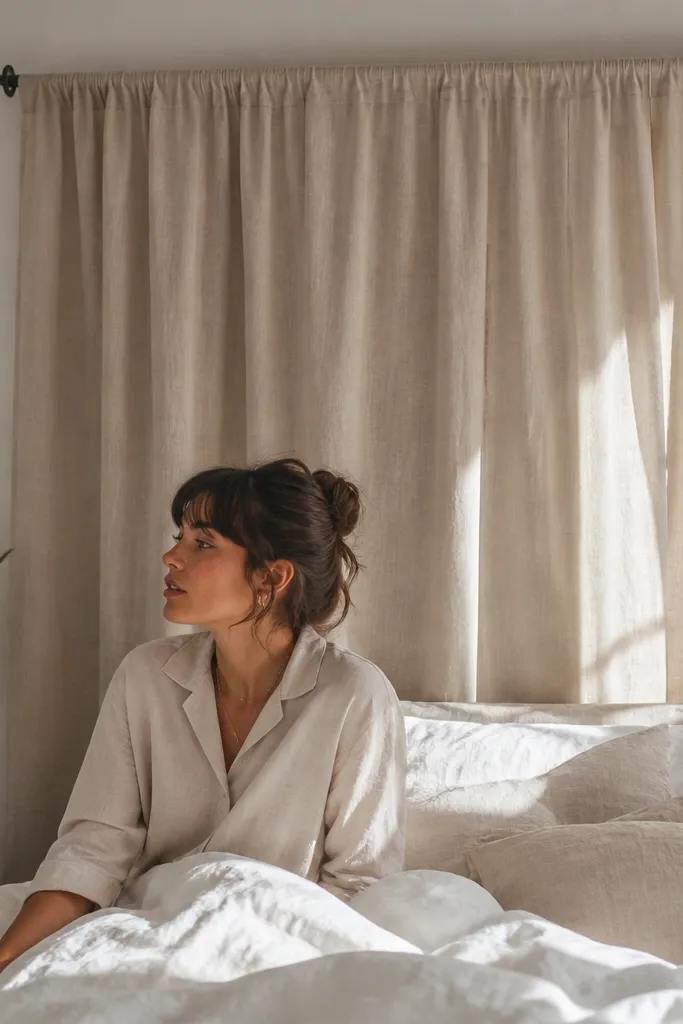
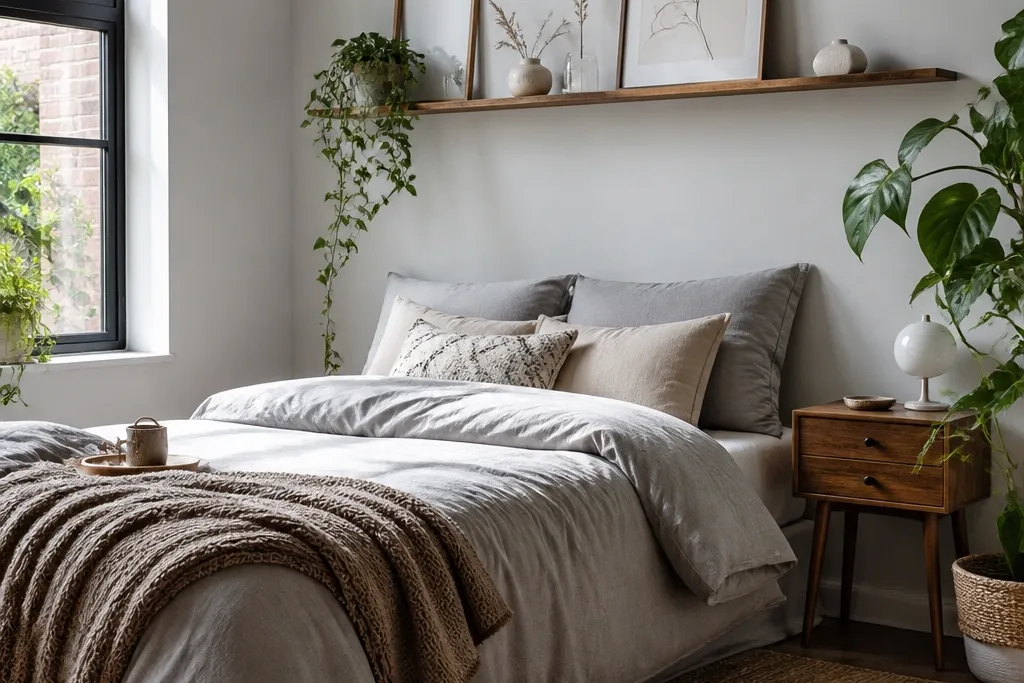
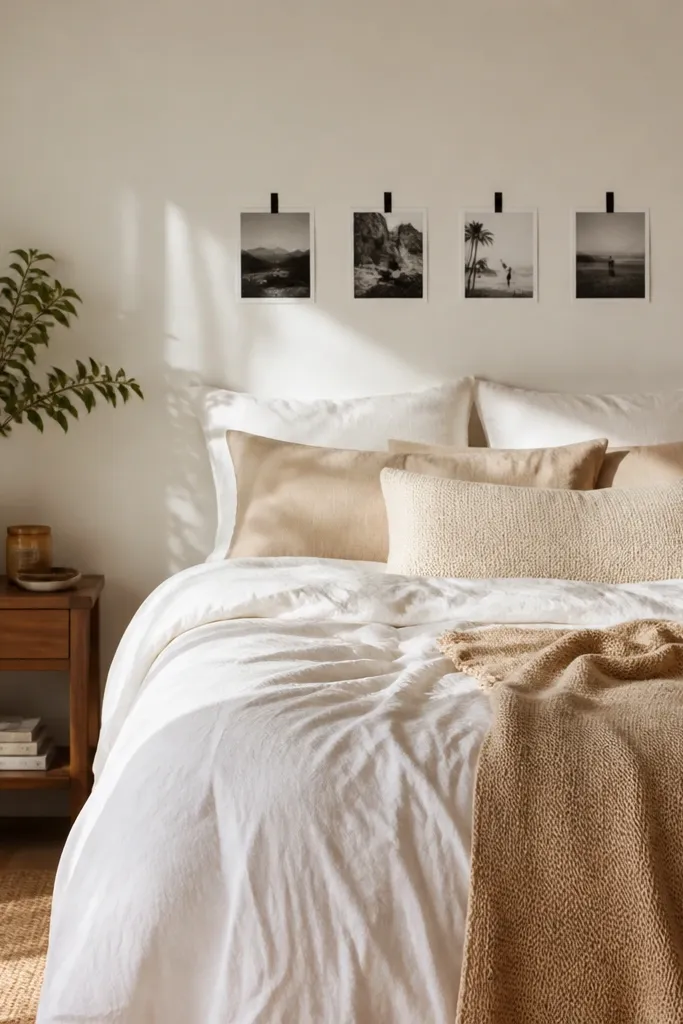
This is the easiest renter-friendly no headboard ideas option that still looks intentional. A full-width linen panel creates a soft, expensive-looking backdrop that hides the blank wall and frames the pillows. Pleats matter because they give structure; flat fabric can look like a curtain, not a headboard. Choose a linen in a warm neutral (oat, sand) or a muted color that matches your bedding — then keep the panel edge straight so it reads like a designed block. You’re basically making a tall upholstered wall panel without touching the wall.
Measure the mattress width and add 6-10 inches total for overlap on each side. Buy a tension rod that spans your measured width and install it at a height where the top of the fabric lands around 44-48 inches from the floor. Hem or fold the linen so the panel hangs straight and lands 1-2 inches above the top of the mattress. Steam the fabric to set the pleats, then use evenly spaced clip rings or curtain clips to form 3-5 shallow pleats across the panel. Finally, center the rod, stand back, and adjust until the pleats look symmetrical from the doorway.
Steam linen before hanging; it holds folds better and looks smoother in photos.
Avoid thin polyester sheers — they cling and reveal the wall texture behind them.
2. Folding room screen as a headboard wall
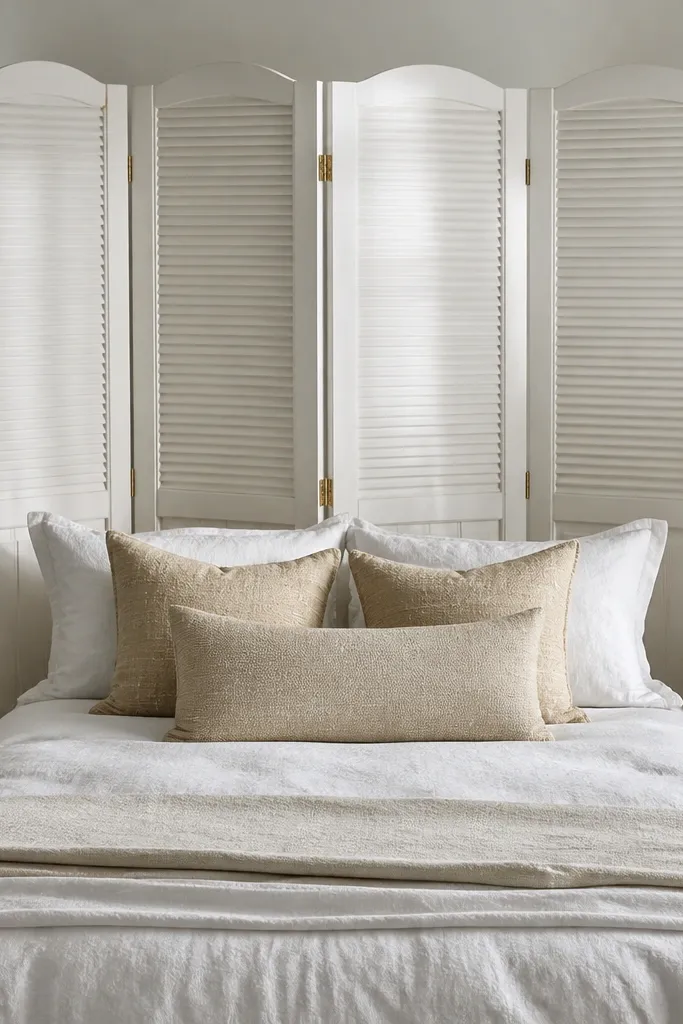
A folding room screen gives you the strongest “headboard silhouette” without any wall mounting. It reads like a panel wall because it has multiple sections and a defined frame, so your bed instantly looks styled. Go for a screen with straight lines or a simple lattice; ornate carvings can fight with bedding patterns. Paint or stain matters too: matte white, warm oak, or black iron look clean and modern. This works especially well if your rental has awkward outlets or a weird wall texture you want to hide.
Choose a screen that’s tall enough to reach about 4 inches above your pillow line when you’re sitting up. Set the screen behind the bed so it’s centered, then check the width against your mattress — aim for the screen to cover at least the mattress width. If it has fabric panels, keep them neutral and add your own color with pillows to avoid clashing. Fold the screen in sections to transport, then unfold and place it on a rug pad or small felt strips so it doesn’t slide. Finally, secure stability by adding two small furniture anti-slip pads to the screen feet.
Editor's noteUse felt pads under the feet to stop micro-movement that makes everything look messy over time.
Skip thisDon’t use a screen with very thin legs on a slippery floor — it will drift and ruin the centered look.
3. Freestanding slat frame in a matching finish
If you like the look of a modern headboard but hate installation, build a freestanding slat frame that sits behind the bed. Slats create visual depth and look crisp from across the room, especially with side lighting. The frame also solves a common renter problem: beds move slightly, and a wall-mounted piece won’t. This one stays where you place it. Use a finish that matches your bed frame or nightstands so it looks like part of the furniture set, not a DIY accessory.
Build a rectangular frame from 1x2 lumber for the sides and top, then add 1x2 or 1x3 slats spaced 2-3 inches apart. Cut the frame so the outside width is mattress width plus 4 inches for overhang each side. Stand the frame behind the bed and add two small cross braces or feet so it doesn’t wobble. Sand edges smooth, then apply a matte stain or paint in your chosen finish. Once dry, add felt pads to the bottom corners and center it so the slats line up with the pillow area.
Editor's noteLeave a 1/4-inch gap between slats and frame edges so the wood can expand a bit without warping.
Skip thisSkip super wide slat spacing — it makes the wall peek through and kills the headboard effect.
4. Upholstered foam board panel with removable clips
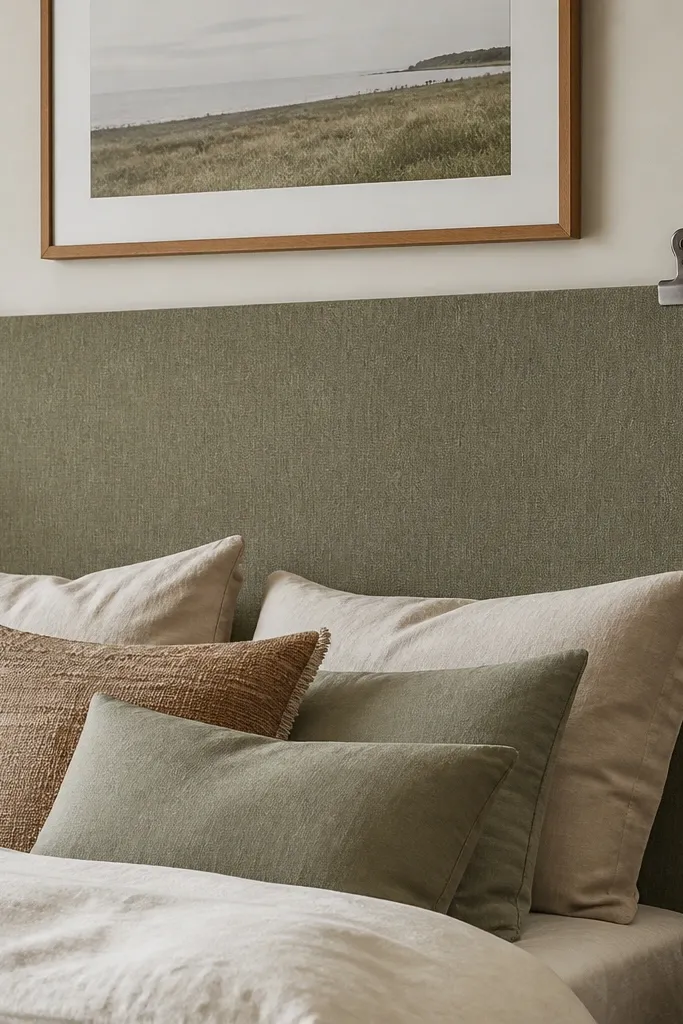
This is a true “no headboard” fix because it creates a solid, upholstered rectangle behind the bed. Foam board gives you that smooth, padded look that photos love, and removable clips let you avoid drilling. Use a medium-weight fabric like cotton canvas, faux suede, or upholstery tweed so it doesn’t sag. Add a simple border — even 1-inch piping or a contrasting trim strip — to make it look like it belongs in a store. It’s best for rentals where you want a headboard vibe without moving furniture constantly.
Cut 1/2-inch foam board to a rectangle sized about mattress width minus 2 inches and height around 28-32 inches. Wrap the board tightly with your fabric, pulling taut at corners, then staple to the back using a staple gun. Add a trim strip around the perimeter if you want a tailored edge — glue with fabric glue and press until set. Attach two or three rows of removable Command-style picture hanging clips (fabric-safe) to the back so you can clip it to the wall or to a temporary mounting track. Hang it at pillow height, then adjust until the panel sits centered and doesn’t bow.
Editor's noteUse a fabric spray adhesive on the foam before wrapping to stop bunching under the upholstery.
Skip thisAvoid very stretchy knits — they ripple and show foam edges.
5. Macramé curtain panel anchored with a tension rod
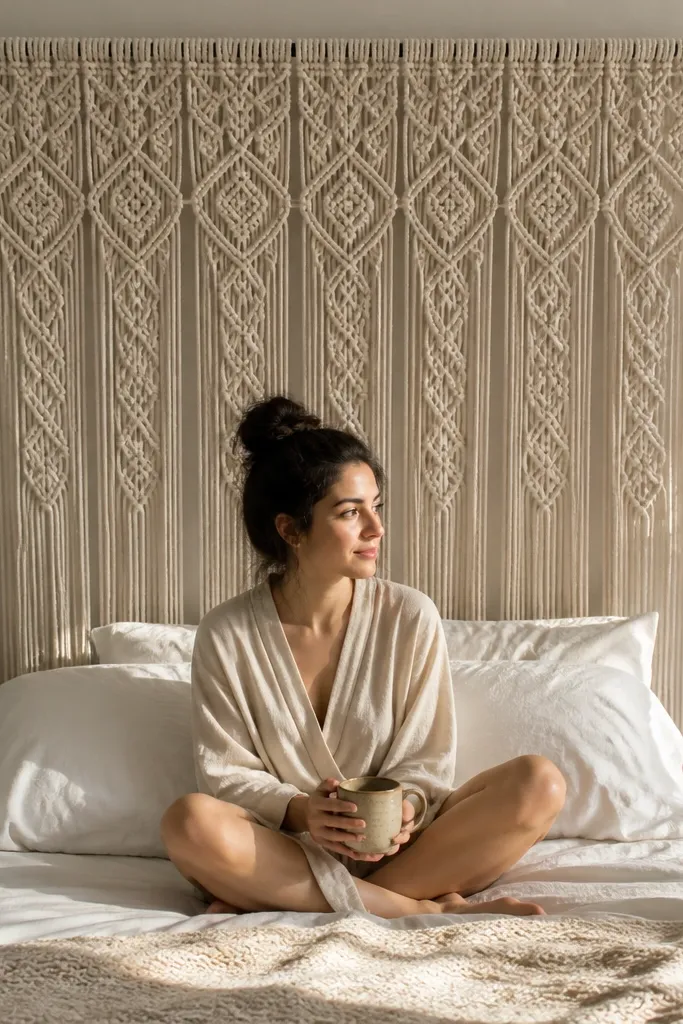
Macramé looks like art, and behind a bed it reads like a boho headboard without needing mounting hardware. The knot texture hides the wall and adds shadow depth, so it photographs well even in flat lighting. Choose a panel with a dense pattern and a straight top edge; loose fringe can look messy quickly. Keep the color in the natural family — cream, oatmeal, or taupe — so it doesn’t fight your bedding. This works best if you already have warm-toned textiles or wood elements in the room.
Measure mattress width and choose a macramé panel that spans at least that width. Install a tension rod at the right height so the top of the macramé sits around 44-48 inches from the floor. Clip the top loop or rod pocket to the tension rod using strong curtain clips, then center the panel. If the panel’s bottom fringe floats too far, fold the fringe over itself and tie with matching twine at two points behind the panel so it hangs evenly. Finally, fluff and separate knots gently so the texture looks intentional.
Editor's noteSteam the top section lightly so the rod line stays straight and the knots hang evenly.
Skip thisSkip super wide panels with very sparse knots — the wall still shows through.
6. Pegboard backdrop painted to match your room
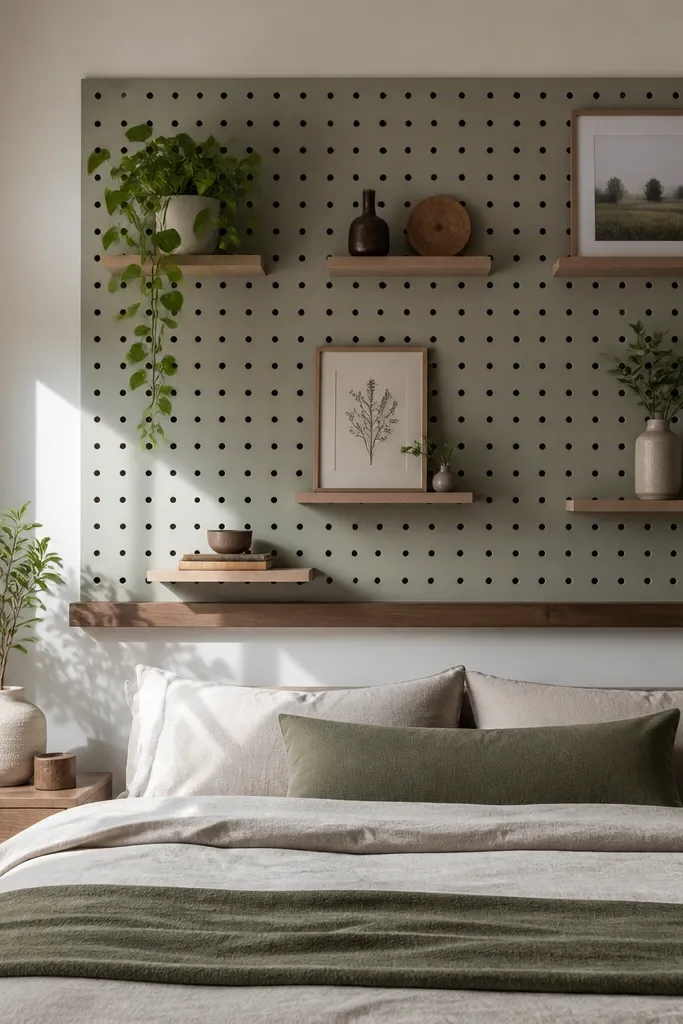
A painted pegboard panel is a smart renter-friendly no headboard ideas choice because it gives structure and a clean, grid look. Once it’s painted the same color as your wall or a deep contrasting shade, it looks like a designed feature, not a storage board. You can also swap decor on hooks: framed prints, small baskets, or even a row of faux greenery. The grid hides wall imperfections and gives you that “finished” backdrop for pillows. If you like minimal styling, this one wins.
Buy a pegboard panel sized to cover the mattress width with 2-3 inches of extra on each side. Paint both sides if possible for even color, using a primer made for laminate or bare board, then a matte topcoat. For rental-friendly mounting, use removable wall anchors rated for the pegboard weight or lean it on a couple of furniture anti-tip supports. Place it at pillow height, then remove hooks so the surface stays clean. Add decor only after it’s centered so spacing looks balanced from the doorway.
Editor's noteUse matte paint. Gloss pegboard catches light and makes the grid look harsh in photos.
Skip thisDon’t leave hooks installed and empty — the empty metal shapes look cluttered.
7. Vintage doors or slats leaned behind the bed
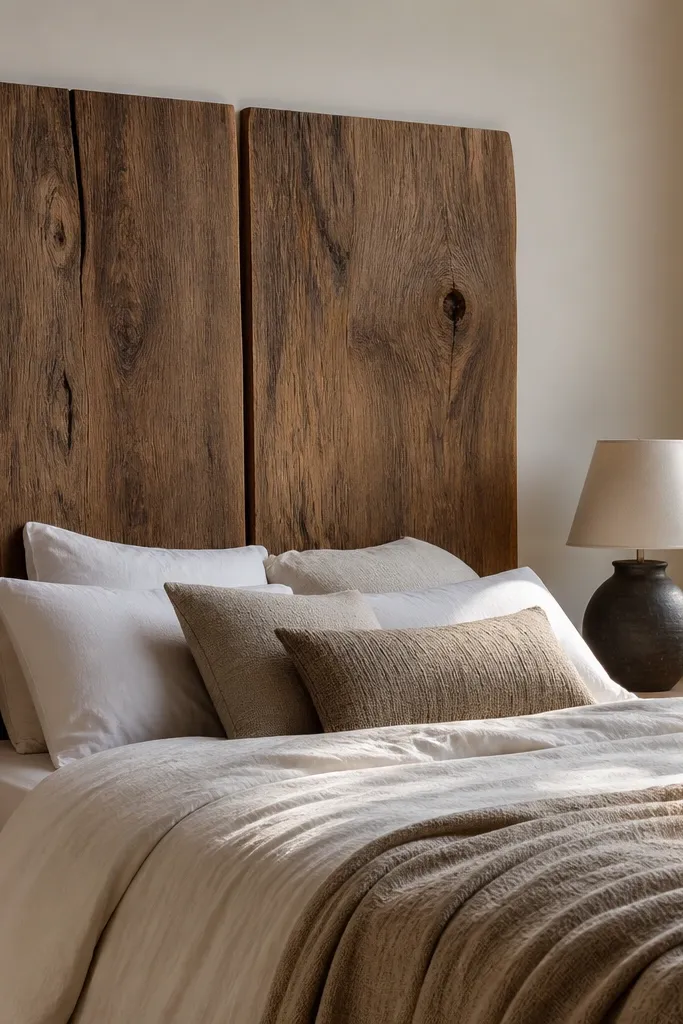
Leaned wooden panels look architectural and instantly turn a rental bed into a statement piece. Use a pair of doors or reclaimed slat panels so the shape is wider than the mattress and reads like a headboard from the entry. The texture of wood grain gives depth, and the seams between panels create a natural vertical rhythm. Keep the finish consistent — either sand and stain for warm tones or paint them matte for modern style. This is a great move if you want drama without any installation.
Pick panels that are tall enough to reach pillow height plus 2-4 inches, and wide enough to cover your mattress width. Place them behind the bed with a small gap between panels, then test stability by leaning them at a slight angle. Use two anti-slip pads or rubber feet on the floor and secure the top edges with removable furniture straps attached to the bed frame or nearby furniture. Sand rough edges, then seal with a matte clear coat if using reclaimed wood. Style the bed with simple linens so the panels do the heavy lifting visually.
If the panels have hardware, remove it or cover it with painter’s tape before painting so the surface looks clean.
Avoid high-gloss varnish — it reflects light and makes the bed area look shiny instead of warm.
8. Wallpapered foam board with a framed edge
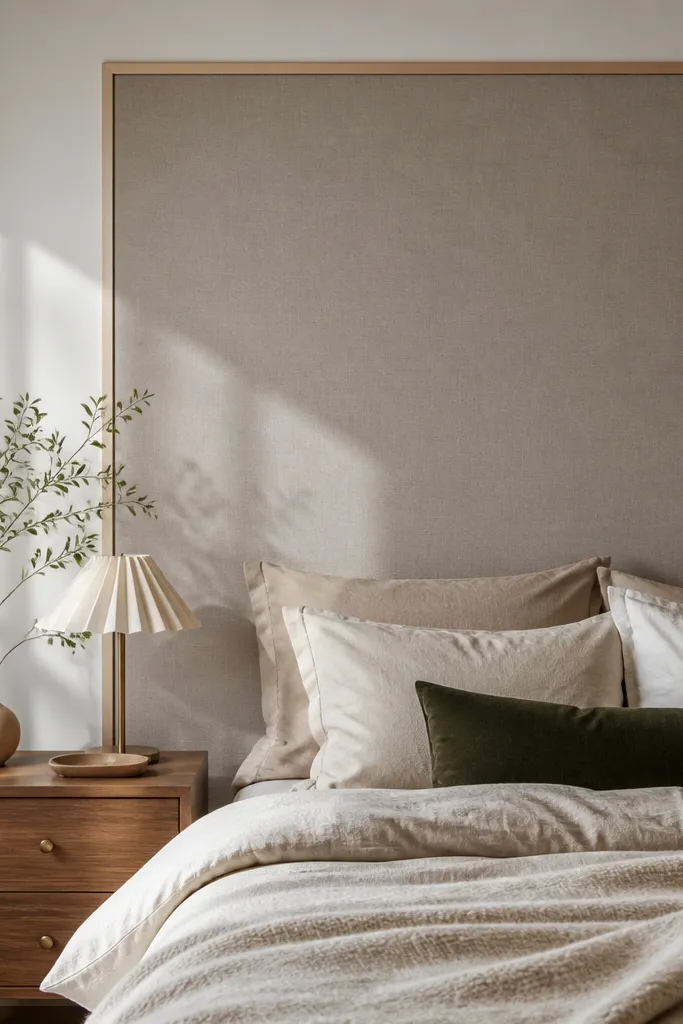
Wallpaper is one of the best ways to fake a headboard look because patterns create a defined visual block. The renter-friendly way is to mount wallpaper to foam board, then frame it so it looks like a real headboard panel. Pick a bold pattern with a clear motif: botanical line art, geometric tiles, or subtle marble effect. Keep the colors in your bedding palette so the bed looks cohesive instead of chaotic. This works in apartments where you want the look of designer wallpaper without touching the wall.
Cut 1/2-inch foam board to a rectangle sized about mattress width minus 4 inches and height around 30 inches. Apply wallpaper to the board using wallpaper paste or double-sided paper adhesive, smoothing from center outward to avoid bubbles. Trim the edges clean, then add a thin wood or MDF frame around the perimeter using wood glue and small brads. For mounting, use removable picture hanging strips rated for the frame weight or lean the framed piece against a freestanding support. Center it behind the bed and check the top edge against pillow height.
Editor's noteUse a matte wallpaper sealer so the surface doesn’t glare in photos.
Skip thisDon’t choose a pattern that’s too busy across a small panel — it reads messy instead of styled.
9. Suspended quilted throw with a ladder rail
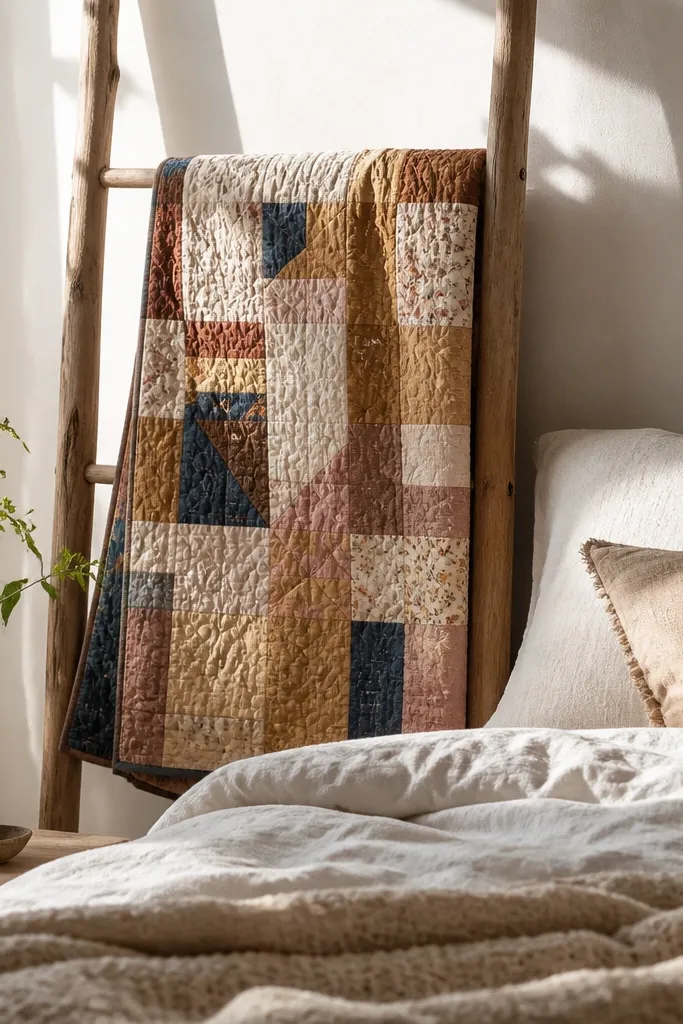
Quilted throws look like headboards when they’re hung with structure. The batting gives you that plush thickness, so the wall disappears and the bed looks cozy and finished. A ladder-style rail keeps it straight and creates that vertical rhythm that feels intentional. Go for a throw with visible stitching lines; plain fabric can fold and look like a blanket, not a panel. This option is great for renters because it’s easy to remove and swap with the seasons.
Find or build a simple ladder rail with two side uprights and a top rung strong enough to hold the weight of the quilt. Mount the rail to the wall only if your rental allows; otherwise, use a freestanding leaning ladder that can sit behind the bed. Hang the quilt using clip rings or sew-in tabs along the quilt’s top edge so it stays even. Adjust so the quilt top sits around 44-48 inches from the floor. Smooth the quilt from the center outward so the stitching lines look straight.
Sew or tape tabs at 10-12 inch intervals so the quilt doesn’t sag on one side.
Skip thin flat throws — they collapse and show the wall texture.
10. Woven rattan panel on a removable wall track
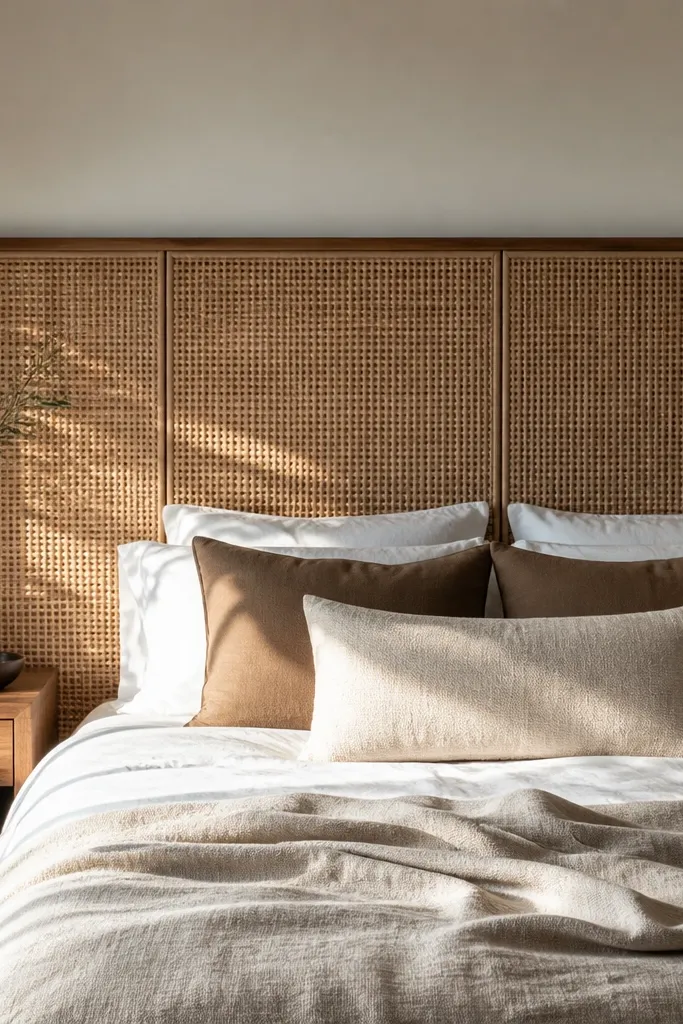
Woven rattan behind a bed gives you a headboard look with instant texture and shadow. It reads elevated because the material pattern is dense and consistent, so the wall disappears into a warm, airy backdrop. Use a rattan panel large enough to cover the mattress width and keep the top edge straight so it looks like furniture, not a craft project. This is a strong choice for renters because you can mount it using a removable track system designed for lightweight panels. The result is photogenic from both direct and side angles.
Choose a rattan panel with a flat backing and measure it against your mattress width plus 4-6 inches total overlap. Install a removable wall track or command-compatible rail at pillow height, following the manufacturer weight rating. Attach the panel to the track using the panel’s hanging slots or small connector hardware. Level it so the top edge lands around 44-48 inches from the floor. Add two small felt bumpers at the bottom corners so it doesn’t scrape or shift.
Match your bedding hardware colors (black, brass, or wood) to the rattan’s undertone for a cohesive look.
Don’t let the panel sit too low — if the bottom edge is above the mattress by 4 inches, it looks like wall art.
11. Curtain track + blackout fabric panel for a clean block
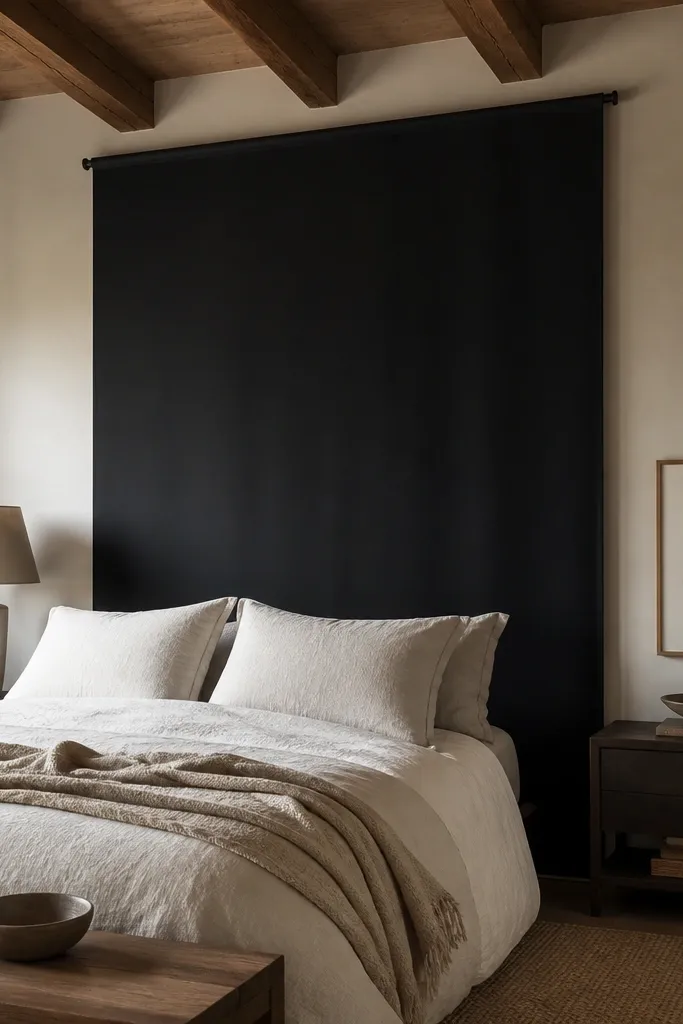
If you want the most “headboard-like” block shape, use a curtain track and a blackout fabric panel. Blackout fabric hangs with weight and stays flat, which makes it look like a padded panel even though it’s just fabric. The sharp, straight edges read structured, and the thickness helps hide the wall. Choose a fabric color that matches your room’s trim or your duvet — deep green, charcoal, or warm cream all look intentional. This option is best when you want maximum visual impact with minimal clutter.
Install a renter-friendly ceiling or upper-wall curtain track using the hardware that comes with it, staying within the weight rating for the track. Hang a blackout panel sized to cover the mattress width plus 6-10 inches total overlap. Position the bottom of the fabric so it lands near the top of the mattress or just a little above it. Pull the fabric fully closed so there are no gaps behind the pillows. Use magnetic or sewn side weights so the panel doesn’t billow.
Editor's noteUse a fabric with a matte finish; it looks richer and avoids glare in daylight photos.
Skip thisAvoid lightweight curtains — they twist and make the “headboard” look uneven.
12. Layered framed art grid behind the bed
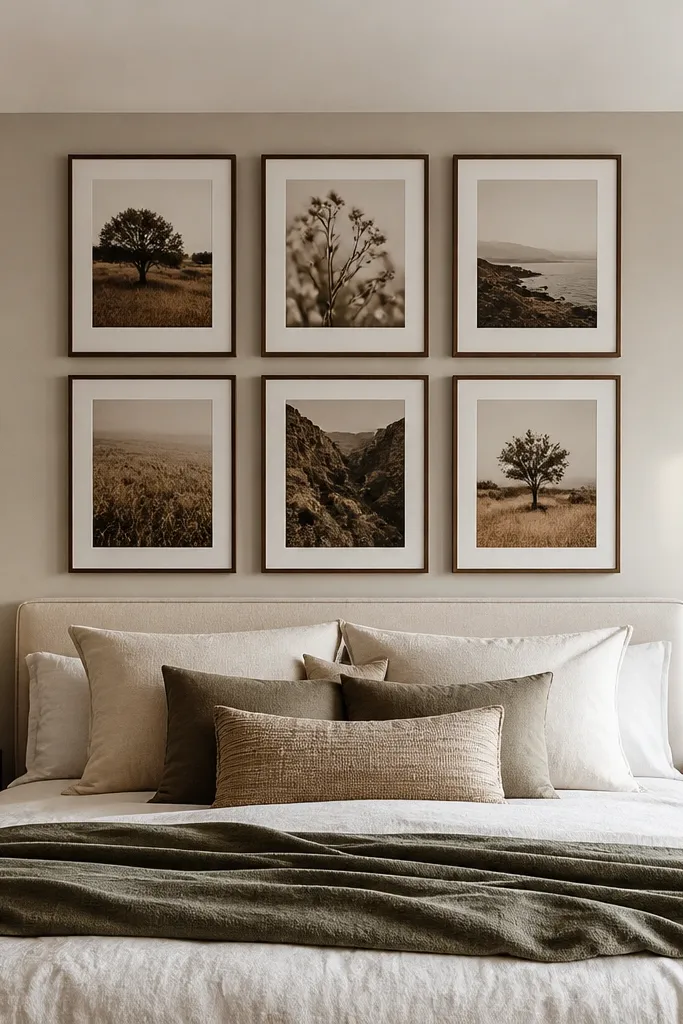
This is a renter-friendly no headboard ideas approach that looks like custom design because it builds a single composition, not scattered decor. A grid of frames behind the bed becomes a headboard block, especially when the frames are the same size and finish. Pick prints with a shared color palette so the bed area looks cohesive. The key is spacing: if frames are uneven, it looks like a gallery wall you didn’t finish. If you want a modern, graphic look, this is the cleanest option.
Choose a set of frames with identical dimensions and mat colors, then measure your target headboard area behind the bed. Build a grid that covers the mattress width, typically 2 frames wide by 2-3 frames tall depending on your wall height. Use removable wall hanging strips or picture hooks rated for the frame weight, and mark placement on painter’s tape before sticking. Keep a consistent gap between frames so the grid reads as one panel. Center the grid behind the pillows and add two matching throw pillows to anchor the composition.
Editor's noteUse frames with wide mats. The extra negative space makes the grid look intentional and more headboard-like.
Skip thisSkip mixed frame sizes — it turns the effect into clutter.
13. Floor-to-ceiling faux panel using removable wall panels
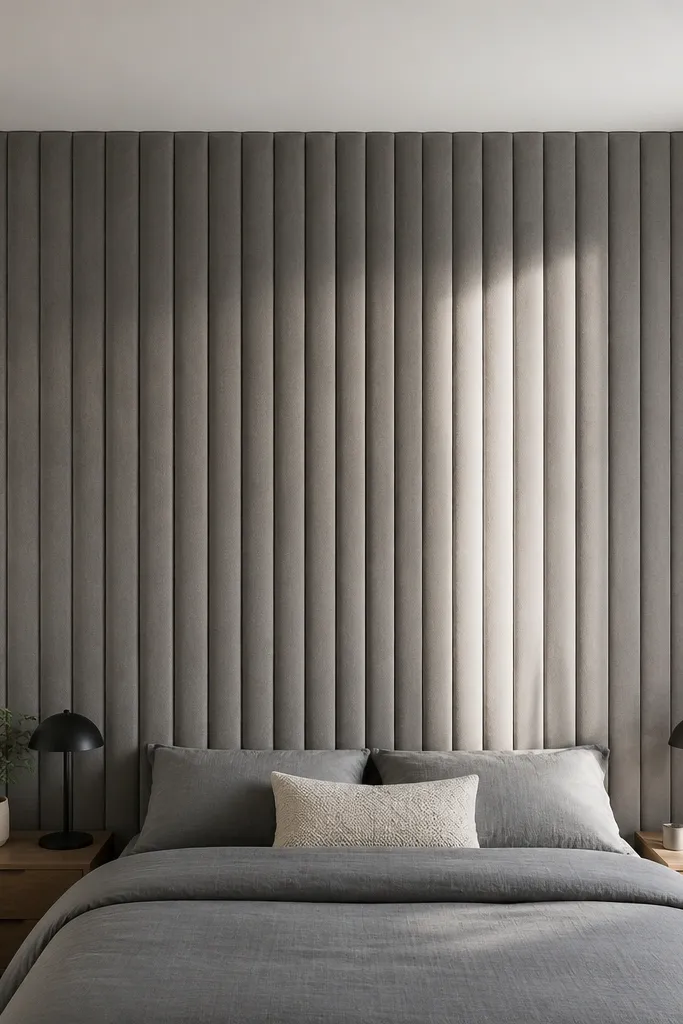
Removable wall panels create a built-in look without drilling, and behind a bed they read like a custom headboard wall. Choose panels with vertical grooves or a flat shiplap style so the texture adds depth even when lighting is flat. The best part is that you can cover the exact area you need instead of committing to a full wall makeover. For a photogenic result, keep the panel color consistent with your room — white, warm oak, or charcoal all look sharp. This works well when you want a strong, structured look that doesn’t rely on fabric drape.
Pick removable wall panels in lengths that match your target width behind the bed. Clean the wall surface, then install the first panel level using a laser level or a simple chalk line. Attach with the manufacturer’s removable adhesive strips or clips, then continue until the panel block covers the mattress width. Trim the edges with a utility knife for clean lines around baseboards or corners. Finish by pressing seams firmly and adding a simple top border strip if you want a more “headboard” feel.
Editor's noteWork in small sections and press seams with firm pressure for 20-30 seconds each so they stay aligned.
Skip thisDon’t install over dusty walls — seams lift and the grooves look crooked.
14. Ceiling-hung bead curtain with weighted bottom

A ceiling-hung bead curtain turns a blank wall into a sparkling headboard effect without touching the wall behind the bed. The beads throw tiny highlights across your bedding, which makes the whole setup feel styled even with simple sheets. Choose a bead curtain with a dense top header and a weighted bottom so it hangs straight, not wavy. Keep the color limited: clear, warm ivory, or black beads look clean and modern. This is best for rentals where you can mount a hook or tension point above, not on the wall face.
Measure the mattress width and choose a bead curtain that covers it with 3-5 inches of overlap per side. Install two ceiling hooks or an above-bed tension rod so the curtain header sits level. Thread the curtain onto the hooks, then check alignment from the doorway. If the curtain has a weighted chain, ensure it hangs straight by letting it settle for a few minutes before adjusting. Finally, style with solid-color bedding so the beads are the visual focus.
Editor's noteAdd a small blackout panel behind the beads if your wall is busy, so the sparkle pops instead of blending.
Skip thisSkip curtains with uneven weight distribution — they swing and look messy at night.
15. Wood plank backing with removable feet
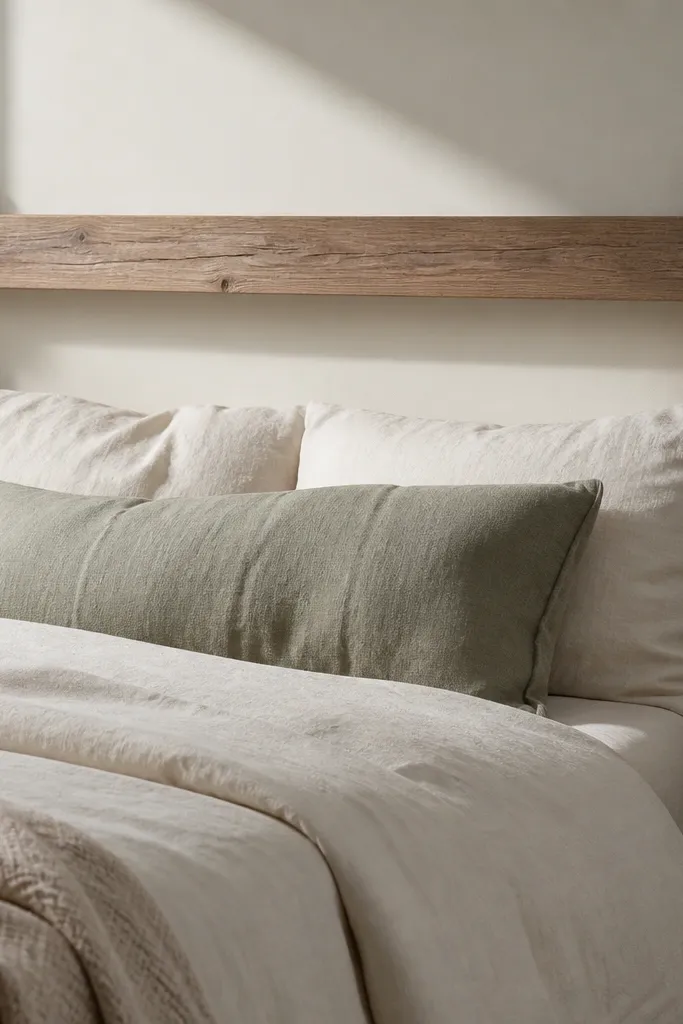
This option gives you a headboard look using a minimal wood backing that reads modern and clean. It’s basically a lightweight wall panel you place behind the bed, and the horizontal top rail creates that “headboard” silhouette instantly. Wood plank backing also hides wall marks better than a thin fabric because it blocks the space as a solid surface. Use a matte finish so it doesn’t reflect harsh light, and keep the design simple so it complements your bedding instead of competing. It’s a strong choice if you want something that looks like furniture but stays renter-friendly.
Cut two vertical side planks to the height you want (usually 36-44 inches) and a top rail plank that spans the mattress width plus 2-4 inches. Add two small cross braces or dowels at the back so the structure stays square. Sand all edges, then apply matte paint or a light stain with a satin clear coat. Place the backing behind the bed and attach removable furniture feet or felt pads to the bottom so it doesn’t slide. Center it, then add a pillow set that matches the wood undertone.
Use corner rounding on the edges. Softer corners look better up close and are safer in a tight rental.
Don’t make it too narrow — a small panel behind a wide bed looks like an afterthought.



