
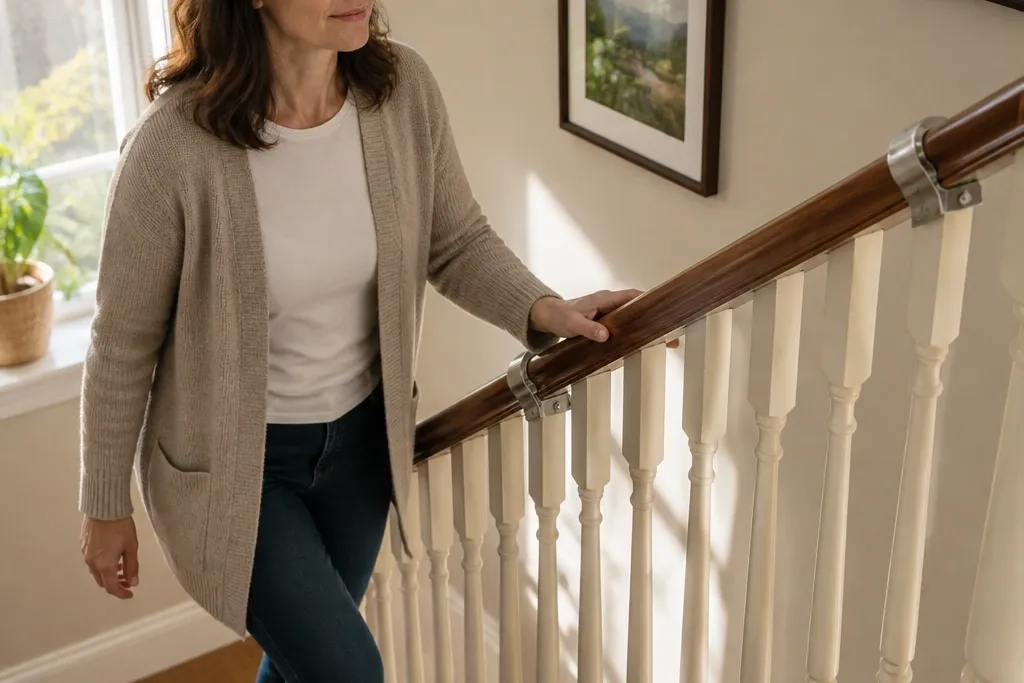
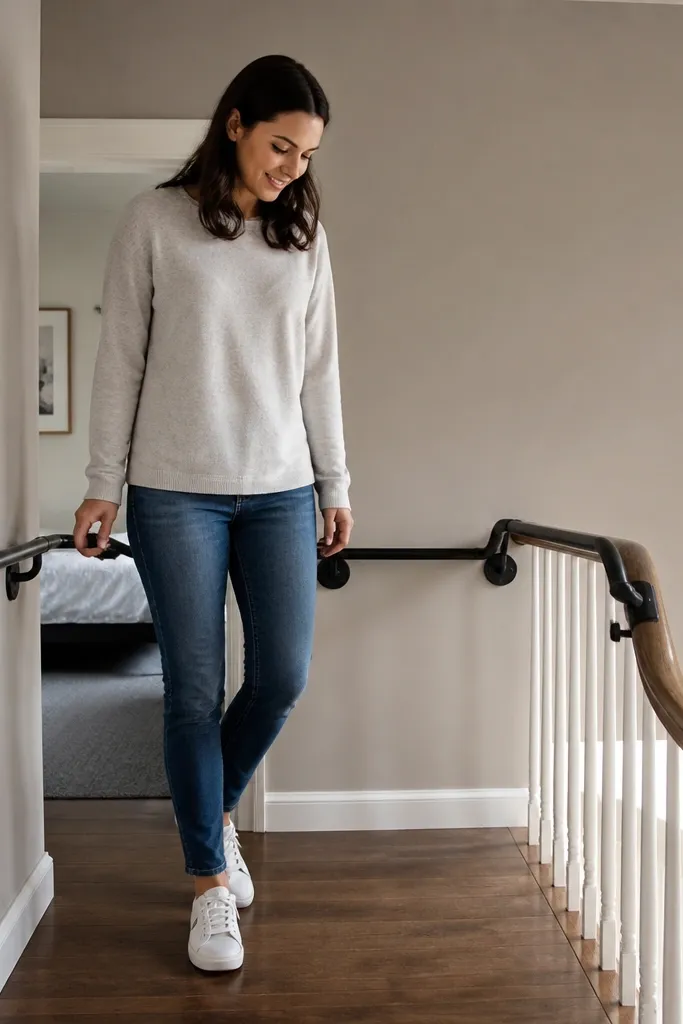
1. Walnut wrap handrail with band clamps
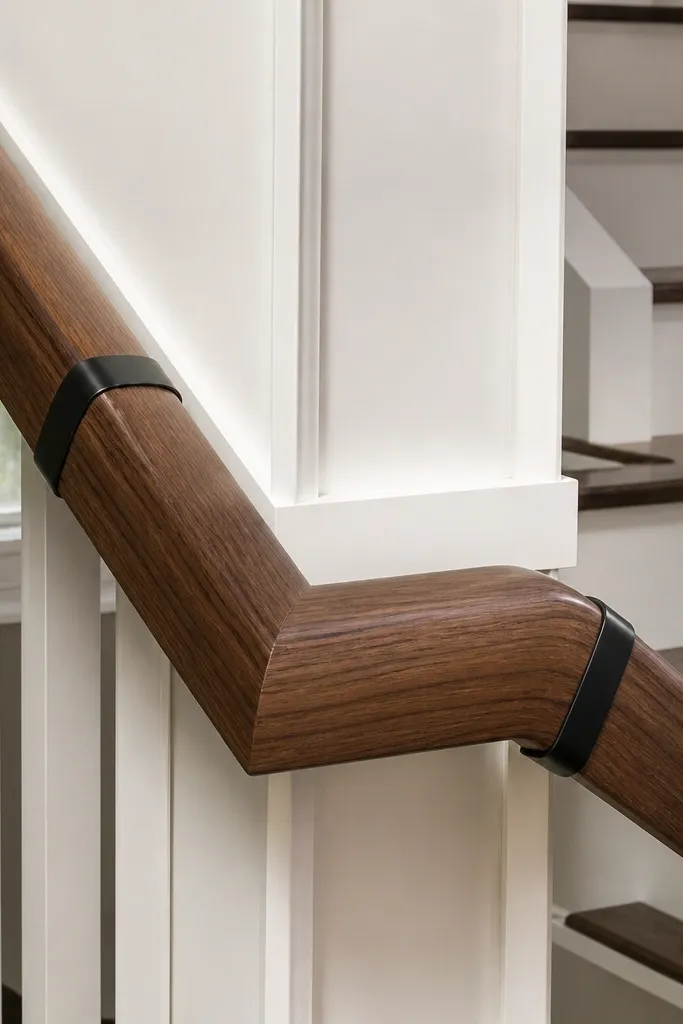
Cut or buy a straight rail section sized to your stair run, then dry-fit it alongside the banister to confirm the height. Wrap two to four band clamps around the banister and rail — space them every 24-30 inches so the rail doesn’t sag when you grab it. Add end caps (or mitered wood blocks) so the rail ends look finished, not like a cut board. Wipe any clamp contact points with denatured alcohol first so the band grip is secure and your rail finish stays clean.
A wrap handrail reads clean because the wood looks like it belongs there, while the clamp bands stay visually quiet. This setup is good for renters who have a banister you can encircle — wood or metal — because you’re not punching holes in trim. Use a pre-finished walnut-toned rail board so you don’t end up sanding for days. The result is a warm, photo-friendly look with hardware that disappears into matte black bands.
Skip thisDon’t use glossy finish on the rail if your fittings are glossy too — glare makes the hardware obvious.
Editor's noteChoose clamps with a rubberized inner band so you don’t scuff the banister paint.
2. Black pipe rail with removable stair-mount brackets
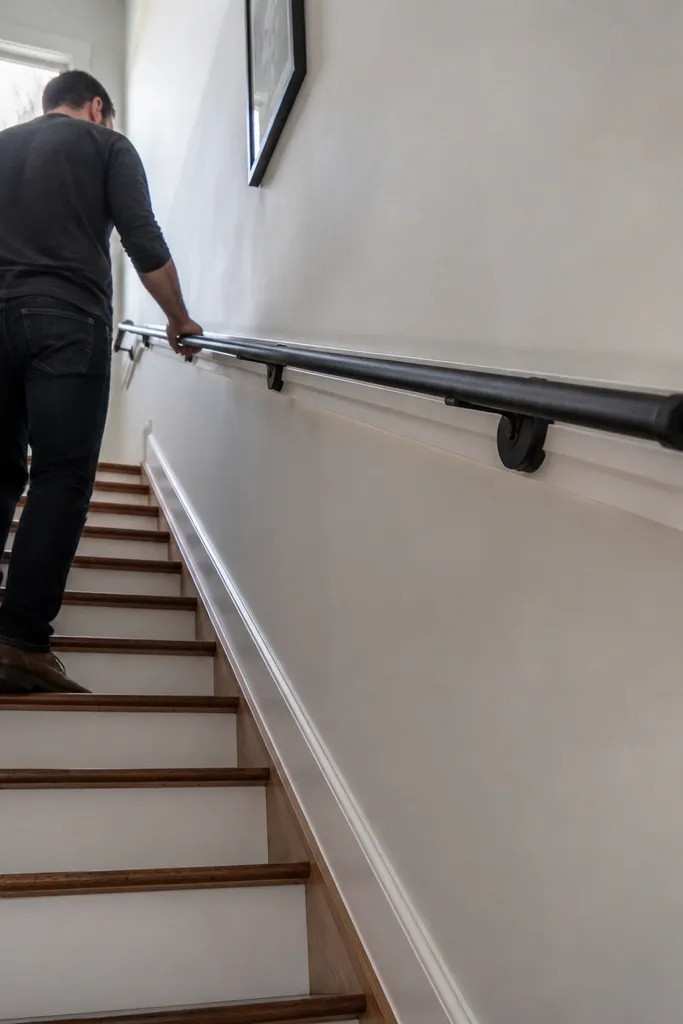
Measure the rail length and buy a matte black steel pipe system with matching elbows and couplers if your run turns. Install removable brackets along the wall edge using their clamp mechanism, not screws, then slide the pipe through the bracket openings. Level the pipe with a 4-foot level so the line stays straight across the first few feet. Finish by capping the ends so the pipe doesn’t look unfinished.
This looks like a custom industrial build because the pipe is instantly recognizable and the line stays straight and strong. The no-drill part comes from using removable wall brackets that clamp to trim or grip without screws. It’s a great option when your stair has a wall return or a flat side where you can anchor brackets securely. Keep the pipe matte and the brackets matte to avoid that “hardware store” shine.
Skip thisDon’t eyeball the slope — a slightly off-level pipe looks crooked in every photo.
Editor's noteUse felt or rubber pads where the bracket touches the wall trim to protect paint.
3. Tension rail with faux wood finish

Tension rails are one of the cleanest renter-friendly options because you don’t attach to the wall with hardware at all — the rail holds by pressure. Visually, you get a straight handrail line with minimal visible mounting points, especially if you pick a faux wood finish that matches your stair trim. This works best on stair sides that have solid contact points above and below — think sturdy wall edges or a frame that can take tension. It’s a good choice when you want the look fast and removable.
Choose a tension rail kit sized for your stair width and cut a rail cover or buy a rail with a wood-look finish. Position the tension brackets at the correct handrail height (34-38 inches from the nosing) and extend the rail until it locks. Test the hold by applying gentle pressure at the middle of the rail segment. Add end caps or a rail sleeve so the ends look intentional rather than like a kit.
Use a soft cloth between tension pads and trim to stop scuffs and reduce squeaks.
Don’t install on crumbly drywall edges — tension needs solid contact.
4. Rope-wrapped handrail over a clamp base
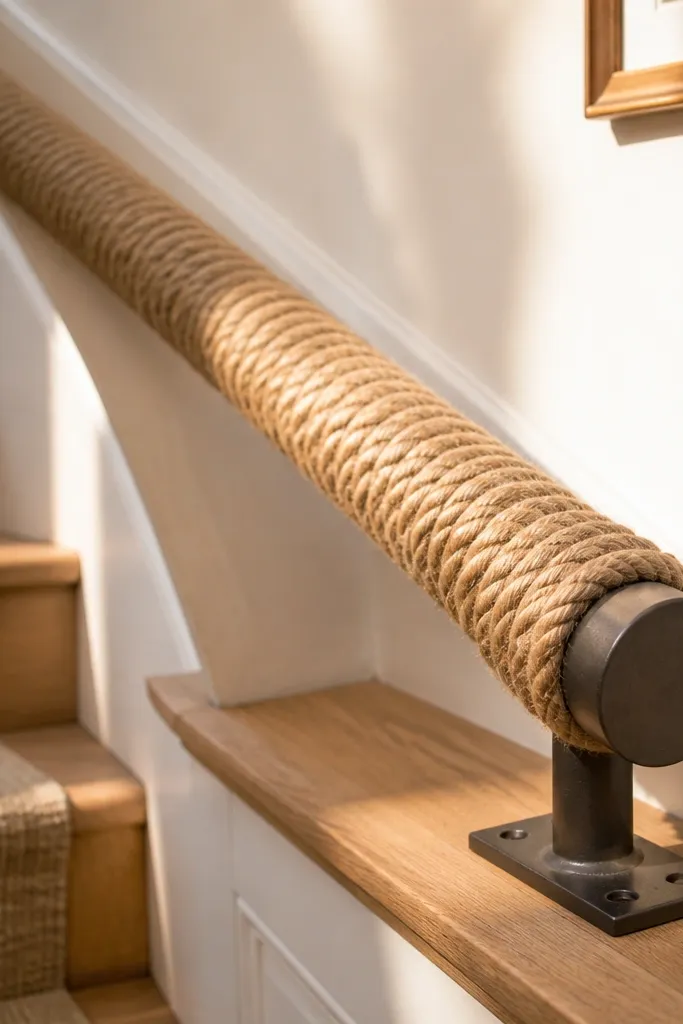
Start with a clamp-based handrail base (wood or metal) that you can wrap and remove later. Apply a thin layer of grip adhesive made for rope or fabric (or use a few small bands of tape at the start) so the rope doesn’t slide. Wrap rope tightly from one end to the other, keeping each coil snug against the last. Finish with a tight knot inside an end cap or secure under a wrap band so the end looks clean.
If you want a look that feels warm and photogenic, rope-wrapping is hard to beat. You get texture that hides tiny imperfections and makes the handrail look like a design element, not a utilitarian bar. The clamp base is what keeps it renter-friendly, while the rope gives you a custom look without staining or painting. This works especially well in entryways, coastal-ish spaces, or any home with light wood tones and soft fabrics.
Skip thisDon’t use thin jute — it frays fast and looks messy after a few months.
Editor's noteUse thick, tightly twisted rope (around 1 to 1.25 inches diameter) for a fuller, more upscale look.
5. Adhesive wall rail with wood-look cover strip
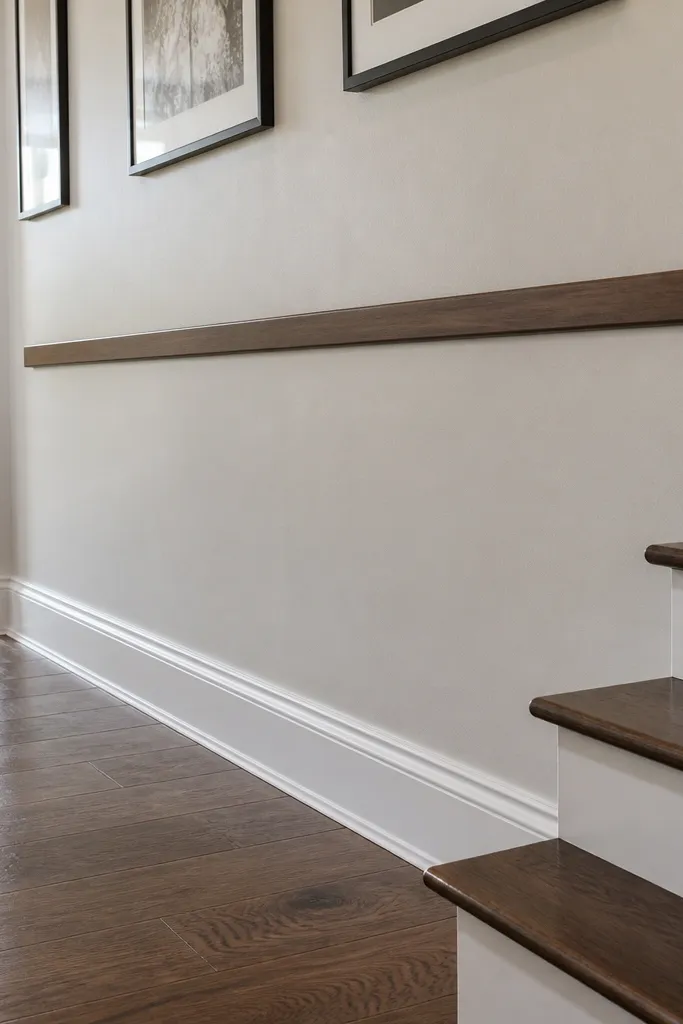
Clean the wall with isopropyl alcohol and let it fully dry so adhesive bonds properly. Apply the adhesive rail mounting track per the kit instructions, then press firmly for the required cure time. Cut a wood-look cover strip to match the rail length and attach it using the kit’s snap-on or adhesive cover system. Check alignment with a level before the adhesive sets.
A wall-side adhesive rail can look surprisingly built when you cover the adhesive mounting points with a wood-look strip. This is the move when your stair has a smooth wall edge and you don’t want to clamp around a banister. The rail itself gives you the safety and grip, while the cover strip hides the “temporary” feel. Choose neutral wood tones so it blends with trim and doesn’t scream renter hack.
Skip thisDon’t install on textured paint — the adhesive surface needs a smooth, even finish.
Editor's noteMark your handrail height with painter’s tape and install from one end so you keep a straight line.
6. Magnetic rail with steel backing plates
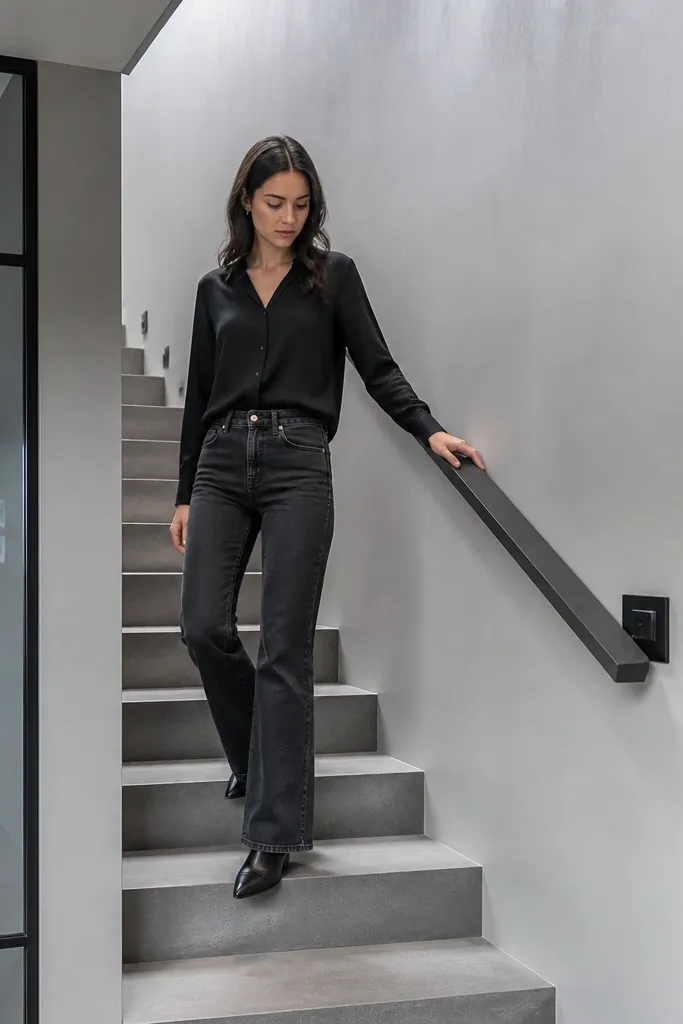
Place thin steel plates along the wall or banister side at spacing that matches the magnetic rail brackets. Clean surfaces thoroughly, then attach plates using a removable mounting method like heavy-duty mounting tape designed for easy removal. Snap the rail onto the brackets and test for stability by pressing at the center and near the ends. Use matching end caps so the rail ends look finished.
Magnetic systems look sleek because the visible parts are minimal and you don’t see clamps or adhesive tracks. This works when you can add thin steel backing plates to the stair side (with removable tape or a non-permanent method). The handrail then snaps on and off. It’s a great option for metal stair runs or modern interiors where you want a clean, low-profile look.
Skip thisDon’t place plates too far apart — a sagging middle makes the whole line look cheap.
Editor's noteChoose a matte rail finish so the steel plates don’t show through in bright light.
7. White painted rail with tension corner blocks
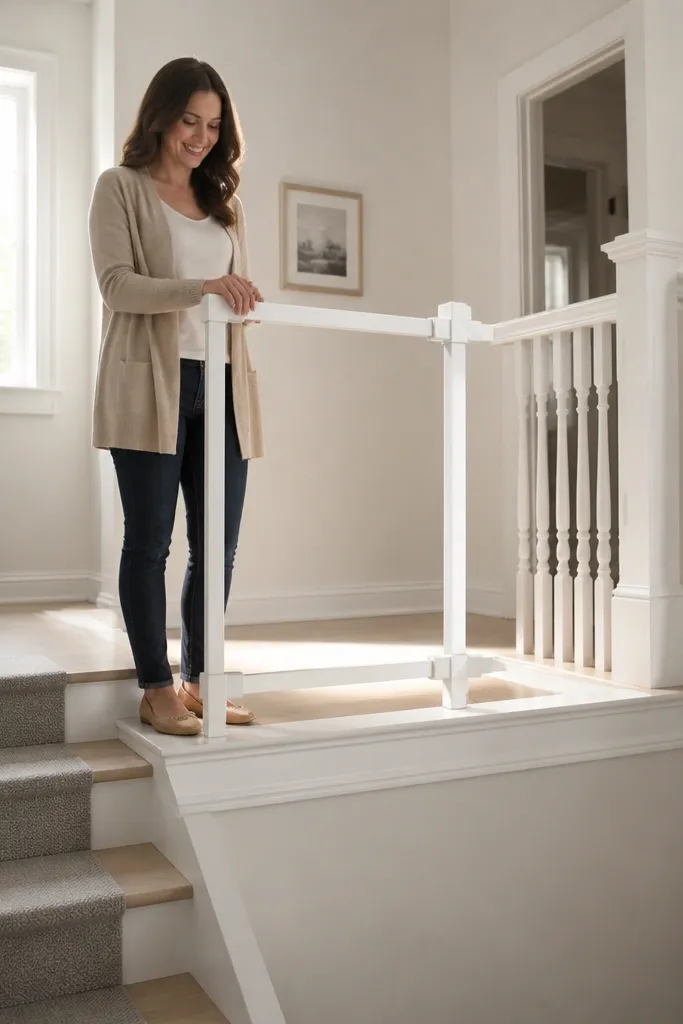
Pick a rail in white (or paint a pre-finished wood rail with a hardwearing enamel). Position corner tension blocks at the landing edge, then set the rail on the blocks at your target height. Tighten until snug — not over-tight, which can warp thin trim. Finish by adding a small decorative corner cover on each block so the contact points look like part of the design.
White handrails read bright and tidy, especially in smaller rentals where dark hardware can feel heavy. The tension corner blocks grip the landing area without drilling, so you get secure placement and easy removal. This setup is best where you have a landing or a flat corner that can take block pressure. It’s also a smart choice if your stair trim is white or light gray — everything matches and looks intentional.
Skip thisDon’t ignore stair landing depth — if blocks sit on a narrow edge, pressure shifts.
Editor's noteUse painter’s tape under the blocks to protect glossy paint and reduce squeaks.
8. Stair banister ribbon wrap railing
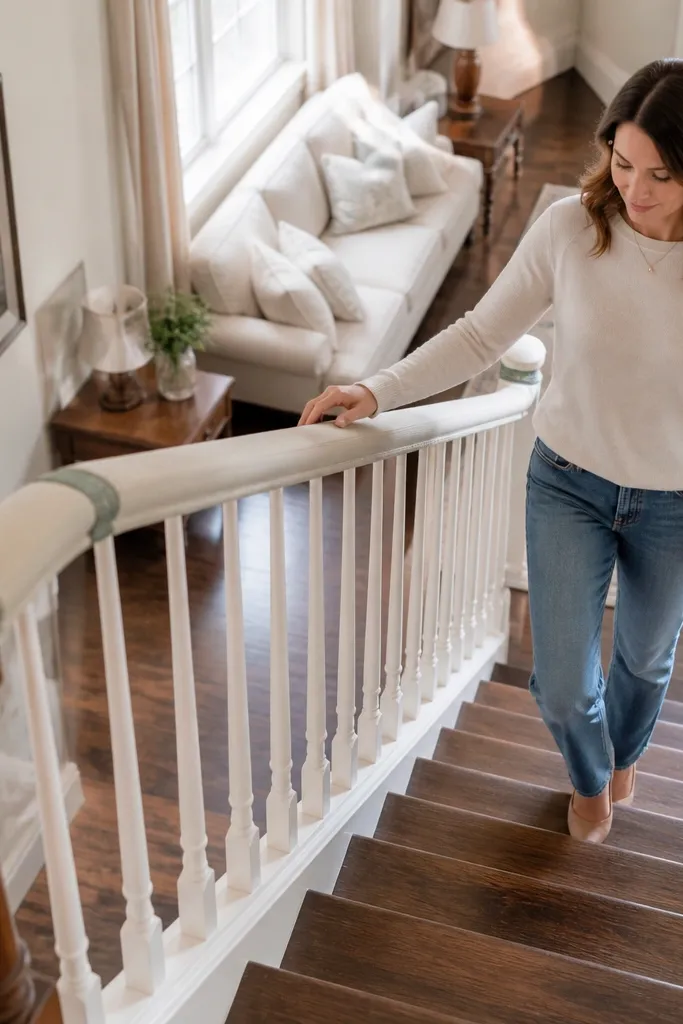
Choose a slim overlay handrail that can clamp around your banister, then fit it at handrail height. Wrap wide ribbon bands around the banister under and over the overlay so the seams land at the same height on each spindle. Secure ribbon with removable fabric tape or hidden zip ties tucked under the overlay lip. Keep the ribbon taut so it doesn’t sag and catch light in a messy way.
This is for people who want a photo-ready “styling” upgrade, not just safety hardware. You wrap a slim no-drill handrail overlay on top of the banister and then add ribbon bands that match your decor palette. The look is soft and decorative, and the ribbon hides small gaps where the overlay meets the banister. It’s especially good for rentals that allow temporary coverings and where you want a seasonal change without redoing hardware.
Skip thisDon’t use ribbon that frays easily — you’ll see loose threads in every close-up photo.
Editor's noteUse grosgrain or cotton ribbon with a tight weave — it holds shape and looks cleaner than thin satin.
9. Clear acrylic handrail with edge-grip mounts
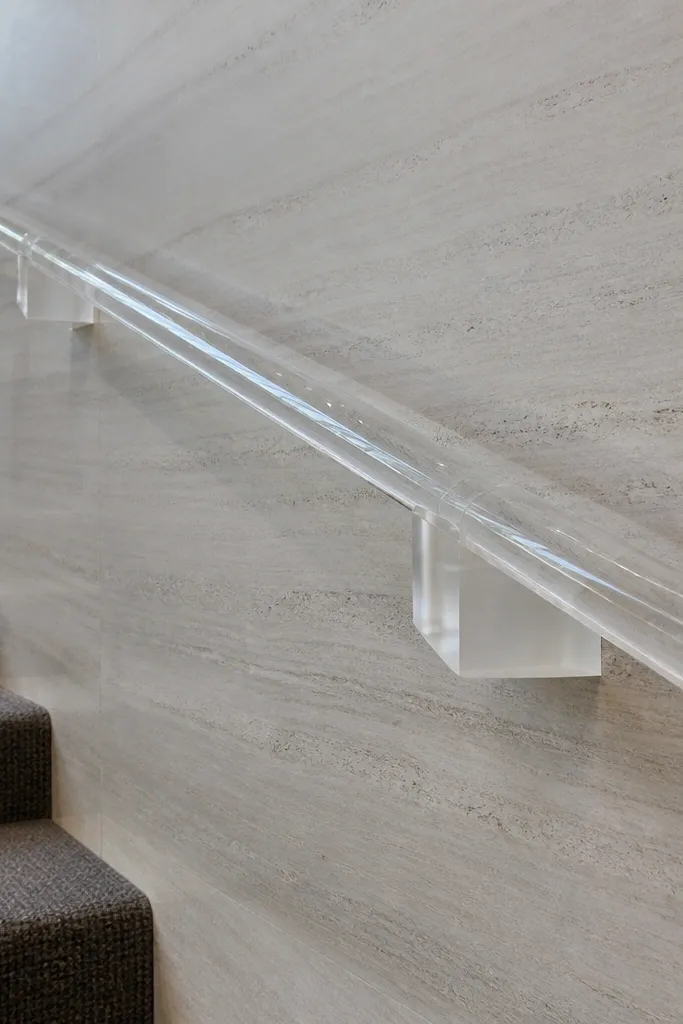
Buy an acrylic handrail kit sized for your run, with edge-grip mounts designed for no-drill install. Position mounts along the stair side at spacing that matches the kit, then clip the acrylic rail into place. Check alignment and level before fully locking mounts. Add clear end caps so the acrylic edges look polished instead of cut.
Clear acrylic looks modern and airy because it doesn’t visually block the stair. Mount it with edge-grip hardware that holds the rail without drilling, and you get a sleek line that matches glassy, minimalist interiors. This also helps if your stair already has a lot going on — the railing stays visually light. Use frosted or lightly tinted acrylic if you want less glare from overhead lights.
Skip thisDon’t use regular window cleaner with ammonia — it can haze acrylic over time.
Editor's noteClean acrylic with a microfiber cloth and acrylic-safe cleaner so you don’t leave streaks that show in photos.
10. Carved wood rail with removable U-brackets
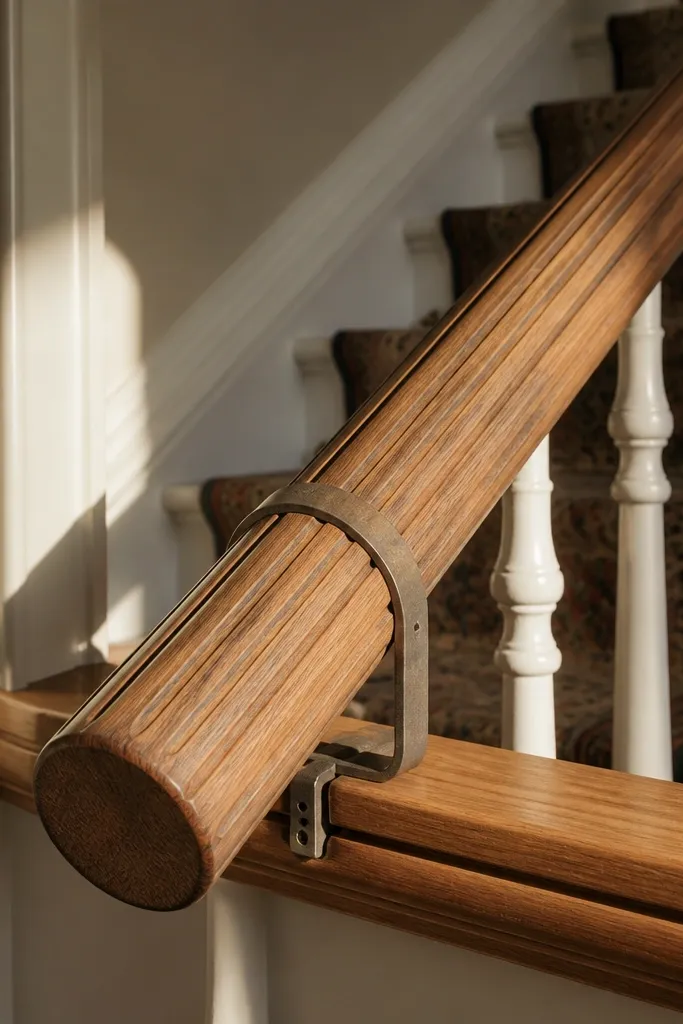
Pick a carved wood rail profile that fits your hand grip — a rounded top around 1.5 inches feels comfortable. Clamp U-brackets onto the banister at 24-inch intervals and test for smooth contact without wobble. Slide the rail into the bracket seats and tighten until it’s firm. Finish with matching end blocks to cover bracket ends and keep the silhouette clean.
A carved wood rail instantly upgrades the look because the profile catches shadows and makes the handrail feel architectural. The key is using removable U-brackets that clamp to the banister or wall edge so you’re not drilling. This idea works when you want more than a flat board — think fluted edges or a gently rounded top. It also hides small installation imperfections because the carving draws the eye.
Skip thisDon’t clamp on a painted surface without protective pads — brackets can chip paint.
Editor's noteSand the top edge lightly even on pre-finished rails so it feels smooth under your palm.
11. Two-tone rail with removable sleeve over brackets
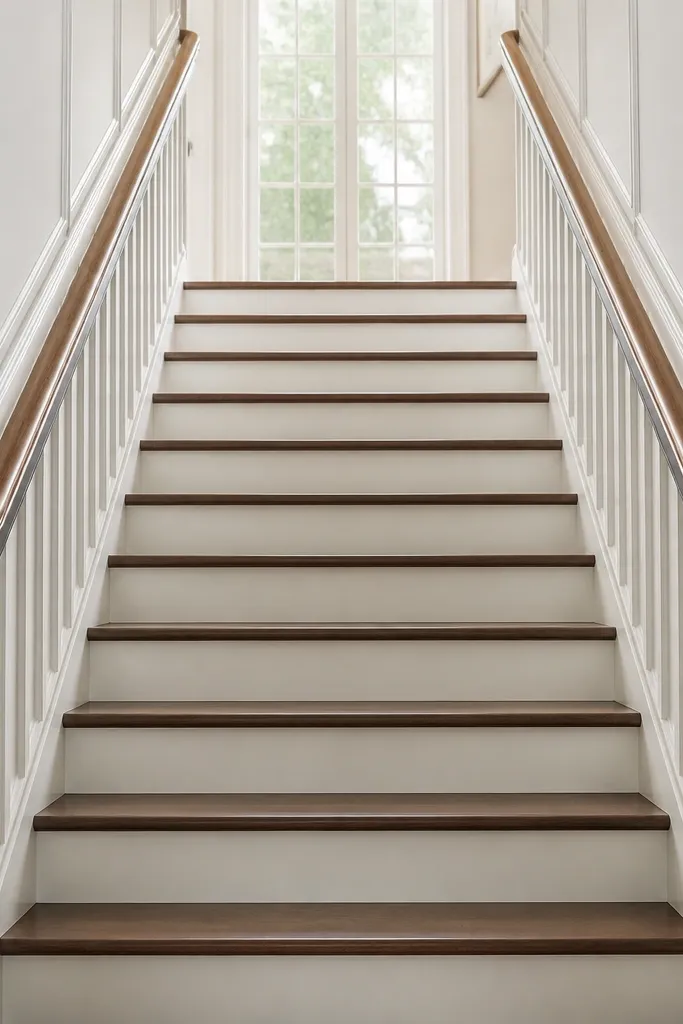
Choose a no-drill bracket system that clamps along the banister or stair wall edge. Attach brackets first, then slide a two-tone rail sleeve over them — the sleeve should hide bracket faces. Cut sleeve sections so seams land at natural gaps and are tight. Seal the sleeve edges with a clear coat designed for wood-look finishes so it doesn’t scuff.
Two-tone rails look custom because they add contrast without adding visual clutter. The trick is to use a removable sleeve that covers bracket locations so the hardware disappears when you look straight up the stairs. This is perfect for rentals where you want a design moment but need a system that comes off clean. Pair a darker base with a lighter top rail strip for a crisp, modern look.
Skip thisDon’t pick colors that clash with your trim — contrast should match the room palette, not fight it.
Editor's noteUse a matte top coat on the lighter tone so it doesn’t show fingerprints.
12. Rattan-wrapped dowel rail on clamp mounts
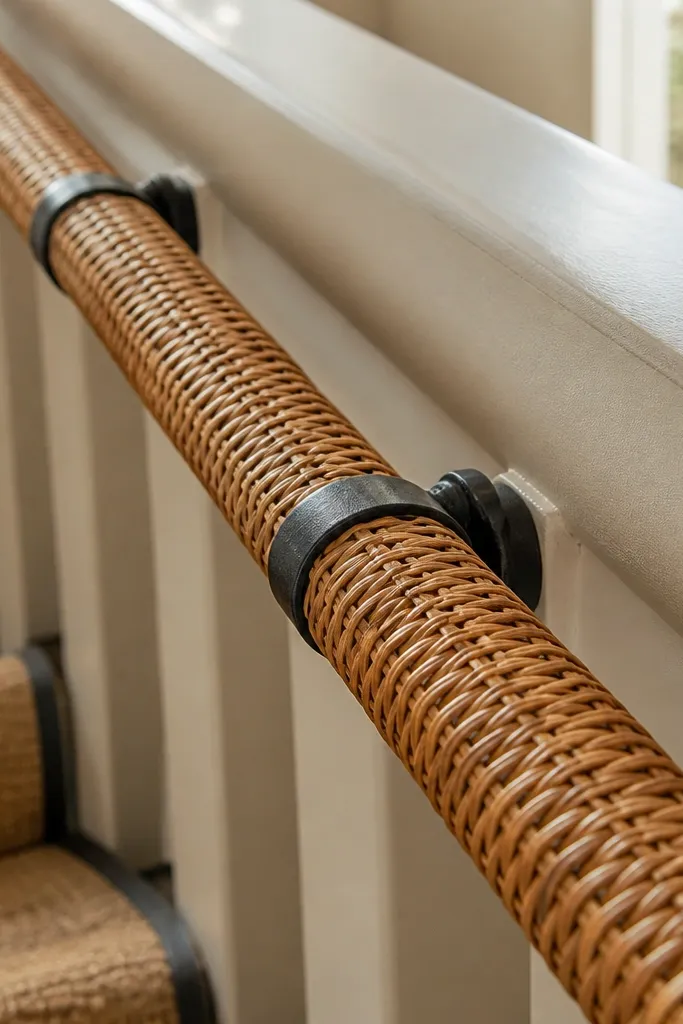
Start with a dowel rail sized for your hand grip, then wrap rattan strips tightly around it. Use a removable adhesive or thin wrap tape at the start so the rattan doesn’t drift while you wrap. Install clamp mounts on the banister at 24-30 inch spacing, then slide the wrapped dowel into the mounts. Add end caps and trim any frayed rattan edges with sharp scissors after the adhesive sets.
Rattan wrapping turns a simple dowel rail into something that looks like it came from a boutique shop. It’s also forgiving: rattan covers tiny gaps and hides uneven wrap lines that would look bad on painted wood. Clamp mounts keep it renter-friendly, and the natural texture makes the stair feel warmer. This option is best when your home already has cane, rattan, or light neutrals.
Skip thisDon’t leave raw rattan ends exposed — they snag clothing and look messy fast.
Editor's noteSoak rattan strips lightly in water for 10-15 minutes so they bend without cracking, then wrap immediately.
13. Faux leather wrap rail with snap-on end caps
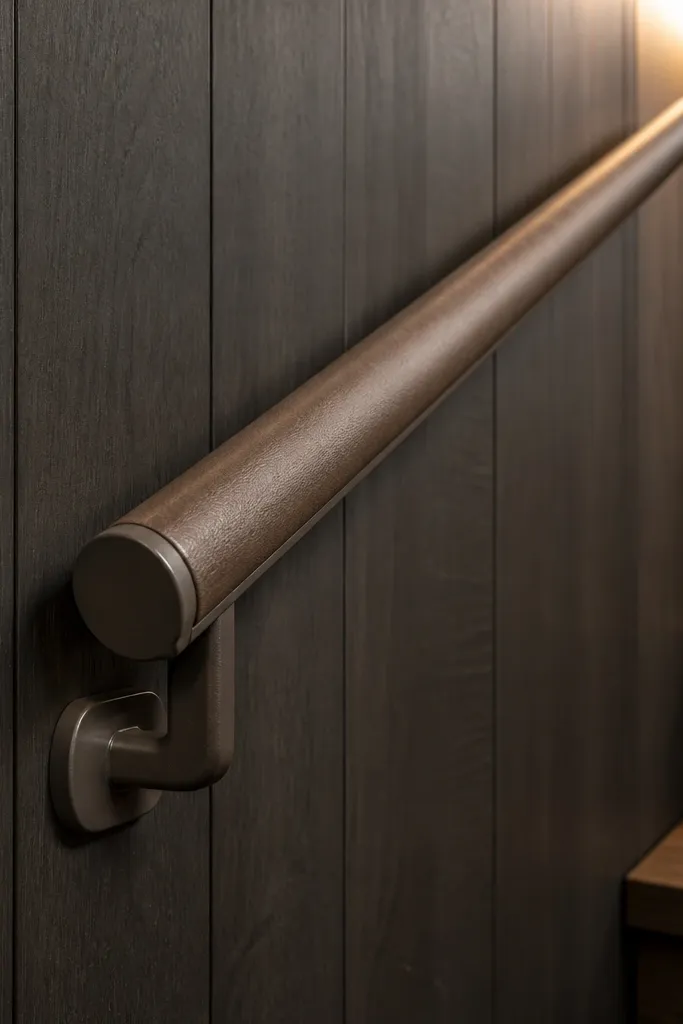
Choose a rail base that clamps without drilling and has a smooth top. Cut faux leather wrap panels to size and include a slight overlap so the seam lands on the underside. Glue or use double-sided adhesive made for faux leather to attach the wrap, then press flat to avoid bubbles. Install snap-on end caps to cover the seam ends and keep the corners looking sharp.
Faux leather gives you that clean, high-end look without the cost of real hide. It reads polished in modern apartments and pairs well with black or dark gray fittings. The best part is grip: leather-like wrap feels warmer than metal and looks intentional in photos. Use a clamp mount base underneath, then wrap the handrail surface with faux leather panels.
Skip thisDon’t stretch faux leather too tight — it pulls seams open after a few weeks.
Editor's noteUse a foam roller to press the wrap — it eliminates wrinkles that show under light.
14. Stair spindle bead rail using detachable clips
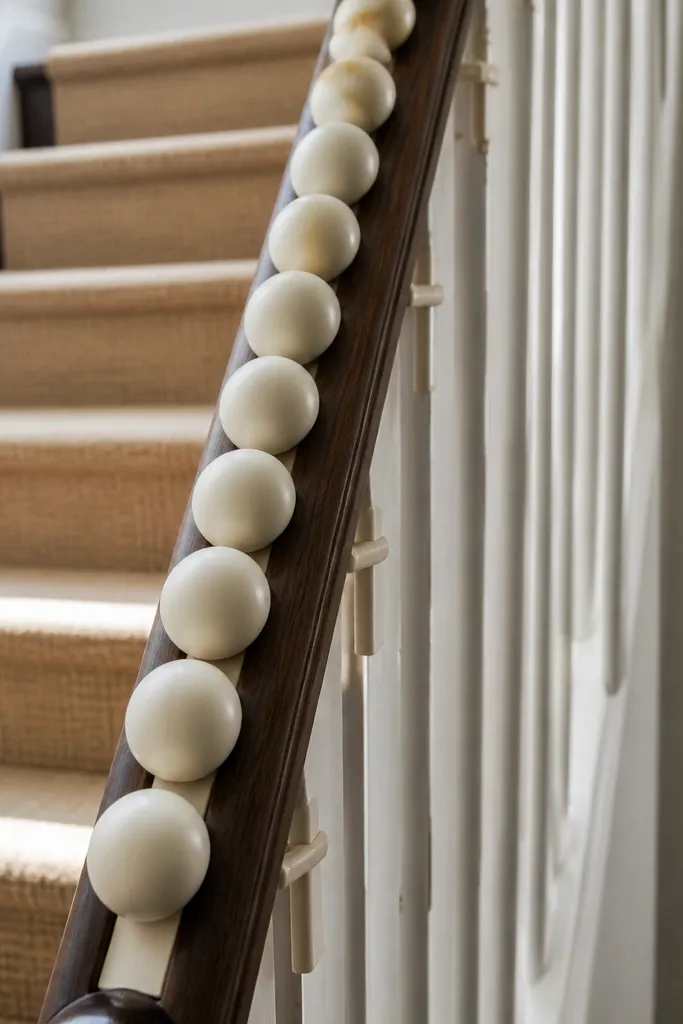
This idea is about visual charm. You build a beaded handrail line that catches light while still giving you a surface to steady yourself. Detachable clips keep it renter-friendly and make removal painless. It works when you have visible spindles or a grid you can clip into without drilling. Keep beads matte or lightly translucent so the rail looks soft, not flashy.
Select bead strands or bead sections that fit over a thin base rail — enough weight to drape cleanly. Attach a thin clampable base or cable line using detachable clips on the spindles. Then thread beads onto the line or wrap bead sections around the base, spacing them evenly. Secure with small end stops so beads don’t slide to one side.
Use beads in 2-3 tones max so the rail looks designed, not like a craft project.
Don’t use tiny glass beads — they clink and look chaotic under movement.
15. Cedar plank rail with temporary corner cleats
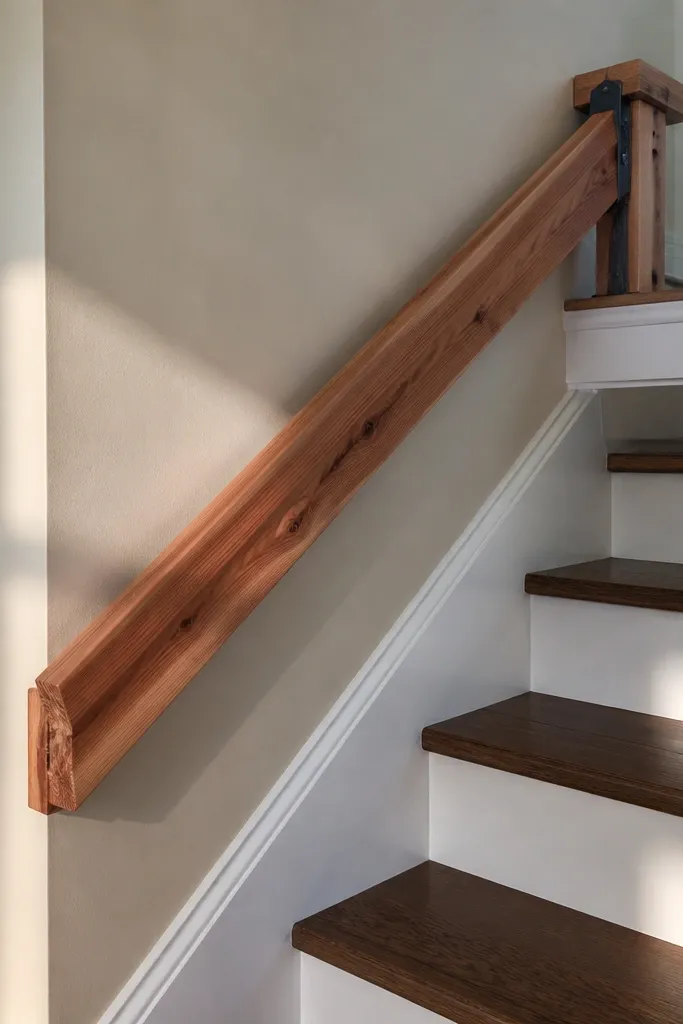
Buy a straight cedar plank and sand the top edge smooth, then seal with a matte clear coat. Position temporary corner cleats at each end and at 24-30 inch intervals along the stair run. Set the rail on the cleats and tighten until snug, then verify the rail height with a tape measure. Add a thin edge strip on the underside to cover cleat contact points and make the rail look thicker.
Cedar adds color warmth and a subtle grain that looks good from every angle. Temporary corner cleats let you mount the rail without drilling into trim, so you get the look of solid wood built-in. This works best on stair walls with a corner or flat edge where cleats can grip. It’s also a good option if you want a scent-free version — choose pre-sealed cedar board so it doesn’t feel sticky or resinous.
Skip thisDon’t skip sealing — raw cedar picks up dirt and looks dull quickly.
Editor's noteUse matte polyurethane — it resists scuffs better than glossy finishes on stair traffic areas.
16. Painted metal rail with snap-on cover channel
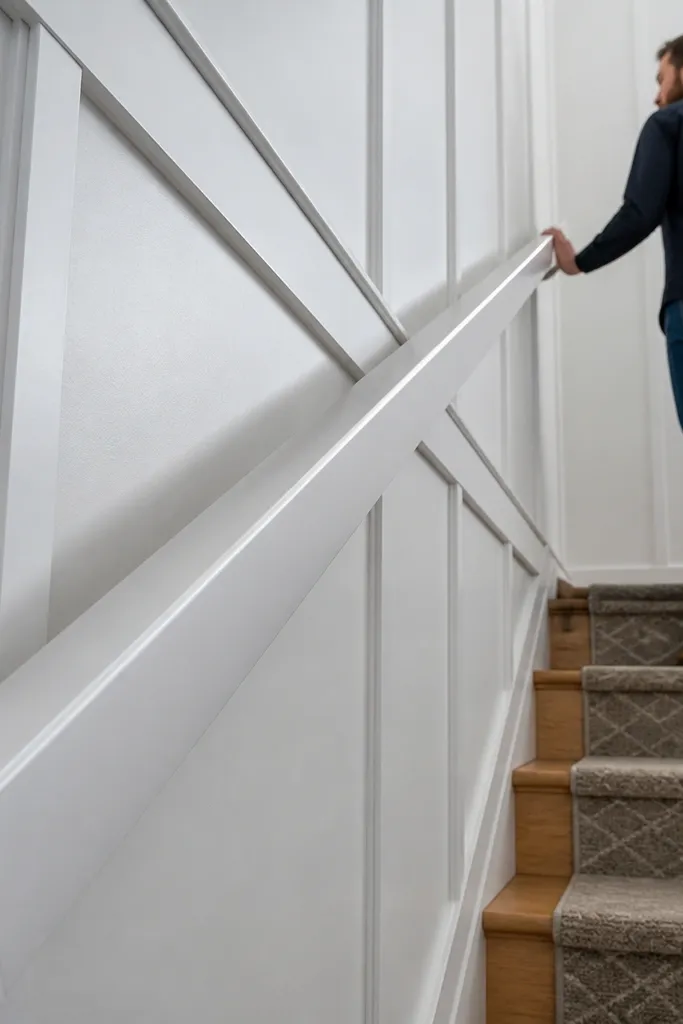
Install a clamp-based or no-drill rail mount system first, leaving the mount points exposed. Attach the metal handrail to the mounts, then snap the cover channel over the mount faces. Cut the cover channel to length and miter the ends for a tight, clean look. Finish by installing end caps and wipe off any paint dust where you handled the rail.
A painted metal rail looks crisp and stays straight, which is why it photographs well. The snap-on cover channel is what makes it renter-friendly in appearance: it hides the mounting points so the rail reads like a finished product. This is ideal for rentals with busy stair walls where you want the rail to be the only clean line. Choose a satin black or warm gray paint so it blends with your trim.
Skip thisDon’t use a cover channel that’s too tight — it will pop off when the rail flexes slightly.
Editor's noteUse a satin finish so fingerprints don’t show as much in hallway lighting.
17. Stair wall handrail with rail tape and removable brackets
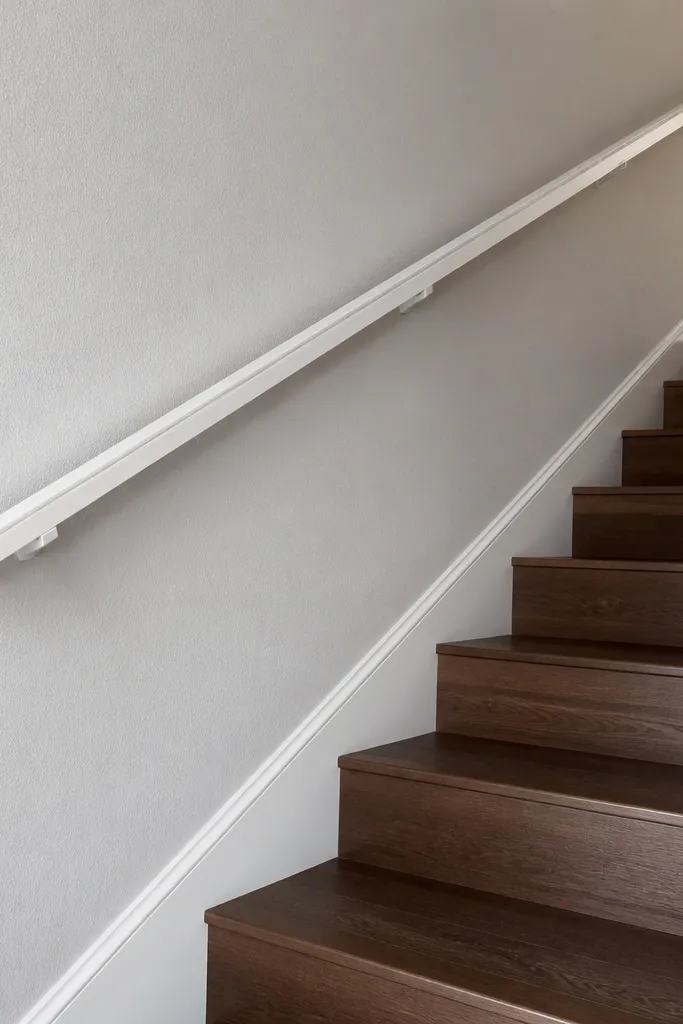
Clean the wall and trim edge with alcohol and let it dry fully. Place removable brackets at your measured height, then apply rail tape between the bracket contact points and the wall edge. Set the rail onto the brackets and press down firmly to activate the tape bond. Add a slim trim strip to cover the tape line and finish with end caps.
This system looks clean because the brackets are small and the grip comes from rail tape rather than screws. It’s a good compromise when you want a sturdier hold than pure adhesive rail kits but still need renter-friendly removal. The visual trick is to hide the tape under a slim trim strip that matches the rail color. Choose a wood-look rail for warmth, then keep brackets matte so they don’t glare.
Skip thisDon’t place tape on dusty trim — it weakens bond strength and the rail shifts.
Editor's noteMark bracket locations with tape before you remove any backing so you don’t end up with crooked spacing.
18. Stair corner floating shelf-style handrail
Pick a rail board thickness that looks substantial (around 1 inch) and sand the top edge smooth. Install no-drill corner supports on the wall edge at 24-30 inch intervals, then set the board on top of the supports. Use wood-safe adhesive or snap-on clips if the support system allows it, but keep removal in mind. Finish with a back edge strip so the underside looks tidy in photos from below.
Floating-shelf style rails look built-in because they create a little “ledge” effect under the handrail. If your stair side has a corner where you can support a cantilevered look, this option photographs like a custom detail. Use no-drill corner supports that clamp to the wall edge, then add a rail board with a rounded top. It’s also handy — you get a place to set a small candle or decor piece near the top landing.
Skip thisDon’t choose a rail that’s too thin — it reads flimsy even if it holds.
Editor's noteRound the underside corners — sharp edges look cheap and snag sleeves.
19. Tiled mosaic rail with detachable suction base
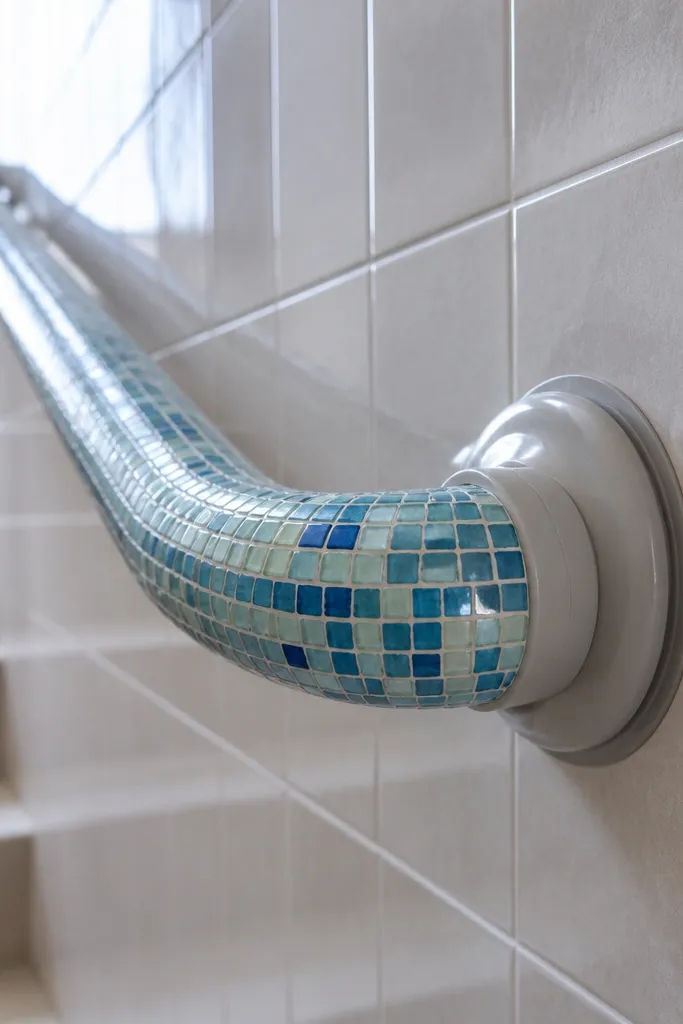
Choose a mosaic rail panel sized to your stair run and seal the tile with a grout sealer if needed. Use detachable suction mounts rated for your wall surface type and place them at intervals so the rail doesn’t rock. Press mounts firmly, then attach the rail panel using the mount’s clip system. Test stability by pushing at the corners and center before you rely on it for balance.
Mosaic tile makes the rail sparkle in stairway light, and it’s one of the most photogenic options on this list. You get a durable grip surface and a custom look without drilling — detachable suction mounts handle the install. This works best on smooth, non-porous surfaces like sealed tile or glassy walls. Keep tile colors consistent with your entry — think white + gray + a single warm accent.
Skip thisDon’t install on painted drywall — suction needs a hard, smooth surface.
Editor's noteUse a grout color close to your wall trim so the rail blends instead of looking like a craft board.
20. Velvet-covered foam rail with clamp mounts
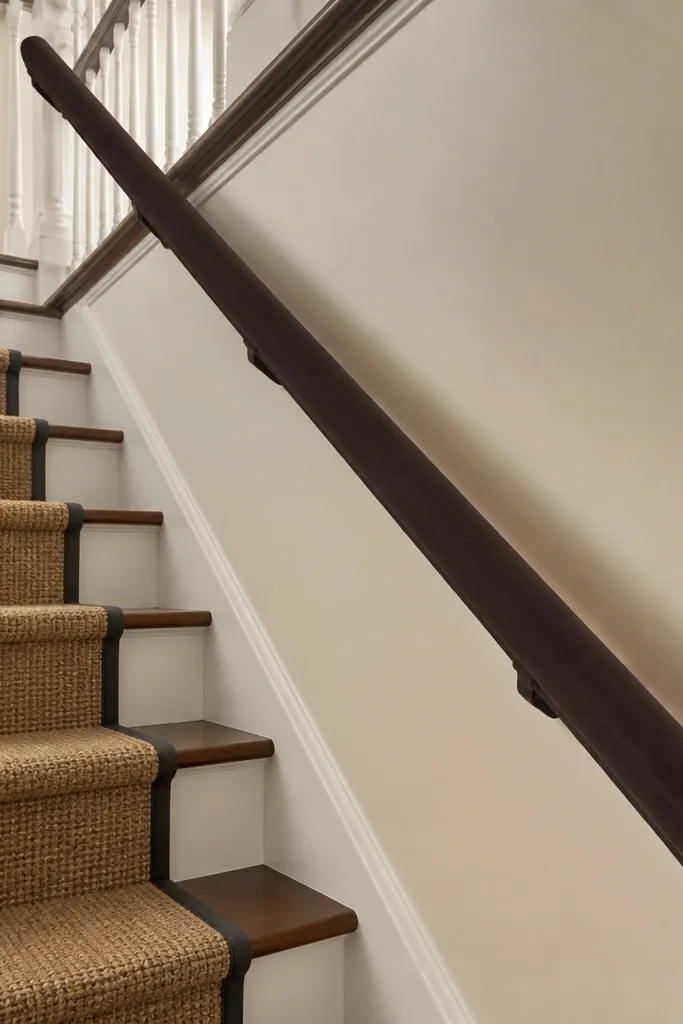
Start with a foam core rail shape that fits your clamp mount system. Wrap foam in velvet fabric and pull tight, then secure the underside with fabric tape or a hidden seam. Install clamp mounts on the banister or wall edge, then slide the wrapped foam rail into the mounts. Add end caps or a folded fabric finish so the ends look intentional and don’t fray.
A velvet-covered foam handrail looks plush and high-end, especially in rentals with neutral walls and warm lighting. The foam makes it comfortable to grip, and the fabric hides minor gaps at the edges. Use clamp mounts for the base so you can remove the rail quickly at move-out. This is a comfort-first option for homes with kids or older adults, and it photographs beautifully because fabric texture catches light softly.
Skip thisDon’t use long-pile velvet — it matts from touch and looks messy fast.
Editor's noteChoose upholstery velvet with a short pile — it looks smoother and sheds less lint.



