
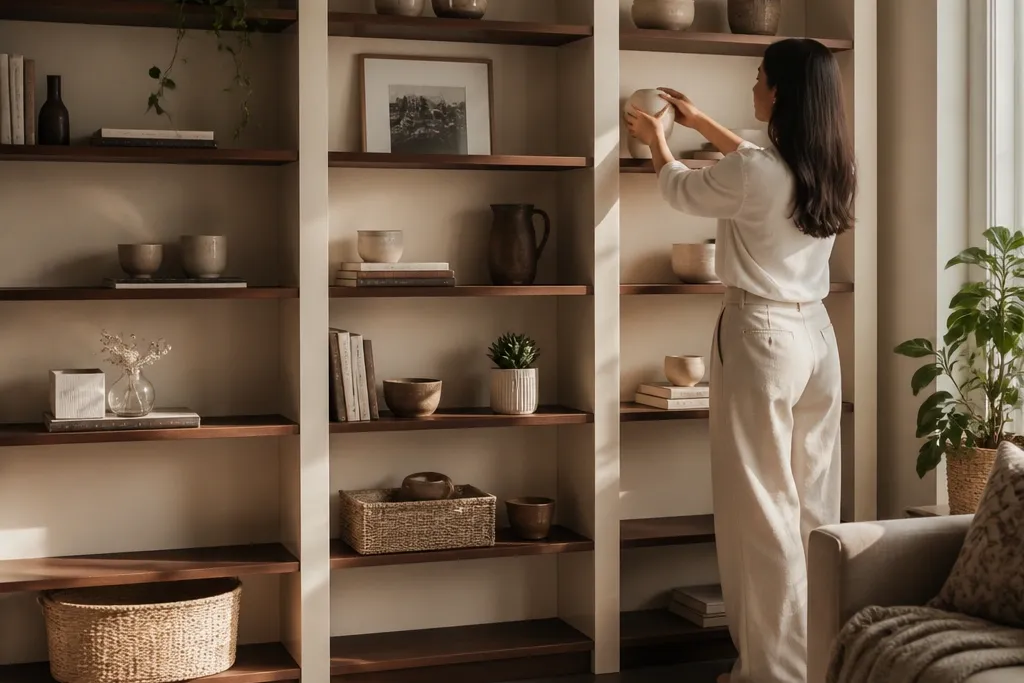
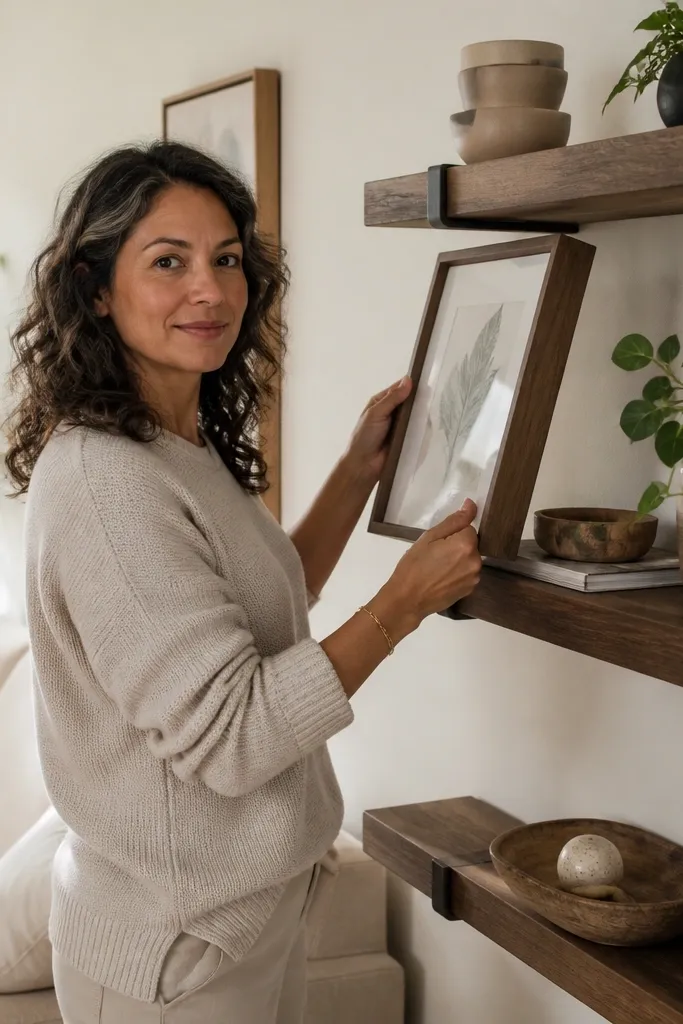
1. Trim-Edge Floating Shelves With Matching "Shadow Line" Paint
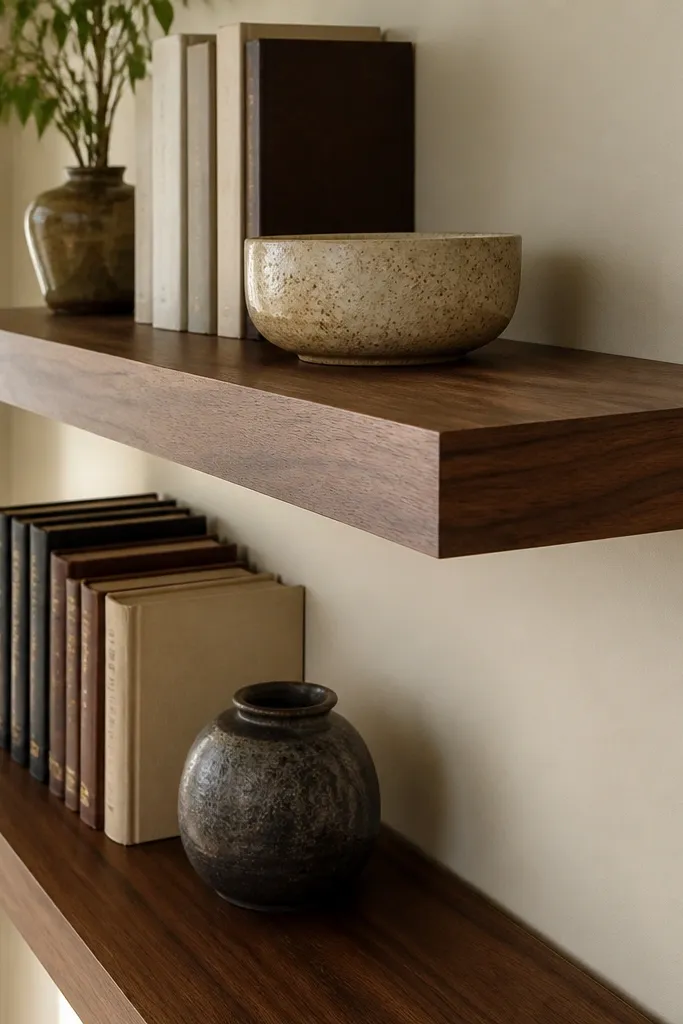
Start by measuring your wall and deciding how many shelf bays you want. Cut or buy shelf boards at the same depth (aim 10 inches) and make sure every board is level across the run using a bubble level and cardboard shims. Then paint a 1/2 inch band under the shelf line (or along the top trim line) in a matte finish to create the shadow separation that reads like built-in. Finally, add end caps or a thin trim strip at the sides so the shelf ends look boxed-in instead of open.
This look works because the shelves stop reading as “floating boards” and start reading as a custom built-in. A sharp shadow line — usually created by painting a narrow band the same color as your wall or trim — makes the shelf depth look intentional. Use a thicker shelf board (3/4 inch) and keep the shelf fronts clean so the edge catches light instead of looking fragile. It’s a strong choice for renters because you can mount with non-drill methods that still let you hide the seam lines behind the painted edge. Styling stays photogenic: books sit crisp, and decor doesn’t slump because the edges look finished.
Skip thisDon’t use glossy paint on the shelf edge; it creates glare and makes the shelves look temporary.
Editor's noteUse matte paint for the shadow line and semi-gloss only on trim — the sheen difference makes the shelf depth pop in photos.
2. Freestanding Shelf Wall With Hidden No-Drill Anti-Tip Straps
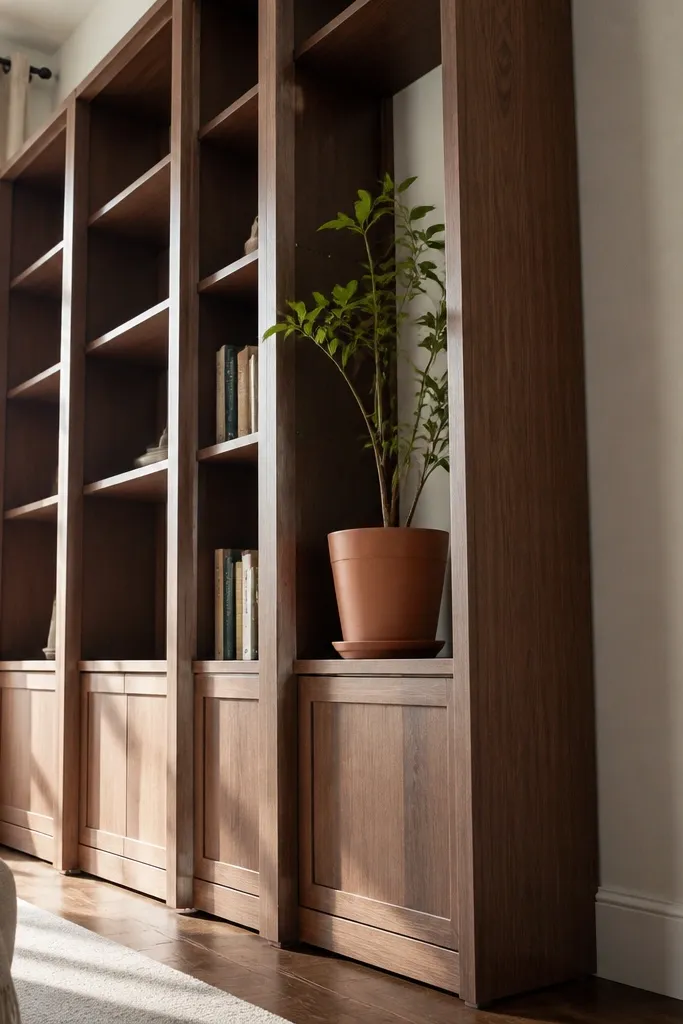
A freestanding shelf wall is the fastest path to a built-in look when you’re renting, because it avoids drywall damage entirely. The key is stability: the unit has to feel solid, not wobbly, or the whole thing reads cheap. Use a tall configuration with consistent vertical lines so the eye treats it like one feature. For styling, keep book heights uniform and use a few tall decor pieces to break up the grid. This approach is good for living rooms where you want a big impact without committing to a full renovation.
Set the shelf unit in place first, then shim under the base until it’s perfectly level. Mark where the top back of the unit hits the wall, then install no-drill anti-tip straps that attach to a stud finder target or to a heavy-duty anchor point that doesn’t require drilling into drywall. Hide the strap line behind a row of books or inside a decorative basket placed on the top shelf. Once it’s secure, style in vertical blocks: books on the left, frames centered, and one tall object on the right for balance.
If your unit has adjustable feet, only adjust after you’ve placed it; moving it after leveling usually throws the alignment off.
Don’t skip shimming; a slightly crooked base makes the whole “built-in” illusion fail.
3. Bookcase Inserts Behind a Magnetic Frame Panel

This is a clever renter-friendly built-in trick: you keep functional shelving, but you wrap the face with a clean frame so it looks custom. The magnetic frame panel hides the “gaps and seams” problem that makes many modular shelves look DIY. Use slim, powder-coated aluminum trim (or painted thin wood trim) around the opening and attach it with magnets or removable clips. The result looks like a built-in niche, especially when you style with a mix of book spines and flat art prints. It’s photogenic because the frame creates a consistent border around everything you place inside.
Choose a slim bookcase insert that fits your wall space with a small clearance for the frame. Build or buy a frame that matches your room trim color and install it using magnetic strips or removable clips so you can remove it later. Place the insert, shim it until it’s level, then attach the frame so it overlaps the seam area. Style with three layers: books first, then two flat pieces (frames or prints), then a single textured object like a ceramic vessel.
Paint the frame edges the same color as your wall, not the shelves — that makes the opening read deeper.
Don’t use thick trim; chunky frames make modular shelves look like furniture instead of built-ins.
4. No-Drill 'Boxed In' Shelves Using Side Panels and Shelf Ledges
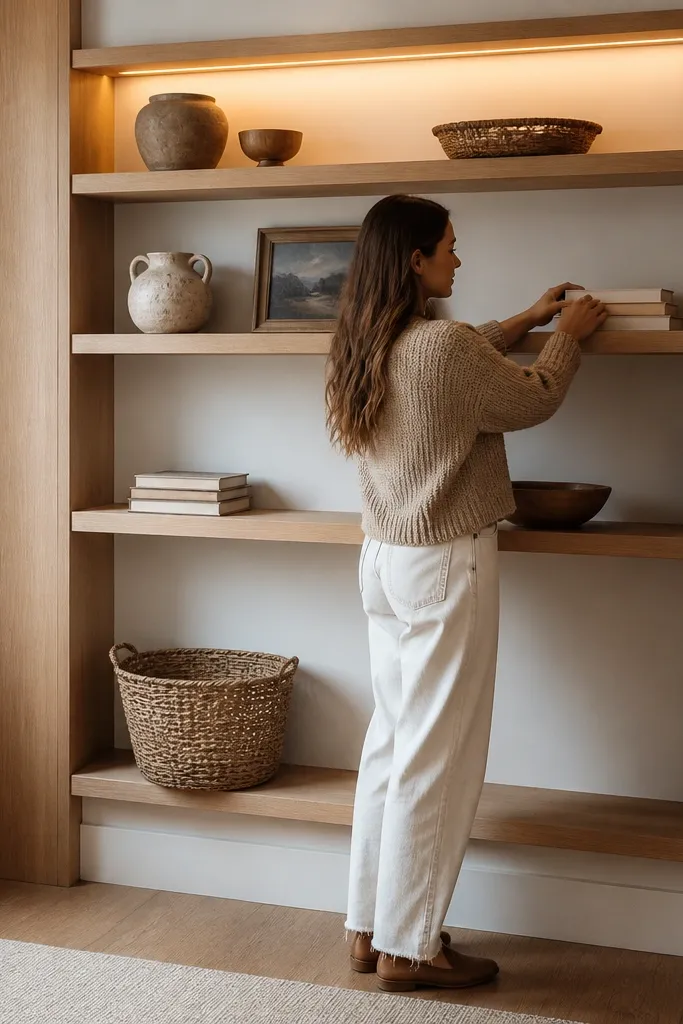
Boxing in the sides is the easiest way to make shelves look built-in. When shelves are open on the edges, your brain reads “standalone unit.” Side panels create that built-in architecture and let you hide the ugly part where the unit meets the wall. This look is especially good if your living room has uneven baseboards or a wall that isn’t perfectly straight. You get a clean vertical line, better photo composition, and easier styling because the interior feels like a designed space rather than a piece of furniture.
Start by measuring the shelf opening width and adding two side panel widths that fully cover the seam — typically 3/4 to 1 inch each side is enough for a neat border. Use L-brackets or adhesive mounting pads rated for furniture weight, but keep the method no-drill where you can. Install side panels first, then set shelf ledges across using a level and spacers so all shelves match. Finish by adding a thin top trim strip to create a single continuous line across the run.
Use paintable wood filler on any tiny gaps after the shelves are leveled; sand smooth and repaint the trim area.
Don’t rely on trim alone to cover a big gap — fix the gap with shims first.
5. Renter-Friendly Niche Lighting With Plug-In LED Strip Under the Top Shelf
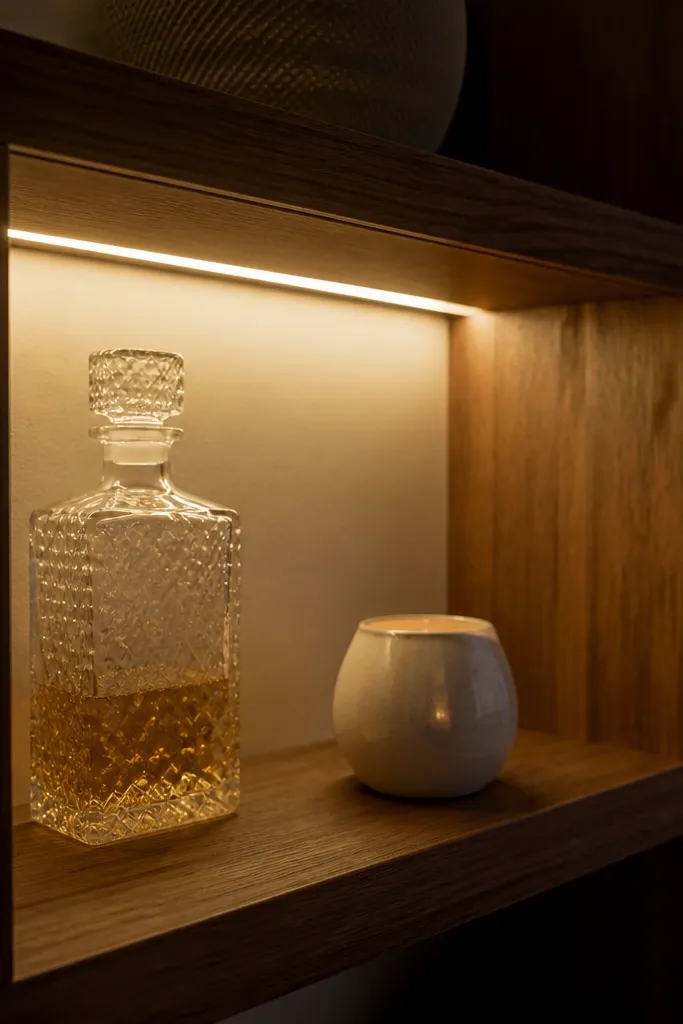
Measure the underside length of the top shelf and cut the LED strip to match the labeled cut points. Mount it with the adhesive backing or small clips, then add a diffuser strip if your LED dots are visible. Route the cord to the nearest outlet and secure it with small command-style cable clips so it stays flat. Turn the light on and adjust your decor placement so the brightest area hits the negative space pocket, not the back wall.
Lighting is what turns shelves from “decor” into “designed.” A plug-in LED strip tucked under the top shelf edge makes the inside of each bay feel like a niche, which is exactly the built-in vibe people pay for. Choose warm white at 2700K so it flatters wood tones and skin tones in photos. You can keep it renter-friendly by using a plug-in driver and routing the cord along the back where it disappears behind books or a cable cover. This works best with shelves that already have a clean shadow line or boxed sides, because the light needs an intentional boundary to look crisp.
Skip thisDon’t aim the light straight at reflective paint; it creates glare and makes cheap shelf edges look worse.
Editor's noteUse a dimmer plug-in adapter; it lets you set the glow level for daytime vs evening photos.
6. Styling Grid With 3 Heights and One 'Breathing Pocket' Per Shelf Bay
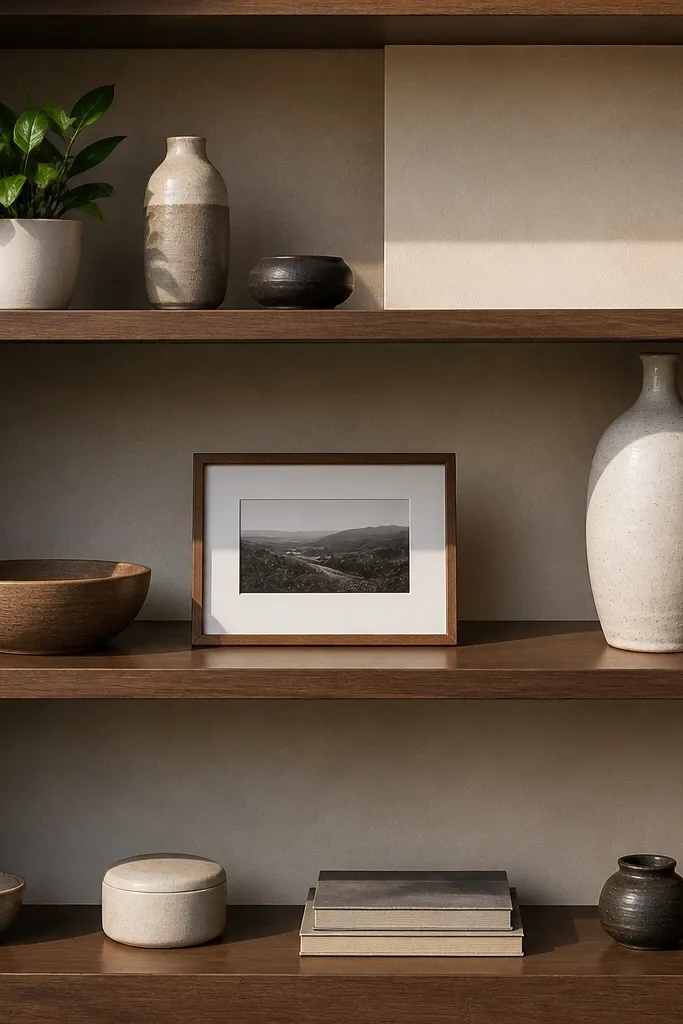
Start by picking one bay and arranging only books first, standing them so spines form a straight line across. Then place two objects at mid height and one at tall height — keep tall items within the same column width each time. Leave the far right or center section empty as your breathing pocket, then fill the low tier with only one type of object (like small frames or stacked ceramic bowls). Step back 6 feet and check alignment; if the top edges don’t form a clean visual line, remove one object and rebalance.
This is the part that makes shelves look like a stylist did it. Most people fill every inch, then the shelves look busy instead of built-in. The fix is a repeatable styling grid: use three height tiers (low objects 3-6 inches, mid objects 7-12 inches, tall objects 12-18 inches) and include one breathing pocket per bay where nothing sits. That negative space makes the whole arrangement look intentional and it also photographs better because there are fewer competing shapes. You can keep swapping decor without losing the built-in look because the structure of your grid stays the same.
Skip thisDon’t mix too many small items at the same height; it turns into visual noise.
Editor's noteMatch frame thicknesses across the shelf; even thin differences show up instantly in photos.
7. Color-Locked Shelf Palette Using One Warm Wood Tone and Two Neutrals
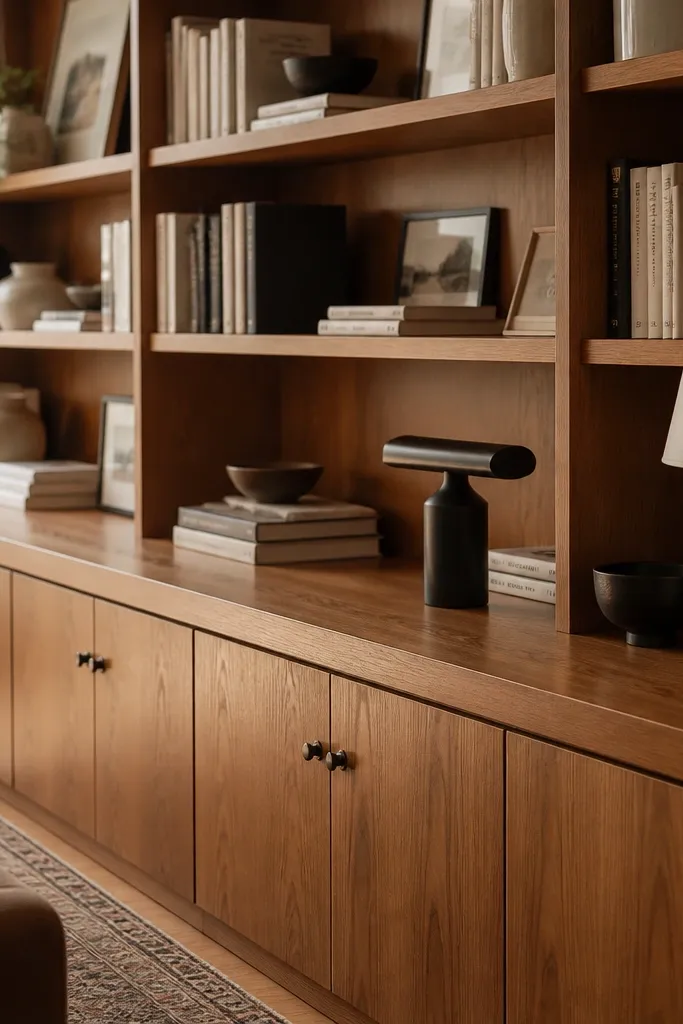
A shelf palette is what makes the whole run look cohesive, even when you’re using renter-friendly components. Pick one warm wood tone — like walnut, cognac, or honey — then pair it with two neutrals (cream and black, or tan and gray). Keep your books mostly in those neutrals too; you can still use colorful spines, but treat them like accents, not the main color. This approach reads expensive because the color distribution is controlled. It also reduces the mental load: you’ll know what to buy next because everything fits the palette.
Choose your shelf base color first: white, off-white, or natural wood. Next, pick two neutral decor colors and one warm wood material and gather 10-15 items that fit those categories (frames, ceramics, baskets, small vases). Style one bay by placing the warm wood item in the center column, then surround it with the two neutrals in alternating positions. Keep metal finishes consistent; if you use black frames, don’t bring in shiny brass accessories in the same section.
Use book covers as color blocks: push similar colors together so the shelf reads like a designed composition instead of random storage.
Don’t add a second metal finish; mixing chrome and black makes the whole shelf look temporary.
8. Cable-Hide Trick Using Back-of-Shelf Channel and a Strip of Felt
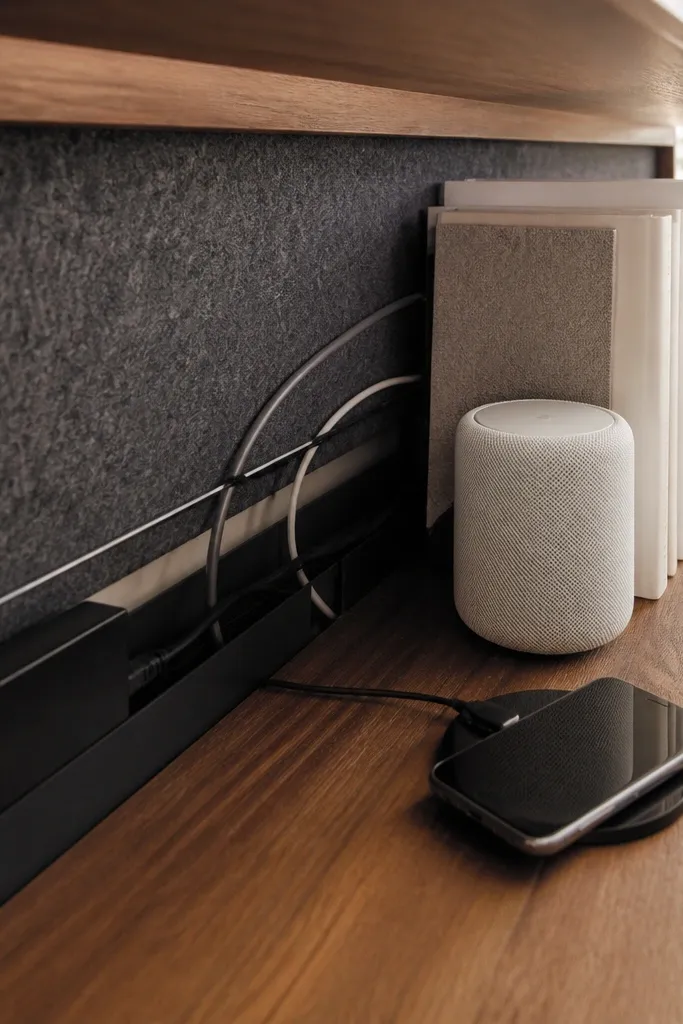
If you’re adding lighting, a speaker, or a charge station, cables kill the built-in illusion fast. The clean look comes from routing and hiding the cable run so it never crosses the visual field of the shelf interior. Back-of-shelf cable channels keep cords flat, then a strip of felt behind the decor makes the back look uniform and hides any small gaps. This is perfect for renter-friendly setups because you can stick the felt and channels to the shelf interior, not the wall. The result is a shelf that looks calm and intentional even when you’re using practical items.
Measure the cable path from the outlet to the device or LED driver and pick a low-profile adhesive cable channel that fits inside the shelf depth. Install the channel along the back edge of the shelf interior, then route the cord through and press it into place. Add a thin felt strip or fabric panel behind where the cable ends so it becomes invisible from the front. Finally, place decor in front of the cable end — use a basket or a stack of books with a flat base so it doesn’t lift the cord.
Use a Velcro tie, not a twist tie; it stays neat and won’t scratch finishes.
Don’t let cords hang down inside the shelf; gravity makes the cable line visible no matter how you style.



