
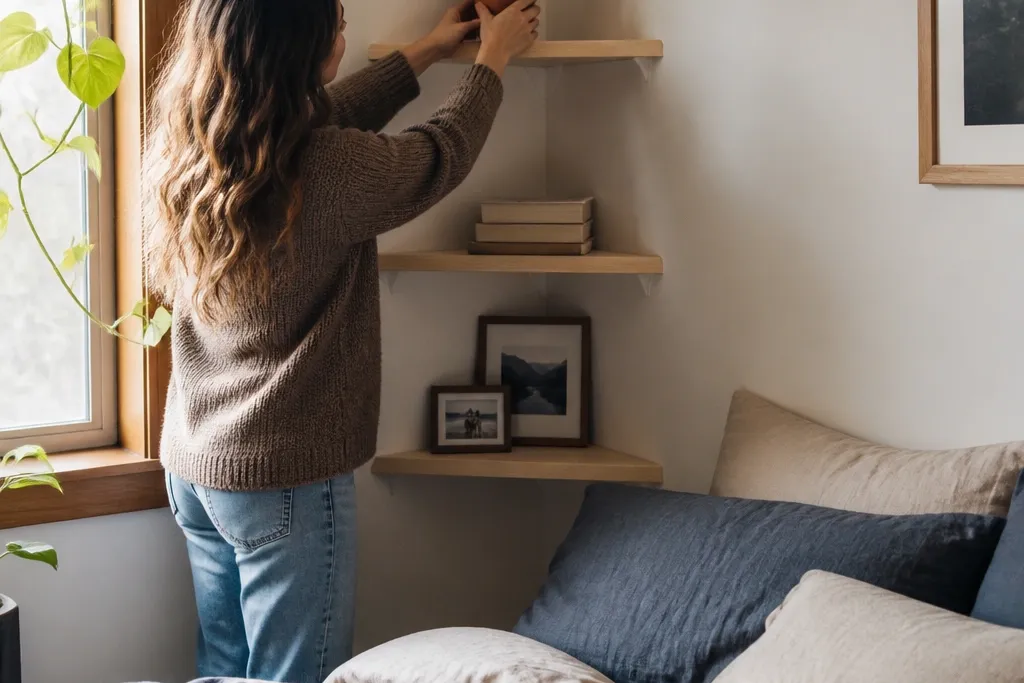
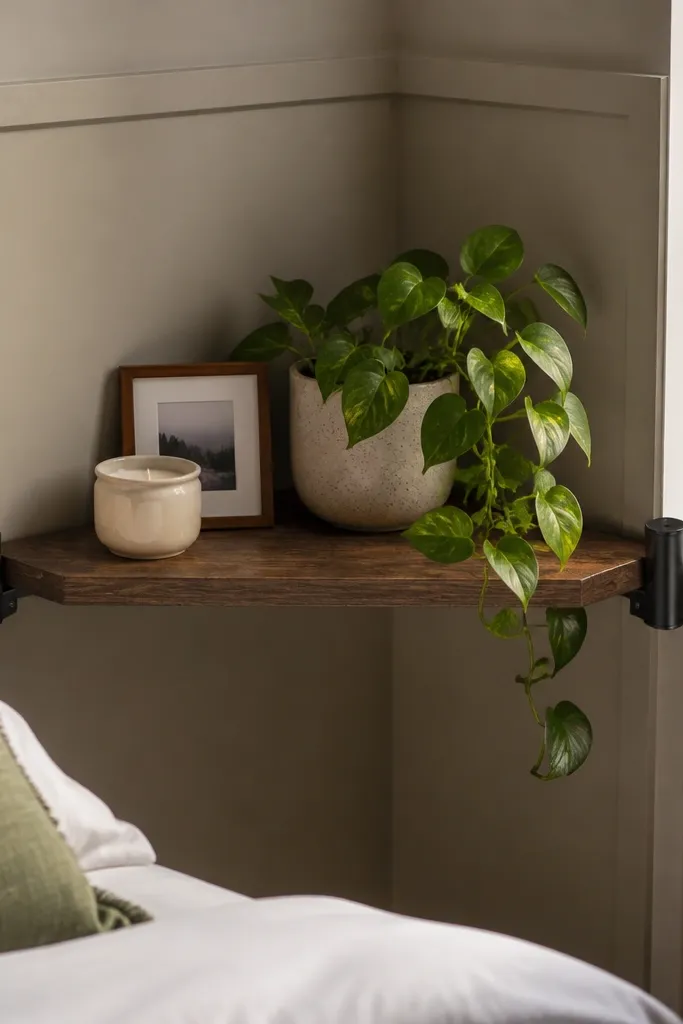
1. Tri-Panel Corner Ledge with Hidden Brackets
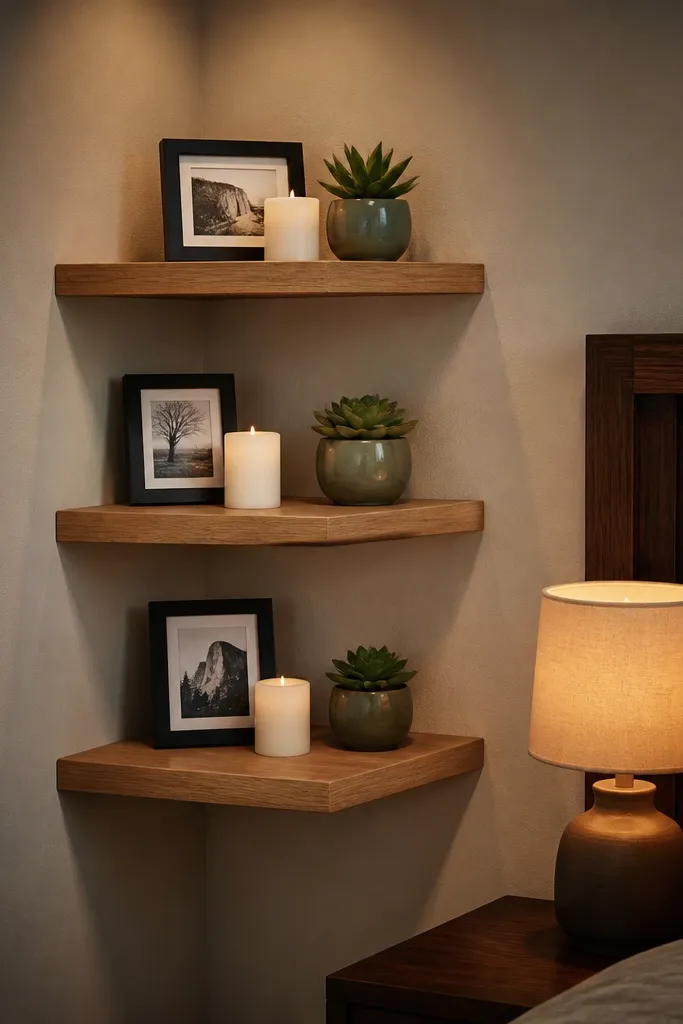
This is the corner shelf layout that makes a bedroom corner look finished instead of awkward. You get three display levels that work for small frames, candles, and a plant without the shelves looking too crowded. The hidden brackets matter because visible hardware can make the whole thing look temporary. Use a medium stain on plywood so the grain catches warm lamp light, and keep shelf edges slightly rounded so the look feels soft. Skill level is beginner-friendly, and the build time is about a weekend if you’re measuring carefully and letting stain dry.
Start by measuring the corner’s inside angle and decide your shelf widths so the two arms don’t clash. Cut one left shelf and one right shelf from the same board, then cut a third top shelf that spans the corner line at a 45-degree visual alignment. Mount each shelf with a pair of hidden L-brackets under the lip, using a level and spacers to keep all three faces aligned. Sand, stain, and seal with a matte polyurethane so it doesn’t glare under overhead lights.
Editor's noteDry-fit the brackets with painter’s tape on the wall first so the shelf lip lands exactly where you want it.
Skip thisDon’t mount without checking that your bracket screws won’t hit baseboard trim or wall studs you can’t see.
2. Freestanding Corner Ladder Shelf with Fabric Baskets
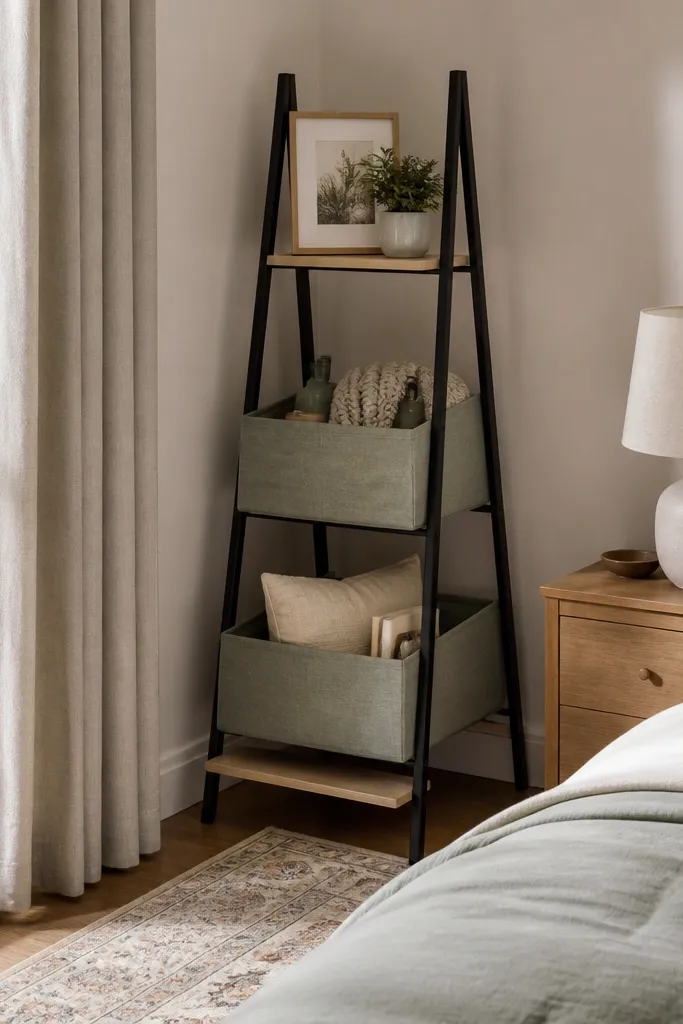
If your rental rules are strict, a freestanding ladder shelf is the fastest way to get that cozy display corner without drilling. The ladder silhouette gives you diagonal visual interest, which reads well in photos and makes the corner feel styled. Add fabric baskets on the lower rungs to keep clutter out of sight while still showing off the top shelf for frames or a small vase. Paint the frame a warm white, not glossy — it looks softer in bedrooms. This project is medium effort, and you’ll spend most of your time on alignment and finishing.
Choose a ladder shelf frame kit or cut your own sides from 1x2 lumber, then build three flat shelves from 3/4-inch plywood. Set the corner so the ladder legs sit flush and the shelves are level across the two walls. Screw shelves to the side rails with wood screws, then add corner braces if your wood feels wobbly. Paint the frame with a satin cabinet paint and line the baskets with matching fabric for a cohesive look.
Editor's noteUse felt pads under each leg so it doesn’t scratch the floor and so the shelf doesn’t creep out of alignment.
Skip thisAvoid thin shelves that flex — they look cheap and they’ll make baskets sit crooked.
3. Corner Shadow-Box Shelves with Back Trim
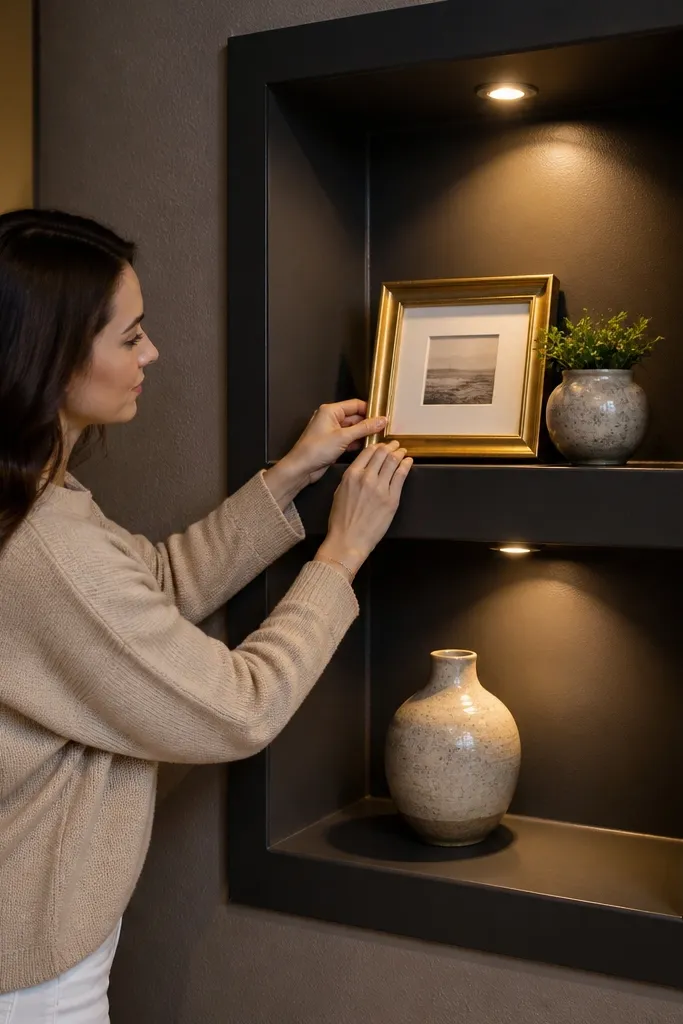
Shadow-box style hides the mess behind your decor and makes the shelf look deeper and more intentional. This is a great choice when your wall has texture, patchy paint, or visible wires you want to disguise. The recessed back also makes your frames and small objects pop, especially at night with warm bulbs. Use a back panel in a solid color — off-white or muted sage — so the corner reads calm. Build difficulty is moderate, and it takes a couple evenings because you’re cutting clean boxes and finishing surfaces.
Build each shelf as a box: cut a base board, two side walls, and a back panel trim piece. Assemble with wood glue and brad nails, then sand the seams smooth and check that the face sits square to the corner. Mount the shelf with a cleat system or sturdy brackets inside the back so hardware stays hidden. Paint the back panel first, then finish the shelf face with stain or paint, and seal the front edges.
Add a 1/2-inch lip on the front edge so items can’t slide forward when you bump the shelf.
Don’t skip dry placement — corner shadow boxes can look too deep if you don’t test with your tallest frame.
4. Wraparound Corner Shelf with Continuous Top Rail
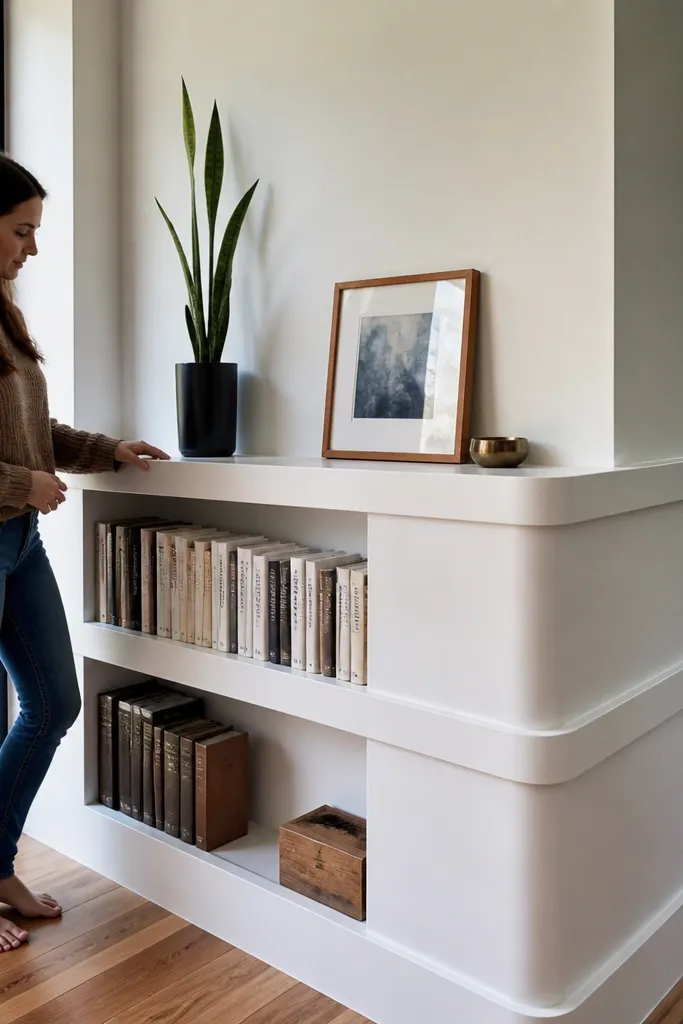
This look is for people who want the corner to feel architectural. A wraparound shelf reads like built-in millwork because it continues across both wall sides, even though you’re using separate panels. It’s perfect for displaying a slim plant, a row of books, and a couple of framed prints without switching styles mid-corner. Choose a single finish for both arms and keep the rail thickness consistent so it looks like one piece. The build is straightforward if you’re comfortable with angled cuts and careful sanding.
Cut two long shelf arms from the same board, sized to stop short of the corner so the rail can meet cleanly. Use a 45-degree miter or a corner block depending on your wall gap, then attach a continuous top rail that covers the seam. Install a cleat along each wall for support, then screw the shelf arms to the cleat from underneath. Finish by sealing the top and rounding the rail edge with 120-grit sandpaper.
If your corner walls aren’t perfectly straight, use a corner block instead of relying on perfect miters.
Avoid finishing before test-fitting — miter gaps show up fast once stain hits.
5. Metal and Oak-Look Corner Etagere with Two Levels
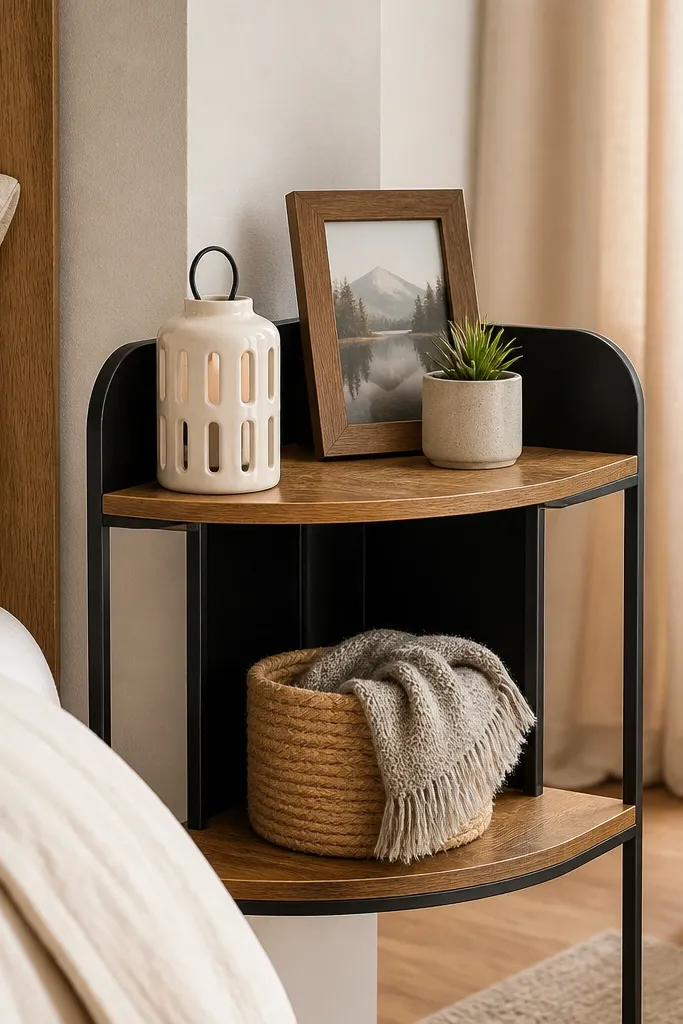
This combo looks cozy and modern without trying too hard. The matte black metal reads clean, while oak-look shelves bring warmth that works in bedrooms with wood furniture. Two levels is the sweet spot: enough space to style, but not so much that the corner turns busy. It’s also more renter-friendly because the unit is often easier to assemble than full custom built-ins. Plan on a few hours for assembly plus time for a final wipe-down and tightening.
Pick an etagere frame that fits your corner footprint, then cut or purchase matching oak-look shelves at the frame’s exact shelf depth. Assemble the metal frame first, then attach the shelves with the included bolts or wood inserts. Position the unit, confirm it’s level, and mark anchor points if you choose to secure it. Finish wood shelves with a matte clear coat if they feel too glossy under light.
Editor's noteUse felt pads under the metal feet to prevent floor dents and reduce wobble.
Skip thisDon’t overload the top shelf with heavy books — metal frames can twist if the base isn’t secured.
6. Floating Corner Shelves with a Single Center Stud Rail
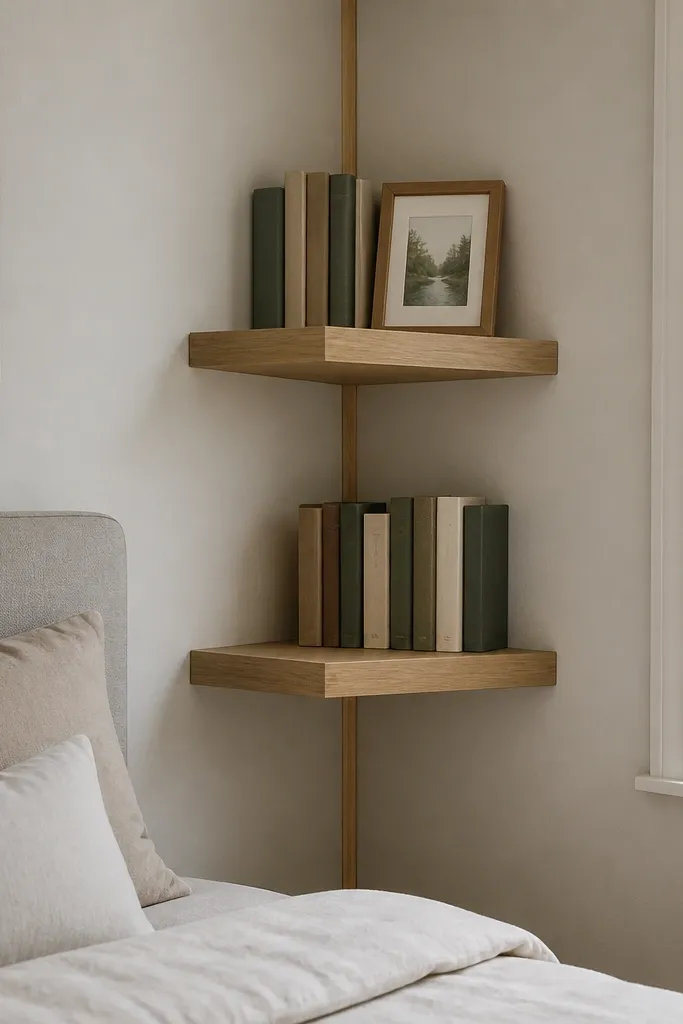
Floating shelves can look truly built-in when you build them around one solid support line. Instead of separate mounts that fight each other, a single stud rail keeps the shelf faces aligned and makes the corner look tidy. This is a renter-friendly corner shelves bedroom option only if your mounting method is allowed — use anchors where you can and keep the hardware minimal. The result is clean lines that make small decor look intentional. This is a beginner-to-intermediate build because alignment and leveling are the hard part.
Locate a stud or install a mounting rail with anchors at the height you want the lowest shelf to sit. Attach the rail securely, then use a shelf bracket system that drops into matching slots on the back of each shelf. Cut shelves from 3/4-inch plywood, route a slight bevel on the front edge, and sand smooth. Mount one shelf at a time, check level with a 2-foot level, then finish with stain and a matte seal.
Mark shelf heights on painter’s tape on the wall so you don’t lose your reference points during drilling.
Avoid thin shelves with no internal support — floating shelves sag faster than you think.
7. Corner Shelf with Angled Back Panel for Hidden Cords
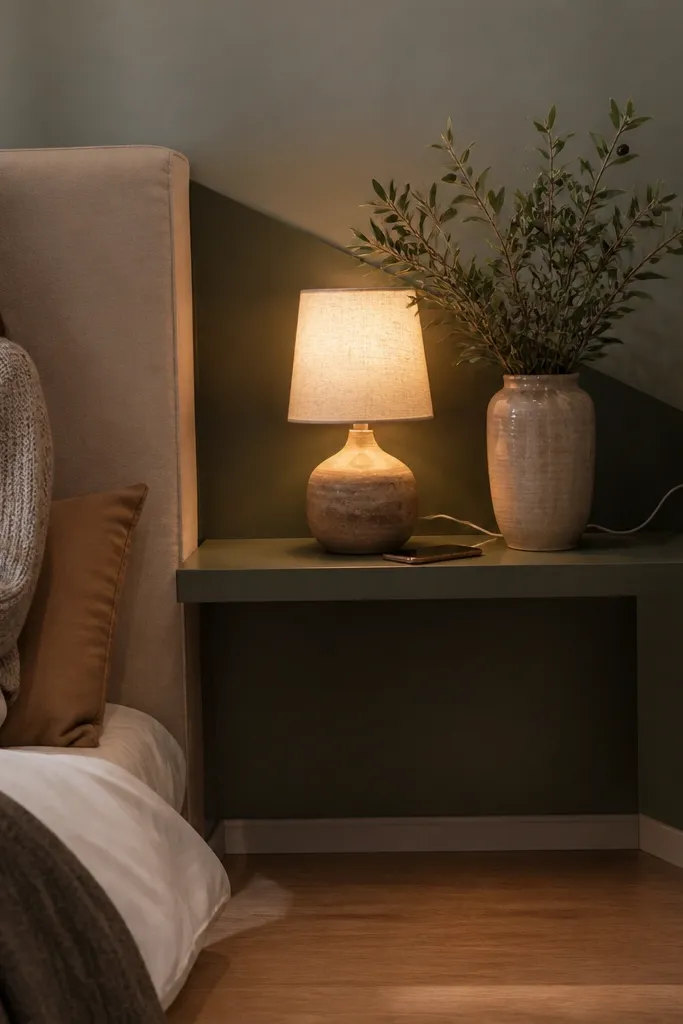
This is a smart-aesthetic fix for bedrooms where you need a lamp and a charger but hate seeing cords. The angled back panel creates a shadow area where cables disappear, while the shelf face stays clean. It also helps your decor look more layered because objects sit in front of a darker or colored background. Use a warm greige or deep charcoal back so the corner feels cozy, not stark. Skill level is intermediate because you’re building a back panel that stays rigid against the corner shape.
Measure the corner and cut a back panel that matches the inside angle, then add a small offset so it clears the wall and creates a cable channel. Build the shelf box with a front lip, then attach the angled back panel inside the box using screws from the underside. Mount the unit with two brackets that hit solid points, and route your cords through the cable channel before loading decor. Finish the shelf face with stain or paint and seal the back panel too so it wipes clean.
Use a white cord sleeve in the channel so any accidental peeks look intentional.
Don’t trap cords tightly — leave slack so you can move the lamp without yanking.
8. Small Corner Picture-Ledge with Rounded Edges
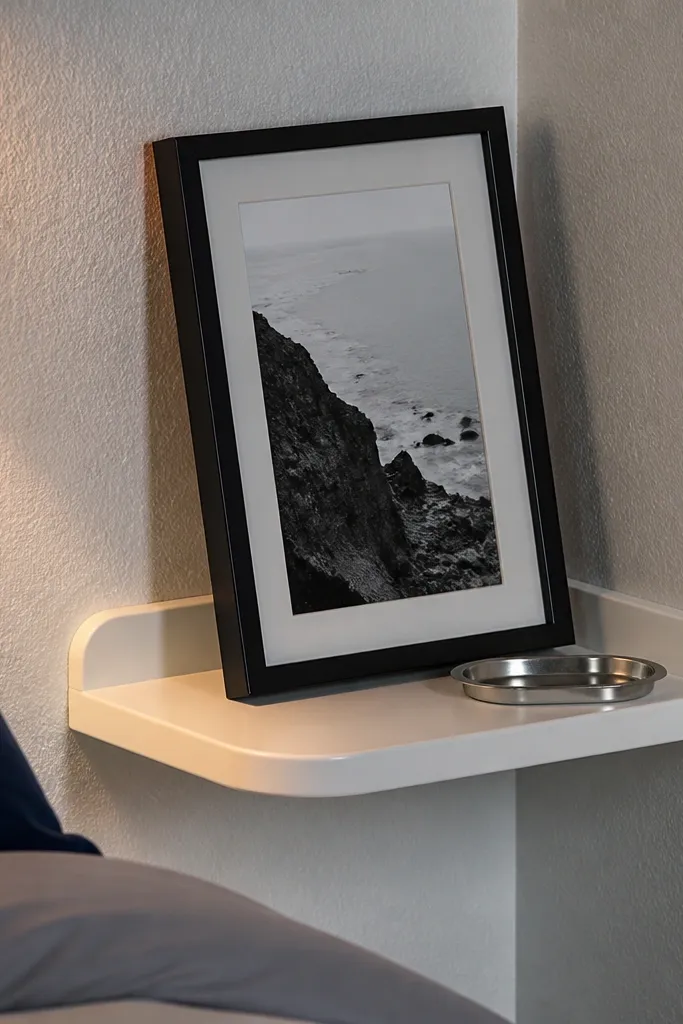
For renters who want a subtle upgrade, a narrow picture-ledge is a clean, photogenic way to add a display without dominating the corner. This works best when you use it for one or two items: a framed print leaning back, a small tray, or a single vase. The rounded edge keeps it looking soft and intentional, and the narrow depth prevents clutter from creeping in. Use a light stain so it matches bedding wood tones. Build time is about a day and the tools are basic.
Cut a shelf board at 4 to 5 inches deep and 24 to 30 inches long for each wall section, depending on your corner width. Round the front edge with sandpaper or a router round-over bit, then sand to 180 grit. Mount with a concealed bracket system or a French cleat hidden under the lip. Finish with stain and a matte topcoat, then place only two items so the ledge stays elegant.
Editor's noteIf your corner has a baseboard, test the shelf height with your tallest frame before you stain.
Skip thisAvoid making it too deep — narrow corners look crowded fast.
9. Corner Floating Shelf Stack with Books-First Layout
This layout is built for people who want books visible, not hidden. The shelves are spaced so book spines line up visually, while the top shelf holds a small plant or framed photo. It looks cozy because the focus stays on familiar bedroom items: paperbacks, photos, and soft decor. Use the same wood finish across all shelves so the corner reads cohesive. This is a wall-mount build, and the main work is measuring and installing level.
Decide your shelf depths first: 6 inches for the lower shelves and 7 to 8 inches for the top if you want a plant. Cut three shelves from plywood, then add a small back cleat or use bracket plates for hidden mounting. Install a level reference line on the wall, mount the bottom shelf first, then match the next shelves to your height marks. Stain and seal, then style by placing books upright on the lowest two shelves.
Editor's noteUse bookends with a similar finish so the spines look tidy even when books shift.
Skip thisDon’t stack shelves with random spacing — the corner looks messy when heights don’t repeat.
10. Corner Shelf with Built-In Plant Rail and Drip Tray
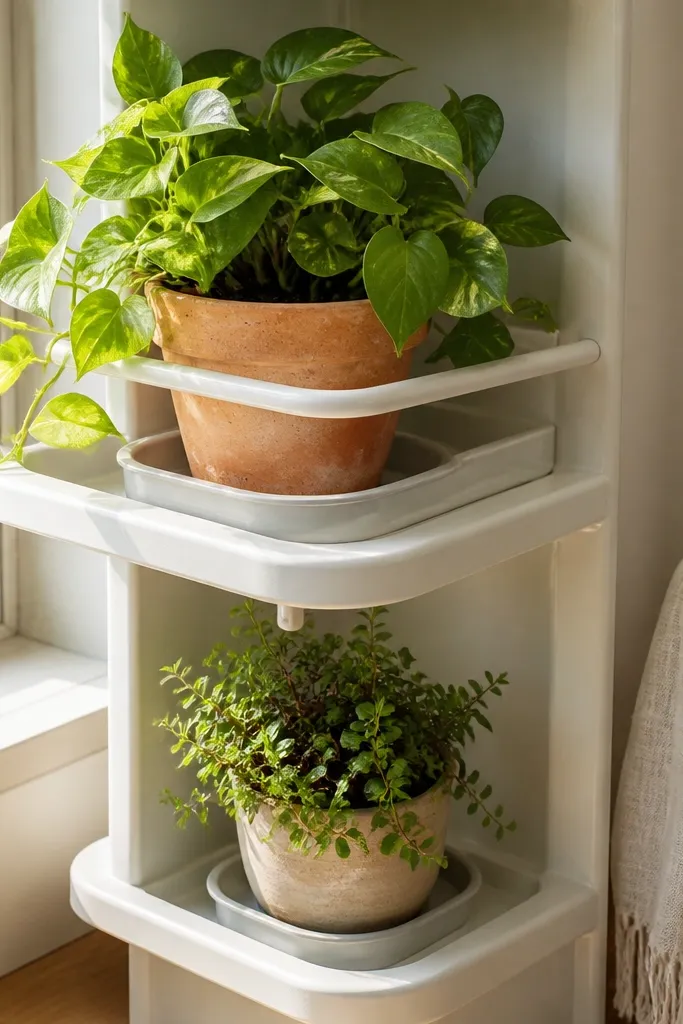
Plants make bedrooms feel lived-in, but they also create water mess. A built-in plant rail solves both — it holds pots in place and keeps water contained. The rail also creates a clear styling zone, so the corner looks curated without you having to constantly rearrange. This project looks best in corners near a window or reading chair. Expect intermediate time because you’re adding a recessed drip tray area and sealing everything water-safe.
Cut a shelf with a shallow recessed center spot sized to fit a drip tray, then attach a low rail on the back edge using scrap wood strips. Sand everything smooth and seal the recessed area with a water-resistant clear coat. Mount the shelf with brackets that support the full width, then test with a pot and tray before adding decor. Style with one medium pot and one small trailing plant so the corner feels balanced.
Editor's noteUse a tray that’s slightly wider than the pot base so you catch overflow even if the plant leans.
Skip thisAvoid untreated wood in the recess — water spots ruin the look fast.
11. Corner Floating Shelf with Fabric-Wrapped Backboard
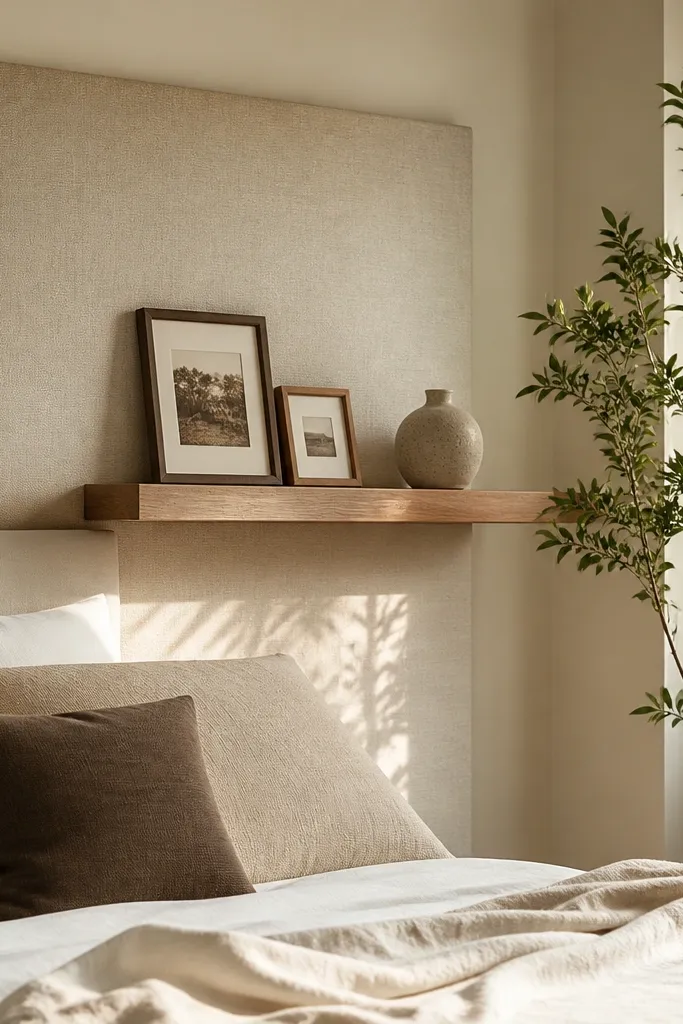
This is how you make a renter-friendly corner shelves bedroom look cozy and soft instead of hard and blocky. The fabric backboard turns the corner into a warm backdrop for photos and small decor. It also hides wall imperfections, because fabric absorbs visual noise. Choose a medium-weight cotton or linen in a neutral — oatmeal, warm gray, or dusty olive. Build difficulty is intermediate because you’re stretching fabric smoothly and securing it without wrinkles.
Build a rectangular backboard panel that fits the corner area behind the shelf, then wrap it in fabric using a staple gun on the back side. Cut the shelf board, mount it with hidden brackets or a cleat, and attach the wrapped backboard to the wall behind the shelf line. Seal the shelf face with matte finish so it cleans easily, then attach the backboard edges with small trim pieces for a finished look. Style with a framed print and a small tray so the fabric shows without clutter.
Use a slightly darker fabric than your wall so the corner reads intentional in photos.
Don’t use stretchy fabric — it sags and wrinkles over time.
12. Corner Shelf Bench-Style with Seat Cushion Above
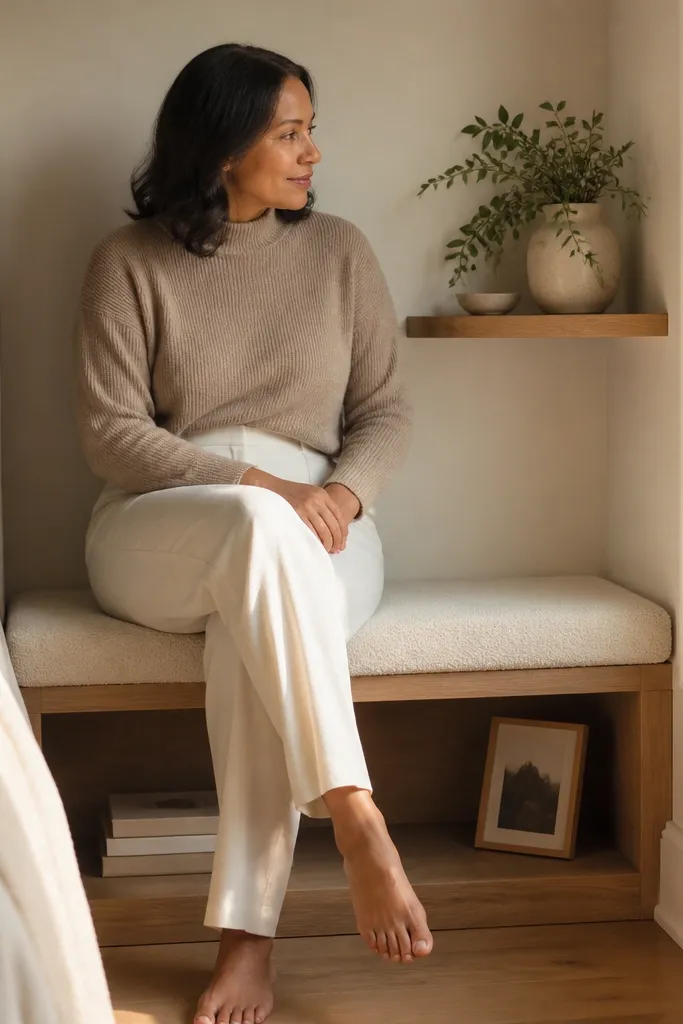
If your bedroom corner is underused, this turns it into a mini reading nook. The shelf below gives you display space, while the cushion on top makes the corner useful and photogenic. The look feels cozy because fabric and wood sit together, and it’s practical for small bedrooms. Build it with a sturdy top platform and a removable cushion so you can clean covers. This is intermediate because you’re building a small structural unit.
Build a corner base with two side supports that meet at the inside corner, then add a platform top from 3/4-inch plywood. Create a shelf compartment under the top by installing one fixed shelf at a height that keeps decor visible. Add a simple cleat or brackets to anchor the base if allowed, then attach the cushion top using straps or Velcro so it stays put. Seal the wood with a durable matte finish so it wipes clean.
Use a cushion thickness of about 2.5 to 3 inches for comfort without looking bulky.
Avoid thin support boards — a wobbly top ruins the whole cozy effect.
13. Corner Shelf with Reversible Back Color Panels
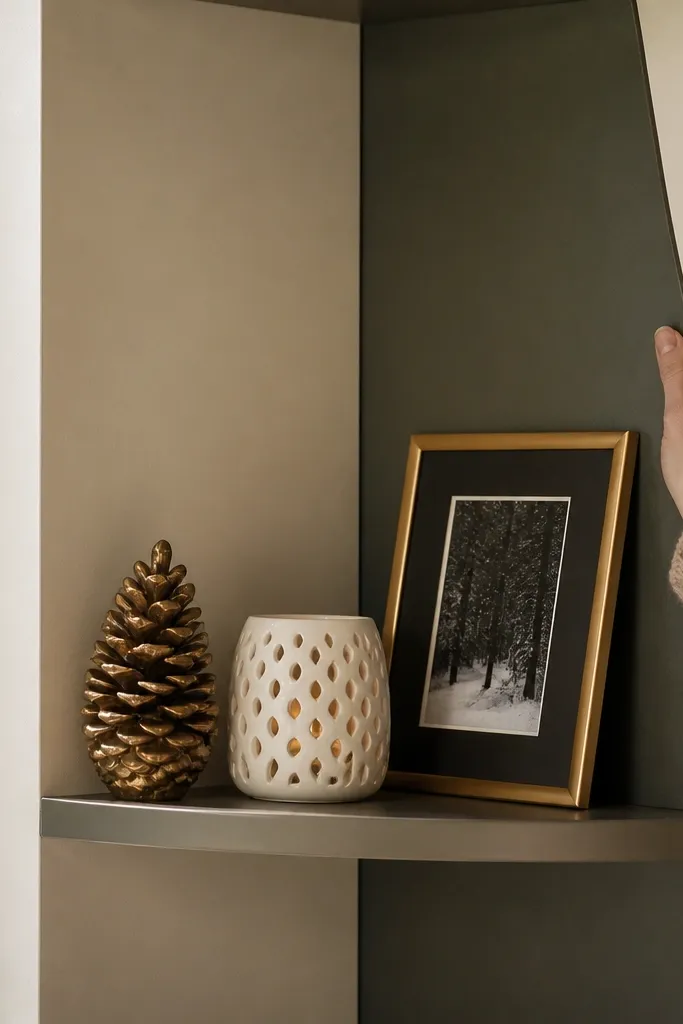
This shelf makes styling easier because you can change the background color without rebuilding. One side is a warm off-white and the other is a deeper tone like charcoal or olive, so your decor changes mood instantly. It looks good in bedrooms because the background matches your bedding season — light for summer, deeper for fall. Use it for framed photos and small sculptural decor so the panel color does the work. This project is intermediate with a neat payoff.
Build the shelf box and leave a slot or grooves on the back so a panel can slide in and out. Make two back panels from thin plywood, cut to the same size, and finish one in off-white and one in a darker paint or stain tone. Mount the shelf with hidden brackets, then slide in the panel you want before styling. Seal the panels with a clear coat so they wipe clean and don’t chip.
Editor's notePaint the panel edges too — raw edges look unfinished when you swap panels.
Skip thisDon’t make the back panel too loose — it should sit flush so it looks intentional.
14. Corner Shelf with Floating Dowel Peg Rail
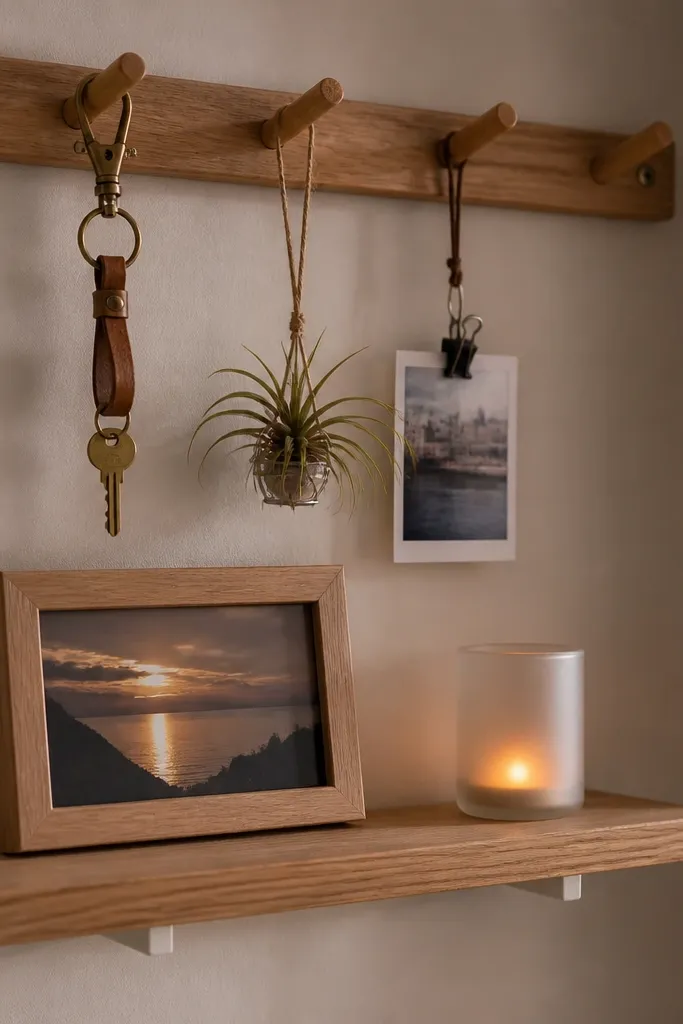
If you want a cozy bedroom corner that also feels organized, add a peg rail above the shelf. The look is playful but still clean, especially when you use a few matching hooks for small items like keychains, mini planters, or a hanging photo clip. Use lightweight decor only — the peg rail is for charm, not heavy loads. This is renter-friendly because it can be mounted with a small cleat and a few anchors, or built freestanding if you prefer. Build time is quick if you already have a miter saw or a steady hand.
Mount the shelf first with a cleat or hidden brackets, then attach two vertical supports at the back edge of the shelf to hold a dowel. Drill evenly spaced holes in the dowel so hooks sit at consistent heights, then stain or paint the dowel to match the shelf. Install the pegs/hooks and hang only light decor. Finish the shelf face and seal so fingerprints wipe off easily.
Editor's noteUse a hole spacing template made from a scrap strip so your peg rail looks straight.
Skip thisAvoid hanging anything heavy — dowels bend and the corner starts looking off.
15. Corner Shelf with Polished Stone-Look Tray Styling
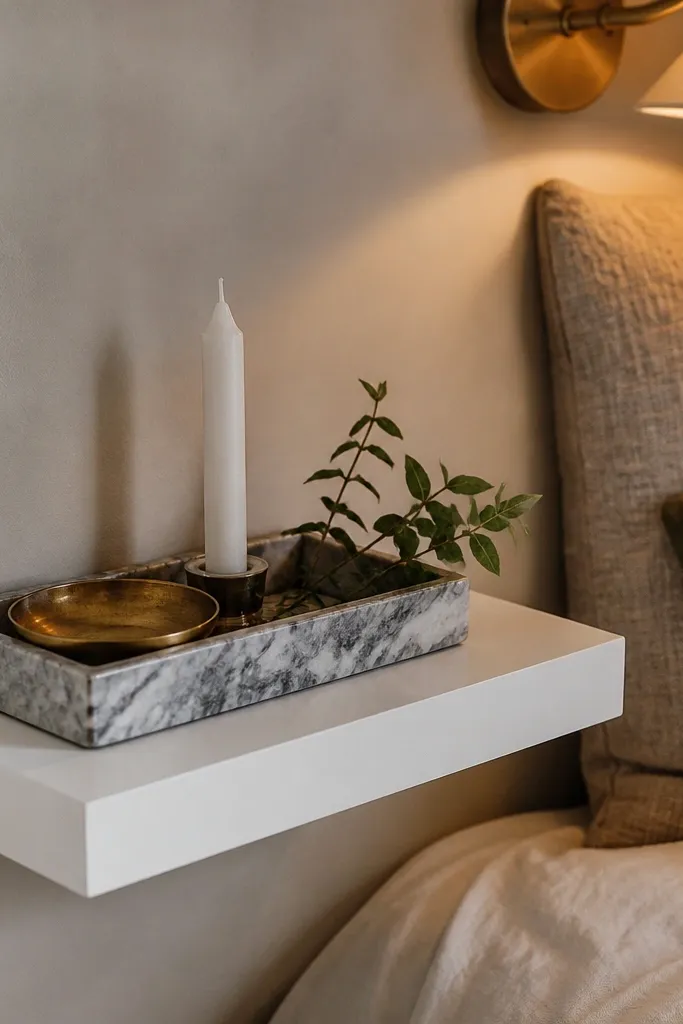
This is a styling-first idea that still improves the shelf build. If you keep the shelf simple and style with one anchor object — a stone-look tray — the whole corner reads cozy and intentional even with minimal decor. The tray gives you a defined shape, and that makes the corner look curated in photos. Build the shelf as a single board with a clean front edge, then focus on how you place objects inside the tray footprint. This works with renters because it doesn’t require complex mounting upgrades.
Build or buy a simple corner shelf depth of 6 to 7 inches and finish it in warm wood or matte paint. Place a stone-look tray at the center, then arrange two small items inside — a candle holder and a mini picture frame. Add one trailing plant or a small vase on the far side so your eye moves across the corner. Keep the shelf clutter-free so the tray stays the focal point.
Choose a tray color that matches your bedding trim or your nightstand top so the corner looks like it belongs.
Avoid mixing too many materials — tray + wood + metal + glass looks busy fast.
16. Corner Shelf with LED Strip Behind Frosted Acrylic
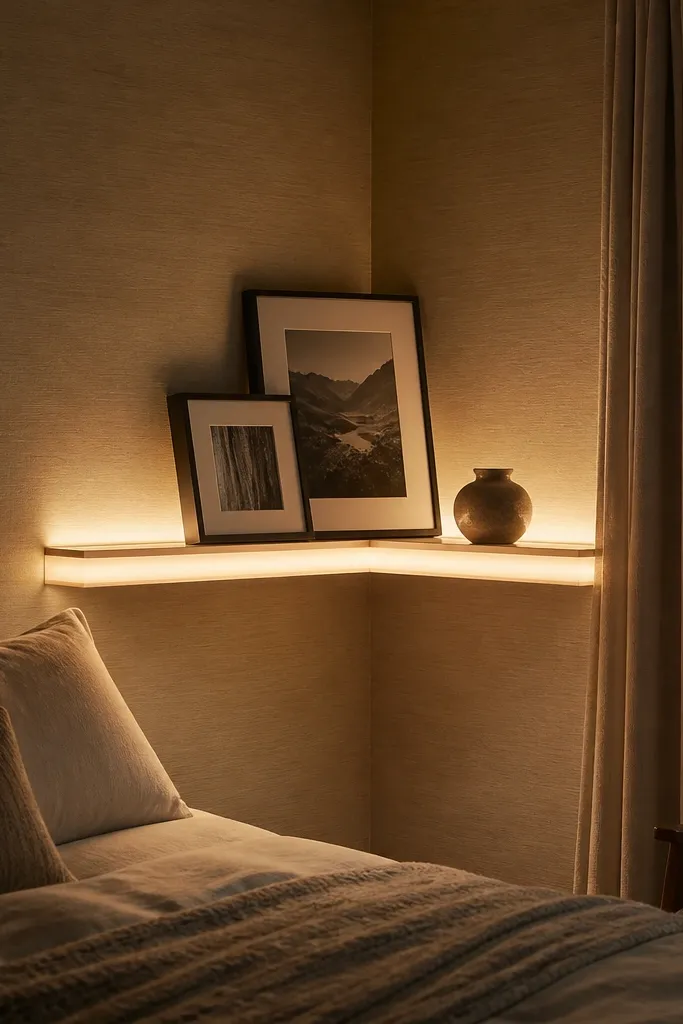
Lighting turns a corner shelf from functional to cozy. This design hides an LED strip behind frosted acrylic so you get a soft glow that makes frames look warmer at night. Bedrooms need that kind of gentle light, and the frosted panel prevents harsh hotspots. The shelf also looks great in photos because the glow outlines the display without making the wall look messy. Build difficulty is intermediate because you’re wiring and cutting a clean acrylic panel.
Install the shelf brackets first, leaving room behind the shelf face for the LED channel. Cut a frosted acrylic back piece sized to the shelf opening, then mount it with small standoffs so air can circulate. Attach the LED strip to a power source and route the cord through a hidden channel or cord cover. Seal or paint the shelf face, then test the light before final styling.
Use a warm white LED around 2700K for bedroom coziness instead of bright cool white.
Don’t skip a diffuser — bare LEDs make the display look uneven and cheap.
17. Corner Shelf with Step-Down Levels for Plant and Frames
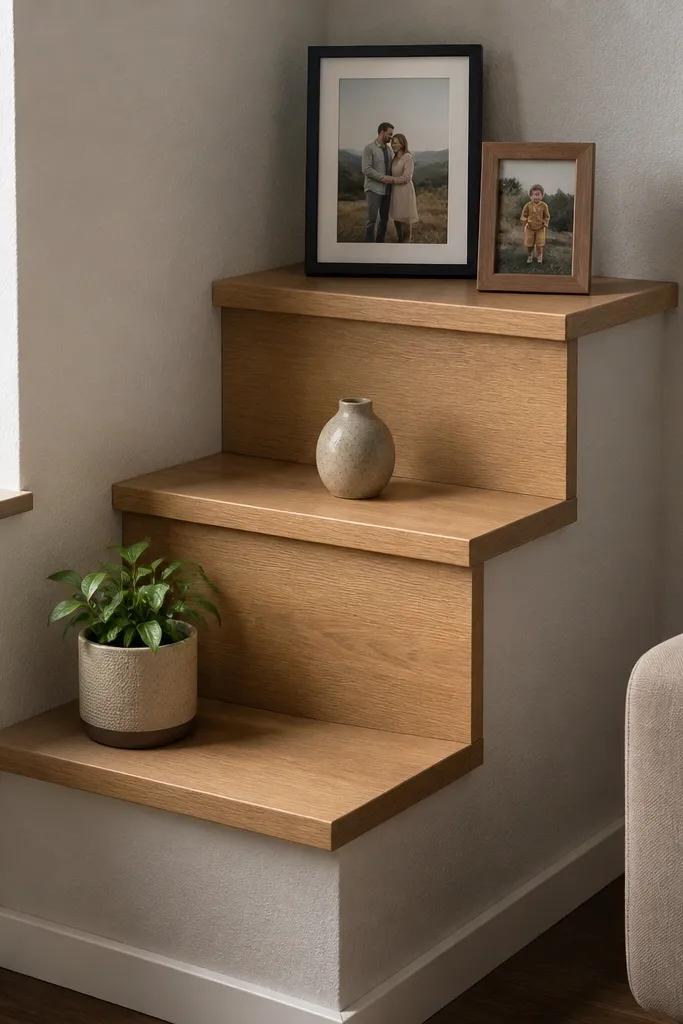
Staggered, step-down levels make the corner look like a curated gallery wall without the hassle of hanging frames. The stepped design creates depth, and you can place a plant on the lower step while keeping frames at eye-level on the upper step. This is one of the best renter-friendly corner shelves bedroom layouts because it hides uneven wall angles — you’re building a visual staircase, not relying on perfect symmetry. The build is intermediate due to cut accuracy and leveling.
Cut two shelf boards with different heights so one sits slightly lower than the other, then connect them with angled side supports. Use a template to keep the step spacing consistent, then sand edges and round them lightly. Mount the structure with two bracket points on each wall side so it doesn’t twist. Finish with stain and a matte topcoat, then place a taller frame on the higher step and a plant on the lower step.
Editor's noteUse the tallest decor first — set the plant height, then build the step heights around it.
Skip thisAvoid equal step heights if you’re styling — equal steps look flat and less cozy.
18. Corner Shelf with Wainscot-Style Trim Around the Frame
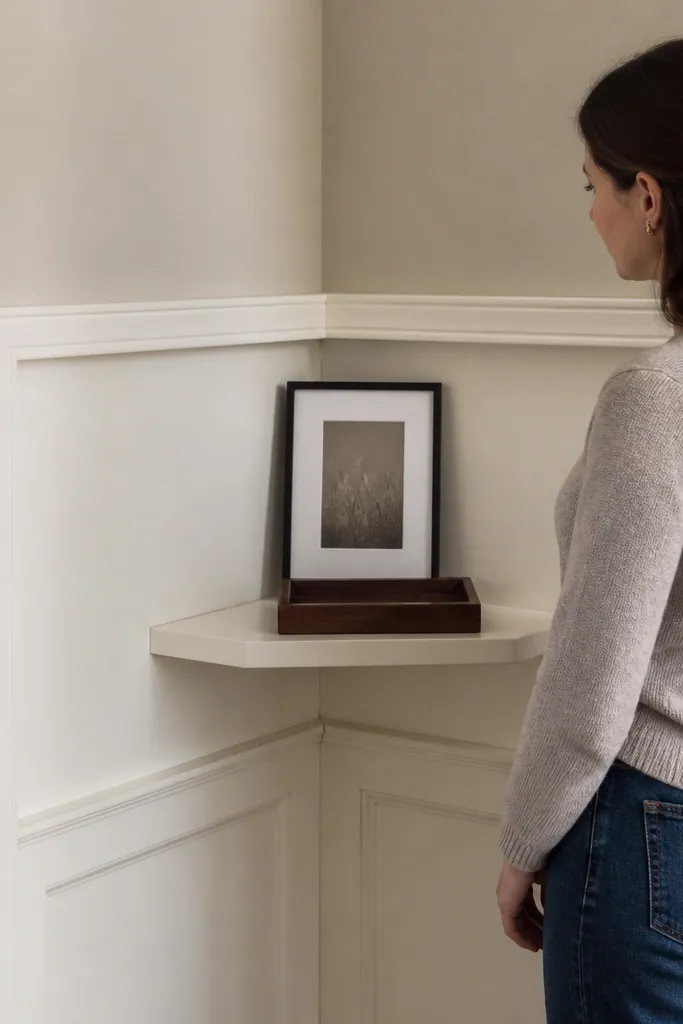
This turns a plain corner shelf into something that looks built-in. The trim frame gives you a clear border, so the shelf looks intentional even when you only display a few items. It also hides the gap between shelf and wall, which is a common renter problem when walls aren’t perfectly flat. Choose a warm white trim with a stained shelf surface for contrast. Skill level is intermediate, mainly because trim mitering needs to be clean.
Build a basic corner shelf platform, then add trim boards around it to create a small framed opening. Miter corners carefully or use corner blocks if your walls are out of square. Attach trim with wood glue and brad nails, then fill nail holes and sand smooth. Mount the whole unit with hidden brackets, then paint trim and stain shelf face before sealing.
Use painter’s caulk in the trim-to-wall seam so it looks crisp instead of uneven.
Don’t leave raw gaps — trim hides some issues, but it can’t fix big wall unevenness.
19. Corner Shelf with Slim Pegboard Side for Hanging Photo Clips
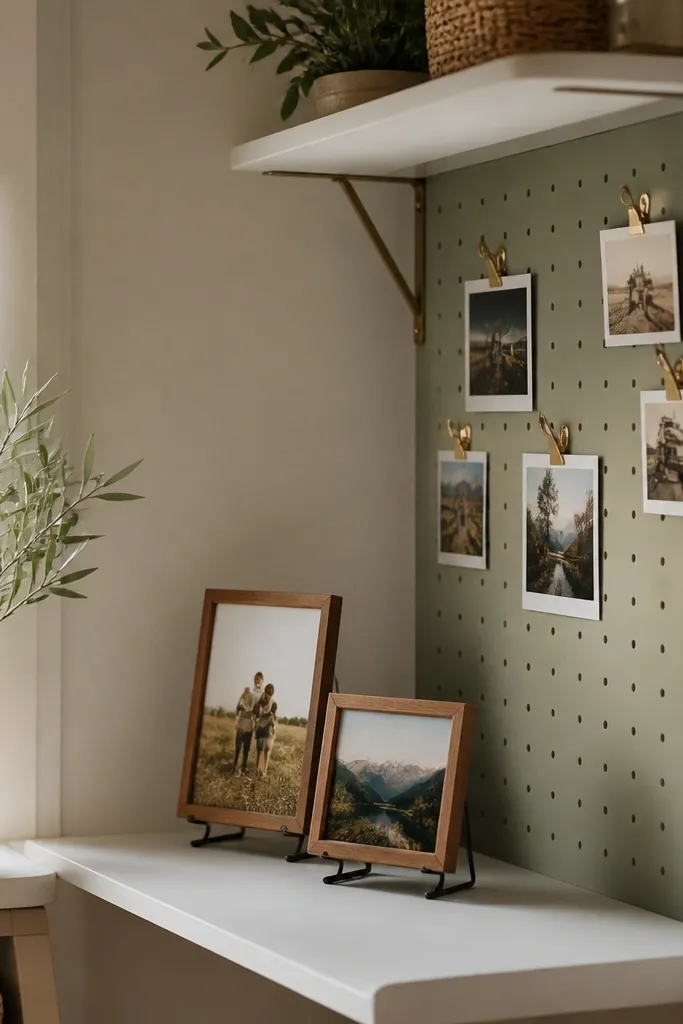
Pegboard in a bedroom corner sounds utilitarian, but this version looks cozy because it stays slim and uses cute, lightweight clips. The shelf holds a couple of framed photos on stands, while the pegboard side lets you rotate mini prints or postcards without rehanging nails. It’s great for renters because you can mount the pegboard with small brackets and keep the shelf load light. Use warm wood shelves and paint the pegboard a muted color that matches your bedding tones. Build time is about a day with drying time for paint.
Cut a slim pegboard panel that fits the side of your corner shelf unit, then attach it to a back frame using screws. Build the shelf as a single board with a lip, then mount the frame so the pegboard sits at a comfortable reach height. Paint the pegboard and shelf frame in the same finish family, then attach photo clips and a couple of small shelves or hooks. Seal the shelf board so it wipes clean after styling changes.
Editor's notePlan clip placement before painting — spacing holes now saves headaches later.
Skip thisAvoid using pegboard for heavy decor — it will pull away from the wall over time.
20. Corner Shelf with Built-In Book Spine Stop and Tray
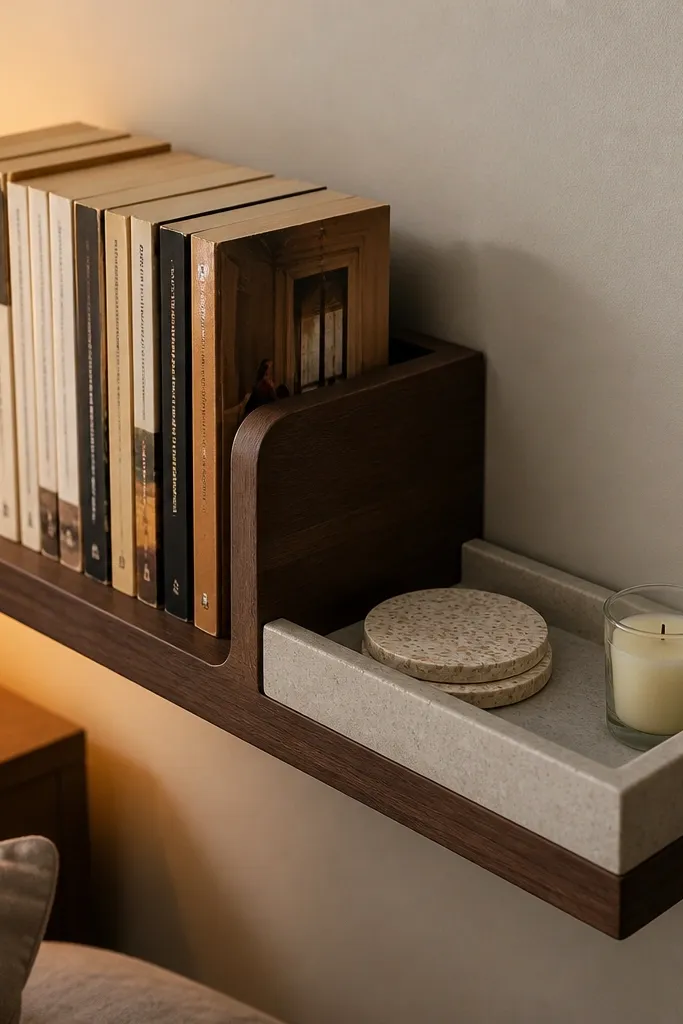
This shelf makes books look tidy even when you grab and return them quickly. A raised spine stop keeps paperbacks from sliding forward, and a shallow tray section holds small items like coasters, hair ties, or a tiny candle. The look stays clean because you’re giving decor a boundary. This is a renter-friendly corner shelves bedroom idea because it’s simple to mount and doesn’t require complex hardware. It’s best for bedrooms where you want your corner to feel organized, not decorative-only.
Cut a shelf board and add a raised spine stop strip at the back edge using wood screws from underneath. Build a shallow tray insert by cutting a recess in the shelf surface or by adding a separate tray lip that sits flush. Sand all surfaces smooth, then seal the tray recess so it resists spills. Mount with two brackets per shelf arm and check level. Style with upright books and one tray item so the shelf face stays balanced.
Editor's noteUse a stop height around 3/4-inch so most paperback spines catch without blocking the shelf’s look.
Skip thisDon’t make the tray too deep — it makes the shelf look heavy and wastes display space.
21. Corner Shelf with Floating Corner Cap Trim for a Finished Edge
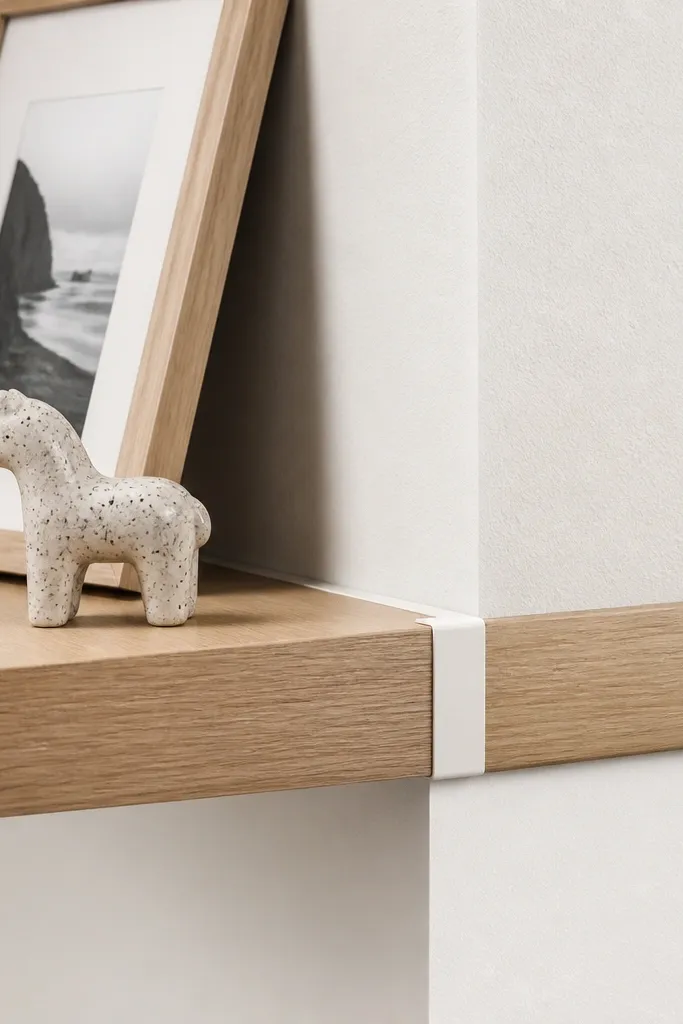
A floating corner shelf can look unfinished at the corner seam. Adding a corner cap trim piece makes the junction look like design, not carpentry afterthought. This is one of the easiest ways to upgrade the look without changing the whole shelf structure. It also helps hide small gaps if your corner walls aren’t perfectly aligned. Use a simple cap trim in matching wood or matte paint — the goal is a clean border line. Build difficulty is beginner to intermediate.
Mount your floating shelf with concealed brackets or a cleat, then cut a small cap trim piece that covers the corner seam where the two shelf arms meet. Attach the cap with wood glue and small nails or screws from underneath so hardware stays hidden. Sand, then finish the shelf and trim in the same stain or paint color. Style minimally with one frame and one small object so the cap trim stays the visual star.
Editor's notePre-sand the cap trim edges to 150 grit before finishing so the seam looks smooth instead of sharp.
Skip thisAvoid thick cap trim — it can make the shelf look bulky in a small bedroom corner.
22. Corner Shelf with L-Shaped Frame and Chalkboard Back
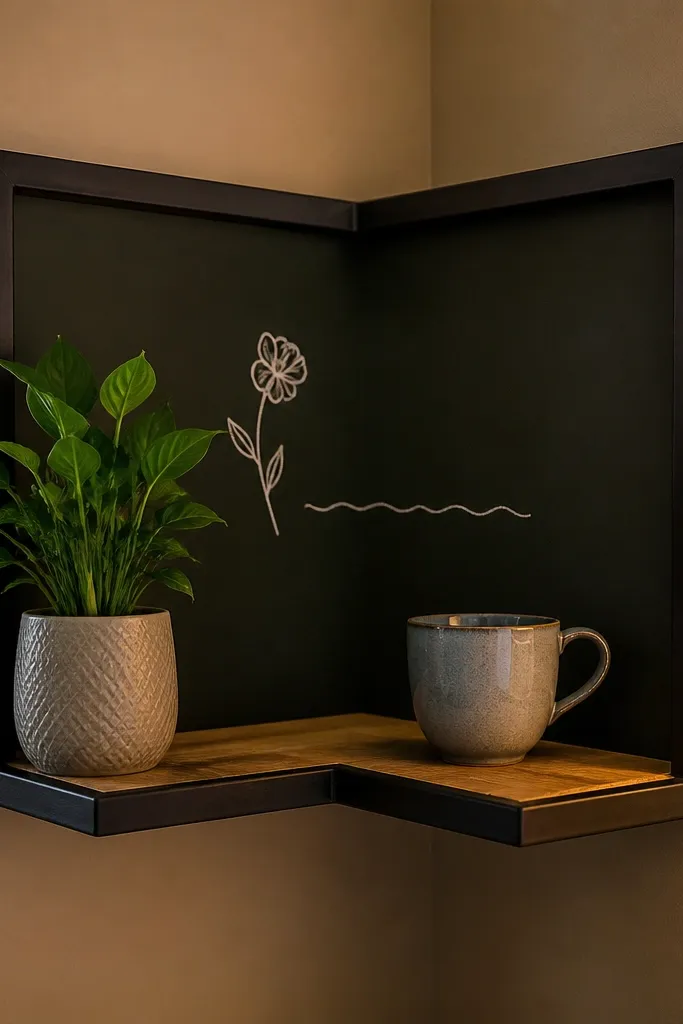
Chalkboard back panels add personality and keep the display from feeling sterile. The shelf still looks clean because the chalkboard is framed and sized to the corner, so it doesn’t look like a random wall accessory. It also gives you a functional space for a short note or a simple doodle without cluttering the shelf. Choose a matte chalkboard paint and a simple wood shelf finish so the combo reads cozy. This build is intermediate because you’re painting a durable surface and making a framed opening.
Build a simple L-shaped corner frame from 1x2 lumber, then attach a chalkboard-painted panel inside the frame. Mount the frame to the wall with hidden brackets or a cleat, keeping the shelf level across both walls. Seal the shelf face, paint the chalkboard panel with chalkboard paint, and let it cure fully before use. Style with a small tray and a single framed photo leaning against the chalkboard.
Editor's noteAfter curing, rub chalk across the board and wipe it clean to condition the surface.
Skip thisDon’t paint chalkboard panel and seal it with glossy topcoat — chalk won’t write cleanly.
23. Corner Shelf with Built-In Curtain Rod-Style Rail for Light Garlands
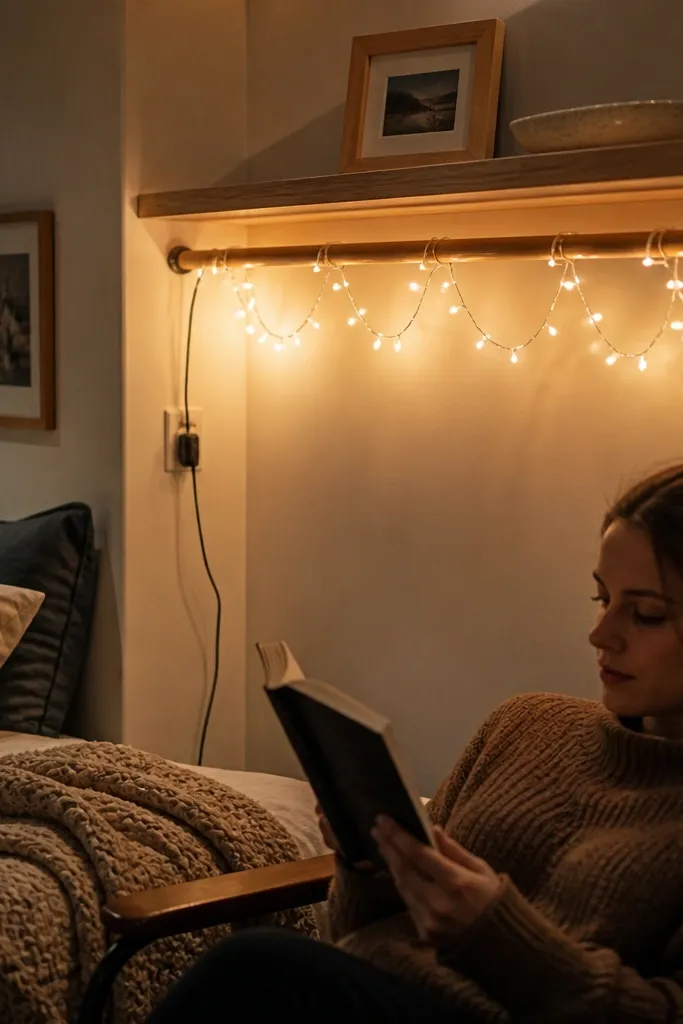
This is how you get that cozy bedroom glow without adding bulky decor. A small rail lets you hang a thin garland or mini string lights so they drape naturally in the corner. The shelf holds photos and small objects, while the garland adds soft movement and warmth. It looks best with warm white mini lights and a simple wood finish. Build difficulty is intermediate because you’re adding a rail and routing wiring cleanly.
Install the corner shelf first, then attach a slim rail above the shelf face using sturdy brackets. Drill a small hole behind the rail for a cord pass-through, then route the light cord through a cord cover. Mount the shelf and rail so they sit level and parallel to your bed frame lines. Test lights before final decor placement, then style with one photo cluster and a small tray.
Editor's noteUse clip hooks on the rail so you can remove garland for cleaning without re-threading.
Skip thisAvoid heavy ornaments — keep the garland weight light so the rail doesn’t sag.
24. Corner Shelf with Stained Wood Backboard and Three Floating Ledges

When you want the corner to look like it has depth, add a stained backboard behind multiple ledges. The backboard makes the whole corner feel layered, and it hides wall color mismatch. Three ledges are photogenic because you can place small items at different heights without crowding. This is renter-friendly if you use a cleat and keep bracket points minimal. Skill level is intermediate due to backboard cutting and keeping ledges level.
Cut a stained backboard to the corner area and attach it to the wall with a few screws or construction adhesive where allowed. Install a cleat line for the lowest ledge, then mount the three ledges with concealed brackets that land evenly. Round the front edge of each ledge and sand to a smooth finish. Seal the backboard so it cleans easily, then style with a small plant on the highest ledge and frames on the lower two.
Editor's noteMatch the backboard stain shade to your nightstand — it makes the corner look like part of the room, not an add-on.
Skip thisDon’t skip sealing the backboard — fingerprints show fast on stained wood.
25. Corner Shelf with Recessed Lip for Picture Frames

This shelf is made for frames. A recessed lip keeps frames upright and stops them from sliding, so you can swap photos without re-styling constantly. The lip also makes the shelf look more finished and intentional than a flat board. It’s ideal for renters because you can mount it securely with hidden brackets and keep the display neat with almost no effort. Build difficulty is intermediate because you’re cutting a recess and sanding it smooth.
Cut the shelf board to your corner size, then route or cut a shallow recess along the back edge where the frames will sit. Sand the recess and seal it so the frame edges don’t snag. Mount the shelf with hidden brackets under the front edge so the top stays clean. Finish the shelf with stain and matte seal, then test with your actual frame thickness before styling the rest of the decor.
Editor's noteBring one of your frames to the garage and measure its back thickness — the recess depth should match it.
Skip thisAvoid a recess that’s too shallow — frames tip and the corner looks sloppy.



