
1. Tension-Rod + Matching Bin "Color Ladder" Shelf Look
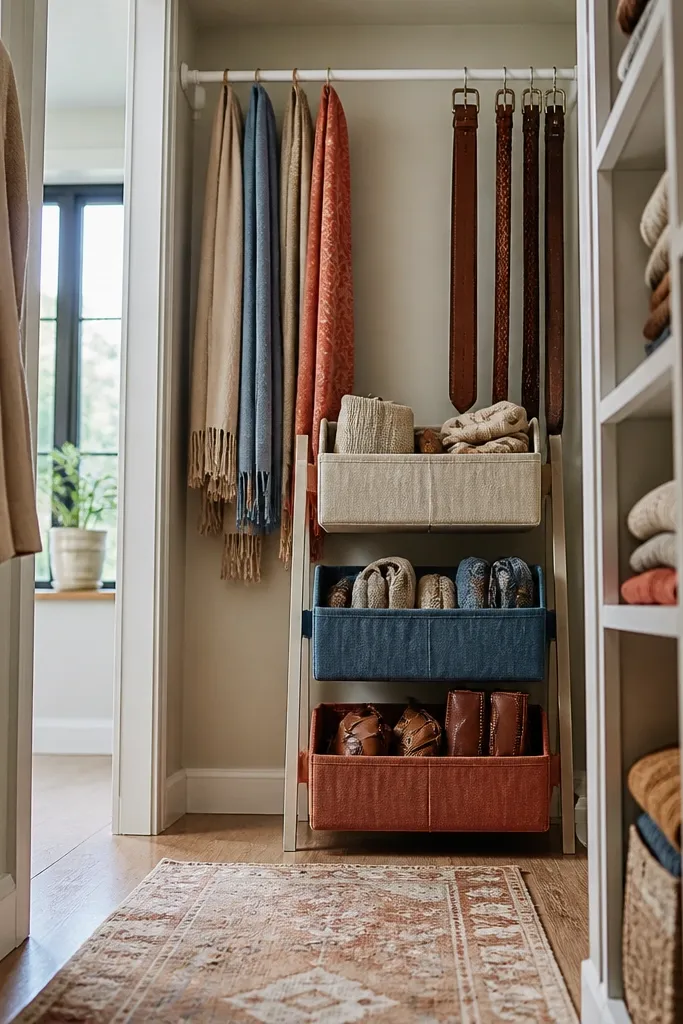
This look makes a closet feel curated because everything repeats: same bin style, same color family, same label size. The tension rod adds a clean horizontal line, which makes the space look taller and keeps scarves, belts, or folded accessories from spilling into the floor. It’s renter-friendly because you’re not drilling — the rod holds with pressure and the bins sit on shelves you already have. You get an organized system that photographs well because the front edges of the bins line up and the labels are consistent. Skill level is beginner, and the whole setup takes about an afternoon if you already own a tape measure and a pair of scissors.
Editor's noteChoose bins with flat front panels or straight sides. Rounded bins look cute but they make the closet look messy because the edges never line up.
Start by measuring your shelf bay width and buy a tension rod that matches that width range. Place the rod under the top shelf lip so it creates a “hang line” for scarves or belts, then set your bins on the shelf directly below so the categories stay aligned. Use 2-inch-wide painter’s tape to map where each bin will sit, then label each bin with color-coded tape: one color for accessories, one for seasonal items, one for backups. Finally, add a small tray on the rod hooks if you have tiny items like hair ties or sunglasses cases so they don’t bunch up.
Skip thisDon’t mix bin heights across the same shelf — even one taller bin breaks the clean ladder effect.
2. Door-Back Accessory Station with Clear Trays and Fabric Labels
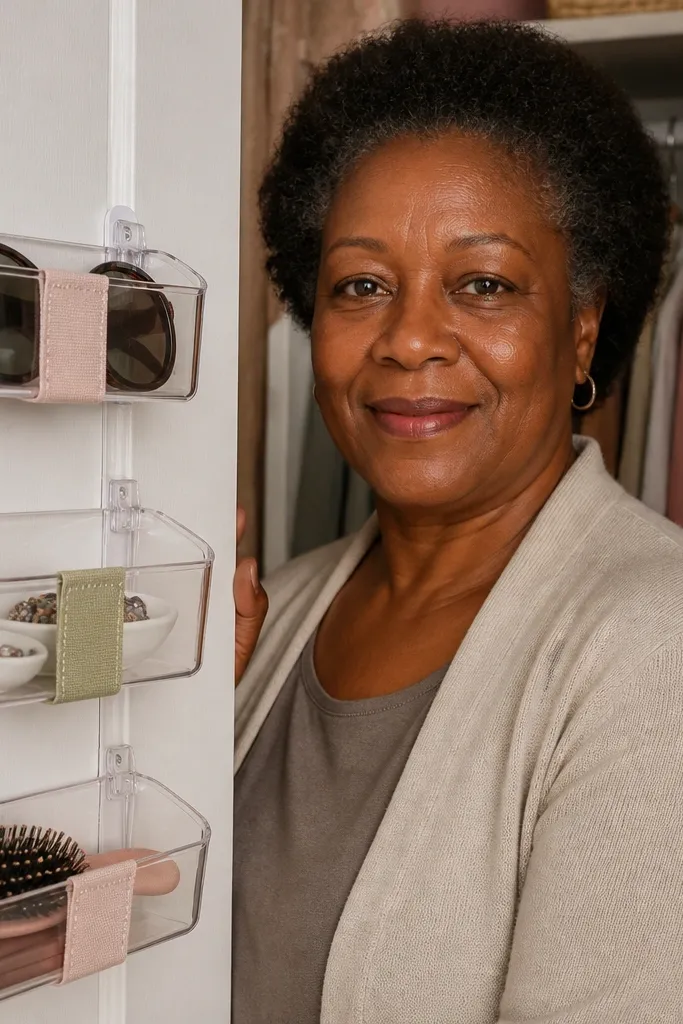
A door-back station is one of the best renter-friendly Closet Organization ideas because it uses dead space you already have. Clear trays let you see what’s inside at a glance, and fabric labels keep it looking soft instead of office-like. This setup is great for jewelry, sunglasses, hair tools, and small seasonal items that normally end up in a drawer you never open. The look is intentionally neat because trays sit in a grid and each one has a matching label style. It’s also low effort to maintain: you can put items back without opening drawers or digging through piles.
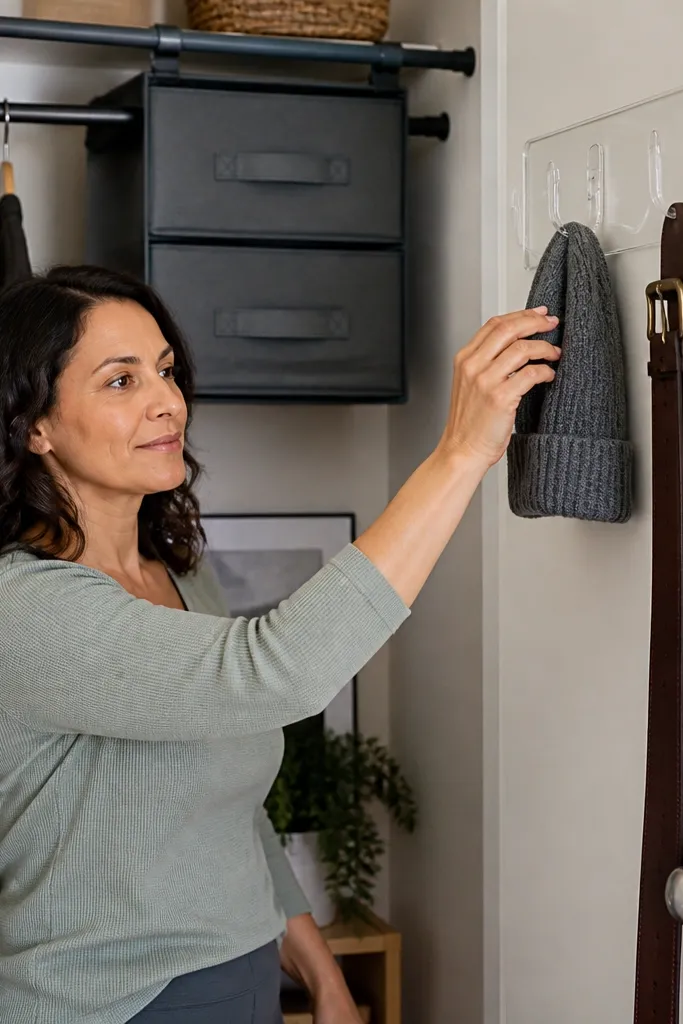
Use adhesive hooks or a tension-mounted organizer panel on the inside of the closet door, depending on whether the door has flat space. Install 3-5 clear tray organizers in a straight column, keeping the bottom tray at about 48 inches from the floor so you can reach it without crouching. Label each tray with fabric tape or iron-on label tape on a small card that you slide into a tray corner. Sort by grab frequency — daily items in the top two trays, seasonal or backup items in the lower trays. Finish by adding a small microfiber cloth folded flat in one tray so you always have a cleaning option for glasses or jewelry.
If the adhesive hooks don’t feel solid, switch to a tension organizer that clamps to the door frame instead of sticking to paint.
Skip the “everything in one tray” approach. One tray full of mixed items looks messy fast.
3. Drawer-Style Folded Sweater Cubes with File-Fold Fronts
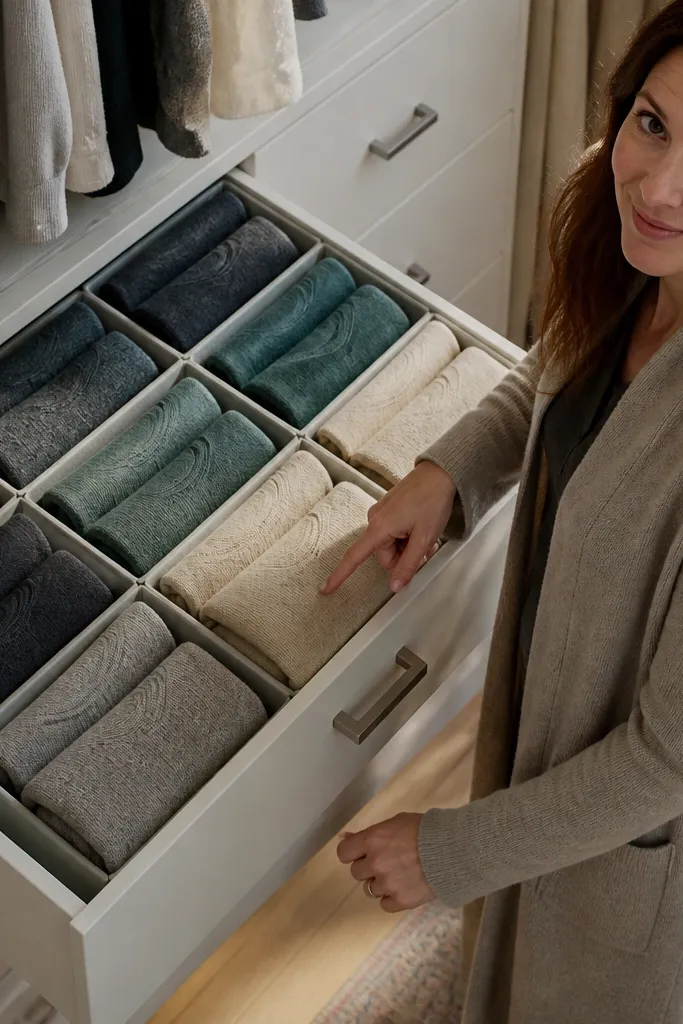
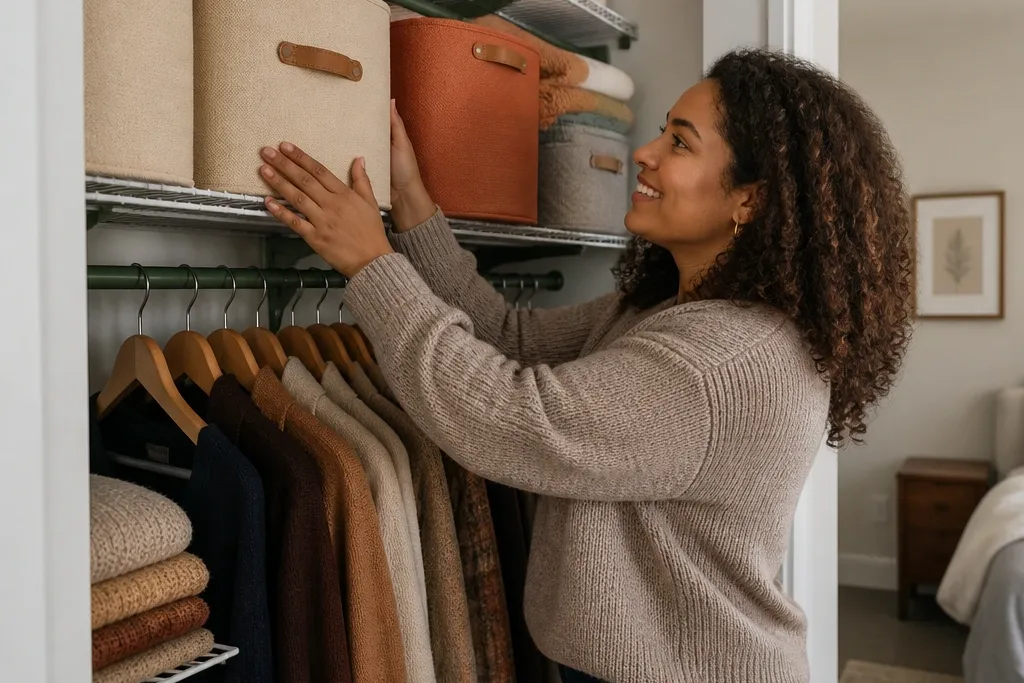
This is the closet look that makes people stop and stare because it looks like a boutique display. The method is simple: file-fold knits and store them upright in cube bins so you can see each color and don’t have to rummage. It keeps sweaters from turning into a lumpy stack, and it makes your closet feel intentional because the front edges create a clean grid. You also gain space — upright folded items take less depth than you think, especially for tees and light sweaters. It’s a mid-level project only because the folding technique takes a little practice, but the materials are inexpensive and the payoff is immediate.
Editor's noteUse a piece of cardboard cut to the bin width as a folding guide. It makes each fold the same size so the grid stays crisp.
Start with cube bins or shallow fabric drawers that fit your shelf depth. Fold each sweater using a file fold: lay flat, fold sleeves in, fold into thirds, then stand it upright with the folded edge facing out. Place bins in color order or category order, then label the bin front with a small strip of removable tape. Keep the top shelf for items you access monthly, and keep the bins at eye level for daily rotation. If you have bulky cardigans, store them flat on the top shelf and only file-fold the lighter knits.
Skip thisDon’t overstuff cube bins. If the folds bow outward, the whole shelf stops looking clean.
4. Swivel Shoe Rack Look with Two-Tier Front Row
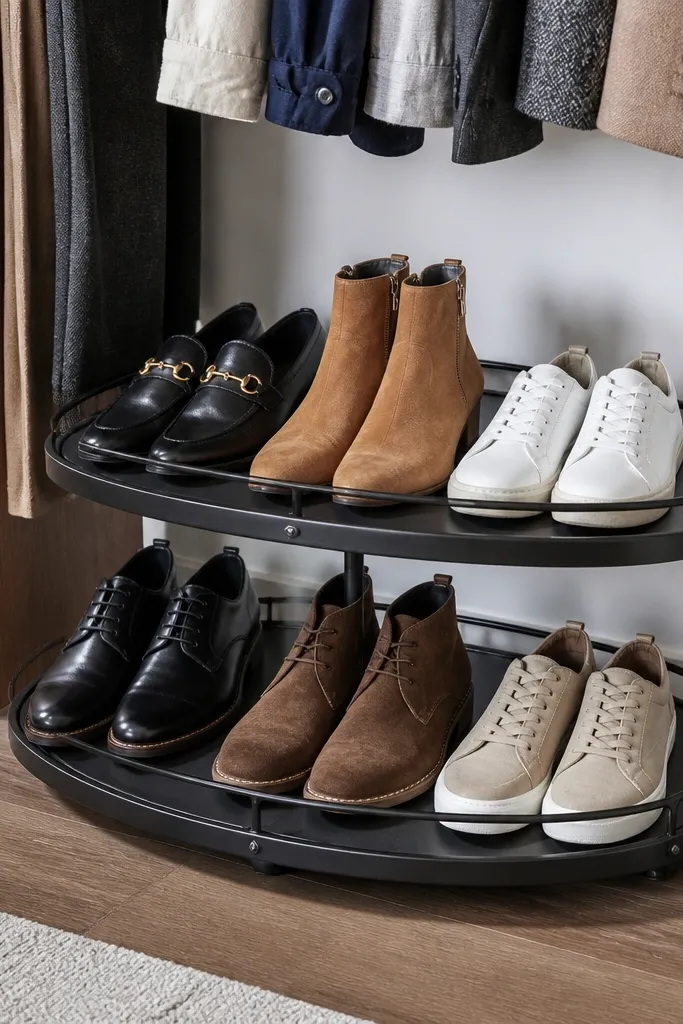
Shoes are the fastest way a closet turns chaotic, which is why this look is worth prioritizing. A two-tier shoe solution creates a front row you can see, and it keeps pairs from collapsing into each other. The best visual outcome comes from keeping shoes angled or aligned so the toe shapes form a tidy pattern. It also improves function because you can grab the right pair without moving half the closet. This is renter-friendly because many shoe racks are freestanding or use non-damaging feet. If your closet is narrow, this approach makes the shoe area look designed instead of cramped.
Editor's noteStore shoes with the same direction (toes facing forward). It makes the whole closet look more uniform even before you label anything.
Measure the shoe zone depth and pick a freestanding rack that fits with at least 1 inch of clearance from the door swing. Arrange shoes by height: sneakers and flats on the top tier, boots or heavier pairs on the bottom tier if the rack allows it. Use slim shoe boxes only for off-season pairs, and keep current rotation on the rack so you don’t dig. Add a small label on the front edge of each box and a larger label on the rack shelf for “daily rotation.” Finish by placing a thin mat or felt pad under the rack to reduce scuffs and keep the floor clean.
Skip thisSkip stacking loose shoes on the floor. It looks messy and wastes the most accessible space.
5. Removable Hanging Organizer with Color-Matched Box Bottom
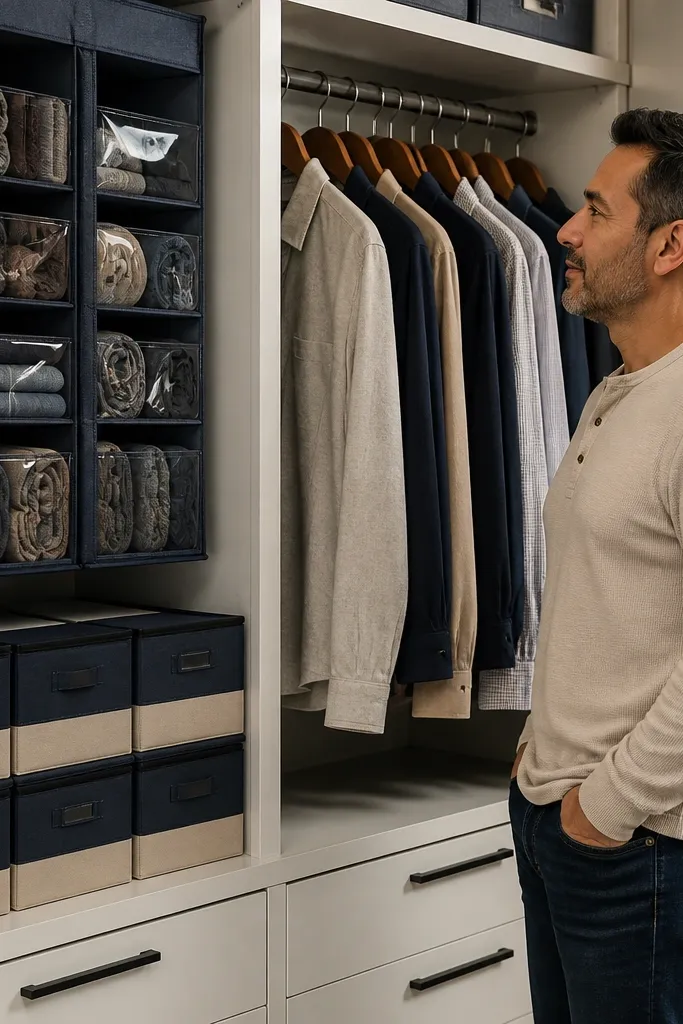
This look solves the “hanging space is full but the closet still feels empty” problem. A hanging organizer gives you vertical storage for items that don’t fold well, like leggings, workout sets, and scarves. Pair it with matching boxes on the bottom shelf so the lower half looks finished instead of cluttered. The aesthetic comes from repeating the same material and color family across the bins, plus keeping the hanging pockets evenly spaced. It’s renter-friendly because most hanging organizers use a rod loop or a top hook system and don’t require drilling. Skill level is easy: you’re sorting and mounting, not building.
Choose a hanging organizer with rigid pocket edges so it doesn’t sag and look sloppy. Hang it on the closet rod with enough clearance so the pockets don’t drag on hangers or the shelf below. Sort items by how you wear them: everyday workout items in the top pockets, less-frequent items in the middle, and small accessories in the bottom pockets. On the bottom shelf, place two matching bins for “off-season” and “laundry backup,” keeping them side-by-side so the shelf looks balanced. Add labels to the bin fronts with removable tape and keep the hanging pocket contents single-category so the pockets don’t turn into a mix.
If your rod is crowded, move the hanging organizer to the highest rod position you have and keep the bottom shelf for folded items only.
Don’t hang a soft, floppy organizer full of heavy items. It droops and ruins the clean look.
6. Under-Rod Shelf Skirt with Hidden Lint Roller Pocket
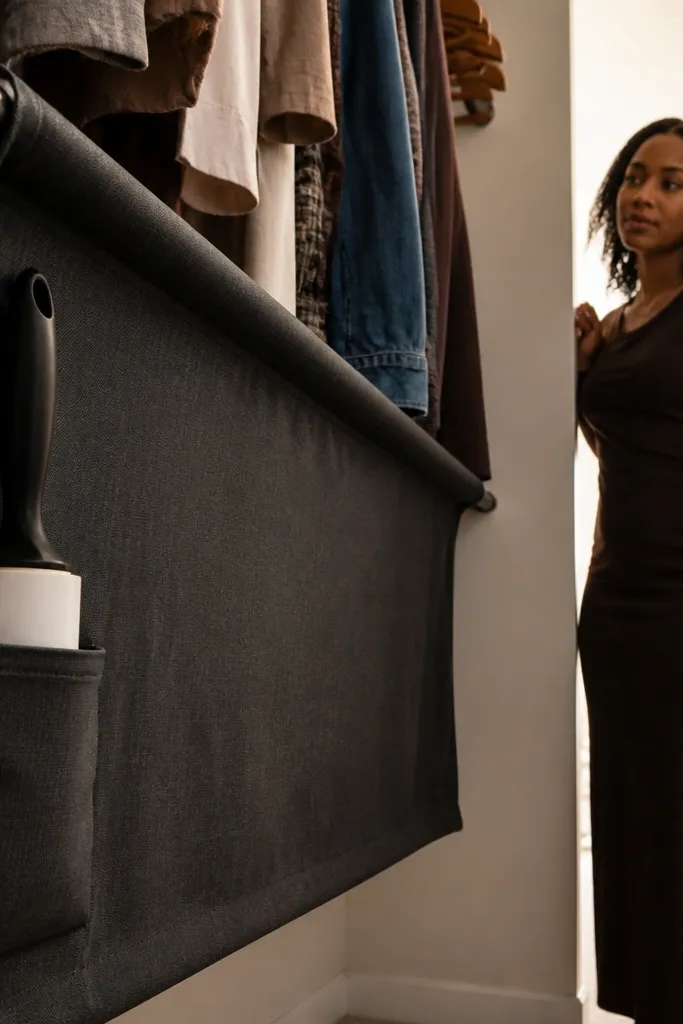
This one is small, but it makes the closet look cared for. A fabric skirt under the hanging rod hides the gap where dust and random stuff collect, and it gives you a place for practical items like a lint roller, stain pen, or small garment bag. The visual benefit is huge: the closet looks smoother because the lower hanging area stops looking exposed. It’s also renter-friendly because you can attach with removable velcro strips to the inside frame or shelf lip. This works best in closets with open space under the rod or where hangers sit close to shelves.
Editor's noteUse medium-weight cotton or a cotton-poly blend. It holds shape better than thin jersey and looks tidy in photos.
Measure the space under the rod from left to right and decide how much drop you want — 8-10 inches looks neat and doesn’t touch the floor. Cut a simple fabric rectangle or use an existing curtain panel and hem the edges so it drapes cleanly. Attach a strip of removable velcro to the underside of the shelf lip or interior frame, then add matching velcro to the top edge of the fabric so it can be removed for moves. Sew or attach a small pocket on the inside for a lint roller and keep it at the side where you naturally reach. Finally, add one small garment bag hook inside the skirt for a reusable bag that holds delicate items.
Skip thisDon’t let the fabric brush the floor. That turns the skirt into a dust catcher and it starts looking rough.
7. Closet Corner Grid with Shelf Dividers and Matching Label Tabs
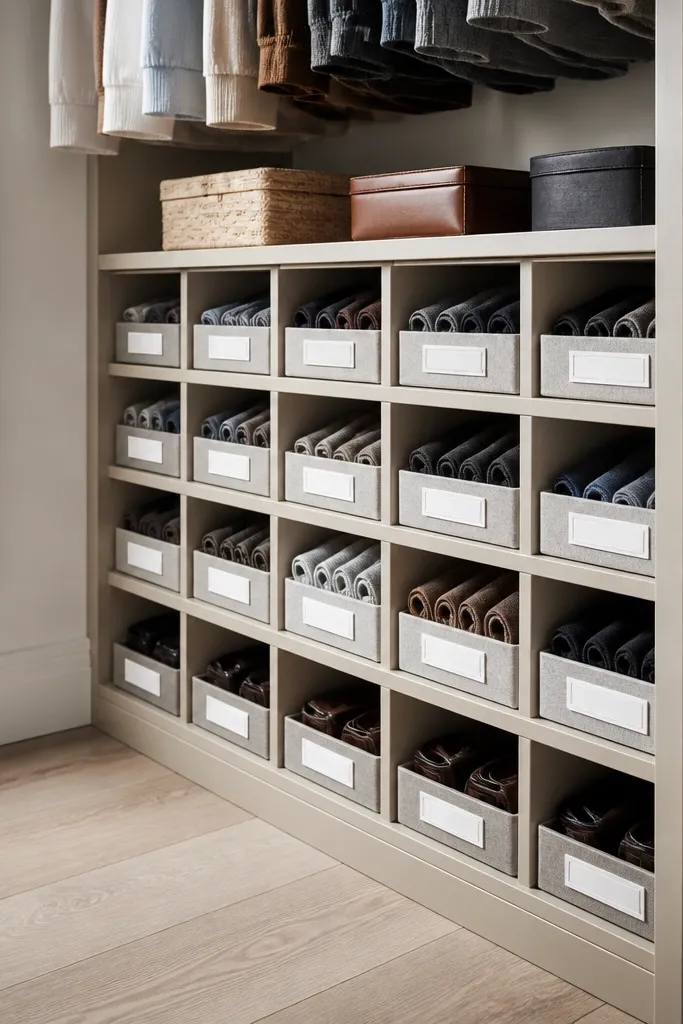
Corners are where closet mess hides, and this setup makes that area look intentional. Shelf dividers create a grid so accessories, folded socks, and small folded items don’t drift into each other. The label tabs keep the look clean and consistent, and they make it easy to put things back without thinking. This is a renter-friendly Closet Organization idea because dividers often sit on the shelf without fastening, and labels use removable tape. It’s also a good choice if you don’t have a lot of vertical height — you’re using width and structure to make the space look organized.
Start by measuring the corner shelf depth and width, then buy dividers that are slightly shorter than the shelf so they don’t scrape or wobble. Place dividers to create 4-6 sections depending on how many categories you need. Add bins or small baskets inside each section if the items are loose, like socks or scarves. Label each section with a consistent tab style: 1-inch removable tape tabs on the front edge of the divider. Keep one section for “daily” items and one for “bulk” items so you don’t constantly reorganize.
Use dividers with smooth edges. Sharp corners snag fabric and make the shelf look worn quickly.
Skip blank sections. A corner with empty space looks unfinished, even if it’s “temporary.”
8. Hanger Color Coding with Two-Row Hanging System and Removable Tags
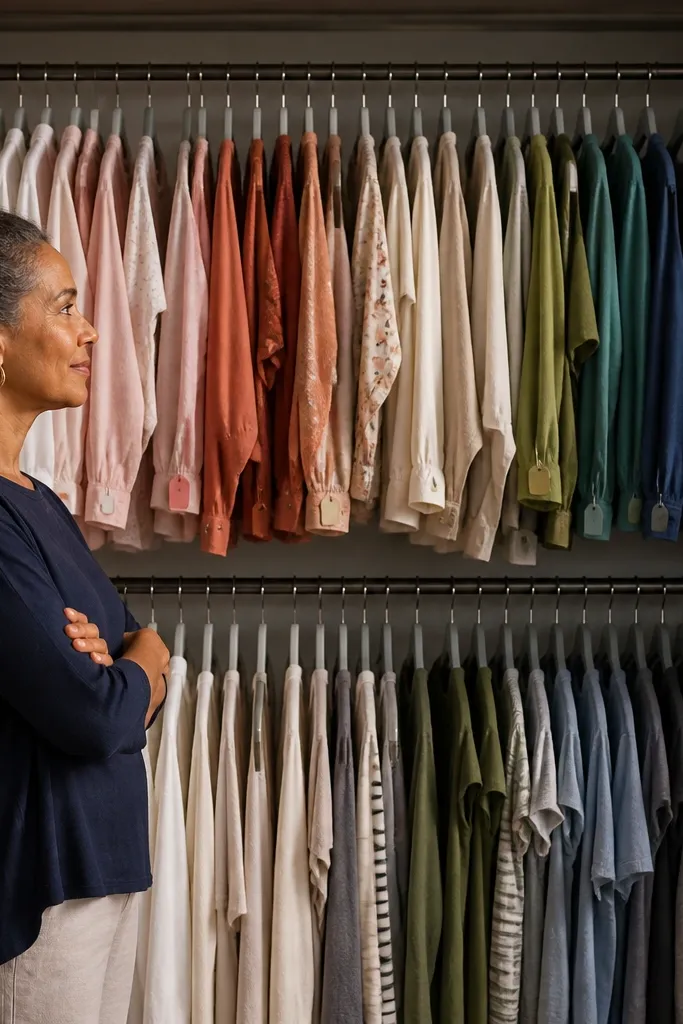
This is a clean, high-impact upgrade because it changes how the entire closet reads. Two-row hanging lets you sort by category without adding extra furniture, and color-coded hangers make the closet look styled even when it’s not perfectly tidy. Removable tags work for rentals because they don’t require permanent labels on walls. This setup is best for closets with enough rod length where you can hang two rows without overcrowding. It’s also great for people who keep losing outfits — you can build “capsule” categories like work, weekend, and special occasion so the closet becomes a decision system, not a storage area.
Editor's noteUse slim hangers for shirts and pants hangers for heavier items. Bulky hangers waste space and make the closet look uneven.
Choose hangers in one consistent finish and add a second rod line using a freestanding double-hang rack that fits your closet width. If you already have one rod, use the double-hang rack so the top and bottom rows are evenly spaced — aim for about 10-12 inches between rows for easy access. Sort clothes by category and hang by color within each category so the visual flow looks calm. Add removable tags to the hangers or to a small clip on the rack with category labels written in the same font style on tape. Keep heavy coats on the top row and lighter tops on the bottom row to reduce stretching.
Skip thisDon’t tag every single hanger. Too many labels looks chaotic and defeats the point.



