

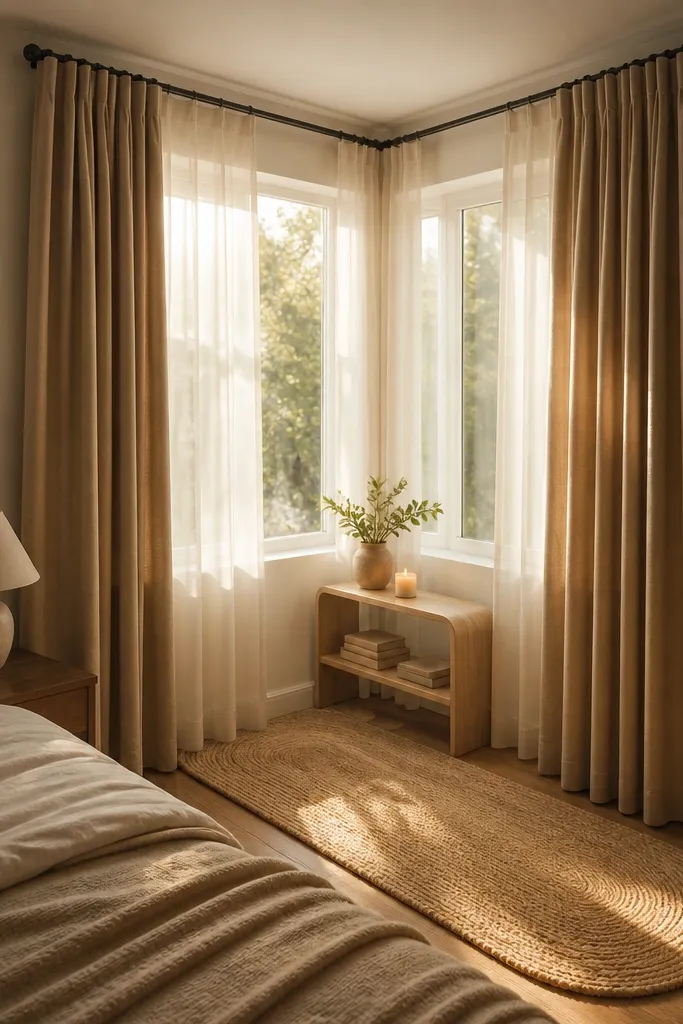
1. Spring-Loaded Corner Curtain Rods With Floor-Length Linen Panels
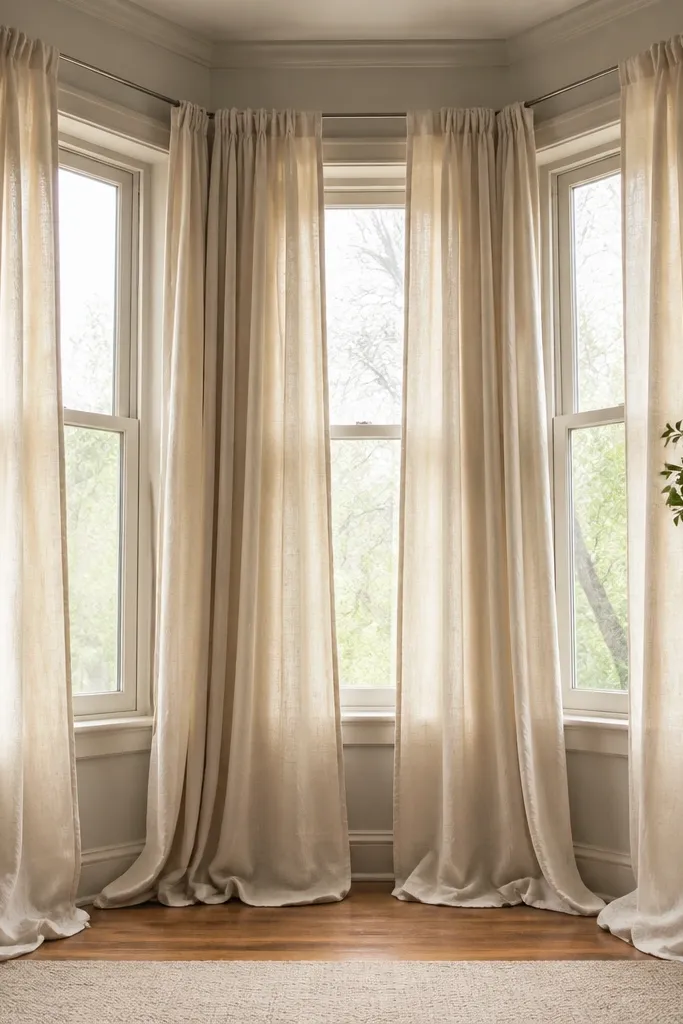
This is the quickest way to make a bay feel like a bedroom feature instead of a weird window nook. Spring-loaded corner rods grip the trim/casing and create a continuous curtain line across each angled face. Use a linen blend in cream, oat, or warm white so daylight looks soft, not gray. Hang panels to puddle slightly at the floor — about 1 to 2 inches of break — because bay angles show every edge, and a clean break hides the seam lines. For coziness at night, add a blackout liner behind the sheer so you get privacy without losing the airy look in daytime.
Start by measuring each bay face width and the height from your preferred curtain starting point (usually just above the window frame) to the floor. Buy two panels per bay face, then hem so they land 1-2 inches above or on the floor for a real drape. Install spring-loaded rods at the top of each casing area so the curtain tracks follow the angle; tighten until snug, not crushing the trim. Add blackout liners with clip-on rings or curtain hooks, then test by opening and closing — you want smooth glide without pulling the rod.
Editor's noteClip the liner to the curtain panel with 2-inch intervals so the blackout layer doesn’t twist at the angles.
Skip thisDon’t hang sheer-only curtains on a bay — glare and drafts make the space feel unfinished after dark.
2. Removable Window Seat Cushion on a Freestanding Platform

A window seat makes the bay feel like part of your sleep routine, not a decorative afterthought. Instead of building into the wall, use a freestanding platform that sits flush against the window sill line. Top it with a thick upholstered cushion so it reads cozy in photos and feels good when you sit up in bed. Choose a fabric with texture — boucle, herringbone, or a thick cotton twill — because smooth satin shows every wrinkle and looks colder in daylight. This idea works best in bedrooms where the bay is wide enough for a person to sit, even if you don’t want an actual bench built-in.
Start by measuring the bay interior width at the sill and the depth you can spare from the window to the room side. Build a platform from 3/4-inch plywood cut into three sections that match the bay angles, or buy a single MDF panel and trim to fit. Place it on thin furniture risers or low legs so you can vacuum underneath; add adhesive felt pads where it touches the sill. Add a removable cushion cover over 4-inch foam and secure with a zipper or ties so you can pull it off to wash.
Editor's noteUse a non-slip rug pad between the cushion and platform so the cushion doesn’t creep when you sit down.
Skip thisSkip flimsy 1-inch cushions — bay angles make thin seats look saggy fast.
3. Felted Wool Valance That Mirrors the Three Bay Angles
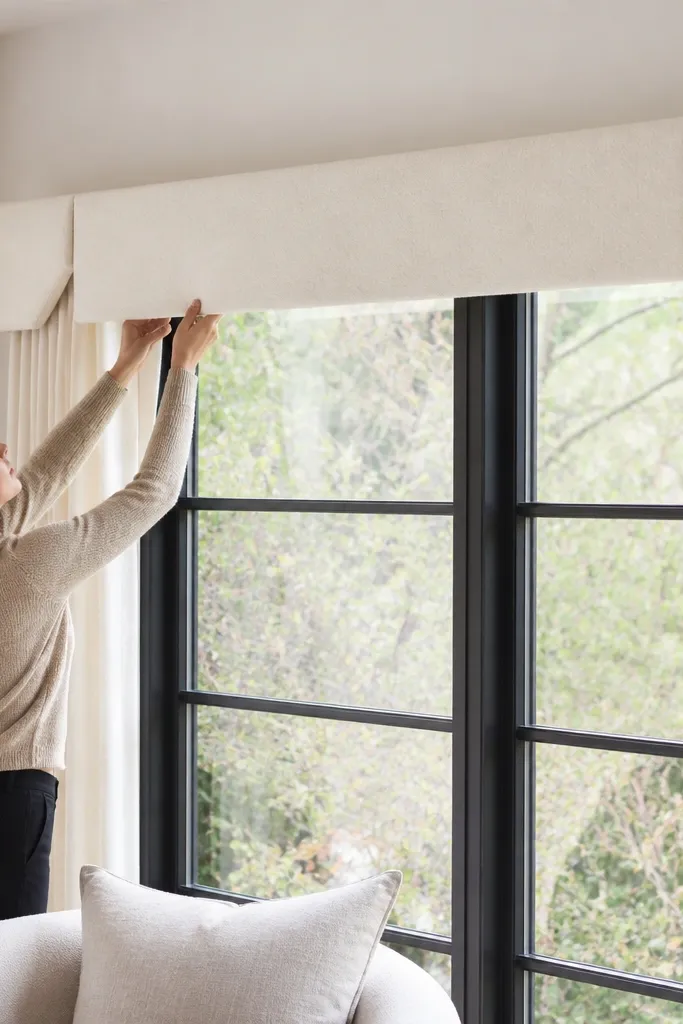
A valance is where “cozy” becomes obvious. Felted wool or thick wool-blend fabric hides hardware and makes the top look finished, even when you’re using no-drill curtain rods. Because bays have three angles, you want a valance that visually breaks at the corners — not one flat rectangle. The wool texture also softens the hard geometry of the window and makes the whole bay look warm in morning light. This is a great renter-friendly Bay Window idea when you already have curtains but the top edge still looks unfinished.
Start by choosing a wool felt in camel, oatmeal, or warm gray. Measure each bay face width and cut three valance pieces that match the angles, then add a 1-inch fold for a clean top edge. Sew or iron a narrow hem and attach each piece to a separate removable curtain rod or Velcro strip on the casing (use removable hook-and-loop on trim only). Finally, drape the valance so it slightly overlaps the curtain line below and pin it at the corners so it holds shape.
Use hook-and-loop only on trim, not painted drywall — it peels cleanly and avoids paint lift.
Don’t use thin felt — it collapses and shows the hardware beneath.
4. Magnetic Tie-Backs for a Soft, Curled Bay Curtain Shape
Tie-backs change everything because they control the curtain silhouette. Magnetic tie-backs are renter-friendly Bay Window ideas that let you pull fabric back to frame the glass without drilling into the wall. Choose satin or linen tie-backs in a matching warm tone, then secure them with magnets placed on the curtain hem and a small metal plate on the casing. When you tie at the right height, the curtain forms gentle arcs that look intentional on angled panes. This makes the bay feel styled even when the curtains are open for daylight.
Start by hanging your curtains and stepping back to see where the fabric naturally pools. Mark a tie-back height on each bay face — usually around 28-34 inches from the floor — then sew a small hidden pocket or add a reinforced loop at that height. Attach magnets to the curtain loops and place matching metal plates on the casing using removable adhesive disks. Tie back one side at a time until the arcs look even across the three angles.
Add a small weight hem on the curtain bottom so the fabric keeps the arc shape after you tie it.
Don’t tie too high — it makes the bay look top-heavy and cuts off the cozy drape.
5. No-Drill Sill Planter Box With Removable Liners

Plants make a bay feel lived-in, but the details matter in a rental. A no-drill sill planter box keeps soil off your window ledge and gives you a clean edge that looks built-in. Use a planter with a finished wood front or a metal trough so the bay looks styled even when plants aren’t in peak growth. Add a removable liner (plastic or felt) so you can lift it out to water and dump without soaking the sill. For bedrooms, pick low-light friendly greens like pothos, snake plant, or ZZ — they hold their shape and don’t look sad in winter.
Start by measuring the bay sill length and the depth you can fit without blocking airflow. Choose a planter box sized to sit on the sill with 1/2-inch clearance around edges; line it with a removable plastic tray or a felt grow liner. For stability, use silicone furniture pads on the planter feet so it doesn’t slide when you lift the liner. Place the plants in their nursery pots inside the liner, then top with a thin layer of decorative stones for a neat look.
Editor's noteUse a tray that’s 1 inch deeper than your nursery pots so you can water without overflow.
Skip thisDon’t let planters sit directly on unprotected wood or painted trim — water rings show up fast.
6. Freestanding Bookshelf Window Wall for Cozy Reading Nook

When a bay window is wide, you can build a reading nook without touching the wall. A freestanding bookshelf placed with its back facing the window creates a cozy “wall” and gives you height so the bay looks intentional. Choose a low, wide shelf so it doesn’t block light — think 10-14 inches deep and 36-48 inches tall. Style with book spines plus one repeating color (like terracotta and cream) so it reads curated but still rental-safe. Add a floor lamp with a warm bulb and you get that bedtime glow that makes the whole corner feel like part of the bedroom.
Start by checking how much space you have between the bay window face and the room side so the shelf doesn’t block walking paths. Pick a shelf that spans most of one bay face and sits flush enough to look aligned; add felt pads to prevent scratches. Anchor only the shelf itself with anti-tip furniture straps to the nearest stud behind the shelf if you can access it safely; if you can’t, choose a heavier shelf and skip over-tall heights. Style the top with a small tray and a lamp, then add a soft throw over the chair or bench so the bay looks cozy in photos.
Use a 2700K warm bulb and keep the lamp shade fabric light-colored so it reflects warm light instead of dimming the bay.
Skip tall, narrow shelves — they look awkward next to angled windows and cast harsh shadows.
7. Chunky Knit Throw Ladder Across the Bay (Freestanding)
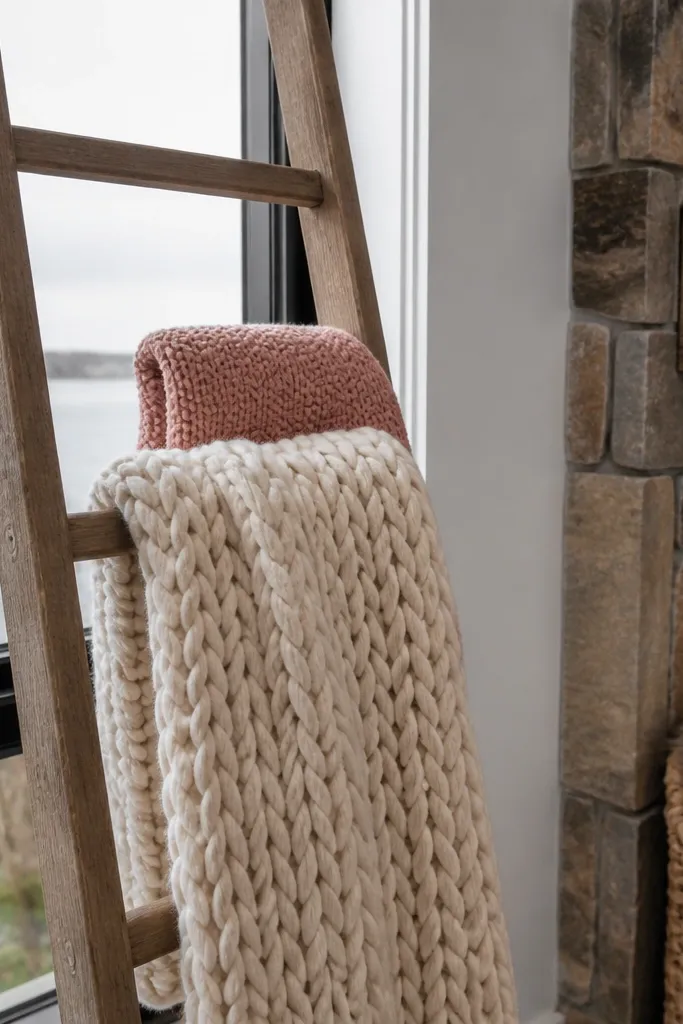
This is a renter-friendly Bay Window idea that turns the bay into a styling moment without installing anything. A freestanding throw ladder placed near the window gives you vertical texture and makes the bay look cozy even when the curtains are still. Use chunky knit throws in cream, oat, and dusty rose so the fabric looks soft and inviting. It also solves the “where do I put blankets?” problem in bedrooms — you can grab a throw in seconds. The look is photogenic because the knit folds catch light and soften the geometry of the bay.
Start by choosing a small wooden or metal ladder stand that fits the bay corner without blocking the window view. Drape one large throw over the top rung and loop a second throw lower so you see layered texture. If the ladder tips easily, place it on a flat rug pad or use rubber feet to grip the floor. Keep throws within 1-2 inches of the ladder edges so the shape stays neat and doesn’t look messy.
Fold throws with a consistent width so each layer lines up across the ladder and looks intentional.
Don’t use slippery satin throws — they slide off rungs and look sloppy by day two.
8. Removable Faux Roman Shade With No-Drill Tension Frame
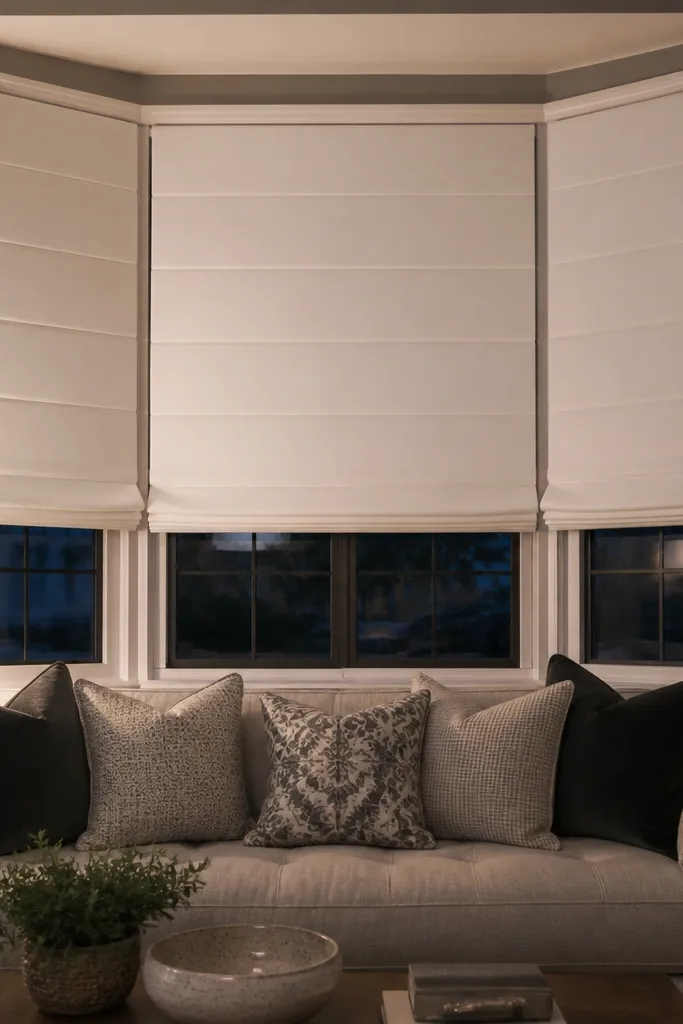
Roman shades read cozy because the folds look warm and structured. A removable faux roman shade on a tension frame is renter-friendly and avoids drilling into trim. Choose a medium-weight blackout fabric so the folds hold shape and block light at night. In a bay, you want the shade to cover each angle cleanly; tension frames let you mount to the window surround without anchors. This is a strong option if you hate curtain pooling but still want that tucked-in feeling.
Start by measuring each bay face width and height, then buy or build separate shade panels for each angle. Use a tension frame system that grips the inside window surround; test fit before attaching fabric. Attach the shade fabric to a fold-support backing (often a sewn-in stiffener strip) so the folds stack evenly. Install the tension frame, then pull cords or lift tabs to create the fold pattern and lock it in place.
Editor's notePick fabric with a matte finish; sheen makes the folds look flat and highlights uneven stacking.
Skip thisSkip flimsy curtain-weight fabric — it won’t hold roman folds and looks messy.
9. Bay Window Curtain Corners With Removable Fabric Panels
A lot of renter bays look unfinished at the corners where curtains meet the angled glass. This fix uses removable fabric panels at each corner to close the gap and make the curtain line look continuous. The panels can be attached with removable hook-and-loop or tension clips to the curtain rod ends, so you can remove everything later. Use matching fabric to your curtains or pick a slightly darker shade for depth. The result is a framed bay that looks cozy from bed, not like separate pieces hanging around a window.
Start by hanging your main curtain panels first so you know where the gaps show. Measure the visible corner gap on each angled face and cut fabric panels that cover it with 1-inch overlap. Attach hook-and-loop to the back edge of each panel and press the matching strip onto the curtain rod end or casing section. Adjust the panel height so it lines up with the curtain hem and doesn’t create a new visual break.
Stitch small weights into the bottom seam of the corner panels so they hang flat and don’t curl.
Don’t use fabric that’s too stiff — it will stand off and reveal the gap you’re trying to hide.
10. Floating Nightstand-Style Console Along the Bay (Freestanding)
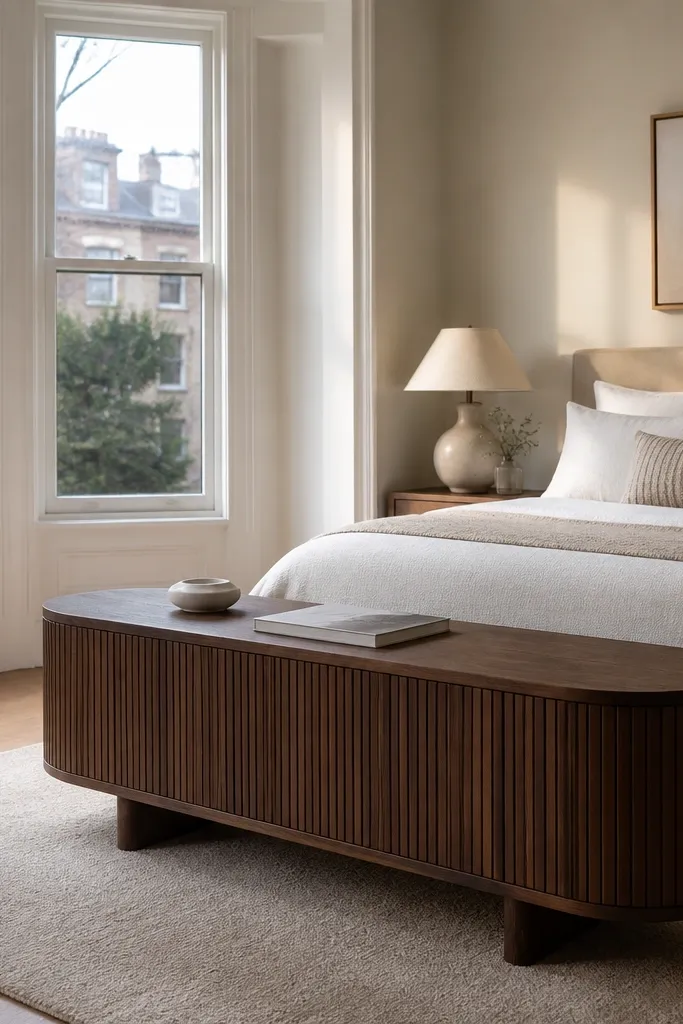
If the bay window sits at a height where you can place a surface, a low console makes it feel like a designed bedroom corner. For renter-friendly Bay Window ideas, use a freestanding console table that sits under the window without attaching to the wall. Keep it low enough that it doesn’t block sightlines from bed. Choose a warm wood finish or white-washed finish so the bay reads bright, then style with one lamp and one tray. This gives you a functional landing spot for water, books, and a cozy nightly routine.
Measure the space under the bay window at its narrowest angle. Choose a console table with a width that matches the bay face and a depth around 10-12 inches so it doesn’t stick out into traffic. Place it on felt pads and use a level to align it with the window sill line. Style with a slim lamp and a tray, then add a small runner or woven mat so the surface looks soft, not bare.
Editor's noteUse a warm-glow lamp shade and keep the lamp cord routed neatly along the back edge with adhesive cable clips.
Skip thisSkip tall table legs — they create visual clutter under the bay and make the window feel smaller.
11. Faux Shearling Window Seat Cover With Removable Straps
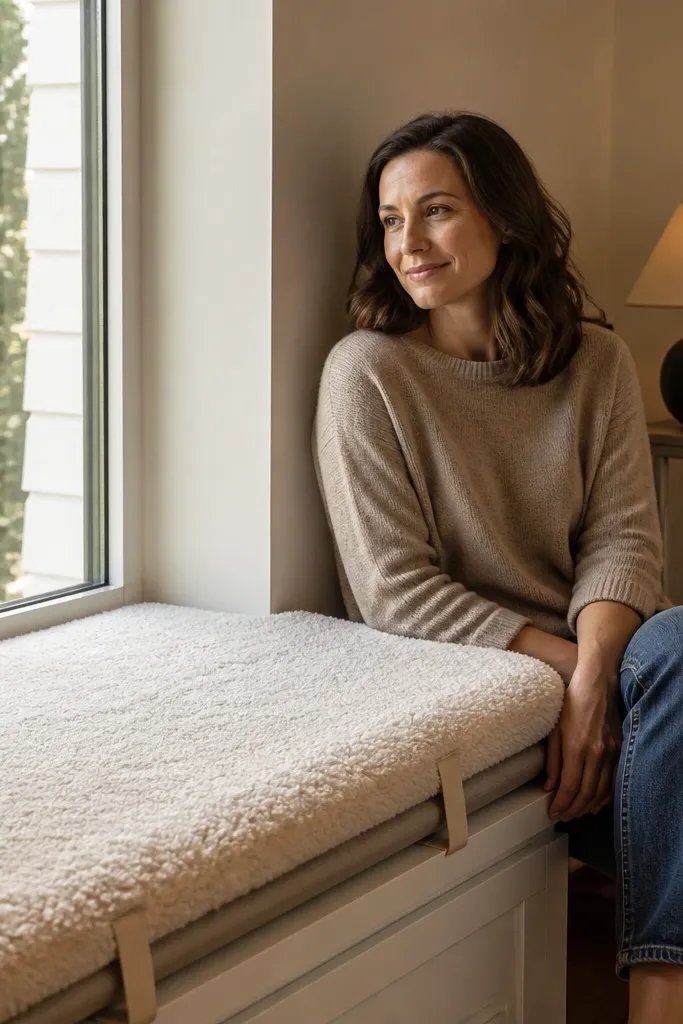
Shearling texture reads cozy instantly, and bay windows show texture well because the light hits it from angles. A removable shearling-style cover turns a plain cushion into a warm, hotel-like seat. The key is removability: use straps or elastic so you can pull the cover off to shake it out, and so it doesn’t slip around when you sit. Pick a short pile faux shearling in ivory, sand, or light greige so it stays bright in daylight. This is a strong renter-friendly Bay Window idea when you already have a seat platform but want it to look plush.
Start by measuring your cushion top and thickness so the cover fits without sagging. Buy a faux shearling seat cover with elastic edges or sew simple fabric straps onto the underside. Place the cover over the cushion and tighten straps so the corners sit tight. If you’re covering an existing cushion, add a thin non-slip layer between cushion and cover to stop sliding. Test by pressing down at the center — it should spring back and stay in place.
Editor's noteBrush the pile with a stiff garment brush in the same direction to keep it looking fluffy.
Skip thisDon’t use long-pile faux fur — it mats quickly and looks flat in photos.
12. Tension-Rod Sheer + Blackout Combo for Day/Night Control
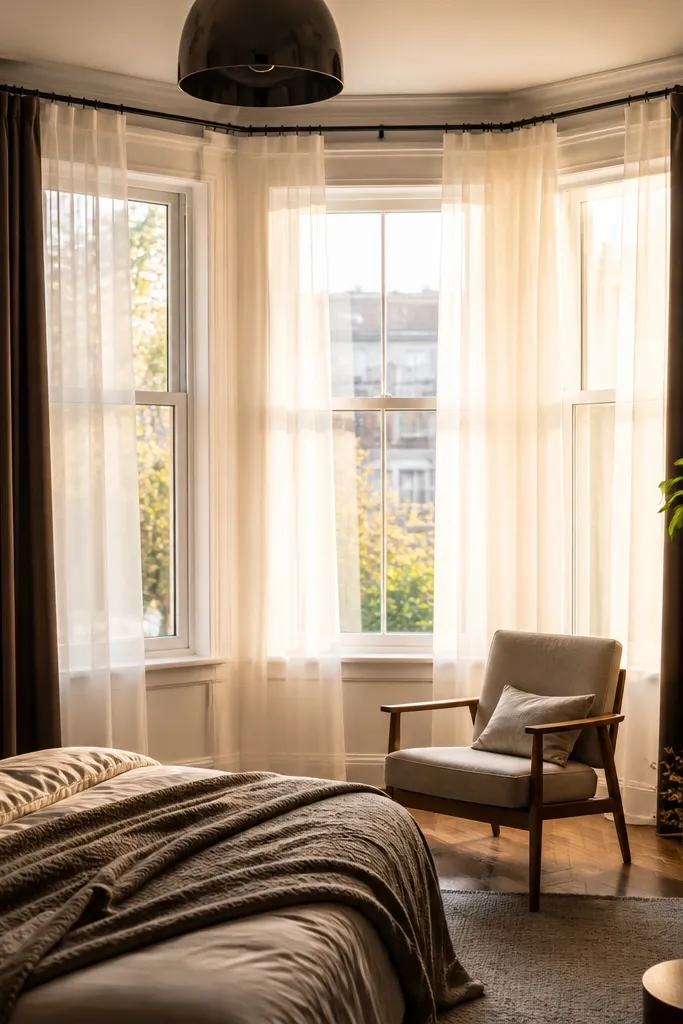
This is the cleanest way to get both airy daylight and real bedtime privacy in a rental. Use a sheer layer for daytime softness and a blackout layer for night coziness. Tension rods work for the sheer, while the blackout can go on a separate rod system that grips the casing. Layering also hides small gaps that happen on bay angles — the blackout layer covers what the sheer can’t. Choose colors that match your bedroom palette: warm white sheers with a charcoal or deep taupe blackout look especially cozy at night.
Hang your sheer first with tension rods installed on the casing or window frame area you’re allowed to grip. Then install a second rod for blackout panels, placing it slightly behind the sheer so the layers don’t tangle. Space curtain rings or clips so the blackout panel hangs straight along each angle face. Finally, adjust panel length so both layers puddle together at the floor for a unified look.
Editor's noteUse the same fabric width on each bay face so the curtain fullness looks even across angles.
Skip thisDon’t mix rod heights — even a 1 inch difference shows up as a crooked line on angled panes.
13. Removable Ledge Shelf for Books and Scented Candles

A bay window can look empty fast, especially in bedrooms where the window is the main visual anchor. A removable ledge shelf gives you a place for books, a candle, and small decor that looks cozy in photos. The best renter-friendly approach is a shelf that uses strong adhesive mounting strips rated for the weight and that sits on the wall near the window, not on the window trim itself. Keep the shelf narrow and low so it doesn’t block light — think 4-6 inches deep. Style with a short stack of books and one ceramic candle holder so everything looks intentional, not scattered.
Start by checking wall finish type — use mounting strips designed for paint or textured surfaces and follow their cure time. Measure the bay wall section so the shelf lands centered to the bay. Place mounting strips, press firmly, and wait the full cure window before loading. Add a shelf that’s 4-6 inches deep, then test stability by gently pushing the front edge. Style with 2-3 items max so the shelf doesn’t look cluttered against the window.
Editor's noteUse a small tray under the candle so wax spills don’t stain the shelf.
Skip thisDon’t overload the shelf — narrow shelves sag visually and look cheap fast.
14. Bedside Canopy Look Using Freestanding Curtain Panels on a Corner Frame
If you want “cozy bedroom” energy without drilling, build a canopy vibe around the bay. A freestanding corner curtain frame lets you hang panels that create a sheltered feeling, like a reading tent. Choose lightweight fabric like airy cotton voile for the top drape, then add heavier blackout panels inside if you need light control. The photo-friendly part is the way fabric falls in vertical lines that soften the angled window. This works best when your bay is close to the bed and you want the window to feel like a cozy lounge zone.
Start by selecting a freestanding corner frame that stands stable on your floor; measure the bay footprint so it doesn’t block the window opening. Attach sheer panels to the frame hooks or rings and hang them so they overlap at the corners. Add a second set of thicker panels on the inside if you want night privacy. Use tie-backs at mid-height to shape the drape and keep the look airy, not messy. Finally, add a floor rug under the canopy so the bay feels anchored to the room.
Pick fabric with a slight weight (not super-stiff) so it drapes smoothly along the frame.
Skip gossamer fabric — it flutters and looks undone, especially near HVAC drafts.
15. Woven Basket Storage Under the Bay Seat Line
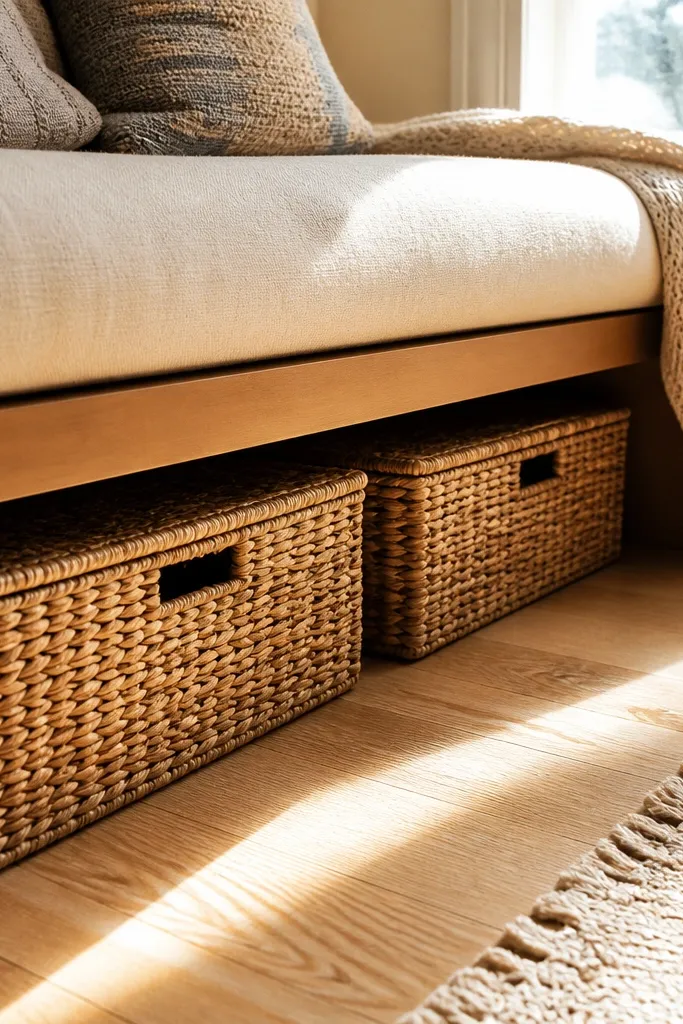
Cozy bedrooms look lived-in, but clutter kills the vibe. Under a bay seat or along the sill line, woven baskets create storage that looks warm and intentional. This is a renter-friendly Bay Window idea because it uses floor placement only — no anchors, no wall hardware. Choose baskets in natural materials like seagrass, rattan, or woven fabric bins, then keep them in a tight size set so the bay looks designed. Store extra blankets, spare pillows, or winter throws so the bay always has soft layers ready.
Start by measuring the space under the seat or along the bay perimeter so you can choose baskets that fit without gaps. Pick 2-4 baskets in matching height so the top line stays even. Place a thin rug pad underneath to prevent sliding and protect floors. Label with removable tags or keep contents color-coordinated so the bay looks tidy when you photograph it. If you want extra softness, add a folded throw on top of the front baskets.
Use basket liners or fabric inserts so dust doesn’t collect and so blankets don’t snag on rough weave.
Don’t mix basket heights wildly — the bay geometry makes uneven stacks look messy fast.
16. Folding Room Divider to Create a Cozy Bay Corner Privacy Screen
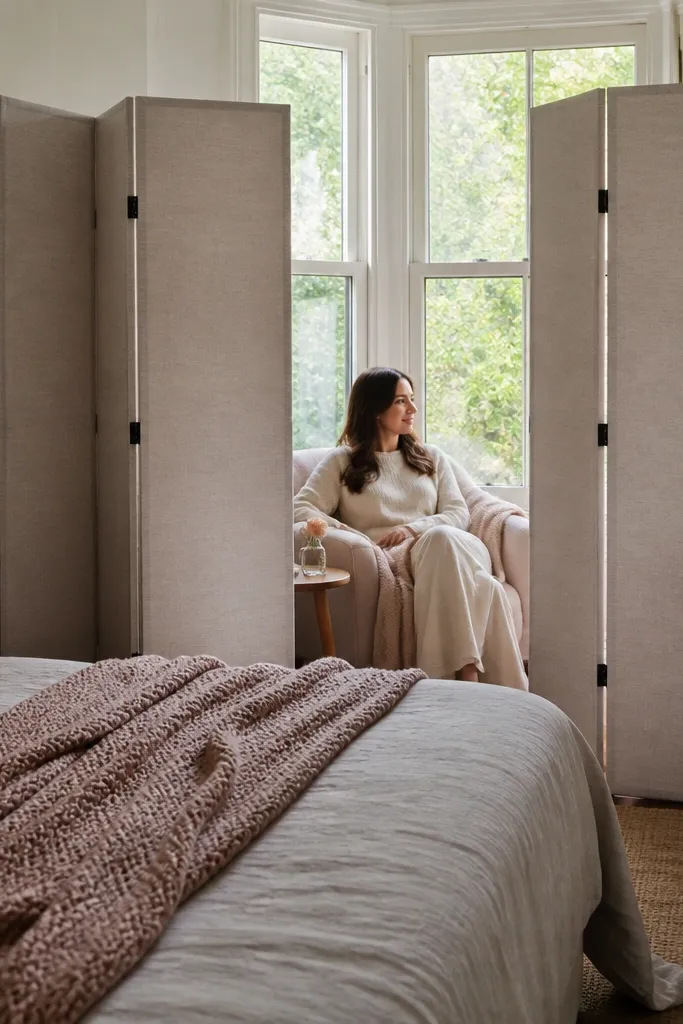
Sometimes the bay window sits in a bedroom that shares sightlines with the rest of the home. A folding room divider gives you privacy and creates a cozy corner feel without any drilling. Choose a divider with fabric panels or a washable cover so it looks soft, not office-like. Position it so it frames the bay seat area or the reading chair, then layer it with a throw and a floor lamp. This works especially well for renters who can’t install shades or who need a quick visual change for photos and daily comfort.
Start by choosing a divider height that matches your curtain height so it looks like part of the same design. Place it at the bay edge where the angle creates a natural boundary, then adjust until it blocks the most visible sightline. Add a removable fabric cover or swap in a panel cover if the divider has replaceable fabric. Top the divider with a small rod or hook and drape a scarf-like throw so it looks intentional. Finish with a rug or small ottoman near the divider to anchor the corner.
Editor's noteUse a warm 2700K bulb and point the lamp toward the wall behind the divider for soft, indirect light.
Skip thisSkip shiny panels — they reflect the bay’s daylight and make the corner feel harsh.
17. Bay Window Rug Runner With Curved Edges to Follow the Angles
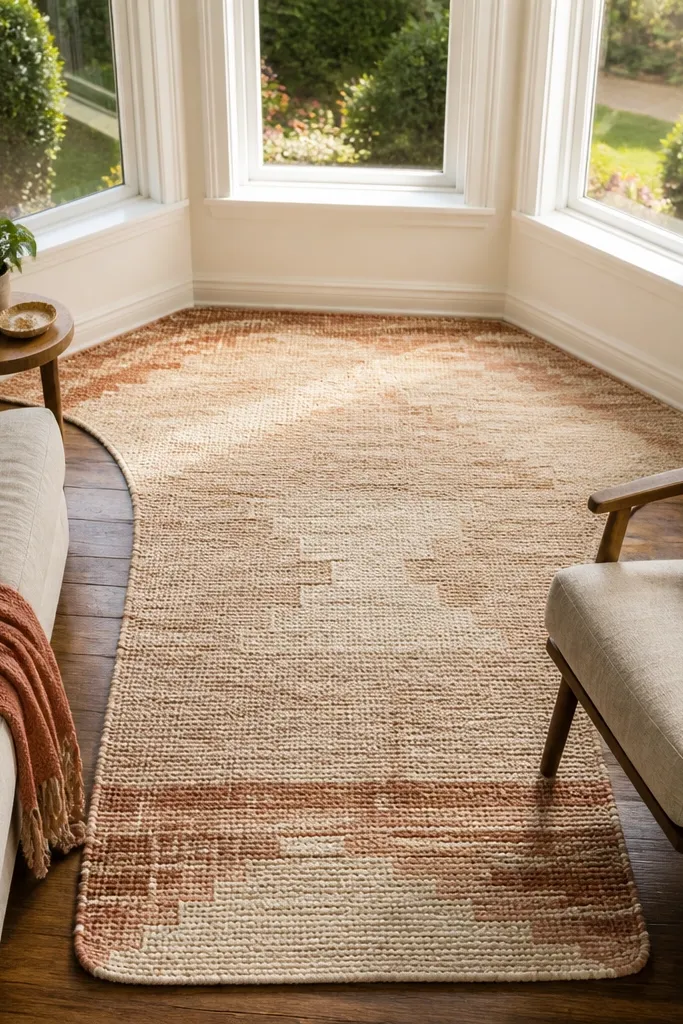
A rug is the easiest way to make a bay feel cozy because it grounds the seating and softens the floor-to-window transition. For renter-friendly Bay Window ideas, don’t fight the angles with a straight runner that creates annoying gaps. Use a runner with a pattern that looks good even when it’s cut to fit, or layer two smaller rugs to create a curved, continuous look across the bay. Warm colors like cinnamon, terracotta, and cream read cozy in bedrooms and photograph well against white trim. This also reduces cold floor feel near the window.
Start by measuring the bay area where people stand or sit, including the angled sections. Choose a rug with a pattern that won’t look broken when you trim or layer; avoid high-contrast lines that show mismatched edges. If trimming a rug, use a non-fraying method like turning edges under and binding with fabric tape, or use rug grippers instead of cutting. Alternatively, use two smaller rugs placed with a slight overlap at the corners so the pattern lines up visually. Add a thick rug pad so it doesn’t slide and so the bay feels warmer underfoot.
Use rug grippers, not tape, so you can remove everything cleanly when you move.
Don’t leave bare corners — bay angles make empty floor spaces look colder and unfinished.
18. Removable Window Draft Guard With Decorative Fabric Liner
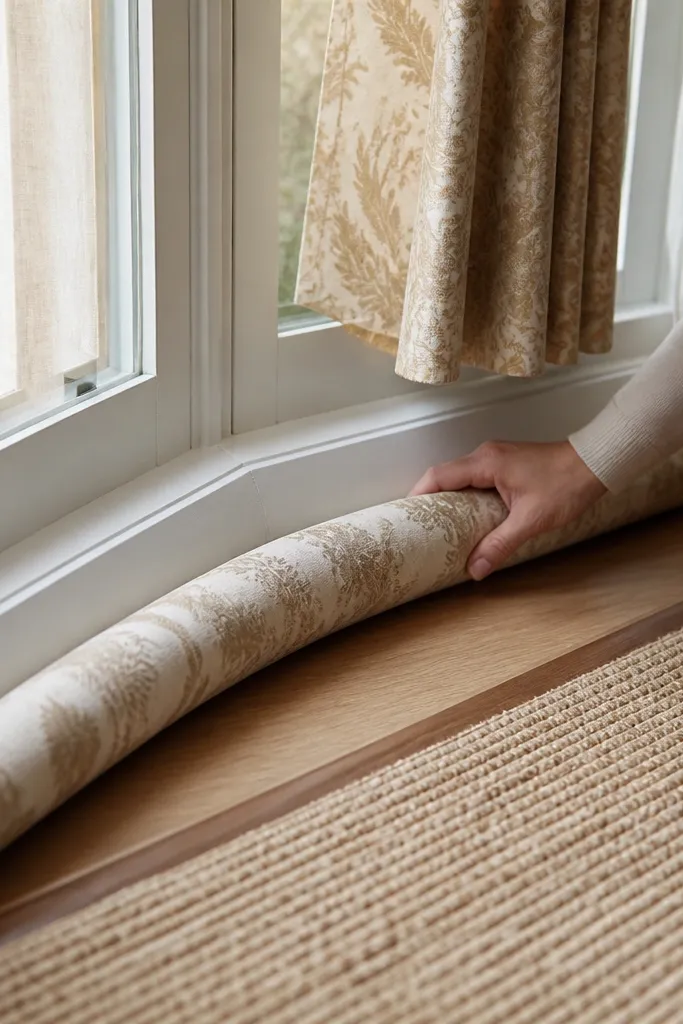
Drafts are why bay windows feel cold even when you have curtains. A removable draft guard seals the gap under or around the window and makes the whole bay feel instantly more comfortable. The trick is to keep it pretty: use a fabric liner in a warm tone so the seal doesn’t look like a plain rubber strip. This is renter-friendly Bay Window ideas that actually fixes the comfort problem, not just the styling. In bedrooms, that means better sleep because your feet and lower legs don’t feel the chill.
Start by identifying the draft path — run your hand along the sill edge and feel for air movement. Choose a removable draft guard system with a flexible adhesive or clip-on base that’s designed for renters and painted trim. Add a decorative fabric cover or sew a fabric sleeve around the guard so it matches your curtains. Apply according to the system instructions, then press firmly along the full length. Test by closing the curtains and feeling for airflow again.
Editor's noteUse a thicker cover fabric like canvas or denim so it hides the guard and blocks light gaps too.
Skip thisDon’t rely on a thin curtain-only solution — drafts come from the edges, not the fabric.
19. Bay Window Gallery Wall Using Removable Strips and One Repeat Color

If you want the bay to look styled like a boutique bedroom, add art — but do it in a renter-safe way. A small gallery wall positioned on the wall near the bay creates a focal point that balances the window and makes the corner feel designed. Use removable picture-hanging strips and keep the frames aligned at one height so the bay angles don’t make the layout look crooked. Pick prints in a single repeat color palette — warm cream backgrounds with terracotta or muted olive — so the art doesn’t fight your curtain color. The result is cozy because your eyes land on the art and not on any unfinished window hardware.
Start by selecting 3-5 frames with the same mat color and similar frame thickness. Measure the wall space next to the bay and mark a centerline at eye level (about 60 inches from floor to the center of the top row). Use removable hanging strips rated for the frame weight and attach to the back in the manufacturer’s recommended spots. Hang the frames one at a time, step back, and adjust spacing so the gaps look even. Finish by adding a small lamp or plant near the bay so the art feels connected to the cozy corner.
Use a level app or a simple spirit level so the top row stays straight — bay angles make slants obvious.
Skip mismatched frame sizes without a plan — it reads cluttered next to a large window.
20. Renter-Friendly Faux Fireplace Built Into the Bay With Removable Panels
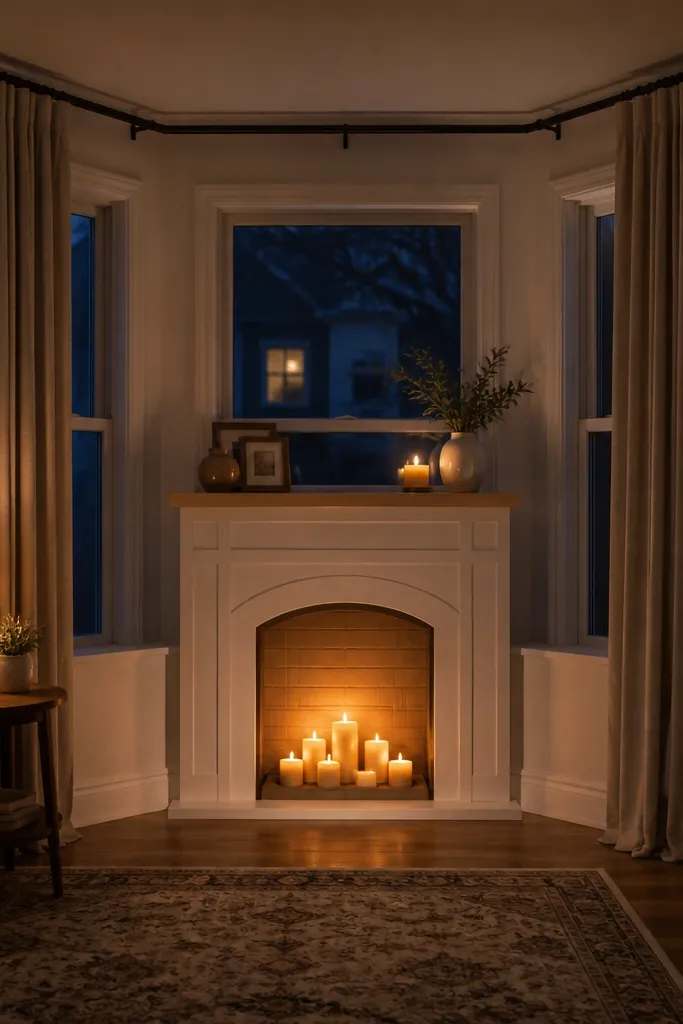
This is the fastest way to make a bay window feel like a cozy focal point instead of just “extra glass.” You build a shallow faux fireplace front that sits inside the bay footprint, then keep the whole face removable so you can leave your rental exactly as you found it. The look comes from clean trim lines, a warm faux fire insert, and a soft mantel shelf that anchors blankets, books, and candles. It works especially well in bedrooms where the bay is wide but the room still feels cold or unfinished. Skill level is beginner-friendly because you’re mainly screwing pre-cut panels to a freestanding frame, not doing any masonry or permanent wall work. Plan on a weekend — about 6 to 8 hours total for cutting, assembling, and finishing.
1) Measure the bay opening at the front edge and the two angled sides. Build a freestanding frame from 1x3 pine that matches the bay shape: one center vertical section for the “fireplace,” plus two angled side returns that follow the bay angles; keep the frame 1/2 inch narrower than the bay so it sits without forcing. Cut 1/2 inch MDF or plywood for the fireplace face panels and a 3/4 inch mantel shelf, then dry-fit everything so panel seams meet cleanly where the angles change. 2) Finish the face before you install it: sand to 150 grit, fill screw holes with wood filler, then paint with a trim paint (semi-gloss or satin) in warm white or soft cream. Add a thin “firebox” ledge inside the opening using a 1x2 so your faux insert sits level. Install the panels to the frame with wood screws from the back or inside edges so the front stays smooth; use removable corner brackets or figure-8 style wall anchors only if you need extra stability, and keep them on the frame (not the wall). 3) Add the cozy part: put a plug-in LED flame insert (or a battery option if you want zero cord visibility) into the firebox opening, then top with a mantel tray and a couple of textured items like a chunky knit throw or a ceramic vase. Seal the paint with a clear scuff-resistant topcoat if your bedroom gets lots of traffic or you’ll be styling it daily. For safety, keep the insert cords routed behind the frame and use a low-profile power strip hidden on the side.
Use 1/2 inch MDF for the fireplace face — it takes paint evenly and hides screw heads better than pine. If you want it to look extra sharp, add a 1/4 inch shadow gap around the opening using thin trim strips instead of butting panels tight.
Don’t attach trim directly to the window trim or sill — build the fireplace face as a freestanding unit so you can remove it cleanly.



