
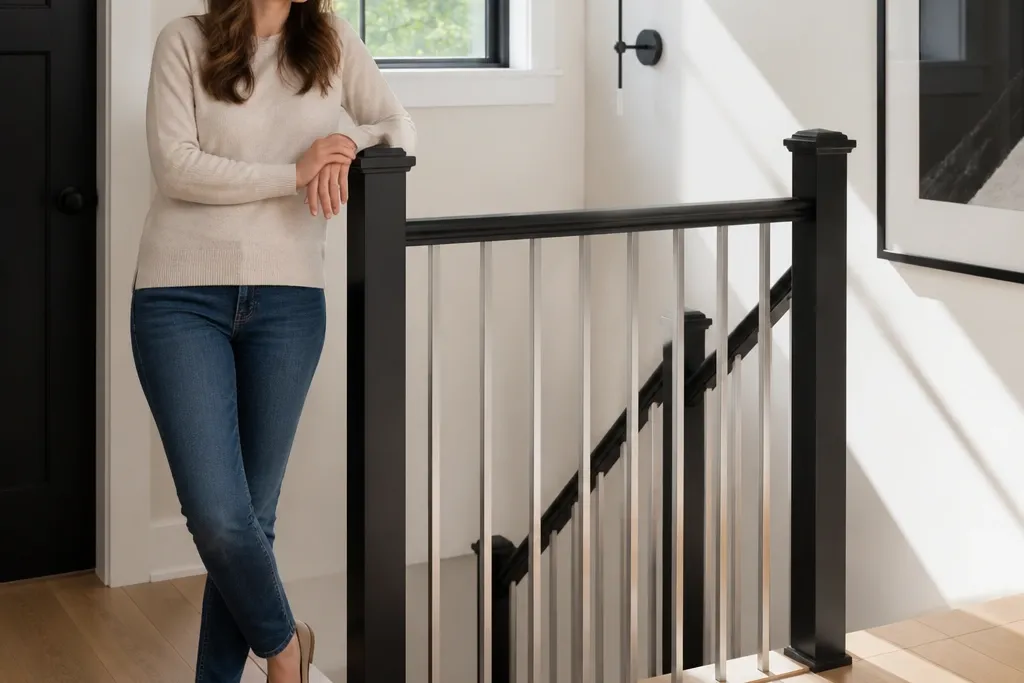
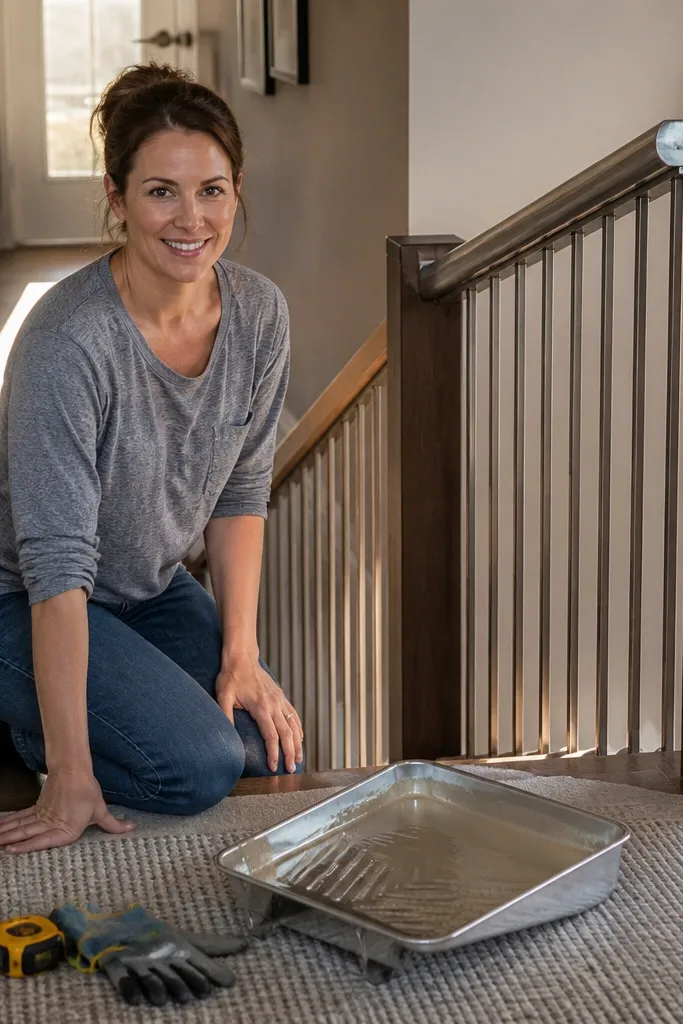
1. Powder-coated aluminum baluster kit with matching top rail
If your goal is a quick weekend stair railing update that still looks “finished,” a powder-coated aluminum kit is the cleanest path. The metal comes pre-cut and the balusters are usually uniform, so you don’t spend your Saturday wrestling with spacing. The coating holds up well to daily touch, and you can wipe it down without worrying about scuffs turning into stains. It also pairs well with existing wood newel posts if you swap only the infill and top rail.
Start by removing the old balusters and taking photos of your current post attachment points so you can line up the new kit brackets. Dry-fit the top rail first, then mark handrail height and bracket locations using a level and a measuring tape. Install brackets to the newels, then set the balusters into the pre-drilled holes or routed channels, working from one end to the other. Finally, attach the top rail and check for sway by pushing at mid-span; tighten and square before you call it done.
Editor's noteUse a scrap piece of cardboard as a “spacing gauge” between balusters so your spacing stays consistent when your hands get tired.
Skip thisDon’t paint over a factory powder coat or you’ll get chips at every scuff point.
2. Black steel picket railing with adjustable post brackets
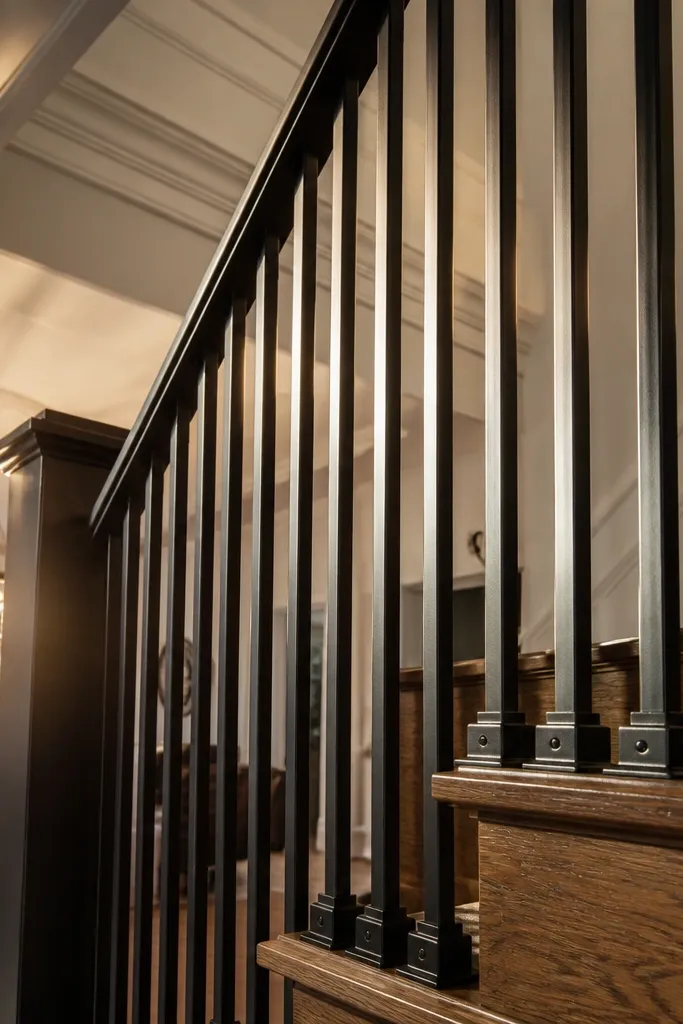
Steel pickets are the middle ground between modern and traditional. The look is crisp, but you still get the vertical rhythm that fits older trim styles. Steel also resists dents better than wood, which matters if kids drag backpacks up the stairs or shoes scrape the railing. This option is best when you want metal speed but your existing posts aren’t perfectly plumb, because adjustable brackets help you correct alignment without rebuilding the wall.
Start by confirming your post centers and measuring the rail run length between newels. Choose a kit with adjustable bracket positions, then mark bracket heights on each post using a long level. Attach brackets with the correct fasteners for your post material, then install pickets starting at one post and working across. Once everything sits flat, attach the top rail and tighten the set screws or clamps in a pattern so the rail stays straight.
Before final tightening, run a string line along the top to catch a twist while you still have wiggle room.
Don’t tighten every screw immediately — square the run first or you’ll lock in a slight bow.
3. Cable railing infill with steel posts and a wood handrail
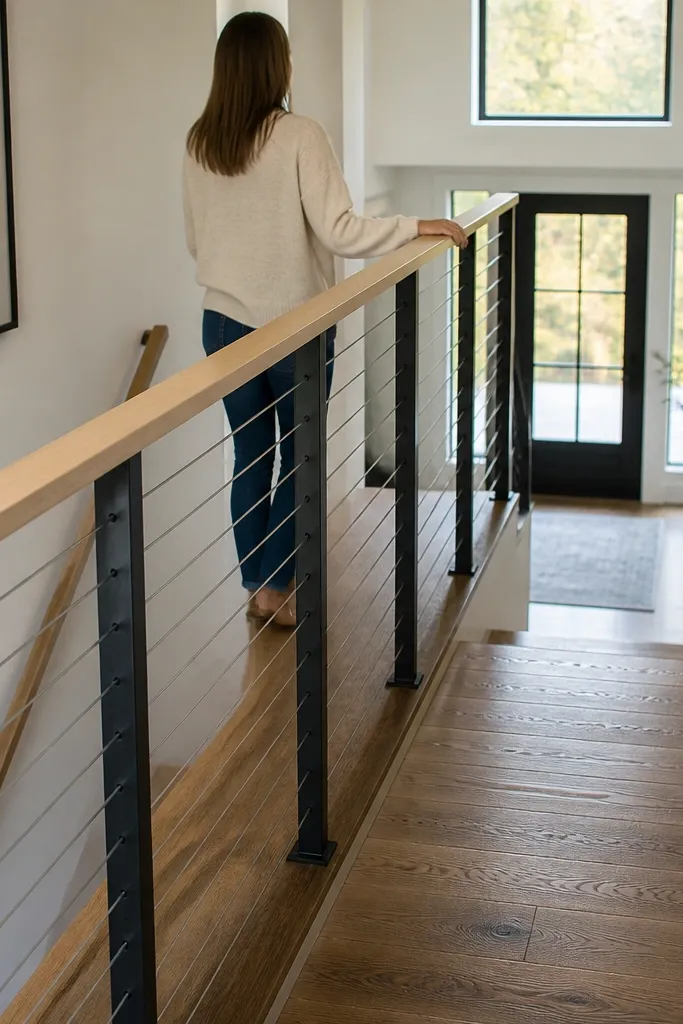
Cable infill looks sharp and keeps sightlines open, which is great in narrow hallways where a bulky baluster pattern makes the space feel tighter. You get metal strength for the infill and a wood handrail that feels warmer against your palm. This combo is also forgiving if you’re updating an area with existing framing because cables can be tensioned to hide minor measurement issues. It’s a smart pick for modern interiors that still want a human, tactile handrail.
Start by mounting steel posts to the newels or framing with the correct base plates, then confirm your top rail height before any cable work. Install cable anchors and thread the cables through with the supplied hardware, leaving slack for tensioning. Use a cable tensioning tool or turnbuckle system to pull cables taut, checking tension evenly across the run. Finish by installing the wood handrail over the posts and sealing the rail ends so moisture can’t creep into the cut surface.
Editor's noteMark cable lengths with painter’s tape on the cable and measure twice before cutting or crimping anything.
Skip thisDon’t rely on “eyeballing” cable tension — uneven tension makes the cables look wavy.
4. Stainless steel balusters with satin top rail
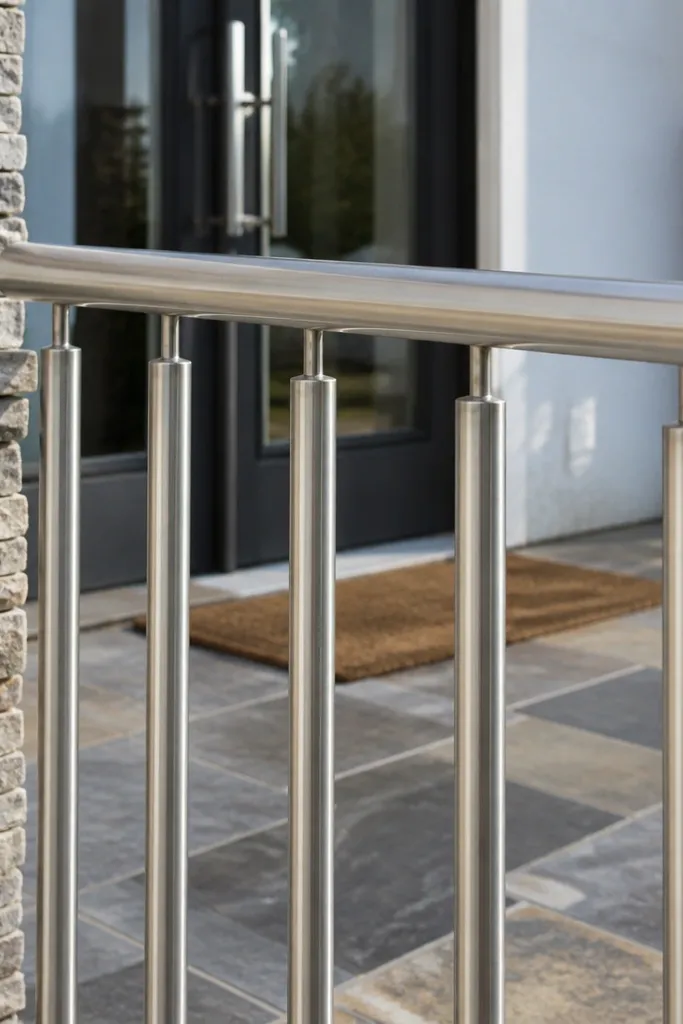
Stainless balusters are the choice when you want the railing to look clean even after years of fingerprints. Satin finishes hide smudges better than glossy metal, and stainless resists corrosion if your home has high humidity or the stairs sit near a damp entry. The style reads modern but not harsh, especially if you pair it with a simple wood or metal top rail. This works well when you want an update that stays looking “new” without frequent touch-ups.
Start by dry-fitting balusters to confirm spacing and make sure the mounting holes line up with your posts. Install baluster brackets or mounting sleeves first, then insert balusters and tighten per the kit instructions. Attach the top rail last so you can adjust alignment if you see a slight gap at one end. Finish by checking for wobble at the top rail; if there’s movement, tighten the baluster connections before you call it complete.
Use a microfiber cloth and mild soap for cleaning — harsh cleaners can dull satin over time.
Don’t use the wrong fastener type; mixing metals can cause corrosion staining at the joints.
5. Wrought-iron look steel railing with flat bar infill
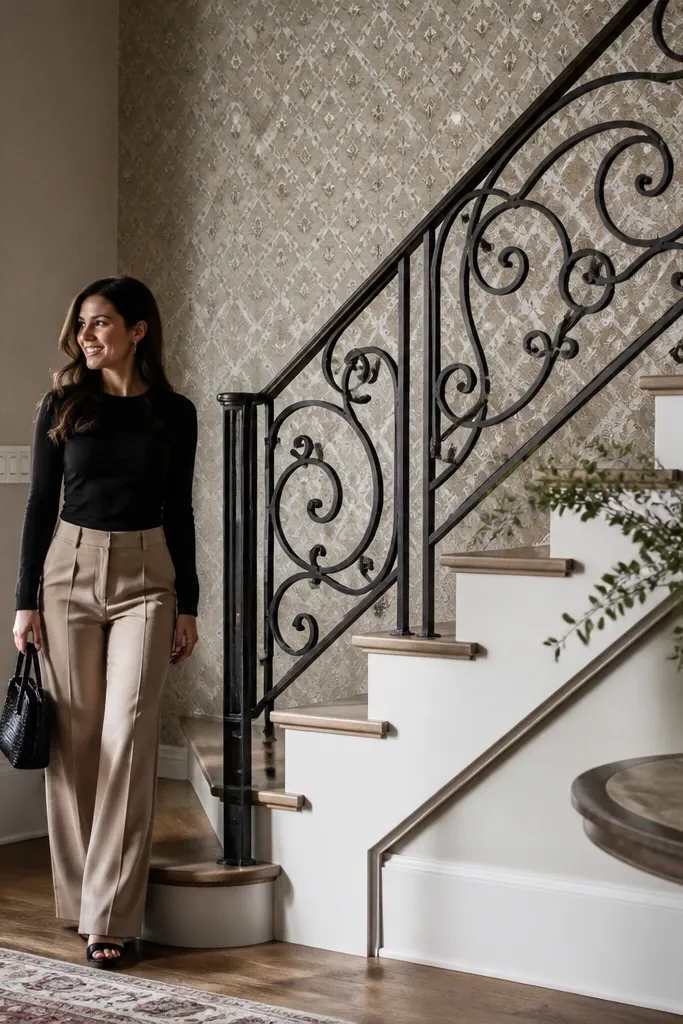
If you want the classic wrought-iron vibe but you don’t want to deal with fragile, overly delicate details, flat bar steel with a wrought-style pattern is a strong compromise. It gives you tradition without the “tiny decorative pieces” that can snag clothing or accumulate dust in hard-to-reach crevices. The steel build stays straight, and a good powder coat keeps it from rusting around fasteners. This is a great choice when your house already has dark trim, iron light fixtures, or a traditional entry.
Start by removing the old railing sections and cleaning the mounting surfaces on newels and any wall blocks. Position the iron-style assembly on the posts and mark holes through the mounting plates. Pre-drill into wood posts if required, then attach with the specified screws or anchors so the railing doesn’t twist. Install any decorative elements that attach to the flat bar after the main structure is square, then test the top rail for side-to-side movement.
Editor's noteUse painter’s tape to label left and right sections so you don’t swap the scroll directions mid-install.
Skip thisDon’t skip rust-inhibiting primer on any bare metal spots created during installation.
6. Solid wood top rail with painted balusters
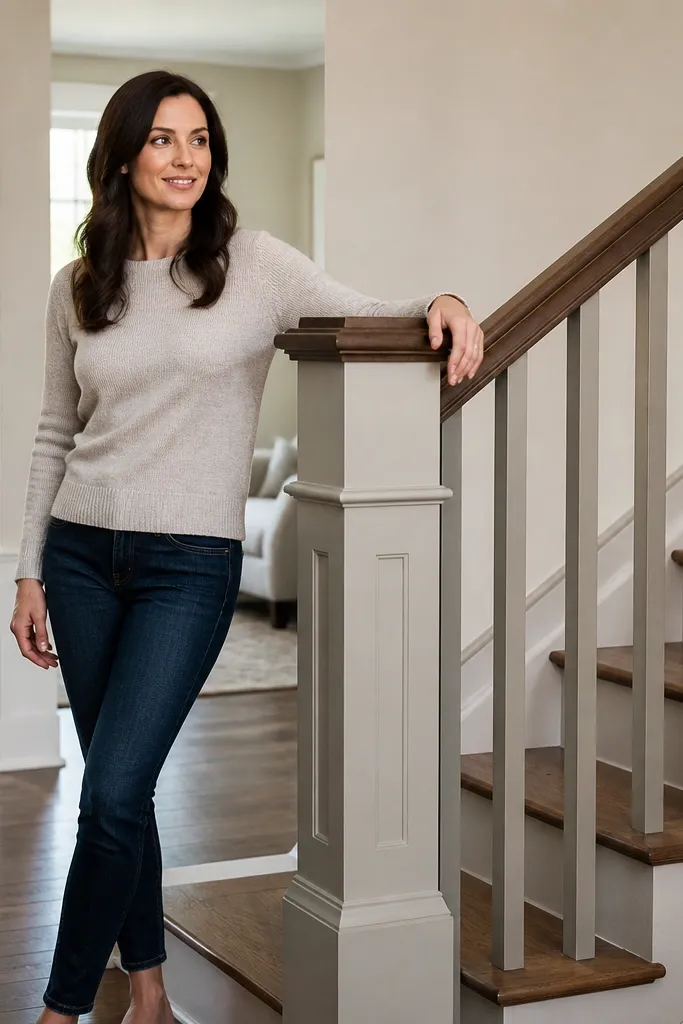
This is the update that makes stairs feel “finished” fast without turning the whole system into metal. A solid wood top rail gives you that comfortable hand feel and hides minor alignment issues better than all-metal systems. Painting the balusters lets you match trim or walls closely, and the contrast looks intentional instead of patched-in. Choose this when you want a cozy look and you’re okay doing a little sanding and paint prep.
Start by selecting the top rail profile size that matches your current handrail diameter or covers it cleanly over the old rail. Sand the rail lightly, then apply primer to any raw spots and paint or stain as planned. Install new balusters using the existing post holes if they line up, or add bracket plates to keep everything plumb. Finally, seal the hand-contact surfaces with a durable clear finish so sweat and hand oils don’t dull the wood.
Seal the underside of the top rail too; it’s the first place moisture shows up after spills.
Don’t paint balusters before you confirm spacing and plumb — paint hides crooked lines until it’s too late.
7. Pre-finished wood handrail with routed finger grooves
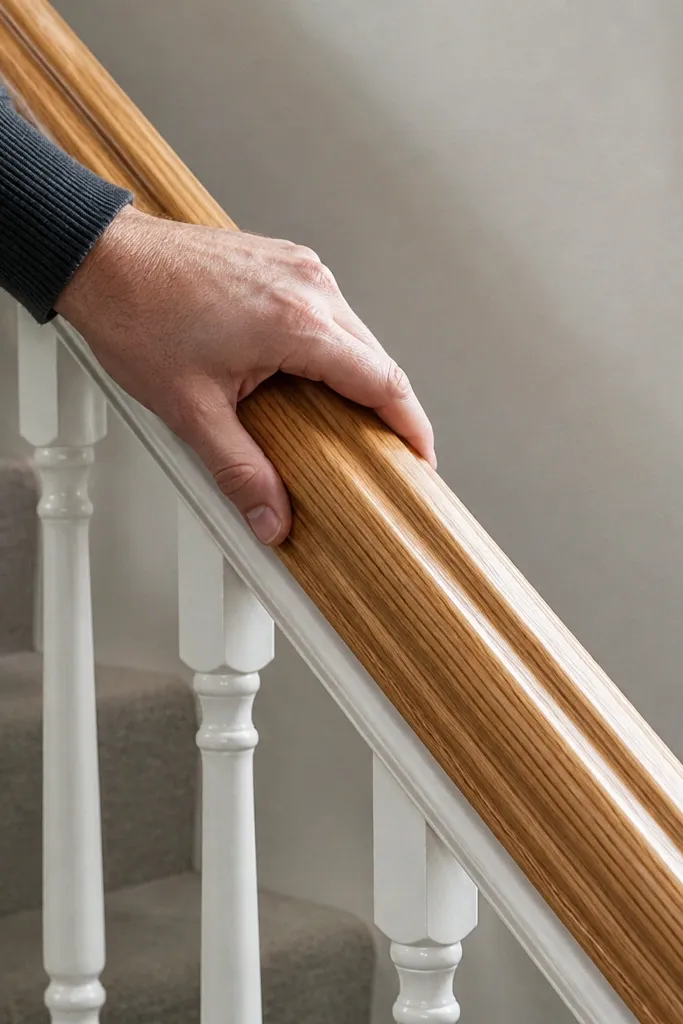
If the real problem is the handrail itself — too slick, too square, or worn down — swapping just the top rail can be the highest payoff. A pre-finished wood handrail with a comfortable profile makes the stairs feel safer and more “grippy” even if your balusters stay the same. Routed finger grooves also help kids and adults keep their hand in a consistent spot. This works best when your existing balusters are solid and you only want to refresh the part you touch every day.
Start by measuring the handrail length and the rail mounting method on your newels (screw-on brackets, routed channels, or end blocks). Remove the old rail and test-fit the new pre-finished rail to confirm it seats flush without rocking. Install using the provided brackets or end connectors, then check height with a level and adjust before tightening. Add touch-up finish only on cut ends or drilled holes so the rest stays factory-tough.
Use a foam sanding block on any tiny gaps — don’t force the rail or you’ll stress the brackets.
Don’t drill through pre-finished surfaces without sealing the exposed wood; you’ll get dark moisture lines.
8. Wood balusters with a modern square profile and matching newel caps
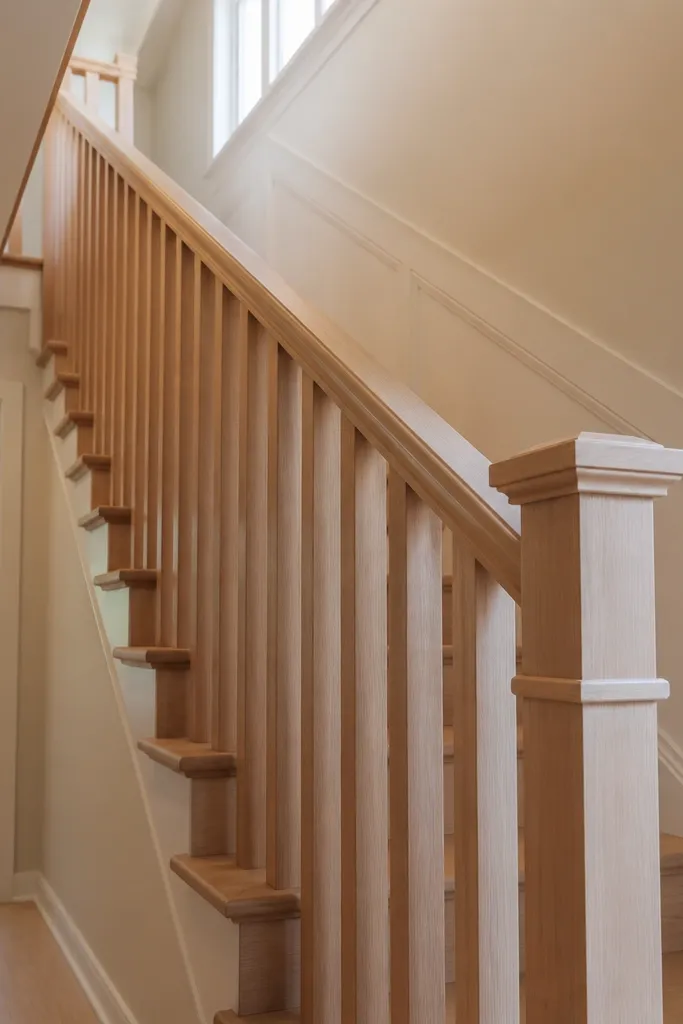
Modern square-profile wood balusters give you cleaner lines than the classic turned spindles, and they still keep the warmth of wood. Matching newel caps makes the whole update look intentional instead of “baluster swap only.” This is a strong choice if your stairs have a craftsman or transitional vibe and you want the railing to look updated without going full metal. Expect a bit more measuring and routing, but the payoff is a cohesive look that fits most interiors.
Start by choosing balusters sized for your spacing plan and confirm your top and bottom attachment points. Remove one old baluster at a time so you can measure the hole depth and keep your pattern consistent. Install newels or caps first if you’re changing them, then set balusters with glue and screws or dowels depending on your system. Sand the tops to match the handrail curve or cap height, then apply a single finish plan across rail, balusters, and caps so sheen looks uniform.
Dry-fit every third baluster before you glue anything; it’s the fastest way to catch a spacing drift.
Don’t leave ends unfinished — seal cut ends immediately or they will soak finish unevenly.
9. Painted wood spindle railing with a durable hardwax top coat
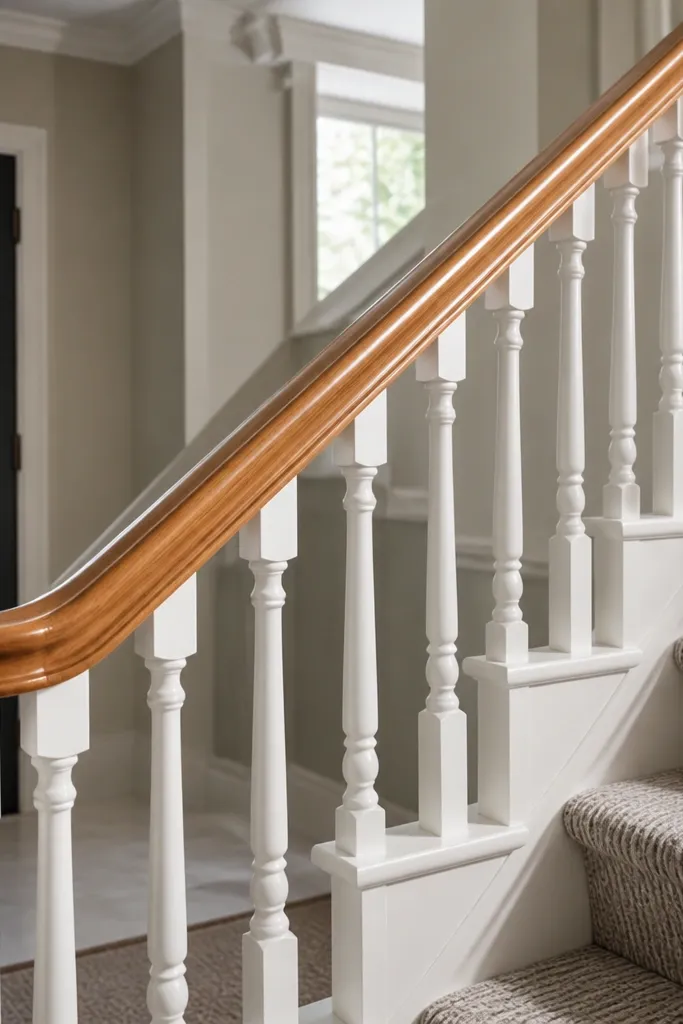
This looks bright and clean while still giving you a wood handrail that feels nice in winter. Painting the balusters makes them easy to match to trim and walls, and hardwax on the handrail resists everyday scuffs better than many clear coats. The combo works well in entryways that need lightening up, especially if your existing rail looks worn. It’s also a good “weekend update” when you only need to refinish a section and swap a few components.
Start by sanding the handrail smooth and removing loose finish. Apply primer to balusters and paint with a finish-rated trim paint, letting it cure before you handle them. Seal the handrail with hardwax oil using thin coats and a clean cloth, then buff after each coat per the product instructions. Reinstall balusters and confirm top rail height, then do a final wax touch-up on any scuffed edges.
Let painted balusters cure a full day before you attach them; fingerprints and smudges show up fast.
Don’t use a glossy clear coat on the handrail if you want grip — it shows every fingerprint.
10. Composite (wood-look) railing with aluminum internal brackets
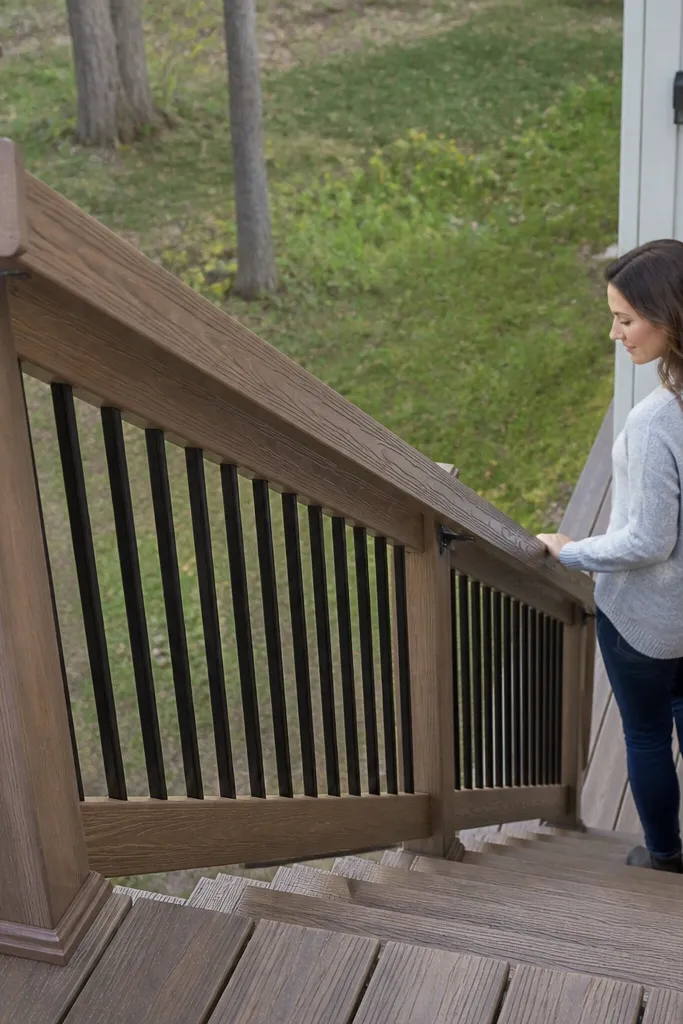
Composite railing is the “skip the wood movement” option when you want the warmth of wood but hate seasonal warping or finish flaking. The material usually stays straighter and handles humidity better, which is helpful if your stairs sit near a door, basement entry, or bathroom hallway. The look is wood-like without the same sanding and staining workflow. If you’re doing a weekend update and want less rework, composite sections with internal aluminum brackets are a practical pick.
Start by selecting composite railing sections sized for your run and check that the kit includes the correct bracket system for your posts. Remove the existing top rail and any balusters you’re replacing, then install internal brackets to the posts first. Attach composite sections and confirm alignment before you fasten fully, because composite can shift slightly during initial placement. Finish by sealing any exposed cut edges if your kit calls for it, then clean the surface with a non-abrasive cleaner so it doesn’t haze.
Use a fine-tooth blade and keep cuts clean; rough edges look worse on composite than on real wood.
Don’t fasten too tightly at first — composite needs room to sit flat without stress.
11. Wood handrail with a metal backing plate for extra stiffness
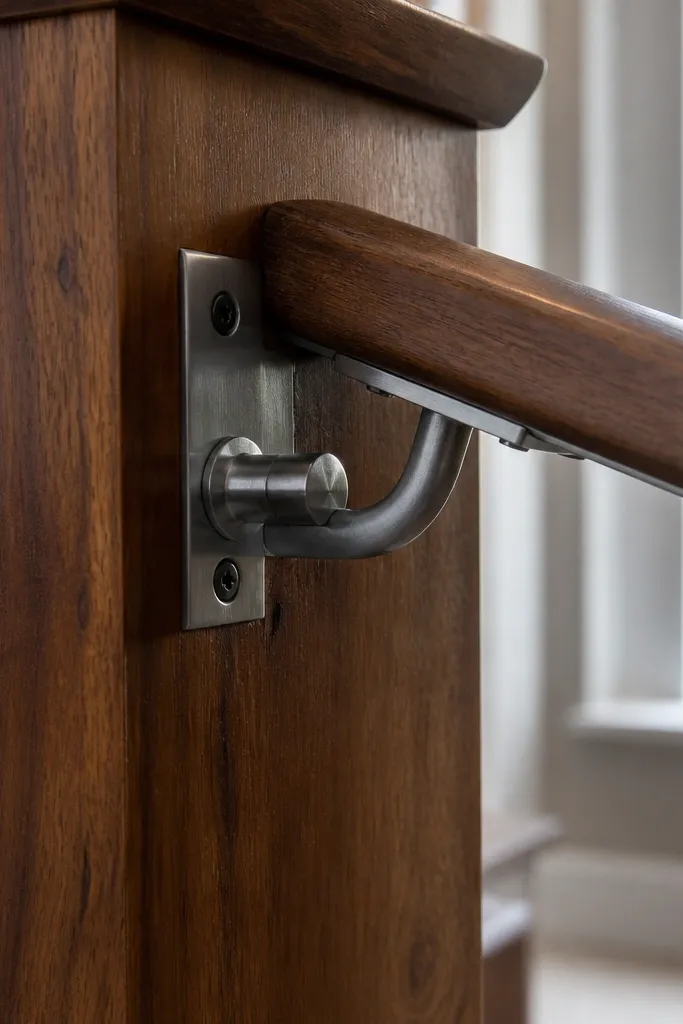
If your current railing feels loose or wobbly, this is the fix that actually addresses the cause. A wood handrail stays warm and comfortable, but adding a metal backing plate behind brackets makes the connection rigid. You get the best of both: wood look, metal strength where it matters, and fewer “creak” noises when people lean on the rail. This is ideal for older homes where posts are slightly out of alignment or where screw points have seen years of use.
Start by inspecting the posts and finding where the old handrail connection fails — loose screws, stripped holes, or flexing brackets. Attach metal backing plates to the posts using appropriate screws or anchors, then mount the handrail brackets onto those plates. Dry-fit the rail, check height and level, then secure the rail with the correct fasteners. Sand and seal the handrail after installation on any scuffed areas from mounting, then test by applying pressure at the mid-run and at the ends.
Replace stripped screws with the next size up only if the wood grain is solid; otherwise use inserts or anchors.
Don’t rely on longer screws alone — if the bracket geometry is wrong, the rail will keep moving.
12. Stair railing remodel using stair-mount posts instead of wall anchors
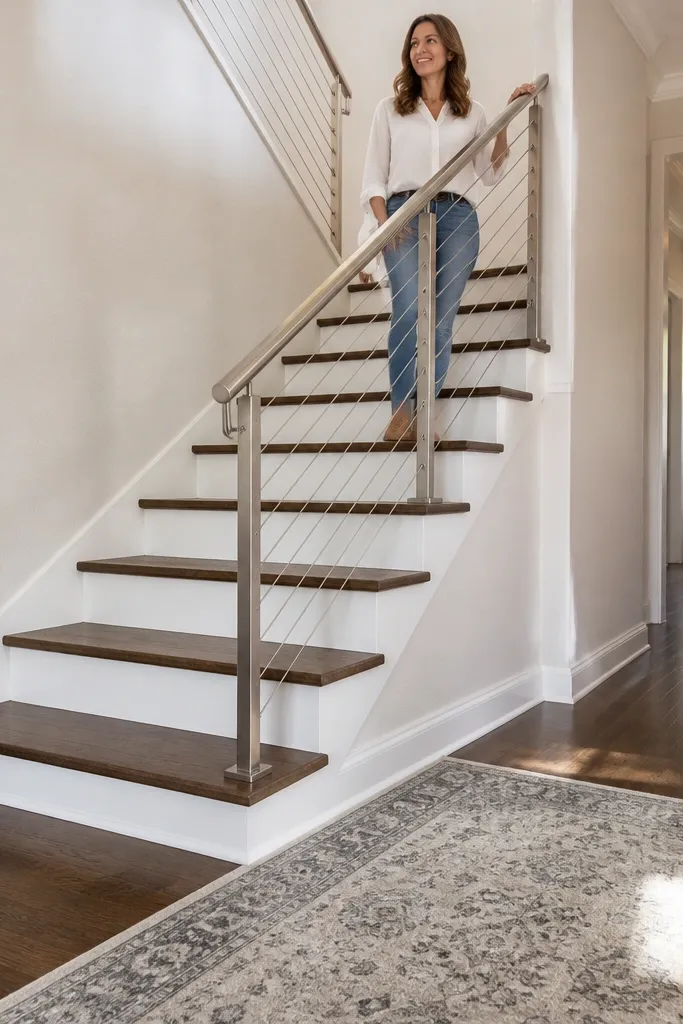
When your staircase has walls that aren’t sturdy enough for railing anchors, stair-mount posts save you from patching drywall and guessing at stud locations. This option is especially useful for metal railings where bracket loads are concentrated. By mounting at the stair structure, you get a solid feel and cleaner lines because the railing doesn’t “float” off the wall. Choose this when you want a true upgrade, not a cosmetic patch, and you’re comfortable drilling into structural framing.
Start by locating stair stringers or structural members where posts can be mounted. Mark post positions with a level and measure from stringer edges so spacing stays consistent along the run. Install stair-mount posts with the correct mounting hardware, then attach the top rail and infill sections to those posts. Finish by checking plumb and handrail height, and then tighten everything after the full assembly is square.
Paint or seal any exposed metal cuts or drilled holes immediately to prevent corrosion spots.
Don’t mount railing only to drywall — it will feel loose within weeks.
13. Traditional turned-wood balusters with newel-to-handrail trim caps
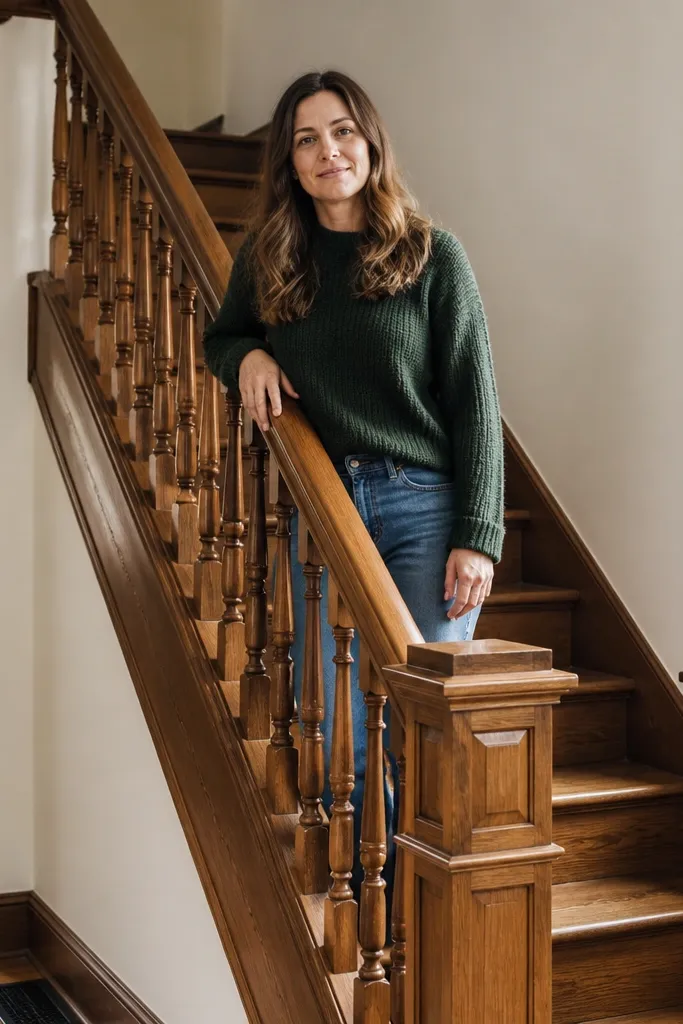
Turned balusters look right in older homes, but the part that makes them look expensive is the trim cap at the newel and where the handrail meets the posts. Adding trim caps hides small gaps and makes the railing read as one unit instead of a collection of parts. Wood also lets you match existing molding profiles closely. This is a solid weekend update if your existing posts are in good shape and you’re swapping balusters plus the handrail connection pieces.
Start by measuring baluster diameter and hole size at the handrail and newel ends. Remove old balusters and test-fit new ones without glue so you can check depth and spacing. Install balusters with dowels or glue per the kit’s method, then add newel caps and handrail end trim to cover seams. Sand any transition spots, then finish the whole assembly with stain or paint matched to your current trim.
Editor's noteUse a small foam brush to apply finish to the inside of drilled holes so moisture doesn’t creep behind the balusters.
Skip thisDon’t glue balusters fully until you confirm the run is straight; glue makes corrections harder.
14. Metal top rail upgrade over existing wood balusters
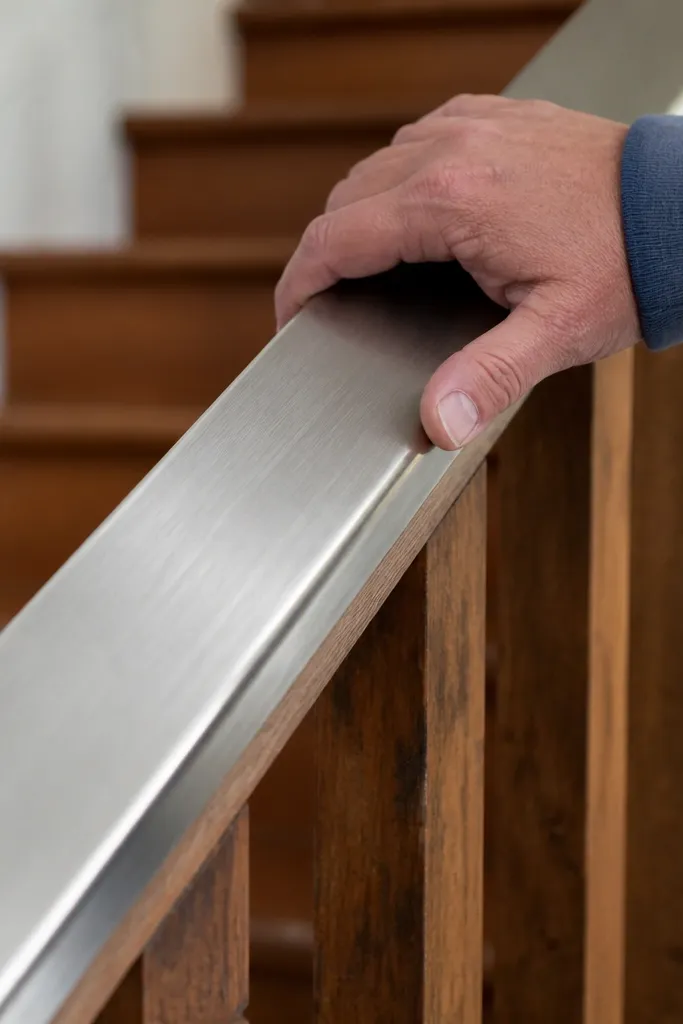
If your wood balusters are fine but the handrail is worn smooth or feels slippery, upgrading only the top rail is a smart quick weekend stair railing update. A metal top rail gives better durability for the part people grip most, and it can modernize the look without touching every vertical piece. This approach also reduces how many fasteners and holes you have to deal with, which saves time and mess. It’s best when your existing balusters are stable and straight and your posts can accept the new rail mounting method.
Start by checking the post mounting pattern for the current handrail. Choose a metal top rail system that uses the same bracket spacing or has adjustable mounting plates. Remove the old top rail carefully, then attach the metal brackets to posts and verify height with a level. Install the metal top rail to brackets, then add end caps or trim pieces to hide gaps and protect exposed edges.
Put painter’s tape on the posts where brackets land; it prevents scratches and makes alignment marks easier to see.
Don’t leave the underside of the metal rail unsealed if it exposes wood underneath to moisture.
15. Wood railing refresh with newel wraps and matching handrail profile
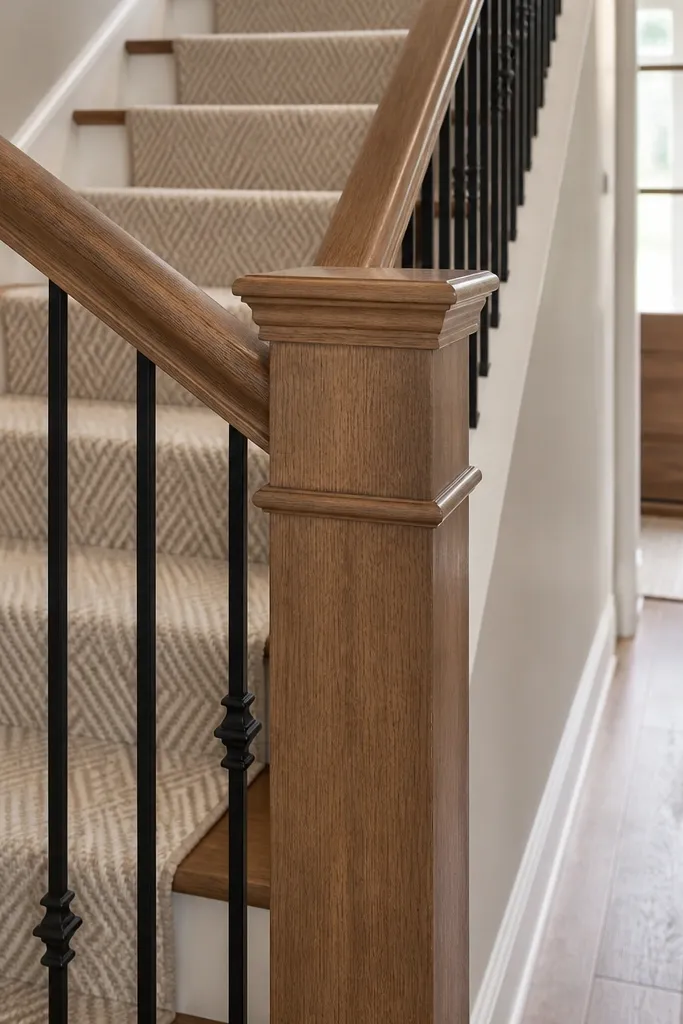
Sometimes the railing looks dated because the newels look worn, not because the entire system is wrong. Newel wraps and a matching handrail profile can make the whole staircase look refreshed without replacing every baluster. Wood wraps hide chips and old screw holes and help you create clean transitions where the handrail meets the post. This is best for railings that are structurally fine but visually tired — scuffed paint, rounded-over edges, or uneven stain.
Start by sanding or stripping only the damaged newel surfaces so the wrap material sits flat. Cut wraps to fit around the newel, then dry-fit to confirm tight seams at corners. Install wraps with construction adhesive and screws where hidden, then sand flush and match the handrail profile height. Finish with stain or paint, then reinstall or adjust the handrail so it meets the wraps cleanly with no rocking.
Use wood filler on seams after installation, then sand to match the surrounding grain direction.
Don’t wrap over loose old trim — you’ll lock in gaps and the seam will show after finishing.



