
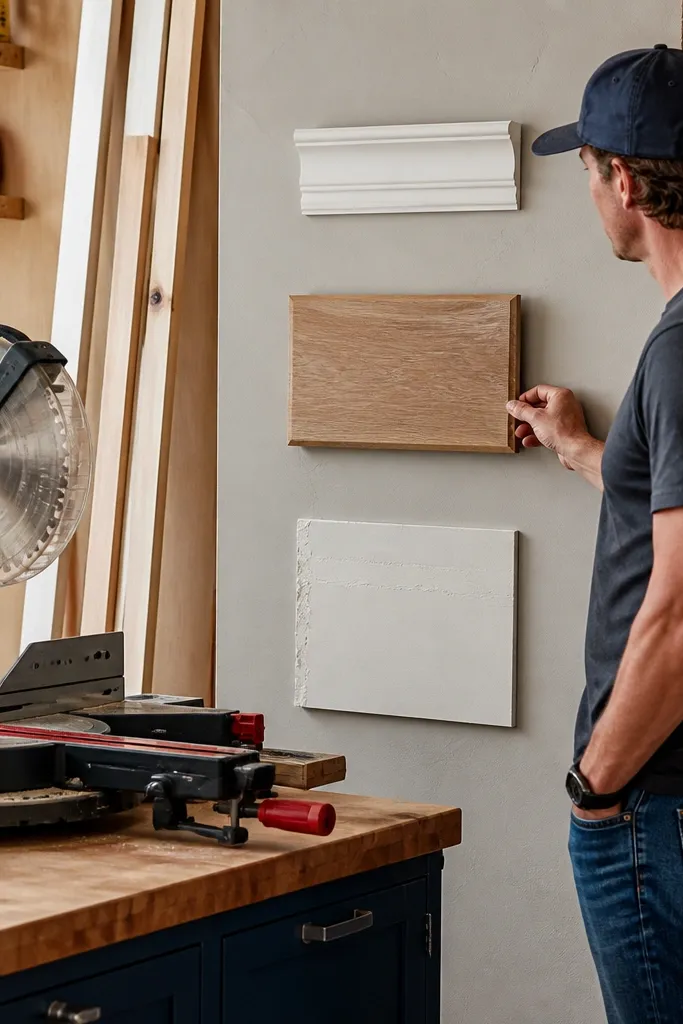
1. Chair rail + vertical panel strips (clean, fast, paint-ready)
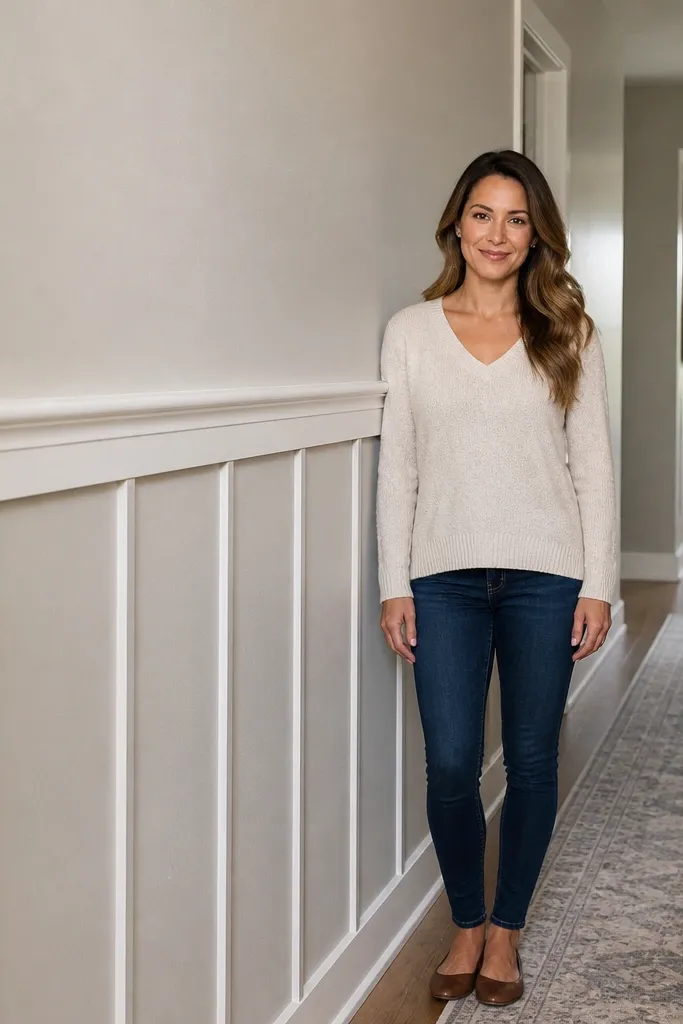
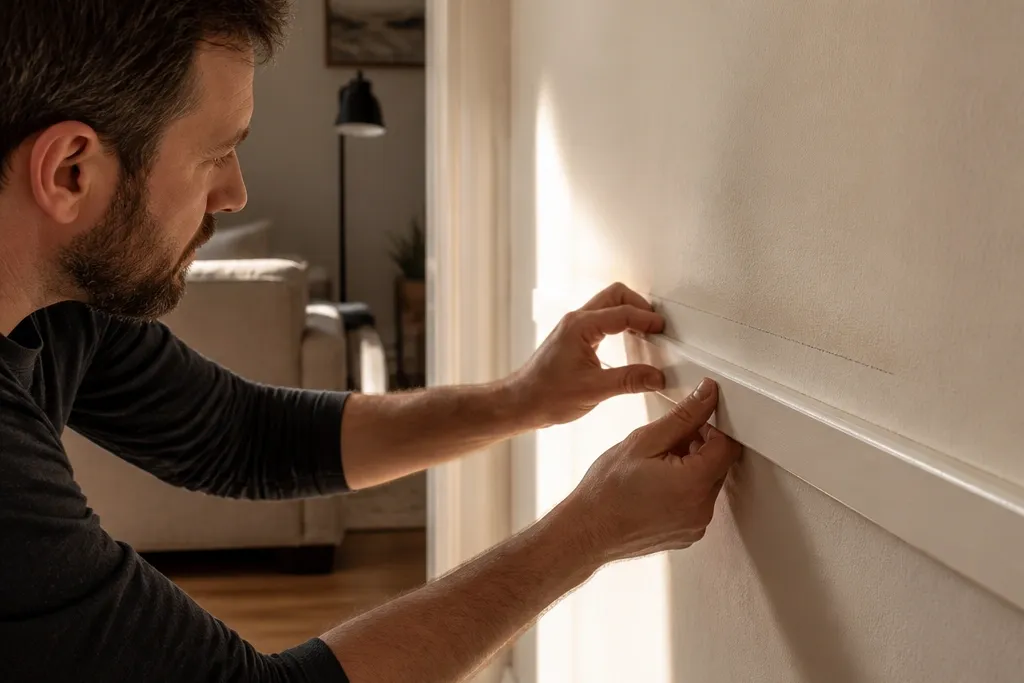
Start by finding your datum: measure up from the floor and mark the chair rail height with a level line around the room. Cut the rail pieces to length, dry-fit, then attach with a brad nailer into studs where possible and use construction adhesive on the back where studs are missed. Add vertical strips by measuring between the rail and the floor/base line you want, then keep every strip centered under the rail. Caulk the seams, fill nail holes, prime, then paint with a smooth finish roller for consistent texture.
This is the quickest way to get the “room built-in” look without asking your wall to be perfectly flat. You install a horizontal chair rail at a chosen height, then add narrow vertical strips that break the wall into easy rectangles. The moulding profile creates a shadow line that reads crisp even if there are tiny dips behind the trim. It’s a great fit for hallways, dining rooms, and any space where you want structure but can’t spend days sanding.
Skip thisDon’t install the chair rail first and “correct” later with thicker caulk — it makes the line look wavy when the light hits.
Editor's noteUse 18-gauge brads and a small bead of caulk along the moulding edge — it hides hairline gaps without smearing the profile.
2. Picture rail with simple corner blocks (small effort, big polish)
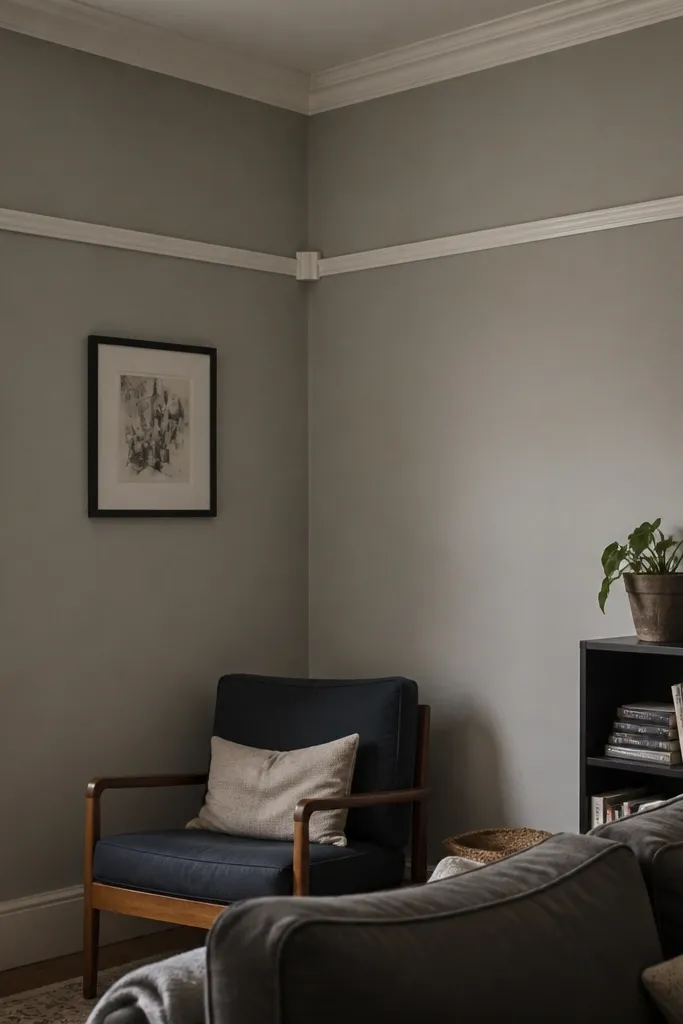
Mark your picture rail line using a long level, then locate studs so your nailer has something solid to bite into. Cut the rail ends cleanly with a miter saw, dry-fit corners, and adjust until the joints close with no visible daylight. Nail along the rail and add adhesive where the wall is slightly hollow. Install corner blocks last, then caulk the joint lines, fill fastener holes, prime, and paint.
A picture rail is the fastest moulding layout because it’s one continuous line with predictable cuts. Add corner blocks or small corner rosettes and you get a finished look that feels intentional, not like you ran trim up randomly. Because the design is mostly one plane, it hides minor wall texture well, and it doesn’t require perfect panel alignment. This works in living rooms, bedrooms, and rentals where you want impact without committing to full panelling.
Skip thisSkip the stud check and you’ll end up relying on nails in drywall only — the rail loosens and the caulk cracks.
Editor's noteDry-fit the corner joints and mark them with painter’s tape so you don’t flip a piece and end up with a mirrored profile.
3. Oversized panel rectangles using moulding strips (budget panelling effect)

Pick a grid that matches your wall proportions: measure the wall width and aim for equal panel sizes, leaving a consistent border gap at edges. Snap two reference lines — one for the top of the first row and one for the left side of the first column. Cut and install the outer border first, then frame each rectangle one at a time, checking each corner with a small square. Caulk seams, fill holes, and paint the whole wall in one consistent sheen to keep the rectangles sharp.
If you like the look of panelling but want the speed of moulding, make the “panels” out of trim strips instead of full boards. You build rectangles with horizontal and vertical moulding, then leave the field as paint. This gives you the same geometry people associate with panelling, but installation is lighter because you’re not fighting full sheet alignment. It’s ideal for feature walls where you want definition without the cost and weight of traditional panelling boards.
Skip thisDon’t start with the smallest rectangle — start with the largest section so your layout can “forgive” the edges.
Editor's noteUse a “panel spacing” spacer (a scrap strip) so every gap stays the same thickness across the wall.
4. MDF shiplap-style panelling with a straight starter strip (texture with control)
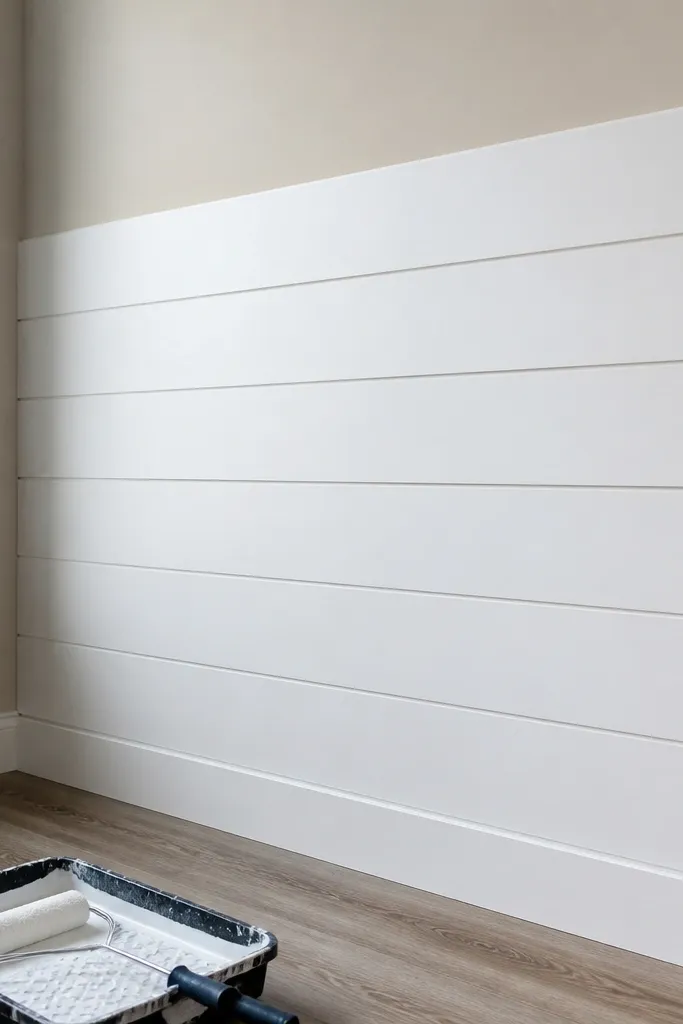
Shiplap-style panelling gives you texture and a farmhouse feel, but the speed comes from installing it like a system. The key is a straight starter strip so every plank lines up, even when the wall has slight variations. MDF planks are stable and paint well, so you get a uniform finish without the grain differences you see in natural wood. This is best for living rooms, entryways, and hall walls where you want texture that reads from across the room.
Find the wall’s high point and set a level starter strip at that height, then fasten it into studs or add wall battens. Install the first plank tight to the starter, then screw or nail each plank through the overlap area so fasteners hide. Work row by row, checking the line with a level every few planks instead of trusting your first placement. Fill nail holes, caulk the seams lightly, prime, and paint with a roller to avoid patchy texture.
Caulk only the seam edges, not the full face — it keeps the profile definition while still covering tiny gaps.
Don’t rely on the wall’s existing baseboard line — it’s rarely level enough for shiplap.
5. Framed panelling on battens (strong look when walls are wavy)
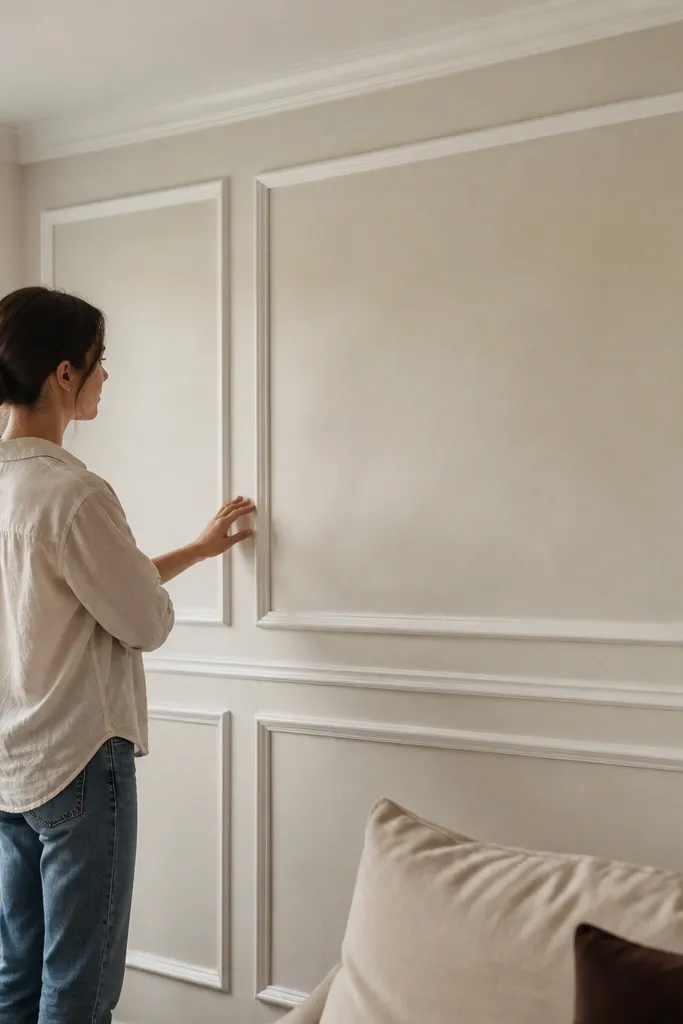
Start by mapping studs and marking a level reference line across the room. Install battens vertically (or horizontally, depending on your frame layout) with shims behind them until they form a straight plane. Build the outer frame first, then add the internal grid using cut MDF strips, fastening into the battens so everything is solid. Fill seams, caulk where needed for sharp lines, prime all surfaces, and paint with a finish roller.
This is the best panelling method when your walls aren’t flat but you still want that crisp framed look. Battens let you correct the wall plane so the frames sit straight, and the result looks intentional instead of “trim stuck on.” It’s heavier and a bit more work than moulding, but it’s the difference between a clean geometric wall and one that looks crooked once paint dries. Choose this if you’re doing a feature wall and you want it to look like proper built-in millwork.
Skip thisDon’t skip shimming — if battens follow the wave, the frame shadow lines will reveal it.
Editor's noteUse a long straightedge to check the batten plane at eye level, not just at the floor — that’s where wavy walls show up most.
6. Drywall-smoothing panelling overlays (fastest panelling route)
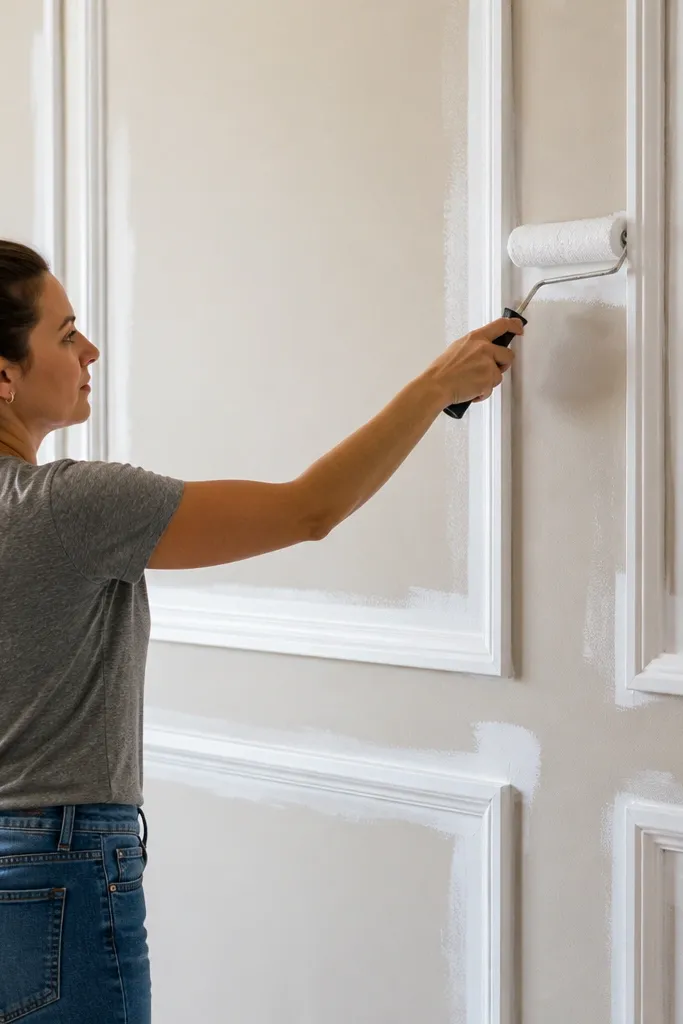
Clean the wall thoroughly and let it dry completely so adhesive grabs. Mark your layout grid with a pencil line and use a consistent spacing guide at edges. Apply adhesive to the back of each overlay piece, press firmly, and fasten with small brads or screws where recommended by the system. Caulk the border seams, fill fastener marks, prime, then paint.
Overlay-style panelling is the speed option when you don’t want to build frames or handle planks. You stick or screw panels/trim pieces to the wall, then fill and paint. It looks like panelling because it creates borders and fields, but it doesn’t require full wall flatness the way board panelling does. This works in small bathrooms, rental living rooms, and any space where you want the look with minimal demolition.
Skip thisDon’t apply adhesive over dust or glossy paint — the panels lift at corners first.
Editor's noteDo a dry layout with painters tape first — overlays look straight until you see the edges in real light.
7. Full-height vertical panelling strips (dramatic, still doable)
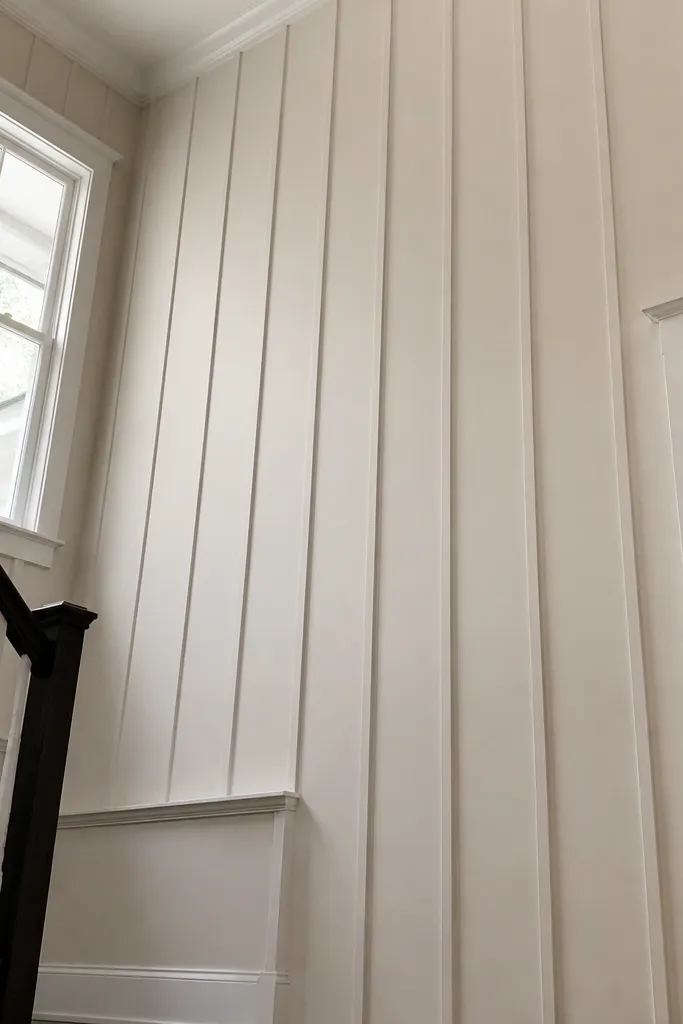
If you want the wall to feel taller and more structured, full-height vertical strips deliver that effect fast. The look reads as panelling, but you’re installing slimmer elements, so it’s less heavy than sheet panelling. This also hides small wall irregularities better than framed rectangles because each strip has some forgiveness at its edges. It’s ideal for narrow rooms, stair halls, and entryways where vertical lines make the space feel more upright.
Decide your strip spacing and measure the wall width at three points. Snap vertical reference lines for the first strip and the last strip, then fill in the middle using the same spacing each time. Attach strips into studs with brads or screws; if stud coverage is spotty, add horizontal battens behind where needed. Caulk all strip edges, fill holes, prime, and paint with a smooth roller to prevent streaks between strips.
Use a laser level if you have one — vertical strips look wrong when they drift by even a few millimeters over height.
Don’t eyeball spacing — measure from reference lines so the final strip at the edge doesn’t get too narrow.
8. Moulding "panel" boxes with contrasting paint (instant depth)
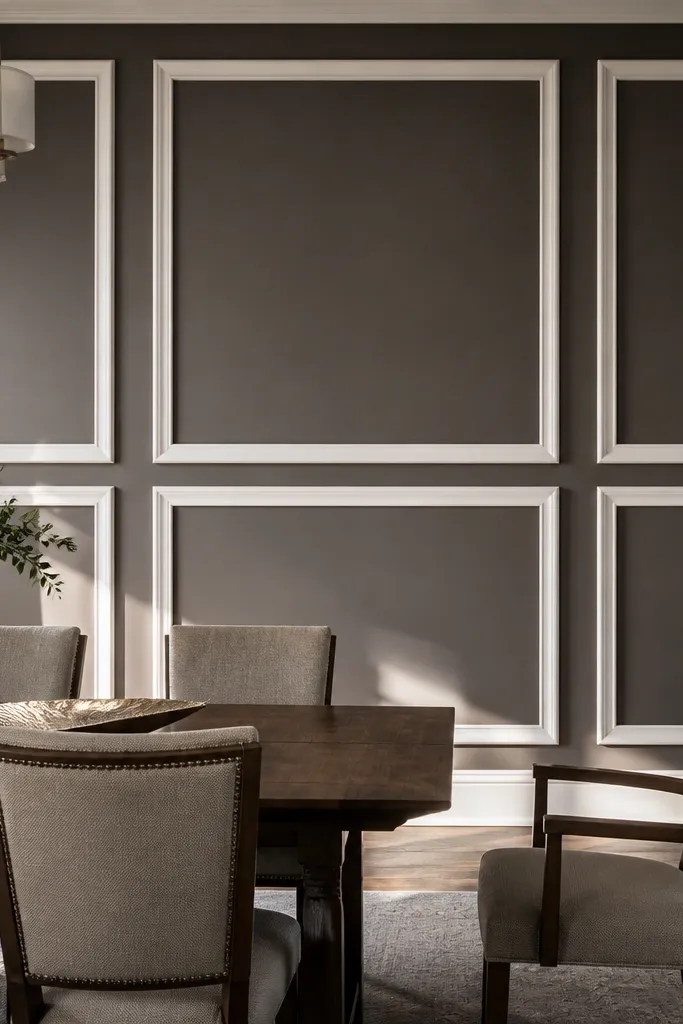
Paint the wall field colour first and let it fully cure so you don’t get bleed into the trim later. Install the moulding boxes on top, starting with the outer border and working inward so the geometry stays aligned. Use painter’s tape to protect the field while you caulk and fill, then remove tape while the caulk is slightly wet for clean edges. Prime the trim, paint in two coats, and keep the sheen consistent across the wall to avoid a patchy look.
This is the quickest way to make moulding look like expensive panelling: paint the fields a darker colour and keep the trim bright white (or vice versa). The moulding boxes create shadow and edge definition, so even simple rectangle layouts look high-end. You don’t need complex profiles — straight, medium-width trim strips are enough. It’s a strong choice for feature walls where you want depth without committing to full board panelling.
Skip thisDon’t paint the trim first — you’ll fight bleed and mess up clean field edges.
Editor's noteUse painter’s tape on both sides of the moulding line for a crisp edge, then caulk the joint and pull tape before the caulk skins.
9. Skirting board + wall moulding combo (best for messy rooms)
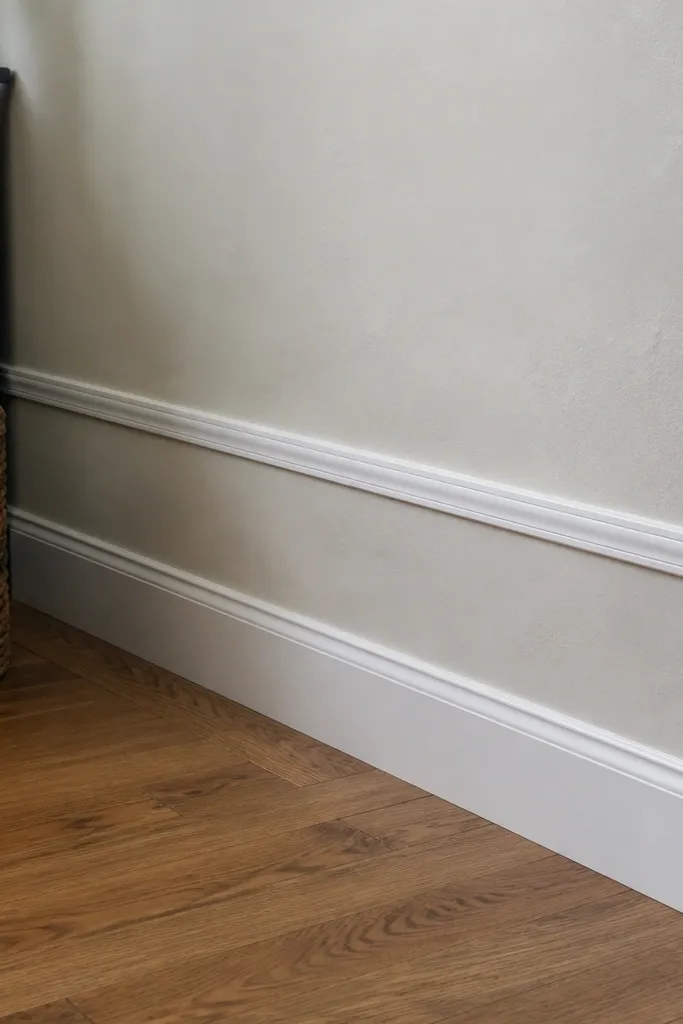
When the bottom of the wall is scuffed, uneven, or has old marks, pairing skirting with wall moulding makes the whole wall look finished. You get a strong horizontal anchor line that visually ties the room together, and it’s easier to install than full panelling because the moulding runs along existing lines. This method also helps cover gaps where baseboards don’t meet perfectly. It suits bedrooms, living rooms, and any space where you’re doing a refresh without gutting the room.
Remove loose baseboard pieces if needed, then mark a level line for the top edge of the skirting/moulding. Install skirting and wall moulding with brads into studs, adding adhesive for extra grip on drywall. Use caulk at seams and corners, then sand filled areas smooth once dry. Prime the whole run, paint to match existing trim or go slightly brighter for contrast.
Use a flexible caulk in the corners so seasonal movement doesn’t crack the line.
Don’t force the moulding to fit a hump — shave the hump or you’ll create a gap you can’t hide.



