
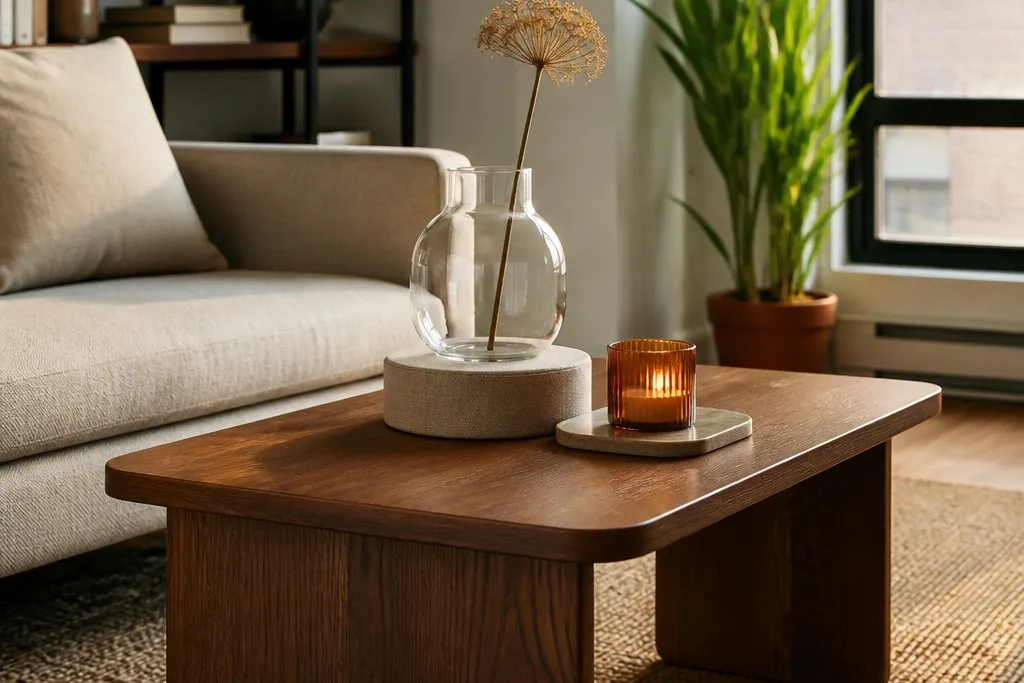
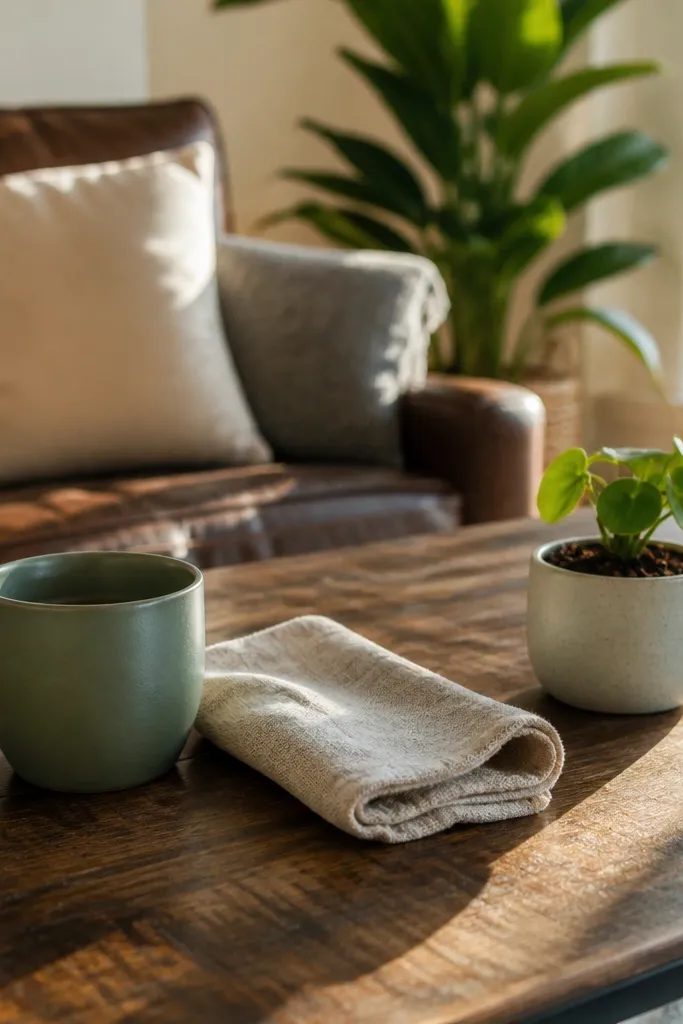
1. Floating Tray + Faux Book Stacks Centerpiece
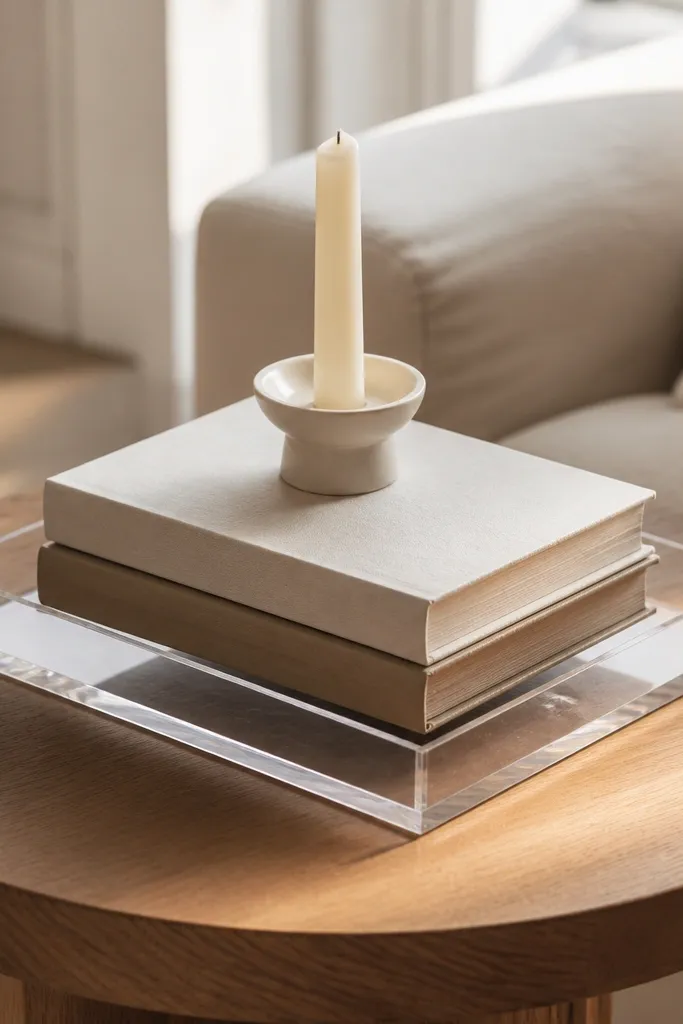
This works because a tray creates a boundary, and boundaries make small tables look intentional. Stack two faux books (or thin real books you don’t mind using) so the top edge sits about 3 inches above the tray. Add one candle or small ceramic cup on top of the stack to give you a clean focal point. The whole setup reads styled even when you only add two or three objects. It’s also fast to refresh — swap the candle color or book covers and the look changes without rebuilding.
Start with a tray that fits your table with a 1-2 inch margin on each side. Pick two book sizes so the stack height lands around 3 inches; use thin hardcovers to avoid bulk. Place the stack slightly off-center, then set a candle or small vase on the top book. Finish by adding one low texture item inside the tray edge, like a folded linen napkin or a strip of raffia. Keep everything centered enough that it looks balanced from the couch, not the side table view.
Editor's noteUse a removable adhesive felt pad under the candle holder so it doesn’t slide on glossy tray surfaces.
Skip thisDon’t use tall books that push the stack above 6 inches — it makes the table feel crowded.
2. Linen Napkin Wrap Under a Small Vase
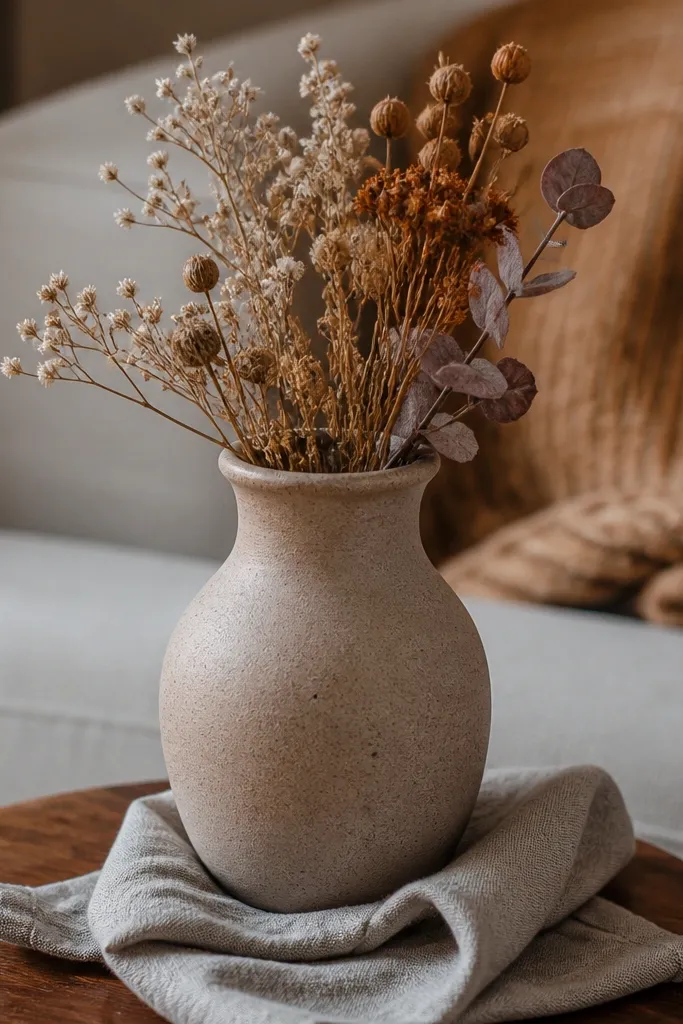
A napkin wrap gives you instant softness and texture without adding clutter. It also solves a common small-table problem: a vase alone can look like it’s floating. By wrapping the base with linen, you add depth where your eye expects it — around the feet of the vase. Choose a matte vase in white, sand, or muted clay so the linen reads warm and intentional. This setup looks good in daylight because linen texture catches light without glare.
Fold a linen napkin into a thick strip and wrap it around the vase base so the top edge peeks out. Place the vase on your table where you want the focal point, then set the wrapped napkin so it’s visible from the front. Add one small greenery stem or a single dried stem tucked behind the vase for height. If your table is glossy, wipe the surface first so the vase doesn’t creep. Step back and rotate the vase until the linen fold pattern faces the room.
Editor's noteSpritz the linen lightly with water and press it flat with your hands before wrapping for cleaner folds.
Skip thisSkip shiny satin napkins — they look cheap under indoor lighting and distract from the vase.
3. Pegboard Coaster Holder With Mini Plant
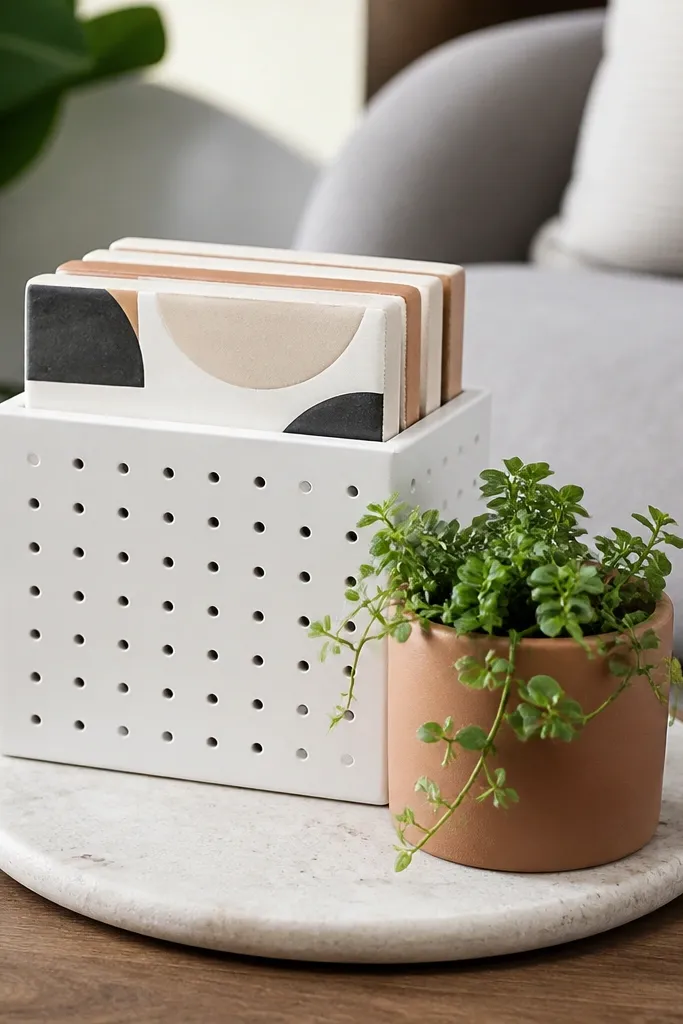
This is decor that also prevents clutter. A pegboard coaster holder keeps your coasters from turning into a scattered pile, and the mini plant gives you the living, photogenic focal point. The pegboard pattern looks modern and adds visual structure to a small surface. Choose a plant in a matte pot so it doesn’t fight with the pegboard holes. It’s clean, practical, and it stops the “where do the coasters go?” mess.
Cut a small piece of pegboard to fit the footprint you want (about 8x10 inches works well on most small tables). Sand the edges lightly, then mount it using a small tray stand or by attaching a flat wood backer so it sits stable. Drill or screw in a couple of small hooks or clips to hold 2-4 coasters upright. Place a mini plant in the center on a small saucer so water doesn’t mark the pegboard. Finish by adding one thin greenery stick to frame the plant without crowding the top.
Editor's noteSeal the cut pegboard edges with clear acrylic to prevent fraying and dust transfer.
Skip thisDon’t place it directly on a fabric table runner — pegboard dust and moisture will stain.
4. Wood Slice Base With One Dried Stem
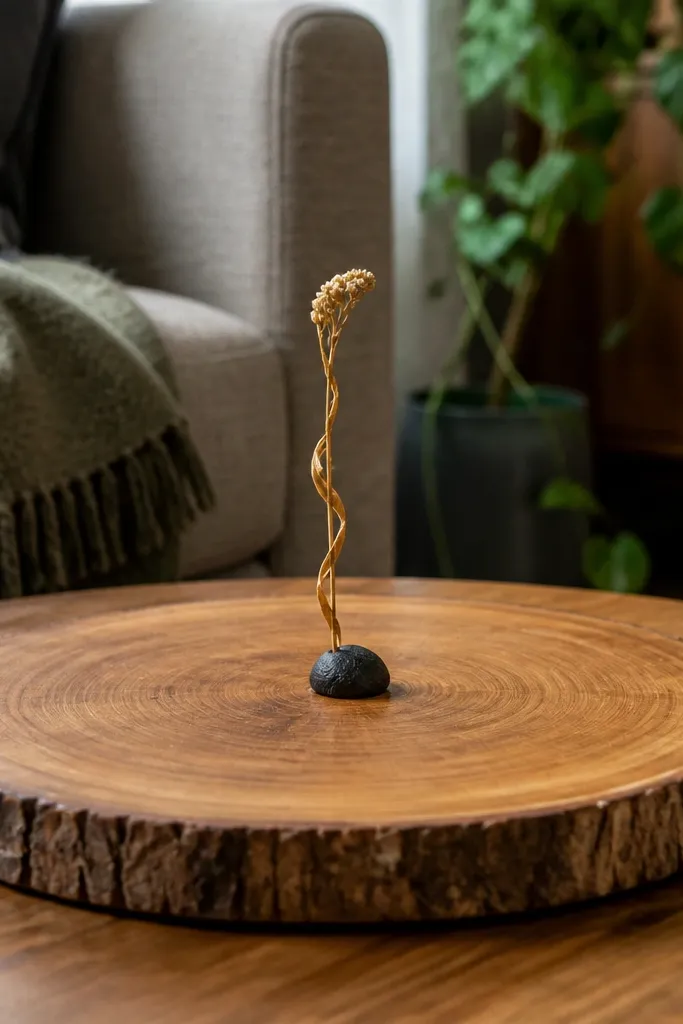
A wood slice base gives you warmth and dimension without needing a lot of objects. One dried stem looks intentional when it’s centered and supported, and the wood slice makes the scene feel grounded. This idea is great if you like earthy decor but hate the “farmhouse pile” look. Keep it minimal: no extra figurines, no extra filler. The contrast between pale wood and muted stem color reads good in photos and looks calm in real life.
Find a small wood slice with a flat top; aim for 4-6 inches wide so it doesn’t dominate. Place a tiny vase or cup in the center and test height so the stem reaches about 6-8 inches above the base. Glue a small felt ring under the vase so it doesn’t slide. Add one dried stem and angle it slightly so it leans toward the viewer. Seal the wood slice with a matte clear coat if it’s raw or porous.
Editor's noteAngle the stem 10-15 degrees instead of straight up for a more natural silhouette.
Skip thisDon’t use multiple stems — the look turns into a craft project fast.
5. Clear Acrylic Trinket Tray With Color-Coordinated Beads
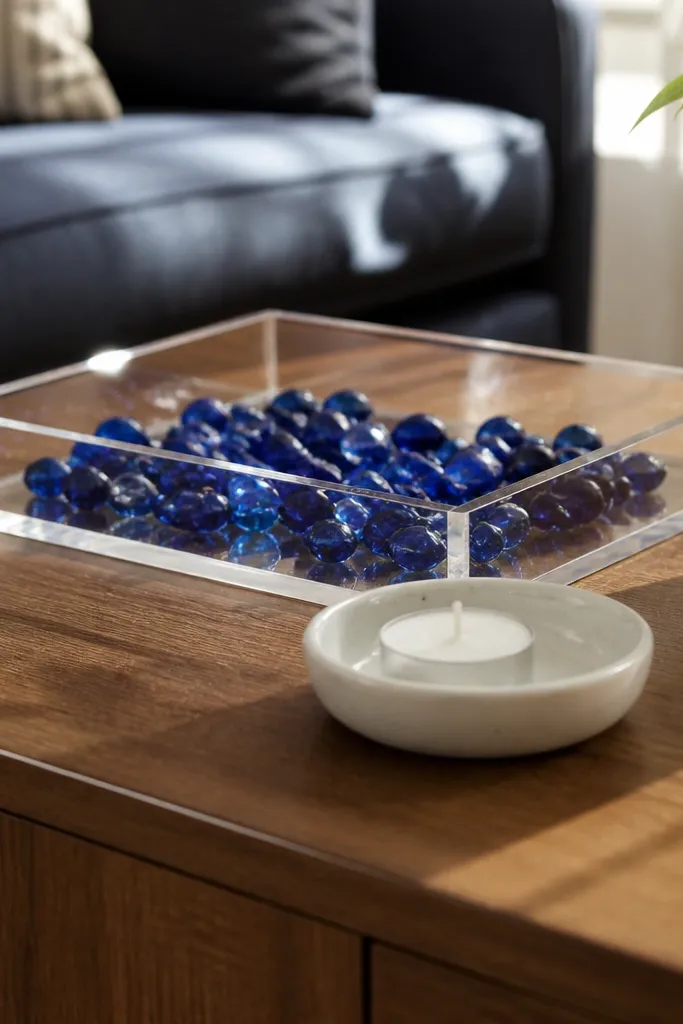
Clear acrylic trays create a “floating” look that makes small spaces feel lighter. Add beads or glass stones in one color family and the tray instantly reads like decor, not storage. Then anchor it with one small candle or mini ceramic dish so the scene has a focal point. This works because the beads create texture and sparkle without adding bulk. It also hides tiny clutter — rings, hair ties, or spare keys — while still looking styled.
Pick an acrylic tray that’s shallow (about 1 inch tall) so it doesn’t steal height. Choose one bead type and one color family; use either matte stones or glossy glass, not mixed. Pour beads to a thin layer, then place a small candle cup in the center. If you want extra structure, use a strip of painter’s tape temporarily to guide the bead line while you pour. Remove tape and wipe the acrylic edges so they stay clear.
Editor's noteUse a microfiber cloth with a tiny bit of glass cleaner on acrylic — fingerprints ruin the look.
Skip thisAvoid mixing bead sizes in random piles — it looks messy instead of designed.
6. Mini Gallery Frame + Book-Led Shelfie
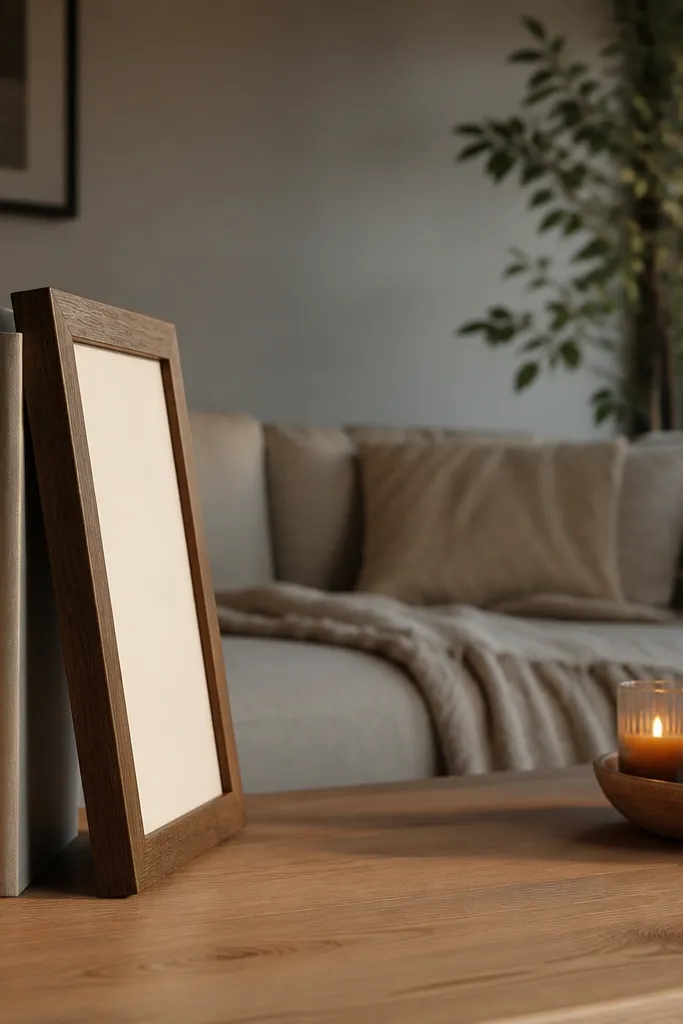
A small frame adds a “wall-like” element to a table, which makes the surface feel styled instead of empty. Lean it against a stack of two slim books so the frame sits at eye level from the couch. This is a smart move when your table is in front of a couch and you want the decor to read clearly from one angle. It also lets you control color — pick a print with one accent color that matches pillows or a throw. The result looks like you planned it, not like you set down random items.
Choose a frame no larger than 8x10 inches so it fits without crowding. Stack two slim books under the frame, then use a small foam wedge or folded paper to keep the frame from sliding. Lean the frame at a slight angle and center it over the book stack. Add one small object at the base, like a tiny ceramic bowl or a folded napkin, to fill the lower gap. Keep the print face clean and dry, then wipe fingerprints off the glass.
Editor's noteUse museum putty to secure the frame’s bottom edge so it doesn’t drift after sitting.
Skip thisDon’t pick a frame with heavy glare glass — it kills the photo look.
7. Tray With Rolled Tea Towels and a Ceramic Spoon Rest
This idea sneaks in texture and function. Rolled tea towels look intentional when they’re color-matched and arranged like a tidy set, and a ceramic spoon rest makes the scene feel curated. It’s a great option if you want decor that also helps you manage everyday items like coasters, stir sticks, or small serving tools. Choose neutral towels (cream, oatmeal, soft gray) and pair them with a warm ceramic rest in white or speckled clay. The whole setup looks cozy without looking like a kitchen table.
Pick a shallow tray and set it in the center of the table or slightly off-center. Roll two tea towels into tight cylinders and place them upright or angled along the tray edge. Put a ceramic spoon rest near the center, then add one small cup or mini vase behind it for depth. If you’re using towels with stripes, align the stripe direction so it reads neat from the couch. Keep the tallest towel roll under 6 inches so the tray doesn’t feel top-heavy.
Editor's noteTie each towel roll with a tiny ribbon or twine loop so the roll holds its shape.
Skip thisSkip mismatched colors — random towel shades make it look like laundry.
8. Candle Trio Using One Long Matchbox-Style Organizer
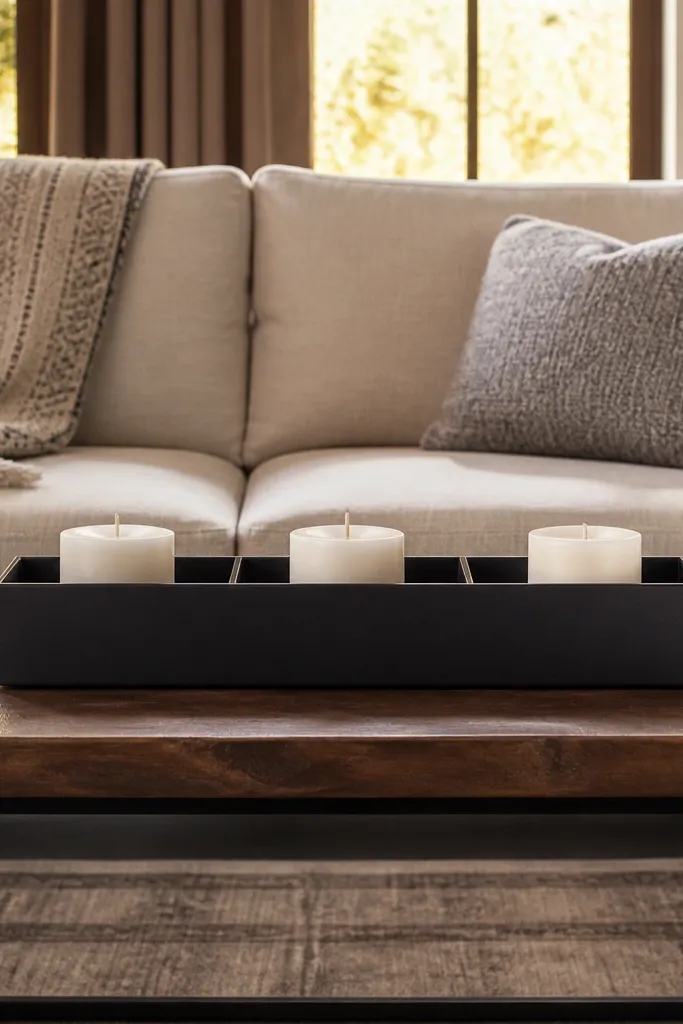
Three small candles can look amazing on a small table, but only if they’re aligned. Using one long organizer forces the spacing to look deliberate and keeps the heights consistent. It also makes the scene feel symmetrical without needing a big centerpiece. This layout works best when your candles are in the same material family — matte ceramic cups or unscented candles with similar wax color. The photo payoff is strong because the line of candles reads clean and structured.
Find a long organizer tray or even a sturdy wooden strip with a shallow lip that fits your table width. Choose three candle cups or candles with the same height range (aim for 2.5-4 inches tall). Place the organizer so it runs horizontally across the table, then set the candles evenly spaced. Add one thin greenery sprig along the back edge of the organizer, tucked behind the middle candle. Keep a small gap between candles so wicks and labels don’t tangle visually.
Use a small dot of removable museum putty under each candle cup so they don’t shift during cleaning.
Don’t mix candle heights — the trio stops reading as intentional.
9. Stacked Coasters With One Vertical Ceramic Ornament
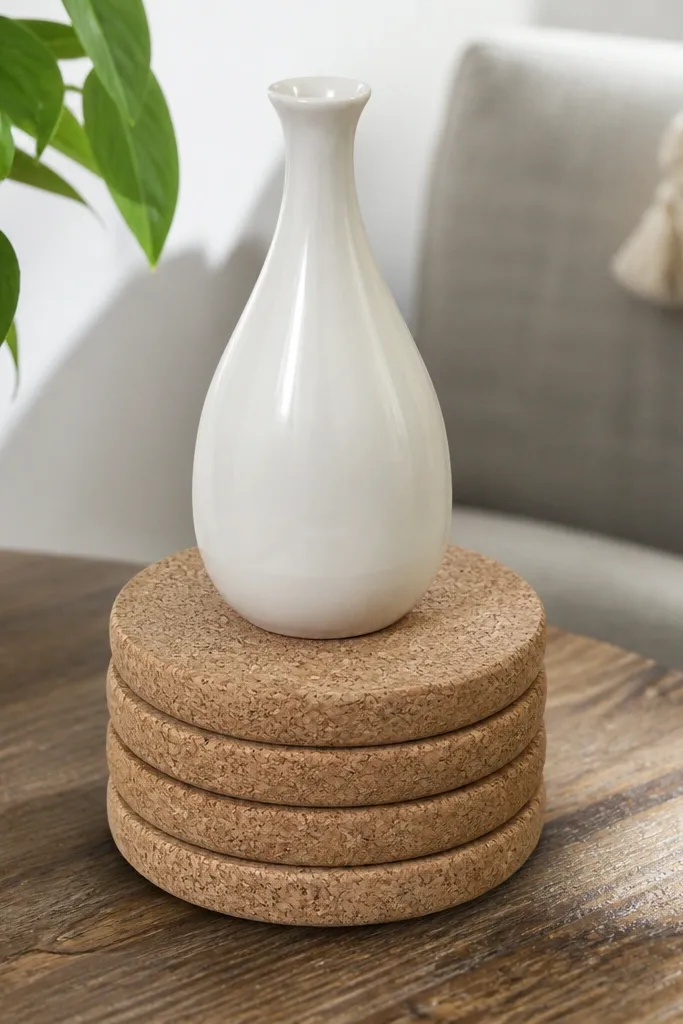
This decor fixes a small-table habit: leaving coasters scattered. Stack coasters into a neat column or a shallow pyramid, then add one vertical ceramic ornament or bud vase to create height. The stacked coasters act like the base layer, so you don’t need a bulky tray. It looks graphic and clean because the coaster edges form a pattern. Pick coasters in one material type — cork, stone, or linen — and keep them in a tight color family. The final look is simple but not boring.
Choose 6-10 coasters and decide on a stack shape: a 3x2 grid stack or a single upright stack. Place the stack slightly off-center so the vertical ornament can balance it. Set the ceramic ornament or vase into the front of the stack base, using a small felt pad if it wobbles. Add a single tiny filler element like one dried leaf or a short grass stem. Wipe coaster surfaces and align edges so the pattern looks straight from the couch.
Editor's noteUse coasters with a matte finish so they don’t glare under overhead lights.
Skip thisSkip random coaster colors and textures — the stack becomes visually noisy.
10. Mirror-Backed Tray With One Accent Color Plant
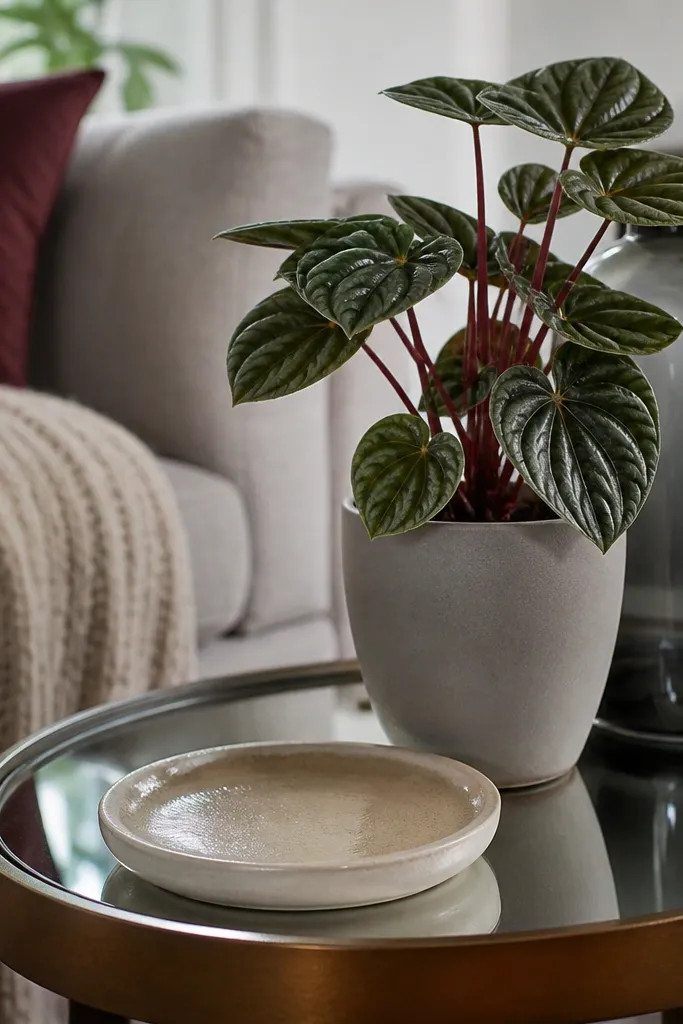
A mirrored-backed tray makes small decor look bigger because it reflects light and adds depth behind your objects. Pair it with a plant that has one accent color — deep green, burgundy stems, or a pale variegated leaf. Put the plant slightly behind center and add one small ceramic dish in the foreground. This layout makes the table feel styled even when you only have three items. It also hides the mess under the tray because the reflective surface draws attention upward.
Buy or DIY a small tray with reflective backing; keep it shallow so it stays light. Place the tray on your coffee table and position the plant in the back half. Use a small saucer under the pot and set a paper towel under the saucer edge if your plant drips. Add one small dish or candle cup in front so the scene has a foreground anchor. Wipe the mirror surface until it’s streak-free; reflections are the whole point here.
Choose a plant with matte leaves so the reflection looks soft, not shiny and harsh.
Don’t overload the tray — mirrored surfaces show clutter instantly.
11. Concrete-Style Cement Cup With Matches and a Mini Plant
Concrete-style cups look heavy and designer, but they’re easy to style on a small table. Use the cup for matches or cotton balls, then place a mini plant next to it for a softer contrast. The combination gives you function plus a photogenic texture story: rough cup, smooth plant leaves. This works especially well in rooms with wood floors or neutral walls because the cup color ties everything together. Keep the plant small and controlled — one cluster is enough.
Pick a cement-style cup or DIY one with a small concrete-look container. Place the cup on a tray or directly on the table with a felt pad underneath. Fill it with long matches or cotton balls so the opening looks neat. Set a mini plant or small dried branch beside the cup, keeping a 1-inch gap between them. Add one tiny accent, like a single stone or a folded paper napkin strip, but only if there’s space.
Editor's noteIf the cup is porous, seal it with a clear matte sealer so it doesn’t stain the table.
Skip thisAvoid glossy planters beside cement cups — the shine makes the whole look feel mismatched.
12. Fabric Ribbon Bow on a Small Bottle Vase
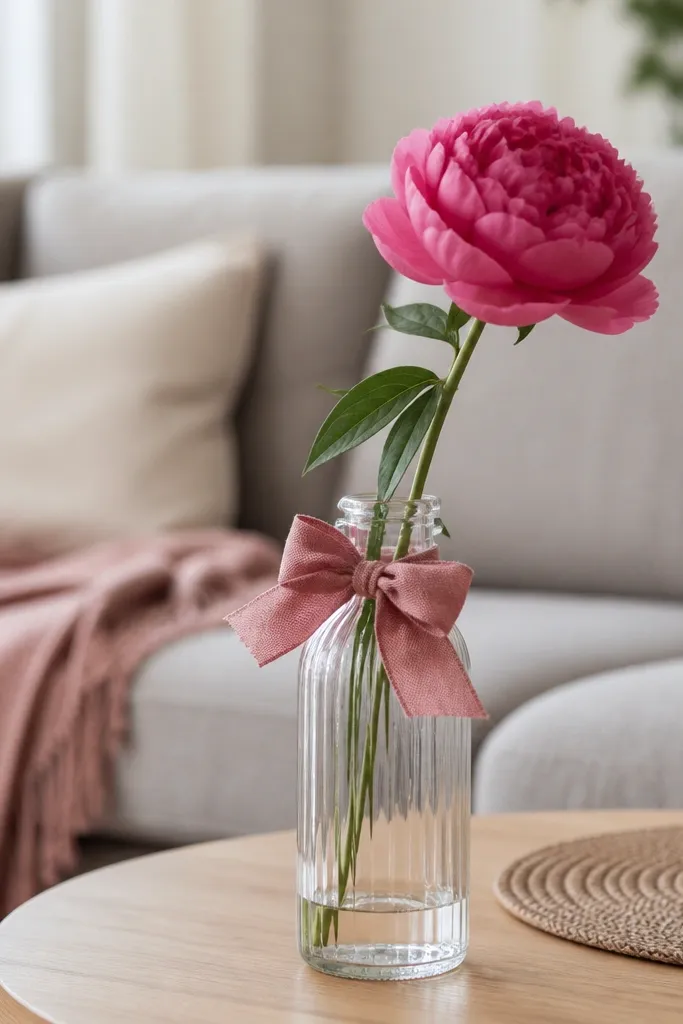
A tiny ribbon bow turns a plain bottle vase into decor without adding bulk. The trick is keeping everything tight: one stem, one bottle, one bow. Choose ribbon in a matte fabric like cotton or linen blend so it doesn’t look like gift wrap. This is a good option when you want “cute” but still want the table to look clean. The bow adds a strong focal point for photos, especially when the vase is near the front edge of the table.
Use a small bottle vase or any narrow glass container that fits your height goal (about 5-7 inches tall with the stem). Tie a ribbon bow around the bottle neck, then pull the loops so they sit flat and symmetrical. Insert one single stem or a short cluster of dried grass. Place the bottle slightly off-center on a small tray or coaster to keep it stable. Adjust the bow angle until it faces the room, not the wall.
Cut the ribbon ends at an angle and seal the cut with a tiny dab of clear glue so it doesn’t fray.
Don’t use wired ribbon — it flops and makes the bow look messy.
13. Stacked Books With a Wrapped Candle Sleeve
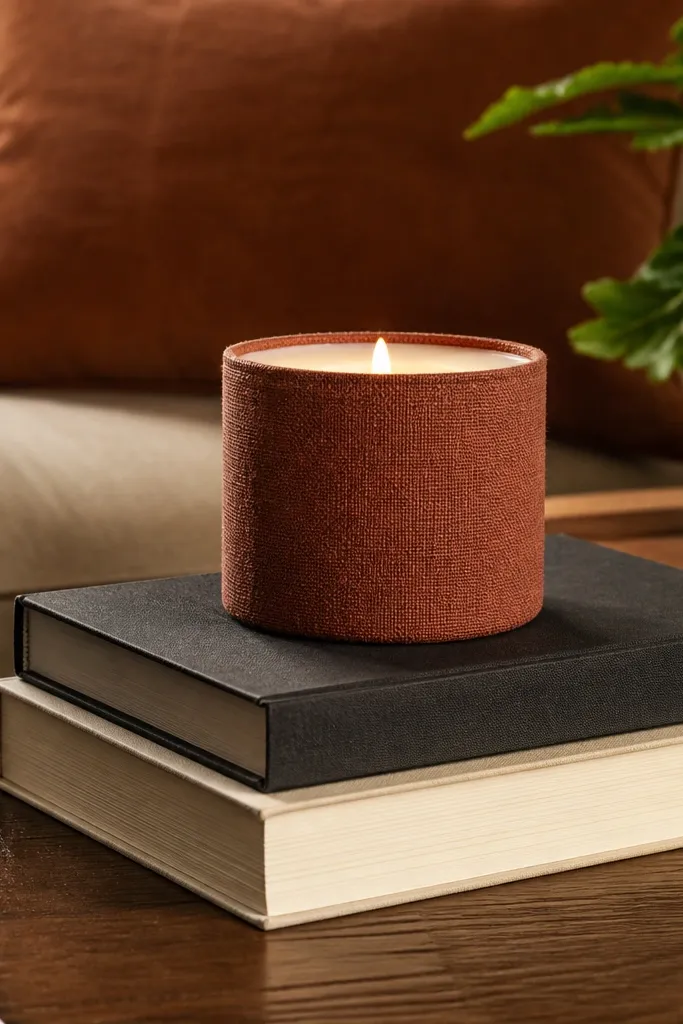
Wrapped candle sleeves make candles look like decor objects, not just lighting. Stack two or three thin books to create a base, then place a candle on top and wrap it with a fabric band in a matching color. This gives you a vertical focal point and a consistent color story across your table. It also lets you reuse candles without buying new ones. The look is clean, sculptural, and works in almost any room style because it’s just fabric and color control.
Choose a set of thin books and stack them so the top surface sits 3-5 inches above the table. Place a candle on top and wrap a fabric strip around it like a sleeve; secure with a small pin or double-sided fabric tape. Smooth the fabric so it sits flat without wrinkles. Add one low accent beside the stack, like a small ceramic dish or a folded napkin corner. Make sure the candle and fabric are centered so the stack looks intentional from the couch.
Editor's noteMeasure the candle diameter once and cut the fabric band with a 1-inch overlap for a snug fit.
Skip thisSkip stretchy fabric — it twists and creates uneven puckers on the candle.
14. Mini Terrarium Jar With Layered Sand and One Green Sprig
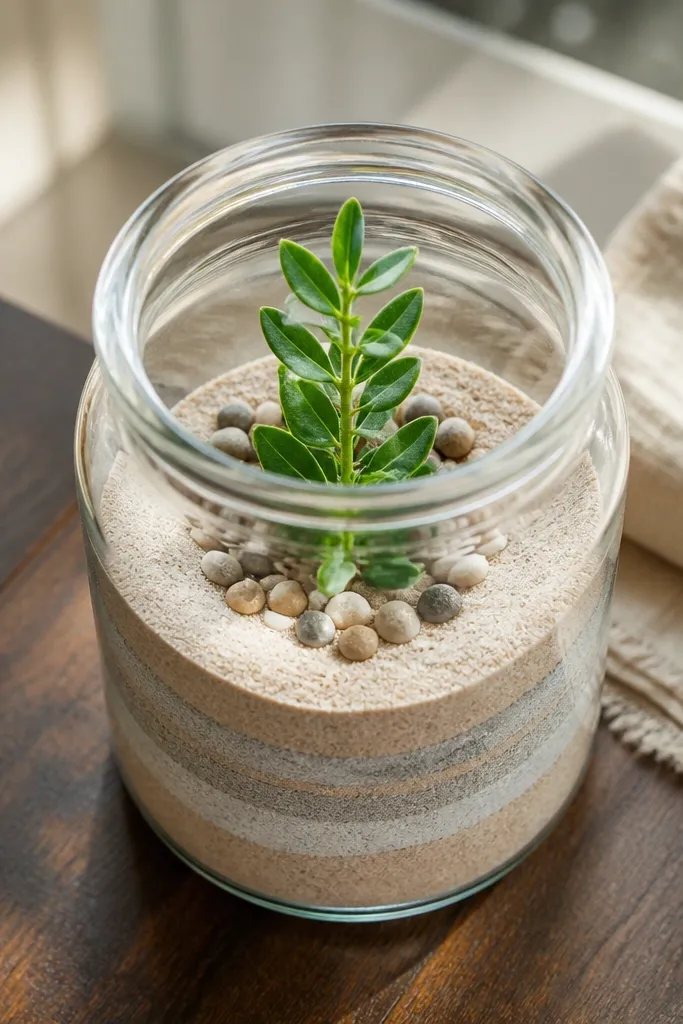
Layered sand inside a clear jar reads instantly designed, even when you keep the greenery minimal. This idea fixes the “small table looks like it’s missing something” problem because the jar has depth and color bands. Add one sprig — not a whole plant — so maintenance stays easy. The jar also looks great from different angles because glass catches light. It’s photogenic without being crowded, and it works in offices, living rooms, and entryways.
Choose a clear jar with a wide enough opening for layering; 4-6 inches tall is perfect. Pour a thin base layer of sand, then add a second color band if you want contrast. Place a small sprig in the center and hold it in place with a little sand around the base. Gently tap the jar on the counter to settle layers evenly. Seal the top with a simple lid or leave open if the sprig is dried, then wipe fingerprints off the outside glass.
Editor's noteUse matte sand colors (tan, gray, charcoal) instead of glitter — it stays classy in photos.
Skip thisDon’t pack sand too tight — it can shift and collapse the layers.
15. Paper Fan Wall Art Stand on a Small Tray
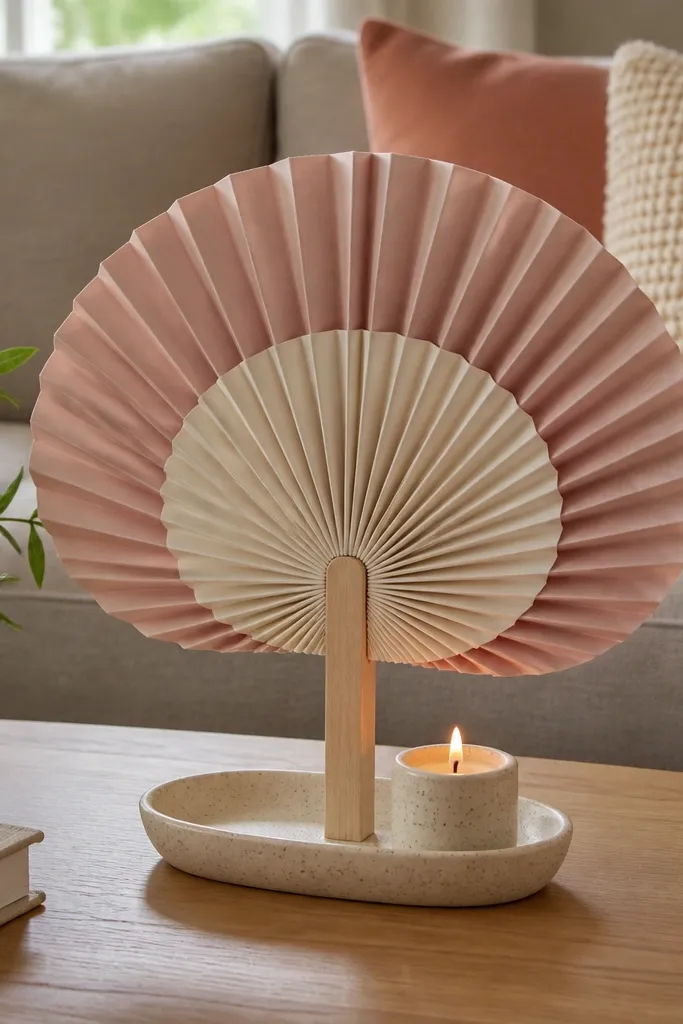
Paper fan wall art is the fastest way to add movement and a “designed” look to a flat surface. Stand the fan on a small tray so it doesn’t tip, then anchor the base with a candle or tiny plant. The fan creates a strong shape that reads even from across the room, which is exactly what small tables need. Pick a fan color that matches your room — muted blush, sage, or warm white — and keep the rest of the decor neutral. This is also one of the easiest ways to switch seasons without buying new furniture.
Create or buy a paper fan and use a rigid backing piece under it so it stands. Tape or glue the fan to the backing, then place the backing on a shallow tray. Set a small candle cup on the tray base near the fan so the whole composition looks balanced. Add one thin filler strip like raffia around the edge of the tray for texture. If the fan is paper, spray a light coat of clear matte sealer from 12 inches away and let it dry fully.
Editor's noteScore the fan folds sharply with a ruler before sealing so the shape holds under light touch.
Skip thisDon’t place it near direct sunlight — paper fades and curls.



