
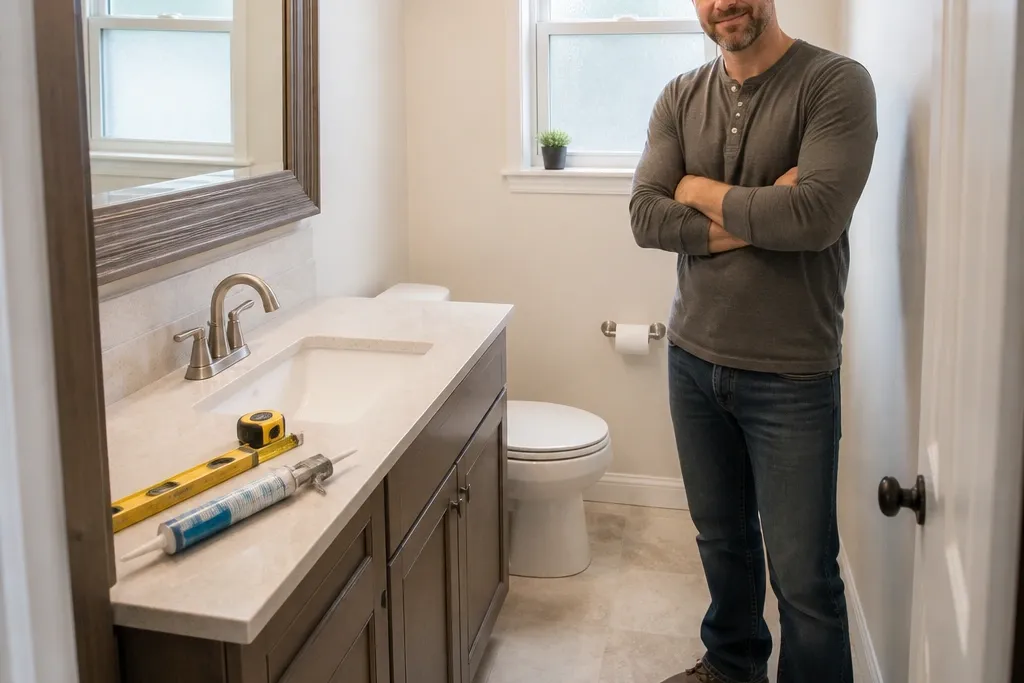

1. Oversized framed mirror with a higher mounting point
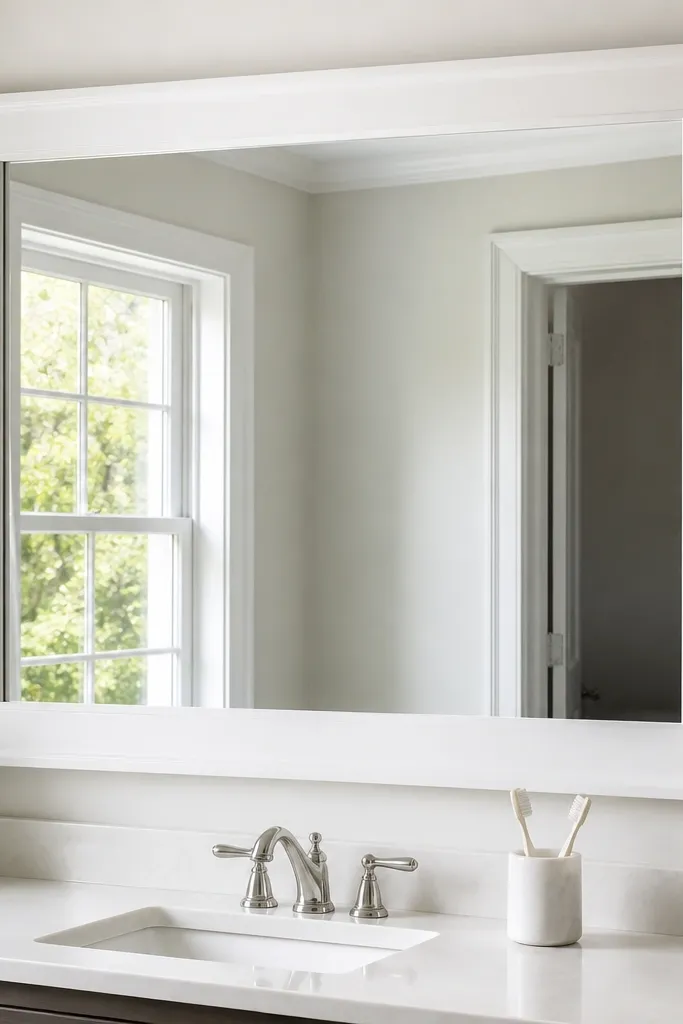
A mirror is the fastest way to make a small bathroom feel intentional. Go bigger than the old one and mount it slightly higher than you think, so it doesn’t visually chop the wall. A framed mirror also gives you a built-in “finish line” that hides messy edges where the old mirror sat. Pick a frame color that matches your hardware — brushed nickel frame with nickel hardware, matte black frame with black hardware — because mixed metals look cluttered in tight spaces. This step is perfect if you’re not moving plumbing and you want a visible upgrade in a single weekend.
Editor's noteUse a 6-inch level and check the mirror in two spots on the wall so it doesn’t creep off-level after you mount it.
Start by measuring the vanity width and the wall area above it. Choose a mirror width that’s about 2/3 to 3/4 of the vanity width and keep at least 2 inches of clearance from both sides for a clean look. Mark the centerline of the vanity, then install mounting brackets or anchors at the mirror’s hanging points; aim for the mirror’s bottom edge around 5 feet from the floor if your household can comfortably see themselves. Finally, use a thin bead of paintable caulk at the frame edges if there are gaps, then touch up the wall where you drilled.
Skip thisDon’t keep the old mirror size — a small mirror makes the room feel smaller, even with new paint.
2. Two-bulb vanity light with frosted shades

Lighting is the difference between “clean” and “dim and tired.” A two-bulb vanity light improves face lighting and reduces harsh shadows that make walls look darker. Frosted shades also hide bulb glare and make the bathroom look softer and more expensive in photos. Choose a finish that matches your mirror frame or towel bar so the room reads cohesive. This is a quick win when you’re keeping the existing wiring and you want a big aesthetic payoff with minimal demolition.
Editor's noteIf the old fixture left holes, cover them with a new fixture backplate or a small trim ring so you don’t see patchwork later.
Turn off power at the breaker, then remove the old fixture and check the wire lengths so you can reuse them. Install a junction box adapter if the new fixture requires it, and attach the fixture bracket securely to the box. Use LED bulbs around 2700K to 3000K for warm skin tones, and keep the fixture’s bottom edge aligned over the sink center. Finish by reinstalling the glass shades and testing the light before you put everything back together.
Skip thisDon’t use daylight 5000K bulbs — they make small bathrooms look harsh and uneven on walls.
3. Shiplap-style peel-and-stick wall panels in a warm white
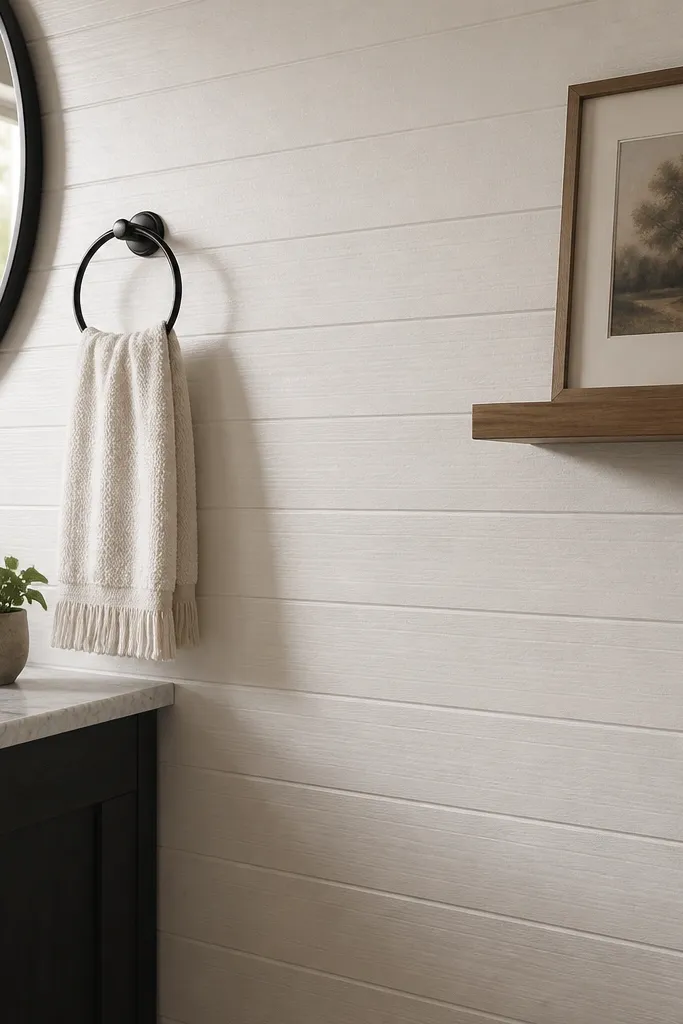
If your walls are beat up but you don’t want tile everywhere, peel-and-stick wall panels give you instant texture that reads clean. A warm white color keeps the bathroom bright without turning it gray. The panel texture adds visual interest without requiring grout lines that get dirty. This step works best in powder-room sized spaces or bathrooms where you can keep the product away from direct water spray. It’s also fast: you can cover the main wall behind the vanity in a day and still look polished.
Start by cleaning the wall with a degreaser and letting it dry fully so the adhesive actually bonds. Find studs or use a stud finder, then plan your first panel line with a level — everything else stacks off that edge. Cut panels with a sharp utility knife and straightedge, then butt seams tightly and press firmly along the edges. Finish by caulking the perimeter with a paintable bathroom caulk so the edges look finished and water-resistant.
Use a roller tool or firm hand pressure along seams right after placement so edges don’t lift later.
Don’t install over peeling paint or loose drywall — the panels will telegraph the problem.
4. Large-format peel-and-stick floor tiles in a light stone look
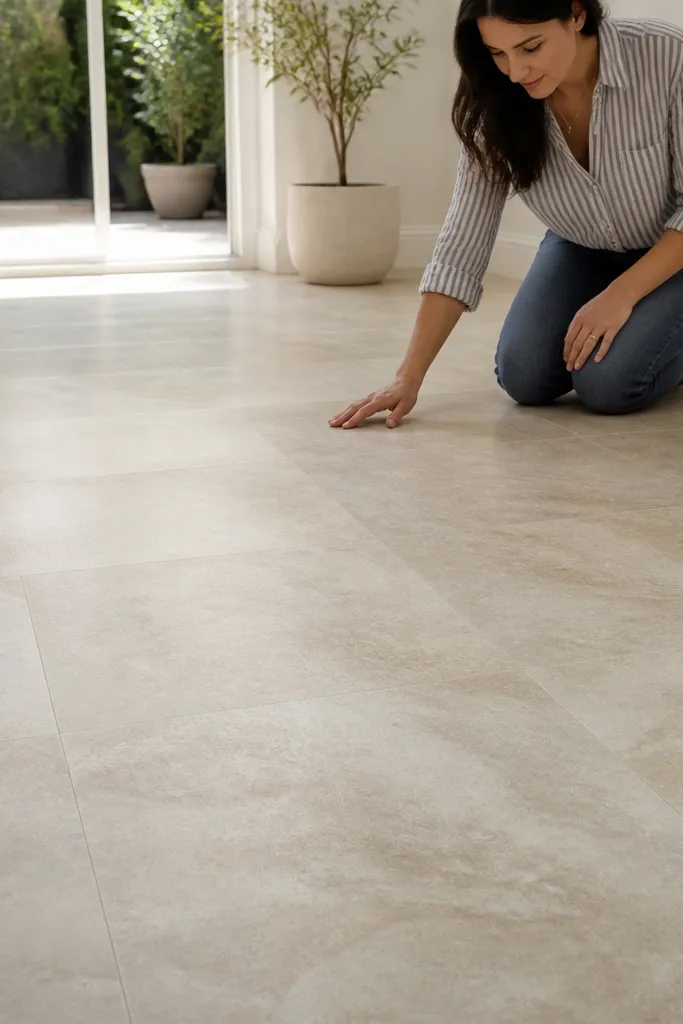
Small bathrooms look cramped when the floor pattern is busy. Large-format peel-and-stick tiles calm the surface because each tile covers more visual area, and a light stone look makes the room feel airier. This option is also forgiving: you can update the floor without tearing up subfloor layers. Choose a matte or satin finish so grout-like texture doesn’t glare under bathroom lights. It’s a good choice when your goal is photogenic improvement quickly and you’re keeping the existing toilet location.
Editor's notePlan the pattern so the most visible wall line has full tiles — that’s what people notice first.
Start by removing baseboard trim carefully if needed so the tiles can tuck under for a clean edge, then clean the floor thoroughly. Lay out a dry run to find the best starting point so you don’t end up with tiny slivers at the doorway. Apply tiles section by section, press firmly, and roll the installed area to improve adhesion. Reinstall baseboards and seal the perimeter edges with a small bead of matching caulk where appropriate.
Skip thisDon’t rush the dry fit — misaligned tiles show up instantly when the bathroom is small.
5. Anti-fog mirror film with a clean edge cut
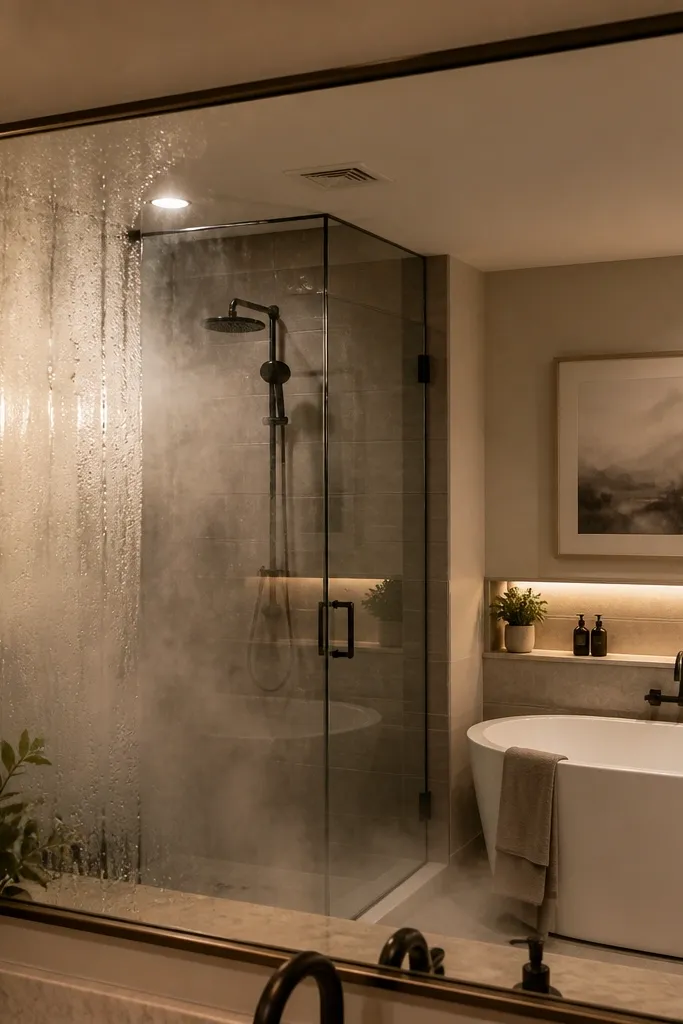
A bathroom mirror that fogs every shower makes the whole room feel unfinished. Anti-fog film keeps the mirror clear and helps the bathroom look “maintained” in daily use. The aesthetic win is subtle but real: fewer streaks from wiping and less smudgy glass in photos. Choose film that fits your mirror size and has an easy smoothing surface so you don’t end up with bubbles. This is a fast upgrade that pairs well with an oversized framed mirror.
Clean the mirror glass with glass cleaner, then dry it completely so the film sticks. Measure the mirror surface and cut the film with a straightedge and sharp blade, leaving a tiny margin for trimming. Wet the mirror lightly with the included application solution (or a very light water mist if the product allows) and position the film. Smooth from the center outward, trim any excess, and let it set per the package instructions.
Use a microfiber cloth and a plastic squeegee for smoothing — it prevents scratches and streaks.
Don’t apply film to a dirty mirror — it traps grime and makes the film look cloudy.
6. Moisture-rated paint in a warm white with satin finish
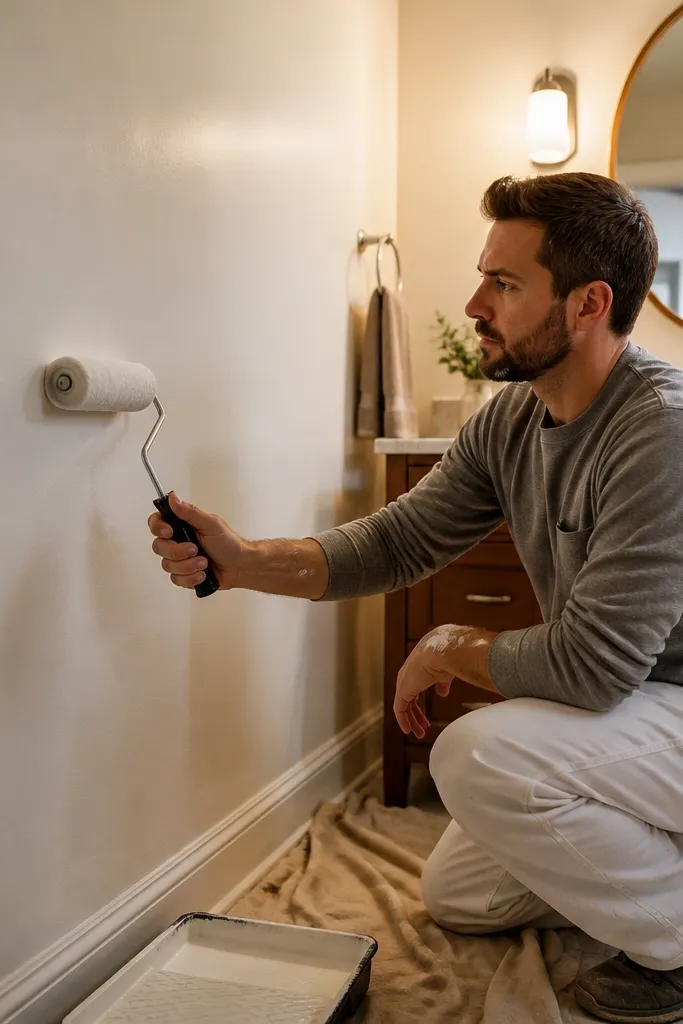
Paint changes the entire read of a small bathroom because it affects brightness and how surfaces reflect light. Choose a moisture-rated bathroom paint and use satin or eggshell so walls wipe clean without looking glossy. Warm white keeps skin tones flattering under vanity lights, and it avoids the cold gray effect that can make tiny rooms feel damp. This step is also the base layer that makes every other upgrade look better, especially mirror frames and hardware.
Editor's noteCut in with a 2-inch angled sash brush and keep a steady wrist — crisp lines make the room look “done.”
Patch holes, sand rough edges, and wipe everything down with a damp cloth so dust doesn’t create texture. Tape carefully along the trim line and protect the floor with painter paper. Use a brush for corners and a roller with a 3/8-inch nap for smooth walls, then apply two thin coats instead of one thick coat. Let it cure fully before you hang hardware so the finish isn’t tacky.
Skip thisDon’t use flat paint — it scuffs and stains too easily in bathrooms.
7. Tub or shower surround refresh with peel-and-stick edge trim
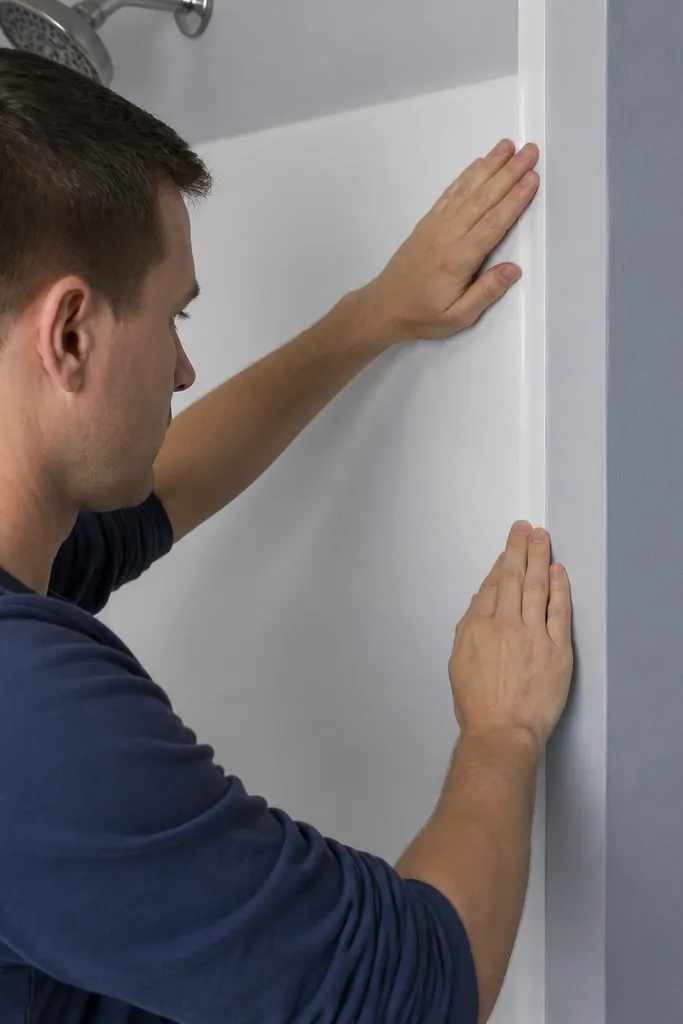
Most small bathroom eyes go straight to the tub edge. If caulk is cracked or the surround looks uneven, the whole room feels neglected even when the rest is new. Peel-and-stick edge trim creates a crisp, white boundary that looks like a factory finish. It also helps cover small gaps between panels and wall seams so you don’t see old mess. This works best when you’re keeping the existing surround and want a clean, photogenic line without re-tiling.
Editor's noteWarm the trim slightly with a hair dryer before applying so it conforms to corners without lifting.
Start by scraping off loose caulk and cleaning the surface with a bathroom-safe degreaser. Dry the area completely with a fan so the adhesive bonds. Measure the tub edge and cut trim pieces with a sharp blade; dry fit first to avoid short seams at corners. Apply trim section by section, press firmly along the full length, then apply a thin bead of matching caulk where trim meets walls.
Skip thisDon’t cover over mildew — clean and treat first or the adhesive will fail.
8. Compact floating vanity with toe-kick lighting
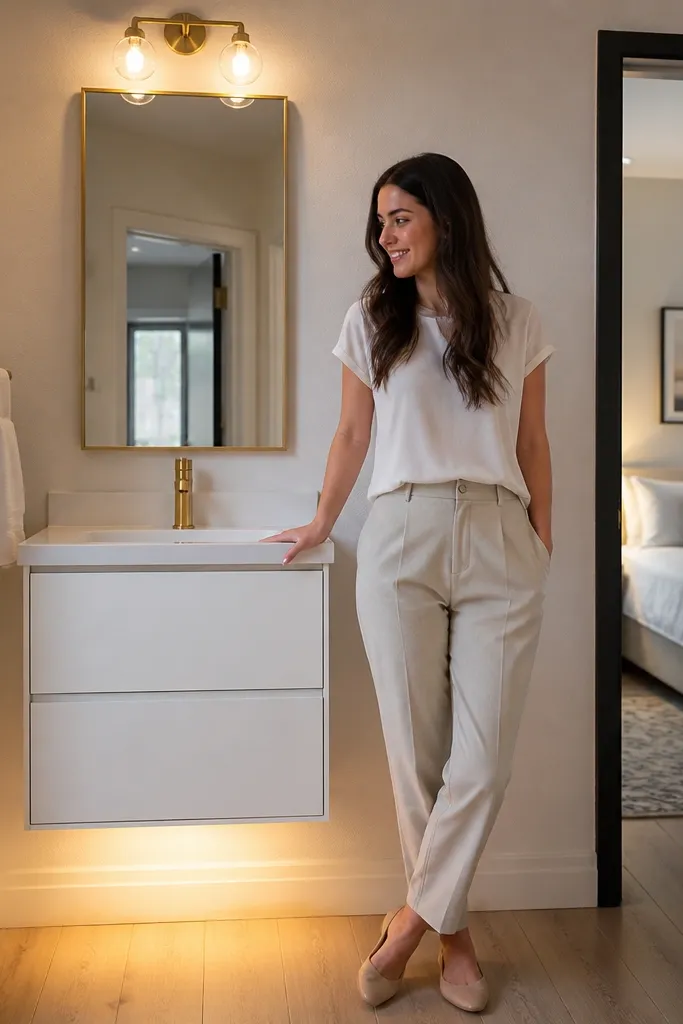
A floating vanity instantly makes a small bathroom feel lighter because it reveals floor space. Pair it with toe-kick lighting and the room looks more modern and bigger in photos. Choose a vanity depth that keeps you from losing clearance at the door — aim for about 18 to 21 inches deep in tight rooms. Warm underlighting also makes the floor and lower walls look softer instead of harsh. This project is more work than paint, but it’s still doable without a full remodel if you keep the plumbing location.
Editor's noteUse a laser level to keep the vanity perfectly straight — floating units show every wobble.
Start by confirming your plumbing rough-in and drain alignment so the vanity fits without moving lines. Install a mounting ledger or cleats into studs at the vanity height, then mount the vanity securely with proper screws rated for cabinetry. Add toe-kick LED strip lighting with a plug-in or hardwired driver depending on your comfort level, and route wires behind the vanity. Finish by sealing the countertop edges, reinstalling the faucet, and caulking the gap between vanity and wall.
Skip thisDon’t pick a vanity that blocks the door swing or reduces clearance to the toilet.
9. One-piece toilet update with a fresh wax-free seal and clean trim
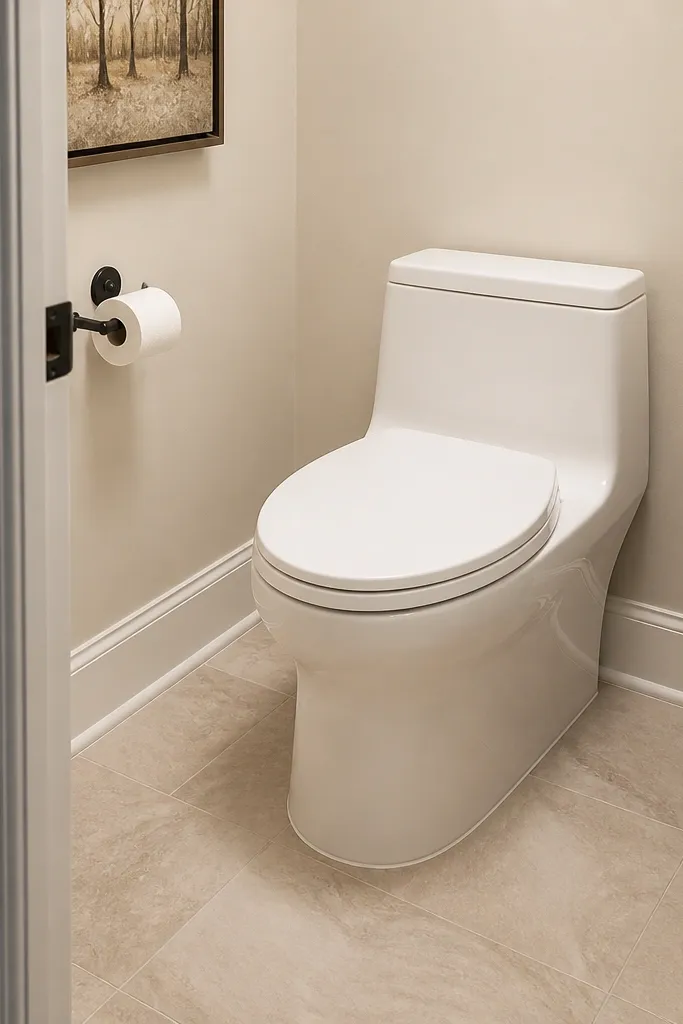
If your toilet looks slightly yellowed or the base caulk is cracked, it drags down the entire room. Swapping to a modern one-piece toilet (or just replacing the seat and base seal if you’re not changing the unit) makes the bathroom look brand new. A clean base line also helps the space photograph better because it removes the messy shadow line around the toilet. Choose a toilet with a skirted design for easier wiping and a finish that matches your other fixtures. This step is worth it when you want the room to feel finished without touching walls.
Editor's noteWipe caulk excess immediately with a damp rag so you get a smooth, photo-clean edge.
Turn off the water supply and remove the toilet carefully, keeping the floor area clean. Replace the seal with the correct wax-free ring for your toilet model and floor type, then set the toilet back and tighten evenly. Check for rocking, then connect the supply line and reinstall the tank components if needed. Run water, test for leaks, and apply a thin bead of caulk only where the base meets wall or trim if your model allows it.
Skip thisDon’t overtighten the bolts — it can crack the toilet base.
10. Matte black hardware refresh with matching towel bar and hook set
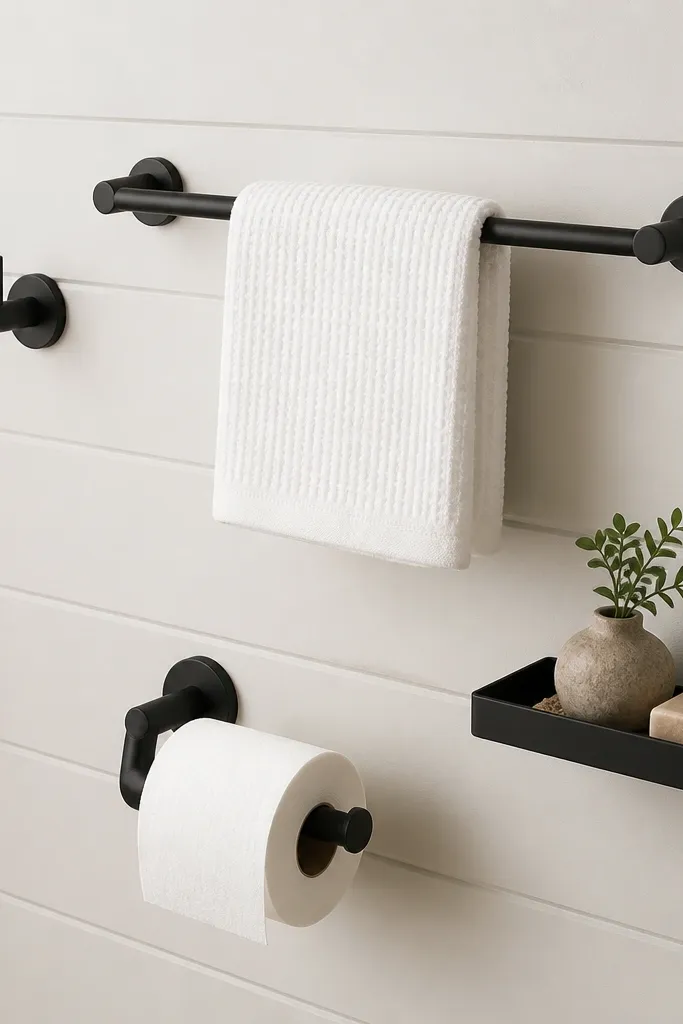
Hardware is one of the most visible “newness” signals in a small bathroom. A matching set — towel bar, toilet paper holder, and hooks — makes the walls look organized instead of random. Matte black hides fingerprints better than chrome and looks sharp against warm whites and light stone floors. If your mirror frame and vanity faucet are already in a finish, match them to keep the eye moving cleanly. This step is fast and photogenic because it creates clear lines and consistent contrast.
Editor's noteDry fit the towel bar height with towels you actually use so the bar sits where fabric drapes nicely.
Start by removing old hardware and patching screw holes with spackle, then sand smooth and paint over. Use a level to mark the new hardware positions, measuring from a fixed reference like the vanity centerline or towel height you want. Pre-drill into studs when possible; if not, use the correct wall anchors rated for your fixture weight. Mount the hardware and tighten evenly, then wipe fingerprints with a microfiber cloth.
Skip thisDon’t mount hooks too high — guests can’t reach them comfortably and it looks awkward.
11. Storage makeover with a recessed medicine cabinet or slim side cabinet
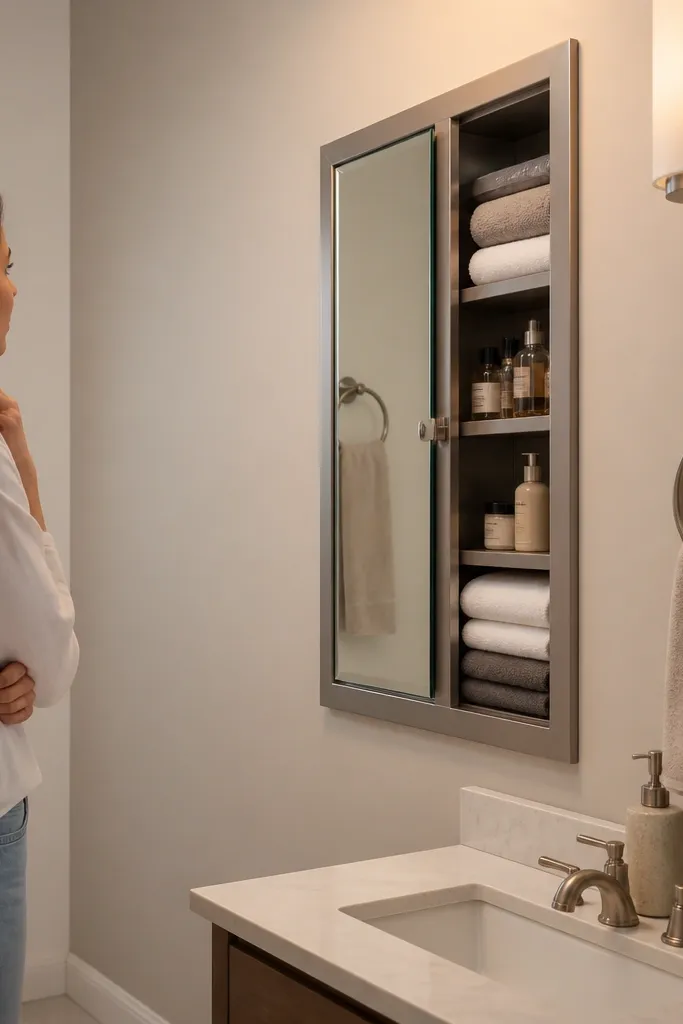
In small bathrooms, countertop clutter turns into visual noise fast. A medicine cabinet or slim side cabinet hides everyday items and makes the room look styled even when you’re not. Recessed cabinets look built-in and reduce the “stuff on the wall” feeling. If recessing is too much, a slim surface cabinet still gives you vertical storage without eating floor space. This step is a big part of the “looks finished” effect because it controls what’s visible.
Editor's noteUse clear bins inside the cabinet so you can see what you need without leaving items out on the counter.
Start by checking wall framing and deciding whether you can recess a cabinet without hitting plumbing or wiring. If recessing is possible, cut a careful opening to the cabinet rough-in dimensions, install mounting supports, and secure the cabinet level. If you’re doing surface mount, mark stud locations, mount the cabinet with a level, and plug gaps with paintable caulk. Organize by category — hair tools in one bin, skincare in another — so the cabinet stays pretty, not chaotic.
Skip thisDon’t overfill the cabinet — doors that bow or shelves that strain look messy in photos.
12. Vent cover upgrade for a cleaner ceiling line
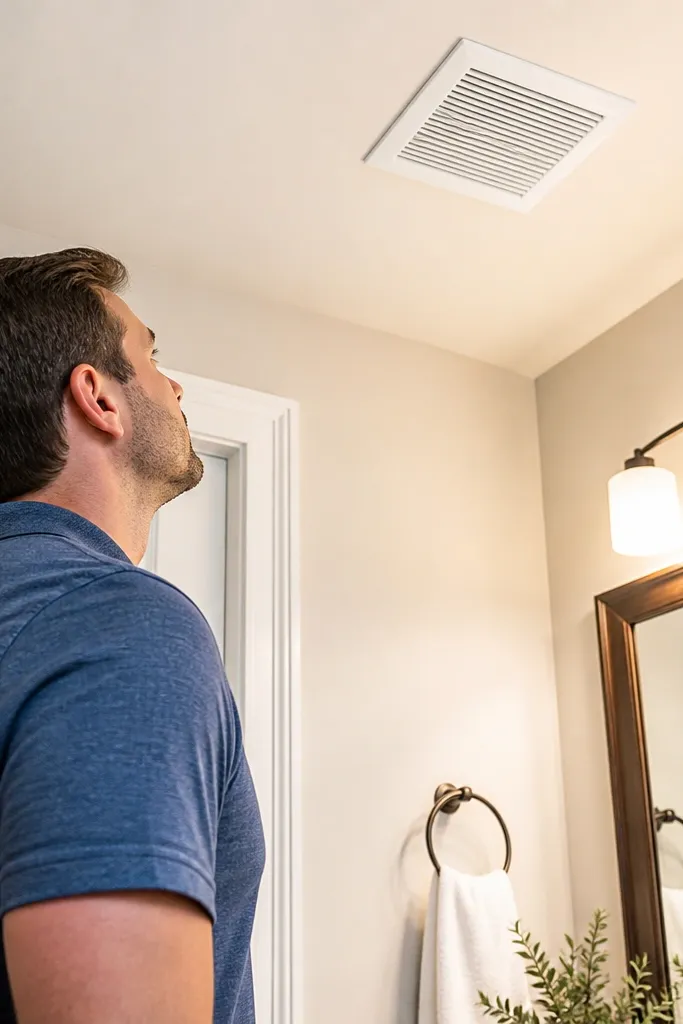
Ceiling details are easy to ignore until you take a step back. A worn or mismatched vent cover makes the whole bathroom look older, even if the walls are new. Swapping to a clean, properly sized vent cover gives you a crisp line and improves how the room looks from the doorway. Choose a cover that matches your ceiling color and has a tight fit so you don’t see uneven gaps. This is a small project with a surprisingly big “finished” effect.
Editor's notePaint the vent cover before installation only if the product allows it — otherwise use touch-up paint after.
Turn off the fan at the switch, then remove the old cover screws. Measure the opening and buy a vent cover that matches the size; don’t force a cover that’s too small. Install the new cover with the provided screws, making sure it sits flush with the ceiling. If there’s a gap, use paintable caulk around the perimeter and touch up with ceiling paint after it dries.
Skip thisDon’t seal the vent opening shut with heavy caulk.
13. Caulk and grout line cleanup with a grout color match and caulk smoothing tool
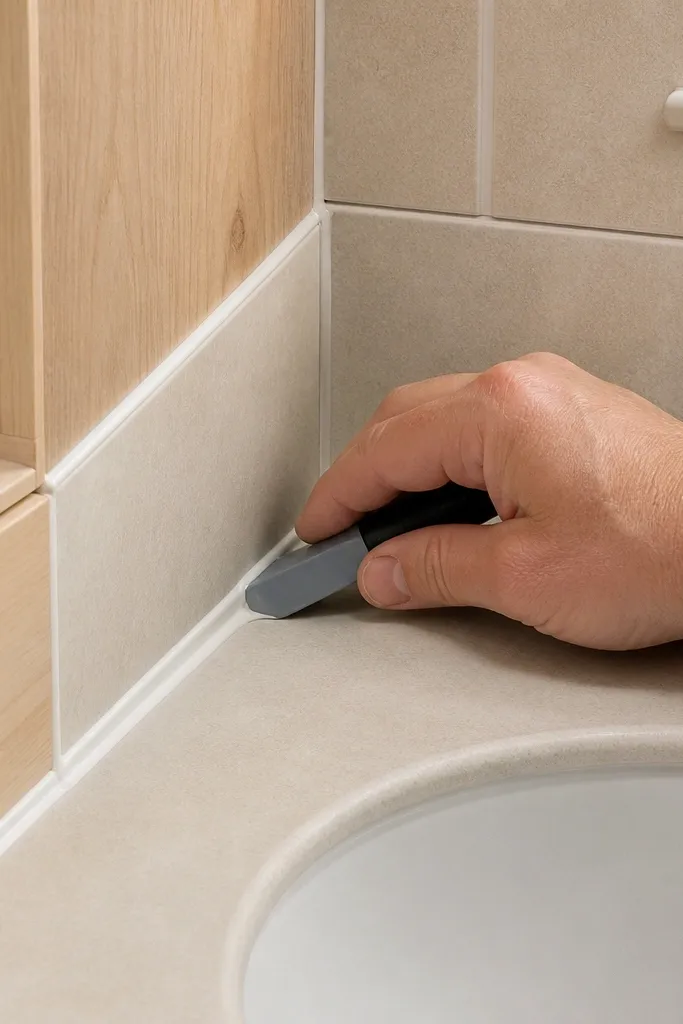
This is the step people skip, then wonder why the remodel still looks “off.” Cracked caulk and stained grout lines create dark borders that shrink a small bathroom visually. Fresh caulk around the sink, tub, and corners creates bright, continuous edges that make everything look newer. For grout, a color-matched grout refresh or re-color product brightens the lines without replacing tile. You’ll get a clean, high-contrast look that reads well in photos and feels better under your eyes every day.
Start by removing failing caulk with a utility knife and scraping until you reach clean, solid material. Clean joints thoroughly and let them dry completely. Apply new bathroom-grade silicone or acrylic caulk using a caulk gun, then smooth with a caulk tool or a gloved finger lightly dipped in water if the product allows it. For grout, use a grout colorant or refresh product with a small brush and wipe off excess before it dries.
Use painter’s tape on both sides of the joint for a straight caulk line that looks factory-made.
Don’t apply caulk over dirty seams — it peels and you’ll see it again fast.
14. Faucet aerator swap and low-splash showerhead for a cleaner look
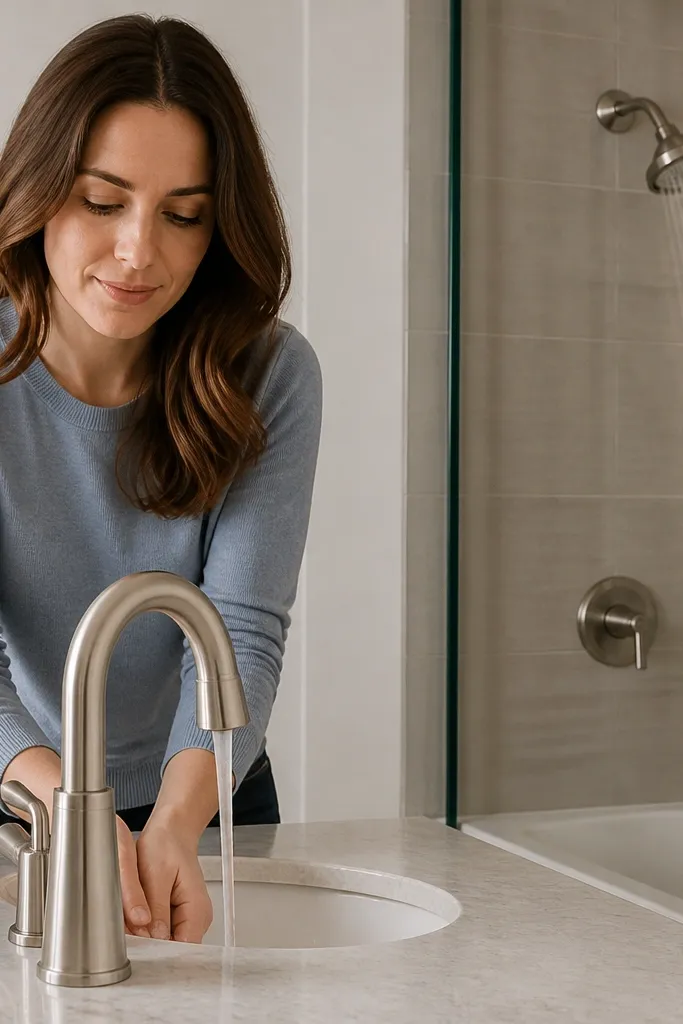
Small bathroom “look” problems often come from water spots and poor spray patterns. A new aerator reduces splatter and makes the sink and mirror stay cleaner longer, which helps the room look crisp day to day. A low-splash showerhead can also reduce messy water hitting walls and the floor. Choose finishes that match your hardware and keep the profile slim so it doesn’t look bulky against small tile. This is a quick upgrade that affects both aesthetics and day-to-day maintenance.
Start by unscrewing the faucet aerator by hand or with a strap wrench, then replace it with the same thread size. If you can, choose an aerator with a flow rate that meets your local plumbing limits. For the showerhead, remove the old head and wrap the threads with plumber’s tape, then install the new unit with a new washer if required. Run water to check for leaks and adjust the angle so water hits where it should.
Keep a small bag of microfiber cloths in a drawer so you can wipe water spots right after showers.
Don’t pick a showerhead with a huge spray face — it can look oversized in small showers.
15. Curtain or glass splash screen setup with a higher rod line
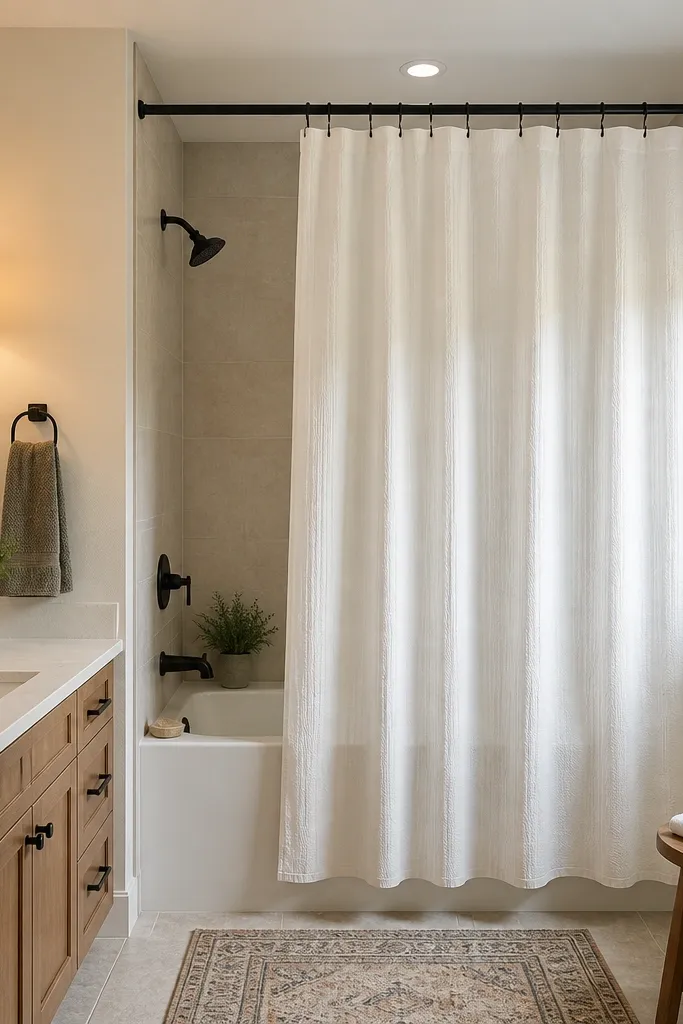
The shower boundary is where small bathrooms show messy lines. A shower curtain hung higher than the tub rim creates more vertical space visually and helps the curtain drape cleanly instead of clinging to you or the floor. If you’re using a clear splash screen, install it level so it looks intentional and modern. Choose a curtain color that matches your wall palette so it blends, not competes. This step is quick and makes the bathroom look more put-together immediately.
Editor's noteFor curtains, use weighted hem liners so the fabric falls straight and looks tidy in photos.
If using a curtain, remove the old rod and measure the shower opening width, then mount the rod with brackets so the rod sits higher than the top of the tub or curb. Use a tension rod only for small setups that match the hardware; otherwise use wall-mounted brackets. Hang the curtain with matching rings and add one liner if needed, then pull the curtain to ensure it falls flat. If using a glass screen, set it with the correct wall anchors, check level, and seal edges per the manufacturer instructions.
Skip thisDon’t let the curtain pool at the bottom — it makes the whole bathroom look damp and unclean.



