
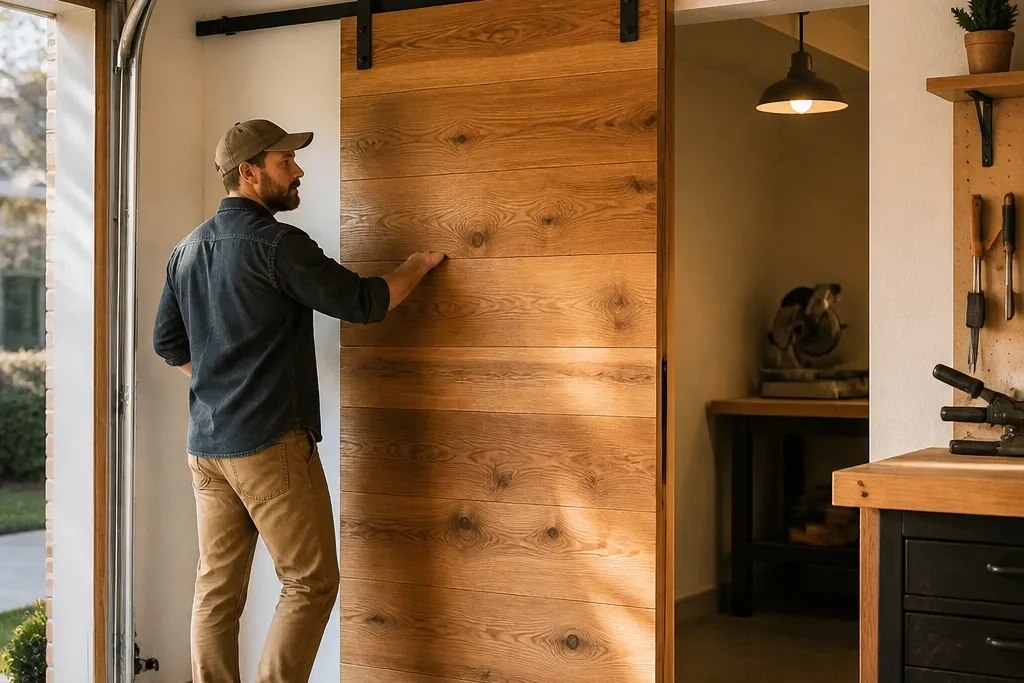
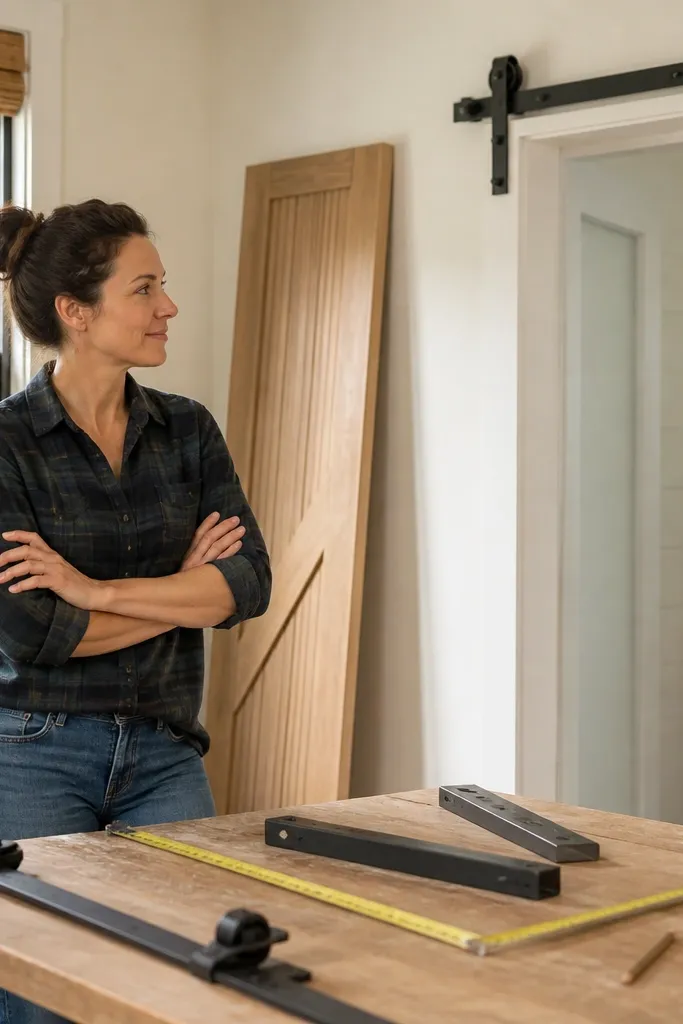
1. Classic barn slab on a surface-mount track
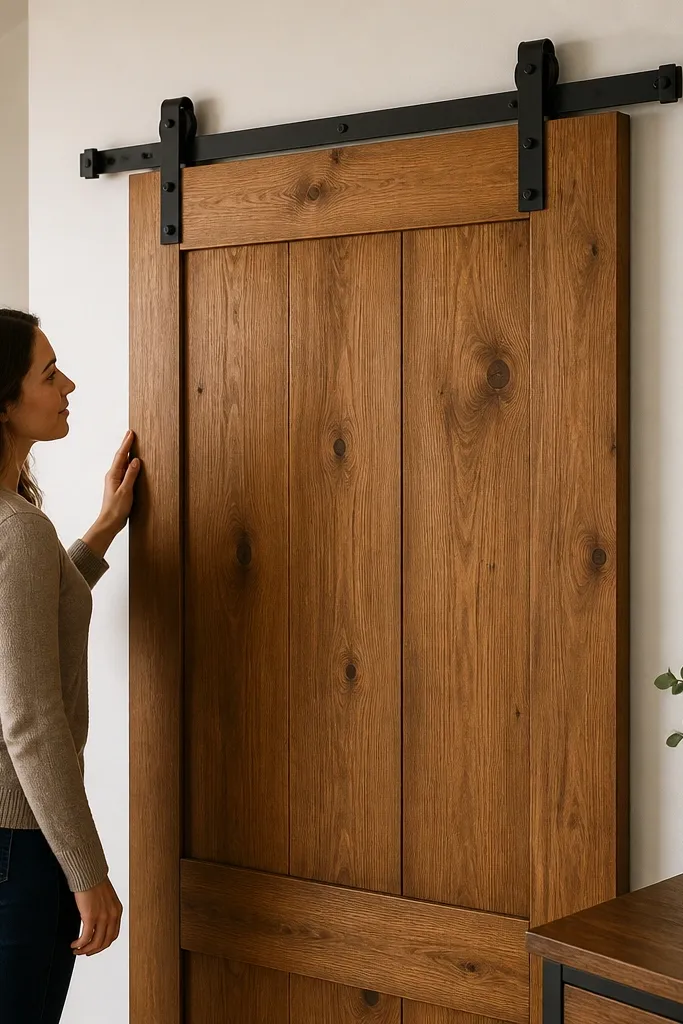
This is the “quick and easy sliding door” version that still looks intentional. A solid wood slab (or slatted panel) gives you full privacy and hides the gap between the door and the wall, even if your wall isn’t perfectly plumb. The surface-mount track is forgiving because you’re not trying to build a tight frame around glass. Expect a smooth glide with the right rollers and a floor guide, and you can finish it in one pass with a stain or paint matched to the room.
Measure the opening width and add 2 inches for overlap on each side if you want privacy. Buy a track kit rated for the door weight and install the header bracket into studs (use a stud finder and confirm with a screw test). Hang the rail at a height that leaves 1/2 inch clearance from the door to the finished floor, then mount the floor guide so it catches the door edge without dragging. Finally, hang the door, adjust the roller height using the kit’s adjustment screws, and add a door stop or soft bumper so it doesn’t slam.
Pre-drill the track holes and run screws straight — wood splits happen when you force the angle.
Don’t mount the track into drywall anchors only; wood doors are heavy enough to loosen them fast.
2. Spindle-and-slats barn door with a floor guide
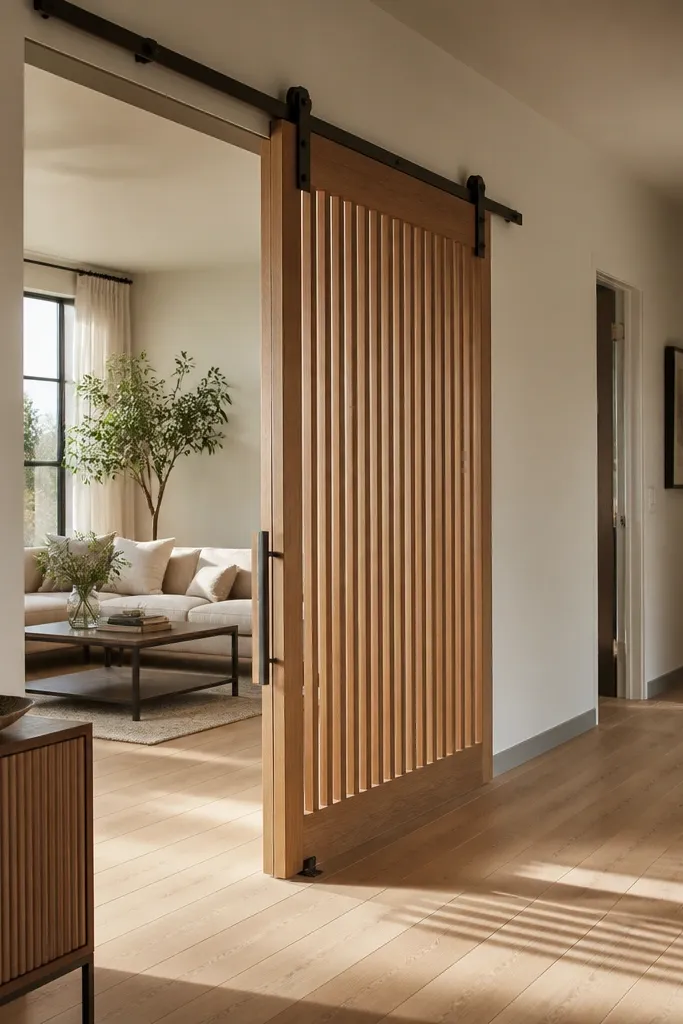
Slatted barn doors are a smart compromise when you want privacy but still want airflow and light movement in the room. Vertical slats hide the “gap problem” because the shadows between slats read as design, not mistakes. The surface track keeps the install simple, and the floor guide matters more with slatted doors because the bottom edge can flex slightly as it moves. This is a good option for closets, laundry rooms, and home offices where you want the door to look lighter but still function like a door.
Choose a pre-made slatted barn door panel sized to your opening plus overlap. Install the overhead track to studs, and set the rail so the door clears the floor by 1/2 inch. Add the floor guide by marking the door’s bottom edge position while the door is slid closed, then screw the guide so it supports the bottom without rubbing. Hang the door on the rollers, adjust the roller height so the door runs level, and test travel end-to-end before finishing.
Editor's noteUse a straight 2-foot level on the rail — small rail dips show up as scraping at one end.
Skip thisDon’t skip the floor guide; without it, the slatted panel can drift and scrape.
3. Reclaimed-look barn door with hidden handle strip
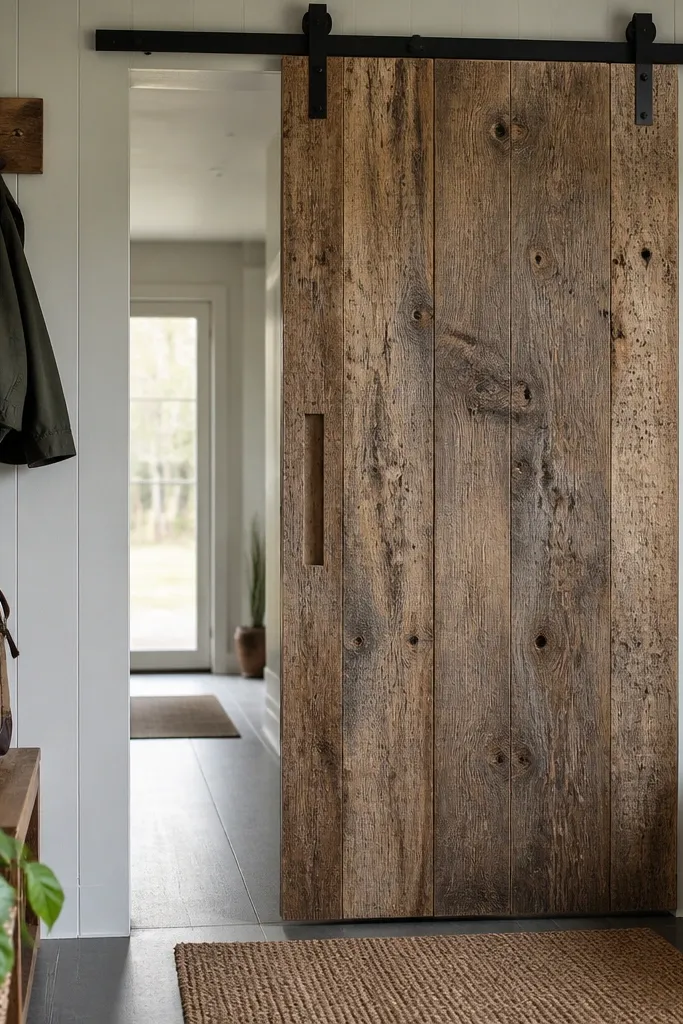
If you want barn style but hate fiddly hardware, this look uses a recessed handle strip so the door feels smooth to use. The track is still standard surface mount, so it stays in the quick and easy sliding door category. The reclaimed-look finish is just paint or stain work, not complicated joinery, which means you’re spending time on finish quality rather than carpentry. It’s ideal for entryways or hall closets where you touch the door often and want it to feel solid.
Pick a door panel thickness that matches your track kit (check the kit’s weight and thickness notes). Install the track into studs and set the rail height so the recessed handle clears the wall trim when the door slides. Cut a shallow recess for the handle strip using a straight bit and depth stop, then sand and seal the recess edges so they don’t absorb moisture. Hang the door, adjust roller height for level travel, and add a soft stop bumper at the closed position.
Editor's noteSeal the recess with two thin coats of polyurethane or a hardwax oil so the handle area stays smooth.
Skip thisDon’t mount the handle after the door is hung — it’s harder to keep the recess aligned and straight.
4. Matte-black barn door with weatherstrip for near-quiet closure
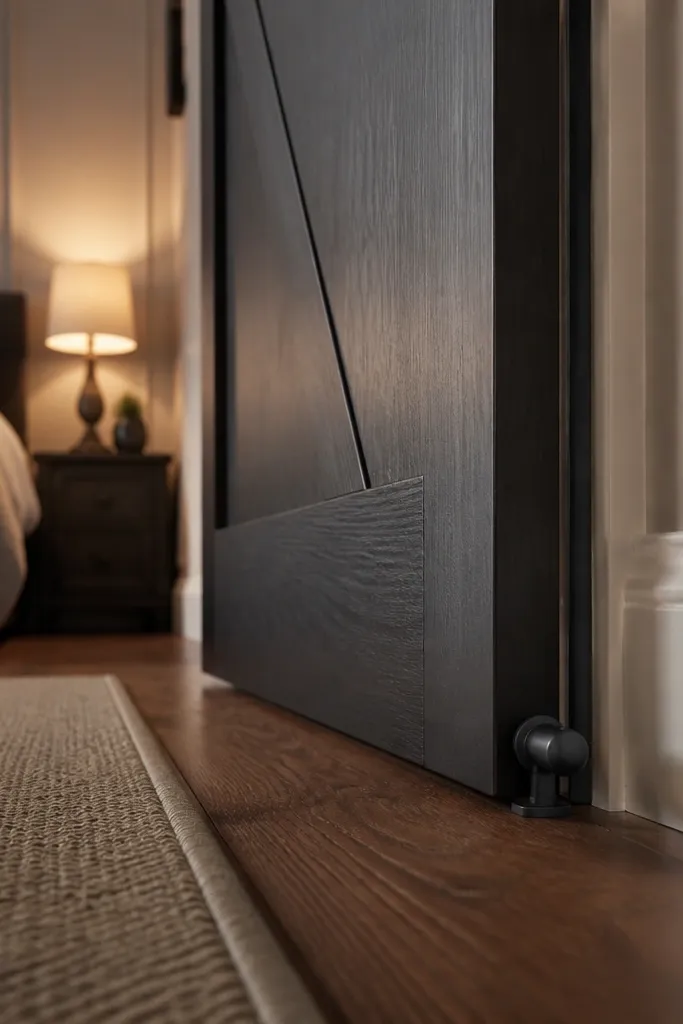
Barn doors often rattle at the bottom edge because there’s a gap. If you want a quick and easy sliding door that feels calmer when it closes, add a simple weatherstrip line and a bumper. You still get the barn-door speed and privacy, but the door stops clunking into the wall. This works especially well for bedrooms, bathrooms, and home offices where sound control matters more than you expect from a sliding door.
Mount the track to studs and hang the door with 1/2 inch clearance over the floor. Apply a low-profile adhesive weatherstrip to the door’s edge where it meets the wall when closed, keeping it centered so the door doesn’t bind. Add a rubber bumper or felt stop on the wall side to control the final contact point. Test sliding and closure — if it drags, trim the weatherstrip length by 1/4 inch and re-test.
Use a closed-cell foam weatherstrip — it compresses without shredding and it doesn’t leave residue like cheap felt.
Don’t use thick foam; it increases friction and makes roller adjustment harder.
5. Frameless glass panel with a top-mount track and soft floor guide
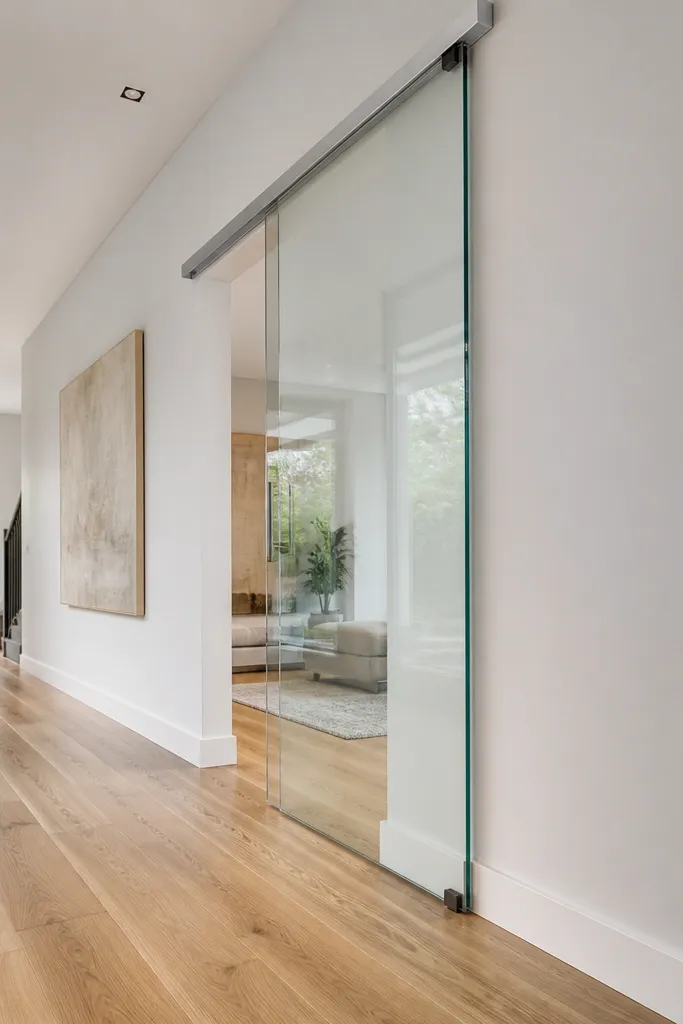
A frameless glass panel looks light and modern, and it’s the glass option that reads cleanest in a hallway or office. The downside is that glass is picky: the track must be level and the mounting must be solid, or the panel will bind or click while moving. The soft floor guide matters because it supports the panel without creating hard contact marks. This setup is best when your goal is light transfer and you can build a strong mounting line into studs or a header.
Buy a frameless glass sliding system designed for your panel thickness, and confirm the track length covers full travel plus overlap. Install the top track into studs or a structural header using the provided mounting brackets; don’t rely on drywall-only. Set the track level with shims — lock the shims in place before tightening fully. Attach the glass rollers/suspension hardware per the kit, then install a floor guide that touches the panel gently; run the door slowly to check for rub marks.
Editor's noteUse a thin bead of clear silicone at any exposed mounting gaps — it helps prevent squeaks and keeps drafts down.
Skip thisDon’t set the track by eye; glass shows every tiny tilt as uneven rubbing.
6. Framed glass sliding door with aluminum frame and door stops
Framed glass is the safer glass path for DIY because the frame hides small imperfections around the panel edges. It also gives you a more forgiving sealing surface if you’re working near a bathroom or utility area where you want less airflow. The track and rollers still need precision, but you get better control over the panel alignment because the frame is rigid. This is a strong choice when you want the light of glass without the “perfect mount or nothing” pressure.
Choose a framed glass panel system where the frame profile matches the track and roller type. Mount the track at the correct height so the frame clears the floor by about 3/8 to 1/2 inch depending on the kit. Shim behind mounting brackets until the rail is level, then tighten fully while checking level again. Add door stops at the closed position so the frame lands consistently without tapping the glass edge.
Mark the roller adjustment screws with painter’s tape before you start — you can return to the baseline if alignment gets off.
Don’t remove protective film from the glass until after final adjustments; it prevents scratches while you work.
7. Glass sliding door with frosted vinyl privacy strip
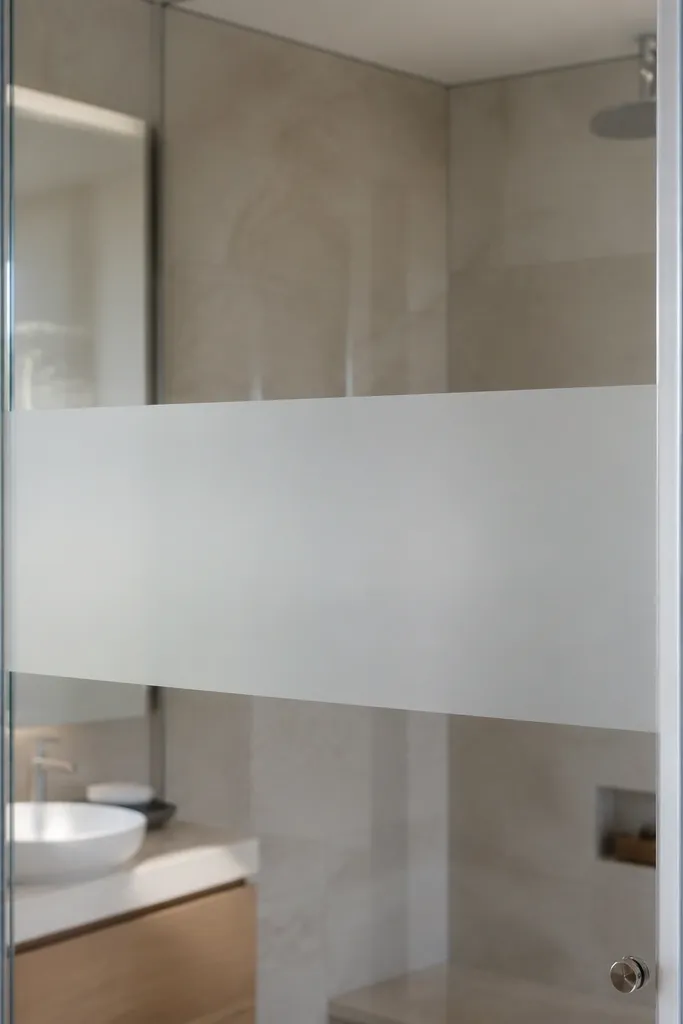
This is how you get privacy without giving up the light of glass. A frosted vinyl band (not full frosted glass) keeps the install simpler while still giving you a visual barrier where people care — like mid-height in a bathroom or office meeting room. The door still needs a solid track and careful alignment, but you’re not relying on wood gaps to hide privacy issues. It’s a practical middle ground: glass look, privacy where you want it, and a finish you can swap later.
Install the glass door system and do your roller height and floor guide alignment first. Clean the glass thoroughly with isopropyl alcohol so the vinyl sticks without bubbles. Apply the frosted vinyl band using a squeegee and soapy water mist if the vinyl instructions allow it; push out air from the center outward. Trim the edges with a sharp utility knife and a straightedge, then seal the vinyl edges if the product recommends a border seal.
Editor's noteWarm the vinyl slightly with a hair dryer on low so it conforms cleanly around small frame edges.
Skip thisDon’t apply vinyl before the door is perfectly aligned; you’ll end up with mis-cuts and visible gaps.
8. Barn door track mounted to a steel header (for weak studs)
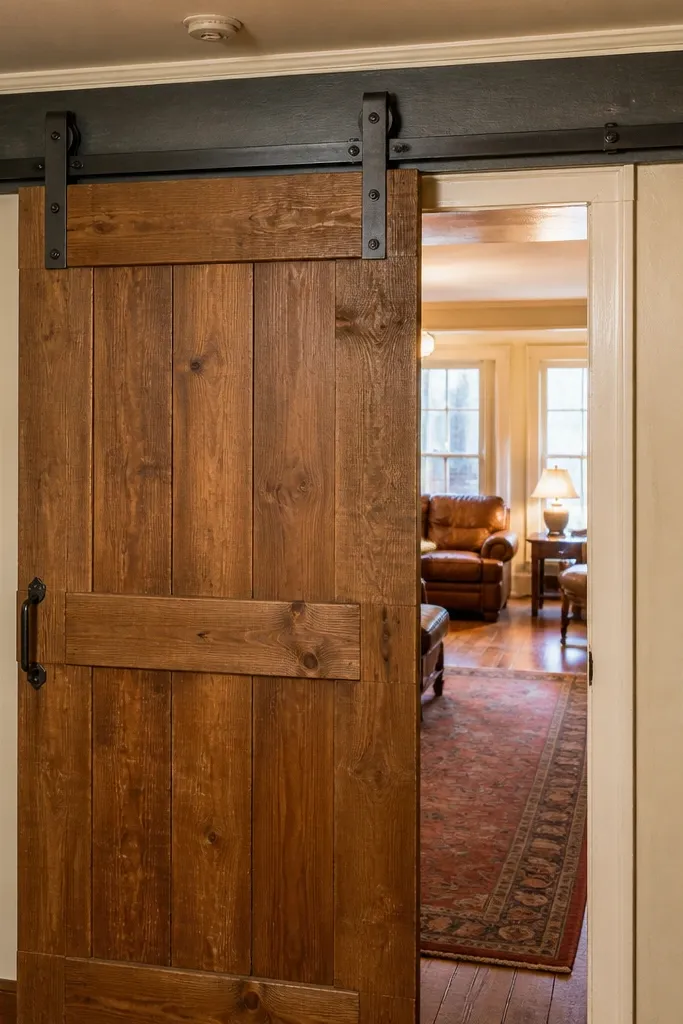
If your studs are spaced awkwardly or you’re working with older framing, a barn door can still be quick and easy if you mount to a steel header or add blocking. This option is about solving the “where do I anchor?” problem so the door runs smoothly. Barn doors are more forgiving than glass because the wood panel hides small alignment issues, but the mounting still needs strength. This is a smart fix for garages, basements, and renovations where the wall framing isn’t what you’d hope.
Locate the nearest structural steel member or add a timber blocking plate sized to spread the load across multiple studs. Mount the track brackets to the steel using the appropriate hardware rated for the material thickness, not generic screws. Set the rail height and level with shims under the bracket base plates. Hang the door, adjust roller height, then add a floor guide so the bottom edge stays aligned.
Editor's noteUse a torque wrench when tightening bracket bolts — consistent torque prevents loosening and squeaks.
Skip thisDon’t guess the bolt size; if it strips in steel, you’re done and you’ll have to re-mount.
9. Barn door with top rail guide for tile floors
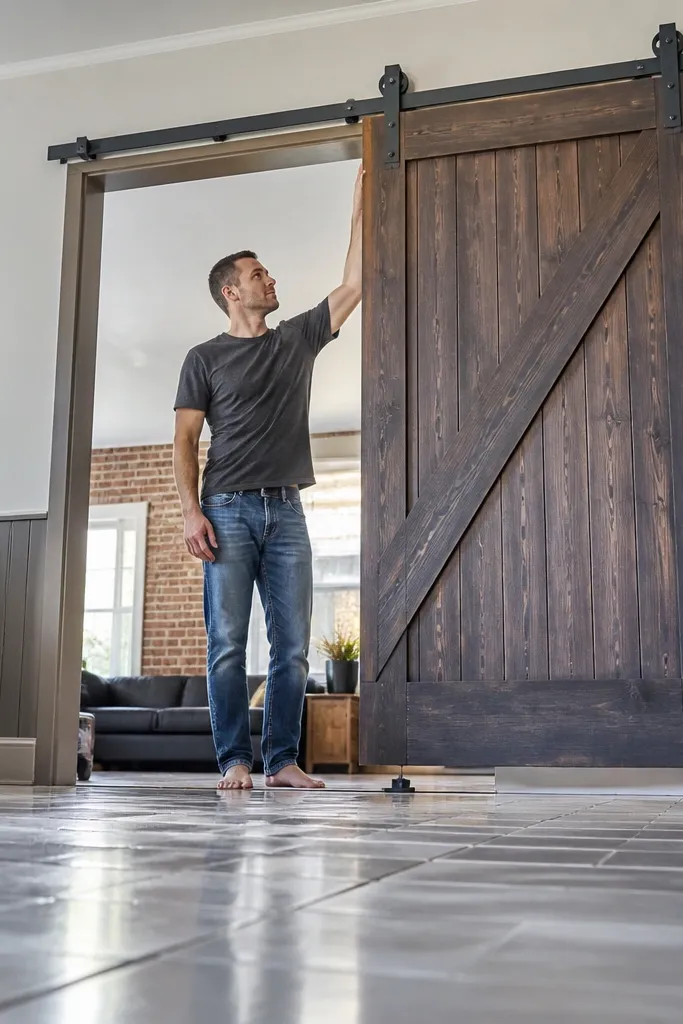
Tile floors can create unevenness that makes a barn door rub, especially if the floor guide is too tight. A top rail guide setup keeps the door’s path stable even when the floor isn’t perfectly flat. This still delivers a quick and easy sliding door because you’re not building a full enclosure or framing for glass. The look stays barn-simple, and the function improves a lot if your tile has slight lippage or your floor slopes.
Install the overhead track into studs and hang the door so it clears the floor by 1/2 inch. Add a top rail guide or anti-rack guide as specified by your kit or by matching guide hardware to your door thickness. Adjust the guides so the door stays centered without side pressure; run the door slowly both directions to check for rubbing. If you use a floor guide, set it with a small clearance so it doesn’t drag on tile high spots.
Mark the rub spots with a pencil, then adjust one screw at a time on the roller height.
Don’t crank the floor guide down — tight guides create squeaks and chip tile edges over time.
10. Glass pocket-style bypass track (for tight hallways)
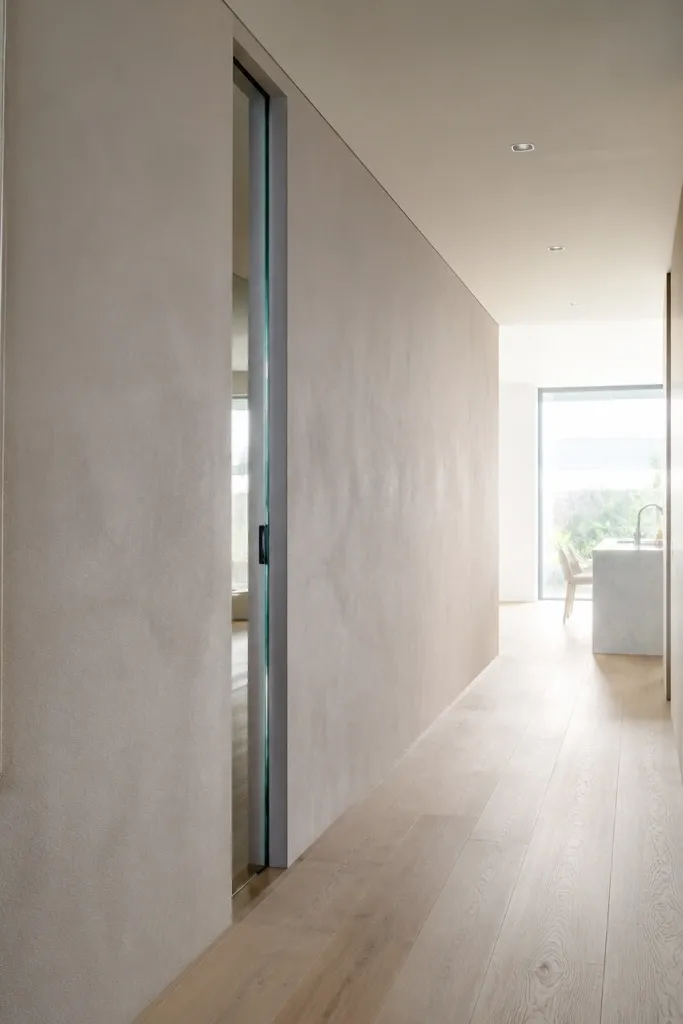
If you hate a visible track in a tight hallway, a pocket-style bypass is the cleanest look. Glass in a pocket still gives you light and a modern feel, but the build is more complex than surface-mount: you’re creating a wall cavity, reinforcing the opening, and sealing edges so air doesn’t leak. This is the option when your “quick and easy” goal is about appearance and space, not about a same-day install. Plan for carpentry work around the pocket framing and careful hardware alignment.
Frame the pocket opening with clear dimensions that match the door panel size and track system, then add blocking for mounting points. Install the top track inside the pocket first, level it, and lock shims before closing the wall. Mount the glass panel hardware and test travel before drywall or trim goes on. Finish by sealing the pocket perimeter with paintable caulk and adding a soft stop so the panel lands quietly inside the pocket.
Editor's noteDo a dry run with the panel before closing the cavity — once the wall is up, roller adjustments are annoying.
Skip thisDon’t skip air sealing around the pocket; drafts are the giveaway with pocket doors.



