
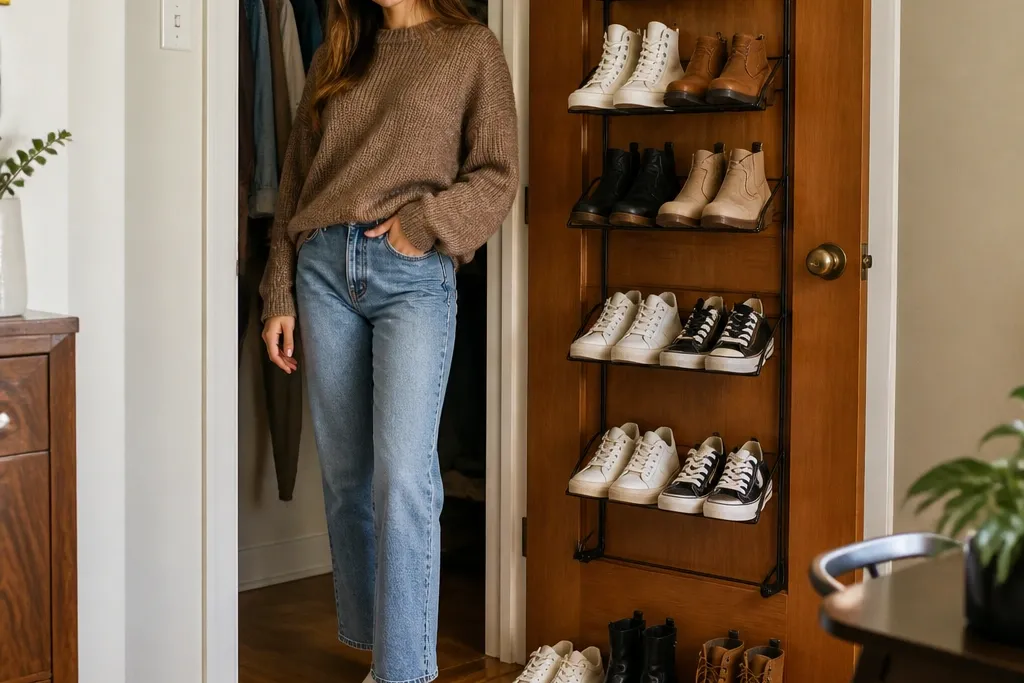
1. Over-the-Door Shoe Rack with Fabric Backing (Clean, Front-Facing Rows)
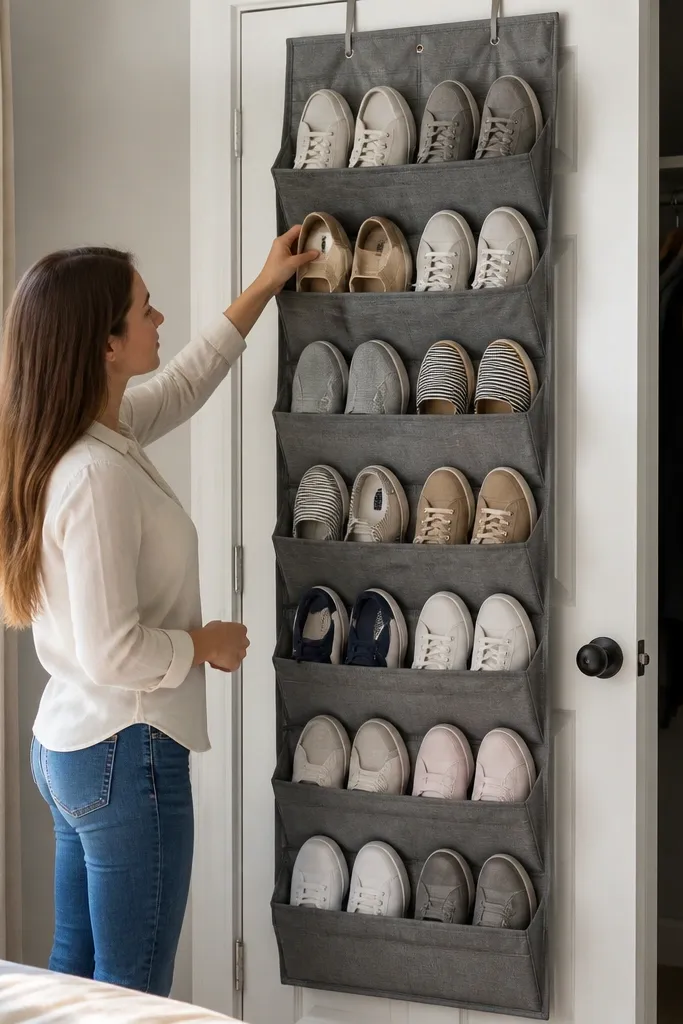
This is the fastest way to get quick and easy shoe storage ideas working without drilling into your closet. The look is tidy because shoes face the same direction, and the rack uses vertical space you already have. Fabric backing helps the rack sit flatter against the door and keeps small shoes from slipping through gaps. It also keeps daily pairs easy to see, which matters more than people think when you’re trying to cut closet chaos. Choose a rack with reinforced pockets and clear pocket openings so the arrangement stays straight.
Measure your door width first, including the knob area. Hang the rack so the bottom row sits about 2 inches above the floor, then straighten it before you fully commit the hooks or straps. If the rack has adjustable straps, set them so the fabric backing is taut with no sag. Load shoes by weight — light pairs first on the top rows, heavier pairs in the middle — so the pockets don’t stretch. Finish by aligning toe boxes in a single direction so the row looks intentional from the doorway.
Put thin insoles or folded tissue paper in the top pockets to keep shoes from collapsing and looking messy.
Don’t overload every pocket at once — stretched pockets make the whole rack look sloppy.
2. Clear Cube Bins on a Closet Shelf (See-Through, Label-First Aesthetic)
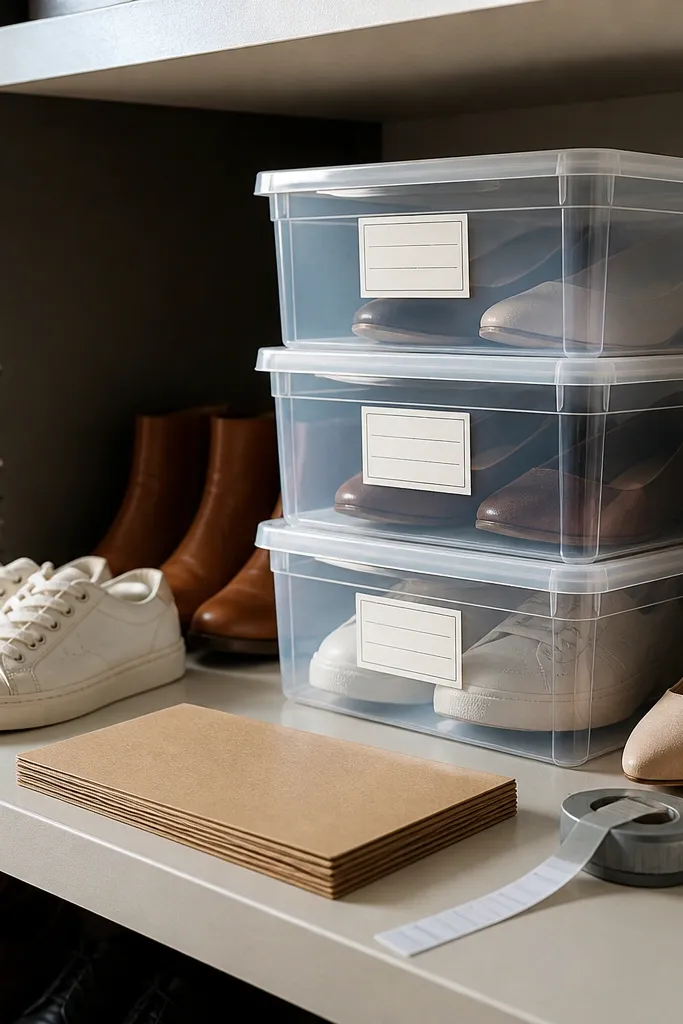
If you want your closet to look “designed” instead of “organized,” clear bins do it. You can see what’s inside at a glance, and grouping pairs by type makes the whole shelf look uniform. This works best for flats, sandals, and kids' shoes — the kinds that disappear in fabric organizers. Use bins only where you have solid shelf support, because flimsy shelving warps and makes bins tilt. The visual payoff is clean lines: same bin height, same label placement, same direction.
Pick a shelf height that fits one bin plus a little breathing room — aim for a 1 to 2 inch gap above the bin lids. Wipe the shelf and bins so the labels stick cleanly. Add a label to the front of each bin using a label maker or painter’s tape with a permanent marker, placed consistently at the same height. Put shoes in by category, not by random pairs, and keep each bin to one type (ex: flats only). Finally, line the bins up so the front edges form one straight row.
Use a small piece of non-slip shelf liner under each bin so the bin doesn’t slide when you open the closet.
Don’t stack bins on top of each other unless the shelf is deep and sturdy — the tilt kills the look.
3. Slanted Entryway Shoe Ledge Inside the Closet (Boots Don't Get Sloppy)
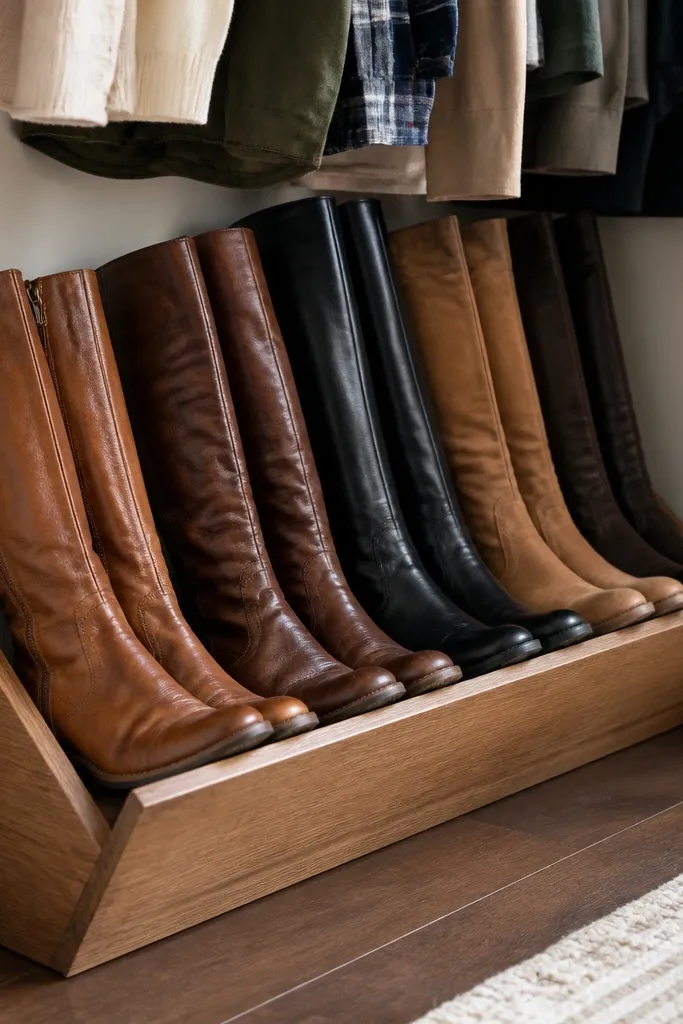
Choose a ledge material like 1x12 boards (about 3/4 inch thick) or a pre-finished shelf board to skip sanding. Cut it to your closet width minus about 1/2 inch for clearance on each side. Install two heavy-duty shelf brackets on the wall so the board sits at a slight angle — enough that boots rest without tipping, typically around a 15 to 25 degree slant. Mount the board level across, then test with one boot before loading all pairs. Seal the board with a clear coat if it’s unfinished wood, then add a small strip of rubber shelf liner where boots contact the surface.
A slanted ledge is one of the prettiest ways to store boots without making them look like they’re being crammed in. The slope keeps shafts from collapsing, and the row is easy to scan when you’re grabbing shoes. For quick and easy shoe storage ideas, this is a smart move because you can build it with simple wood and brackets and reuse existing closet shelves. It also looks better than a vertical boot rack when your closet is narrow, since the ledge gives a smooth line across the wall. If you like clean visuals, this is the storage style that photographs well.
Skip thisAvoid a flat shelf for boots — collapsed shafts make the row look messy fast.
Editor's notePre-drill bracket holes and use wood screws, not drywall anchors, when you can hit studs — the shelf stops shifting.
4. Pegboard Shoe Organizer with Hooks and Mini Shelves (Patterned, Photo-Ready)
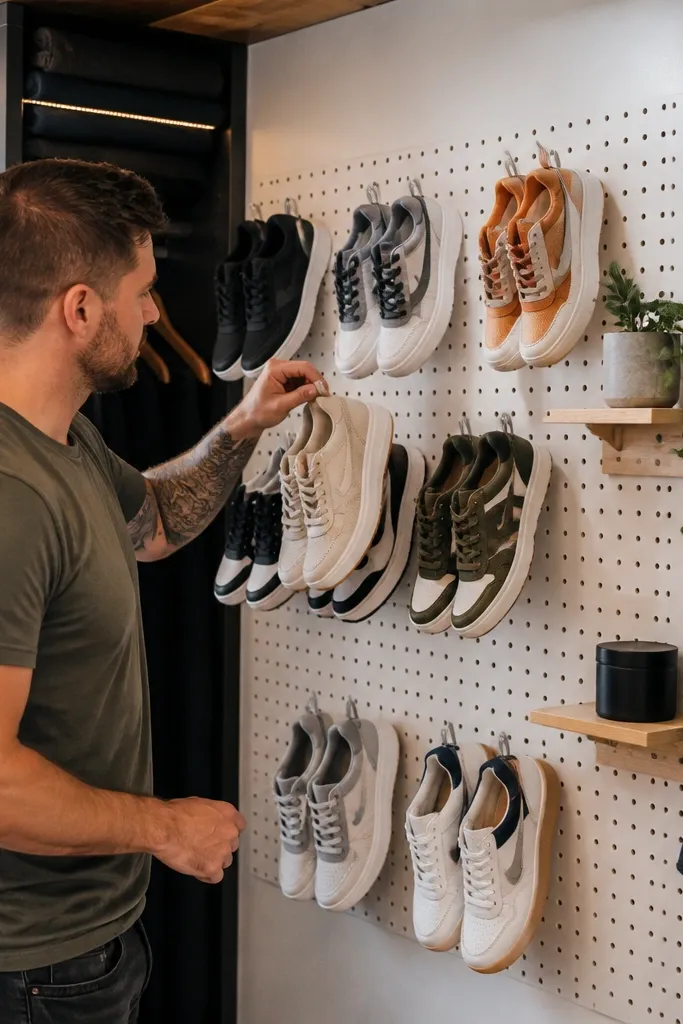
Mount pegboard to a closet wall using screws into studs when possible. Paint or prime the pegboard first if you want a uniform look with your closet — matte white hides scuffs and fingerprints. Add a row of hooks at one height for daily pairs and a second row for backup shoes. For mini shelves, use small pegboard shelf brackets and screw them into the pegboard holes so they sit level. Place shoes by shape — hang slip-ons by laces, rest flats on shelves, and keep heels facing outward for easy scanning.
Pegboard makes shoe storage look intentional because it turns storage into a grid. It’s also surprisingly practical for quick and easy shoe storage ideas when you want shoes to hang cleanly and still have a little shelf space for smaller pairs. The hooks hold sneakers by the laces or heel tabs, while mini shelves catch sandals and flats so they don’t flop. This setup looks crisp in a neutral closet because pegboard is clean, and you can keep everything aligned to the holes. The best part is flexibility — you can reconfigure as your shoe mix changes.
Skip thisDon’t hang heavy boots on tiny hooks — scale up the hook size or store boots on ledges.
Editor's noteUse identical hooks and keep the hook spacing consistent — the grid look is what makes this feel “designed.”
5. Stackable Under-Shelf Shoe Drawers (Hidden Storage with Strong Visual Order)
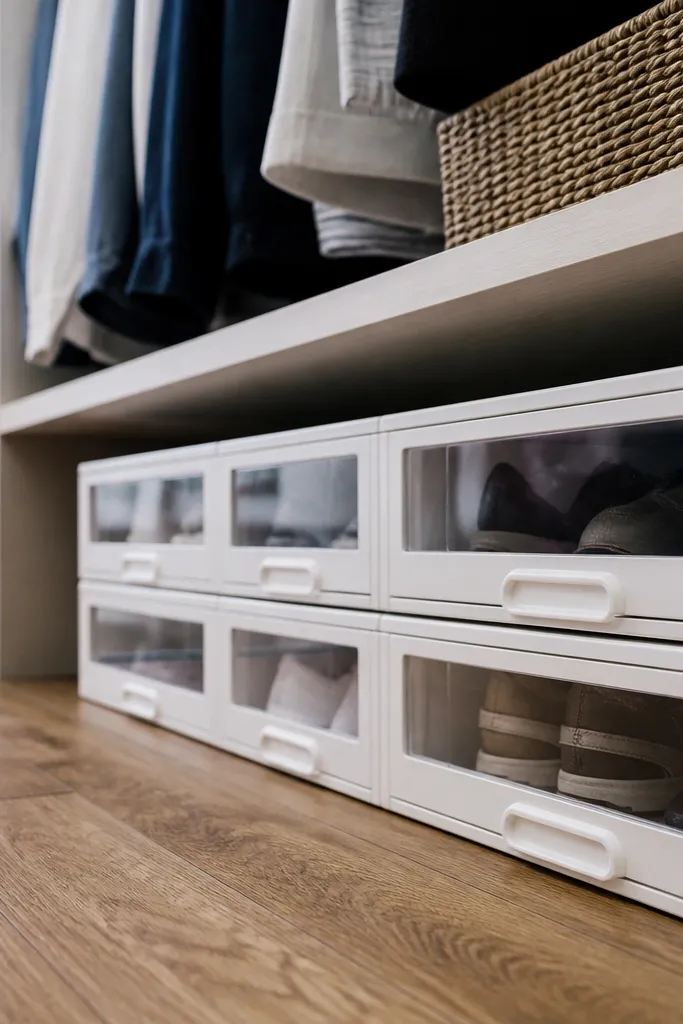
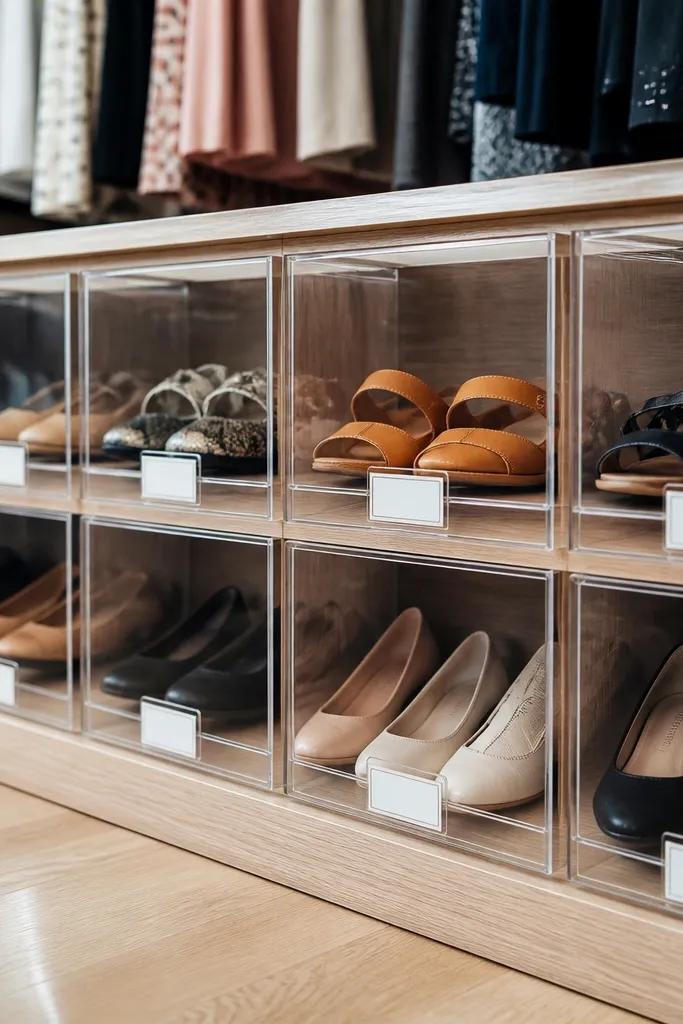
Hidden storage is the cheat code for a closet that always looks neat. Pull-out drawers under a shelf keep shoes out of sight, which instantly improves the look of the whole closet. This is a great fit for quick and easy shoe storage ideas when you’re working around hanging clothes and you don’t want more visible bins. Choose drawers with smooth slides and a fabric or hard-sided front so the opening stays clean. The visual win is simple: fewer random shoes visible, and a uniform line under the shelf.
Find the shelf clearance first — you need enough space for drawer height plus handle clearance. Buy stackable under-shelf drawers sized for your shelf depth and rail system, or measure and build simple drawer boxes with slides. Mount drawer rails or use the drawer’s included installation clips, then test one drawer for smooth movement before loading. Store smaller shoes folded or paired inside each drawer, and keep one drawer per category (daily, seasonal). Label the drawer fronts with a small strip of painter’s tape so you can see what’s inside without opening everything.
Add a thin rubber mat inside each drawer to stop shoes from sliding when you pull it out.
Avoid deep drawers for narrow closets — they force you to pull everything to reach the back pair.
6. Wooden Shoe Cubby Bench Look Using 2x2 Frames (High-End Sightline, Cheap Build)
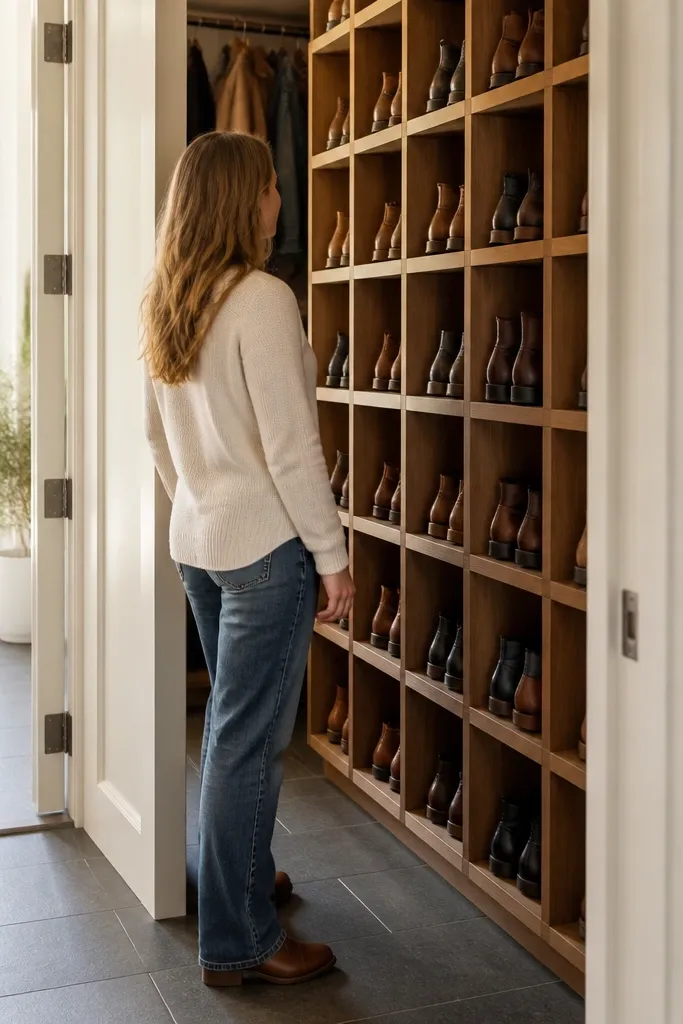
Use 2x2 lumber or pre-cut square stock to build a grid frame, with compartment widths around 8 to 10 inches for most sneakers and flats. Cut the vertical and horizontal pieces, then screw joints with wood screws and add corner brackets if you want it extra solid. Install the frame inside the closet at the height you want the cubbies to sit, then add a back panel or thin plywood to stop shoes from falling behind. Leave the cubby fronts open for easy access, and add a thin ledge lip if you want shoes to sit at a consistent angle. Sand edges, then stain or paint to match your closet trim; let it cure fully before loading shoes.
If your closet is visible from the hallway or you just hate seeing shoes, a cubby grid gives you the cleanest look. This project turns storage into a uniform wall of compartments, so shoes don’t look scattered. It’s also a strong option for quick and easy shoe storage ideas because you can build it with straight cuts and simple framing. The compartments keep pairs from leaning into each other, which means less scuffing and less “why is this pair everywhere?” mess. Build it to match your closet height and you’ll get a storage wall that looks like furniture.
Skip thisDon’t make cubbies all the same depth without checking boot height — boots need a taller section.
Editor's noteLine the bottom of each cubby with a small square of felt so shoes don’t slide and the wood stays clean.
7. Magnetic Latch Shoe Hooks for Closets with Doors (No Drilling, Neat Pairs)
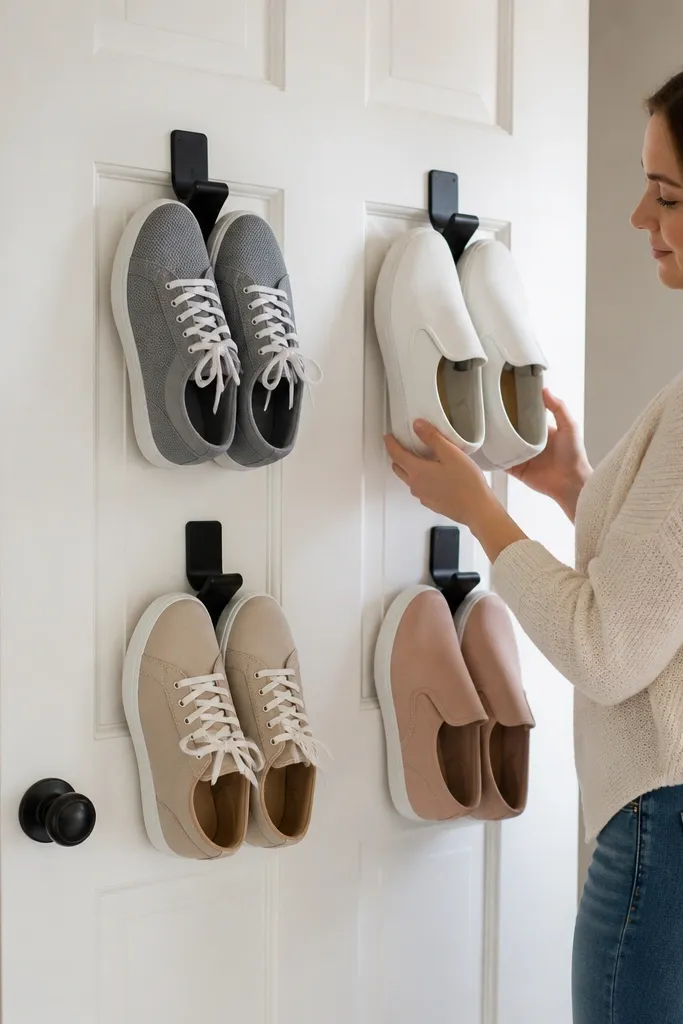
This is for people who can’t drill and still want quick and easy shoe storage ideas that looks sharp. Magnetic latch hooks keep shoes facing forward and off the floor, which immediately cleans up the closet vibe. It’s especially good for lightweight sneakers, slip-ons, and kids' shoes that fit neatly on hooks. The look stays tidy because the laces create a consistent hanging shape. If you have a closet door with a smooth surface, this is one of the cleanest no-tools options.
Choose a hook set with strong magnets and a latch so it doesn’t slide when you open the door. Clean the door surface with rubbing alcohol so the magnets seat tightly. Position hooks in a vertical line first, then step back and check spacing — leave enough room that shoes don’t bump each other. Hang shoes by laces or heel loops so the toe points down and the shoe doesn’t twist. Add a small strip of felt at the hook contact point to prevent scuffs on leather and canvas.
Keep hook rows to one category at a time so the hanging shapes stay uniform.
Don’t hang heavy boots on magnetic hooks — the door movement loosens them.
8. Shoe Wall Tags with Clear Plastic Pockets (Make Maintenance Impossible to Mess Up)
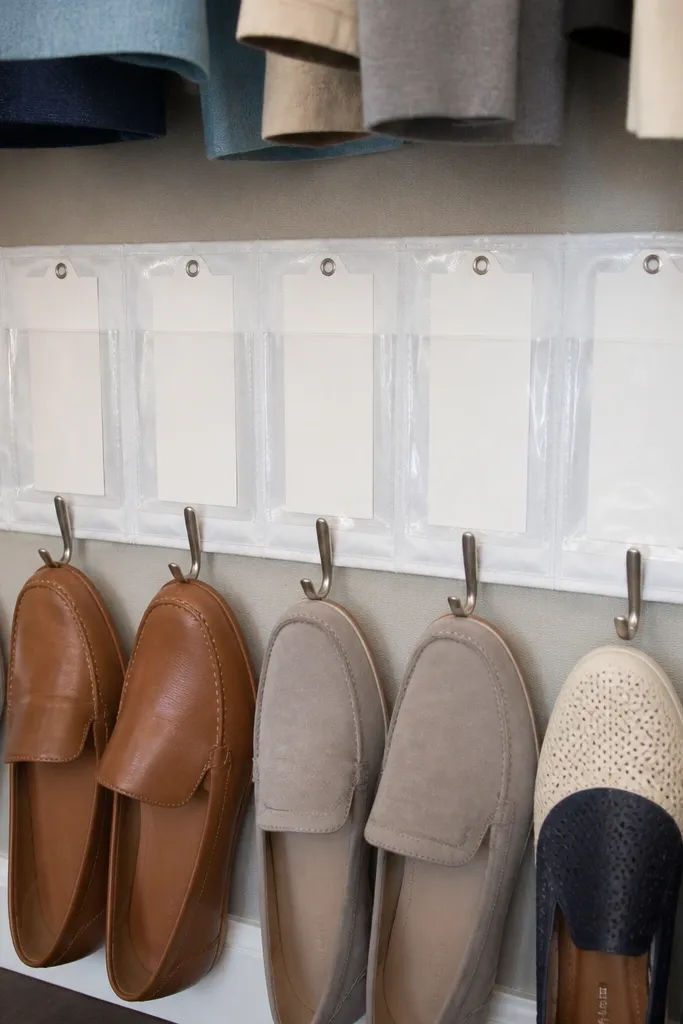
Pick a wall spot inside the closet where you can see the labels when you open the door — usually near eye level or next to the shoe zone. Use clear plastic label pockets with a rigid backing so they don’t crumple. Create four categories: daily, seasonal, special, and donate/repair. Write the category names on card stock and insert them into the pockets. Then place the bins, cubbies, or racks in a matching order from left to right so the system has a visual path.
Most shoe storage fails because nobody knows where each pair goes after laundry day. Clear plastic tag pockets fix that by making the closet rules visible. This is the finishing step that makes the whole system stay photogenic, not just organized for two days. It’s not storage by itself — it’s the guardrail that keeps shoes facing the same way and pairs in their zone. Use it with bins, cubbies, or hanging racks and you’ll see the mess stop creeping back in. The look is clean because labels are aligned and the pockets protect the paper.
Skip thisSkip generic “shoes” labels — they don’t prevent the pile from forming again.
Editor's noteUse a label maker with a consistent font size and keep labels on the same vertical line for a crisp look.



