
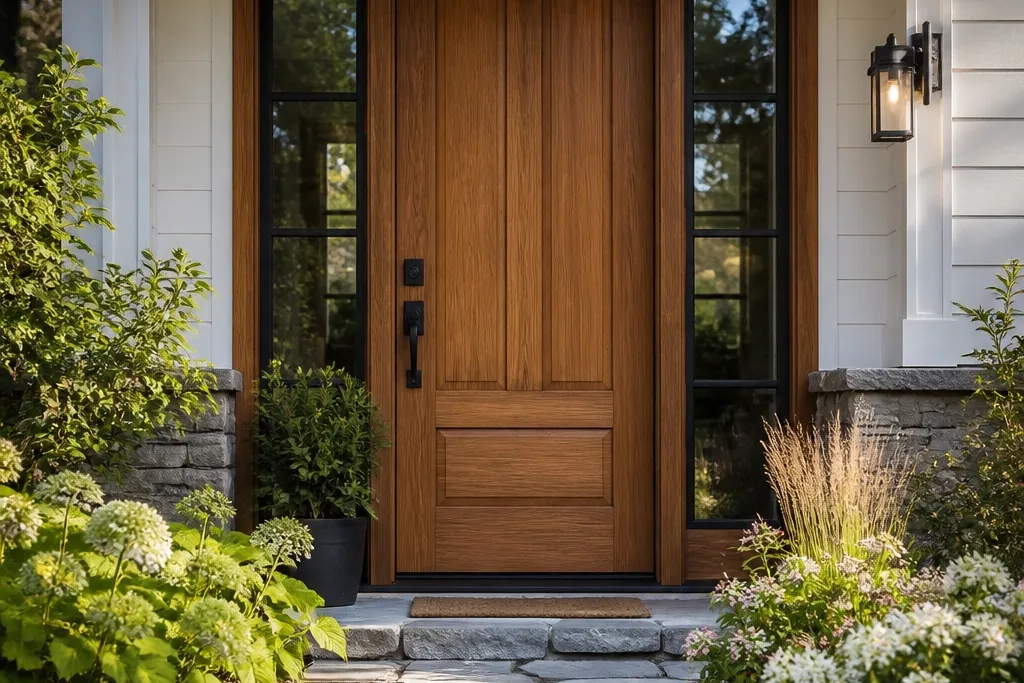
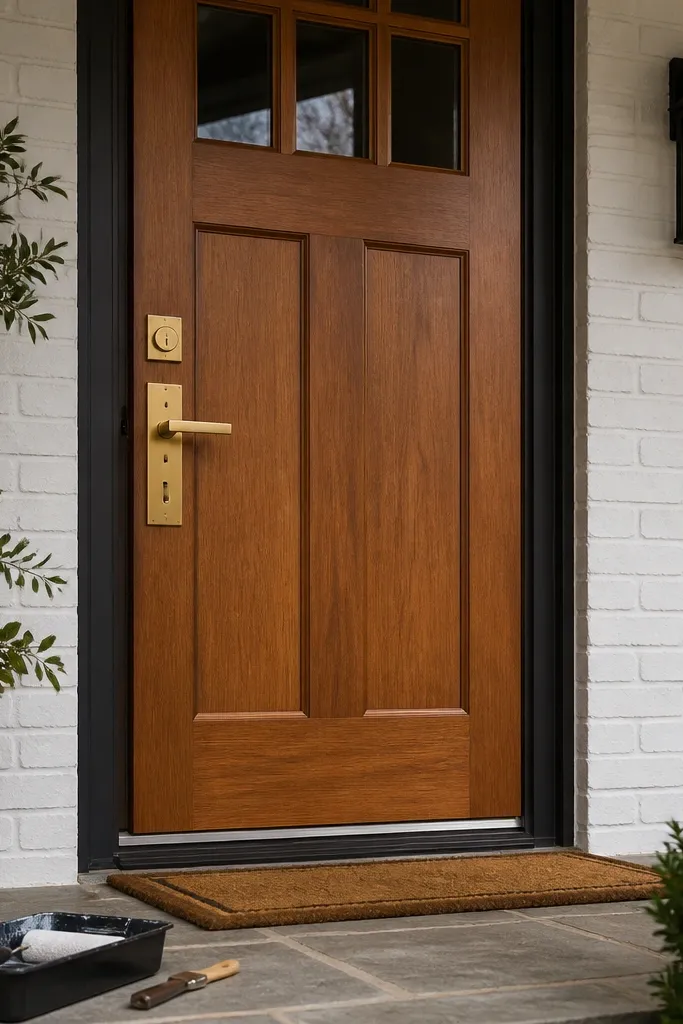
1. Teak recessed-panel slab with a satin oil finish
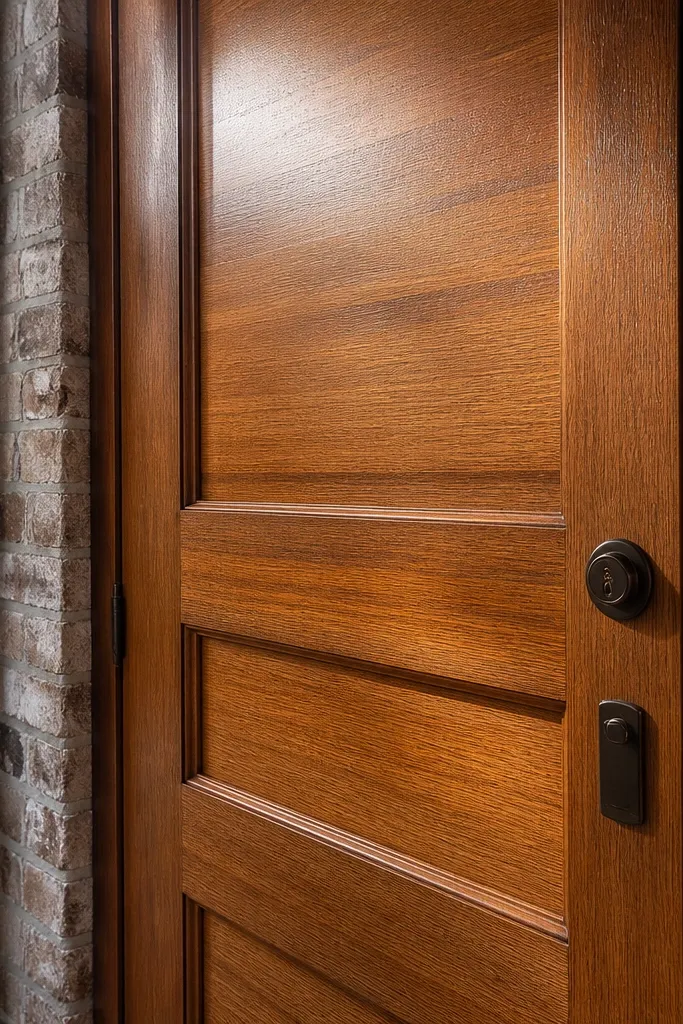
This is the “safe bet” teak main entrance door design because the panel layout hides small surface waves and gives depth without needing fancy detailing. A satin oil finish keeps the grain warm and tactile, and it doesn’t look plasticky like heavy gloss sealers. It also forgives minor DIY handling — you can spot-sand and re-oil a scuffed edge without repainting the whole door. Choose this when you want a classic look that still feels updated because the sheen stays low and modern.
First, buy a pre-sized teak door slab or a door kit that matches your slab dimensions; measure the slab width/height and confirm the hinge locations before you order. Then sand to 180 grit, wipe dust, and apply two thin coats of exterior teak oil with a foam brush, letting it soak and drying between coats per the product label. Finally, install with new exterior-rated hinges, set shims to keep a consistent reveal, and seal the bottom edge with extra oil or a compatible exterior sealer.
Editor's noteUse painter’s tape to mask the hinge mortises so oil doesn’t interfere with metal-to-wood contact.
Skip thisDon’t apply a thick coat — it stays tacky longer and attracts grime at the handle height.
2. Dark teak stain over light teak boards (even color, clean panels)
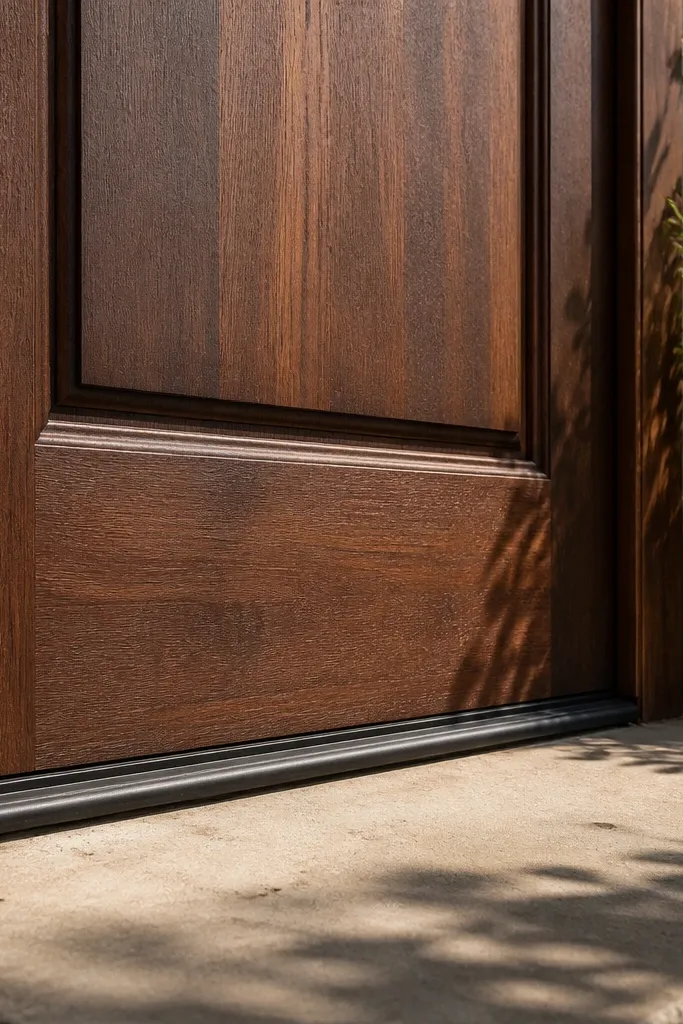
If your teak source has mixed color or you’re working with boards that aren’t perfectly matched, stain is the fastest way to make the whole door look intentional. Dark teak stain shifts the tone toward a rich brown that reads upscale even with a simple panel design. Matte or low-sheen sealer makes the door look less “workshop” and more finished from the street. This is a smart choice when the entry gets harsh sun and you want the door to look consistent throughout the day.
Start by scuff-sanding the slab with 120 grit, then wipe clean and do a test spot in a hidden corner to confirm the stain depth on your exact teak. Apply stain evenly with a rag, working with the grain, and keep a wet edge so you don’t get streaking on the panel faces. Let it dry fully, then apply two coats of exterior matte sealer, sanding lightly with 220 grit between coats for smoothness.
Mix a small batch of stain in one container for the whole slab so the shade doesn’t drift between panels.
Avoid staining in direct midday sun — it flashes dry unevenly and creates darker edges.
3. Teak door with glass upper third in a black aluminum frame
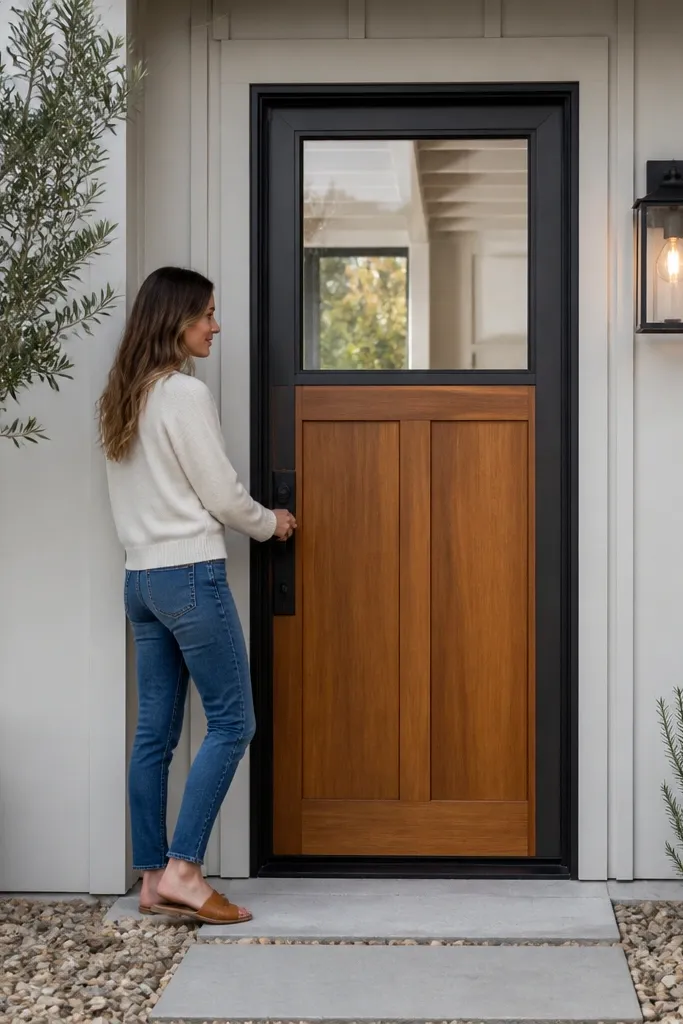
This hybrid look is the best blend of “warm” and “bright” without turning the whole door into a glass panel. The teak lower section grounds the entry, and the glass upper third brings in light where people need it most — near the top where shadows fall. A black aluminum frame makes the glass read crisp and helps the hardware look intentional instead of mismatched. Pick this when you want quick curb appeal without losing privacy completely.
First, choose a pre-made hybrid door or a kit that includes the teak slab and glass panel with an aluminum frame; DIY cutting into a finished slab is where mistakes get expensive. Then install the door using exterior-rated shims at the hinge points and adjust until you get a consistent reveal around the glass and the teak panels. Finally, set the glass with the included glazing gasket and tighten fasteners evenly, then apply exterior silicone only where the kit calls for it.
Dry-fit the aluminum frame and check that the glass sits square before you tighten anything down.
Don’t use clear bathroom silicone — it can discolor and break down faster outdoors.
4. Full-lite glass door with satin privacy film (fastest visual change)
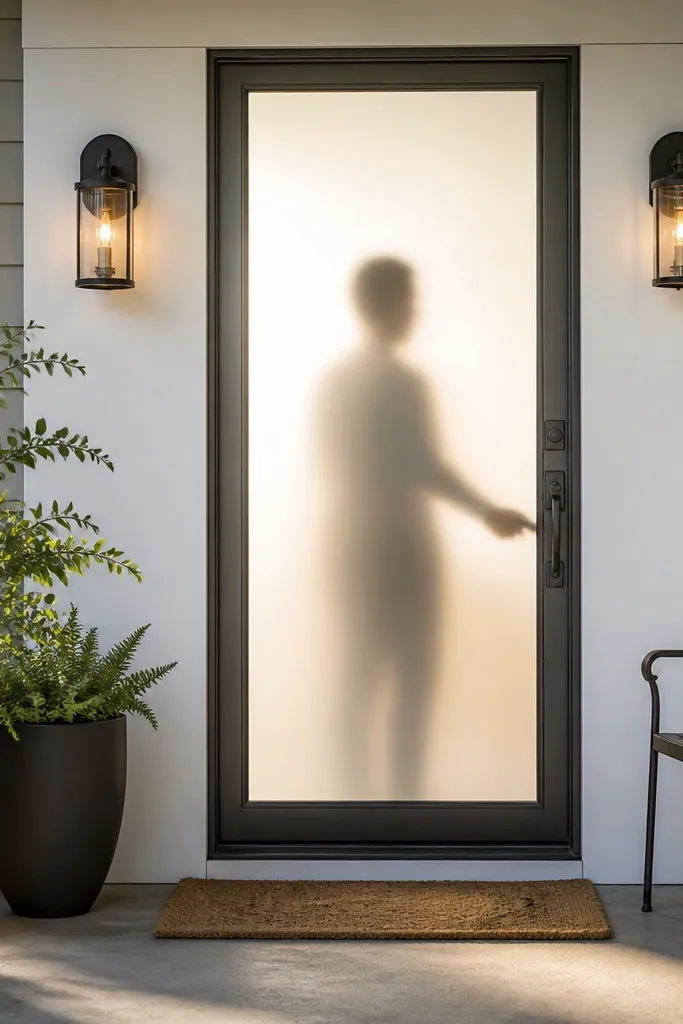
If your goal is quick and easy main entrance door design, this is the fastest route to a modern look because you’re starting with a glass slab that installs like a standard door. Satin privacy film on clear glass keeps the entry bright but reduces direct sightlines — you still get movement and light patterns without “seeing into” the house. It also lets you choose the privacy level without replacing the entire door system. This works best for homes where you have side lighting or a porch that already blocks direct view.
First, buy a pre-hung or slab glass door that fits your opening and includes proper tempered glass — don’t cut corners on safety glass. Clean the glass thoroughly with a dedicated glass cleaner and lint-free cloth, then apply the satin film using a spray solution so you can position it without bubbles. Trim edges carefully with a new blade, then seal the perimeter per the film instructions and install the door with weatherstripping that seals evenly.
Use a squeegee with a felt edge so you don’t scratch the glass during bubble removal.
Don’t stretch film tight — tension shows as ripples under bright sunlight.
5. Frosted textured glass door (privacy-first, still bright)
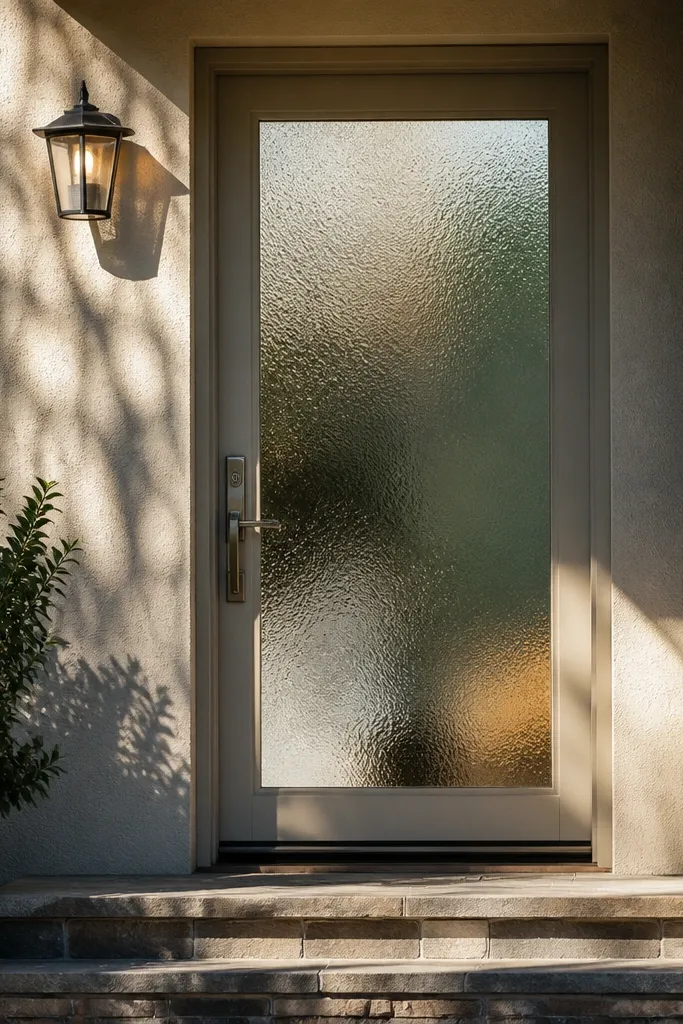
Textured frosted glass looks more expensive than plain frosted because the surface catches light differently and hides minor alignment gaps. It’s a strong choice if you live close to a neighbor or your entry faces a walkway where privacy matters. The door still feels welcoming because the light is diffused, not blocked. This design is also very forgiving when you can’t control how the sun hits your doorway.
First, choose a door slab with tempered textured glass and confirm the glass size matches the door frame opening. Then install like any slab swap: set the hinges on shims, hang the slab, and adjust until the reveal is even — textured glass will exaggerate uneven gaps only if they’re large. Finally, check weatherstripping contact all around and apply exterior sealant only at the points the door manufacturer specifies.
Editor's noteTake a flashlight test after installation — shine it around the edges to find tiny leaks before you finish.
Skip thisDon’t install textured glass with missing gaskets — it can rattle and leak water over time.
6. Teak + etched glass pattern (custom feel without busy panels)
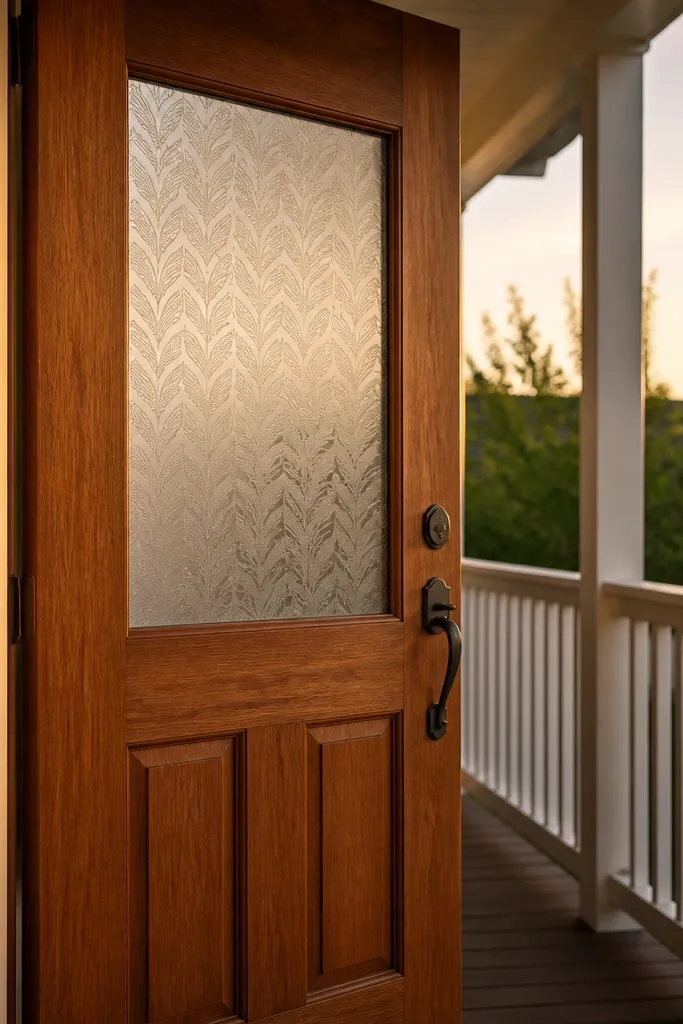
Etched glass gives you a designer look without going full full-lite. The pattern is usually readable at a distance, while the interior view stays private enough for most entries. Pairing etched glass with a simple teak panel layout keeps the door from looking cluttered. This is a good move when you want quick and easy main entrance door design that still looks custom on day one.
First, pick a door where the etched glass is factory-bonded or mechanically secured; DIY glass cutting and re-seating is where chips and leaks happen. Then dry-fit the door and check that the etched panel sits centered in the frame — symmetry matters because the pattern draws the eye. Install with new hinge screws and align the latch so the strike hits cleanly, then do a final wipe-down and inspect the perimeter seals.
Choose an etched pattern with thick lines, not ultra-fine etching — it holds up better at angles and in harsh light.
Avoid mixing glossy glass edges with a high-gloss teak finish; the contrast looks cheap fast.
7. Teak door with clear glass sidelights kept minimal
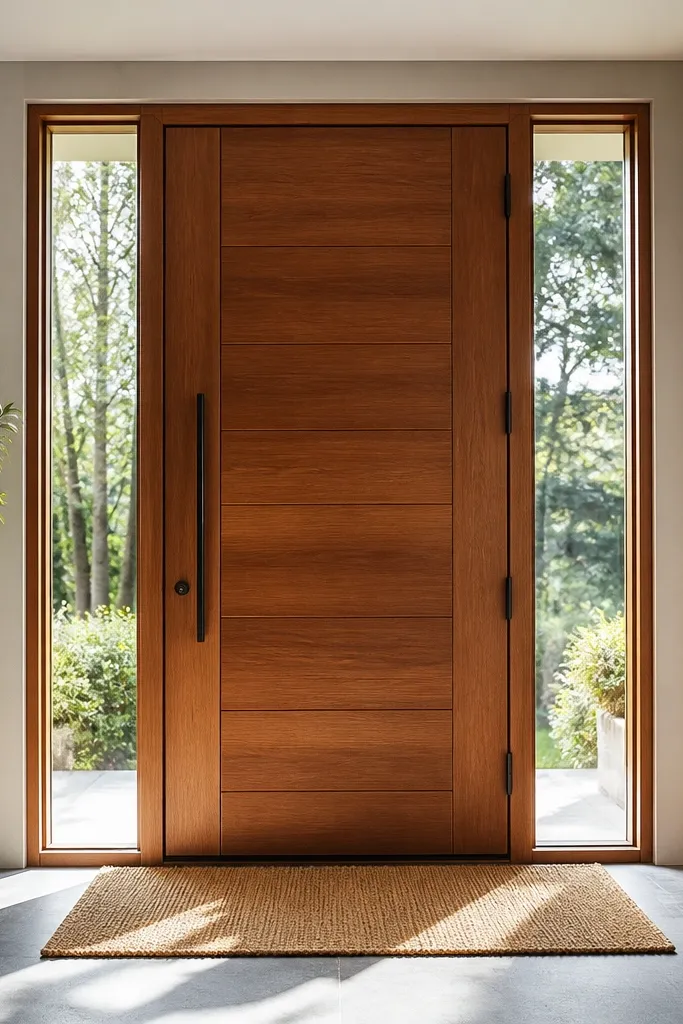
Sidelights change the entry feel even if you don’t touch the door slab much. Clear sidelights give you daylight spill into the hallway and make the front door look bigger on the outside. Pairing sidelights with teak keeps the warmth consistent, and you can still control privacy with curtains or interior blinds. This is a good option when you want light but don’t want the whole door to be glass.
First, confirm the rough opening and sidelights dimensions so the sidelights frame seals properly; mismatched openings create permanent drafts. Then install sidelights with the correct frame kit, using shims at the jambs and checking for plumb with a long level. Finally, add weatherstripping where the kit indicates and seal exterior gaps with paintable exterior sealant.
Editor's noteUse a long level across both jambs — sidelights are unforgiving if one side is slightly out.
Skip thisDon’t rely on trim alone to cover gaps; drafts show up at the seal line.
8. Teak door with a horizontal slat window panel (modern privacy)
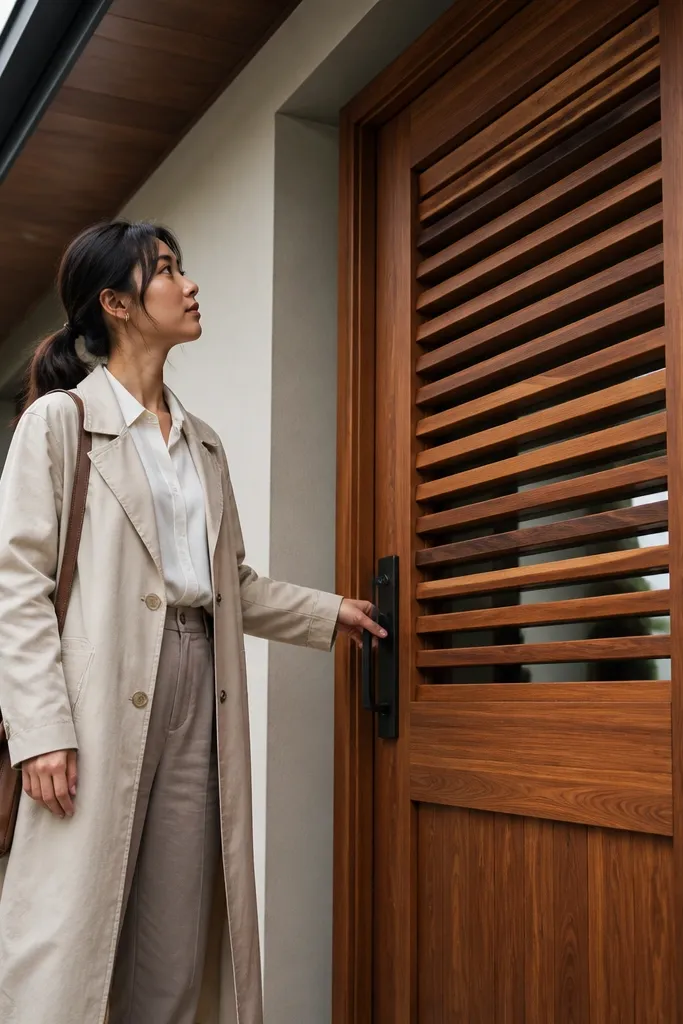
Horizontal slats are a modern way to bring light in while keeping the interior view blocked. The slat pattern reads architectural, and it works well with a clean teak face because the wood grain gives warmth behind the structure. This design is good if you want something more interesting than basic frosted glass but you still need privacy. It also hides small installation imperfections better than fully clear glass.
First, buy a door insert panel kit that includes the slat structure and tempered glazing; don’t try to improvise thin slats into a standard door. Then install the door slab and align the insert so the slat lines stay level across the frame. Seal around the insert with the provided gasket or manufacturer-specified sealant, then test the latch and weather seal contact.
Editor's noteCheck slat alignment by stepping back six feet and sighting across — level from the workbench is not the same as level from the street.
Skip thisAvoid thin, cheap slats — they warp and rattle in wet weather.
9. Teak double-acting door look (if your entry has space)
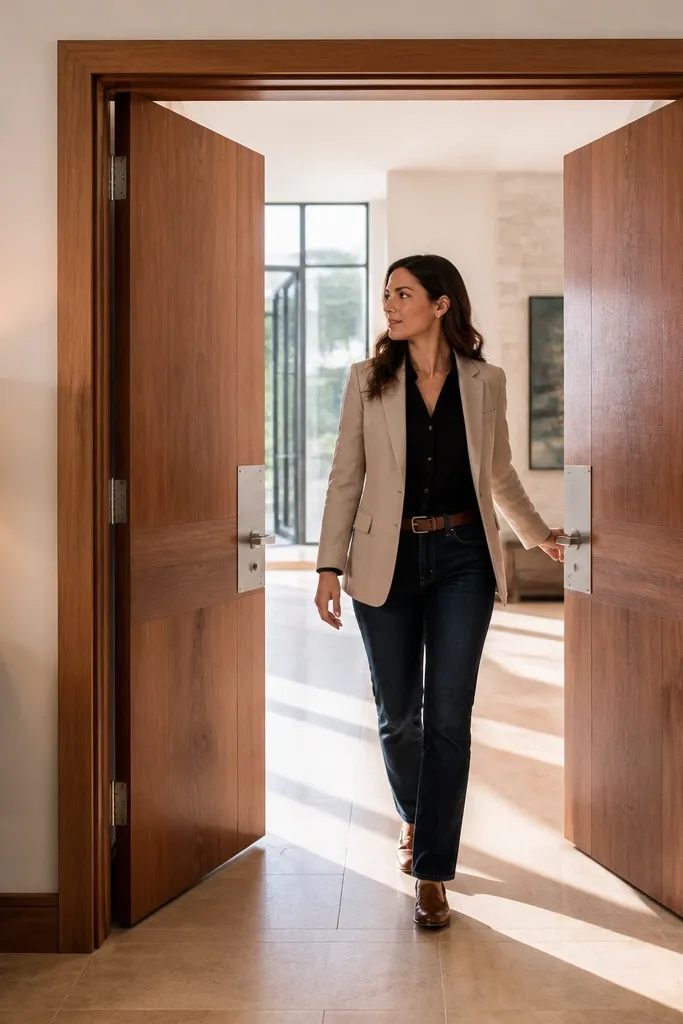
Double-acting door hardware makes the entry feel smooth and intentional, and it can be a practical choice if your doorway gets heavy foot traffic. Teak matches the warm, residential feel, while the hardware gives a clean, modern operation. This option isn’t for tight vestibules — you need space for the swing path. If you have room, it’s a high-impact upgrade that still counts as quick and easy main entrance door design when the frame already supports the hardware.
First, confirm your frame and jamb depth can accept the double-acting hardware plates; measure jamb thickness before buying anything. Then install the hardware per the template included with the kit, using the exact screw sizes and spacing so the arms sit correctly. Hang the teak door slab, adjust tension, and check that the door closes and latches cleanly from both directions.
Use a cardboard mock-up of the swing path to verify clearance before you commit to the door slab.
Don’t install double-acting hardware on a door that’s already slightly out of square — adjustment won’t fix everything.
10. Teak door with brass kick plate and matching handle set
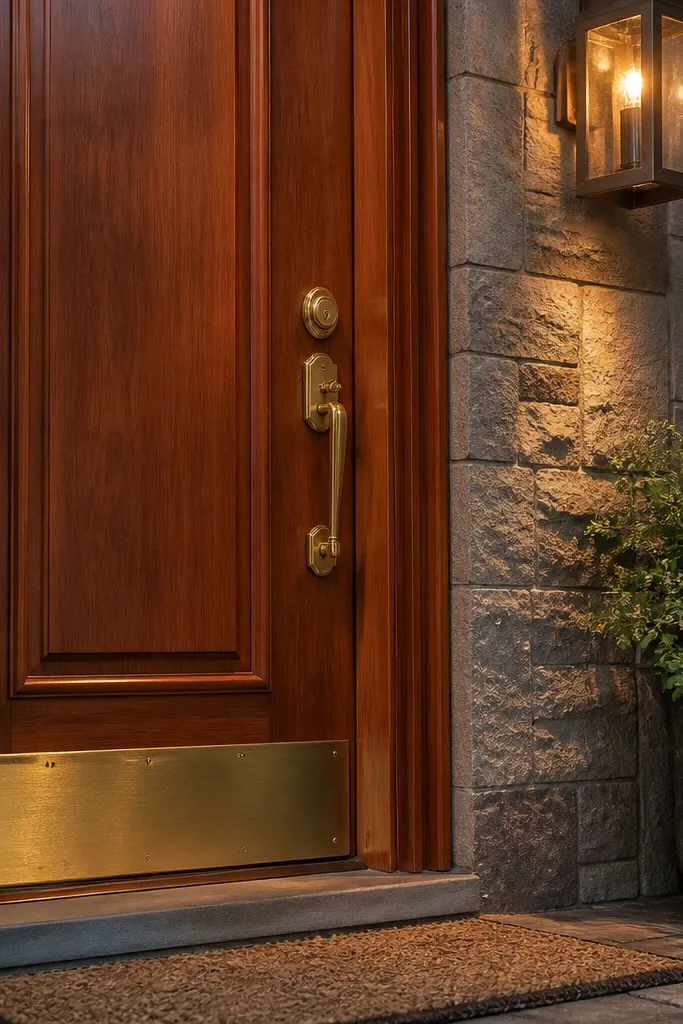
This look is about protecting the door while making it feel more “finished” without changing the whole slab. A brass kick plate covers the scuffs people create at the bottom and keeps your teak from looking tired after a season. Matching the handle hardware to the kick plate ties the design together and makes a simple door read intentional. It’s a quick upgrade because you’re working on the exterior surface, not the door’s structure.
First, choose a kick plate sized to the common scuff zone — usually 6-10 in tall — and centered on the handle height and traffic path. Then mark screw holes, drill pilot holes into teak carefully, and install with exterior-rated screws and a thin bead of sealant where the plate contacts the surface. Finally, install a matching handle set and tighten evenly so the latch alignment stays true.
Wax the screw threads lightly before installation to reduce water migration into the pilot holes.
Don’t skip pilot holes — teak can split if you drive screws directly.
11. Glass door with a black grid muntin look (easy custom vibe)
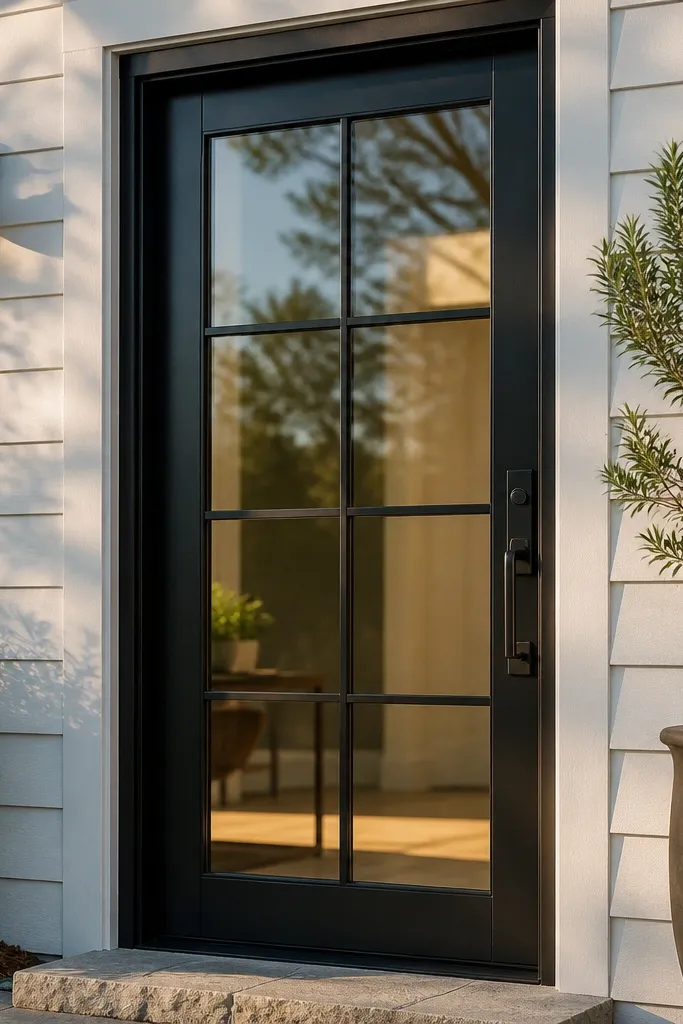
A black grid muntin pattern makes a plain glass door look custom and architectural without building a full stained-glass project. The grid also gives you a built-in visual structure, which helps when you install the glass door quickly and want the result to look planned. This design works well with modern exteriors, and it still feels warm when paired with wood trim around the frame. Choose it when you want quick and easy main entrance door design that looks more expensive than it is.
First, select a glass door that either includes factory muntins or uses a rated muntin overlay designed for exterior glass. Then clean the glass and frame, position the grid with a tape measure so intersections line up perfectly at the top and sides, and secure using the included clips or adhesive system. Finally, install the door and check for even gaps around the perimeter, because the grid makes misalignment more obvious.
Editor's noteUse a laser level to set the grid line — it’s faster than measuring each intersection by hand.
Skip thisAvoid cheap stick-on overlays that aren’t rated for UV — they lift and yellow.
12. Teak door with top-to-bottom vertical slats (modern but DIY-friendly)
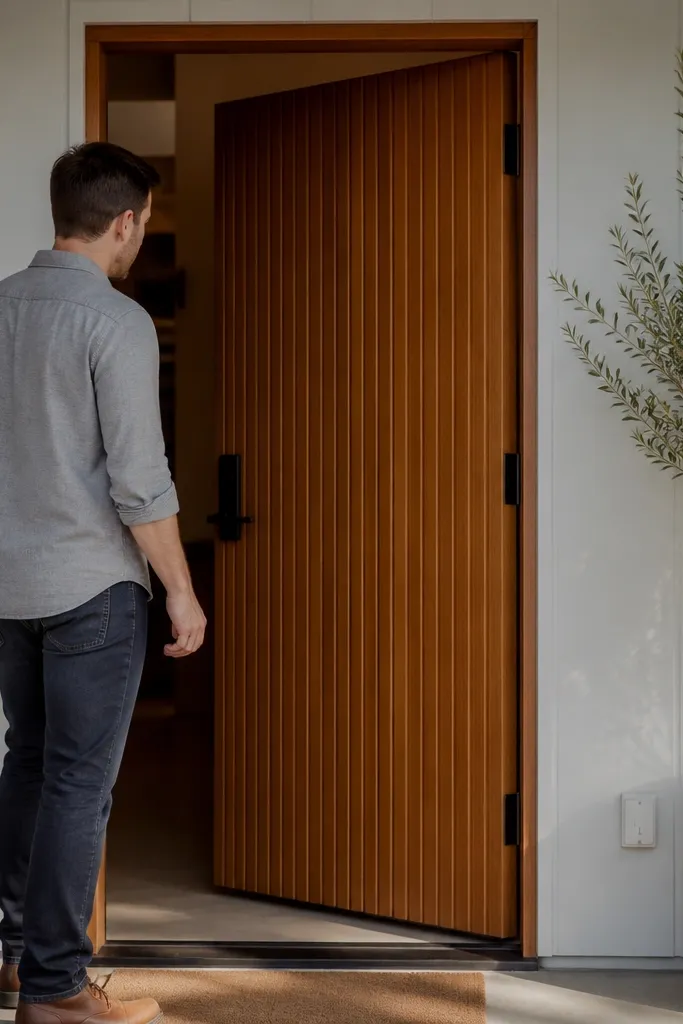
Vertical slats give you a clean modern look while still letting you keep the door mostly wood, which is easier to finish well than mixed materials. They also create a rhythm that looks good even in low light, so your entry still reads styled at night. If you’re building from a pre-made teak panel system, you can keep the work manageable and still get a custom feel. This is a solid pick when you want the teak look to do the heavy lifting.
First, use a pre-cut slat panel system or buy a door slab with vertical slats already routed, because routing long grooves is where DIY projects get messy. Sand all edges smooth, then apply exterior oil in thin coats until the grain looks even and the slats don’t look blotchy. Install the door with proper shims at hinges and latch, then seal the bottom edge more heavily than the rest of the door.
Editor's noteLightly bevel the edges of slats before finishing so water sheds instead of pooling.
Skip thisDon’t leave sharp routed edges — they soak finish unevenly and look rough after a few months.
13. Teak door with arched glass insert (softens a boxy entry)
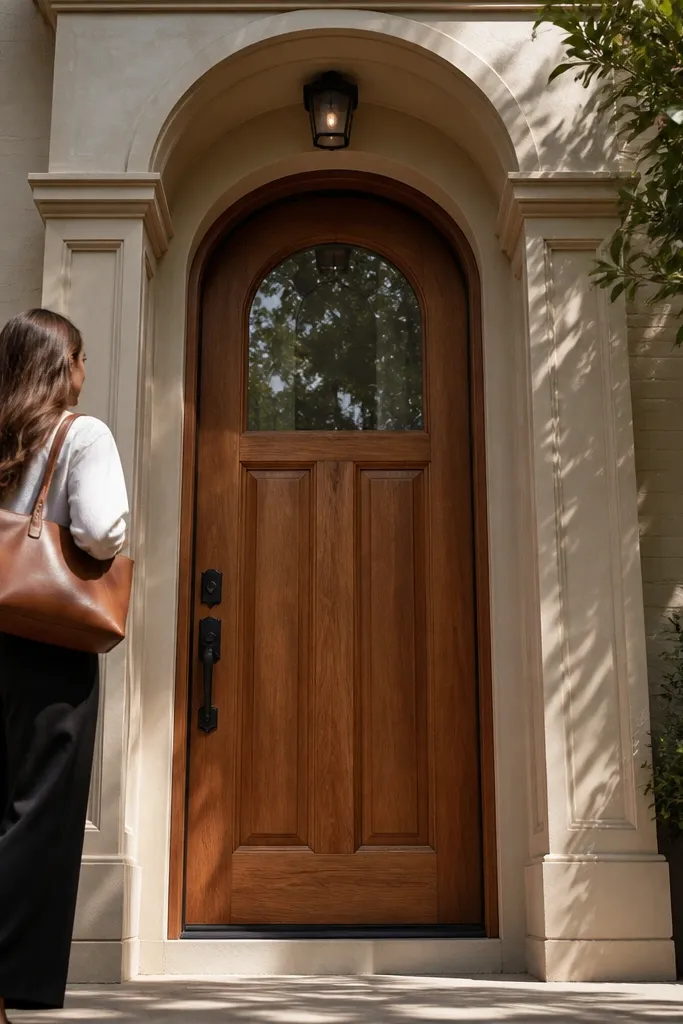
An arched glass insert adds softness without needing a full custom door shape. The teak keeps the warmth, and the arched element draws attention upward, which makes an entry feel taller. This design is great for quick and easy main entrance door design when you’re swapping a door slab that already includes the arched insert. If your current door is flat and the entry feels harsh, this is one of the simplest ways to change the silhouette.
First, choose a teak door slab that matches your existing opening and includes the arched tempered glass insert. Then install and align the slab so the arch sits centered in the frame, using shims behind the hinges and the latch side. Finally, check the door sweep and weatherstripping contact along the bottom and sides, because arched inserts don’t fix drafts from a poor perimeter seal.
Editor's noteUse a 2-person lift or a door jack — arched inserts add weight and shifting during install causes hinge misalignment.
Skip thisDon’t force the door into a frame that isn’t square; you’ll end up chasing gaps forever.
14. Glass door with privacy frosting only on the lower half
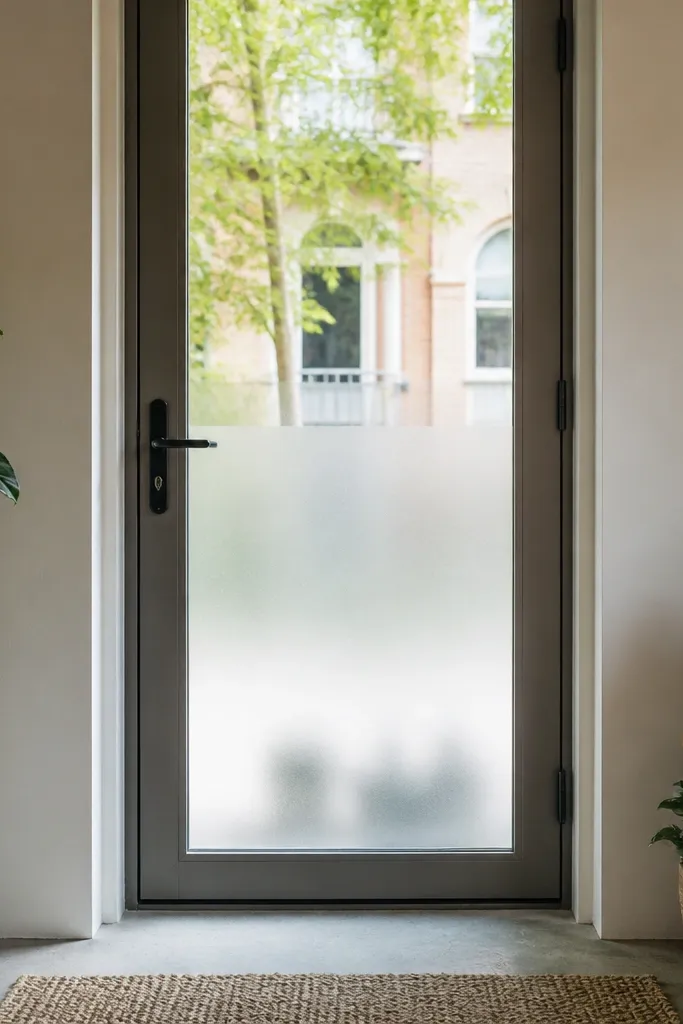
This split privacy approach gives you the best of both worlds: clear upper glass brings in daylight, while frosted lower glass keeps the entry from feeling exposed. It’s also a practical choice if your entry has a bench or shoes near the door, where direct sightlines are the main issue. The look is modern and clean, and it hides minor alignment errors better at the bottom where people expect less transparency. Choose this when you want light without losing privacy.
First, buy a glass door slab with safe tempered glass and install it to the correct size. Then apply frosting film to the lower half only, using masking tape to create a straight boundary line at eye level. Apply film with water-solution placement so you can reposition, squeegee out bubbles, and trim edges with a fresh blade before the adhesive fully sets.
Mark the boundary line with a level from the outside of the frame so it’s straight from the street, not just from inside.
Avoid frosting the whole door — it makes the entry feel dim and defeats the point of glass.
15. Teak door with a narrow glass panel for light without bulk
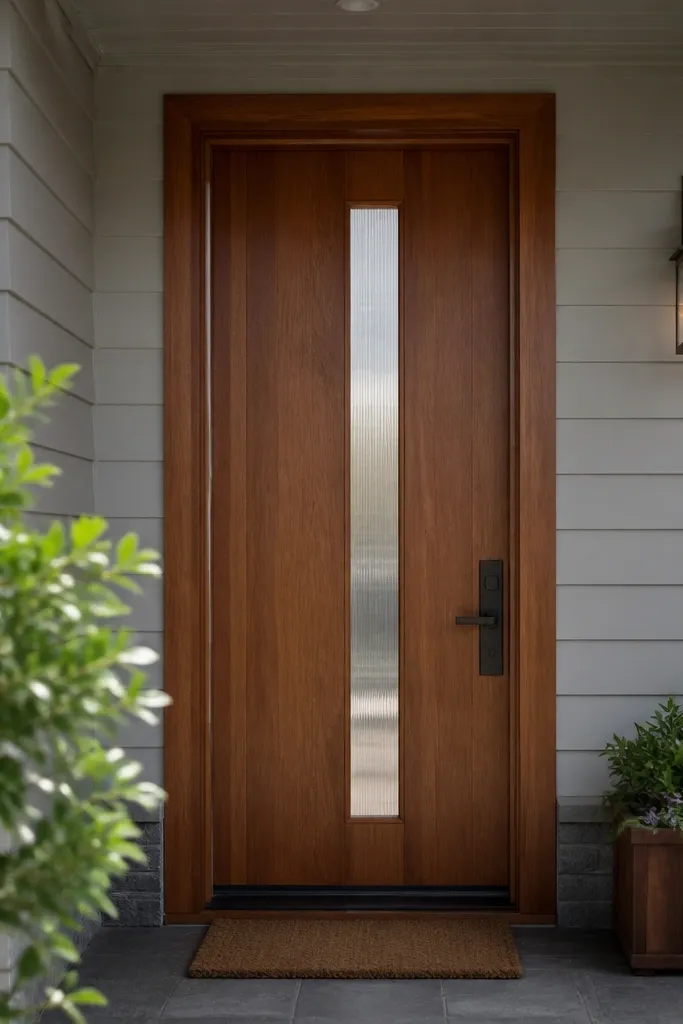
A narrow glass strip is one of the cleanest “light upgrade” options because it doesn’t look like a full glass door, yet it still brightens the entry area. Teak around the glass keeps the warmth and gives you a place to anchor hardware and trim. This design is also easier to keep private: you can use clear glass with interior blinds or choose textured glass for instant privacy. It’s a smart move when your entry is shaded and you want a quick and easy main entrance door design without replacing sidelights.
First, select a teak door slab that already has a narrow glass opening sized for tempered insert glass or a factory glass kit. Then install the slab, making sure the glass gasket seats evenly along the full perimeter so it doesn’t rattle. Finish the teak surface if needed, but keep finish away from glazing contact points so the seal stays intact.
Editor's noteUse textured glass when you don’t want to think about curtains; it reads good even when it’s bright outside.
Skip thisDon’t over-finish the glass edges — sealants and gaskets need clean surfaces to grip.



