
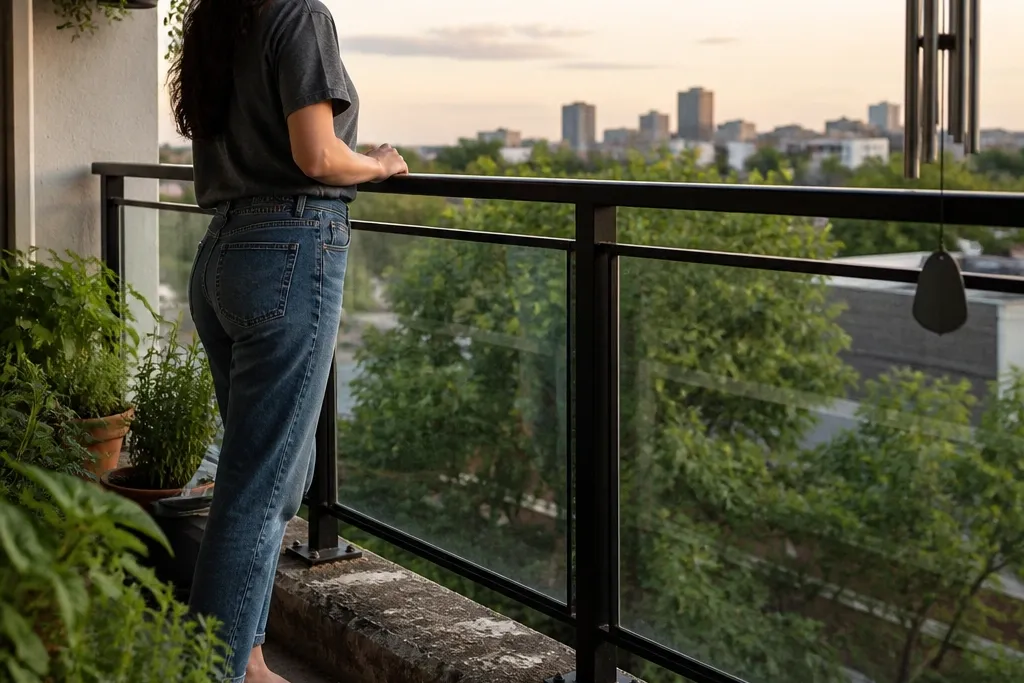

1. Bolt-on black steel tubular rail with 42-inch top height
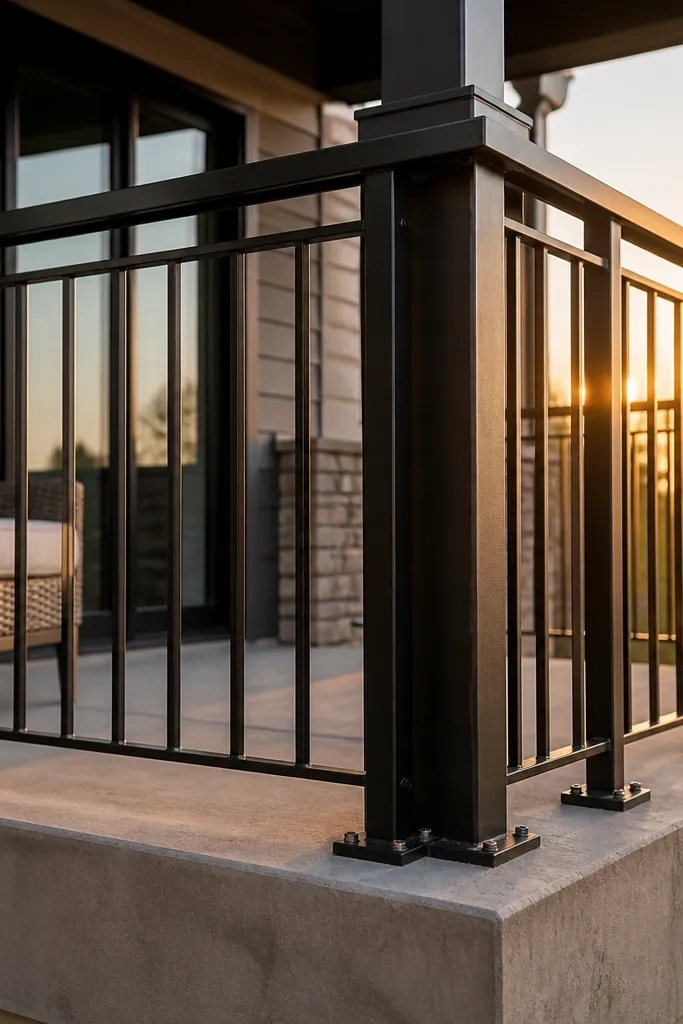
This is the fastest path to a tidy, safe balcony edge because the system is built around posts and a top rail you can align and lock down. Go for a tubular top rail with vertical posts at a consistent spacing, then fill the gaps with nothing or a simple infill if you need it. The finish matters outdoors — powder-coated steel or hot-dip galvanized steel holds up better than bare painted metal once you drill and expose fresh metal. Skill level is beginner-friendly if you’re comfortable drilling into masonry and using proper anchors.
Editor's noteUse a 4-foot level and check level in two directions — along the run and across the balcony corner.
Start by measuring your run length and marking post locations with a chalk line so the top rail stays straight. Drill pilot holes, then use the correct masonry anchors sized for your post base plates; don’t “make do” with smaller anchors. Mount the posts first, shim them if the parapet is uneven, then set the top rail and tighten all hardware after you confirm level with a 4-foot level. Finish by sealing any drilled cut edges or exposed steel with an exterior touch-up coating.
Skip thisAvoid anchoring into cracked mortar joints — drill into the solid substrate.
2. Powder-coated steel posts with glass infill panels for a clean line
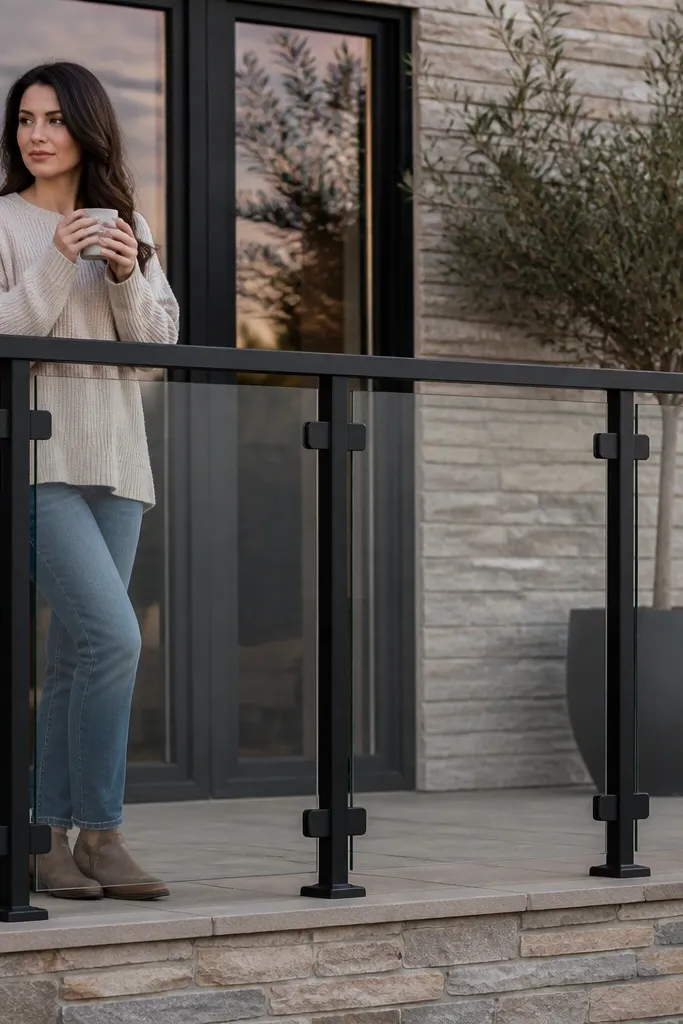
This hybrid setup gives you the “quick and easy glass vs steel” best of both: steel handles alignment and anchoring, while glass keeps the view open. You get a more forgiving install because the steel posts define the mounting geometry, then the glass panels slot into clamps or gaskets. Choose tempered glass with edge-safe finishing and use proper outdoor gaskets so the panels don’t rattle. This is a solid pick if you want glass aesthetics but you don’t want a full glass-only clamp system that demands perfect line work.
Editor's noteDry-fit everything with the gaskets installed but hardware only finger-tight until you check the full run alignment.
Start by installing steel posts at marked spacing, using base plates and anchors rated for outdoor loads. Then dry-fit the glass panels and confirm each panel’s height and gap spacing before you tighten clamps. Install the bottom supports or continuous channel if your kit uses it, then fit side clamps with the rubber gaskets in place. Tighten gradually in a cross pattern so you don’t twist the panel, and finish by checking that each panel is seated with no metal-to-glass contact.
Skip thisDon’t overtighten glass clamps — it can stress the glass edge and cause long-term loosening.
3. Bottom channel glass panels with clamp-and-gasket hardware
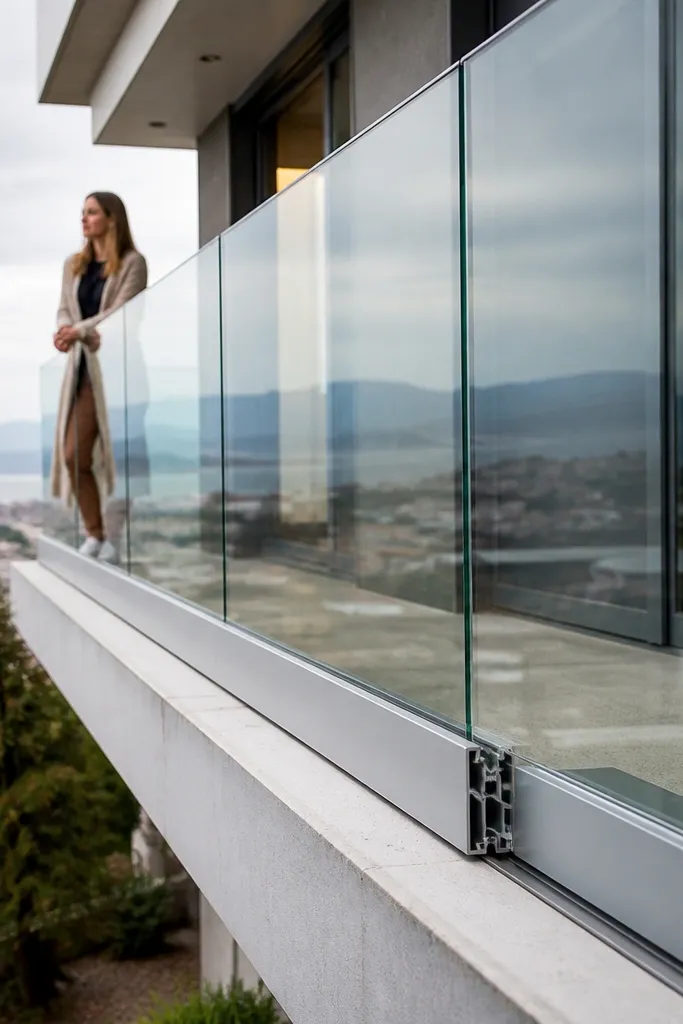
If your balcony edge is straight and solid, bottom-channel glass panels look sharp and feel stable because the glass is supported continuously at the bottom. The channel also helps with alignment, which is why this setup is more DIY-friendly than clamp-only glass. Pick tempered glass panels and use exterior-grade gaskets so water doesn’t creep into the hardware. This option is best for long straight runs where you can mark a consistent mounting line and keep the channel level.
Start by snapping a level line for the bottom channel height, then mark drill points with the channel in place. Drill and anchor the channel, then check the channel is level end-to-end and shim if needed. Set the first glass panel, install side clamps with rubber gaskets, and repeat panel-by-panel while keeping consistent gap spacing. After all panels are seated, tighten clamps evenly and apply any kit-recommended sealant at channel ends.
Check the channel level after every two anchor points — it’s easier to correct early than after the second or third panel is installed.
Skip the gasket — metal-to-glass contact is where rattles and chips start.
4. Steel cable railing with stainless tensioners and a top rail
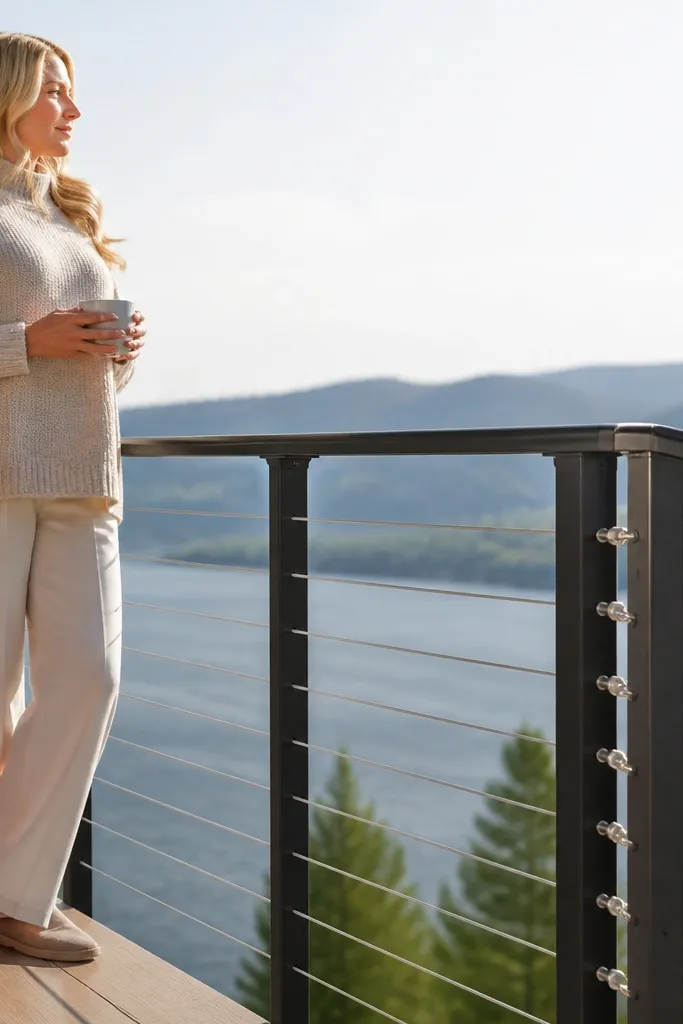
Cable railing is the minimal look that still behaves like steel: strong, adjustable, and forgiving if your spacing isn’t perfect. With stainless cables and tensioners, you can tune tension after installation, which helps when you’re working with real-world tolerances. It’s also a great compromise if you want an open view but don’t want glass panels. Choose a proper top rail and posts that can handle cable tension, and keep the cable spacing compliant for safety.
Start by installing posts first, then mark cable hole positions at consistent heights across the run. Thread cables through hole sets and attach tensioners at the tension end, leaving a little slack for adjustment. Tension one cable at a time, then lock the tensioner so the cable stays tight without stretching the line. Finish by trimming ends and installing cable end fittings, then inspect that cables are seated flat and not rubbing metal edges.
Use the same cable tension tool or wrench setting for the whole run so the railing looks uniform.
Don’t reuse damaged cable end fittings — they’re cheap, but a failure point is not.
5. Clear glass panels with privacy film and steel side posts
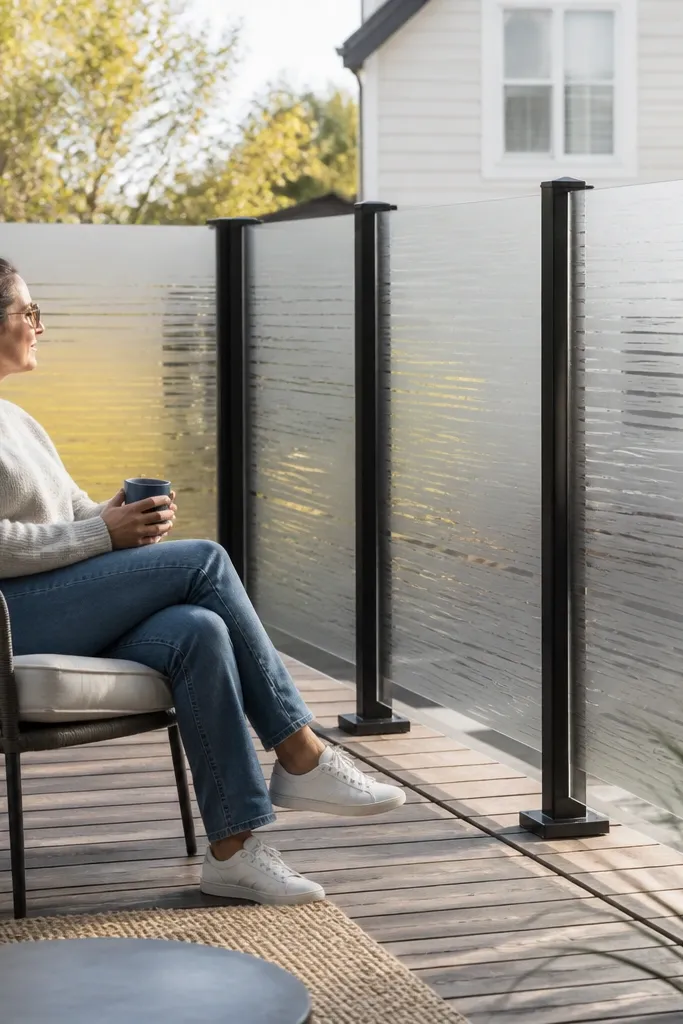
This is for people who want glass aesthetics but still need privacy from neighbors across the balcony. Privacy film on the glass gives you daytime coverage without the heavy look of solid steel infill. The steel side posts keep the installation simpler because they handle mounting alignment, while the film handles the visual comfort. Use tempered glass, and choose an outdoor-rated film made for glass panels so it resists cracking and peeling from sun and temperature swings.
Editor's noteApply film under shade — heat makes the adhesive grab too fast and you’ll get bubbles.
Start by installing the steel posts and any required bottom support so the glass panels sit flat. Clean both sides of the glass thoroughly with a glass-safe cleaner, then apply the privacy film using a squeegee and soapy water for repositioning. Trim edges cleanly so the film doesn’t bunch where clamps or gaskets touch the glass. Finally, mount the panels with gaskets in place, and check that clamps don’t pinch the film edge.
Skip thisAvoid using indoor window film — outdoor film is what survives heat cycles.
6. Stainless vertical bar steel infill with a clean top rail
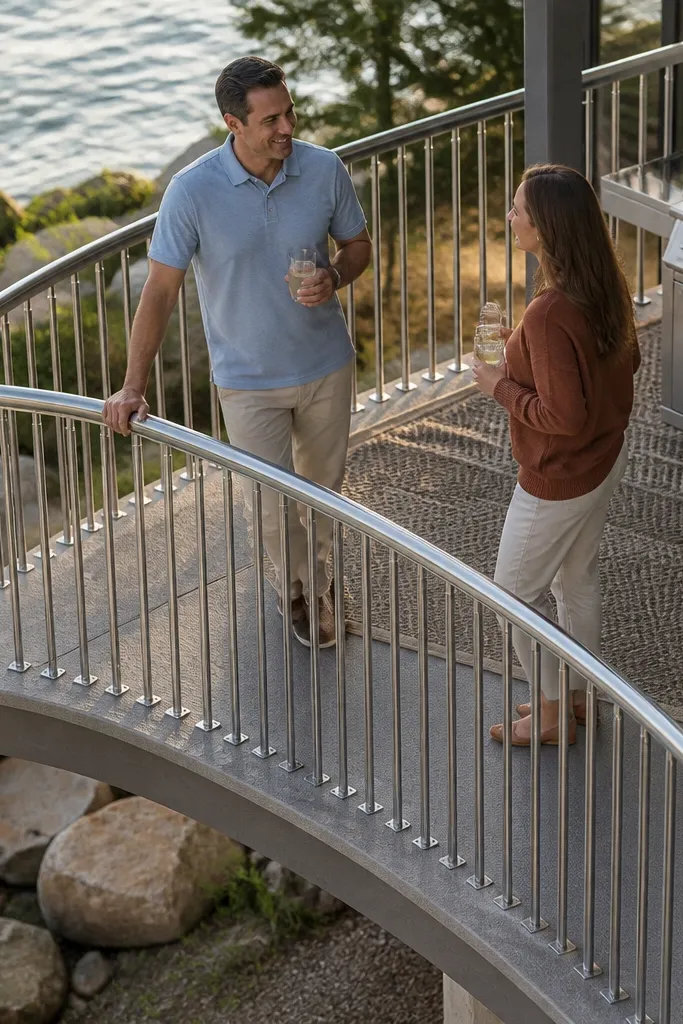
Vertical bar steel infill gives you a crisp, modern look similar to glass, but it’s more forgiving to install and maintain. Bars also let you control visibility and airflow without worrying about glass edge stress or gasket placement. Stainless holds up well outdoors, especially at coastal sites where powder-coated steel can dull faster. If you want quick and easy glass vs steel and you’re leaning glass for the look, this is the steel option that stays visually close.
Start by installing posts and a top rail, then mark bar positions using a spacing template so all bars line up. Drill post mounting holes for the bar ends, then insert bars and secure with set screws or end plates from your kit. Use a straightedge along the top to keep bar tops consistent, then tighten gradually so you don’t pull one side out of line. Finish by checking for sharp edges and polishing any cut or drilled metal with a deburring tool.
Use a metal spacing jig or printed template for bar spacing — it saves you from re-measuring every gap.
Don’t leave burrs on bar ends — they snag clothing and start rust if water traps.
7. Steel slat infill with angled slats for privacy and airflow
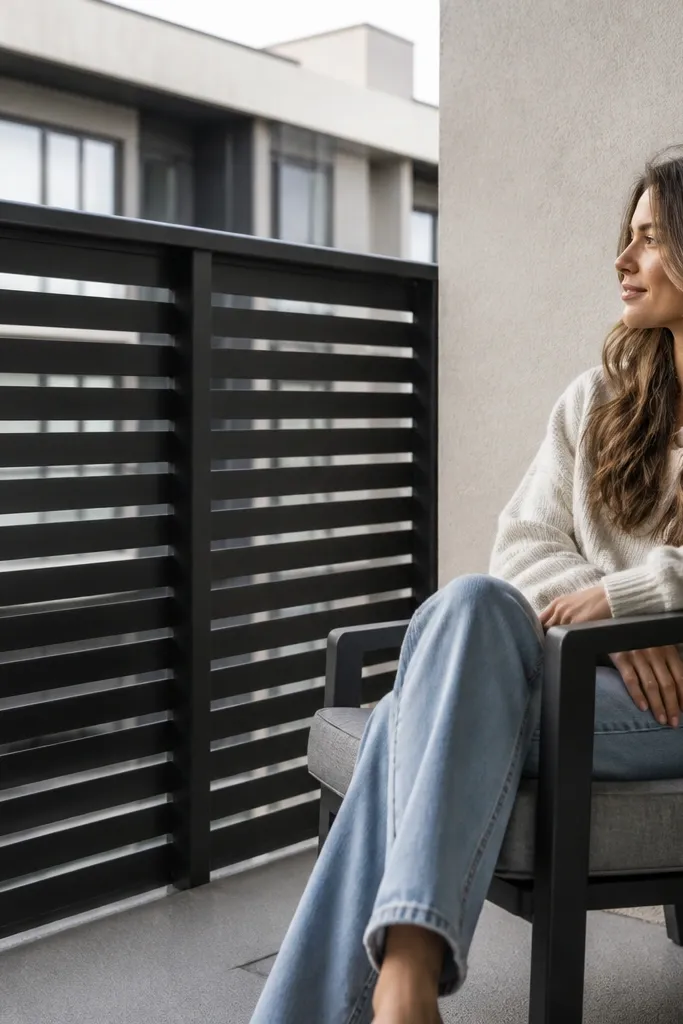
Angled steel slats are the privacy move that still looks intentional. You get partial sightlines, airflow, and a sturdier DIY build than glass panels when you’re working with uneven balcony edges. This setup is especially good if your balcony faces directly into someone else’s living room or if you want to reduce glare. Use powder-coated steel slats and keep a consistent slat spacing so it looks uniform from street level.
Start by choosing slat spacing and angle, then build a simple frame between posts to mount the slats. Attach the slat brackets to the steel posts first, then hang slats one at a time while using a spacer block to keep spacing consistent. Tighten fasteners evenly so the slat line doesn’t bow. Finish by touching up any scratches from installation with exterior paint or matching touch-up coating.
Pre-drill slat bracket holes and test-fit one slat before committing to the full run.
Avoid thin, weak slats — they bend and your privacy line turns wavy.
8. Frameless-looking glass panels in a steel U-channel frame
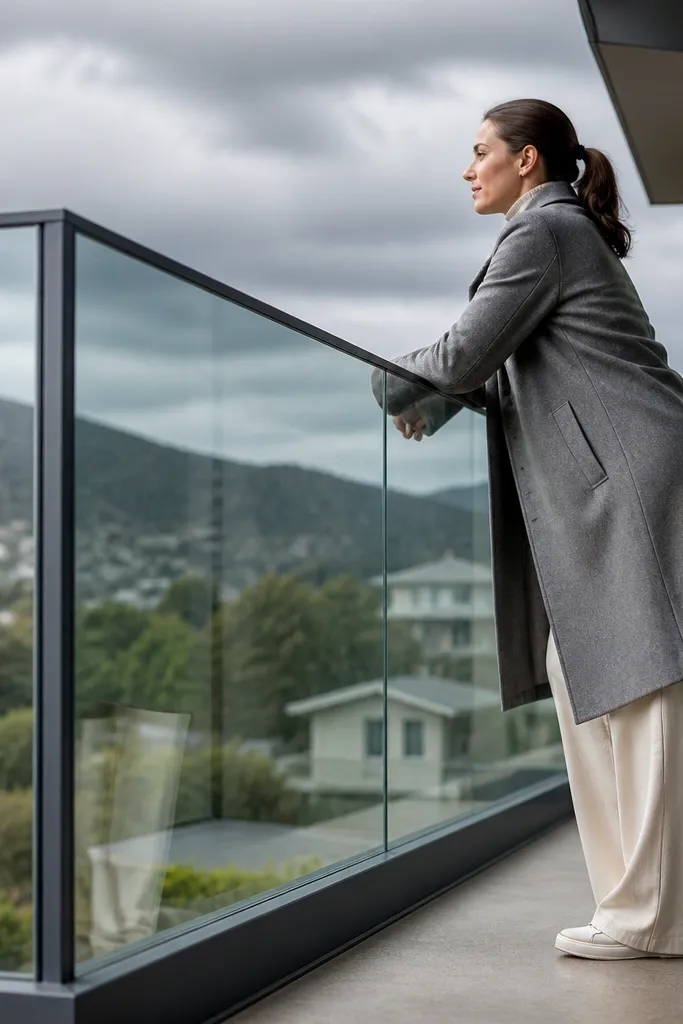
This is the “frameless” look people chase, but the steel U-channel frame is what keeps it stable. The frame hides the mounting method, so visually it’s close to glass-only, while the steel gives you a straight installation reference. This setup is best when you can mount the U-channel accurately and you want the cleanest sightline without dealing with full clamp-only glass. It’s not the fastest if your balcony edge is rough, because you need the frame line straight.
Editor's noteUse a laser level if you have one — keeping the channel line straight makes the whole install easier.
Start by installing the U-channel frame to the balcony edge using anchors that match the substrate. Level and shim the channel until it’s straight along the run, then secure all anchor points. Place tempered glass panels into the channel, install top and side stops per the kit, and add gaskets where the glass contacts metal. Seal channel ends and check for any metal contact points by lightly rocking each panel after tightening.
Skip thisDon’t rely on “good enough” framing — frameless-looking glass shows every alignment error.
9. Steel rail with decorative scroll brackets and clear safety gaps
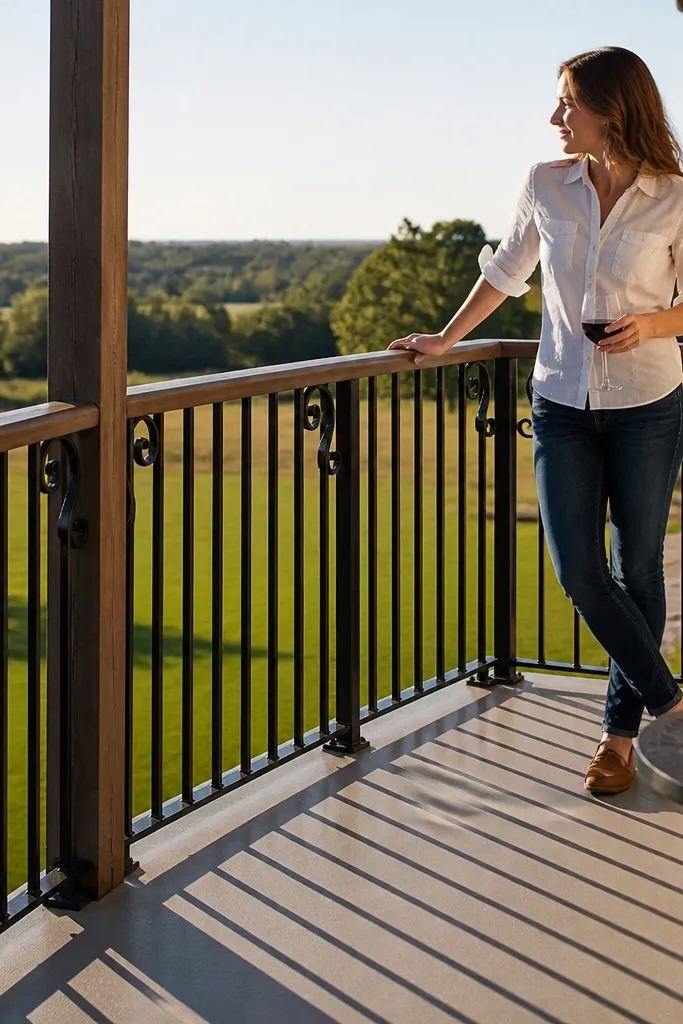
Decorative steel brackets can still be a quick DIY if you keep the structure straightforward. The key is choosing a system where the scroll pieces mount to a real top rail and posts, not to random infill points. This option is for people who want a more traditional look than glass but still want a clean, safe barrier. Powder-coated black steel looks good with most exterior colors and hides minor scuffs better than bright finishes.
Editor's noteMock up one bracket on scrap first to confirm your fastener orientation and hole alignment.
Start by installing posts and a top rail at your target height, then attach the scroll brackets at marked intervals. Use a spacer jig to keep bracket alignment consistent across the run so the decoration doesn’t drift. If you’re filling gaps, add a simple infill panel or bars behind the decorative front so the safety spacing stays correct. Finish by inspecting fasteners and adding touch-up coating where drilling exposes metal.
Skip thisAvoid mounting decorative pieces directly to the balcony surface without posts — it loosens faster than you expect.



