
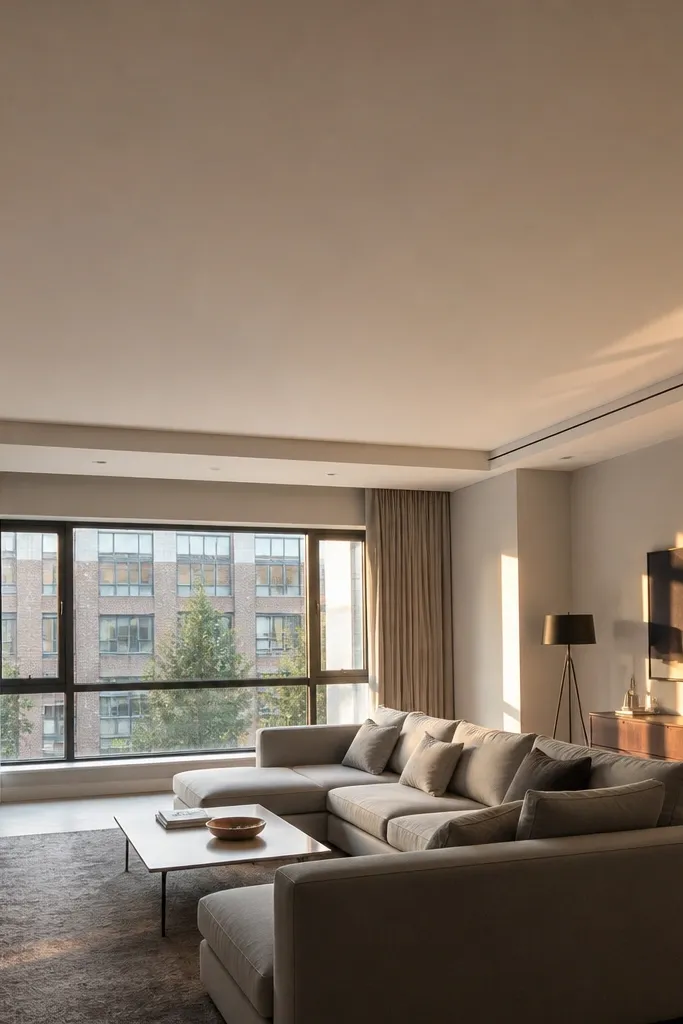
1. 2.5-inch flat gypsum drop with taped joints
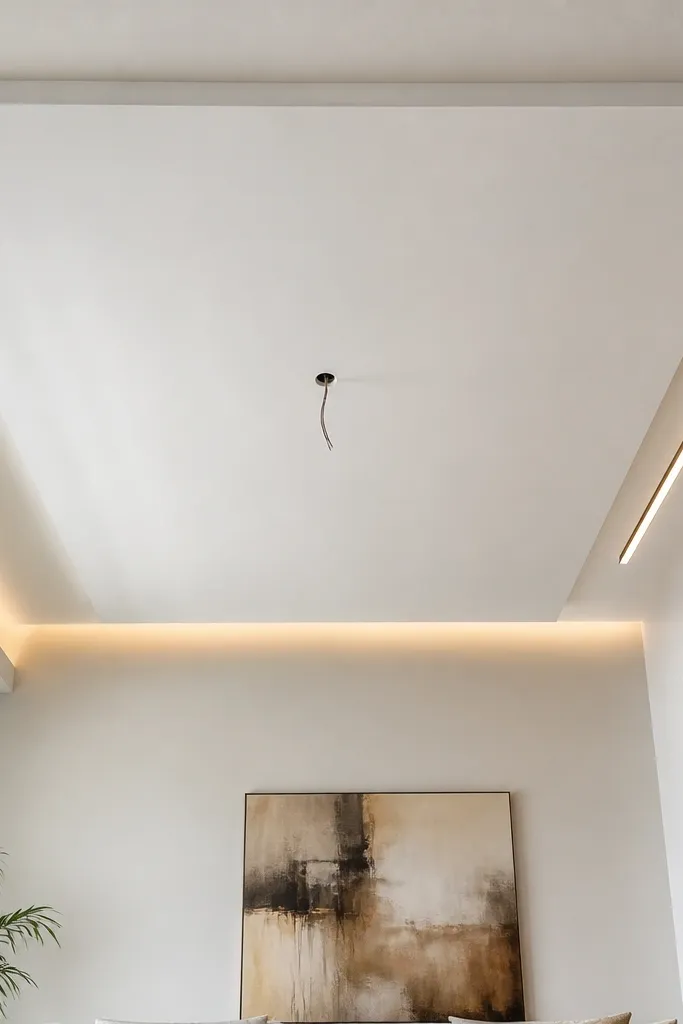
This is the quickest “false ceiling” look that actually reads clean in a living room. You drop a single layer of gypsum board just enough to hide wiring and give you a perfectly flat plane to paint. The finish depends on jointing, so you get smooth lines around the perimeter instead of the patchy texture you see with poorly applied plaster. It’s the best fit when your ceiling height is tight and you don’t need heavy detailing.
Start by marking the perimeter level using a laser or water level, then measure the lowest wiring point so your drop clears it. Fix metal channels to the slab, add cross tees to create a rigid grid, then screw gypsum boards across the grid with 25-30 cm spacing between screws. Apply joint tape at board seams, fill with jointing compound in 2 thin layers, sand lightly, and prime before paint. Keep the board edges aligned — the straightness you want comes from the grid, not from sanding.
Use a straight 2 m aluminum level to check the grid before you close it with boards.
Don’t skip tape at seams — it’s the difference between a smooth ceiling and a hairline crack line.
2. Single-step gypsum ceiling with a slim border

A single-step design gives your living room depth without eating height. The recessed center hides wiring and keeps the look modern, while the border line frames the room and makes the ceiling feel intentional. Gypsum wins here because the step edges are formed by board alignment and crisp jointing, not by thick plaster builds. If you want something more stylish than flat, this is the fastest upgrade that still stays repairable.
Mark two levels: the main drop level for the recessed center and a slightly lower perimeter drop for the border. Build a grid for the lower perimeter first, then create the upper plane grid for the recessed area so the step edge lands where you want it. Screw boards for the recessed center, then install the vertical face of the step using cut gypsum strips. Tape and joint all seams, feather the edges thin, sand, prime, and paint with flat wall ceiling paint for a uniform look.
Pre-plan your border width (like 6-8 inches) using your TV wall width so the step doesn’t feel lopsided.
Don’t make the step face too thick — it traps shadows and makes the edge look uneven.
3. POP recessed panel with controlled thickness zones
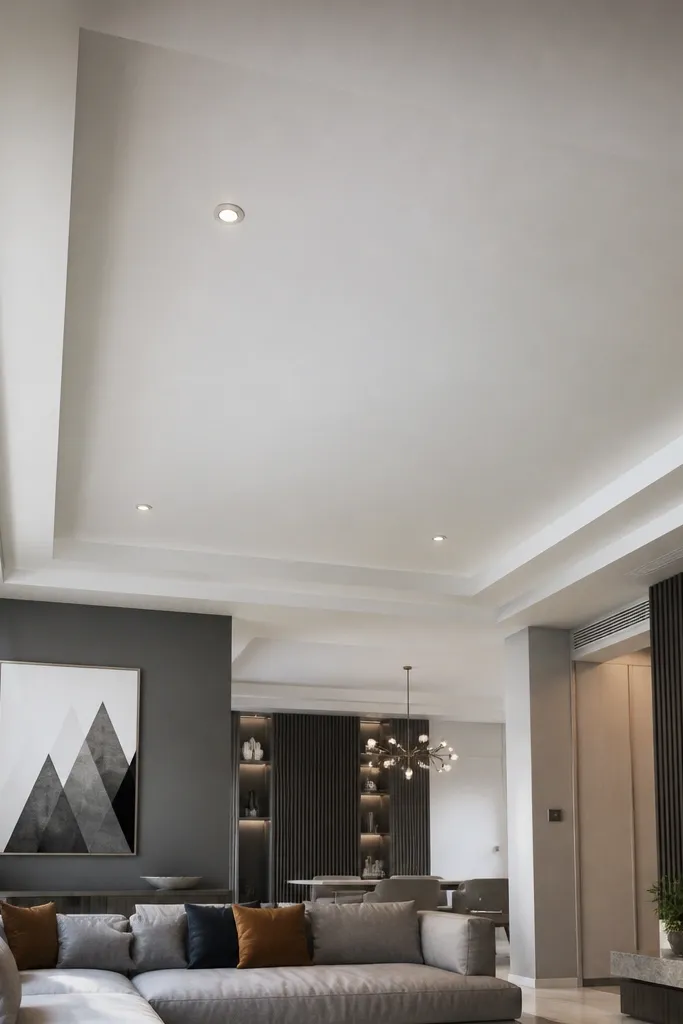
If you’re set on POP for recess panels, the smart way is to treat it like zones, not one big plaster layer. You can build a recessed look by forming a shallow perimeter and applying POP in layers that you control by thickness, which helps reduce shrink cracks. POP can look great when the base slab is stable and your application is consistent. This option suits living rooms where you want a simple recessed pattern but aren’t ready to build a full metal grid.
Start by installing a light formwork or perimeter strip guide where the recess edge should be, then roughen the slab and apply bonding slurry so POP grips. Mix POP to a work-ready consistency — too watery makes it slump and too thick makes it crack during drying. Apply POP in thin layers, letting each layer set before the next, then level the surface with a straight edge. After it dries, sand, fill pinholes, prime, and paint.
Use a fan and keep airflow steady during drying to reduce uneven surface shrink.
Don’t rush sanding while it’s still green — you’ll pull texture and create patchy spots.
4. Gypsum ceiling with concealed cove lighting channel
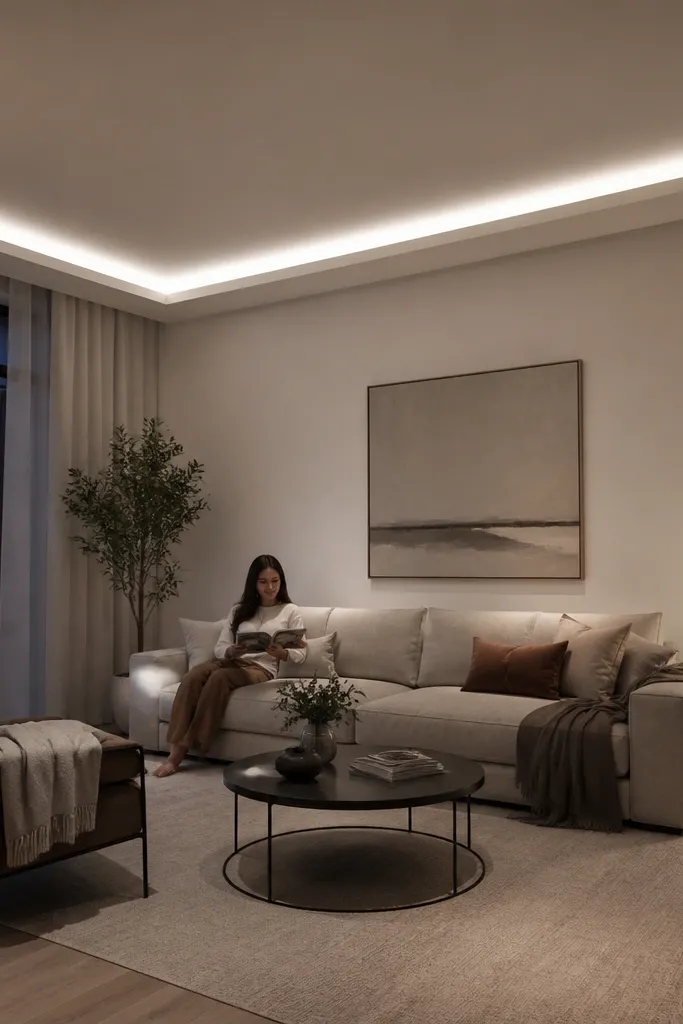
Cove lighting makes a living room feel taller fast, and gypsum is the cleanest way to build the light channel. The look comes from a consistent gap and a straight inner edge, and gypsum lets you control that with board alignment and a proper channel. You also get a serviceable ceiling because the wiring and LED driver placement can be planned behind the boards. This is the option I recommend when you want the wow effect without the POP crack headaches near decorative edges.
Mark the cove line height around the room and install the metal grid so the inner drop creates a uniform channel width. Fix a dedicated channel for the LED strip position so the gap stays even, then board the main plane and the vertical face of the cove. Leave access space for the LED driver and wiring junctions by planning where you’ll put a small inspection cutout. Tape seams, finish jointing around the cove edges, sand, prime, and paint the ceiling surface before you mount the LED strip.
Measure the LED strip bend radius and keep the corner joints clean — rough corners create visible light breaks.
Don’t paint the cove interior with the same sheen as the ceiling — matte inside the cove hides uneven reflection.
5. POP cornice-style border with clean perimeter lines
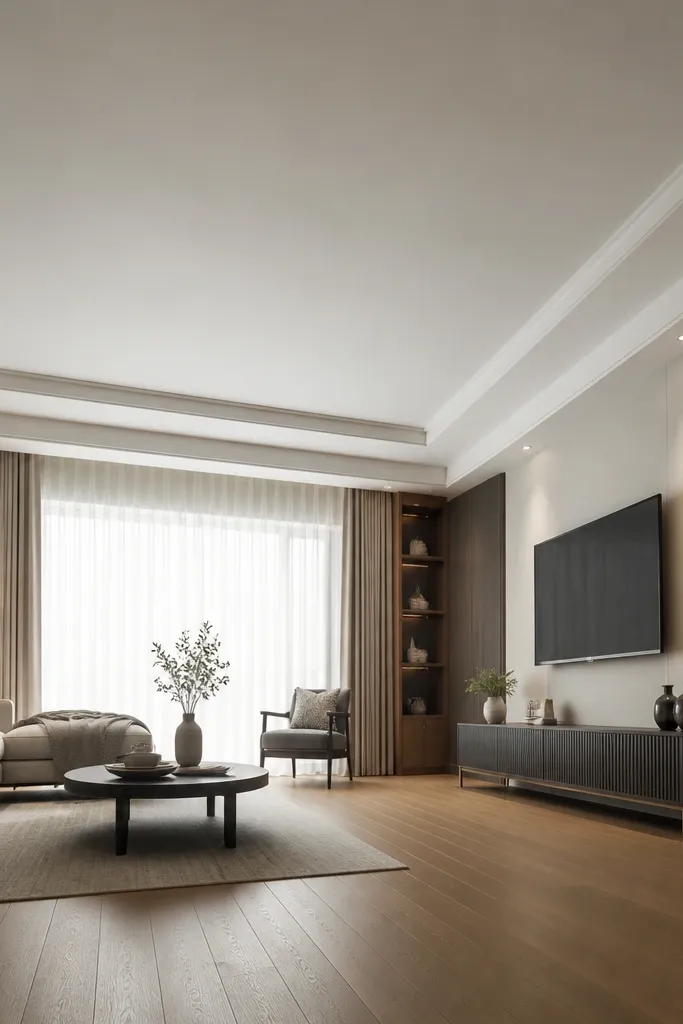
A POP border gives you a classic framed look around the ceiling, and it can work well if your living room has a traditional vibe. The key is crisp perimeter lines and consistent thickness so the border doesn’t look wavy after drying. POP can form curved profiles, but it takes patience because the border is sensitive to shrinkage. This option is best when you’re doing a small border band rather than deep recesses, so the drying behavior is easier to manage.
Mark the border line using a chalk line and create a guide form along the perimeter. Apply POP in thin passes to build the border shape, using a profile template for the curve so thickness stays consistent. Let it dry fully before sanding — only then do you fill pinholes and level the surface. Prime the border and ceiling plane together so the paint sheen matches across the frame.
Editor's noteKeep a consistent humidity level in the room during drying; rapid drying increases edge cracking.
Skip thisDon’t overload POP in one thick coat — it shrinks and shows as a dip along the border.
6. Gypsum board ceiling with removable access panel for wiring
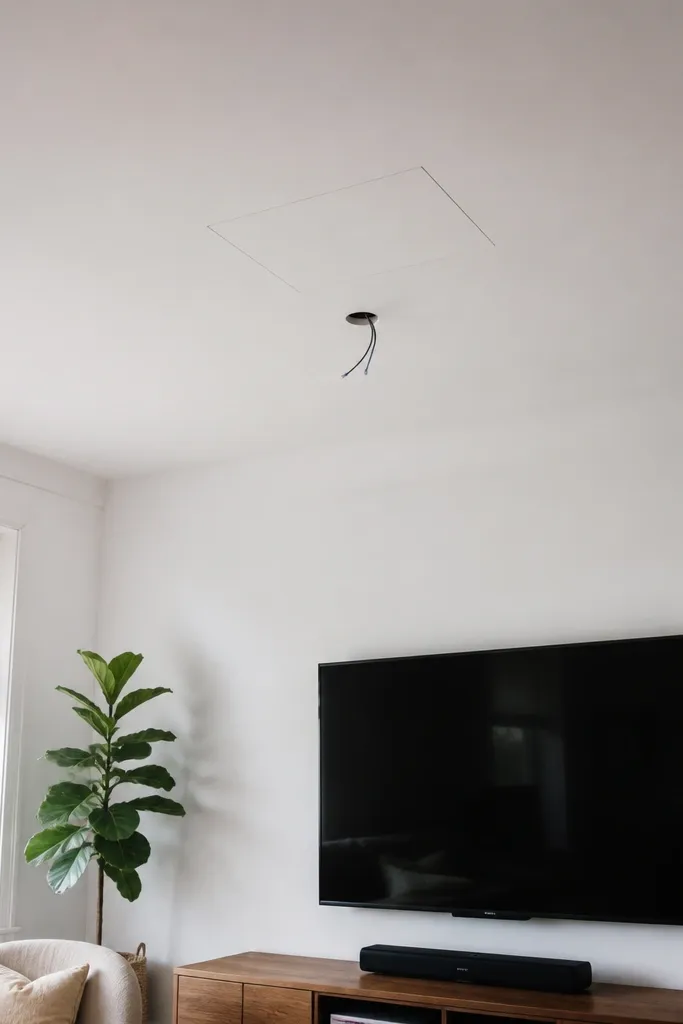
This is the practical option if you expect changes — extra speakers, future lights, or a new router placement. A gypsum false ceiling can be built with a hidden access panel so you don’t have to break the ceiling later. The surface stays clean because the panel is finished like the rest of the ceiling, and you can repaint it when you open it. It’s not flashy, but it saves real money and mess over time.
Choose a location near the main wiring junction and mark a panel size like 12x12 inches so it’s reachable. Build the metal grid around the access point and install blocking so screws and support are strong at the panel edges. Screw gypsum boards as normal, then cut the panel and attach it with concealed screws or magnets behind a trim edge. Finish seams with tape and joint compound, sand smooth, prime, and paint.
Editor's noteLabel the wires before closing — even a simple masking-tape code saves hours later.
Skip thisDon’t place the access panel where it will sit directly under a light fixture or fan mount.
7. Gypsum double-layer ceiling for better sound reduction
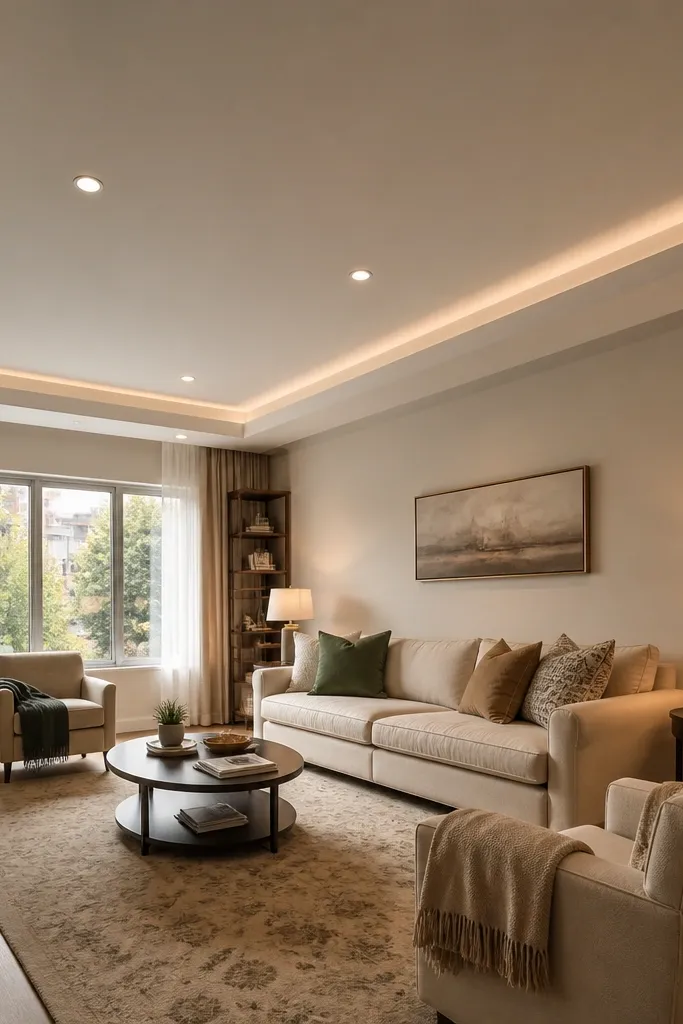
If your living room has noise from above or you hate loud footsteps, double-layer gypsum is the material-driven upgrade. A single board layer is fine for appearance, but two layers with proper staggering and jointing reduces noise more noticeably. The surface still looks smooth because you finish seams the same way, just with an added layer for mass. This option takes longer than a single-layer drop, but it’s still cleaner and more predictable than building thick POP.
Build the metal grid first with correct spacing between main channels and cross tees, then screw the first gypsum layer to the grid. Stagger the second layer so seams don’t line up, and screw it into the grid with a pattern that avoids weak points. Tape joints between boards and fill with joint compound in thin layers, sanding between coats. Prime and paint after the joints are flat to a straight edge.
Editor's noteCheck board flatness before installation — warped sheets create bumps you can’t sand away easily.
Skip thisDon’t line up all seams between layers — that defeats the sound benefit and shows through as lines.
8. POP ceiling with fiber reinforcement for hairline crack control
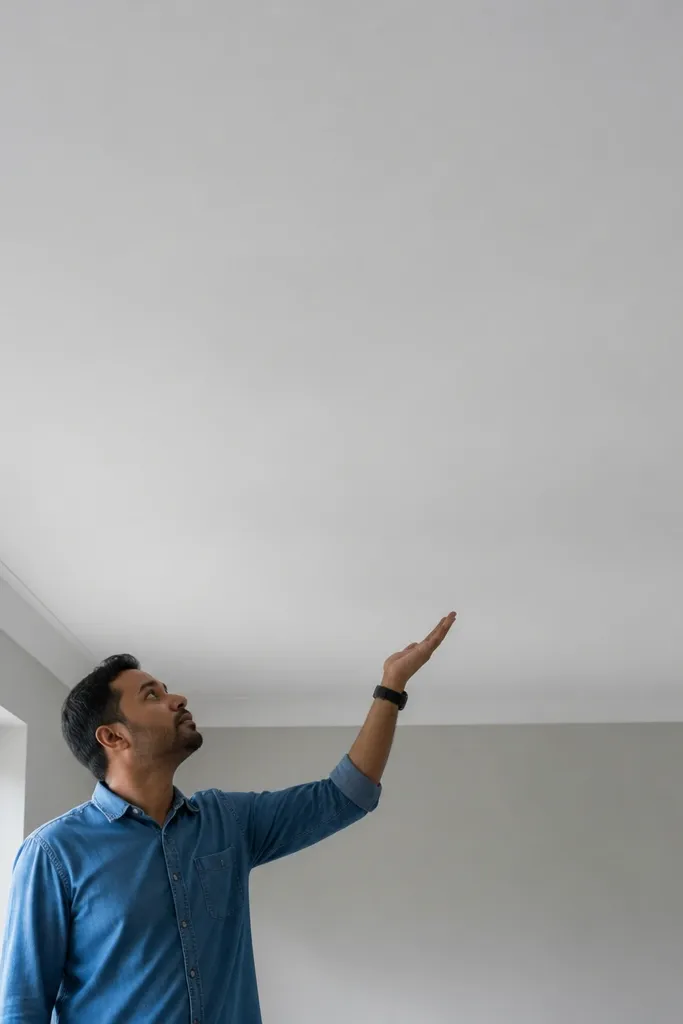
POP can crack, but you can reduce hairline cracking by thinking about reinforcement and drying behavior. Fiber reinforcement helps control shrink movement in the plaster layer, especially in larger flat areas where tension builds as it dries. This option is for living rooms where you want a POP finish and you’re willing to follow careful drying steps. It’s not as repair-friendly as gypsum, but you can still get a clean, paint-ready ceiling if the base is stable.
Prepare the slab by cleaning dust and applying bonding slurry so the POP sticks firmly. Mix POP with fiber reinforcement as per the product instructions, keeping the mix consistent so you don’t create weak spots. Apply in thin, controlled passes over a level base and use straight edges to maintain a flat plane. After full dry time, sand smooth, fill pinholes, prime, and paint with a ceiling primer first so the final color looks even.
Editor's noteKeep the room ventilated but avoid direct fan blast on one spot — uneven drying shows as patchy texture.
Skip thisDon’t skip bonding slurry — poor adhesion is where cracks and hollow spots start.
9. Gypsum ceiling with recessed medallion center
A recessed medallion gives you a focal point over the seating area without turning the whole ceiling into a heavy build. Gypsum lets you create the shape by cutting boards into curved or stepped elements and supporting them on the grid. The result looks clean because edges are formed by board geometry and finished joints, not thick plaster sculpting. This works well when you want a statement center above the sofa or dining table.
Plan the medallion size first — a center panel around 3x3 feet looks balanced in medium living rooms. Build the metal grid with extra profiles around the medallion outline so it stays rigid when you screw boards. Cut gypsum panels for the recessed layers and screw them to the grid, then finish the seams with tape and joint compound. Sand, prime, and paint, and keep the recessed depth shallow enough that the shadow line stays crisp.
Editor's noteDry-fit the medallion layout with cardboard before you cut gypsum — it prevents symmetry mistakes.
Skip thisDon’t make the medallion too deep — deep recesses exaggerate any small misalignment.



