

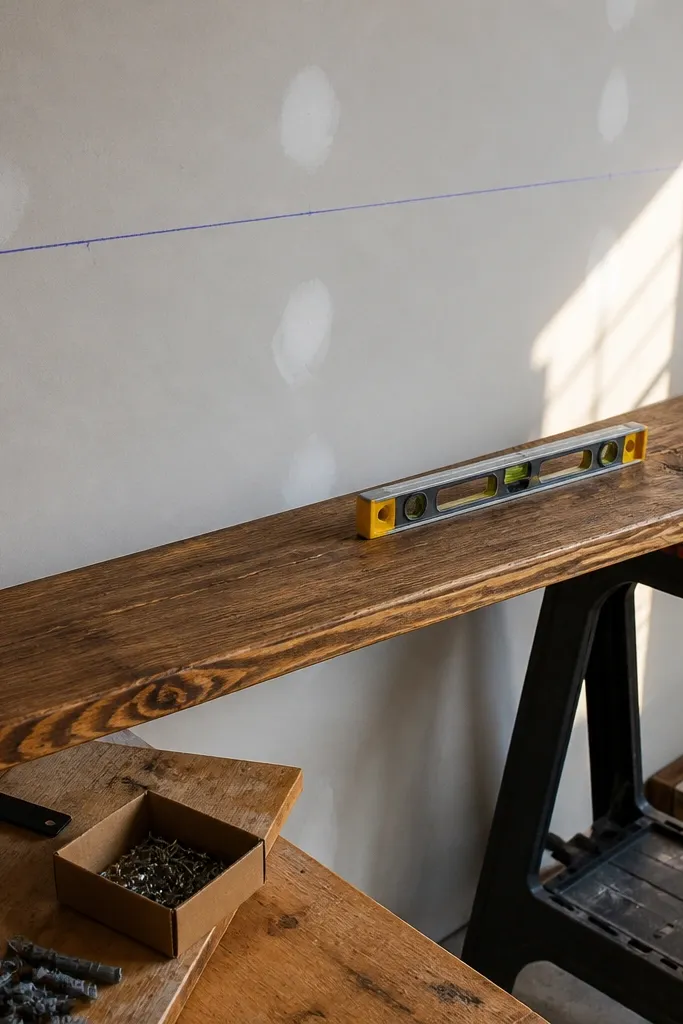
1. The "Level It Later" bracket mistake
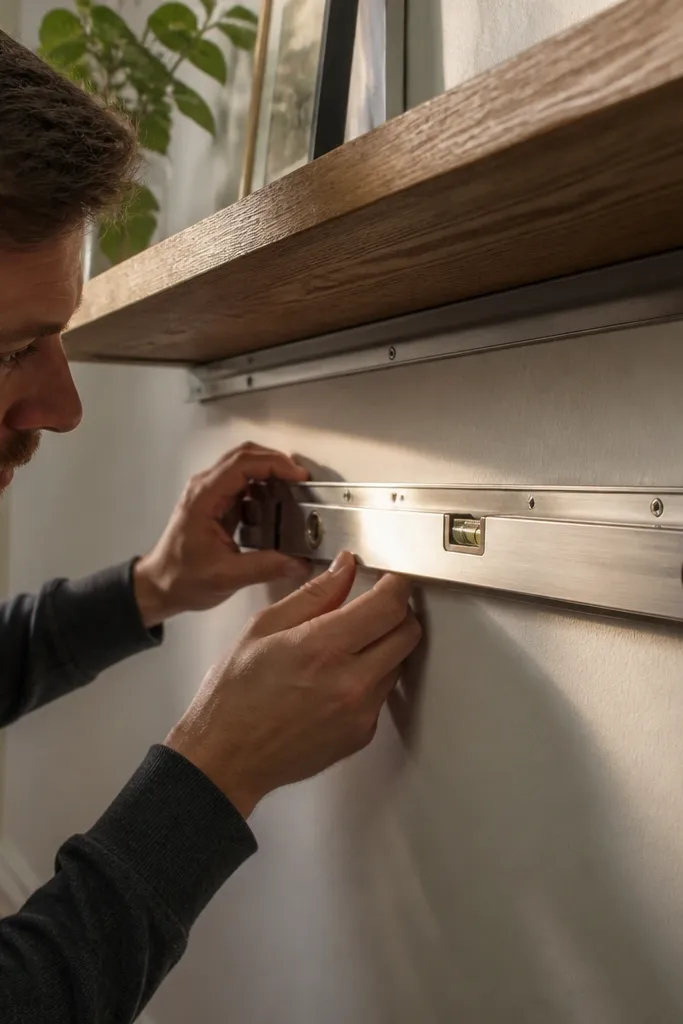
Start by snapping or drawing a reference line with a level from one known point to the install location. Use a mounting template or hold the bracket/rail up to the line and mark screw holes through the bracket. Install the support with screws but do not fully tighten until you confirm level across the span. Tighten only after the support is dead-on, then attach the shelf board and check level again at the shelf lip.
This is the mistake where the shelf board ends up crooked because the support was leveled after the bracket was already fixed. Floating shelves hide the bracket area, so your brain assumes the shelf is straight even when it’s not. The fix is boring but effective: you level the support line using a real level and a pencil line before any screws go in. When the rail or cleat is straight, the shelf reads straight instantly, even after you add items.
Skip thisAvoid installing one side first and “correcting” by bending the shelf later.
Editor's noteUse a 2-foot level for short shelves and a 4-foot level for anything over 36 inches.
2. Drywall-only anchors that look fine at first
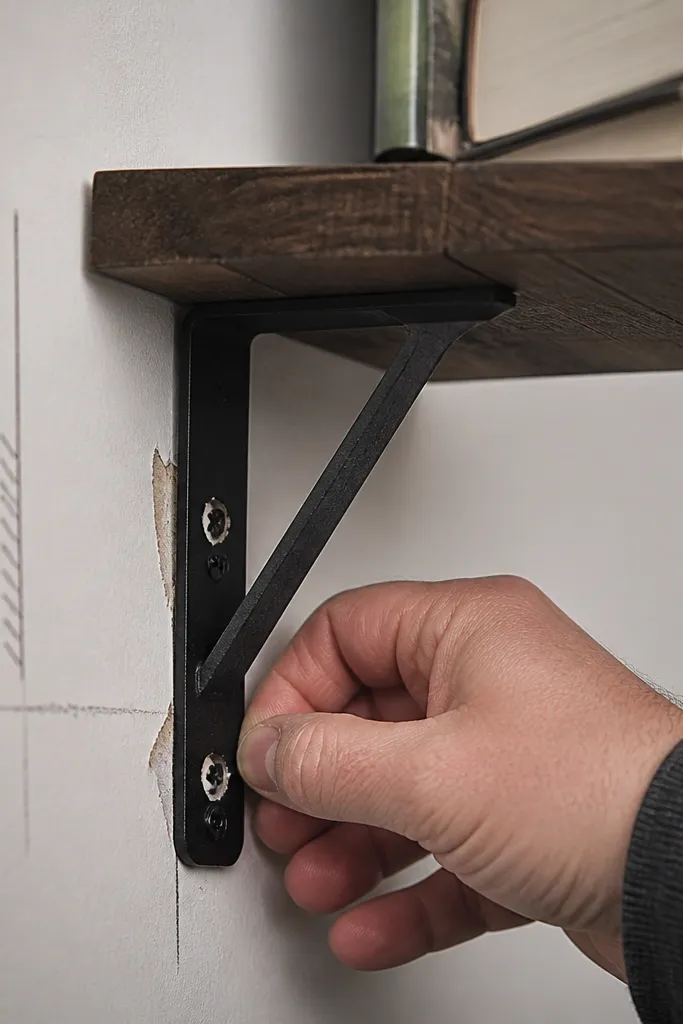
Drywall-only mounting is one of the fastest ways to create a shelf that creeps downward over time. Some anchors hold weight when the load is light, but floating shelves get side load from people bumping them and from items pulling forward. If you want quick and easy Floating Shelf Mistakes to stop, anchor into studs whenever possible and treat drywall as secondary. If you truly can’t hit a stud, you need anchors that are rated for the exact wall type and you should reduce what you plan to store.
Start with a stud finder and mark stud centers where the shelf support will land. Place one bracket screw into a stud for each support point when the bracket pattern allows. If you miss studs, use drywall anchors rated for medium/heavy loads and follow the manufacturer’s hole diameter exactly. Then test the mounting by applying firm downward pressure before you attach the shelf board.
3. Wrong screw length for the wall and bracket
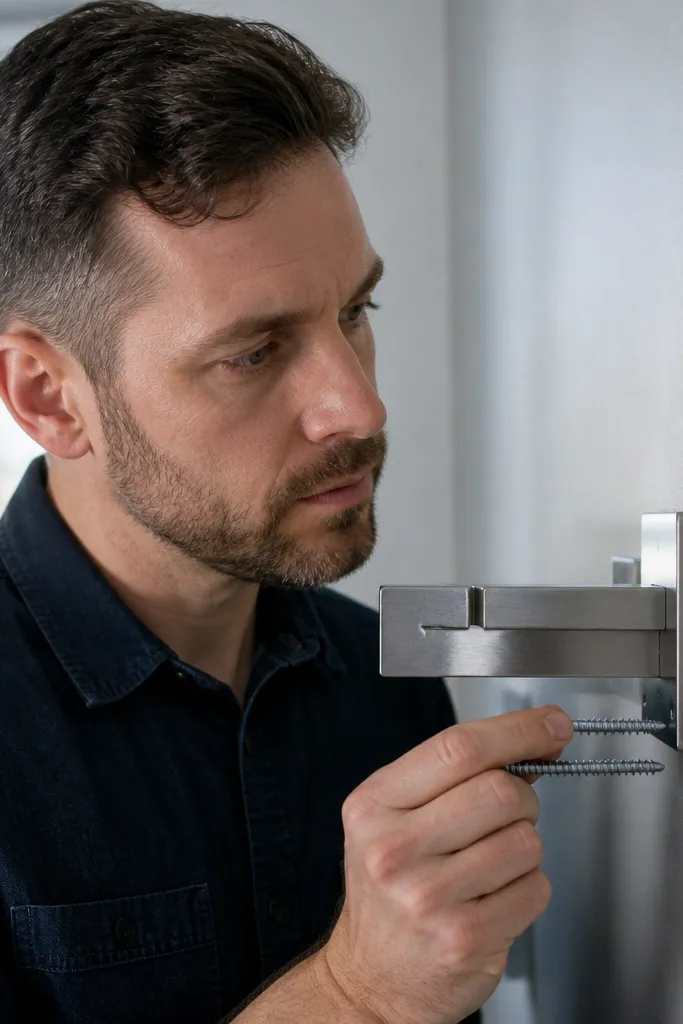
Measure the bracket thickness and add the required embedment depth for your anchor or stud bite. For stud mounting, choose screws long enough to fully engage the stud without bottoming out or bending the bracket. Pre-drill pilot holes for wood studs to reduce splitting and to keep screws from walking. Finally, install one support point first, confirm bracket sits flat, then finish the rest.
Using screws that are too short means the bracket doesn’t bite deep enough, and the shelf feels solid until the first real load. Screws that are too long can poke into wiring, miss the stud face, or distort the bracket so it never sits flush. The result is uneven contact and a shelf that looks slightly off even if the level was correct. The fix is simple: match screw length to the bracket thickness plus the wall anchor or stud depth.
4. Pre-drilling skipped, screws walk off line
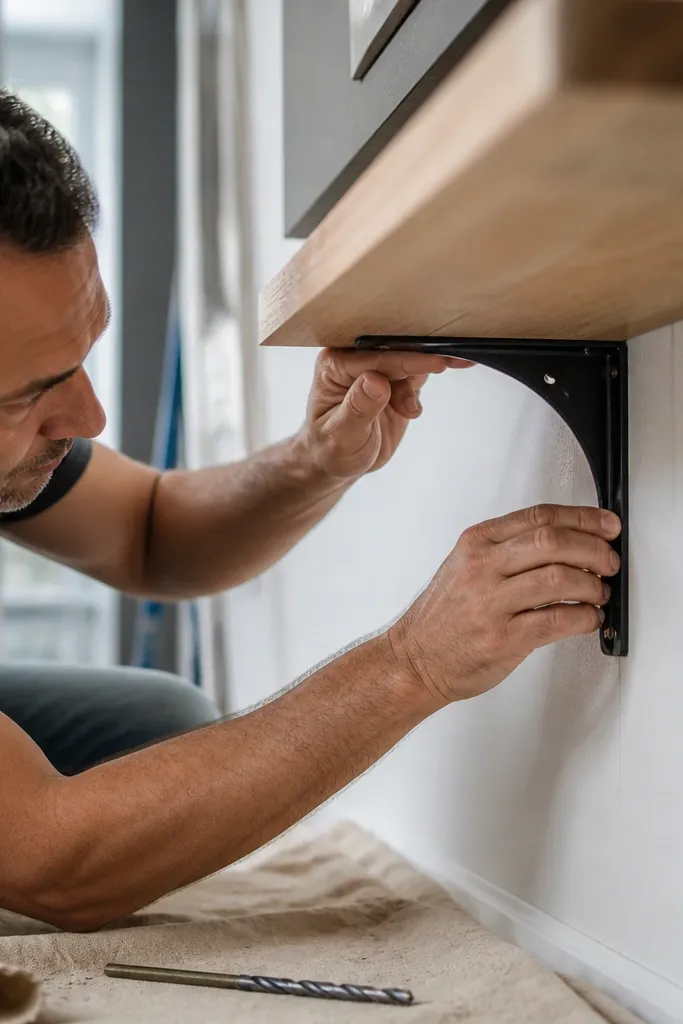
Start by marking your bracket hole positions on the shelf board if you’re attaching directly to the board. Drill pilot holes slightly smaller than the screw’s core diameter, not the outer thread. For metal brackets into wood, drill a pilot in the wood for each screw location so the bracket sits flat. Then attach with a hand driver or a low-torque setting on your drill to avoid over-tightening.
When you skip pre-drilling, screws can pull the bracket or the shelf board off the pencil marks. With hard woods or thick boards, the screw tip catches and “walks” sideways, creating a crooked line you can’t hide under trim. Even if the shelf ends up looking straight, the hidden hardware can be under stress, which increases the chance of loosening. Pre-drilling keeps everything aligned and makes tightening smoother.
5. Using a drill instead of controlling torque
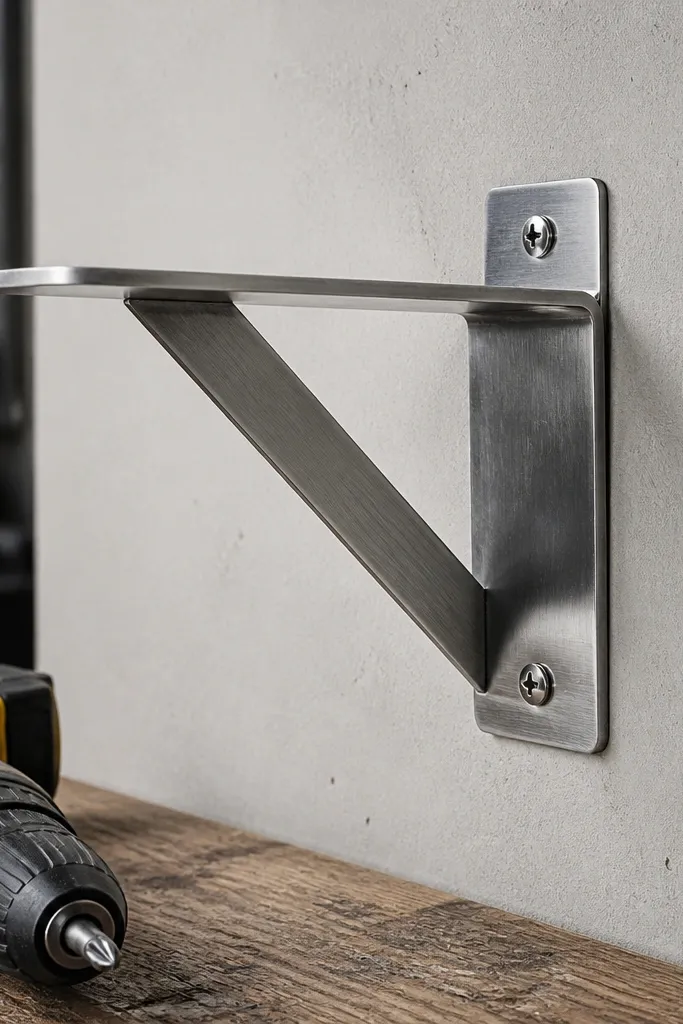
Start by using a drill/driver with a clutch set low enough that it stops before stripping. Tighten each screw in stages, alternating left and right so the bracket pulls evenly. Watch for bracket movement as you tighten; if it shifts, loosen and re-seat before going tighter. Finish by checking the support line with a level before attaching the shelf.
Impact drivers and high-torque settings can crush soft wood, strip screw threads, and warp thin metal brackets. That usually shows up later as a shelf that has tiny gaps, squeaks, or a bracket that won’t sit flush. The “floating” look hides the problem until you load the shelf and the hardware shifts. The fix is to control torque and stop tightening when the bracket is snug and seated.
6. Bracket spacing mismatch to shelf length

Too much span between supports makes the shelf flex, and flex turns into a sag line that becomes obvious once you add weight. Even if the shelf doesn’t break, you can get a slight bow that makes the shelf look bowed in photos and real life. The fix is to follow the shelf hardware’s max span recommendation and to distribute supports so load is close to the mounting points. For long boards, adding one extra support point can be the difference between “fine” and “solid.”
Start by reading the bracket kit’s recommended maximum distance between supports for the shelf material and thickness. Measure your shelf length and map bracket positions so you don’t end up with one long unsupported gap. Dry fit brackets on the board first to confirm the pattern matches your board thickness and pre-drilled holes. Then mount the supports to the wall and attach the shelf board after everything is aligned.
7. Shelf thickness that doesn't match the bracket geometry
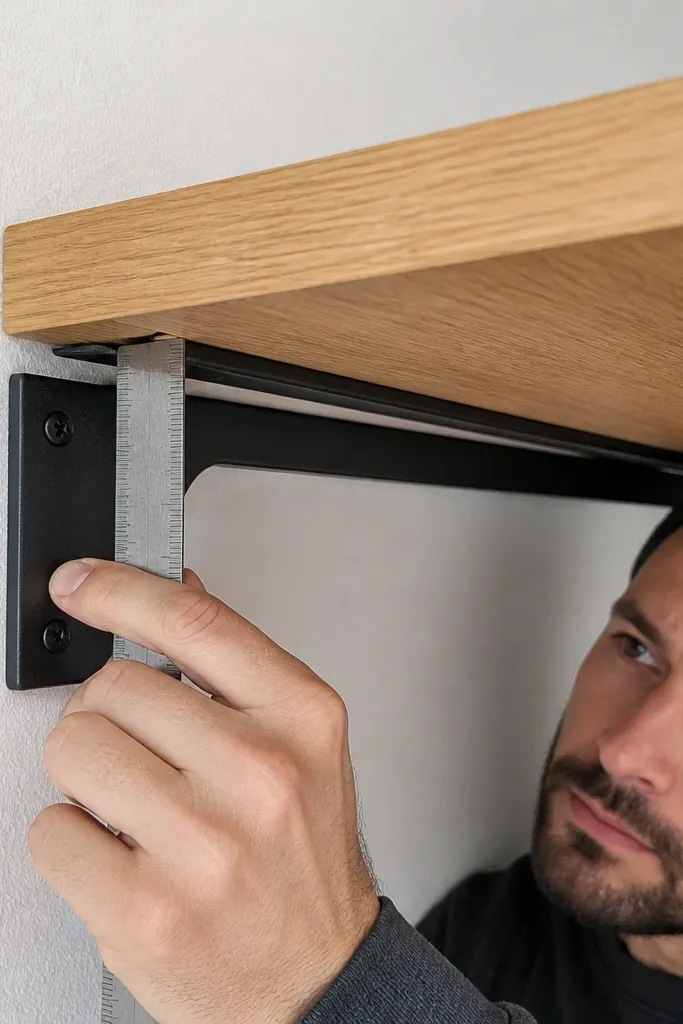
A bracket that’s designed for one shelf thickness can still “work” with a different thickness, but it won’t seat correctly. When the shelf isn’t fully seated, you get rocking, uneven load transfer, and a gap that shows along the underside. The shelf can also twist when you tighten screws because the bracket isn’t contacting the wood where it should. The fix is to match shelf thickness to the hardware spec and to test fit before you mount to the wall.
Start by checking the bracket kit’s stated shelf thickness range and measure your board thickness with a caliper or at least a tape measure plus a ruler. Test fit the shelf on the brackets on a workbench, not on the wall. If it rocks or leaves a visible gap, swap to a compatible bracket or use a spacer method that keeps the shelf fully supported. Only then mount the support system to the wall and attach the shelf.
8. Forgetting to account for the shelf's overhang
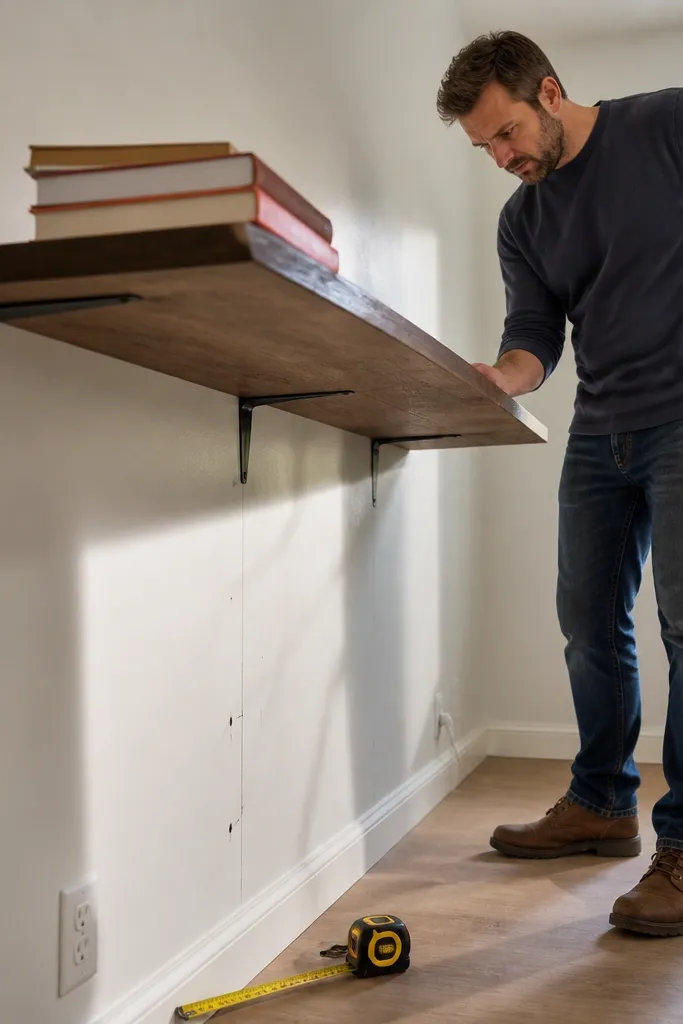
Start by measuring the exact shelf length and deciding the overhang on each end. Mark where the shelf front edge will land relative to your reference line. Place brackets so the shelf’s supported area covers the load zone, not just the middle. After mounting, load-test with light items first and add heavier items only when the shelf feels stable.
Overhang changes how force hits the wall. If you place the brackets assuming a flush fit, but your shelf overhang is longer than planned, the shelf can bow and the front edge can dip under load. Visually, it also makes the shelf look like it’s “floating” too far from the support, which draws attention to imperfections. The fix is to plan bracket positions based on the actual board overhang and to keep the heavy items near the supported zone.
9. No wood finish before install and the board warps
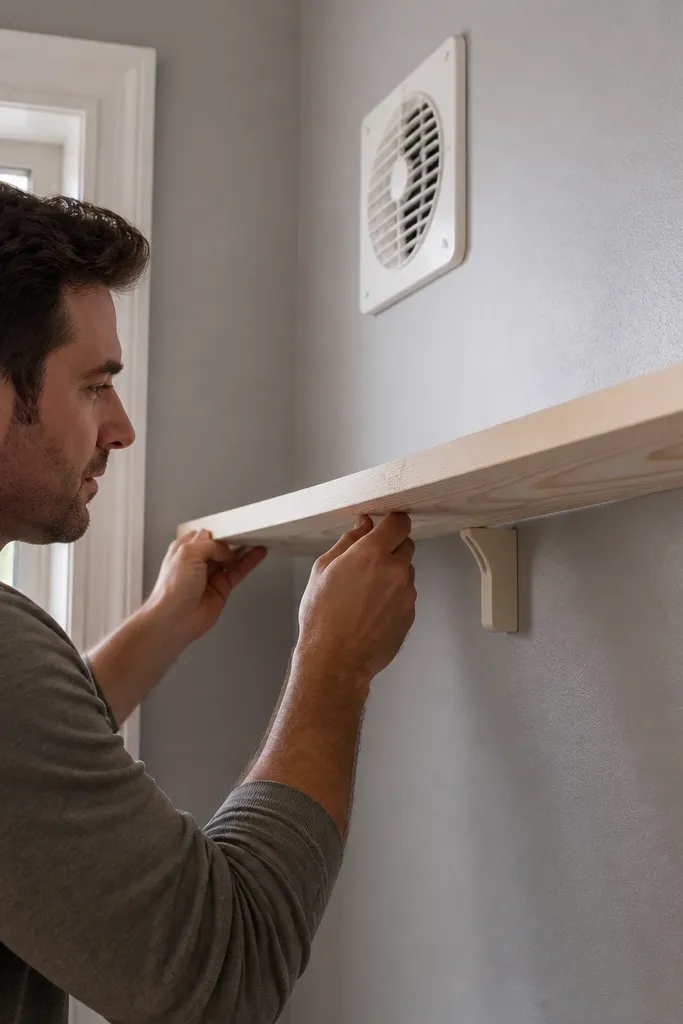
Start by sanding the shelf board to at least 180 grit so the finish lays flat. Apply a thin coat of sealer or primer made for bare wood, then let it dry fully. Sand lightly with 220 grit, wipe dust off, then apply your topcoat (polyurethane or hardwax oil) to the underside too. Let it cure per label instructions before mounting so the board stays dimensionally stable.
Unfinished shelves absorb moisture unevenly, especially if the wall is near a vent or if the board is exposed to sunlight. Once the board swells or cups, the mounting points can’t correct it, and you get a subtle twist that makes the shelf look slightly uneven. Finishing before install seals the wood and reduces movement. The fix is to seal and topcoat the shelf board before you attach it, so it behaves like a stable piece of wood, not a moving one.
10. Tightening screws into knots or end grain
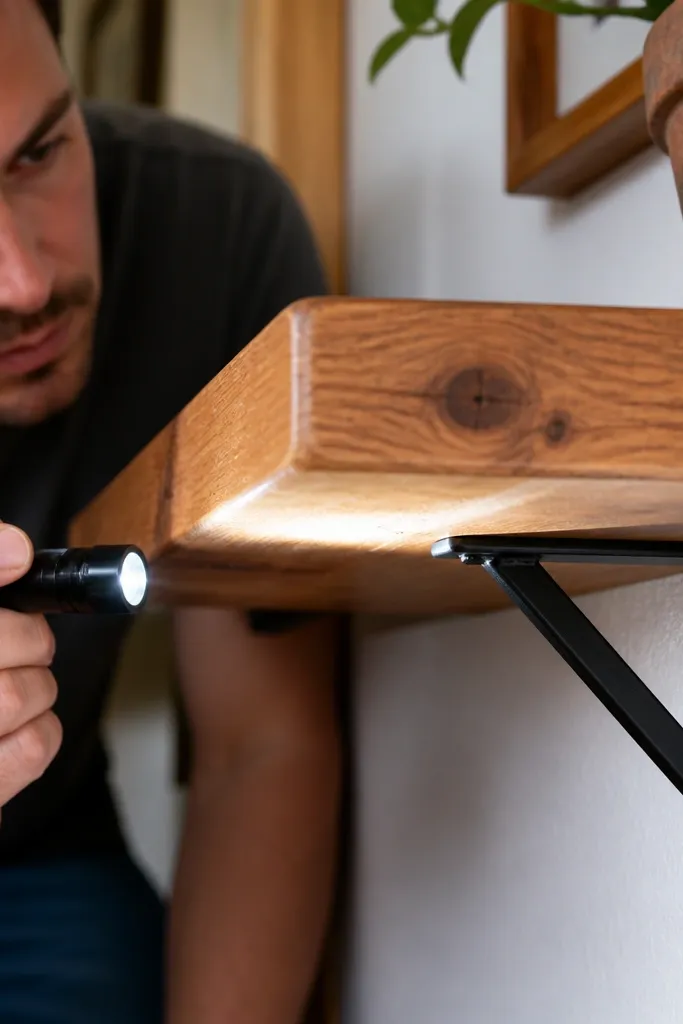
Start by checking the board grain and spotting knots or weak areas where bracket screws will land. If the board has a bad knot at a planned screw location, rotate the board so the knot moves away from bracket holes. Pre-drill pilot holes and keep screws centered on the wood area the bracket is meant to bite into. If you’re near the edge, choose the bracket method designed for edge mounting or switch to a thicker shelf board.
Screws love solid wood. They don’t love knots and they hate end grain. If your bracket screws land in a knot or too close to the board edge, the wood can split or the screw can loosen as the board flexes. That turns into a shelf that looks okay but slowly develops movement at the bracket line. The fix is to align bracket holes to stronger grain and to avoid placing screws near the board ends unless the hardware is designed for it.
11. Painted wall dust under brackets
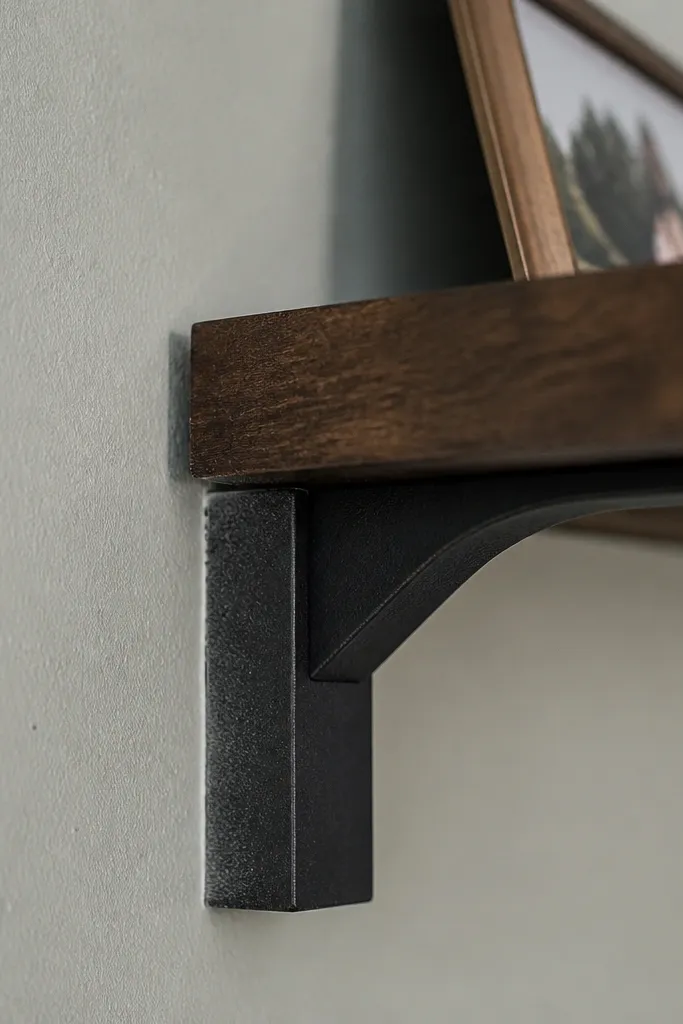
Dust and loose paint act like a cushion. The bracket can sit flush at first, then loosen as the dust compresses and the bracket shifts. On painted walls, this shows up as a shelf that ends up with tiny gaps or a support that feels less tight after a day. The fix is surface prep where the bracket touches the wall — clean and if needed, remove flaky paint. That makes the mounting line stay solid.
Start by wiping the wall where the bracket sits with a dry microfiber cloth, then follow with a slightly damp cloth if the wall is chalky. Scrape off any flaky paint around the marked screw points. Let the wall dry fully if you used moisture. Then mount the bracket, tighten evenly, and re-check level before attaching the shelf.
12. Using a stud finder and trusting one reading
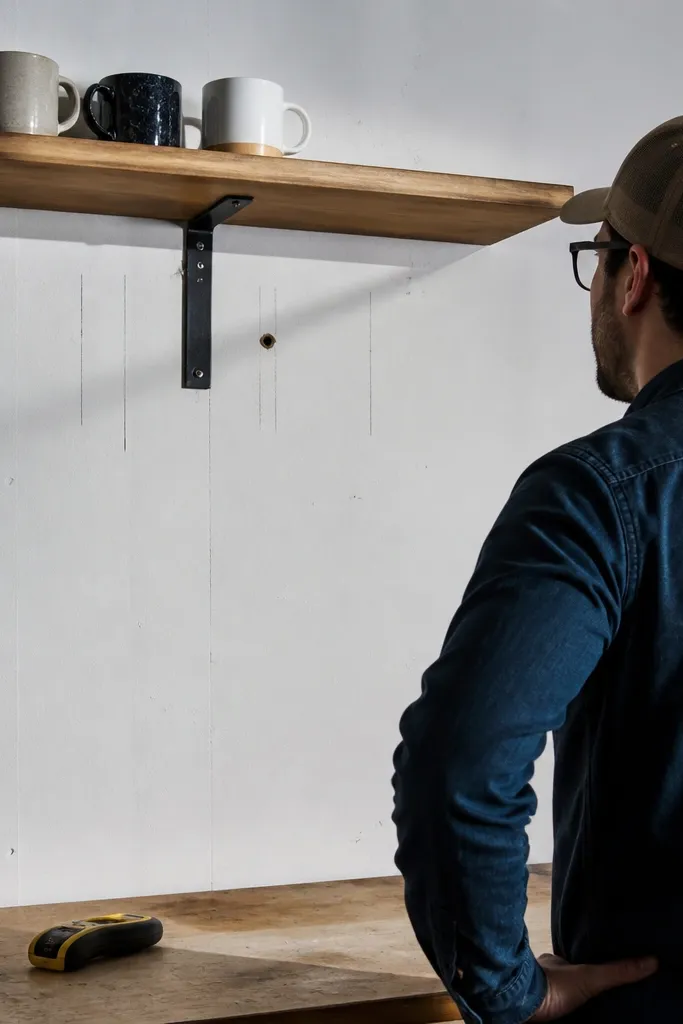
Start by scanning the wall in small increments and mark the center and edges of at least one stud. Switch modes if your stud finder supports it, then re-scan to confirm. Before installing the bracket fully, drill a tiny pilot hole at one screw location and inspect whether you hit wood. If you miss, re-mark and move the bracket before you enlarge holes or mount permanently.
Stud finders drift with wall texture, wire, and metal. If you mark one spot and call it done, you can end up with screws biting drywall instead of wood. The shelf still feels sturdy during install, then fails once loaded. The fix is to verify with multiple passes and to confirm with a small pilot hole before committing to final screws. That one extra check saves you from re-drilling everything.
13. Not accounting for tile or uneven wall planes
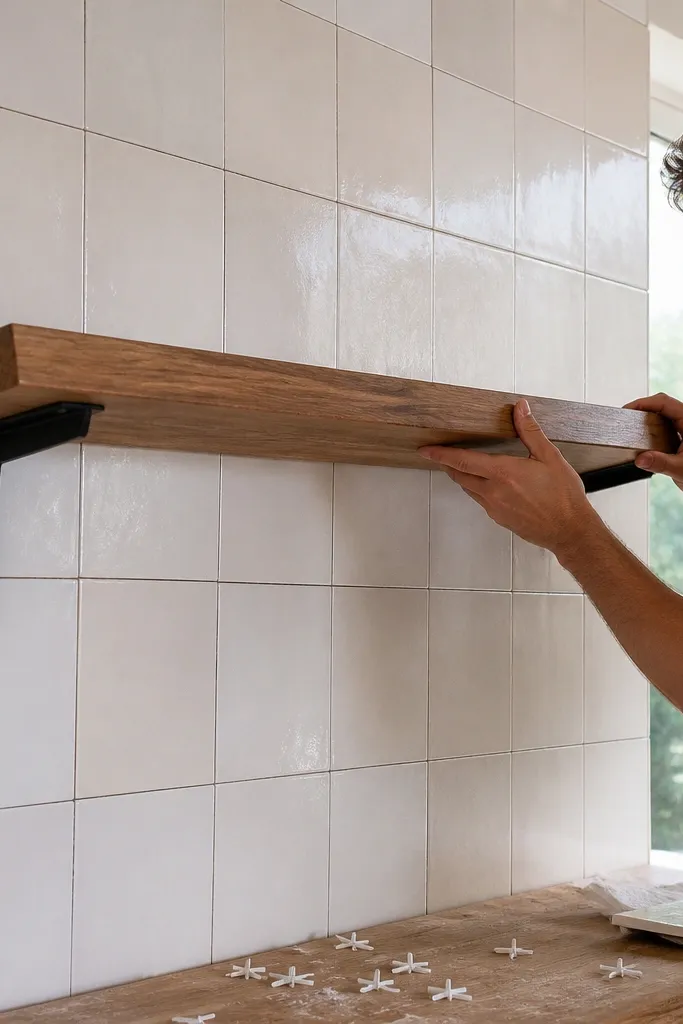
Start by dry-fitting the bracket against the wall and checking for gaps with a straightedge. If you see daylight or rocking, plan to shim behind the bracket at the high/low spots using thin composite shims. For tile, use the correct anchors for tile and avoid drilling the wrong way — follow your anchor instructions for hole diameter and depth. Then mount the support, tighten evenly, and only attach the shelf once the bracket sits solid without rocking.
Uneven walls ruin the “floating” look. On tile or textured drywall, brackets can sit at different angles, so when you attach the shelf it pulls into a twist. That twist shows as a gap at one end or a shelf that doesn’t sit level even after careful measuring. The fix is to use proper spacers or shims to create a consistent mounting plane, and to use hardware that matches the wall surface type.
14. Over-tightening to eliminate a gap that should be shimmed
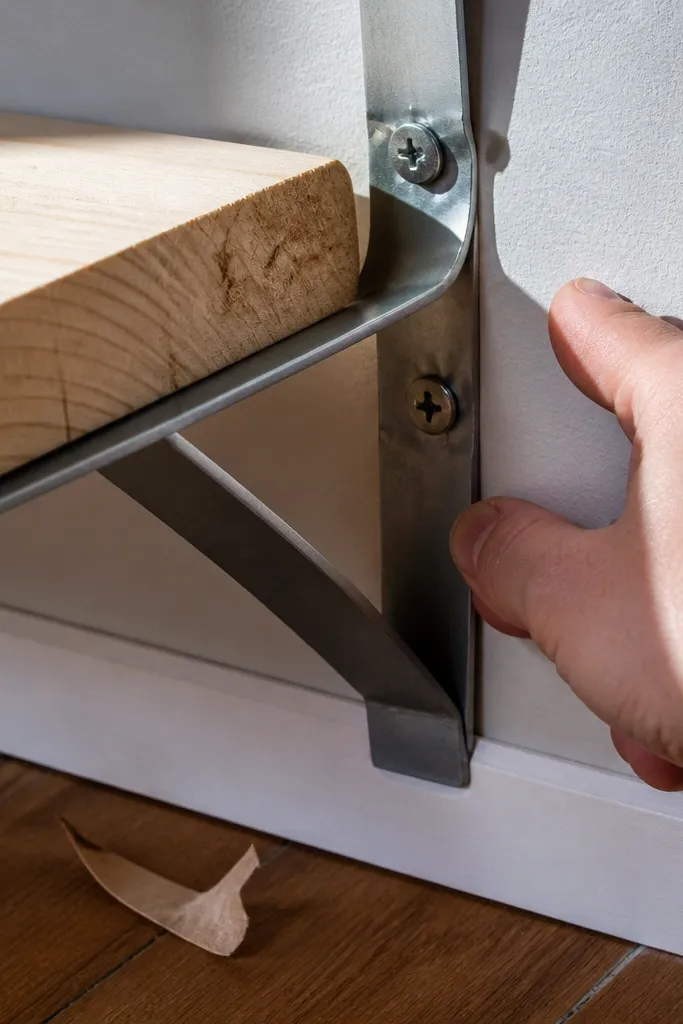
This one is common when a bracket doesn’t sit flush. Instead of shimming, people crank the screws harder to pull the bracket into position. That bends the bracket or strips the anchor, and it also stresses the shelf board so it can warp or crack near screw points. The shelf may look okay for a day, then loosens or shifts. The fix is to shim or correct the mounting plane before final tightening.
Start by loosening the bracket and checking where the gap actually is — one side high or low. Insert shims behind the bracket at the correct points until the bracket sits flush without force. Tighten screws gradually, alternating sides so you don’t twist the bracket. After tightening, run a level along the support and confirm the shelf will mount without being pulled.
15. Skipping a weight plan for what you put on it

Start by checking the bracket kit’s stated load rating and the shelf material thickness. Place the first heavier items near the wall and test the shelf with a gradual build-up rather than dumping everything at once. If you see deflection, reduce load or add another support point. For books, use vertical stacks and avoid long rows that concentrate load at the front edge.
Floating shelves are often treated like picture ledges. Then someone loads them with heavy books, mugs, or a full planter and the shelf bows. The hardware might be fine, but if you exceed the kit’s supported weight or if your bracket spacing is too wide, the shelf will show it. You don’t need to be paranoid, but you do need a weight plan. The fix is to distribute weight toward the supported area and keep heavy items closer to the bracket line.



