
1. Oak Corner Triangle Shelf with Hidden Rail
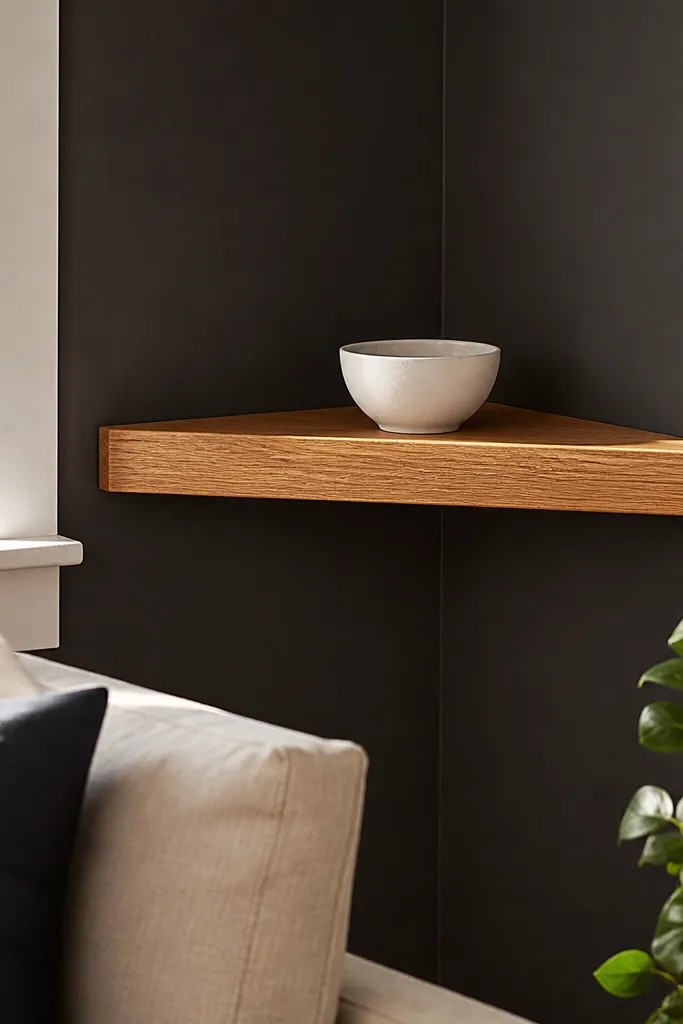
Start by marking the corner height and buying a shelf triangle that’s 10-14 in on each side so it doesn’t look skimpy. Find studs on both walls if possible, then mount a straight mounting rail that spans across the two stud locations using screws long enough to bite firmly. Set the shelf on the rail and use the manufacturer’s hidden keyhole or rail tabs to lock it in place. Finally, wipe the wood, then apply one thin coat of satin clear sealer and let it dry while you finish your leveling checks.
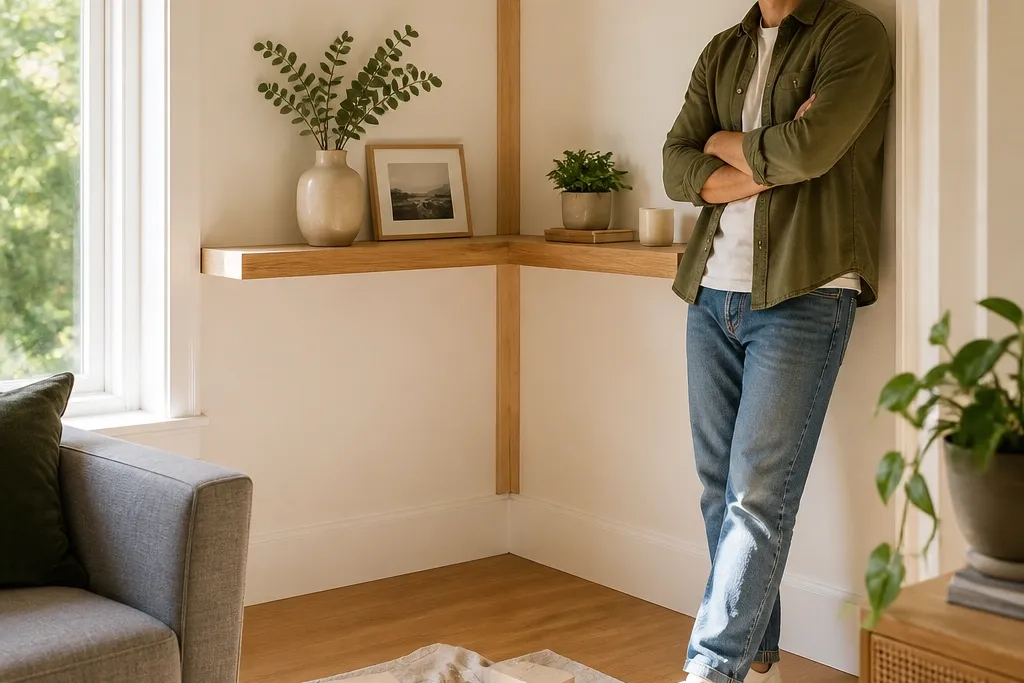
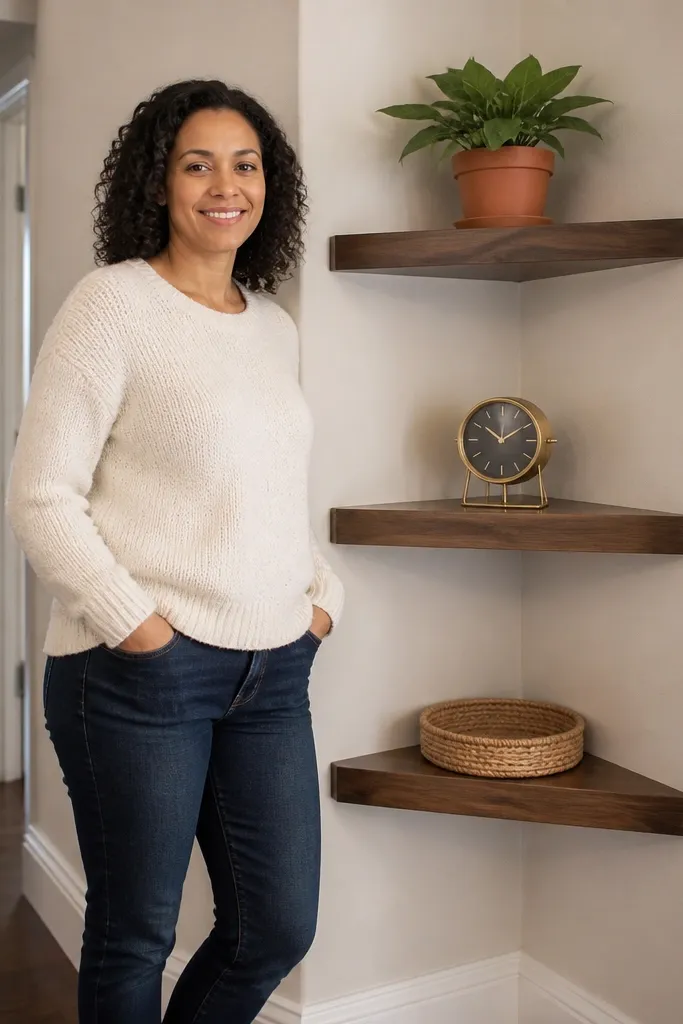
This is the cleanest way to make a corner look intentional without fighting angled cuts. A right-triangle shelf sits in the corner and reads as a single piece, so it looks good from both hall and living room angles. The hidden rail under the shelf keeps the underside sleek, with no visible brackets breaking the line. Go with light oak for warmth, then seal with satin so it doesn’t glare under ceiling lights. Skill level is beginner-friendly if you buy a pre-cut triangle or cut one straight with a guide; the install is the fast part, not the woodworking.
Skip thisAvoid painting or staining after mounting; it’s messy and you’ll get uneven drips under the shelf.
Editor's noteUse a 4 ft level and check the shelf front edge at eye height, not just the corner line.
2. Matte Black L-Profile Floating Shelf with Stud Screws
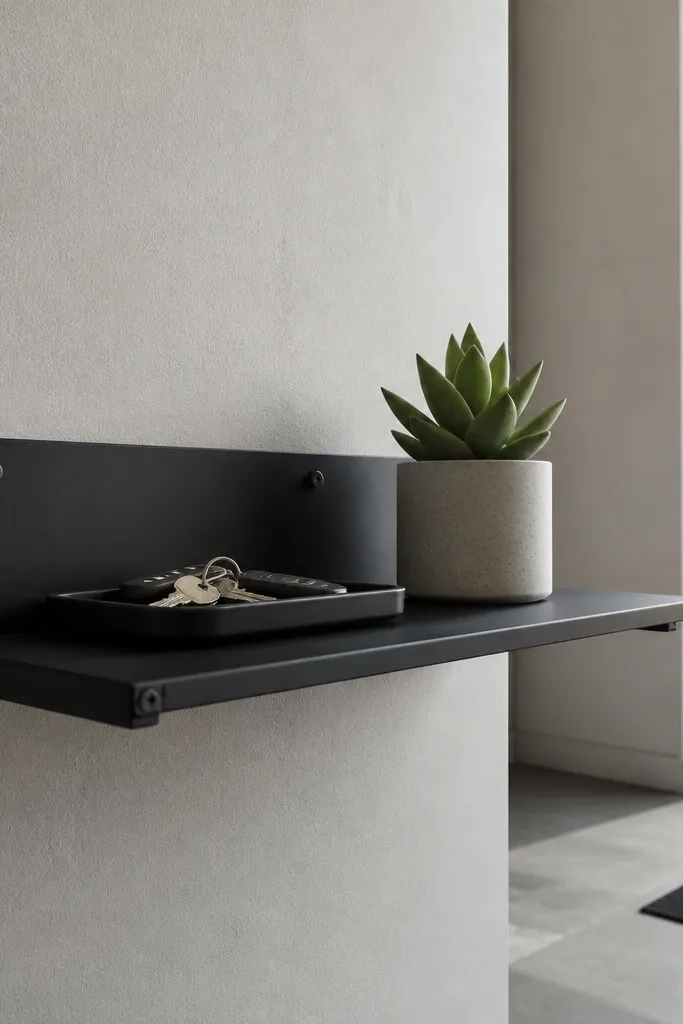
Pick a shelf kit that includes the back plate and matching cover so the hardware stays hidden. Hold the back plate in the corner, mark the screw holes, then drive screws into studs on the wall sides you can hit. If you can only hit one stud, still use rated anchors for the other side, and keep the shelf length under 18 in. Set the shelf on the plate, check for level, then tighten the retention screws. Finish by wiping the surface with a dry cloth so dust doesn’t show under the matte finish.
If you want quick and easy corner shelves that look high-end without visible carpentry, go metal. An L-profile floating shelf with a matte black back plate makes the corner look architectural, and the shelf surface stays straight even if your walls have slight unevenness. The look is especially good in modern entryways because the black ties into hardware and frames. Use a light wood or textured top surface so it doesn’t blend into the wall. This project is fast because you’re mostly aligning and fastening, not building from raw lumber.
Skip thisAvoid installing on drywall without anchors if the shelf is longer than 16 in.
Editor's noteBefore final tightening, slide a thin paper strip between the shelf and wall on the gap side to confirm consistent spacing.
3. Pine Shelf with Two-Tone Inside Corner Stain
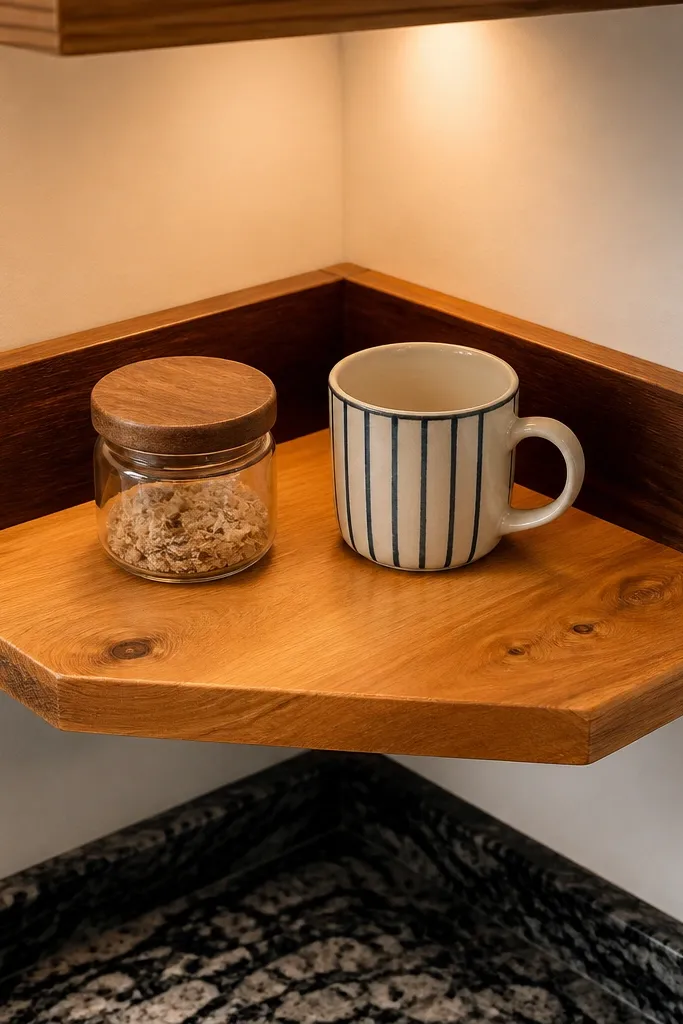
This one looks fancy in photos because it creates depth right inside the corner. You stain the inside edge darker and keep the top lighter, so the corner shadow reads cleanly and the shelf doesn’t look flat. Pine is cheap, easy to cut, and takes stain well if you prep it properly. Pair it with simple concealed clips so you don’t ruin the look with bracket clutter. This is a good one-day project because staining is straightforward and forgiving compared to complex joinery.
Sand the shelf to 150 grit, then wipe with a tack cloth so stain doesn’t grab unevenly. Apply a light base stain to the top and outer faces, then mask the underside edge with painter’s tape and apply a darker stain only to the inside corner bevel. Let it dry fully, then seal with satin polyurethane. Mount using a concealed clip system or a thin French cleat rail, then adjust the shelf while the seal cures if you’re using a fast-dry product.
Use painter’s tape to block stain along the underside edge; it gives a crisp line that looks intentional.
Avoid skipping sanding; pine blotches when you rush prep, and the inside edge will look muddy.
4. Shiplap Corner Shelf with Concealed French Cleat
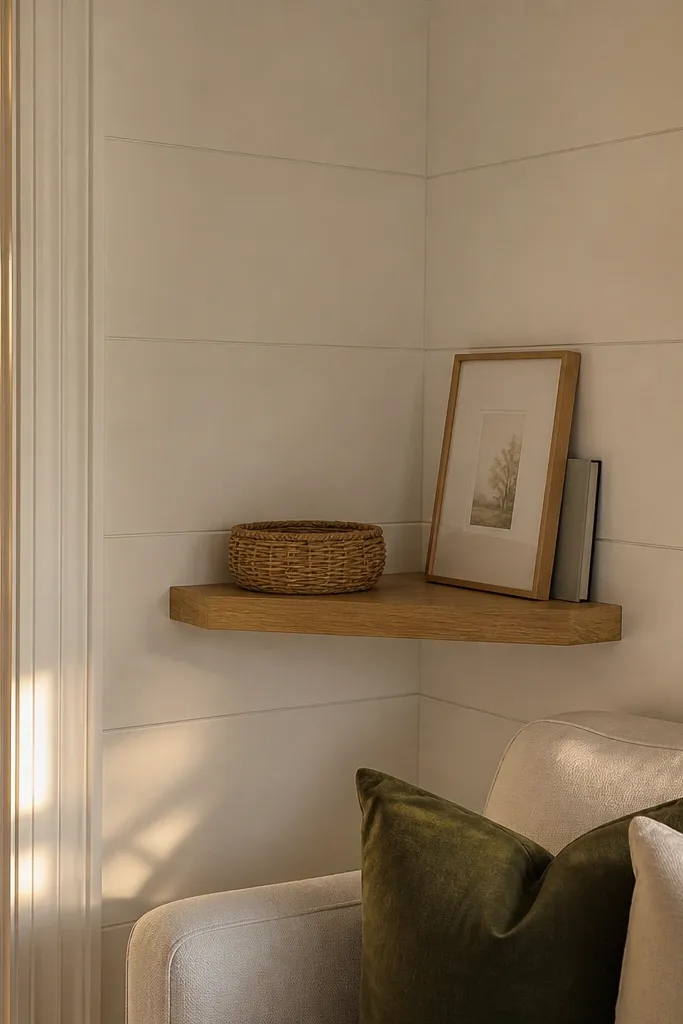
Cut or buy a shelf board around 16-20 in long with a 6-8 in depth that fits your corner without sticking out too far. Attach a French cleat rail to the wall at your chosen height, hitting studs where possible. Build a simple cleat-receiving back on the shelf so the shelf locks onto the cleat; then hang it and confirm it sits flat. Paint the shelf with a cabinet-grade satin paint, then apply a second coat after dry. Add a quick caulk bead where the shelf meets the wall if you want it to look perfectly finished.
Shiplap texture makes the corner look cozy and layered, even when the shelf is simple. A concealed French cleat behind the shelf gives you a true floating look and makes leveling easier because you can fine-tune with the cleat angle. This style is great for living rooms, kids' rooms, and farmhouse-leaning spaces where you want warmth but still want clean lines. Use a pre-made shelf board or build a small frame, then add shiplap boards on the face only. It’s quick if you keep the shelf size tight and use paint instead of staining.
Skip thisAvoid using a single anchor point in the corner; French cleats look great but they still need solid support.
Editor's notePre-drill into the cleat rail so the screws don’t split the wood when you’re working fast.
5. Reclaimed Look Shelf with Clear Hardwax Oil
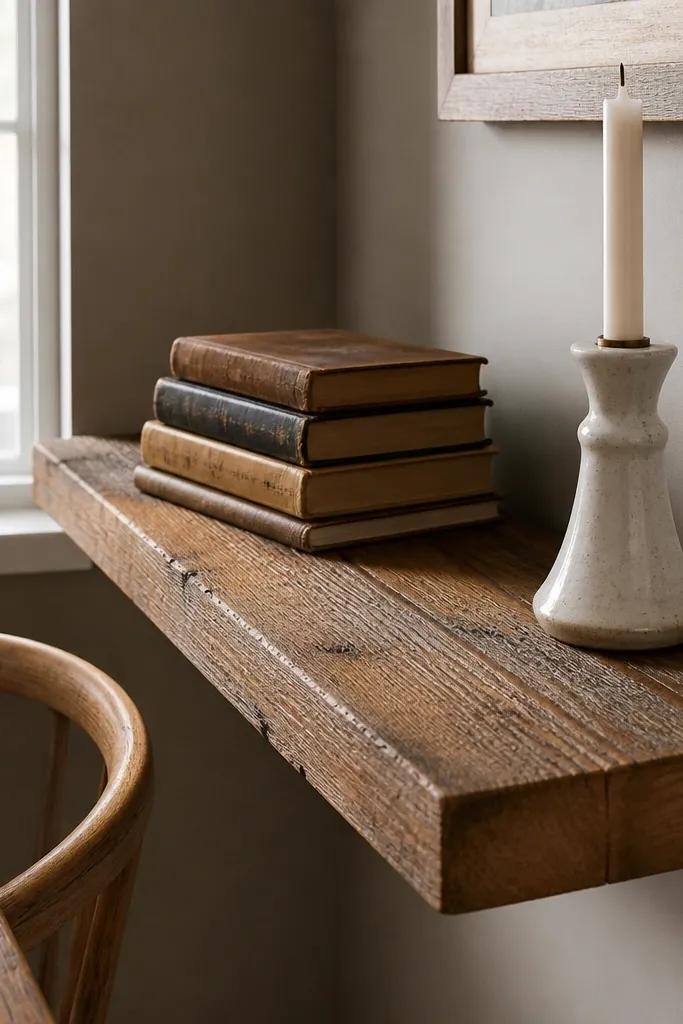
If you like the worn, lived-in look but don’t want complicated distressing, choose a reclaimed-look board and finish it with hardwax oil. The hardwax gives a soft sheen that doesn’t glare, and it makes the wood look deeper without hiding the grain. In a corner, this style looks especially good with simple decor like white candles or a small plant pot. The project is fast because you’re not staining multiple times; you’re sealing once and mounting. Hardware stays minimal, so the shelf reads as the star.
Buy a pre-milled reclaimed-look shelf board cut to your length, or cut your own from a uniform board so the grain direction stays consistent. Sand lightly to 120-150 grit and wipe clean, then apply hardwax oil in thin coats with a rag. Let the first coat soak, then buff after it sets, and add a second coat only if the color looks uneven. Mount with a concealed rail or two stud-mounted brackets under the shelf line, then wipe off any excess oil around screw holes.
Buff longer than you think; hardwax looks best when the surface feels smooth to the fingertips.
Avoid heavy oil pooling near the underside; it will cure tacky and collect dust.
6. Birch Plywood Shelf with Edge-Banding to Hide Cuts
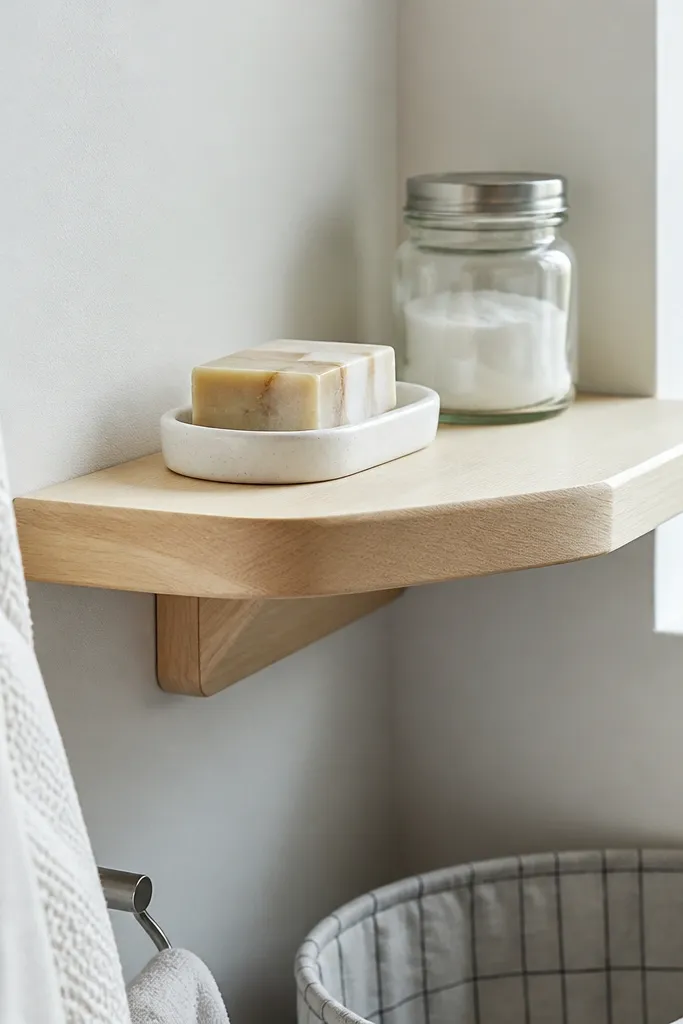
Cut your shelf to size and sand the edges lightly so the banding tape sticks. Apply 1/8-1/4 in edge-banding using a household iron, then trim flush with a sharp utility knife. Sand the banding lightly to remove ridges and wipe clean. Mount using concealed mounting brackets or a rail, then check level across both walls. Finish with two thin coats of clear satin to protect the plywood and keep the birch color consistent.
Plywood corners can look cheap if the edges show, so this design fixes that with edge-banding. Birch plywood gives you a modern, light look that brightens dark corners. The edge-banding makes the shelf look like a store-bought piece, which is exactly what you want for a one-day install. Use a simple floating bracket system so the underside stays clean. This build is beginner-friendly because plywood is stable and edge-banding is the hardest part.
Skip thisAvoid gluing edge-banding with random craft glue; use heat-activated tape for a crisp seam.
Editor's noteUse a scrap piece to practice banding on; plywood edge-banding looks best when the tape sits flat with no bubbles.
7. Two-Shelf Corner Stack with Same Bracket Finish
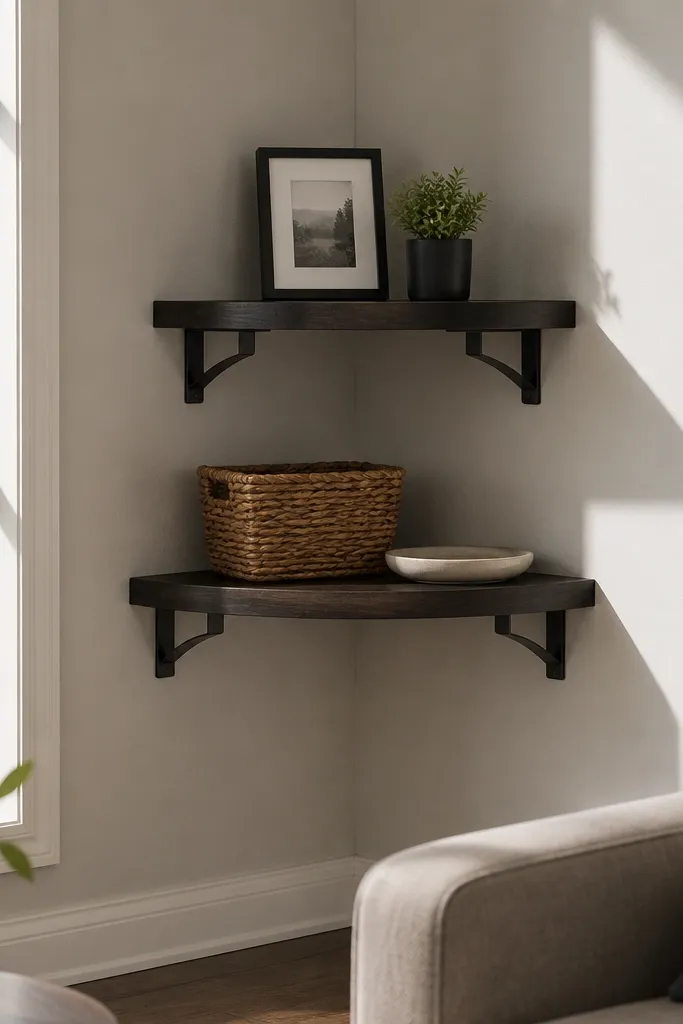
Choose two shelf lengths that fit your corner, usually 14-20 in, with the same depth so the stacked look doesn’t wobble. Find studs and mount one rail or cleat for the top shelf height first, then measure down for the second shelf using a consistent gap like 10-12 in. Install the second mounting rail at the same spacing and lock both shelves in place. Seal or paint both shelves before mounting so you don’t chase drips in the corner. Style after the finish cures enough to handle without fingerprints.
A stacked corner gives you more styling space without adding a bulky single shelf. Keep the same bracket finish and shelf color for both levels so the corner reads cohesive. This is where quick and easy corner shelves really shine because you mount two items at once and the corner looks instantly finished. Use one shelf for small decor and the other for books or baskets depending on your depth. The aesthetic is clean because the hardware is hidden and the lines repeat.
Skip thisAvoid mixing shelf depths; stacked corners look off when one shelf projects farther into the room.
Editor's noteMark bracket alignment with painter’s tape lines before you drill so you don’t re-measure twice.
8. Corner Shelf with Backer Panel for a Gallery Look
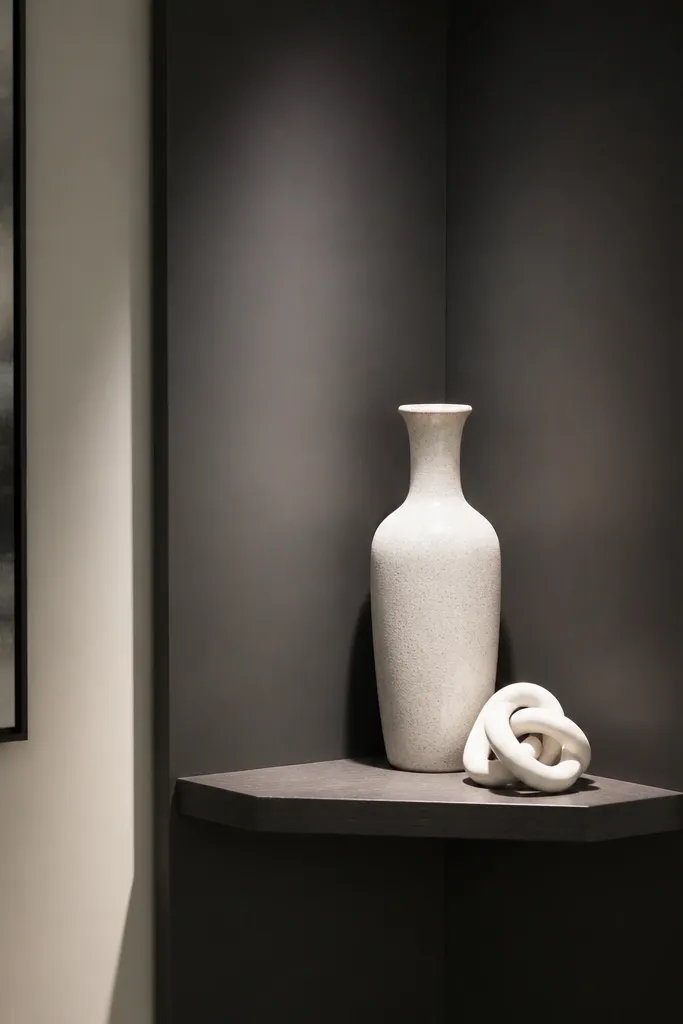
Cut a backer panel from 1/4 in plywood or hardboard to fit the corner, leaving a small 1/8 in gap for caulk. Paint the panel first and let it dry, then mount it to studs or use rated anchors if you can’t hit studs. Install the shelf using concealed brackets or a rail mounted on the backer panel structure where it’s strong. Confirm the shelf is level after the backer is secured, then add a thin bead of caulk at the panel edges. Seal the shelf top with satin clear if you want the wood to look smooth and photo-ready.
A backer panel turns a basic corner shelf into a little display niche. Paint the backer panel a deep color like charcoal or warm black so items pop, then mount the shelf floating in front. This makes the corner look designed even if you only add one shelf. The panel also hides small wall imperfections and anchor holes. It’s quick because you’re using a pre-cut panel and mounting the shelf after the panel is set.
Skip thisAvoid putting the backer panel on drywall without checking for flatness; bowed corners make the shelf look crooked.
Editor's noteUse two coats of paint on the backer panel; thin paint shows brush texture in photos.
9. White Laminate Shelf with Brass Hidden Brackets
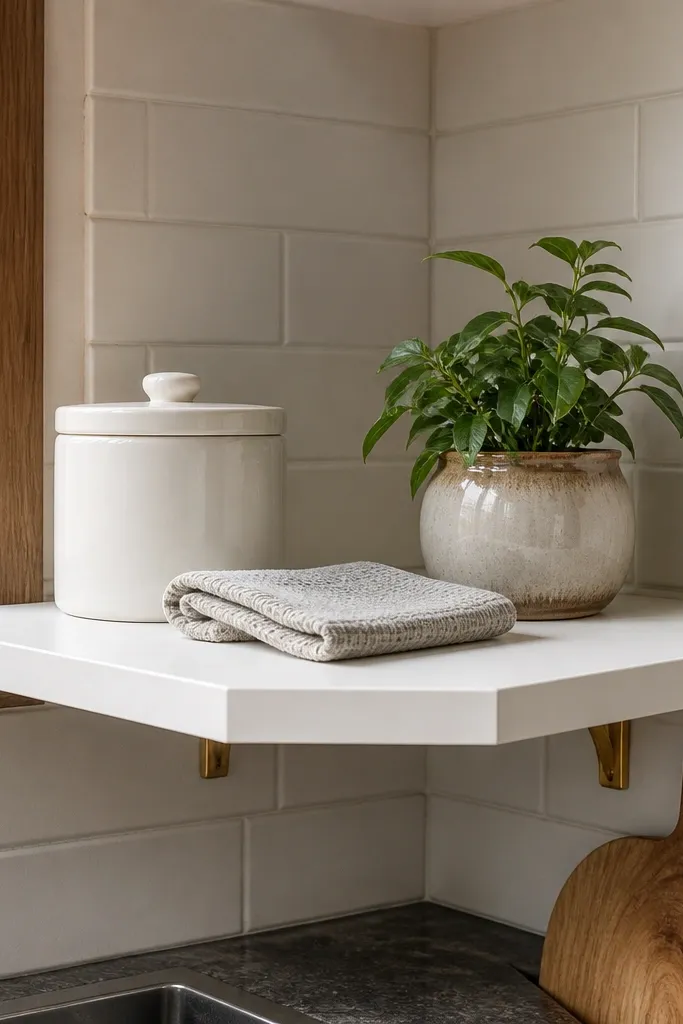
White laminate plus brass hardware reads clean and bright, and it hides wear better than bare wood. The corner looks crisp, and brass gives you that warm accent without needing heavy decor. This is a smart one-day project for kitchens and bathrooms because laminate resists scuffs and water splashes better than most unfinished woods. Use a satin or matte finish shelf so it doesn’t glare. The install is quick because the shelf is already finished and you’re mainly mounting and aligning.
Buy a prefinished white laminate corner shelf or cut laminate sheet to size and edge-seal the cut edges. Choose hidden brackets rated for the shelf length and mount them into studs where possible. Use a level to align the bracket line across both walls, then screw the shelf in place using the bracket attachment points. Wipe the shelf surface with a degreasing wipe if it’s in a kitchen corner. Add a small bead of paintable caulk where the shelf meets the wall for a sharp finish.
If you can’t hit studs on both sides, shorten the shelf to reduce leverage on anchors.
Avoid using glossy laminate in a corner with strong overhead lighting; reflections make the line look messy.
10. Walnut Finish Shelf with Simple Under-Mount Clips
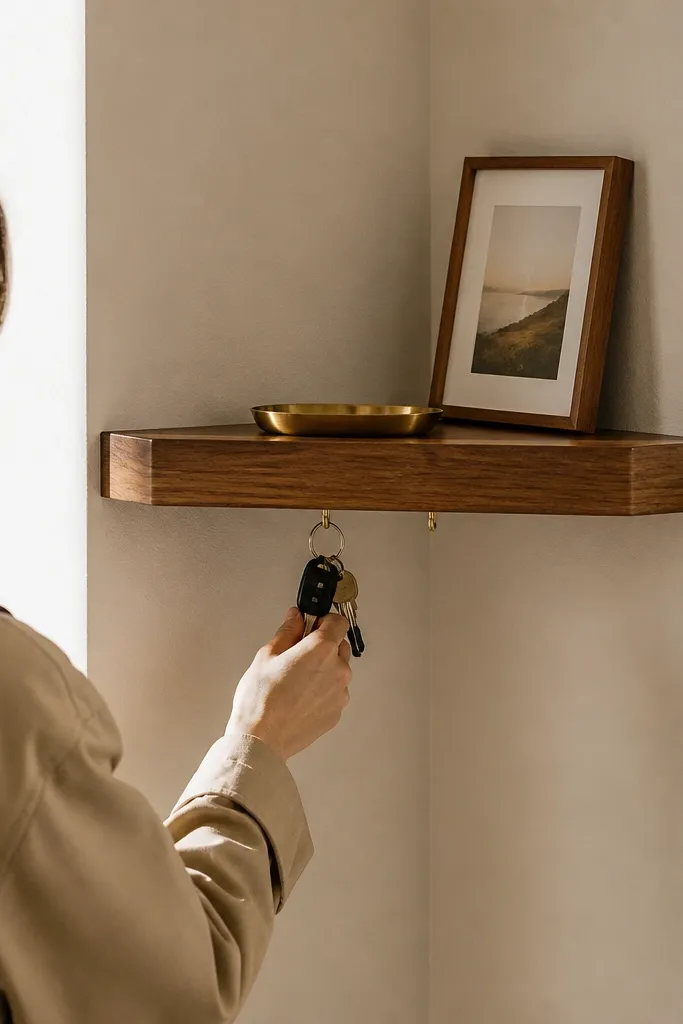
A walnut-toned shelf makes corners look expensive fast, especially in rooms with light walls. Under-mount clips keep the underside minimal, so the shelf reads like it’s floating from the corner. This style is perfect for entryways where you want a spot for keys, a small tray, or a framed photo leaning against the wall. It’s quick because the clips mount fast and you don’t need to build a complex bracket system. Finish it with satin for a soft glow that doesn’t look plasticky.
Sand the shelf lightly, then apply a walnut stain in thin coats until you hit the tone you want. Seal with satin clear and let it cure enough to handle without smudging. Install the under-mount clips by marking their positions and driving screws into studs or using rated anchors for the non-stud side. Hang the shelf by clipping it onto the mounts and adjust the fit before fully tightening. Check for level across the shelf face and wipe away any stain dust before installing decor.
Use a damp cloth to test stain color in a small spot first; walnut tones shift quickly depending on the wood.
Avoid over-tightening clips; it can warp the shelf slightly and you’ll see a gap.
11. Black Steel Floating Corner Shelf with Wooden Top
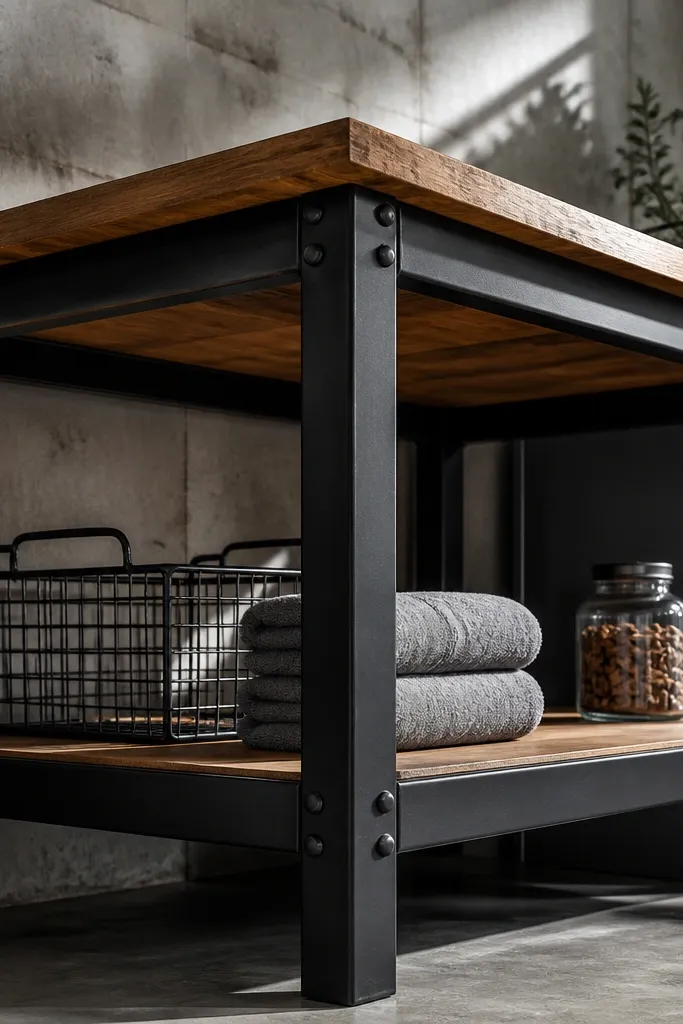
Pick a steel corner shelf frame sized to your corner opening, then cut or buy a wooden top board that matches its footprint. Drill pilot holes in the wood and attach the top to the frame with screws that won’t poke through. Mount the steel frame into studs or use rated anchors, then level the frame before tightening all fasteners. Wipe the wood, then apply one coat of satin clear if the wood isn’t already finished. Let the finish set, then add felt pads under any decor that might scratch.
This is the most industrial-looking option that still feels warm. A black steel corner frame gives strong lines and the wooden top keeps it from looking cold. In photos, the steel shadow lines look crisp, and the wooden surface gives you a contrast that makes decor stand out. Use it in laundry rooms, garages converted to studios, or modern apartments where you want a tough look. It’s a one-day win because the frame is pre-made and the top is just screwed down.
Skip thisAvoid placing heavy items like full books on a top that’s too short; steel frames still need proper support length.
Editor's notePaint the steel frame only if it’s raw; if it’s pre-coated, don’t add extra paint that can chip around screw points.
12. Corner Shelf with Built-In Cable Channel for Charging Station
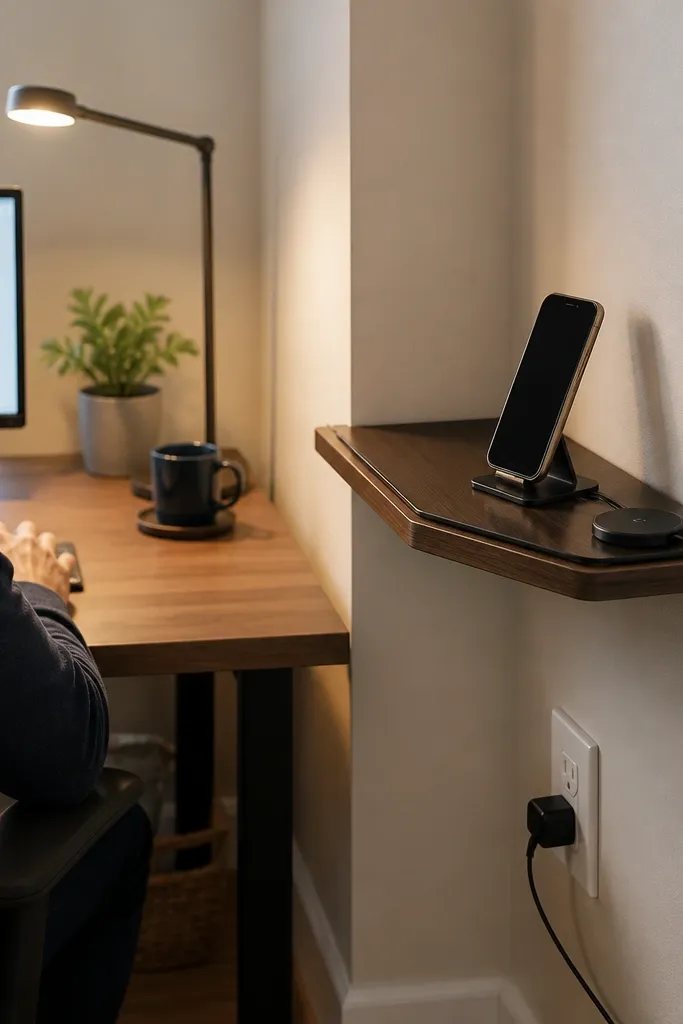
Choose a shelf depth of 6-8 in so the channel doesn’t eat too much space for decor. Mark the channel location on the underside near the back edge, then cut it using a router with a straight bit and a fence so the walls stay straight. Install a cable channel cover or conduit insert so the channel looks intentional. Mount the shelf with concealed brackets into studs and ensure there’s an outlet clearance behind the channel. Finish the shelf top with satin clear and wipe clean before setting up cords.
If your corner is near an outlet, this is how you make quick and easy corner shelves actually useful. A built-in cable channel keeps charging cords from looking chaotic, so the corner stays tidy even when you’re using it daily. The shelf looks clean because the wire disappears into the channel instead of draping across the wall. Use it for phone charging, small speakers, or a slim router. It’s a one-day project if you use a pre-cut cable channel kit or make a straight channel with a router and a guide.
Skip thisAvoid centering the channel; offset it toward the wall with the outlet so cords travel the shortest path.
Editor's noteTest cord routing before sealing or painting; you want the plug to clear without tugging the channel cover.
13. Glass Shelf Look with Clear Acrylic and Wood Base
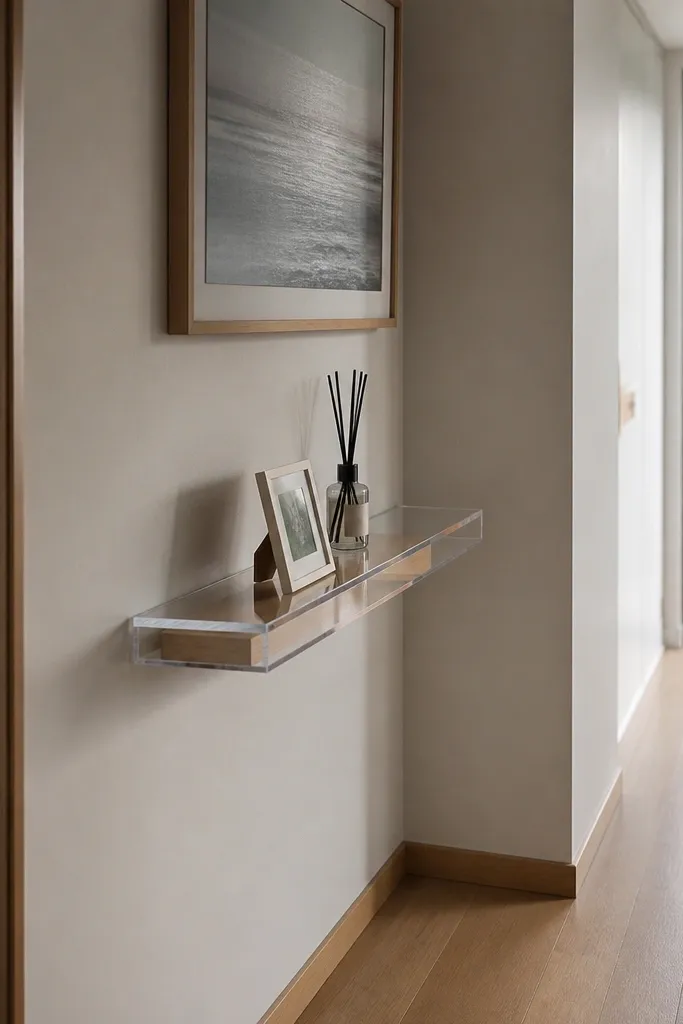
You get that light, floating glass look without the weight and fragility of real glass. A clear acrylic top on a hidden wood base makes the corner feel airy, which is great in small rooms or narrow hallways. It photographs beautifully because it reflects light softly and doesn’t block sight lines like thick wood. This style works best with minimal decor — think small plants, a framed photo, or a candle in a glass holder. It’s still a quick and easy corner shelves project because you’re mostly mounting a base and screwing on the acrylic top.
Cut a wood base to fit the corner shelf footprint and sand it smooth, then apply a satin clear or a light stain. Attach mounting brackets to the underside of the base, then mount the base into studs with screws and anchors only where you have no stud. Drill acrylic mounting holes slightly larger than screw size so you don’t crack it, then attach the acrylic top with standoffs or rubber washers. Clean the acrylic with a microfiber cloth so it’s streak-free. Let the finish dry, then style using lightweight items only.
Use rubber washers under acrylic screws; they stop micro-cracks and reduce squeaks.
Avoid overtightening acrylic; it can craze around the screw holes.
14. Corner Shelf with Tile Inlay Accent on the Shelf Face
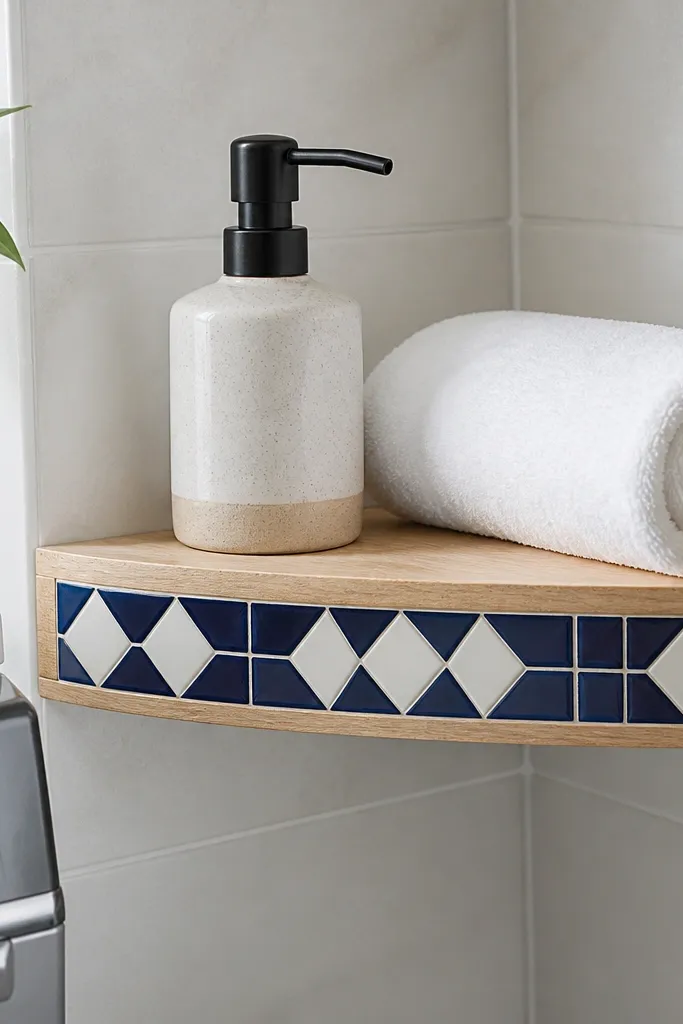
Tile inlay makes a corner shelf look custom in a way plain wood can’t. The inlay catches light and gives you a focal point, so even one shelf looks like a designed feature wall. Choose a small geometric tile or a single solid color tile for a cleaner look. This is great for bathrooms, kitchens, and laundry corners where you want the shelf to match existing tile. It’s still quick because you’re inlaying a small section, not tiling an entire wall.
Build a simple shelf frame from 3/4 in plywood, then cut a shallow recess on the shelf face where the tile will sit. Dry-fit the tile and mark the cutout size, then use a jigsaw or router to remove the recess material evenly. Set the tile with thin-set or tile adhesive, then grout only the thin seams after it cures. Seal the shelf top with a clear coat that won’t yellow and wipe away grout haze. Mount the shelf using concealed brackets or a rail into studs, then keep the tile side facing forward for the best look.
Use painter’s tape to hold tile in place while the adhesive sets so the edges stay crisp.
Avoid sealing the tile before the grout cures; trapped moisture can discolor grout.
15. Extra-Deep Corner Shelf with Bookshelf-Look Trim

Pick a shelf depth of 10-12 in and cut your main shelf board to length so it fits both walls cleanly. Attach front and side trim using wood glue and brad nails, then fill nail holes and sand smooth. Seal or paint the shelf before mounting so the trim looks even. Mount with a concealed rail system into studs, or use two rails with anchors on the non-stud side and keep the shelf under about 24 in long for less sag. Level carefully and let the finish dry before loading books.
This is the corner shelf for people who want it to actually hold books and baskets without looking like a tiny ledge. Extra depth also makes decor look more grounded because items sit fully on the shelf instead of teetering near the edge. Add trim along the front edge and sides to mimic a built-in bookshelf look, even though it’s just a shelf. The floating look stays clean because the mounts are hidden underneath. It’s a one-day project if you keep the shelf size manageable and use pre-cut trim pieces.
Skip thisAvoid loading a deep shelf with heavy books right after sealing; give the finish time to fully cure so you don’t leave fingerprints and smudges.
Editor's noteUse 1x2 trim for the front so the edge reads thick in photos without adding heavy weight.



