
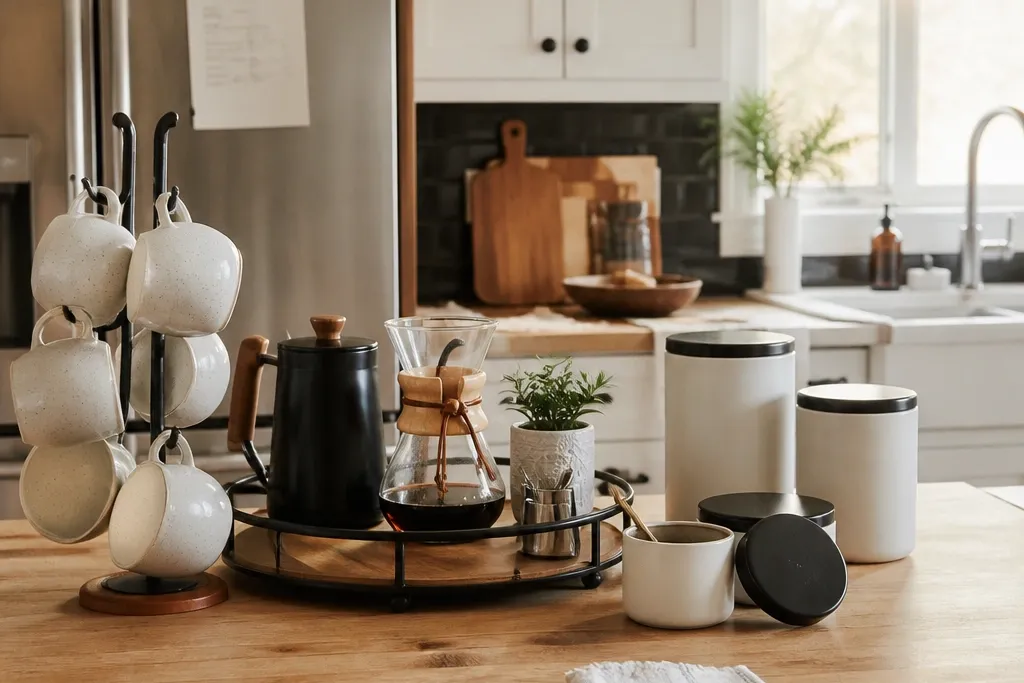
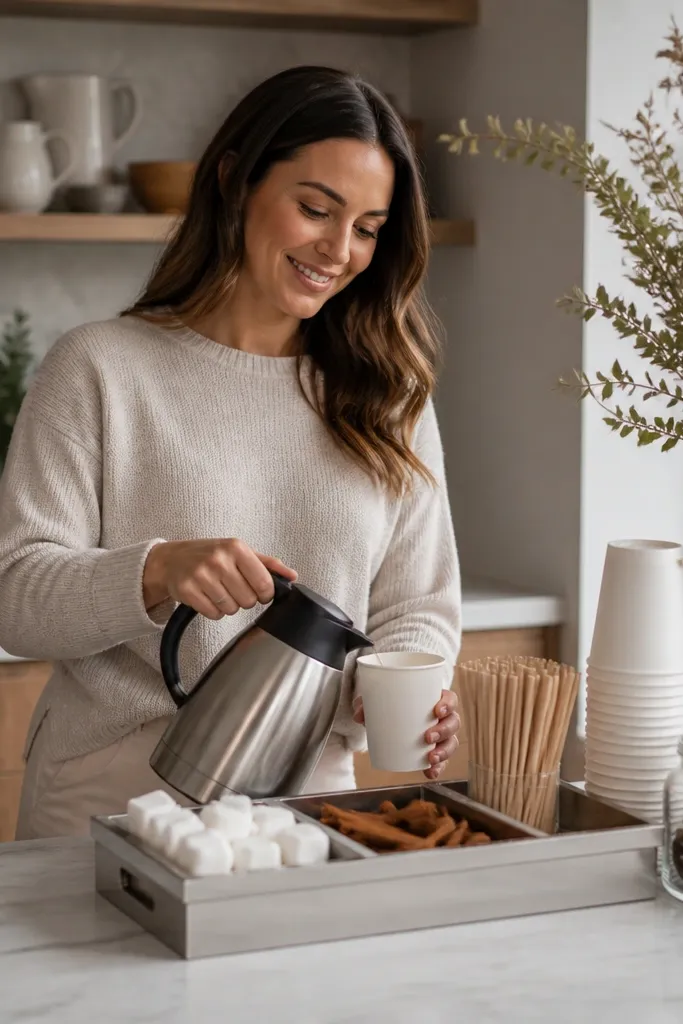
1. Rolling Tray Coffee Bar That Resets in One Pull
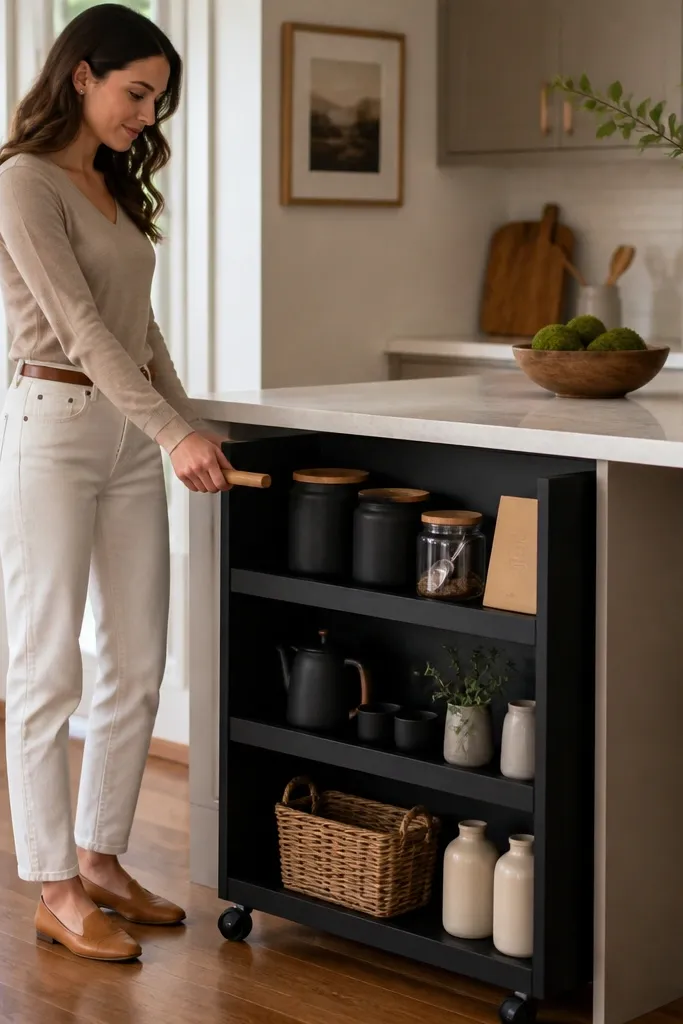
This is the fix for when your counter looks messy because you store coffee in one place and make it somewhere else. A rolling tray keeps the whole workflow in one footprint, so you can roll it out for use and push it back when you’re done. The “after” version looks intentional because everything faces the same direction and nothing spills across the counter. Use this for apartments, narrow kitchens, or anyone who hates rebuilding a coffee setup every morning. It takes about 30-60 minutes to set up if you’re starting from basic jars and a tray.
Start with a sturdy tray that’s roughly 18-24 inches wide and has a raised edge so jars don’t slide. Then group items by use: coffee container and scoop on the left, filters or pods in the middle, cups and stir tools on the right. Add a small silicone mat or folded dish towel under the areas where drips happen. Finally, place a lidded trash bin or lined cup near the front edge so you can wipe and toss without walking away. Tighten jar lids before you roll the tray so nothing rattles or leaks.
Editor's noteUse clear jars with wide openings for the coffee and sugar so you can scoop without fighting narrow mouths.
Skip thisAvoid a tray that’s too small — if your scoop and mugs overlap, it won’t stay “quick” under real use.
2. Wall Rail + Hanging Baskets for Counter-Free Storage
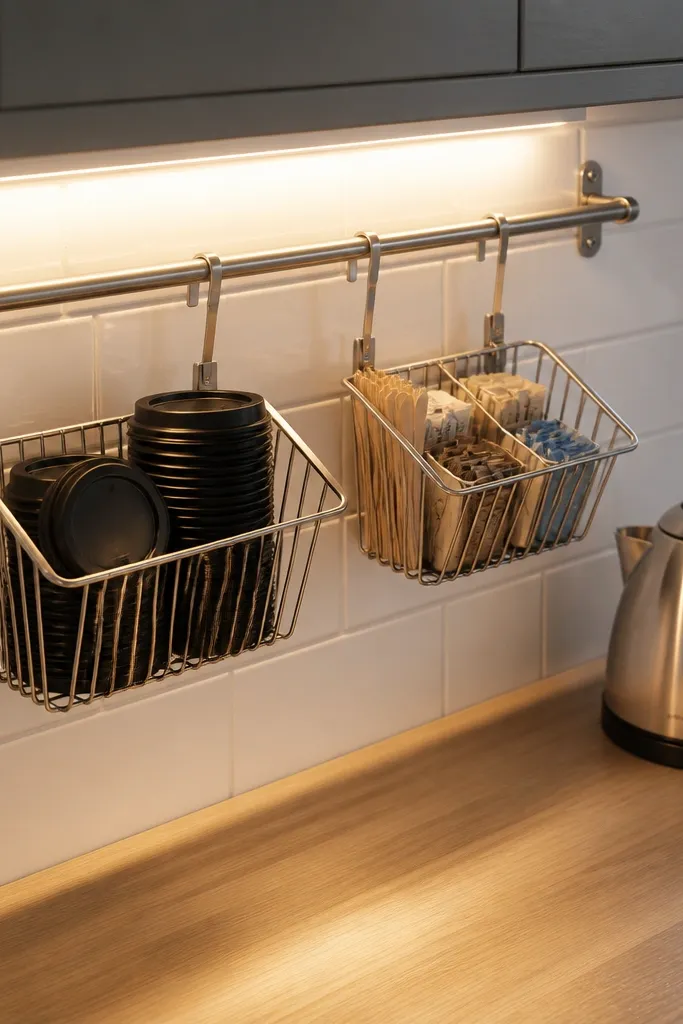
If your coffee bar constantly creeps onto the counter, wall storage is the clean reset. A rail with hanging baskets turns “stuff I can’t fit” into vertical organization, and it keeps lids, spoons, and packets in view. This works best in kitchens where you have a bit of wall space near outlets or where the counter is shared with prep. The after result is sharper because you remove clutter from the horizontal surface and keep everything at eye level. Skill level is basic — you’re drilling anchors and swapping containers.
Pick a rail length that matches your workflow width, usually 24-36 inches. Mark two mounting points, drill holes, and install wall anchors for a secure hold. Hang two baskets: one for dry supplies like filters, one for add-ins like sweetener, stir sticks, and extra spoons. Place a small hook under the rail for a scoop or spoon so it never lands in the coffee container lid. Finish by adding a label strip on the basket fronts so guests don’t guess.
Use baskets with straight sides so packets and spoons don’t slide out when someone bumps the rail.
Don’t mount the rail too high — if you can’t reach the basket without stepping or stretching, it becomes a chore.
3. Shallow Under-Shelf Basket for Mugs and Stir Tools
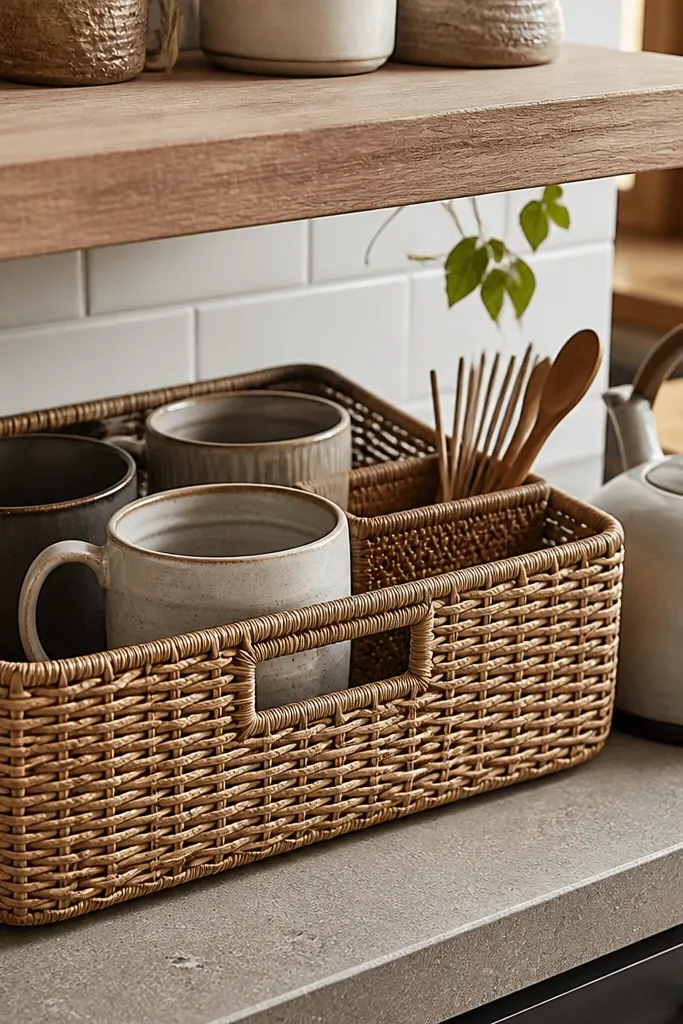
This one fixes the common mistake where mugs live in a cabinet and you’re constantly opening doors while holding a hot kettle. An under-shelf basket keeps mugs and stir tools near the coffee prep zone without crowding your counter. The after is cleaner because you’re using the underside of a shelf or ledge that already exists. It’s ideal for small kitchens and for anyone who wants the station to feel “built-in.” It’s also fast if you’re using adhesive shelves or a pre-installed cabinet shelf.
Install a shelf or use an existing ledge within arm reach of your coffee maker. Attach a shallow wire basket under it using shelf brackets or a basket mount kit. Keep mugs in a single layer so handles face down and don’t tangle with stir sticks. Then add a separate mini container for stir sticks or tea bags so they don’t spill. Finally, test reach: you should grab a mug and stir tool without moving your body position.
Editor's noteChoose a basket depth under 6 inches so it doesn’t become a hidden drawer that collects junk.
Skip thisAvoid storing coffee pods in an under-shelf basket — they get crushed and jam when you dig.
4. Tiered Cupcake Stand for a Real "Grab and Go" Setup
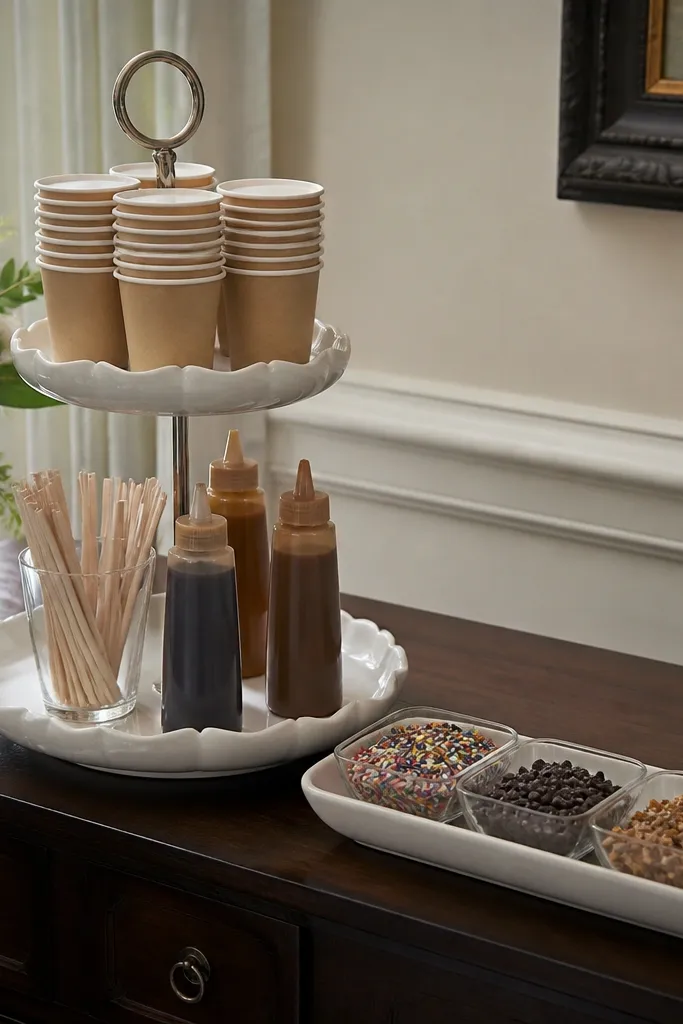
A tiered stand solves the “everything is on the same level” problem that makes a station look busy. When cups are on the top tier and add-ins sit below, you reduce the number of items you move at once. This is one of the simplest quick and easy coffee station ideas because you can build it with a stand you already own or can buy cheaply. It’s best for single-serve pods, small mugs, and pre-portioned sweeteners. The after looks organized because each tier has one job.
Pick a stand with a stable base at least 10 inches wide so it doesn’t wobble. Place mugs on the top tier in a neat stack so guests can grab one without knocking. Put sweetener, stir sticks, and napkins on the lower tier with small bins or cups to keep packets from sliding. If you use pods, keep them in a lidded container to stop dust buildup. Finish by putting a small tray under the base to catch drips and crumbs.
Editor's noteUse binder clips to keep loose stir sticks from spilling when the stand shifts.
Skip thisDon’t put wet items on the lower tier — drips will stain the stand and make it look messy fast.
5. Magnetic Spice Strip for Metal Tools and Scoop Control
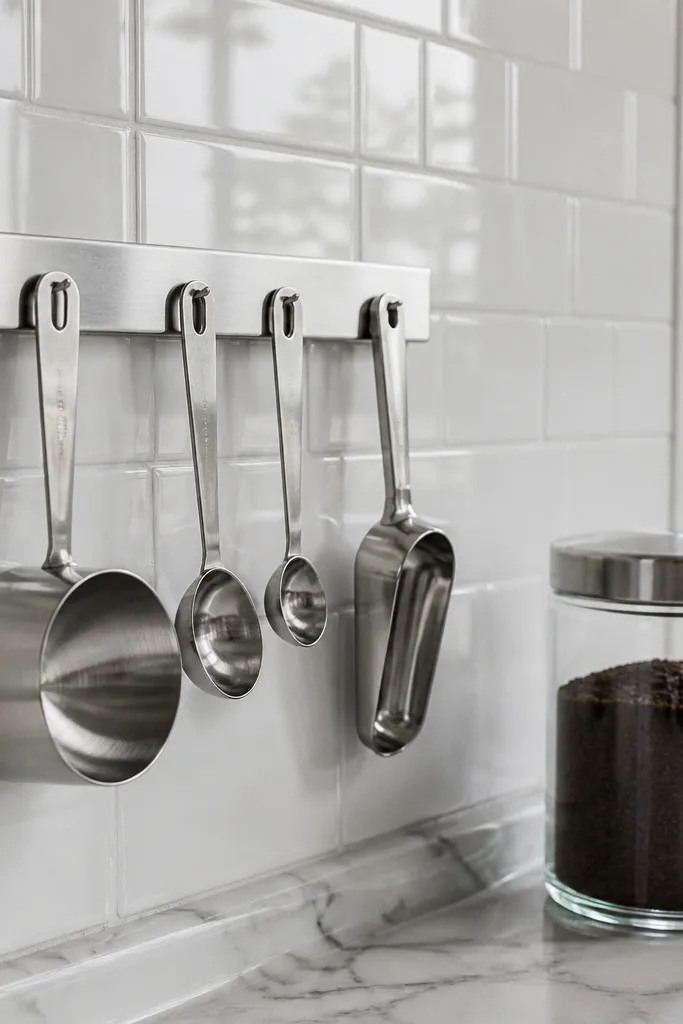
This is for the coffee bar mistake where scoops, spoons, and measuring tools disappear into drawers. A magnetic strip keeps metal tools in the same spot every time, so your station stays “quick” even when mornings are chaotic. It also makes the setup look deliberate because tools line up cleanly. This works best if you already have a metal kettle or coffee scoop with magnetic backing or a flat metal handle. Installation takes 10-20 minutes.
Mount a magnetic strip on the side of a cabinet, pantry door, or near your coffee maker using the manufacturer hardware. Arrange scoops and spoons in the order you use them: coffee scoop first, then stir spoon, then any measuring tool. Keep only tools that you actually use; extra items make it feel cluttered. Add a small piece of felt or silicone under the strip if the surface is rough. Finally, test by grabbing each tool without sliding the next one.
Editor's noteStick a small label under the first tool spot so guests know where to return it.
Skip thisAvoid magnetic storage if your tools are plastic — you’ll end up adding cluttered hooks instead.
6. Coffee Pod Drawer Tray with a Sliding Lid
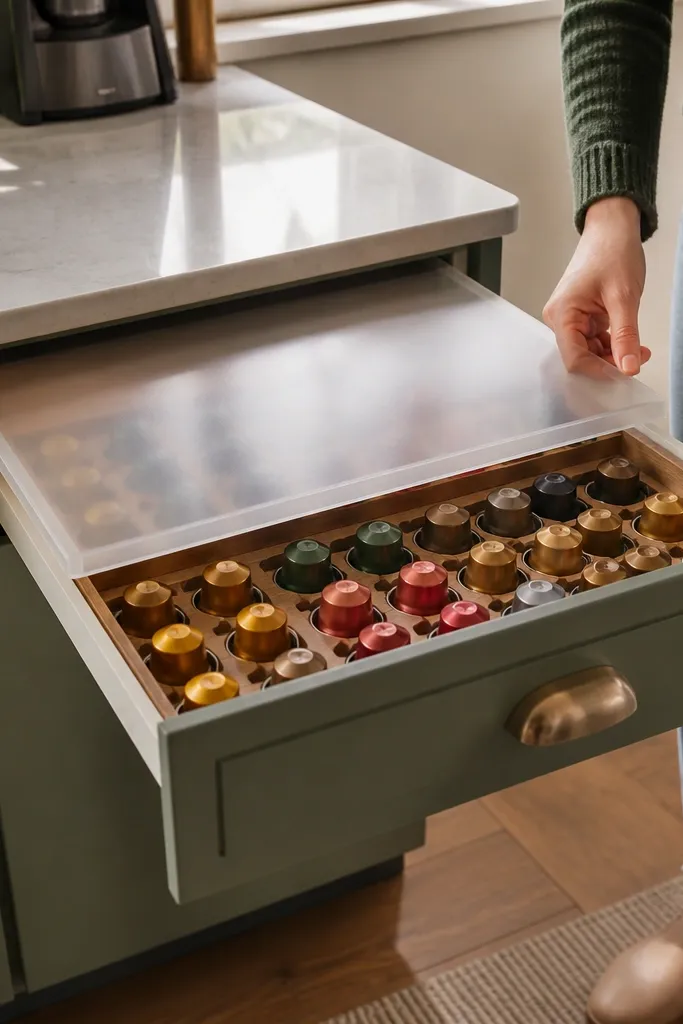
If you keep pods in a tall box, they spill every time you pull one out. A shallow drawer tray with a sliding lid makes pods easy to grab and keeps the look tidy. The after setup is fast because you don’t have to hunt through a pile, and the lid keeps dust off. This is a strong option when you have limited counter space but drawers nearby. It’s also forgiving for DIY because you’re building a container system, not a full furniture project.
Measure your drawer depth and choose a tray that leaves 1-2 inches of clearance around the edges. Add a sliding drawer cover or a simple acrylic or wood lid cut to size so it closes flush. Sort pods into rows and keep a maximum of 20-30 visible at once so it stays readable. Place the tray right next to your coffee maker or kettle so you don’t walk across the kitchen with a mug. Finish by adding a small label on the front that shows pod type and strength.
Editor's noteUse a tray with a lip so pods don’t slide when the drawer opens quickly.
Skip thisAvoid stacking pods sideways — they jam and you’ll end up pulling the whole tray out.
7. One-Corner Coffee Station with a 12-Inch Deep Counter Block
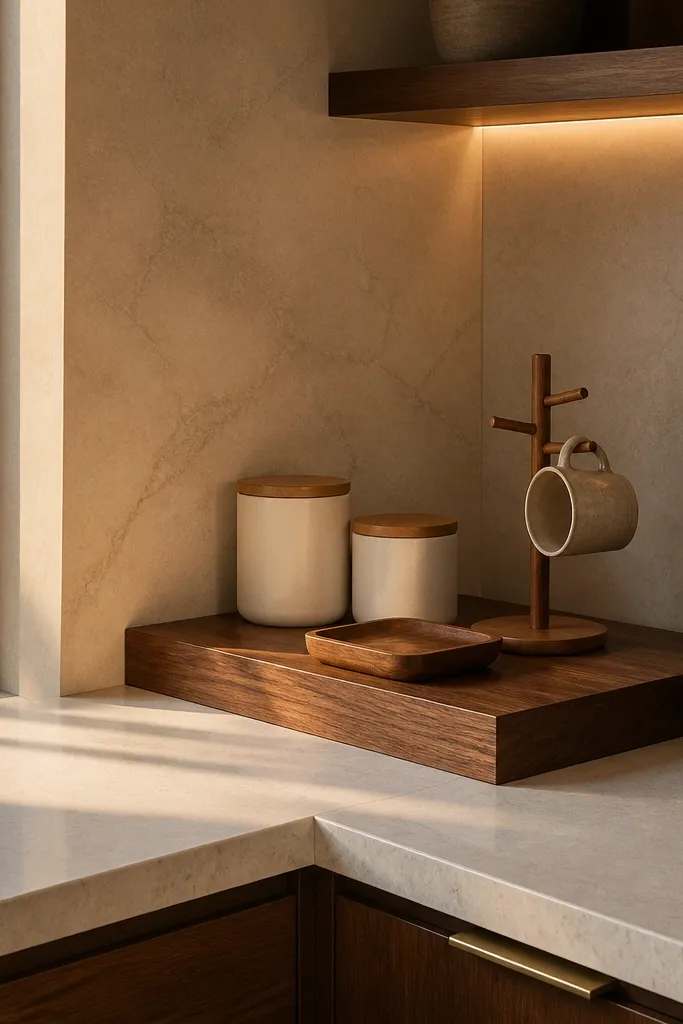
A coffee bar fails when it spills into the whole counter footprint. This corner approach limits the station to one block so you get a clean boundary and faster cleanup. The “after” looks calmer because you’re not fighting random items across the kitchen. It’s best for kitchens where the coffee maker sits in a corner or near a backsplash. You can build it with a single organizer shelf and a few bins. Time is 1-2 hours depending on how much you’re rearranging.
Choose a corner spot and measure a 12-inch deep zone from the wall inward. Place a compact organizer shelf or cutting-board-style base inside that rectangle so everything stays inside the lines. Put coffee and filters against the wall, then add a small bin for sweeteners and stir tools near the front edge. Keep mugs and cups on one side only so they don’t invade the coffee prep area. Add a drip-proof mat under the coffee maker and wipe zone.
Use a matte tray or mat under jars — glossy surfaces show fingerprints and make the station look dirty sooner.
Avoid using a tall organizer that blocks the reach to the coffee maker controls.
8. Lid-First Canisters for Coffee, Sugar, and Cinnamon
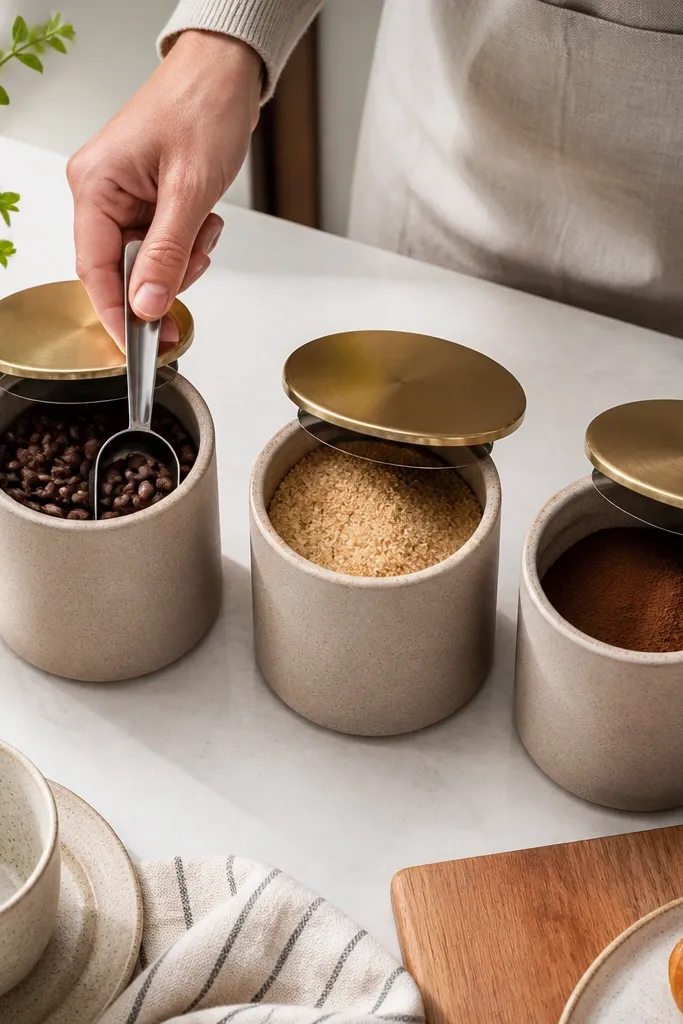
Most DIY coffee stations look messy because canisters don’t match the action of scooping and pouring. Lid-first canisters solve this by prioritizing wide openings and clear scoop storage. The after is faster because you can grab the scoop, open the lid, and portion without wrestling with tiny lids. This works for drip coffee, pour-over, and everyday instant coffee stations. It’s also cheap to upgrade since you’re swapping containers, not building furniture.
Pick three containers with matching lid styles and wide enough openings for a standard tablespoon or scoop. Put coffee in the center, sugar to one side, and cinnamon or cocoa on the other. Store the scoop on a small hook or in a dedicated slot next to the canister so it doesn’t disappear. Add a small label on each lid rim so you can find them quickly. Finally, wipe the outside lids before guests arrive so the station stays crisp.
Choose canisters with a rubber seal if you keep ground coffee — it helps control stale smells.
Avoid mismatched lid heights — if one lid sits higher, you’ll knock it when you move quickly.
9. Magnet-Backed Menu Card So Guests Stop Asking
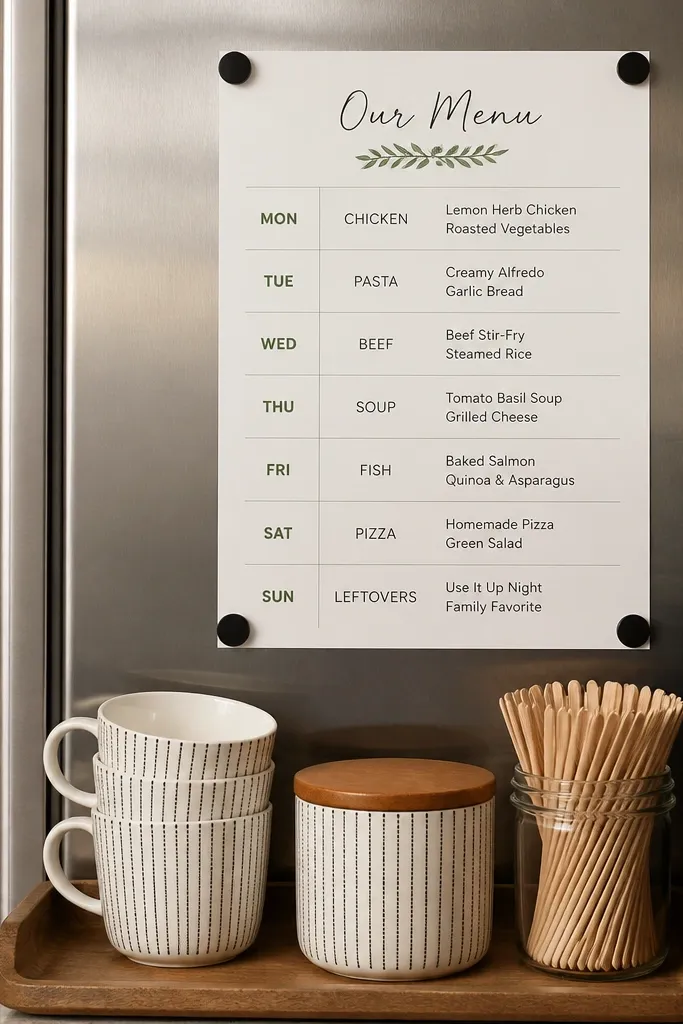
This is the underrated mistake: the station is set up, but guests don’t know what goes where. A small menu card with clear instructions reduces wasted time and prevents people from opening the wrong container. The after looks tidy because the card replaces loose sticky notes and scattered labels. It’s perfect for hosting because coffee bars get busy fast. You’re not adding more clutter — you’re removing confusion. Build time is 15 minutes.
Create a card that lists your options in plain language, like “Coffee — scoop and pour,” “Cream — in jar,” and “Sugar — packets or jar.” Print it on thick cardstock and laminate if you can. Attach it to a small metal sheet or directly to a fridge-magnet surface near the coffee maker. If you want it on a cabinet door, use magnetic tape and a magnet strip backing. Keep font large enough to read from 3-4 feet away.
Editor's noteUse one line per item, not paragraphs. Short instructions prevent mistakes.
Skip thisAvoid writing instructions that assume guests know your system — name the containers.
10. Under-Mug Drip Catch with a Removable Silicone Mat
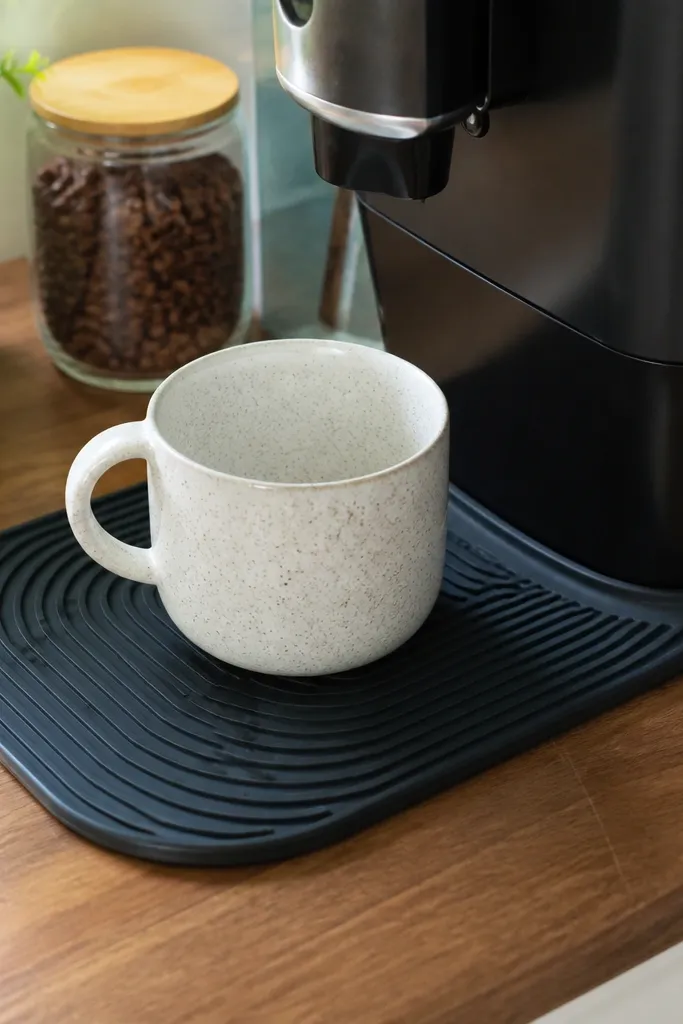
Mess kills the look of a coffee bar faster than anything. If drips land on wood or laminate, you get stains and smudges, and then the whole station feels “not clean.” A removable silicone mat under the mug area fixes that and makes cleanup a 10-second wipe. This is one of the most practical quick and easy coffee station ideas because it changes maintenance, not just appearance. It fits any setup: tray, corner block, or wall rail. Installation takes 5-15 minutes.
Measure the area where cups and drips land, usually a rectangle around 10x14 inches near the coffee maker. Cut a silicone mat to size or buy a pre-cut mat that fits inside a small tray edge. Place it on your counter and keep a tray or small rim around it if your mugs sit close to the edge. After each use, wipe the mat with a damp cloth and dry it. For sticky spills, use a mild soap and warm water, then dry fully.
Use a mat with raised edges so drips don’t creep off the sides.
Avoid placing the mat under the coffee maker if your drip path hits the counter — position it where spills actually land.
11. Mini Chalk Labeling on the Inside of Jars and Bins
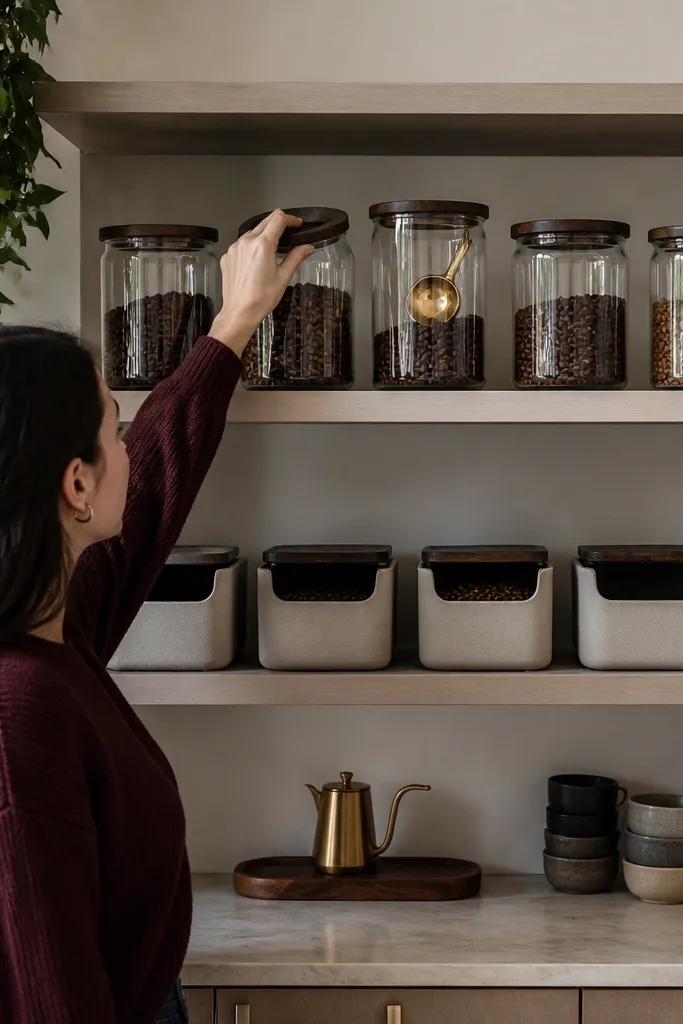
Labels are supposed to help, but the usual mistake is putting them on the front like a sticker wall. Instead, label inside lids and bin fronts so the station stays clean and readable. The after look is calmer because the front surfaces stay mostly blank and matching. This works best when you use matching containers for coffee, sweeteners, and stir tools. It’s also a DIY-friendly way to keep things organized without buying expensive printed labels.
Pick chalk markers made for glass or laminate and a small label area inside the lid rim. Write the item name and quantity cues like “Coffee — 2 scoops per mug” or “Cocoa — 1 tsp.” For bins, label the front lip so you can see it quickly without flipping containers. After writing, test with a damp cloth to make sure it wipes clean if you change your setup. Then add a small strip of clear tape over the chalk if you want it to last longer.
Editor's noteKeep label text under 3 words so it’s readable at a glance.
Skip thisAvoid tiny handwriting — if you need to lean in, guests will guess.
12. Swing-Out Swing-Top Shelf for Creamer and Syrups
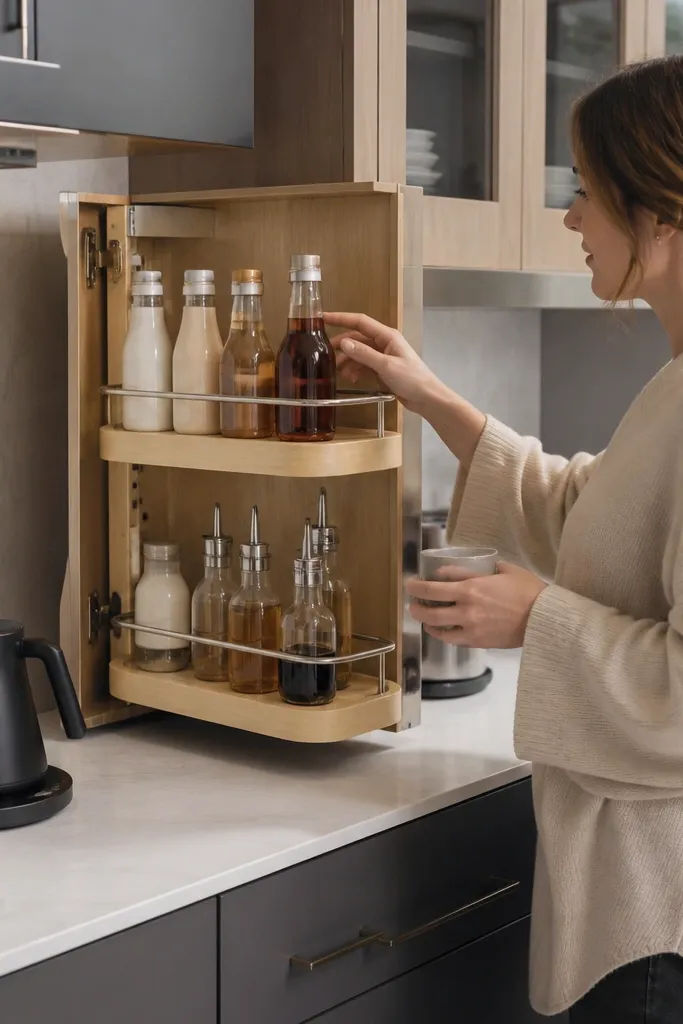
If you store creamers and syrups in a fridge drawer, you lose time every time someone wants one. A swing-out shelf keeps those bottles at counter height so people can grab without waiting for you. The after is fast because the “add-ins” are grouped and easy to access. This is a good option for kitchens where you can mount a small shelf under a cabinet or on a nearby panel. Skill level is basic carpentry if you can screw in hardware.
Choose bottles you actually use and measure their height and width including caps. Mount a small shelf bracket or swing-out hinge assembly below or beside your coffee prep area so bottles sit upright. Add a shallow tray or foam strip on the shelf to prevent bottles from sliding. Then group bottles by type, like creamer on the left and syrups on the right. Test opening and closing with an empty shelf first so nothing hits your cabinet doors.
Editor's noteUse shelf liners with grip texture so bottles don’t rattle and fall when the shelf swings.
Skip thisAvoid storing glass bottles on a swing-out shelf without a lip or liner — they shift when you move the shelf.
13. Drawer Insert for Filters, Napkins, and Spoon Packets
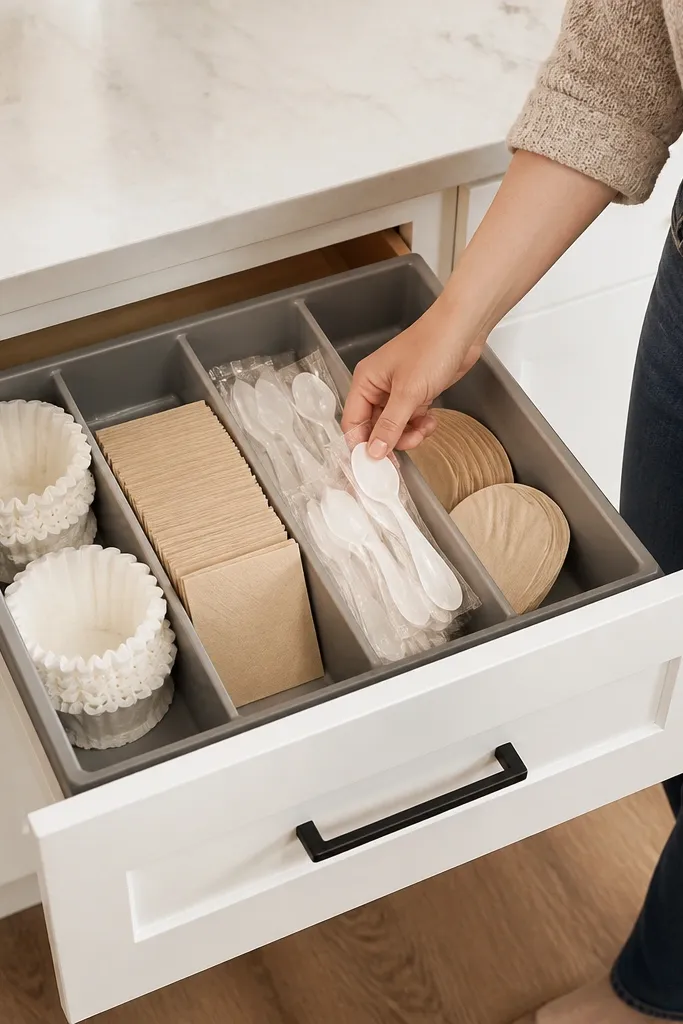
When filters and napkins live in a stack, you end up pulling everything out, and the station stops looking tidy. A drawer insert with compartments keeps supplies visible and prevents the “pile collapse” that ruins a quick setup. The after is cleaner because you only grab one compartment worth of items. This works well for pour-over stations and for households that keep multiple types of filters. It also reduces mess because packets stay contained.
Measure your drawer and buy or build an insert with at least three compartments: filters, napkins, and stir packets. Keep filters in a flat compartment so they don’t bend, usually 2-3 inches deep. Put napkins in a slightly deeper slot so you can grab them without tearing. Add a small bin for stir packets with a front lip so packets don’t spill. Finally, label each compartment and keep the drawer next to your coffee maker.
Editor's noteUse clear bins if you hate rummaging. It keeps reset time short.
Skip thisAvoid one big compartment — it turns into a messy pile the moment you restock.
14. Cable-Tidy Coffee Station for Kettles and Small Machines
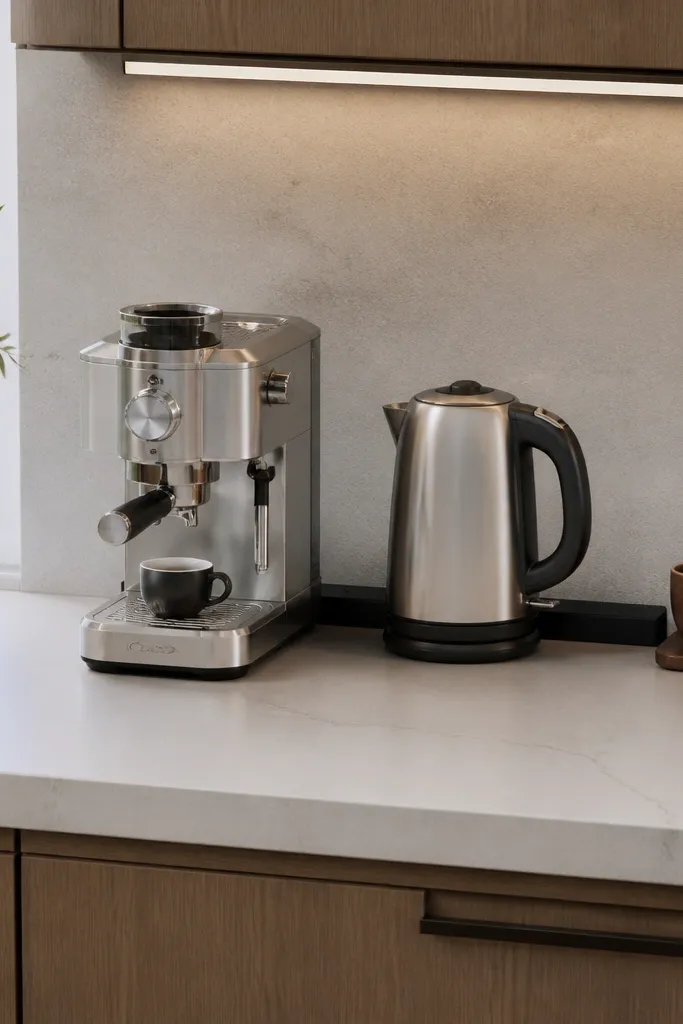
A coffee bar looks messy when cords snake across the counter or hang over cabinets. This idea fixes the visual clutter that makes “quick and easy coffee station ideas” look chaotic. The after is cleaner because cords are routed behind the station and controlled in one spot. It also prevents accidental pulls when someone grabs a mug quickly. This works for countertop kettles, milk frothers, and small coffee makers. You’re spending 15-30 minutes and a few dollars on hardware.
Unplug everything first and clean the counter surface where you’ll stick cable clips. Route the cord along the back edge of the station and use adhesive cable clips every 6-10 inches so it stays flat. If you have a power strip, mount it under a shelf with screws or use a flat power strip tucked behind the station. Add a Velcro strap to bundle excess cord length. Test with the device in its normal position so you don’t yank the plug when you reach.
Editor's noteKeep the cord bundle behind the drip zone so spills don’t splash into connectors.
Skip thisAvoid relying on one long clip — cords sag and pull forward the first time the station gets bumped.
15. Glass Jar + Metal Scoop Holder Combo
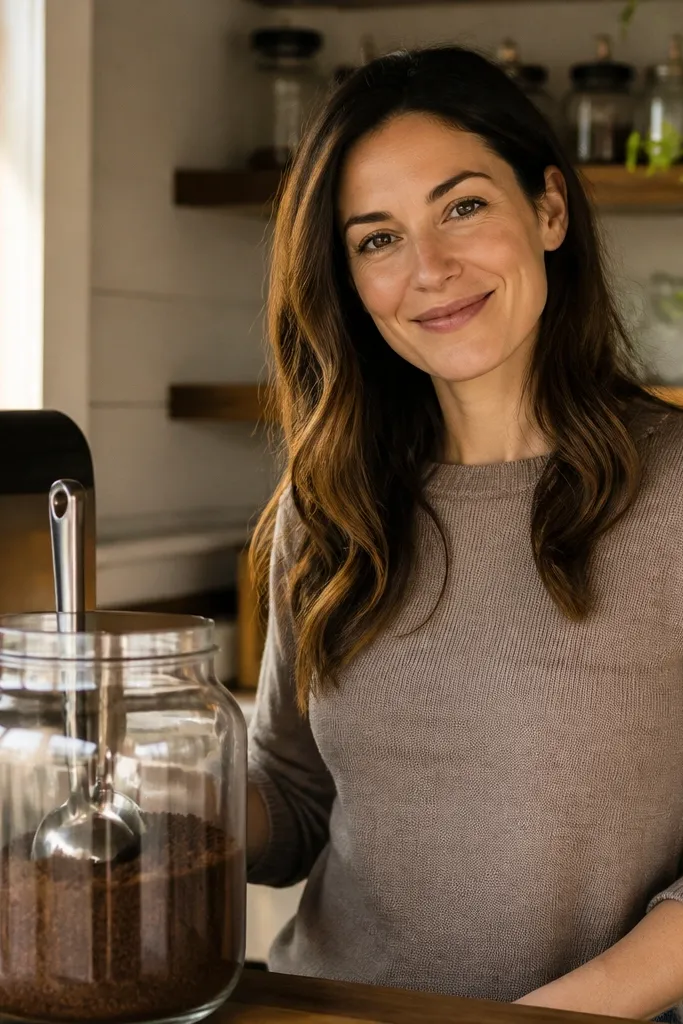
Scoop storage is where coffee stations get messy. If the scoop lives on a lid or in a random cup, it gets sticky and spills grounds onto the counter. A jar with a metal scoop holder keeps the scoop upright and contained, so you scoop cleanly and put it back without thinking. This delivers quick and easy coffee station ideas because the action is one motion. It’s best for ground coffee and for anyone using a scoop daily. Setup time is about 20-40 minutes depending on whether you’re replacing jars.
Choose a glass jar with enough height that the scoop sits fully inside the scoop holder without touching the bottom. Attach or mount a metal scoop holder to the jar or to a small base next to it using the included hardware or a strong adhesive rated for kitchen use. Place the jar where you pour so the scoop route is short. Then set a small paper or silicone liner under the scoop holder base to catch stray grounds. Finally, wipe the jar rim and test scooping one full scoop to confirm it doesn’t scrape the holder.
Editor's noteUse a scoop with a flat edge so it levels cleanly and leaves fewer grounds behind.
Skip thisAvoid scoop holders that are too far from the jar mouth — you’ll miss and scatter grounds.



