
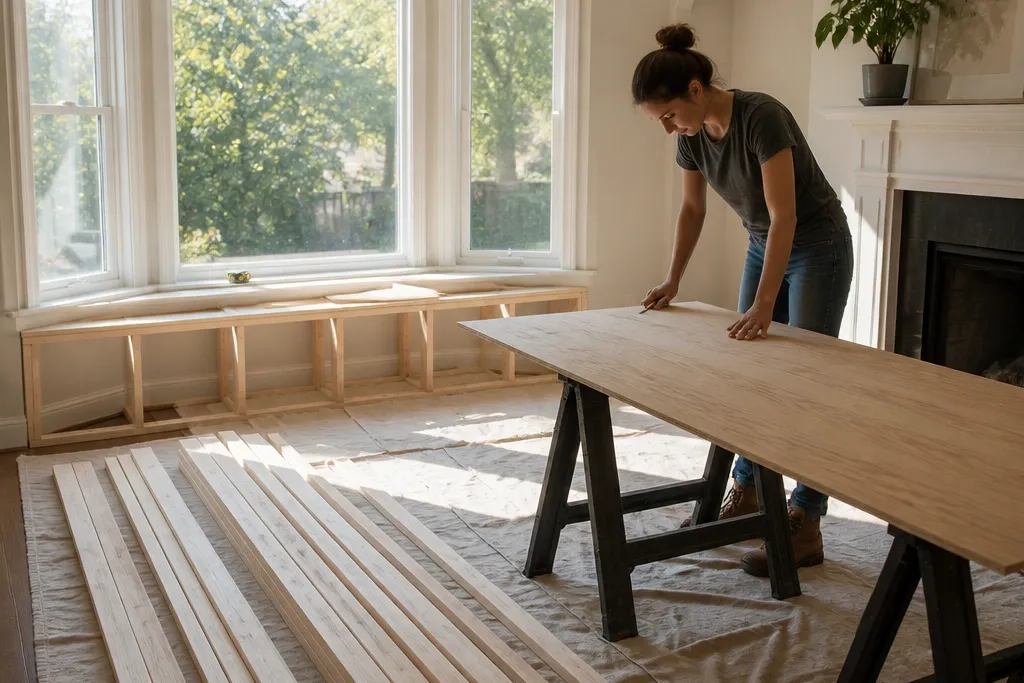

1. Hinged storage bay seat with a lift-top cushion
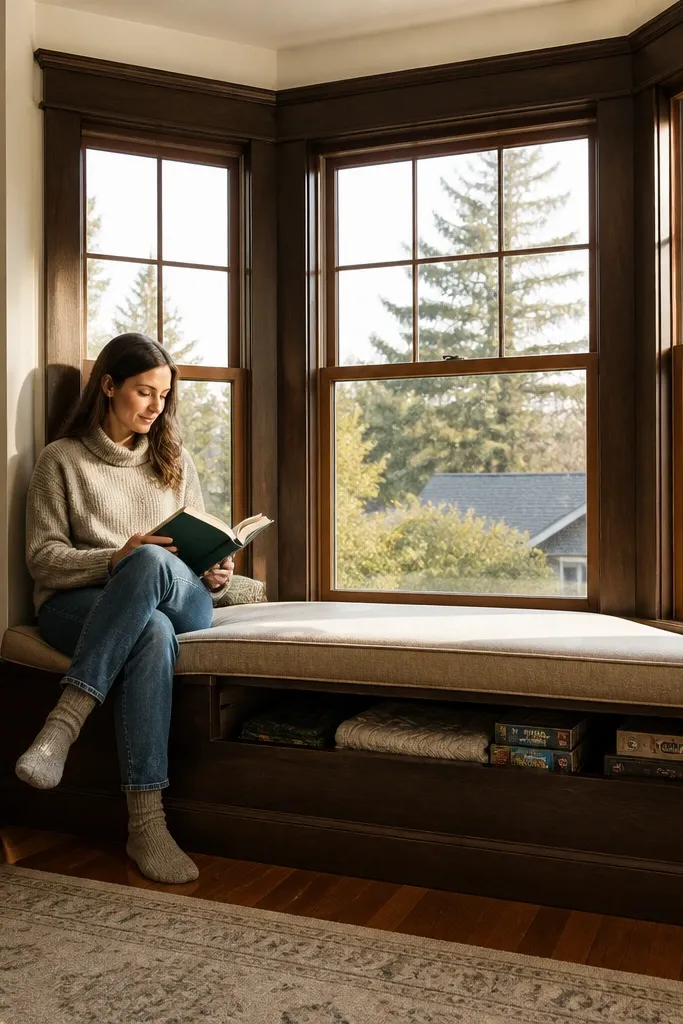
This is the classic bay window seat build: a platform that matches the bay’s angled sides, with a cushion on top and storage under. It fixes two problems at once — the empty bay space becomes usable seating, and you gain a place for blankets, board games, or holiday decor. The lift-top style is cleaner than drawers in a weekend build because you’re building one big opening instead of multiple box faces. Use plywood for the deck and 2x lumber or plywood cleats for the base so it feels solid under weight.
Step 1: Build a box frame for each bay segment using 2x4s or 2x2s, then add plywood cleats along the walls and window trim line. Test-fit the deck by placing 3/4-in plywood on top without screws, then mark where the cushion will sit and where the hinge line lands. Step 2: Install the deck, add a slow-close hinge system, and reinforce the underside with 1x3 battens so the panel doesn’t sag. Step 3: Finish with paint or stain, then attach a weather-resistant sealant on any raw wood edges and add a 3-4 inch cushion on top.
Run a strip of felt or foam tape where the cushion meets wood so it doesn’t squeak when you sit.
Don’t make the lift-top too thin — a 1/2-in deck panel will sag and the hinge will fight you.
2. Drawer-style bay seat with front-access storage

If you want storage that organizes fast, drawers beat a lift-top. You open one drawer, grab the thing, and close it — no lifting heavy panels. This idea is also good for kids' stuff, craft supplies, or anything you don’t want to keep buried under blankets. The trade-off is labor: drawer fronts require square boxes, accurate slides, and careful alignment with the angled bay geometry. Pick this when you’re comfortable measuring twice and cutting once, or when you have an extra weekend to get it right.
Step 1: Sketch your bay seat front into sections and decide drawer sizes that clear the angled panels. Build the base frame, then add drawer box openings with 3/4-in plywood and a face frame if you want a traditional look. Step 2: Install drawer slides level with a laser or long level, then set drawer boxes in place and test full extension before screwing down. Step 3: Add drawer fronts, install pulls, then seal the drawer boxes and paint the fronts last so you don’t scratch the finish during assembly.
Editor's noteUse a scrap spacer to keep slide height consistent across the bay angles so drawers line up visually.
Skip thisAvoid mixing slide brands or lengths — mismatched hardware creates drawer gaps that are hard to fix later.
3. Freestanding bench with angled backrest cushions

This is the fastest way to get quick and easy Bay Window ideas without committing to a built-in. A freestanding bench lets you move it during cleaning, and you can swap cushions whenever the fabric fades. The angled bay shape is the main trick: build or buy a base that follows the bay panels, then top it with cushions that are cut to match. Choose this when you rent, when you don’t want to drill into window trim, or when you want an instant refresh with a fabric change.
Step 1: Build a simple bench base using 2x4 framing and plywood decking, then add legs or a low skirt so it sits stable on the floor. Make the top slightly wider than the cushion so you get a clean overhang, then sand all edges smooth for fabric contact. Step 2: Cut seat cushions 3 inches thick and add a separate backrest cushion only if your bay allows comfortable elbow height. Step 3: Use upholstery-grade zipper covers or removable slip covers so you can wash them.
If your bay windows have uneven floors, shim the bench legs with thin wood shims and re-check level with a 4-ft level.
Don’t rely on thin foam — under-2-inch cushions feel flat on a wood deck.
4. Toe-kick bench with a clean skirt and no storage
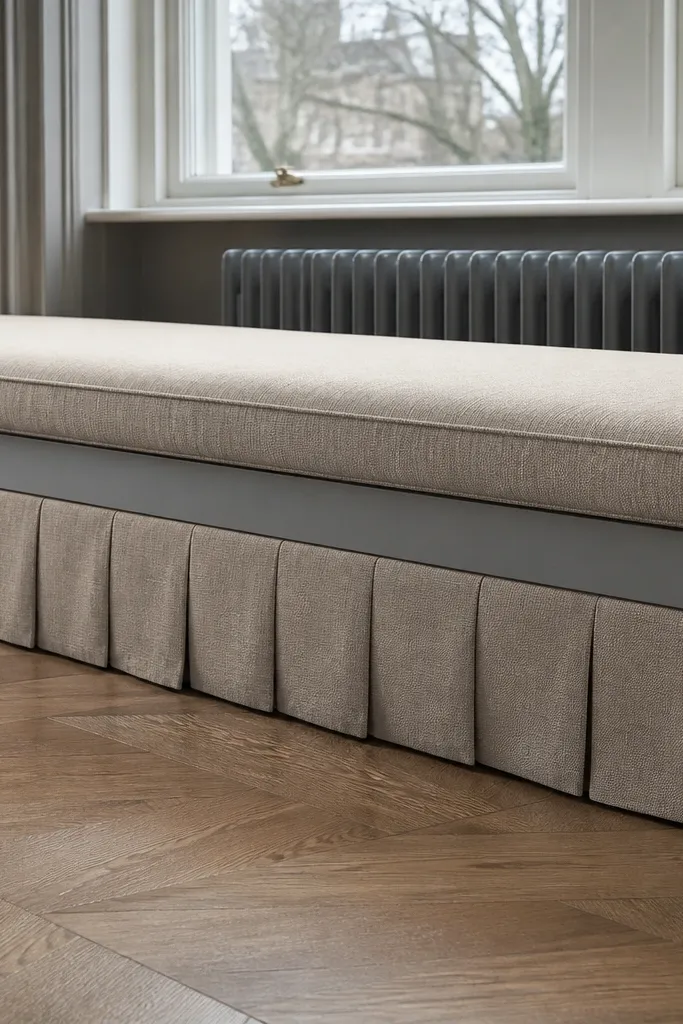
This bench idea looks built-in but avoids the complicated storage build. You get a solid, finished base that hides cables or clutter underneath, while the top stays easy to remove for cleaning. It’s a great pick when you have a radiator under the window or you’re working with limited depth. The skirt also makes the bay look intentional, not like furniture shoved into a corner. This is the “weekend upgrade” route: less carpentry than a storage seat, more polish than a simple folding bench.
Step 1: Measure the bay interior width and depth, then cut a plywood top panel and a base frame sized to fit between trim lines. Build a shallow toe-kick using 1x3 or 2x2 supports, then add a front skirt panel that covers the gap cleanly. Step 2: Attach the base to the wall only if you can hit studs; otherwise, use heavy-duty furniture anti-tip brackets at trim level. Step 3: Finish the base with paint, then add a single cushion set on top with a non-slip mat underneath.
Editor's noteUse a removable cushion with a skirt edge that hides the seam where it meets the base.
Skip thisSkip attaching the base with only drywall anchors — if someone leans back, it can loosen.
5. Corner-friendly L-shaped bay bench for odd layouts
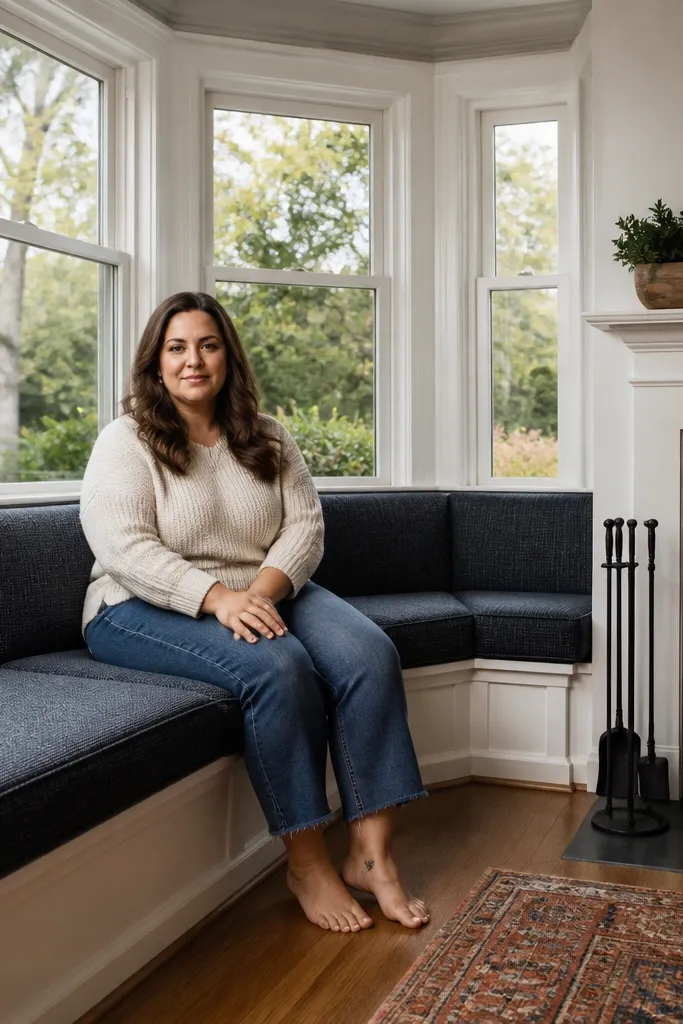
Some bay windows sit next to a fireplace, entry door, or built-in bookcase. In those setups, a straight bench shape looks wrong because the bay’s center panel doesn’t line up with your room’s main walkway. An L-shaped bay bench solves that by giving you a seating run that turns the corner naturally. You still keep the bay window feel, but you gain a functional seat for one or two people. This idea works best when you’re willing to custom-cut cushions and accept a slightly more custom carpentry.
Step 1: Draw the bay shape plus the corner turn on butcher paper, then mark cushion thickness and clearances for door swing or trim. Build the base with two sections joined at a right angle using plywood gussets so the joint stays square. Step 2: Cut seat and corner cushions separately so you can fit them tightly at the bend without gaps. Step 3: Sand the base edges, add a non-slip underlayer, then install fabric covers with zippers so you can wash them.
Editor's noteMake the corner cushion slightly thicker than the straight sections so seating feels even across the whole run.
Skip thisDon’t make the corner seam land where someone’s back hits — seams there feel rough after a few minutes.
6. Slim platform bay seat with removable cushion panels
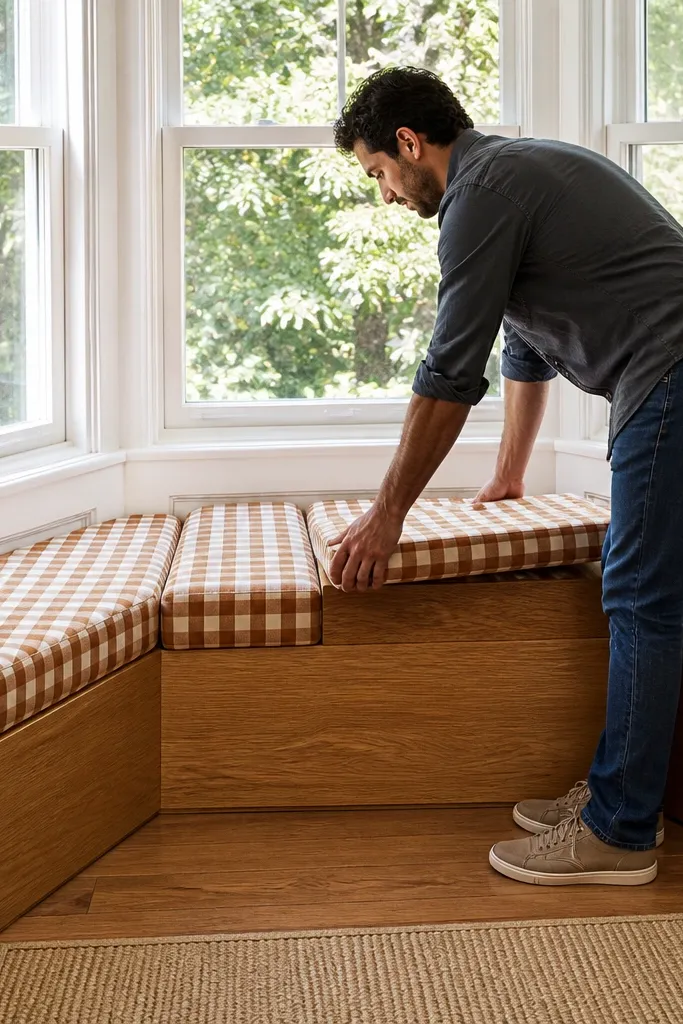
This is the renter-friendly option that still looks intentional. Instead of building a full storage box, you install a slim platform or cleats, then place removable cushion panels on top. It’s excellent for quick and easy Bay Window ideas when you don’t want to drill into trim for a big build or when you’re waiting on a future remodel. The look is clean because the cushion covers most of the wood and hides seams. Comfort depends on cushion thickness and how well the cushion edges follow the bay angles.
Step 1: Install wall cleats or ledger boards using screws into studs, then set a 3/4-in plywood platform on top sized to each bay section. Leave a small expansion gap between panels so seasonal humidity doesn’t cause squeaks or buckling. Step 2: Cut cushion panels to match each section and add a fabric cover with a grippy bottom layer. Step 3: Add trim strips around the perimeter if you want the built-in look, then seal the exposed wood top with a clear matte finish.
Use interlocking foam strips under the cushions so each panel stays in place when you sit down.
Don’t skip a non-slip layer — a smooth wood top plus angled bay equals sliding cushions.
7. Built-in seat with upholstered front panel and no storage depth

This one is for bays where you want the built-in look but you can’t spare depth for storage. The base is shallow, and the front face is upholstered so it looks finished even if the inside is open. It’s also a good solution over uneven floors because you can build a level base and let the upholstery hide minor gaps. The seating surface stays comfortable with a thick cushion, while the front panel gives you the “designer” line without drawer hardware. Choose this when you’re working around heating vents or you want a softer look than plain wood.
Step 1: Build a shallow frame (about 8-10 in deep) using 2x2 supports and plywood decking, then level the frame with shims where needed. Cut a front panel from plywood, wrap it with foam and upholstery fabric, and staple the back like you’re upholstering a headboard. Step 2: Attach the upholstered panel to the base with screws through the frame, then seal any exposed wood edges. Step 3: Add a 3-4 inch cushion on top and use a non-slip mat under the cushion so it doesn’t slide on angled floors.
Wrap the front panel with 1/2-in foam instead of thin batting so the upholstery stays smooth around the corners.
Don’t staple fabric directly to raw plywood edges — add a thin strip of batting or edge trim so staples don’t show.
8. Bench-with-storage baskets under a fixed seat top
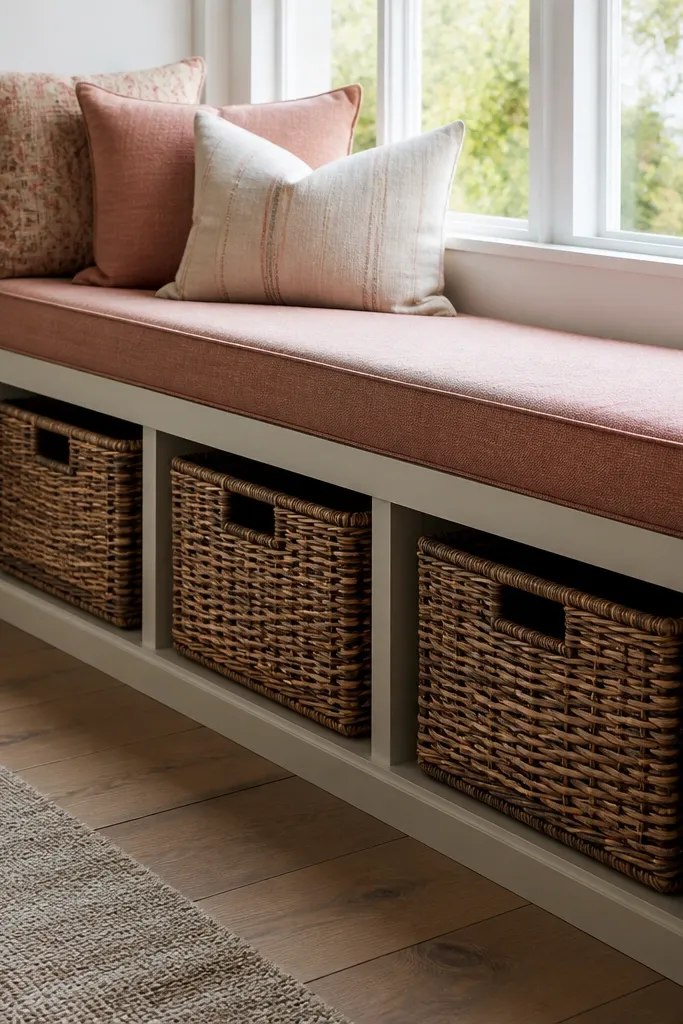
This is the middle ground between a full storage build and zero storage. You install a fixed seat top, then slide in baskets or bins underneath for blankets and small items. It keeps the build simpler than a hinged lift because you’re not building a big opening — you’re building a clean space for organizers. The look stays tidy because baskets hide the mess, and you can lift a basket out to grab what you need. It’s especially handy when you want storage but don’t want to deal with hinges, alignment, or sagging lids.
Step 1: Build a bench frame with open sides and a solid plywood top, leaving enough clearance for your chosen baskets. Measure your baskets first and design the opening to match their footprint so they don’t wobble. Step 2: Add a front rail or simple trim to stop baskets from slipping forward, then sand and seal the wood top. Step 3: Put down a non-slip mat, add your cushion, and test sitting weight to ensure the top doesn’t flex.
Editor's noteChoose baskets with a lip or handle so you can pull them out without catching fabric on the edge.
Skip thisAvoid leaving the underside unfinished where baskets scrape — add a smooth finish on the top edges.



