

1. No-Tool Cork Tile Board
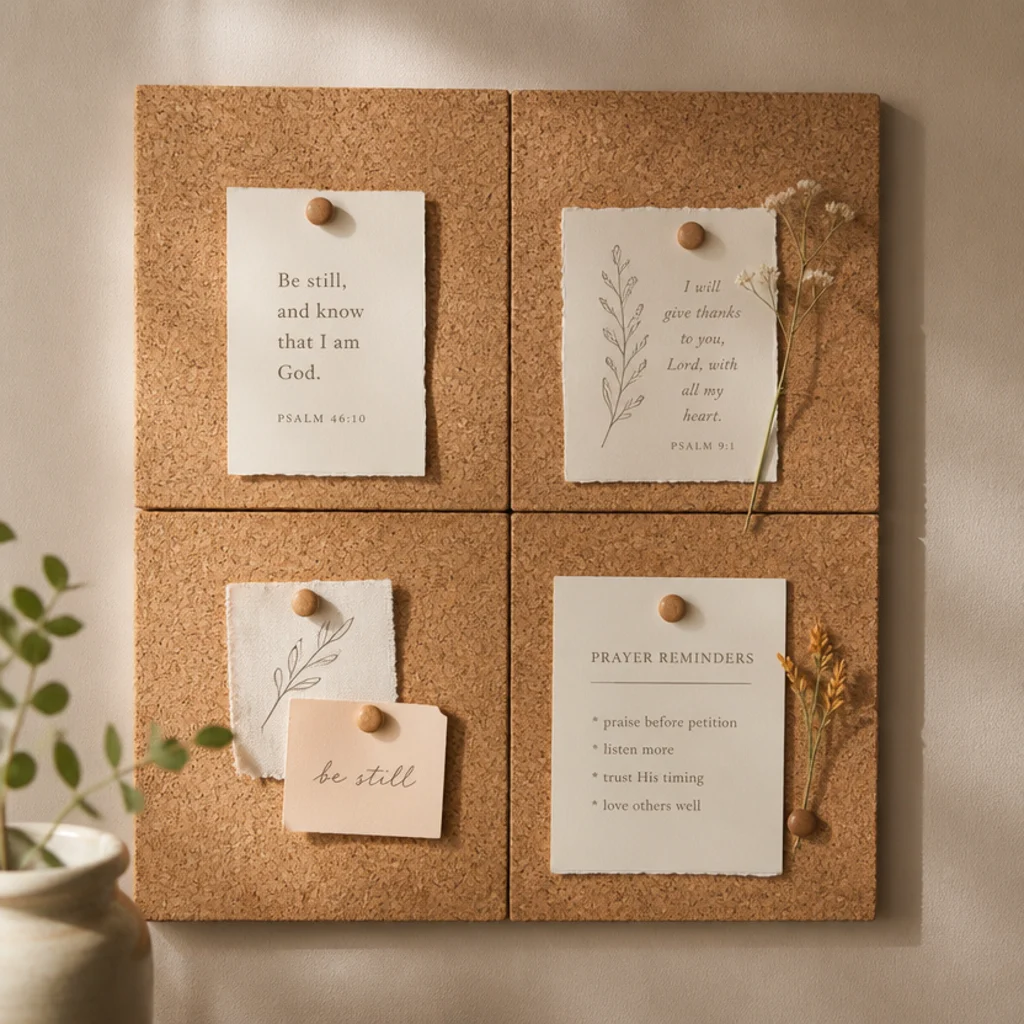
This is the easiest DIY board there is — peel, stick, done, no tools or drying time. You press self-adhesive cork tiles onto foam board or the wall and start pinning. It suits total beginners and renters, and you can expand it any time by adding a tile. Twenty minutes to a working board.
Buy a pack of peel-and-stick cork tiles (usually 12x12 inches). Wipe the wall or a piece of foam board clean, then press the tiles in a grid, butting edges tight, and roll over them with a book to bond. Trim any overhang with a craft knife. Pin your cards and you’re done. To remove later, warm the adhesive with a hair dryer and peel slowly.
Press each tile down hard with a flat book for thirty seconds — firm pressure is what makes the adhesive actually hold long-term.
Don’t stick tiles to dusty or textured walls; wipe the surface first or the adhesive won’t grab and tiles will drop.
2. Foam Board Prayer Board
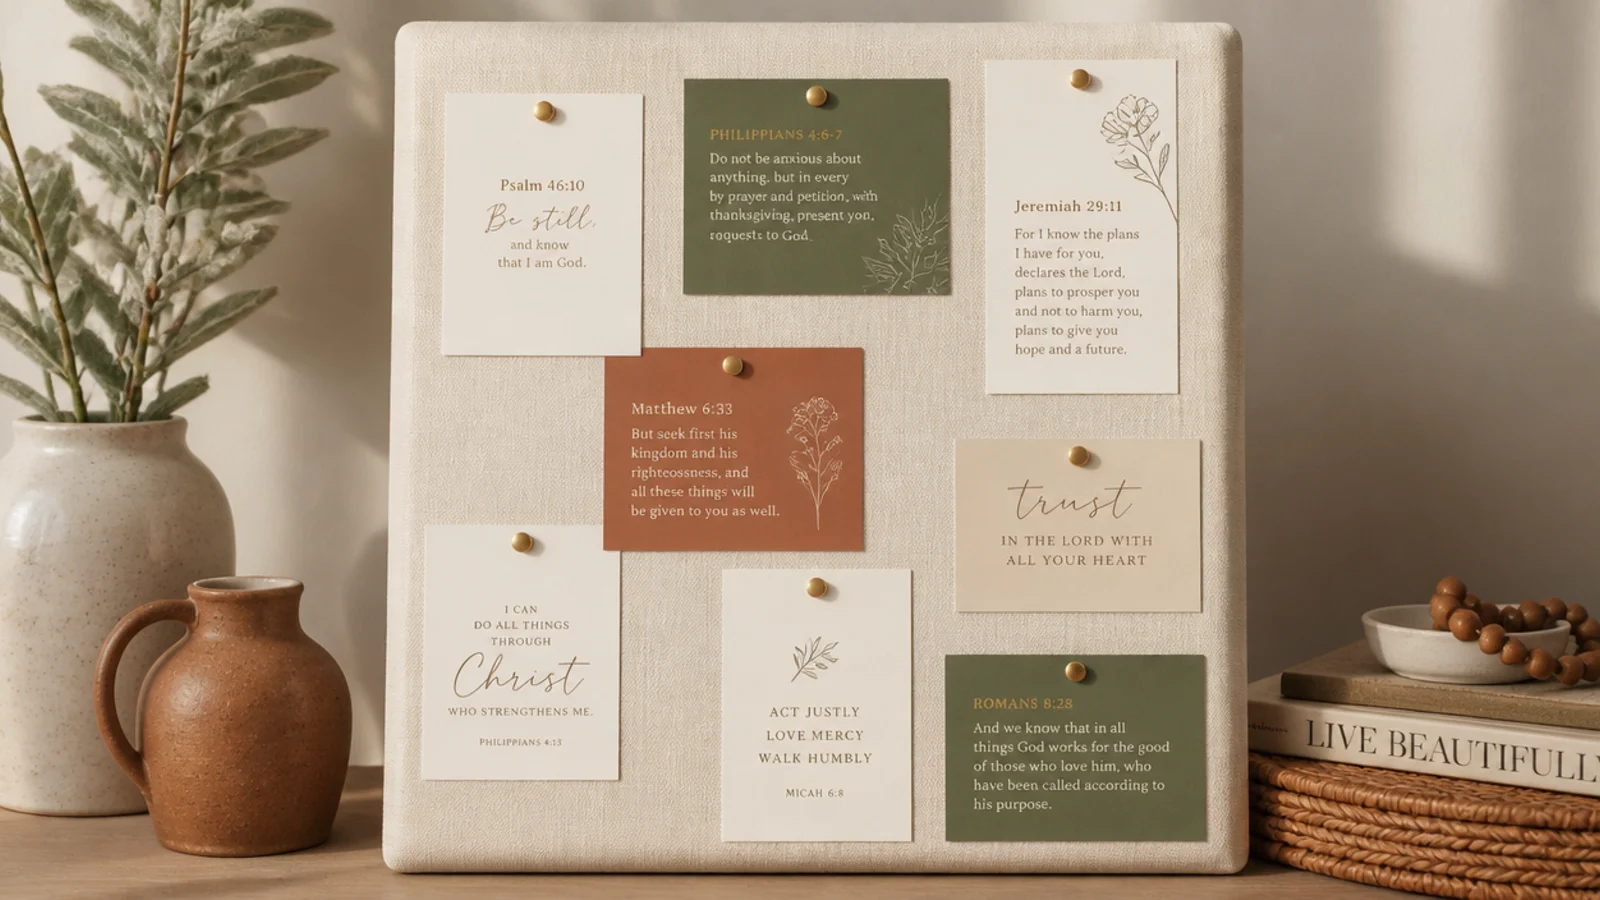
Foam board is featherlight, cheap, and takes pins easily, making it a great no-fuss base. You cut it to size, optionally wrap it, and pin away. It suits anyone wanting a large board without weight or wall damage. So light it hangs with a single adhesive strip.
Cut a piece of foam board to your size with a craft knife and a ruler, scoring twice rather than forcing through. Wrap it in cream fabric or leave it plain, folding fabric to the back and taping it down. Hang with removable adhesive strips or lean it on a shelf. Pin cards with regular push pins — foam holds them firmly.
Editor's noteScore foam board lightly twice with a fresh blade instead of one hard cut; two passes give a clean edge with no crushing.
Skip thisDon’t use a dull blade or one heavy pass; it crushes and tears the foam edge, which is the giveaway of a rushed build.
3. Thrift-Frame Cork Board
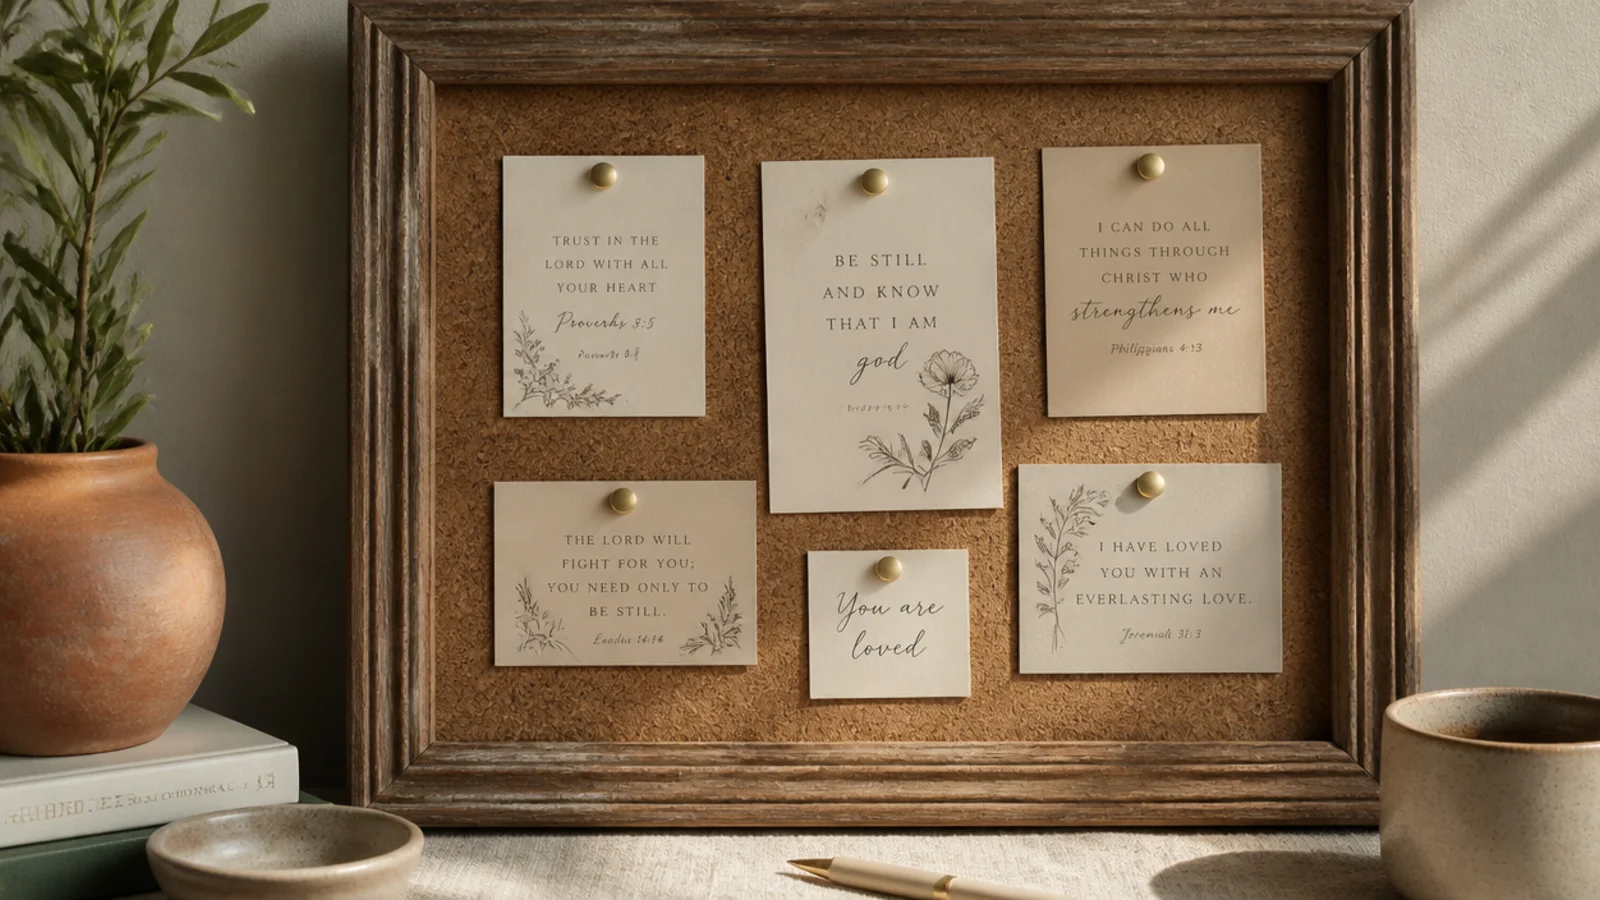
A thrifted frame plus cork gives you a finished, framed board for a few dollars. You drop a cut cork sheet into an old frame for instant polish. It suits anyone who wants the framed look without buying new. The frame does all the finishing work for you.
Find a frame at a thrift store in a size you like. Remove the glass and backing. Cut a cork sheet or glue cork tiles to fit the frame opening, then set it in where the glass was and secure with the frame’s clips or a bead of hot glue. Paint the frame if you like. Hang with the frame’s existing hardware and pin your cards.
Keep the frame’s original backing behind the cork for rigidity, then use its built-in hanging hardware to save a step.
Don’t glue cork in crooked; dry-fit it square in the frame first, because a tilted insert shows against the straight frame.
4. Clipboard Prayer Station
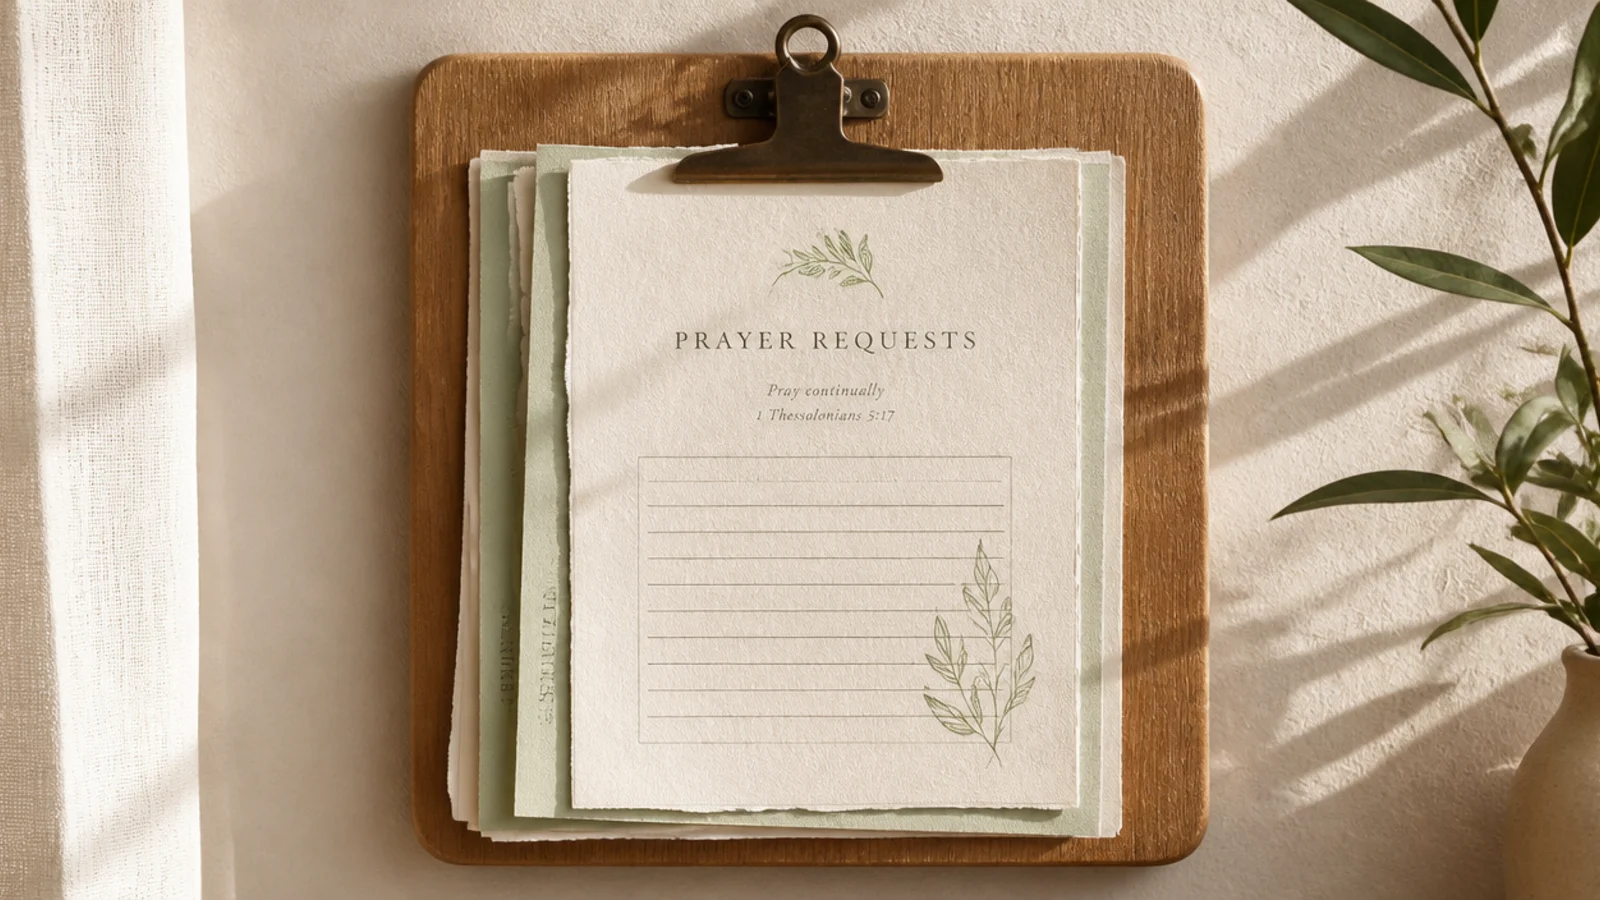
A clipboard is the ultimate no-build board — it already holds paper and hangs on a hook. You clip a page of prayers and flip to a fresh one as things change. It suits renters and minimalists. Nothing to assemble and no wall damage.
Buy a plain wood clipboard. Hang it from a removable adhesive hook or an existing nail. Make a simple prayer page — requests on one side, a verse and answered list on the back — and clip it on. Keep a small stack of blank pages behind it so you can start fresh weekly. Decorate the clip end with washi tape if you want.
Keep several pre-lined pages clipped behind the top one so starting a fresh week is just flipping to a blank sheet.
Don’t cram one page with everything; a clipboard works best with a clean weekly page, not a months-old overloaded sheet.
5. Cookie Sheet Magnetic Board
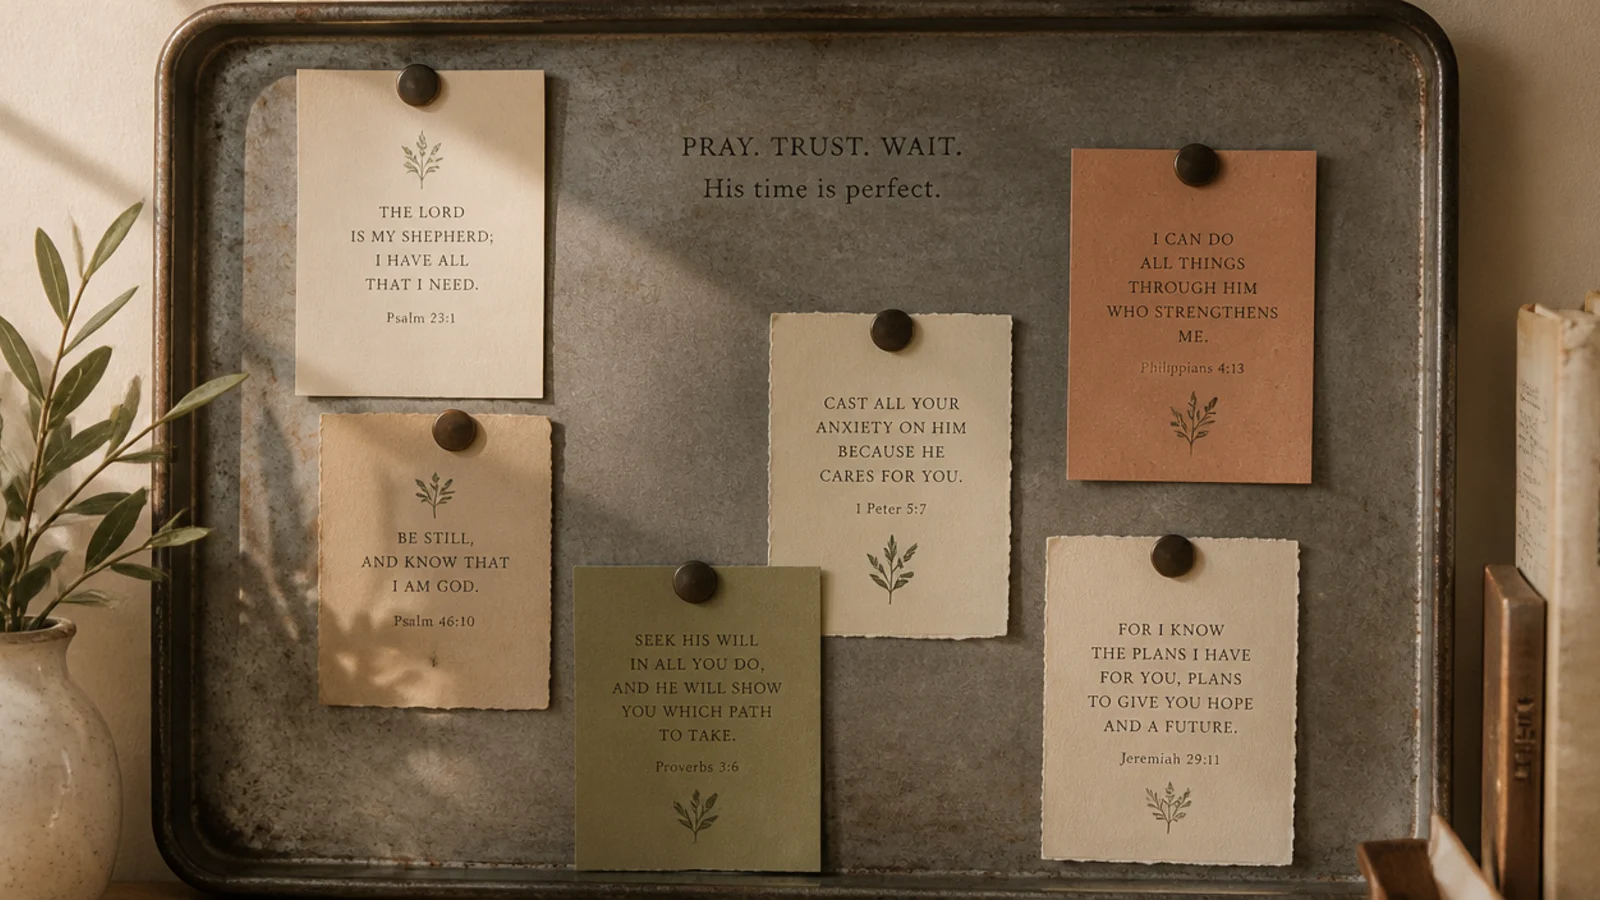
A metal baking sheet becomes a magnetic board with zero building. You mount a cookie sheet and hold cards with magnets — no pins, no holes in the cards. It suits kitchens and anyone who likes swapping cards fast. Cards stay pristine since magnets don’t pierce them.
Use a flat metal cookie sheet or an oil-drip pan from an auto store for a bigger surface. Clean it, optionally spray-paint it in a neutral, and mount with heavy-duty adhesive strips or the pan’s hanging hole. Print cards and hold them with small button magnets. Add a magnetic strip of scripture along the top as a header.
Editor's noteCheck the pan is truly steel with a fridge magnet before you buy; aluminum sheets look identical but magnets won’t stick.
Skip thisDon’t use weak craft magnets on cardstock; use strong button magnets or cards slide down the moment you bump the board.
6. DIY Ribbon Memo Board
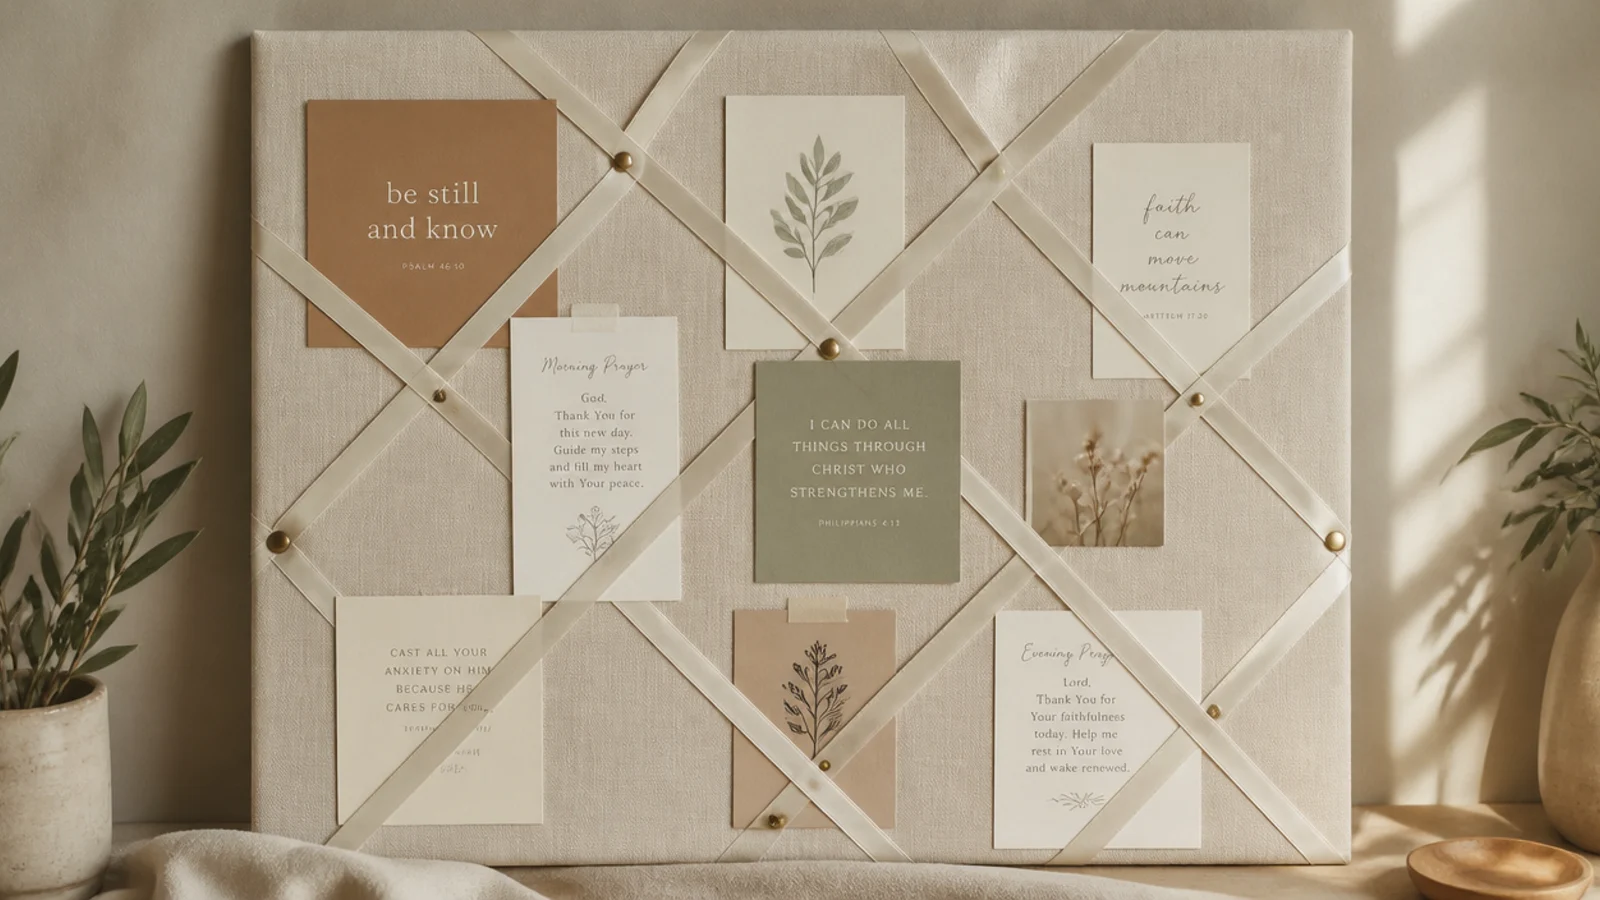
A ribbon memo board holds cards with no pins and looks boutique for a beginner build. You wrap a board in fabric and crisscross ribbon to tuck cards behind. It suits anyone wanting pretty and practical. The ribbon lattice is decorative before you add a single card.
Wrap a foam or cork board in fabric, securing to the back. Stretch ribbon diagonally both directions to form diamonds, pulling taut and stapling or gluing the ends behind. Pin a button at each ribbon crossing for hold and looks. Slide cards behind the ribbons. Match ribbon to your palette for a cohesive result.
Pin buttons at the crossings not just for looks but to grip the cards, so they don’t slip out of a smooth ribbon junction.
Don’t leave ribbons loose; slack lattice drops cards, so keep every run taut before you fix the ends behind the board.
7. Pegboard Prayer Board
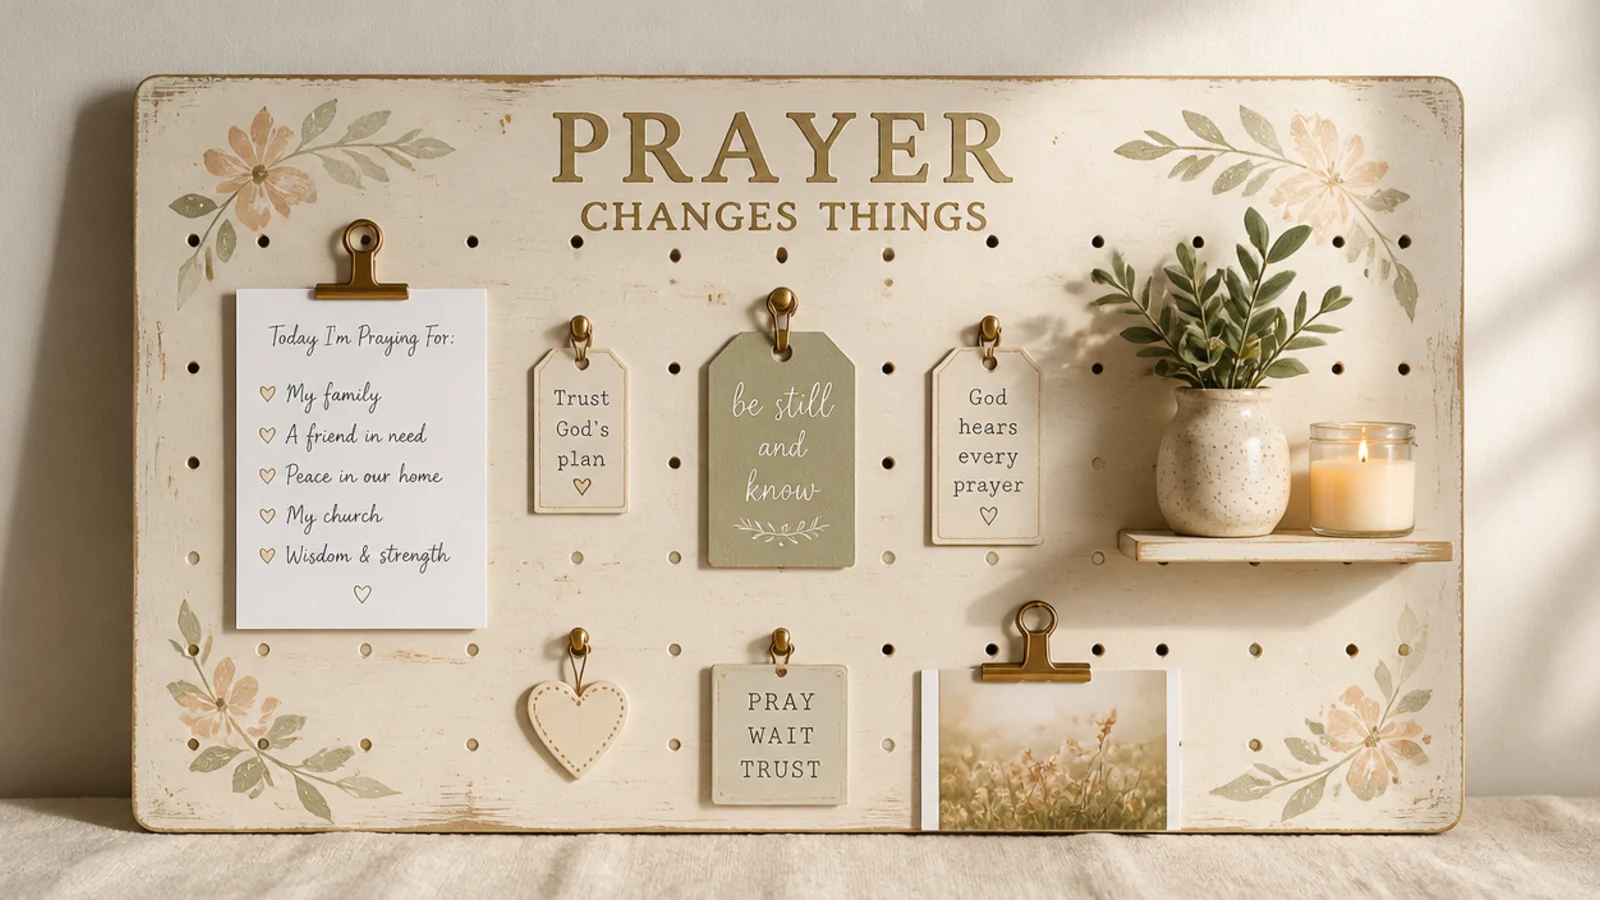
A pegboard turns your board into a flexible system with hooks, clips, and mini shelves. You paint a pegboard and rearrange holders as your prayers change. It suits people who love to reconfigure. The peg holes mean nothing is ever permanent.
Cut or buy a pegboard to size and paint it a neutral with spray paint, letting it cure fully. Mount it a half-inch off the wall using the spacers it comes with so hooks can seat. Add pegboard hooks, small clips, and a mini shelf for a plant or a candle. Hang cards from clips and tuck a verse card on the shelf.
Editor's noteMount the pegboard on its spacers so there’s a gap behind it; the hooks need that clearance to hook in and stay put.
Skip thisDon’t overload it into a busy tool wall; leave open holes so it reads calm and intentional, not like a garage panel.
8. Wire Grid Card Board
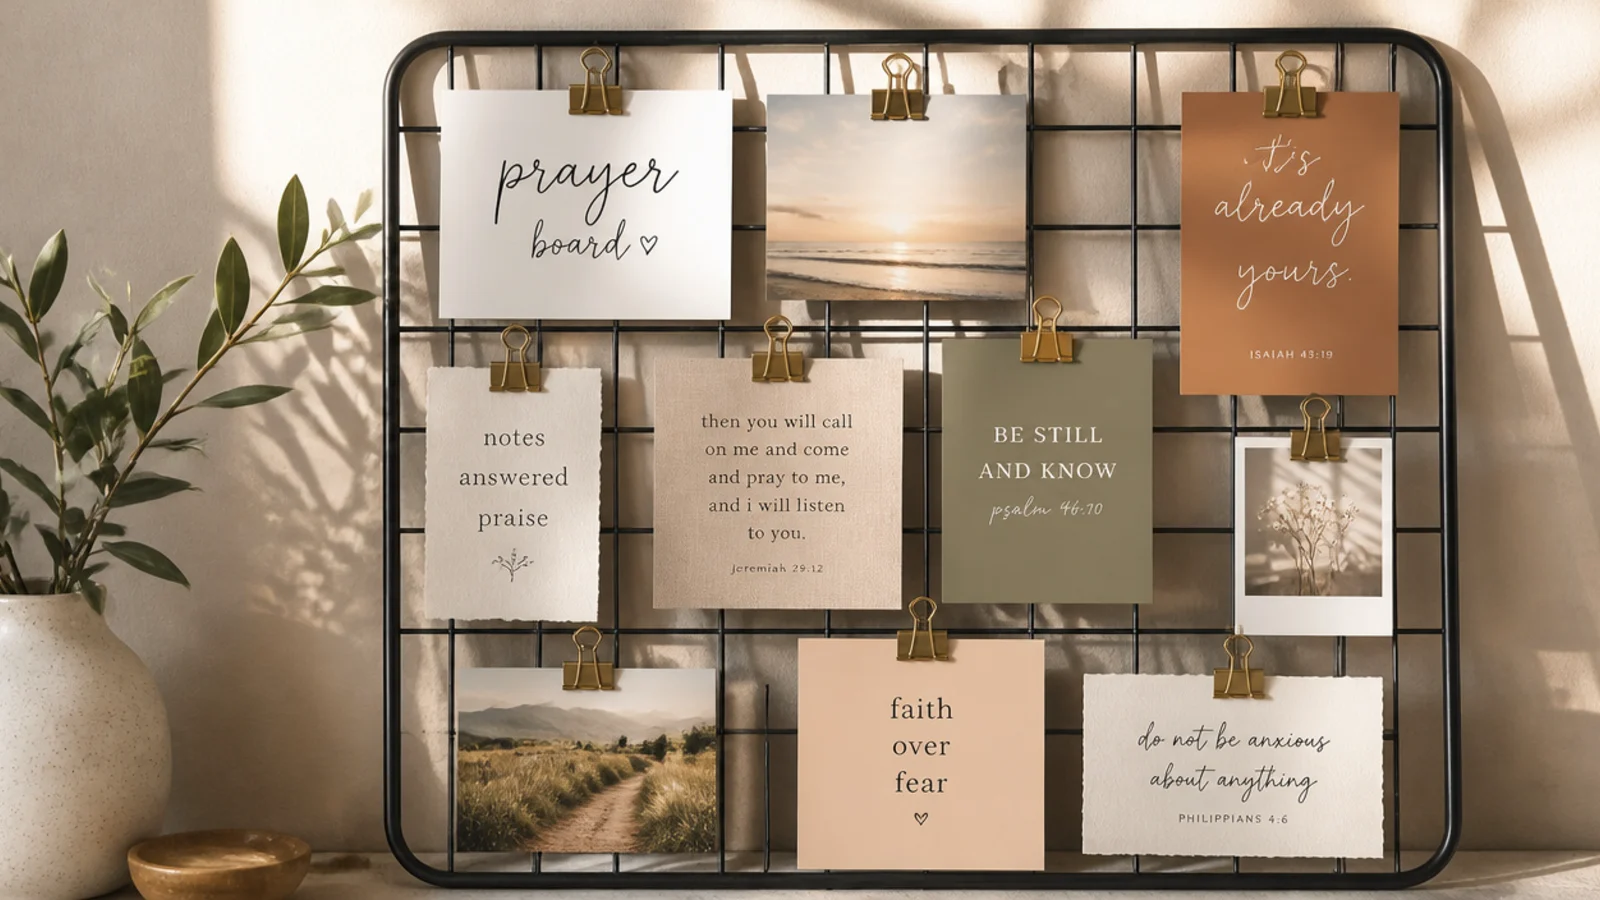
A wire grid panel gives a modern, industrial look and clips cards anywhere. You hang a grid panel and attach cards with mini clips. It suits modern and small spaces. The open grid feels light and lets the wall show through.
Buy a wire grid panel (sold for desk organizing). Hang it with the hooks it comes with or removable adhesive hooks rated for the weight. Attach cards, photos, and tags with mini metal clips or S-hooks. Arrange in loose columns so it stays readable. Add a small hanging planter on one corner for warmth.
Editor's noteClip cards in vertical columns rather than scattered; columns give the open grid a calm order instead of looking random.
Skip thisDon’t clip heavy items to a lightly mounted grid; it tips forward, so keep it balanced and anchored top and bottom.
9. Chalkboard-Paint DIY Board
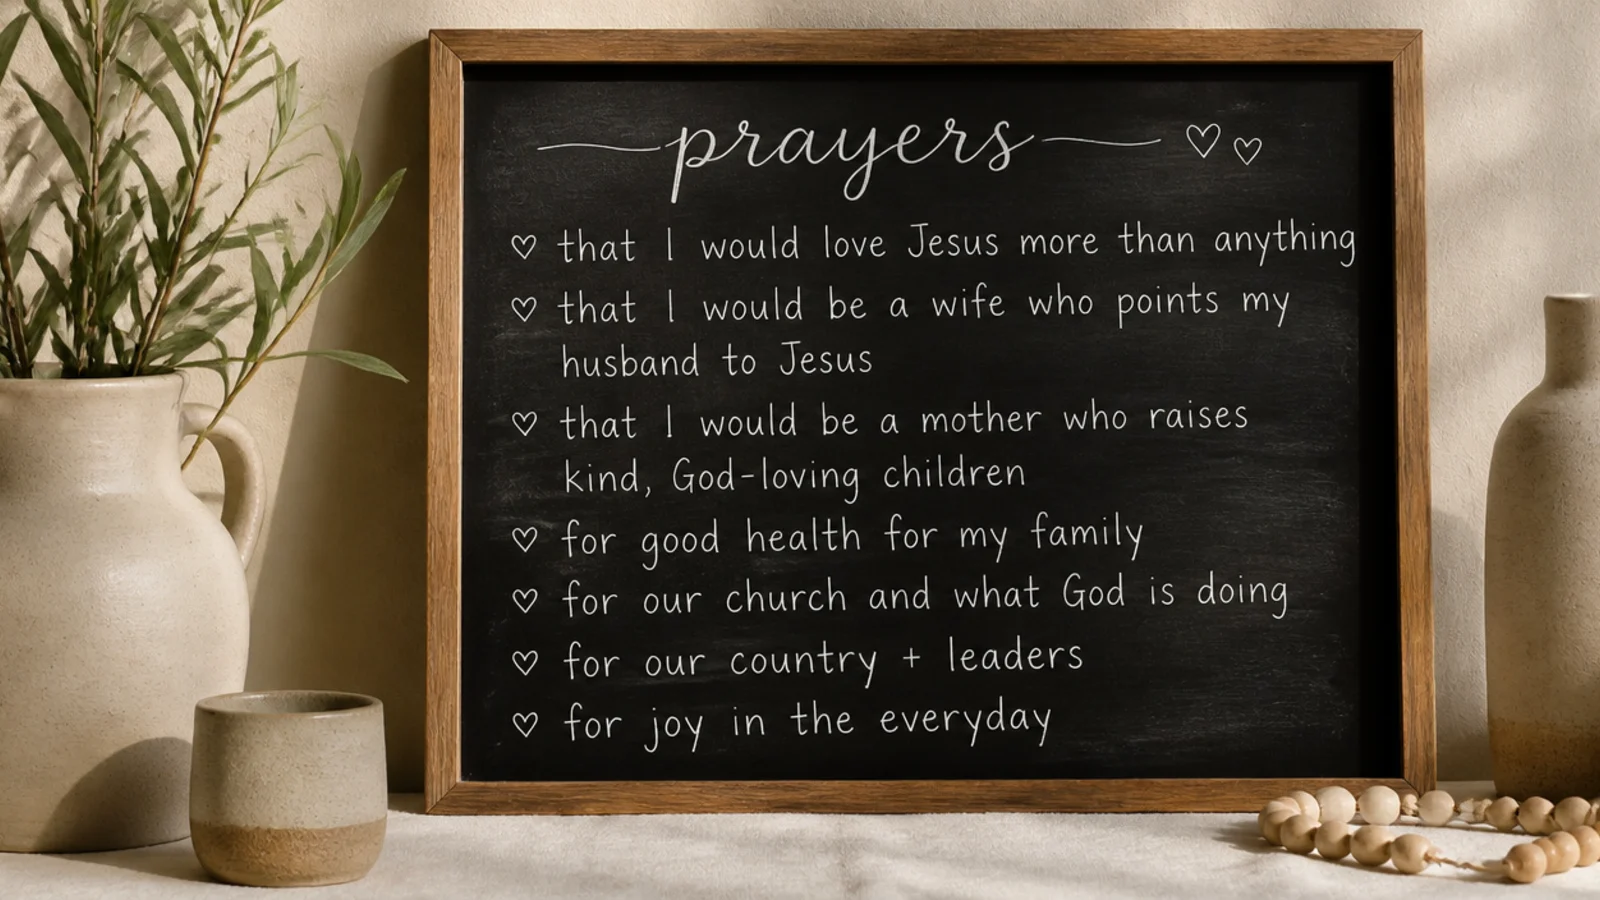
Chalkboard paint turns any flat board into a rewritable prayer board. You paint a board, frame it, and write with chalk marker. It suits anyone who wants to update prayers daily without cards. Endlessly reusable with a wipe.
Sand a smooth board or plywood offcut, wipe clean, and roll on two coats of chalkboard paint, letting each dry. Cure it a full day, then season it by rubbing chalk over the whole surface and wiping off. Frame the edges with thin trim or washi tape. Write requests and a verse with a fine white chalk marker, and wipe with a barely damp cloth to update.
Season the whole surface with chalk before the first real writing, or your first words ghost and never fully erase.
Don’t skip curing the paint a full day; writing too soon scratches the finish and leaves permanent marks.
10. Trifold Portable Prayer Board
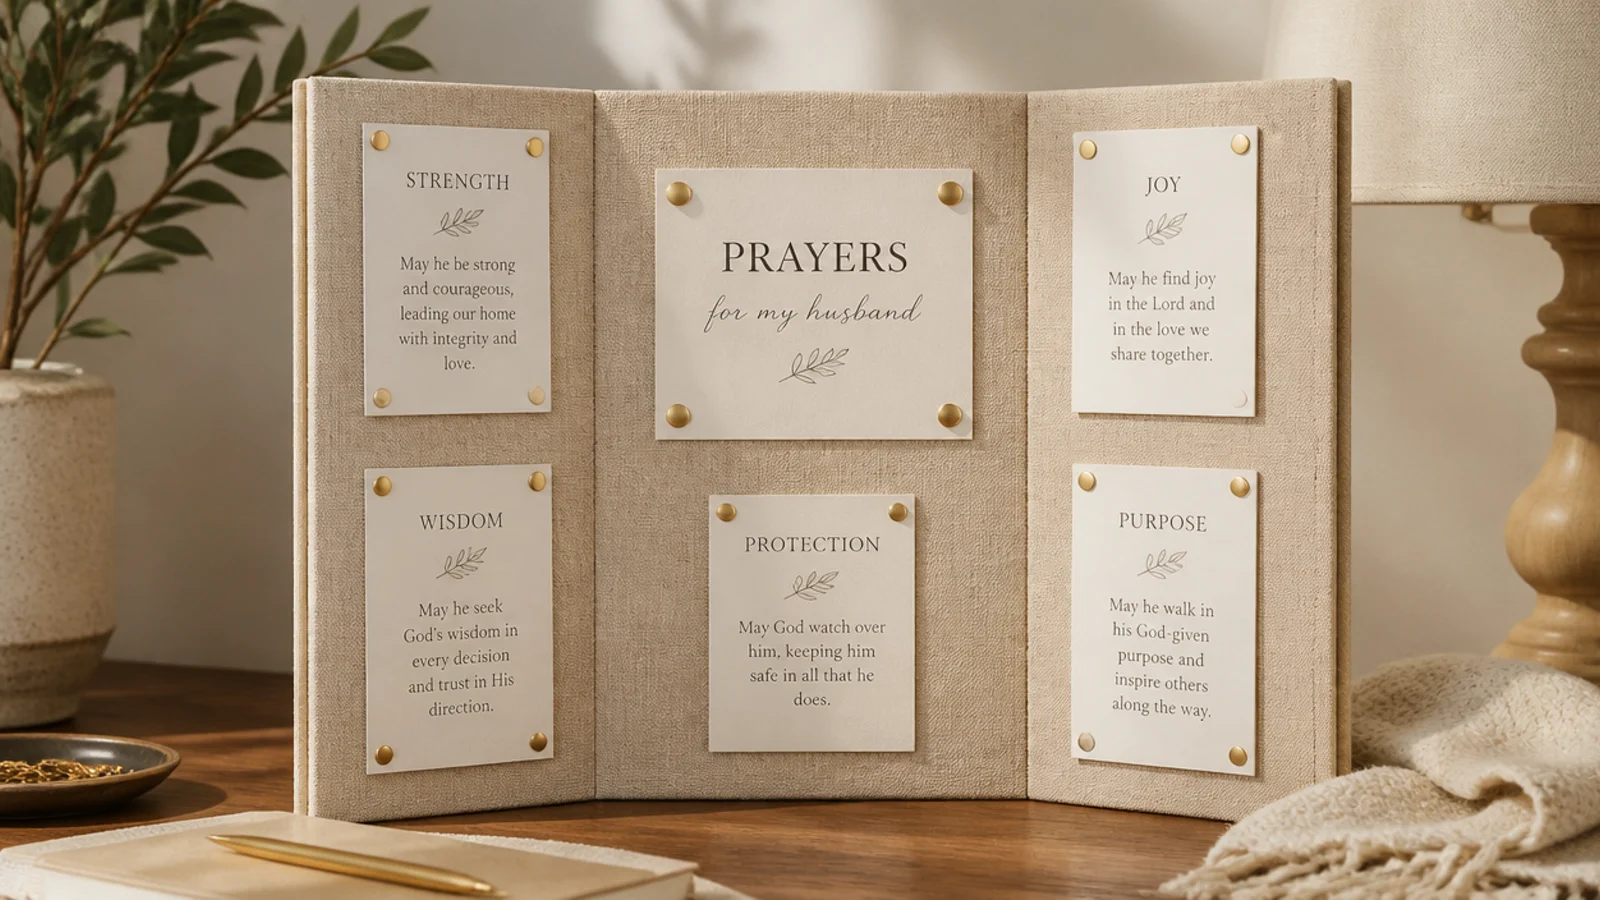
A trifold board stands on its own and folds flat to travel or tuck away. You cover a small trifold and pin cards across its panels. It suits dorms, travel, and shared spaces. Stands anywhere and hides when guests come.
Buy a small trifold presentation board or cut and hinge foam board with tape into three panels. Cover the panels in fabric or paper, wrapping edges to the back. Add a header verse on the center panel and organize cards by zone across the three sections. Fold it closed to store, and stand it open on a desk or shelf for prayer.
Editor's notePut your daily-use zones on the center panel and reference cards on the wings, so the most-used prayers face you head-on.
Skip thisDon’t glue cards down on a portable board; pin or clip them so it can still fold flat without crushing the cards.
11. Canvas and String Board
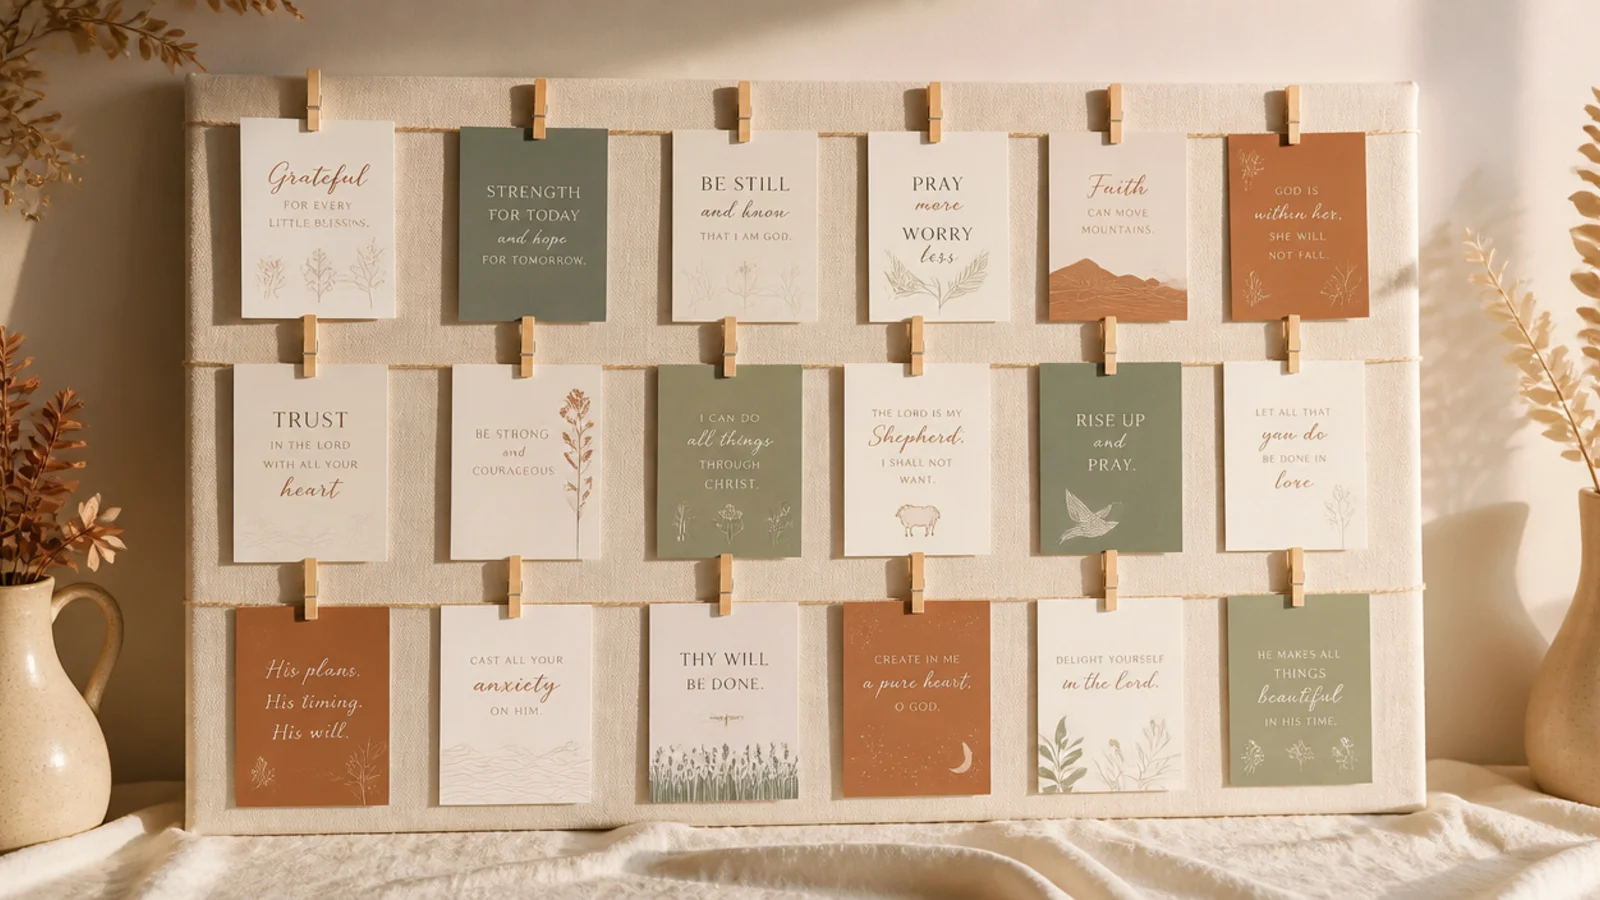
A blank canvas plus a few strings makes a soft, frameless board that’s light and cheap. You run string across a canvas and clip cards to it. It suits gallery walls and anyone with a spare canvas. Light enough to hang with one hook.
Take a stretched canvas (any size). Screw two small eye hooks into each side of the wooden frame at even heights, and run twine tautly between them across the canvas front. Add more string rows down the canvas. Clip cards to the strings with mini pegs. Paint or letter the canvas background first if you want color behind the cards.
Editor's noteRun the strings taut and level between the eye hooks; sagging string is the one thing that makes this look unfinished.
Skip thisDon’t screw hooks into the canvas fabric itself; anchor them in the wooden stretcher bars or they’ll pull loose.
12. Mini Desktop Easel Board
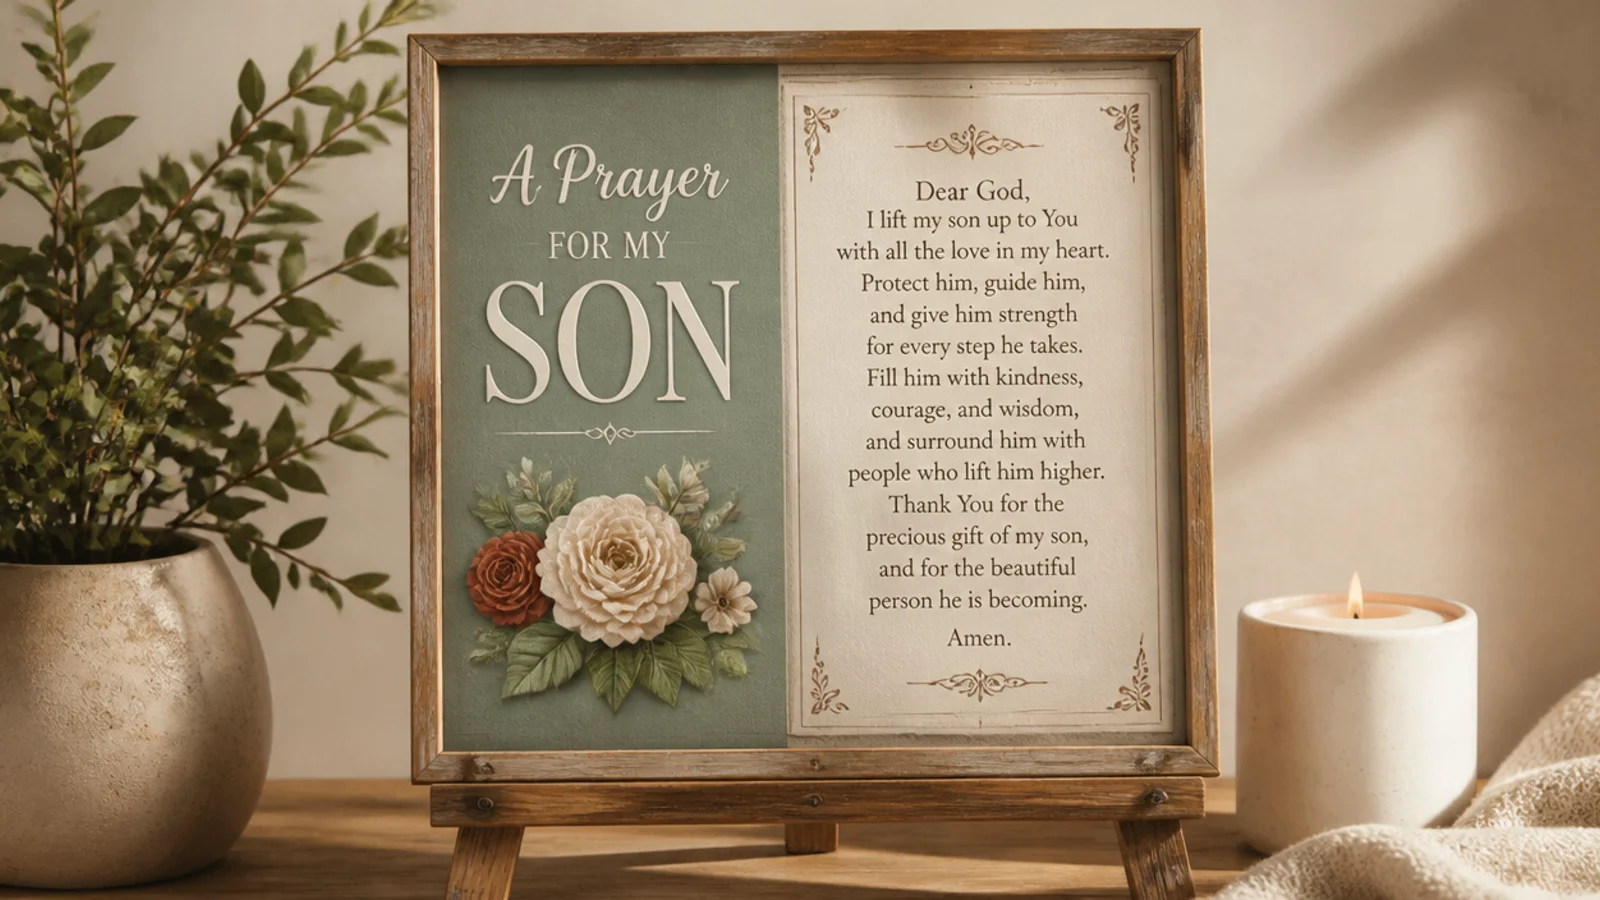
A mini board on a tabletop easel sits on a desk with no mounting at all. You prop a small cork or framed board on an easel where you work. It suits desks, nightstands, and no-wall setups. Move it wherever you land to pray.
Pair a small 8x10 cork or framed board with a wooden tabletop easel stand. Add a compact layout — a verse, three requests, and an answered spot — sized to the small board. Set it where you sit daily, angled toward you. Style it with a small candle or plant beside it so it reads as intentional desktop decor.
Angle the easel slightly toward your chair so the board faces you directly rather than the ceiling or the room.
Don’t overload a tiny board; an 8x10 holds a verse and a few cards, so keep the layout ruthlessly edited.
13. Upcycled Cabinet Door Board
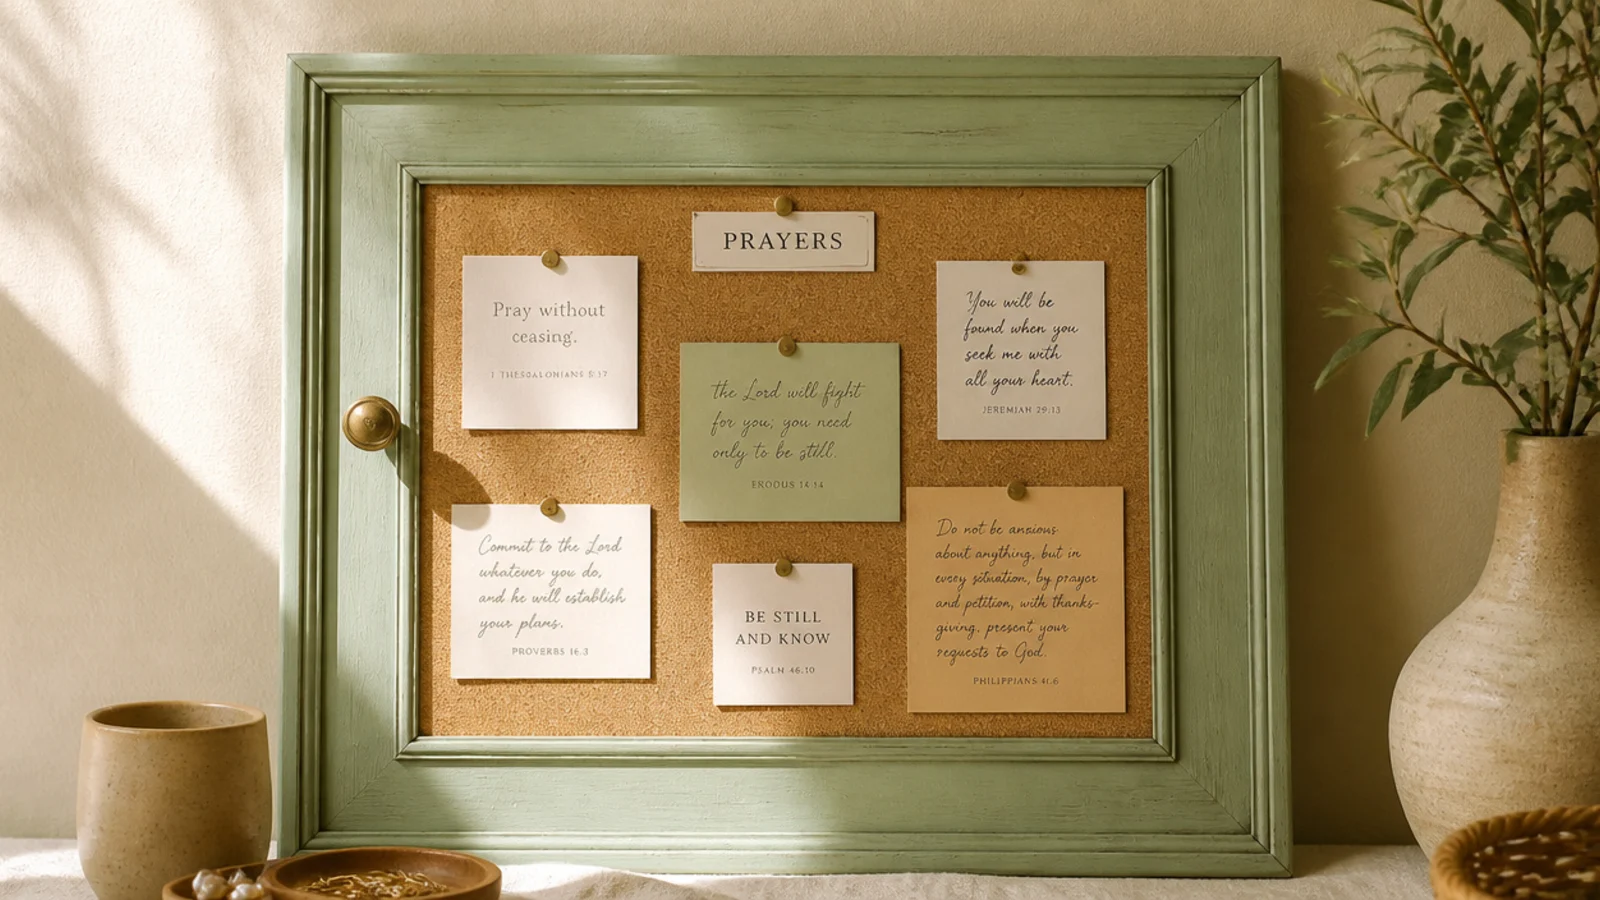
An old cabinet door has a built-in recessed panel that’s perfect for a framed board. You repaint the door and fill the panel with cork or chalkboard. It suits salvage and farmhouse lovers. The door’s molding is instant, free framing.
Find a paneled cabinet door at a salvage yard or from a kitchen redo. Clean and repaint it in a neutral. Cut cork or a chalkboard-painted sheet to fit the recessed center panel and glue it in. Add a sawtooth hanger or D-rings to the back. Pin or write your prayers in the finished, framed panel.
Use the door’s recessed panel as your board area; the surrounding raised molding frames it perfectly with no extra trim.
Don’t skip cleaning off old grease before painting; kitchen doors hold residue that makes fresh paint peel.
14. Hanging Dowel Scroll Board
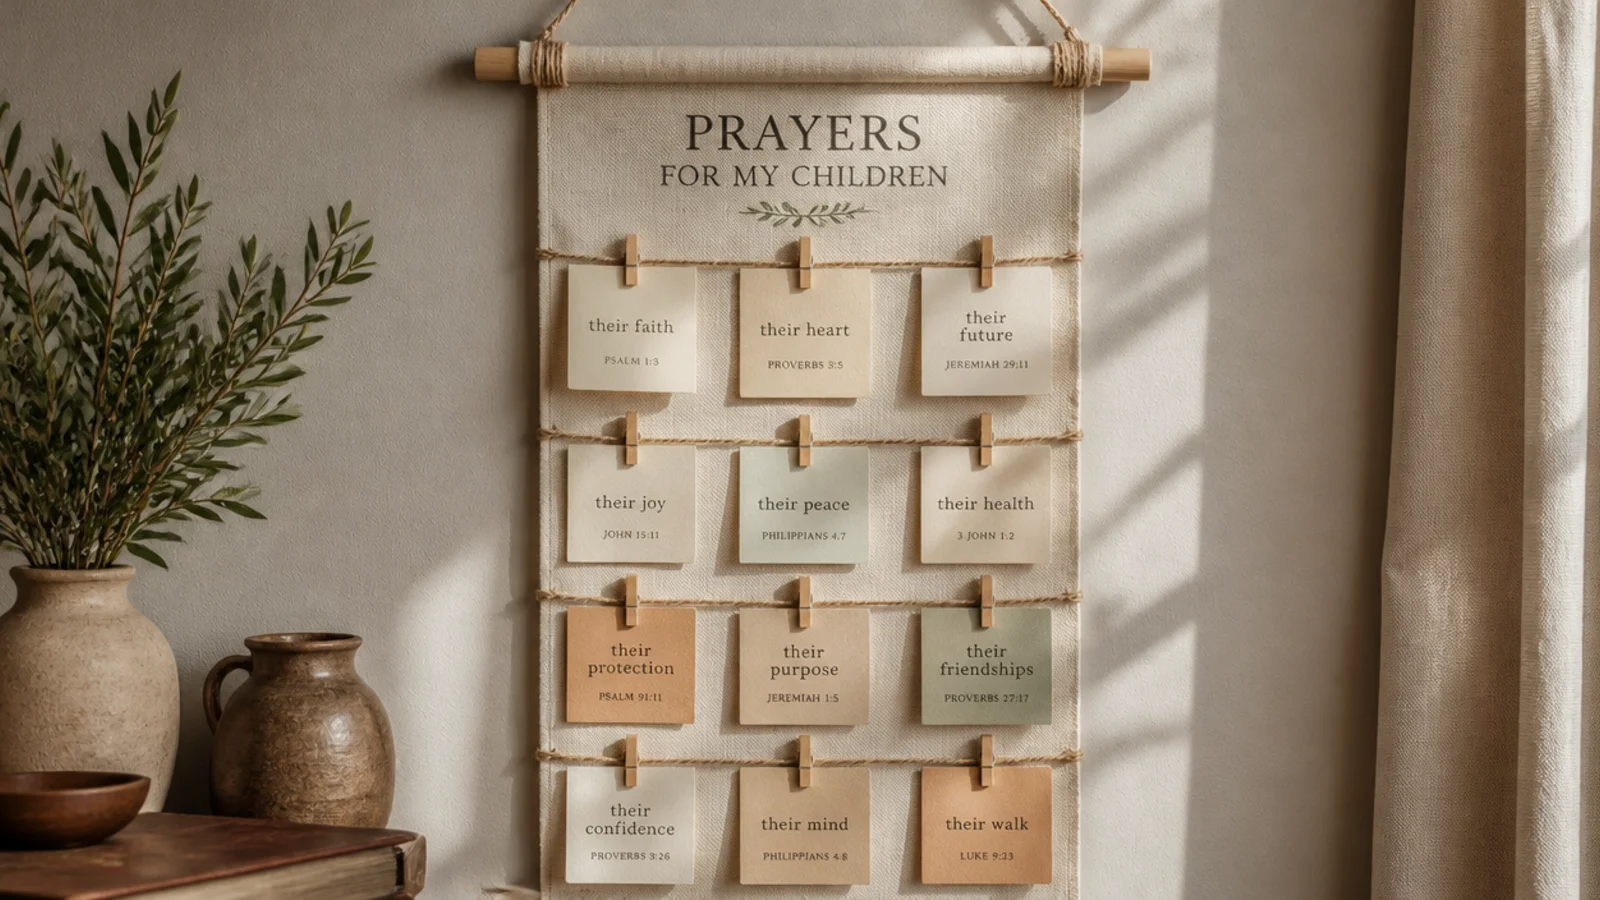
A fabric panel hung from a dowel gives a soft, scroll-like board with a warm handmade feel. You clip a dowel to fabric and hang it, then attach cards down the length. It suits boho and minimalist walls. No frame, no cork, just fabric and wood.
Cut a fabric or felt panel to size and fold the top over a wooden dowel, gluing or stitching a channel so the dowel slides through. Tie twine to both dowel ends to hang it. Clip cards down the fabric with mini pegs, or stitch small pockets. Weight the bottom with a second dowel so it hangs flat and straight.
Add a second dowel in a hem at the bottom edge; the weight keeps the fabric from curling and hanging crooked.
Don’t use flimsy fabric that sags; a stiffer felt or canvas holds its shape and keeps clipped cards sitting flat.
15. Lattice Trellis Card Holder
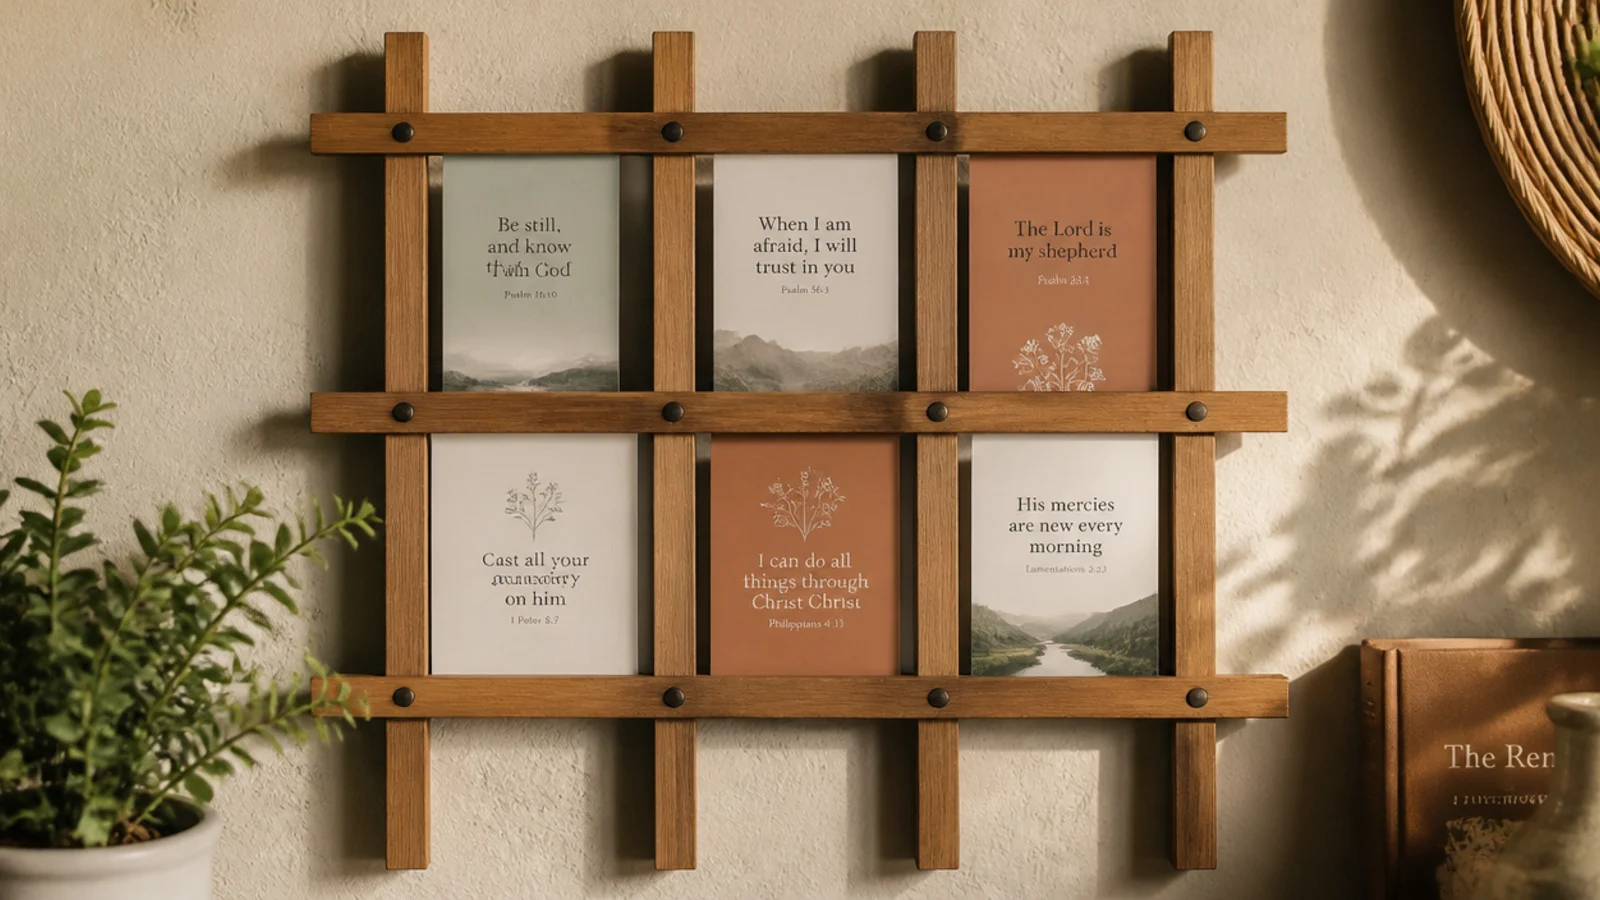
A small garden trellis makes a charming card holder with a built-in lattice. You mount a wooden trellis and slot cards between the crossing slats. It suits garden-style and rustic rooms. The trellis is pre-made, so there’s almost nothing to build.
Buy a small wooden expanding trellis or a decorative lattice panel from the garden section. Lightly sand and oil or paint it. Mount it flat on the wall with two screws or heavy adhesive strips. Slot cards and photos between the crossing slats where they pinch together, and tuck a faux vine along one edge for a garden feel.
Editor's noteChoose a trellis where the slats cross tightly; snug crossings pinch cards in place, while loose ones let them fall through.
Skip thisDon’t mount an expanding trellis stretched too wide; open it only partway so the crossings stay tight enough to grip cards.



