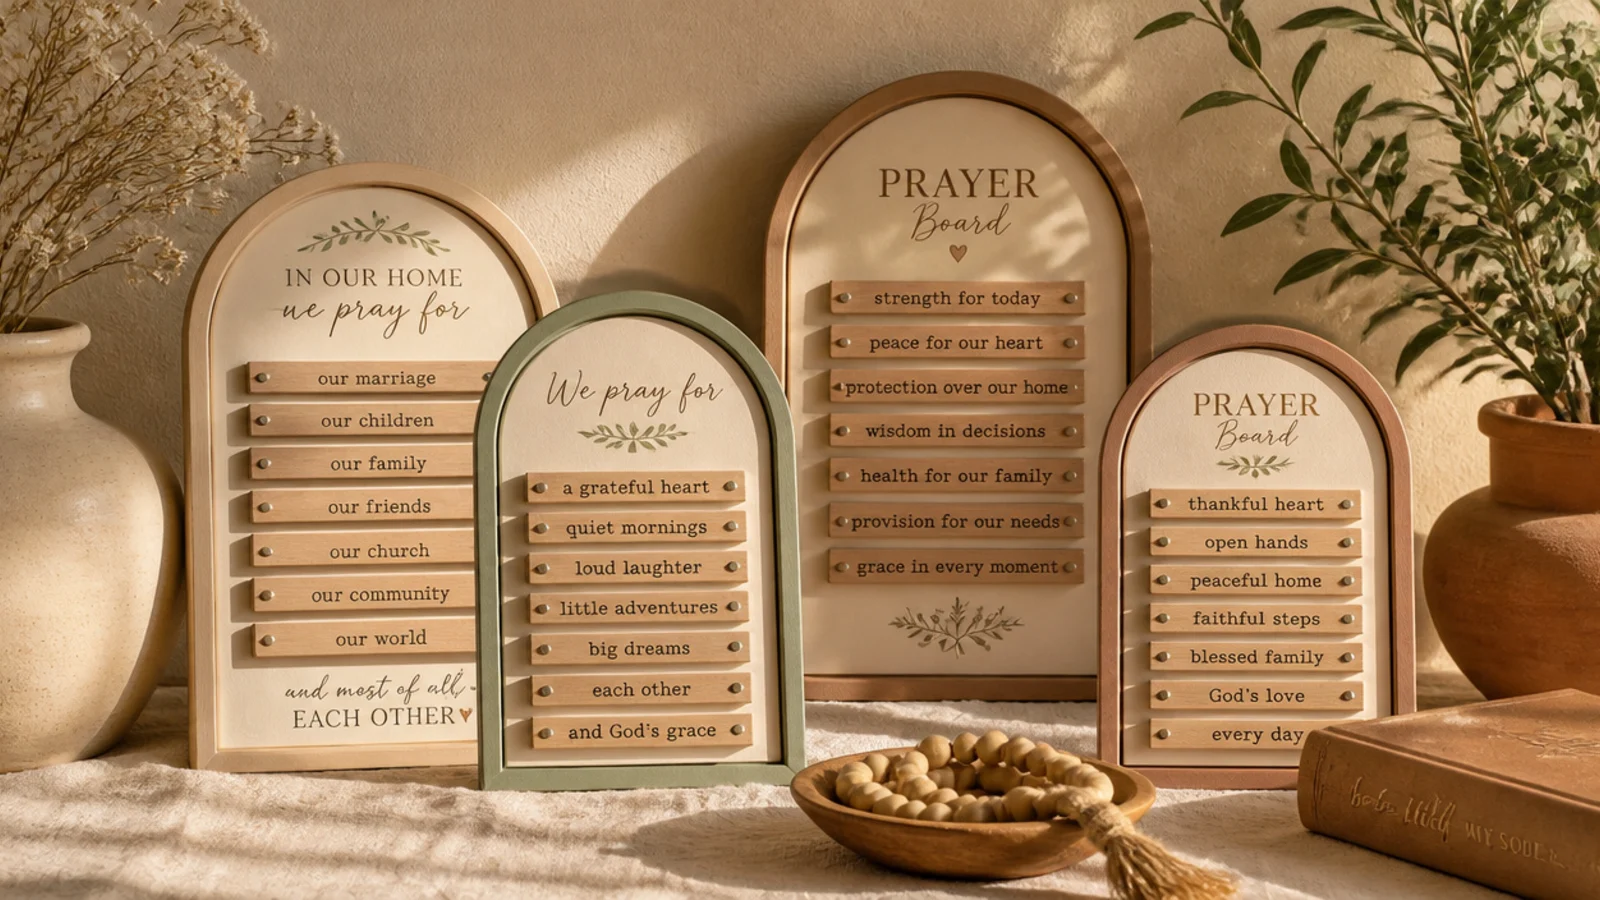
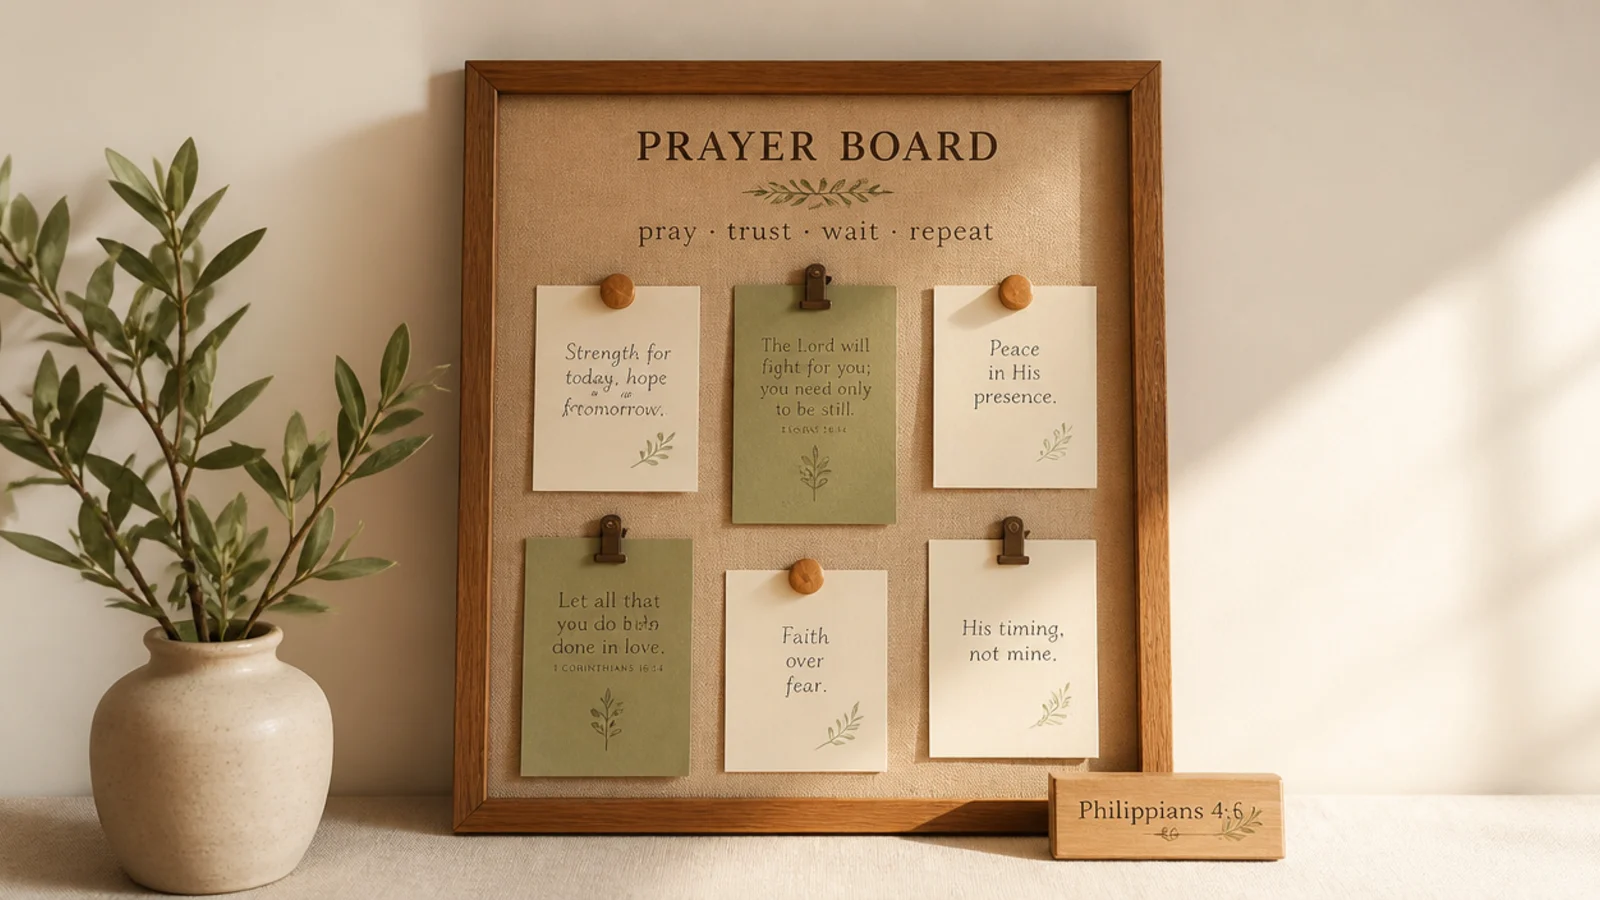
Prayer board ideas can feel overwhelming when you’re staring at a blank board, so this is the simple five-step plan I use every time I build one. The whole thing comes down to deciding your sections before you decorate — that one habit is why some boards stay useful and others become a pretty pile of forgotten notes. Below are the five steps in order, each with the exact materials and choices, so you can go from empty wall to a working prayer board this weekend. Follow them straight through and you’ll end with a board you’ll actually pray at, not just look at.
Start by knowing what a prayer board is for. It’s a visible place that holds the things you pray about repeatedly — current requests, scripture you’re leaning on, people you’re praying for, and answered prayers — so prayer stops being something you forget and becomes something you see. The goal isn’t a perfect craft; it’s a tool that pulls you back to pray. Keep that in mind and you won’t over-decorate at the expense of using it.
Gather your basics before you begin: a 16x20 inch cork or fabric board, a pack of cardstock in one or two neutral colors, a fine pen, pins or mini clips, and optional washi tape for dividing zones. That’s genuinely all you need to start. You can add framed verses, ribbon, or printables later, but the five steps work with just a board and some cards. Buying one cohesive set of card supplies is what keeps the finished board looking intentional.
Decide where it will live and how you pray before you build. A board by a desk or reading chair suits someone who sits down to pray daily; a small board or clipboard by the bed or on a kitchen shelf suits quick, on-the-go prayers. If you’re not sure, start small and near where you already pause. The five steps below scale to any size — the plan is the same whether it’s an 8x10 or an 18x24.
Everything starts with the right board in the right place. You pick a board that holds cards and a spot where you already pause to pray. This step decides whether the board gets used at all, so choose the location as carefully as the board. Get this right and the rest falls into place.
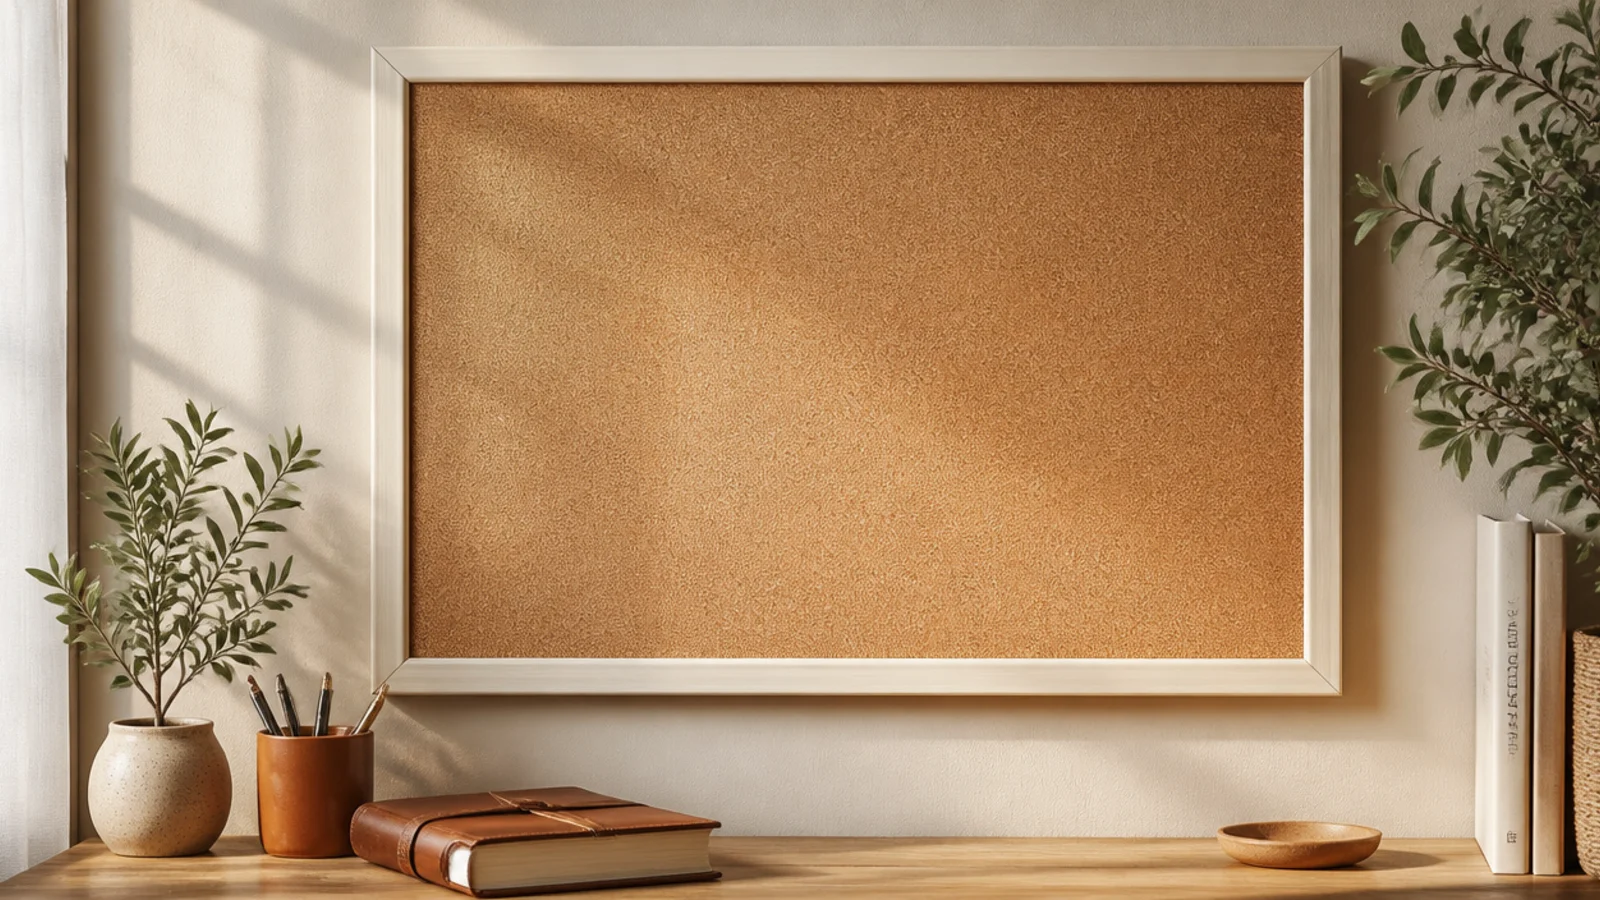
Choose a 16x20 inch cork or fabric board for most people — both take pins and let cards move freely. Go smaller, like 8x10 or a clipboard, for a bedside or shelf. Mount it where you already stop — above a desk, by a reading chair, or on a wall you pass each morning — near a window for good light. Hang it with the board’s hardware, or use removable adhesive strips if you rent.
Editor's notePick the spot before the board; the location where you’ll actually pause to pray matters more than the board itself.
Skip thisDon’t hang it in a room you rarely enter; a beautiful board out of your daily path just gathers dust.
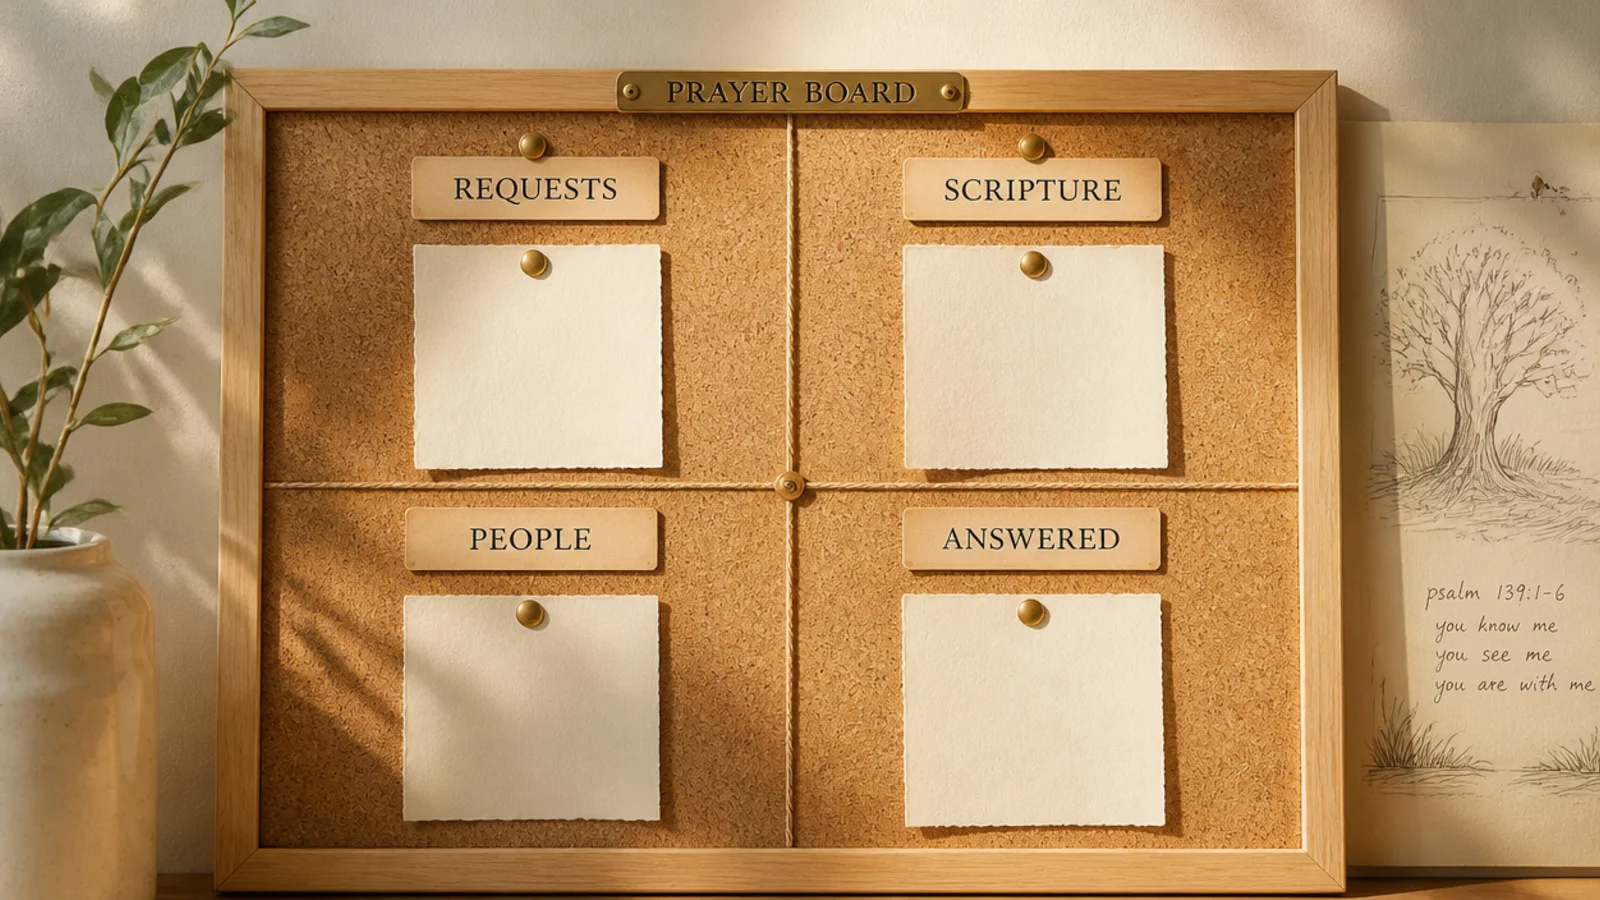
Planning your zones before you decorate is the step that makes a board work. You sketch the sections — requests, scripture, people, answered — on paper first. This is the single habit that separates a useful board from a cluttered one. Deciding the layout now saves you a messy board later.
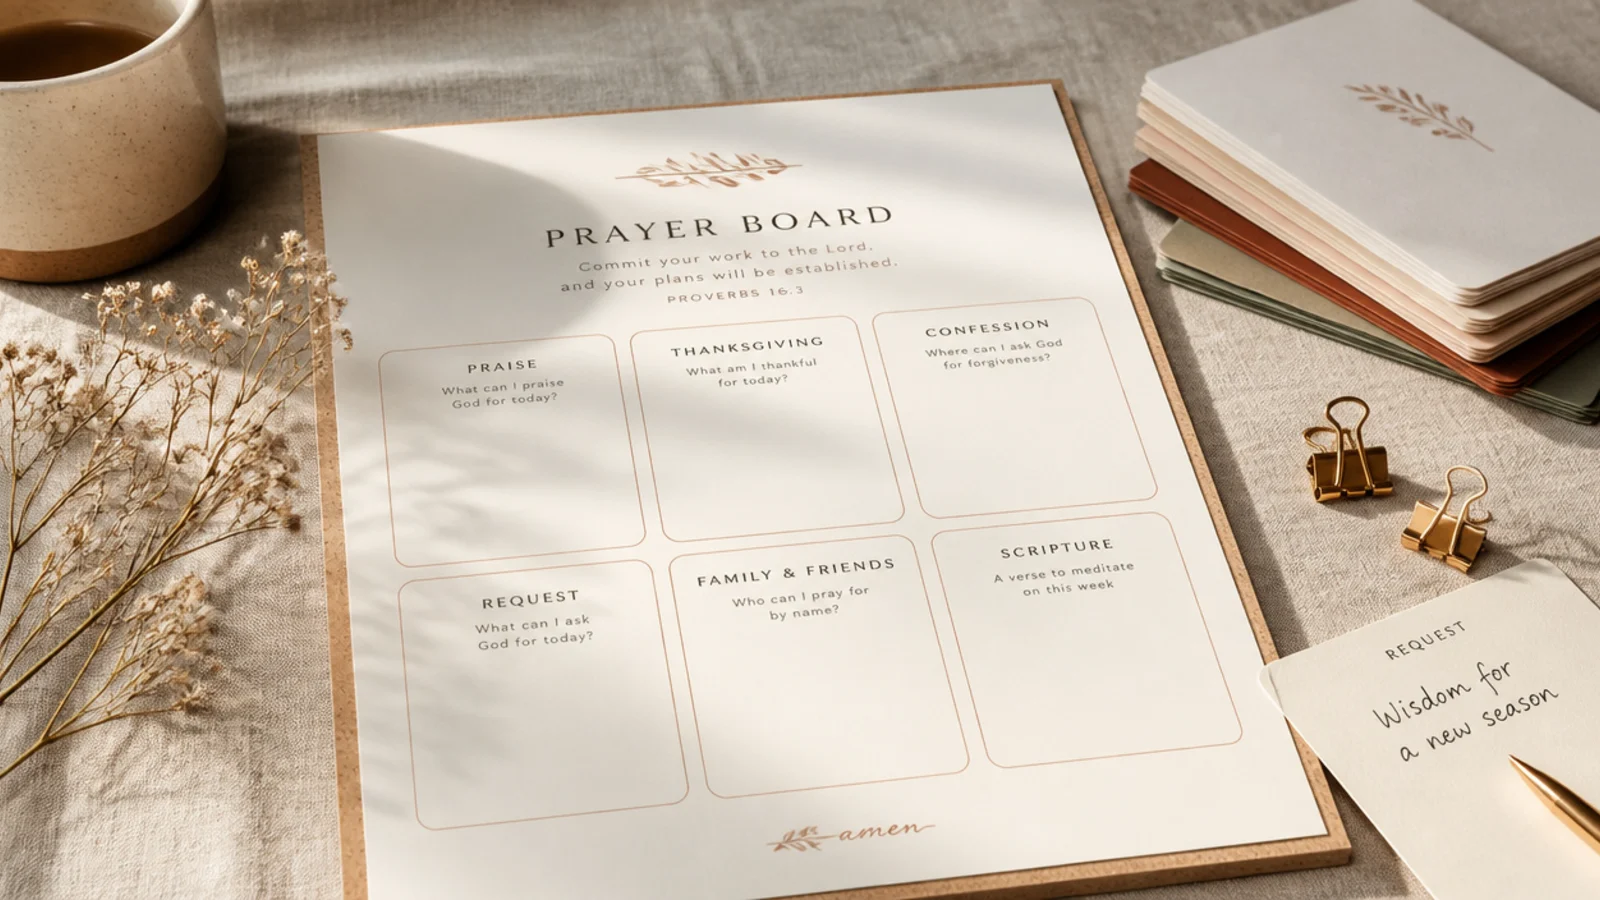
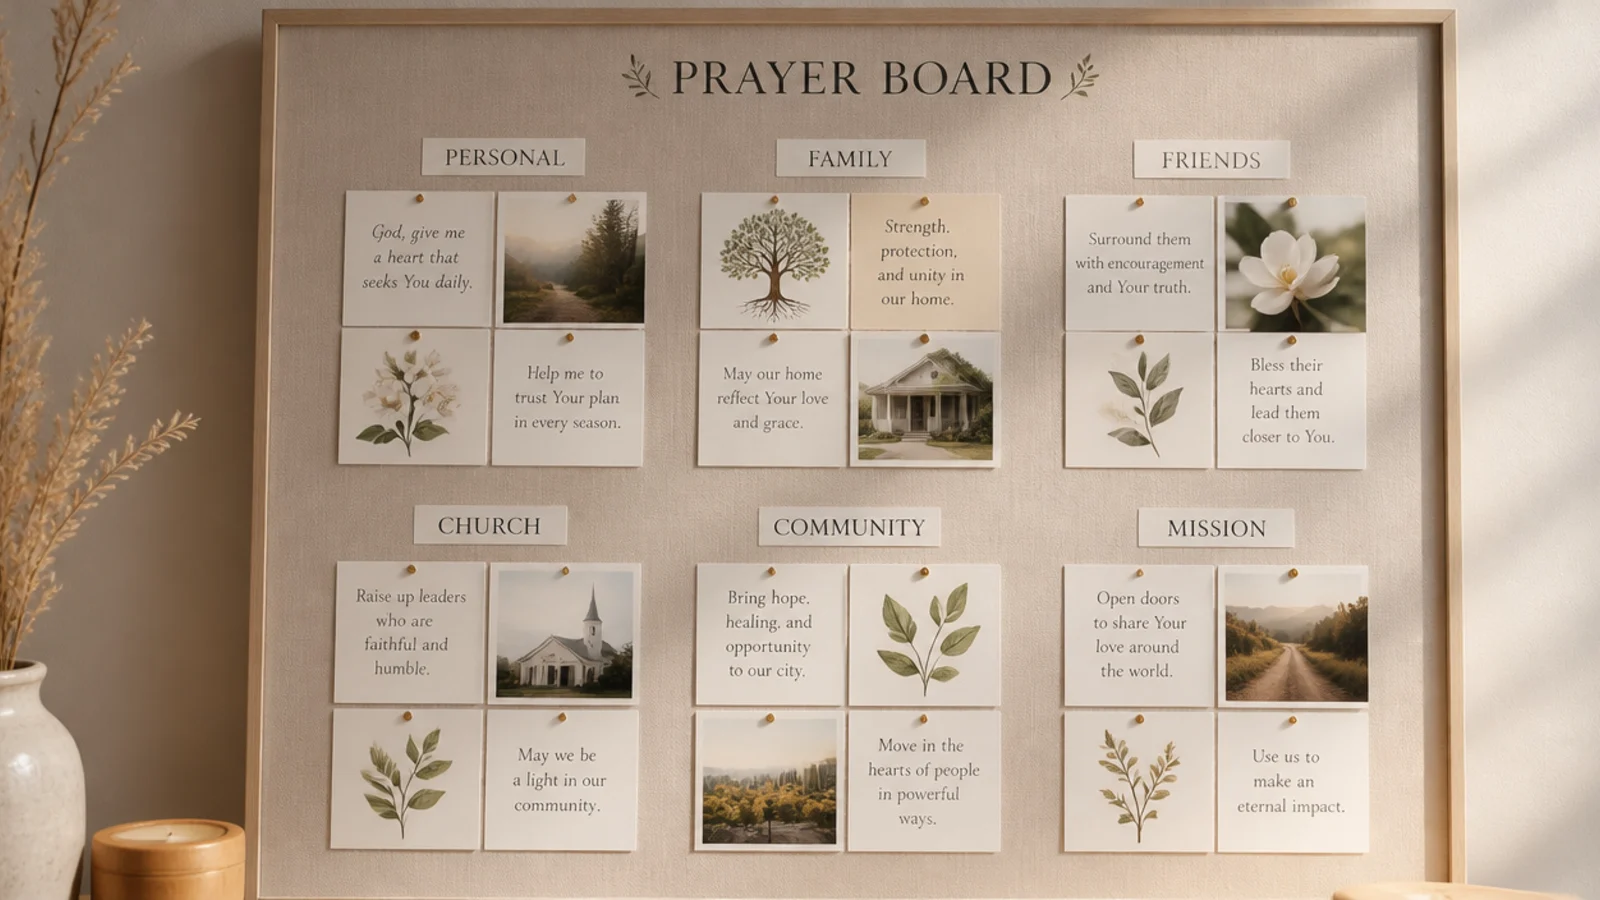
On paper, sketch your board as a grid and label the zones you’ll use — Current Requests, Scripture, Praying For, and Answered are the core four. Add a Gratitude corner or a verse-of-the-month spot only if you’ll use them. Use thin washi tape on the real board to mark the zone lines. Cap each zone in your head — about five active cards — so it can’t overflow later.
Editor's noteStart with just two zones, requests and answered, if you’re unsure; you can always add sections once you know your rhythm.
Skip thisDon’t skip straight to pinning cards; a board built without planned zones drifts into visual noise within a week.
Matching cards are what make a homemade board look intentional. You cut uniform cards and write them in one pen and color. Consistency here is why a full board still reads calm. Take the time to make them match and the whole board looks planned.
Cut cream cardstock into uniform 3x5 cards — one size for everything. Write each request, verse, and name in a single fine pen so the handwriting matches. Make a small header card for each zone. Date every request card in the corner so you can track how long you’ve prayed it. Keep a small stack of blanks nearby so adding a prayer later takes seconds.
Editor's noteDate every request card in the corner; months later, the dates turn your answered zone into a timeline of faithfulness.
Skip thisDon’t mix card sizes, colors, and pens; mismatched scraps are the main thing that makes a board look messy.
Now you bring the plan to life by arranging and pinning. You place the header cards, then fill each zone with a few cards, leaving space. Good spacing is what makes it look styled instead of stuffed. Arrange loosely before you commit the pins.
Pin your zone headers first, following your sketch. Fill each zone with three to five cards, leaving real space between them and between zones so the board can breathe. Add one focal point — a framed verse or a lettered focus word — slightly off-center. Step back and check the balance before pinning everything down. Keep at least a third of the board open for cards to come.
Editor's noteLeave a third of the board empty on setup day; you’ll need the room as new requests come, and space keeps it calm.
Skip thisDon’t fill every inch at setup; a packed board on day one has nowhere to grow and looks cluttered immediately.
A board only matters if you use it, so the last step is the routine. You pray it on a rhythm and move answered prayers over. This step is what turns a craft into a spiritual habit. The answered zone is the engine that keeps you coming back.
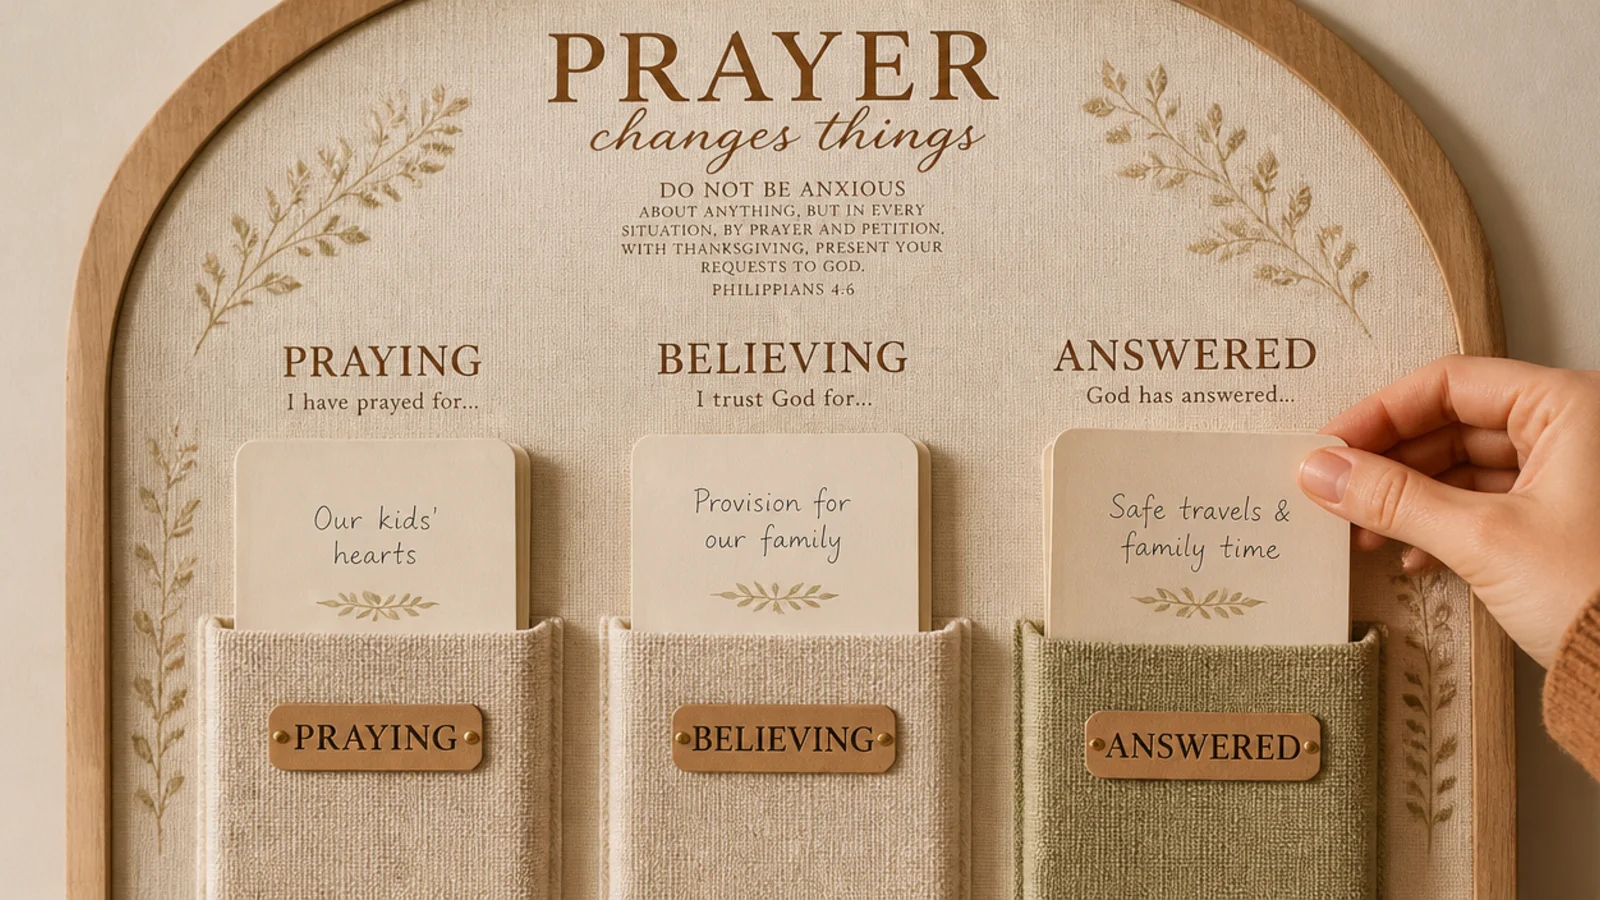
Pick a rhythm you’ll keep — pray it each morning, or assign a category to each weekday so you cover everything without overload. Date requests when you add them and move each to the Answered zone when God comes through. Do a quick weekly refresh: add new requests, celebrate answers, tidy the zones. When the answered zone fills, archive the oldest to a keepsake ring.
Move a card to the answered zone the moment a prayer is answered; that visible win is what keeps the habit alive.
Don’t let it become wallpaper you stop seeing; a weekly refresh and the growing answered zone keep it engaging.
Your questions, answered
How do I make a prayer board step by step?
Follow five steps: choose a board and a spot where you pray, plan your zones (requests, scripture, people, answered), make matching cards for each zone, set it up by arranging and pinning them, then build the habit by praying it regularly and moving answered prayers over. Start with just two zones so it’s not overwhelming, and grow it from there.
What do I need to make a prayer board?
The basics are a 16x20 inch cork or fabric board, cardstock in one or two neutral colors, a fine pen, and pins or mini clips. Washi tape helps for dividing zones. That’s all you need to start. You can add framed verses, ribbon, printables, or photos later, but the core plan works with just a board and cards.
What should go on a prayer board?
The four repeating things most boards hold are current prayer requests, scripture you’re leaning on, people or causes you pray for, and answered prayers. Many people add a gratitude corner, a verse of the month, and a focus word. Keep it to the zones you’ll actually use so the board stays readable and prayed-over.
Where should I put my prayer board?
Put it where you already pause — above a desk, beside a reading chair, or on a wall you see each morning. Good light helps, so near a window is ideal. If you can’t put holes in the wall, lean a framed board on a shelf, use a clipboard on a removable hook, or attach it with removable adhesive strips.
How do I keep a prayer board from getting cluttered?
Give every card a home in a labeled zone and cap each zone — say five active request cards at a time. Use one color palette and one pen so cards match, and leave real space between sections. When a prayer is answered, move that card to the answered zone so the requests never overflow.
How do I actually use a prayer board once it's made?
Pray it on a regular rhythm — many people go zone by zone, or assign a category to each day of the week so they pray through everything without overload. Date each request when you add it, and move it to the answered zone when God comes through. Do a quick weekly refresh to add new requests and celebrate answered ones.
Can I make a prayer board without pins or nails?
Yes. Use a freestanding board on an easel or shelf, a clipboard on a removable hook, or a fabric board with removable adhesive strips. Inside the board, hold cards with washi tape, mini clips, or magnets instead of pins. Nothing about the five-step plan requires putting holes in your wall.