
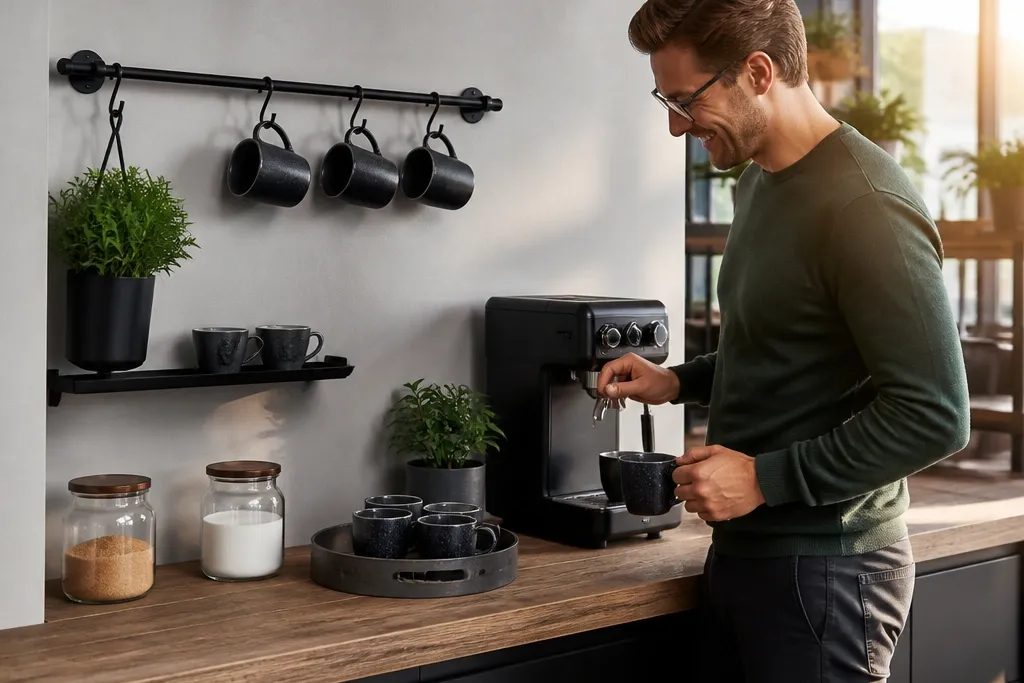
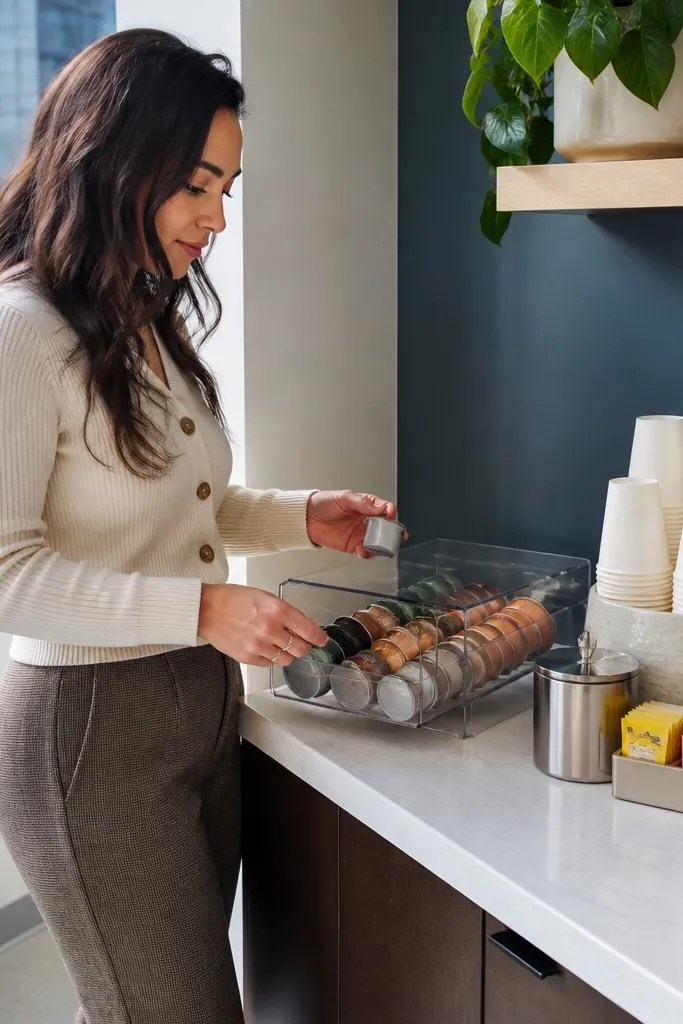
1. Butcher-block coffee bar with a rail and labeled jars
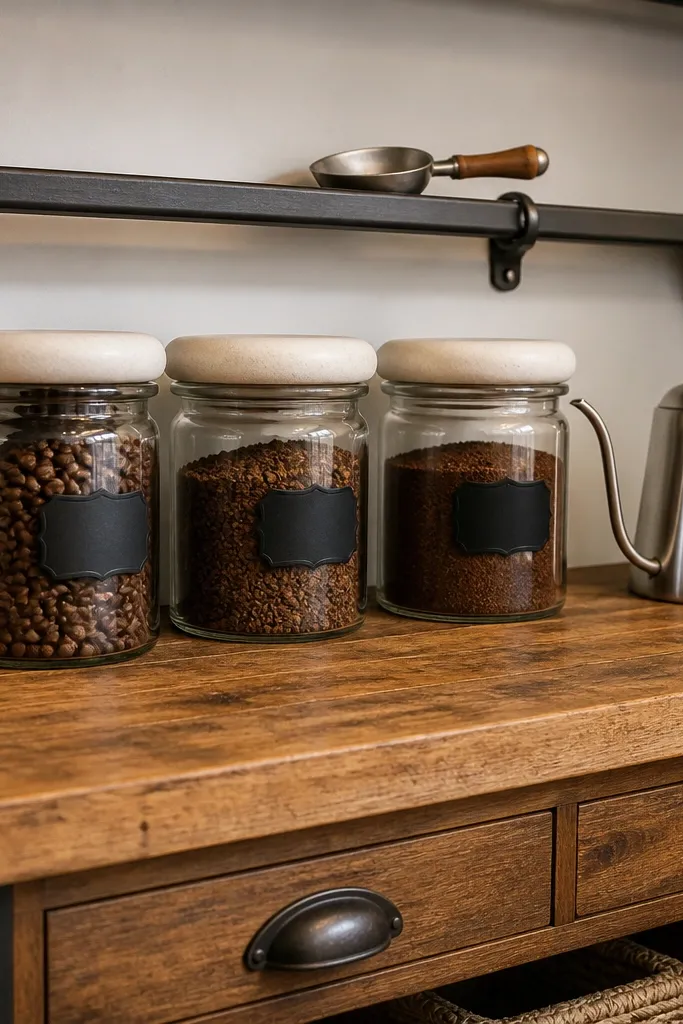
This is the office-station look that always photographs well because the wood color warms up the whole break area. A butcher-block top gives you a sturdy, scratch-tolerant surface for a kettle or compact machine, and the black rail keeps frequently used tools off the counter. Use matching glass or ceramic jars so sugar, creamer, and stirrers look like a coordinated set instead of a random assortment. Add a shallow tray at the front edge to frame cups — that one move makes the station look “finished” even when it’s in use.
Editor's noteUse a label maker with waterproof tape so coffee spills don’t turn the labels into smudges.
Start by choosing a butcher-block slab or pre-made butcher-block shelf about 60 inches wide and 12 inches deep, then sand the top to a smooth 220 grit finish. Mount a simple black metal rail underneath the shelf line (around 38-42 inches from the floor) using studs and a level so cups stay aligned visually. Place labeled jars in a neat row on a tray, then set a cup organizer or small riser on the left side so cups face forward. Finish by sealing the wood with a food-safe oil or hard wax and wipe the surface before loading everything.
Skip thisDon’t skip sealing the wood — unsealed butcher-block drinks up moisture and stains fast.
2. Floating shelf station with a back panel and hanging mugs
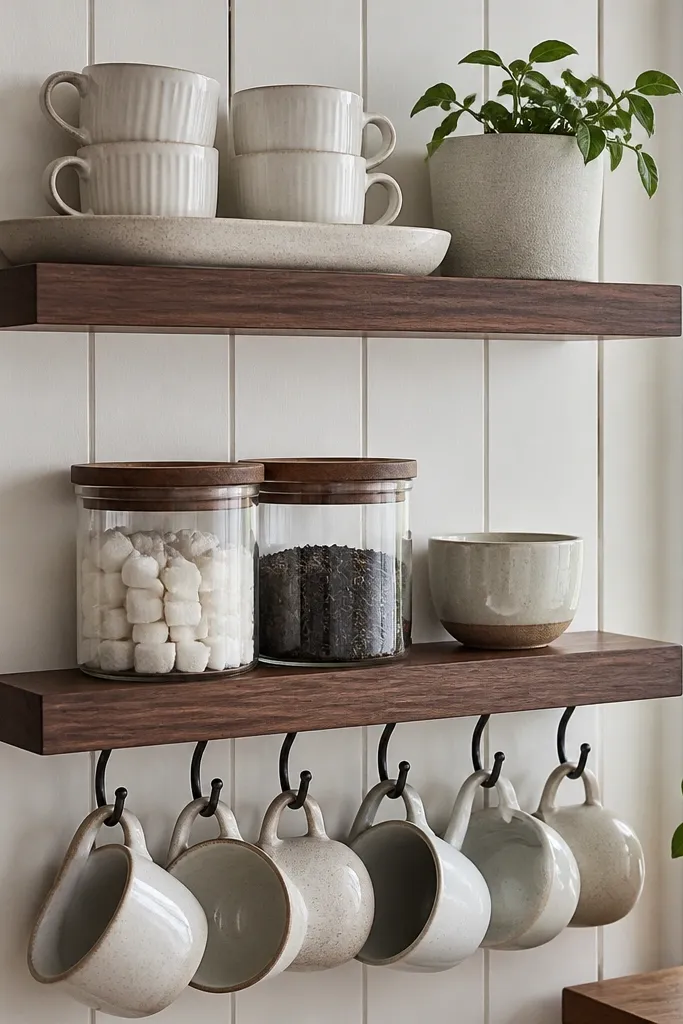
If your counter space is tight, floating shelves look clean and intentional. The back panel creates a “frame” behind the station, so the area reads as one design instead of scattered items. Hanging mugs free up the counter and also makes the setup feel personal, since mugs become part of the decor. This setup is best for small offices where the station needs to stay neat and visible without taking over the desk-adjacent workspace.
Start by installing a floating shelf at about 48-50 inches high so mugs hang within easy reach. Add a simple back panel behind it — a piece of 1/4-inch plywood or thin panel painted in matte off-white — then anchor the shelf and panel securely into studs. Install 4-6 cup hooks under the shelf lip and set a shallow tray below for spoons and stirrers. Finally, add canisters on the shelf for sugar and creamer, and keep the front edge clear for cups.
Use mug hooks with a smaller lip so mugs don’t slide and clink during busy breaks.
Don’t mount the shelf too low — mugs end up hitting the counter and everything looks cramped.
3. Pegboard coffee corner with color-coded bins
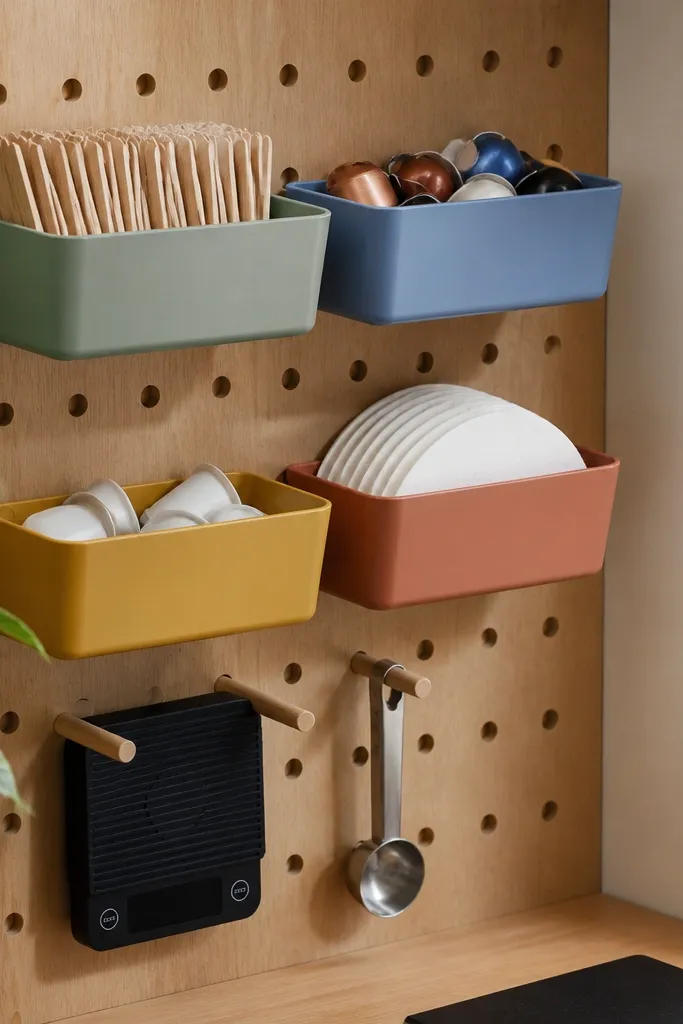
Pegboard is the fastest way to make an office coffee station look designed, because it’s inherently organized. The visual grid helps your eye read order, and you can swap bins as your supplies change. Color-coded bins make it easy for people to restock without guessing, which keeps the station looking consistent. This is a good choice when you want the station to adapt for different workdays or when multiple people share responsibility.
Editor's noteUse clear bins for supplies that need a quick visual check, and opaque bins for items you want to hide (like extra filters).
Start by choosing a white pegboard panel cut to fit your corner — aim for at least 24 inches wide so there’s real room to place bins. Mount it at about 56-60 inches high, then add peg hooks for a kettle stand and a small utensil bar. Install 3-4 clear-front bins for cups, stirrers, and add-ins, and add labeled jars in a top row. Finish by placing a drip mat and a tray on the counter directly below the bins so spills stay contained.
Skip thisDon’t hang everything at once — leave negative space so it still looks clean.
4. Rattan basket coffee caddy with a sliding tray
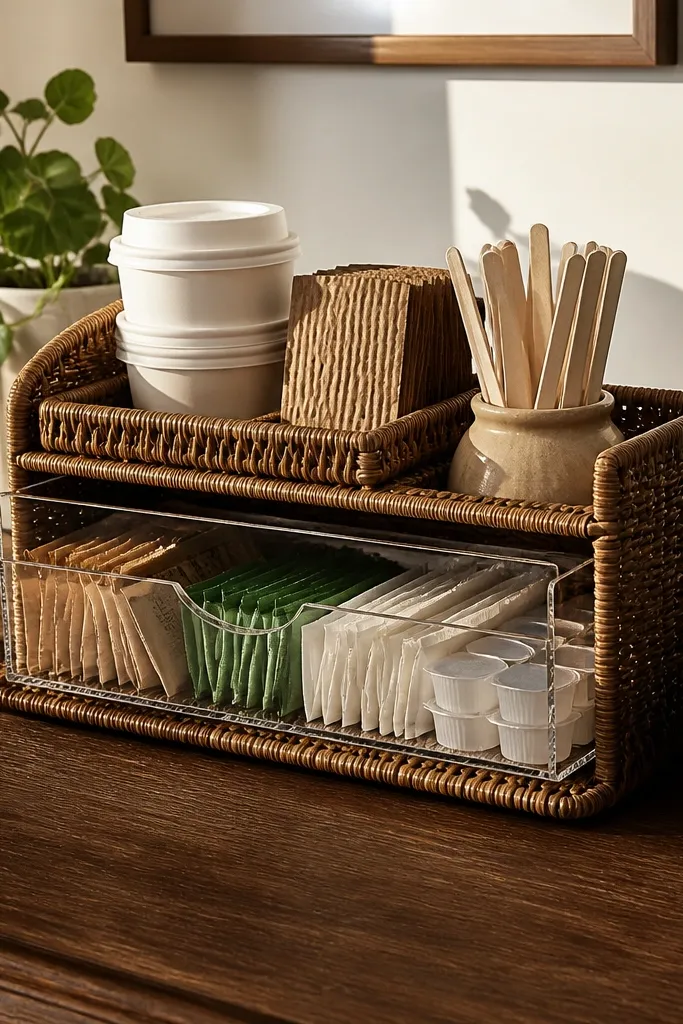
This one looks warm and “homey” without turning into clutter. A rattan basket hides extra items and makes the station feel approachable, while a sliding tray keeps cups and add-ins from spilling forward. It’s also great if your office has a shared machine and you want a portable setup that can move to a meeting room. The basket texture helps the station look good even in less-than-perfect lighting.
Editor's noteChoose a tray with a lip — it stops cups from sliding when someone bumps the counter.
Start with a rattan basket with a flat bottom and add a removable tray insert sized to fit inside (measure the interior width and depth). Attach two small wood cleats or a rail kit so the tray slides smoothly without catching. Place a cup organizer on the tray and keep pods or grounds in a lidded container inside the basket. Add a drip-proof liner (silicone mat) under the tray so any wet spills don’t ruin the basket.
Skip thisDon’t use an untreated basket near water — add a liner or the fibers will stain.
5. Matte black wall niche with acrylic canisters
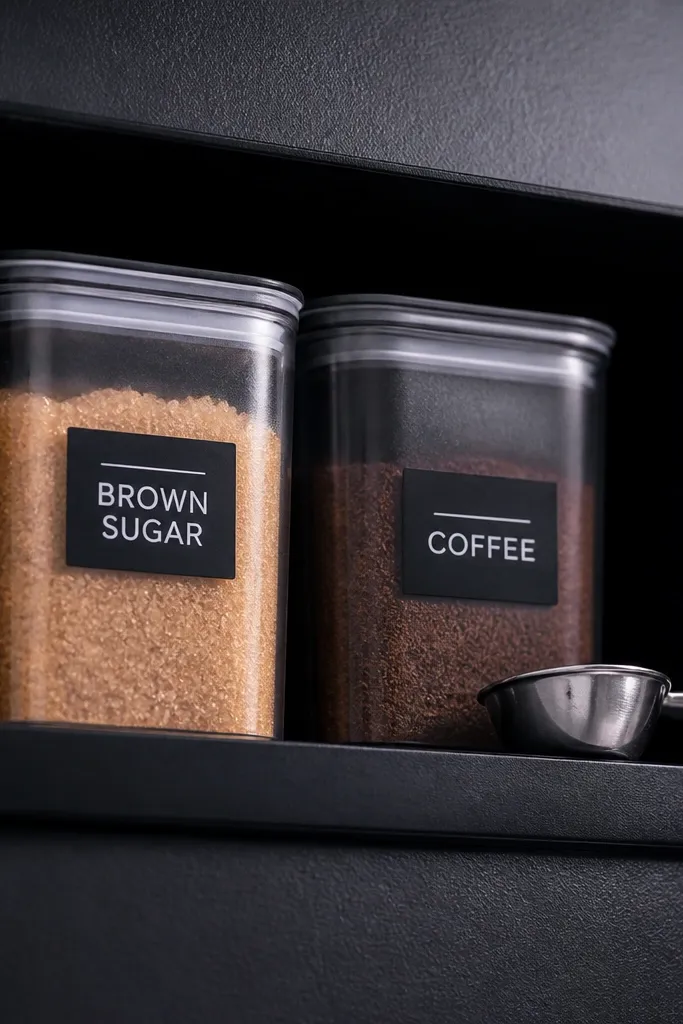
If your office has modern finishes (black frames, stainless fixtures, gray desks), a matte black niche makes the station look sharp. It’s also excellent for photos because the dark background makes the labels and canisters pop. Acrylic canisters keep the station looking tidy even when contents shift — you can see what’s running low without exposing a messy bin. This setup is best for offices that already have a clean, minimalist vibe.
Start by building a shallow niche frame from 3/4-inch plywood — about 18 inches wide, 8 inches deep, and 10 inches tall — then paint the interior matte black. Install the niche into studs at around 50 inches from the floor. Add a small ledge or tray on the bottom edge for cups, and mount acrylic canisters or set them on a removable tray shelf. Place a label on each canister and keep the coffee tools in a single lidded holder so the niche stays visually clean.
Use a removable tray under the canisters so you can lift and wipe dust without dismantling the whole setup.
Don’t choose glossy paint — glare makes labels look washed out in office lighting.
6. Turntable coffee station for quick resets
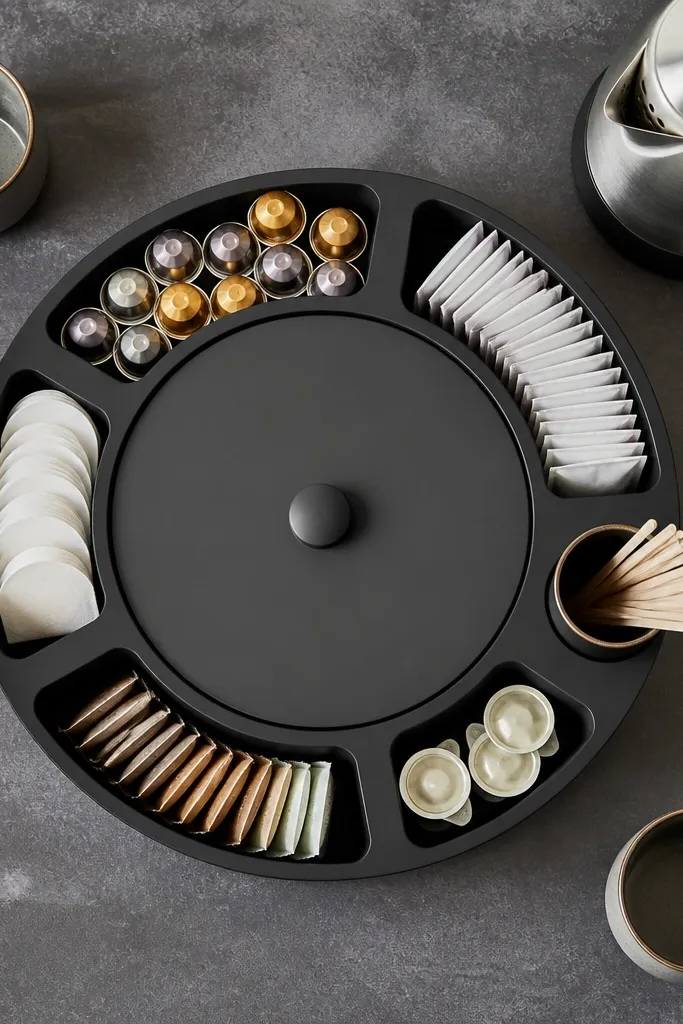
A countertop turntable is one of the easiest ways to make a coffee station feel interactive and organized. People can grab what they need without digging through drawers, and the station stays neat because everything has a spot around the circle. It also looks great in photos because the layout is symmetrical and tidy from every angle. Use this when your office has a shared break area and you want less clutter near the machine.
Editor's noteKeep the heaviest items (extra sweeteners) on the turntable’s center so it rotates smoothly.
Start with a rotating turntable about 14-16 inches wide with a stable base. Place cups in a cup holder section, then add labeled containers around the perimeter for sugar, creamer, stirrers, and sweeteners. Set the kettle or machine slightly behind the turntable so the turntable stays dry and doesn’t get splashed. Finish by placing a silicone drip mat underneath the turntable base and wipe it daily.
Skip thisDon’t overload the turntable — if everything is packed tight, it turns into a mess when it’s used.
7. Pegboard + clear acrylic "station cards" for instructions
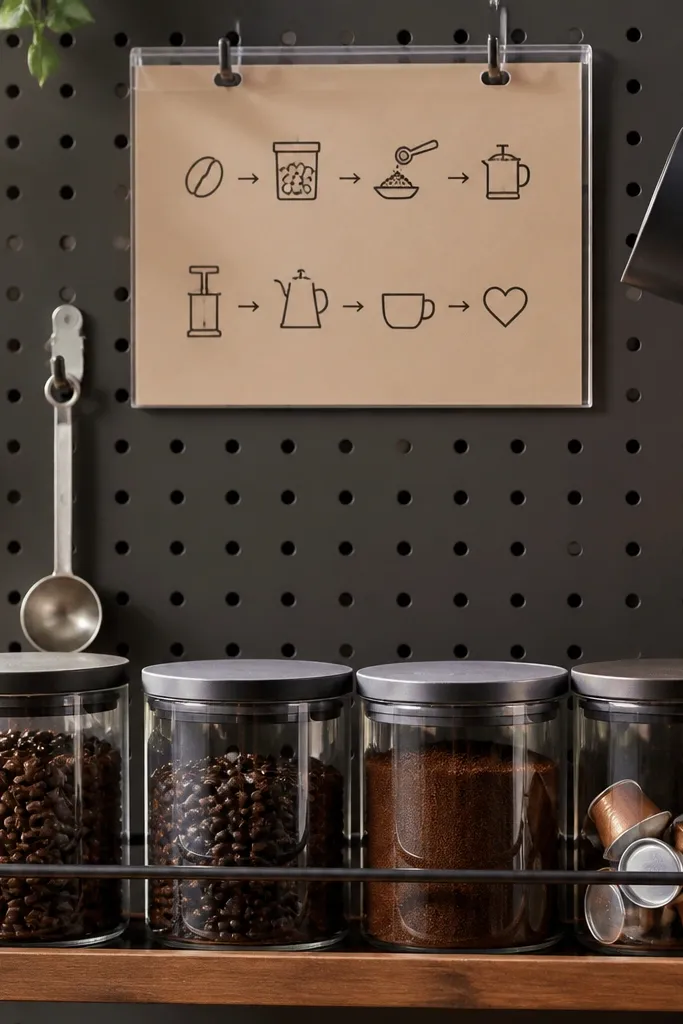
This idea fixes the silent problem that makes office stations look messy: people don’t know the process, so they improvise. Station cards in clear acrylic keep the instructions visible — like “Add 1 scoop,” “Use filter A,” or “Reset the machine here.” When people follow the posted routine, the station stays clean and the workflow looks organized. It also gives you a polished look because the cards add a designed element, not a paper taped to a wall.
Editor's noteUse short verbs on the cards — “Pour,” “Stir,” “Wipe,” “Restock” — so people can scan fast.
Start by mounting a pegboard panel or using an existing board, then add a small clear acrylic holder set at eye level. Create your station cards on waterproof label paper or laminated sheets and include simple steps with arrows. Place the related supplies directly below each card so the instruction matches the physical spot. Add a drip mat and a tray under the machine so any spills stay contained.
Skip thisDon’t leave instructions in tiny font — if it’s hard to read, people ignore it.
8. White tile mini-shelf with a stainless drip tray
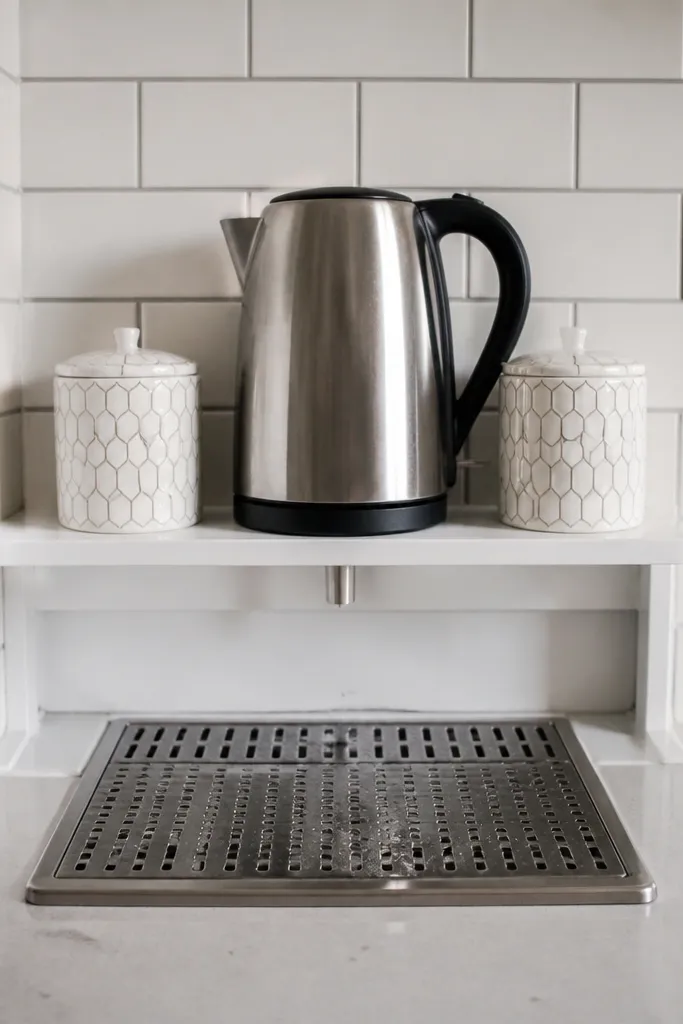
Tile looks clean and office-friendly, and it handles coffee splashes better than wood. A mini-shelf with a stainless drip tray gives you a dedicated “wet zone” so the rest of the station stays dry and photogenic. This is great for offices that want the station to match a kitchenette — tile, metal, and simple containers look intentional. It also makes cleanup fast for whoever is responsible for maintaining the area.
Start by mounting a small shelf (about 24-30 inches wide) with a waterproof surface like tile board or a sealed composite. Install a stainless drip tray under the coffee spout area so it catches drips. Place canisters and cups on the dry part of the shelf, and keep lids on any items that can spill. Finish by adding a small cleaning caddy with a spray bottle and microfiber cloth tucked under the shelf edge.
Choose a drip tray with a raised lip — it prevents liquid from pooling under the tray.
Don’t set the coffee tools directly on wood near splashes — tile or metal is the safer choice.
9. Glass-front cabinet with matching canisters and a coffee scoop hook
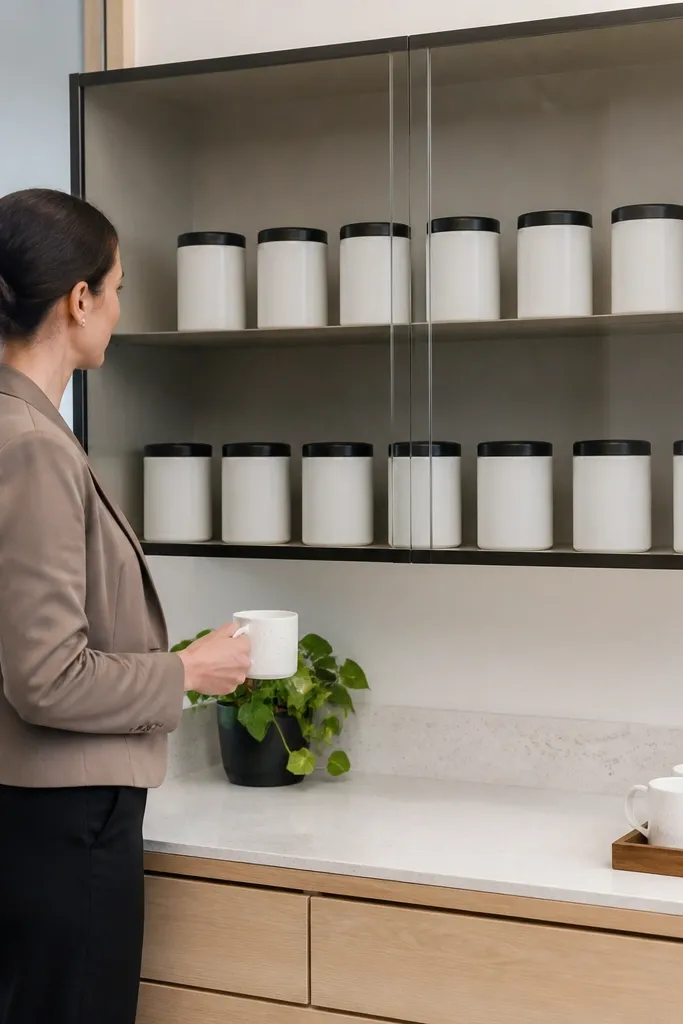
If your office station currently looks cluttered because supplies are out in the open, a glass-front cabinet is the fix. It hides the extra stuff while still letting the station look styled and airy. Matching canisters make the contents look uniform, and a scoop hook keeps coffee tools from ending up in random drawers. This is best for offices with a kitchenette vibe where you want the station to feel like a tidy display, not a temporary counter mess.
Editor's noteUse canisters with matte labels and consistent font so the cabinet looks “designed” instead of assembled.
Start by selecting a glass-front cabinet with adjustable shelves and an interior depth around 10-12 inches. Add matching canisters in three categories: coffee, add-ins, and stir tools. Install a small hook strip on the inside wall for scoops or whisks, then add a small tray on the bottom for catch-all items. Keep cups in a separate tray on the counter below the cabinet so the glass stays clean.
Skip thisDon’t overfill the cabinet — leave at least one clear shelf so it doesn’t look cramped.
10. Color-matched tray wall with three tiered organizers
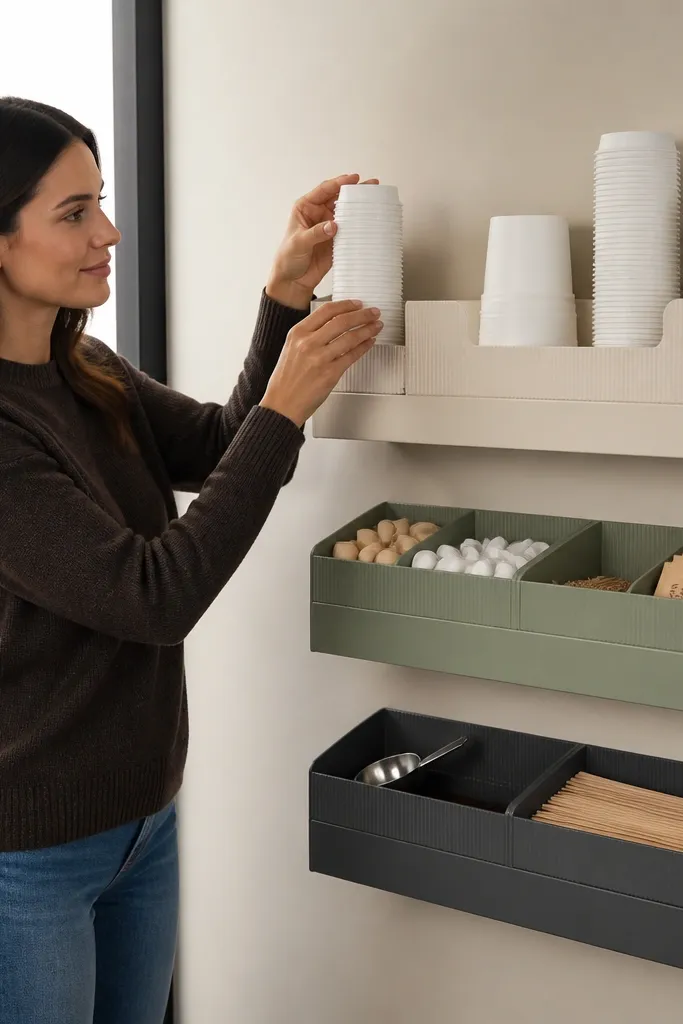
This is the “gallery wall” look for office coffee stations. Three tiers create a clean hierarchy: cups on top, add-ins in the middle, tools at the bottom. A color-matched tray system makes the whole setup feel coordinated, even if your office has different coffee brands. It’s also great for teams that want the station to look good from across the room, not only up close.
Editor's noteKeep all labels the same size and placement — it’s the fastest way to make the wall look intentional.
Start by mounting three vertical organizers or shelves on the wall at staggered heights — top tier around 54 inches, middle around 44 inches, bottom around 34 inches. Use trays in one color (matte black, white, or oak tone) so everything aligns visually. Place cups in the top tier, labeled sugar and creamer in the middle tier, and keep spoons and stirrers in a lidded container at the bottom. Finish by adding a small drip mat on the counter directly below and wiping the wall shelves weekly.
Skip thisDon’t mix tray materials randomly — mismatched finishes read as clutter.
11. Stainless steel and walnut coffee nook with magnetic strip
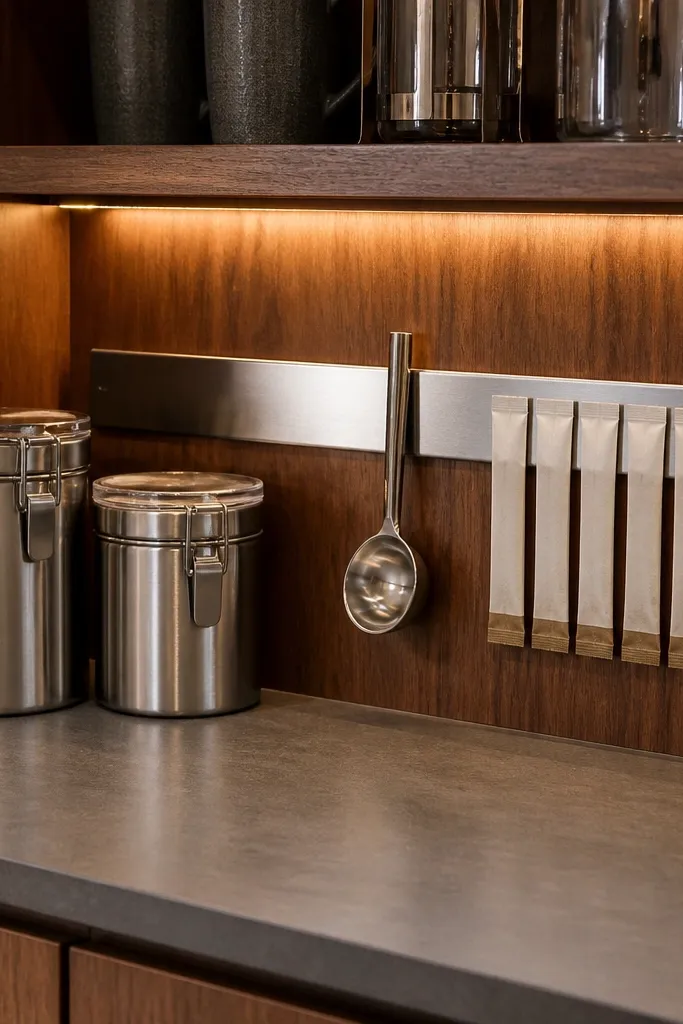
Walnut and stainless is a clean office combo that looks upscale without being fussy. The walnut shelf gives warmth, while stainless keeps the station easy to wipe. A magnetic strip for tools like scoops and stirrers prevents countertop chaos. This station looks sharp in photos because the tools line up and the materials match — it reads as a system, not a pile.
Editor's noteUse neodymium magnets rated for tool weight so scoops don’t fall when someone bumps the counter.
Start with a walnut shelf about 36-48 inches wide and 8-10 inches deep, then seal with a satin finish. Add a stainless front lip or a stainless sheet under the shelf edge so drips land on metal. Mount a magnetic strip on the stainless area and hang a scoop, small whisk, and stirrers. Place canisters on the shelf in a row and add a small cup holder on the right side for symmetry.
Skip thisDon’t skip a metal drip surface — walnut stains quickly around coffee.
12. Wallpaper-backed coffee board with cork and labeled tins
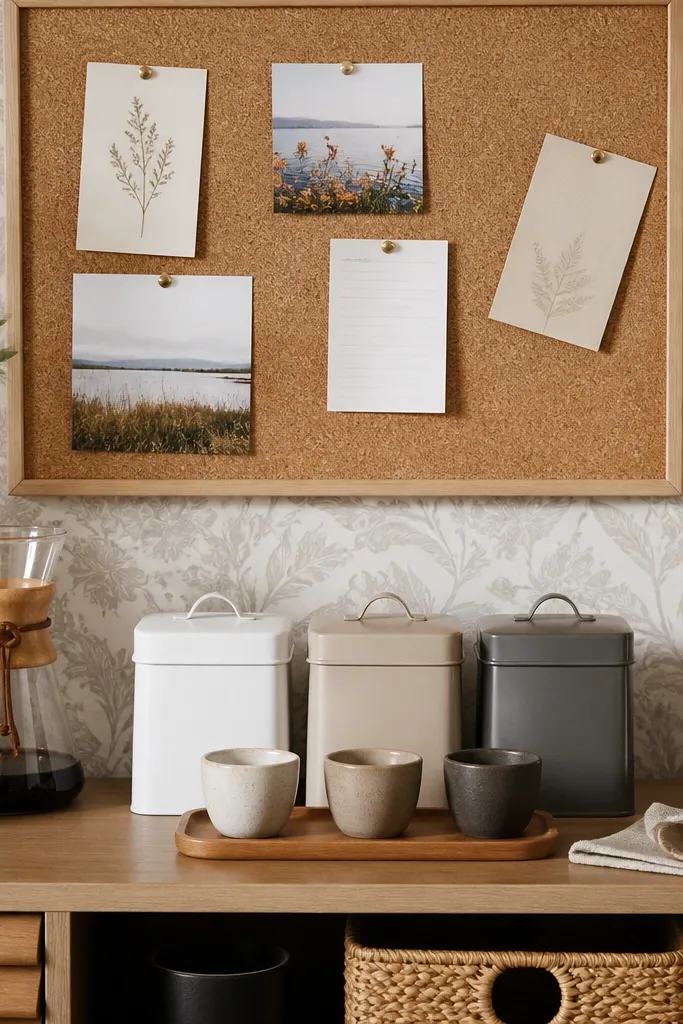
Wallpaper is the easiest way to make an office coffee station look personal and photogenic, as long as you keep the supplies controlled. A cork board on top gives you a functional place for reminders and keeps paper from looking messy. Use labeled tins for sugar, creamer, and stirrers so the station looks tidy even when the wallpaper pattern is bold. This setup is best for teams that don’t mind a little personality in the break area.
Start by mounting a plywood backing panel and covering it with wallpaper, then seal the wallpaper with a clear matte sealer so coffee splashes don’t ruin it. Glue or screw a cork sheet on the top portion and install two small hooks for utensils. Place labeled tins in a bottom shelf row, using a tray to keep them aligned. Finally, add a cup organizer below and a wipeable mat under the machine area.
Pick wallpaper with big shapes, not tiny busy patterns — it looks calmer in photos.
Don’t place loose paper on the cork without a plan — use only laminated cards.
13. Drawer-style coffee organizer cart with front-facing labels
A rolling cart solves a common office issue: the station gets pushed aside when people need the counter. With drawers, supplies stay hidden and the station always looks clean when you open it. Front-facing labels make it easy for the team to restock without asking questions. This is a strong option for hybrid teams or offices that reconfigure the break area often.
Editor's noteUse label tape that matches the drawer color, not a random rainbow set. Consistency reads as “designed.”
Start with a compact rolling cart with at least 2-3 drawers or add drawer inserts to a cart. Label each drawer with a category: cups, stir tools, add-ins, and backups. Keep the coffee machine or kettle on the top surface, but place a drip tray or silicone mat under it. Add a removable bin for used stirrers so the cart front stays tidy during the day.
Skip thisDon’t store wet items in open drawers — use lidded containers for anything that can spill.
14. Open-shelf coffee station with matching canisters and a "no-mess" rule
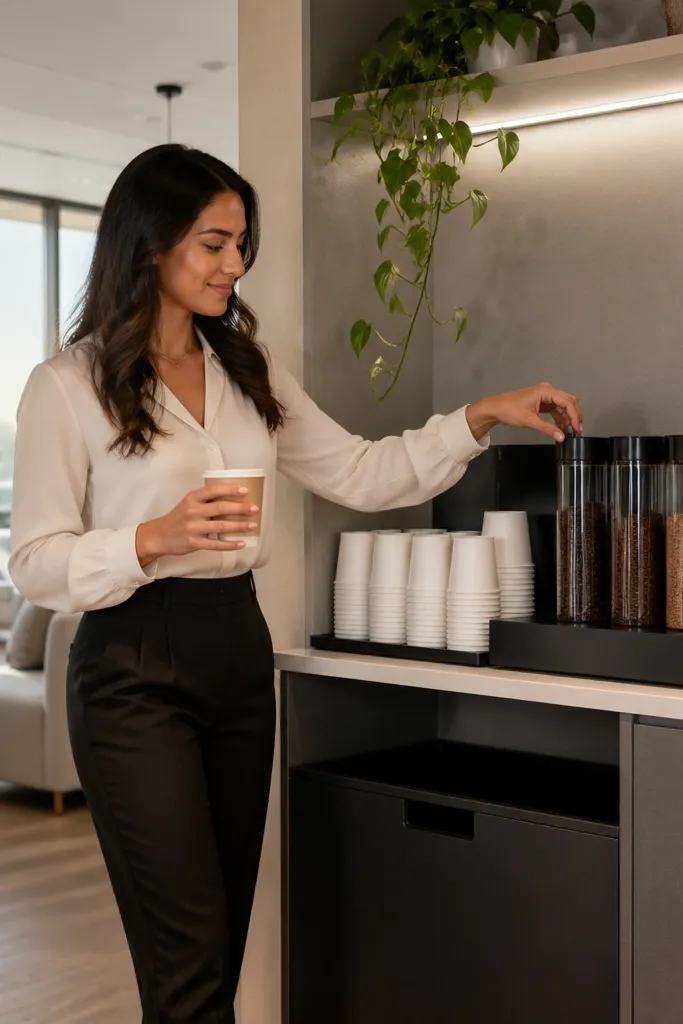
Open shelves can look amazing in an office if you control the inventory. The look depends on using matching canisters and limiting what sits out — backups go in a closed bin below or in a drawer. This station is photogenic because the front row stays uniform and the station doesn’t show “extra” items. It’s best for teams who want easy access and don’t mind a simple daily reset.
Start by installing two shelves: one at around 48 inches for cups and canisters, and a lower shelf around 30-34 inches for backups. Use matching canisters with lids and consistent label placement, and keep only daily items on the front shelf. Place a tray on the counter for cups so the visible space stays framed. Finish by adding a small basket on the lower shelf for backups and restock only during quiet times.
Use one size of scoop across all coffees and store it in the same spot so the station looks uniform.
Don’t leave extra packets, napkins, or random sachets on display — hide them.
15. LED-lit acrylic sign and minimal coffee bar
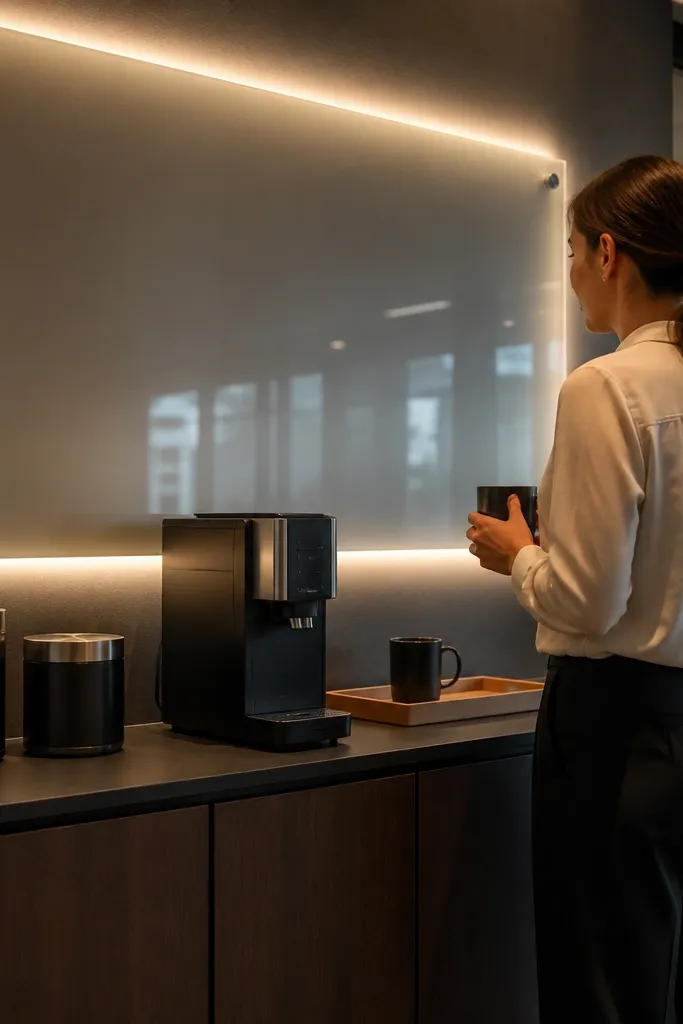
Lighting is the secret weapon for photogenic office coffee stations. A small LED strip behind a frosted acrylic sign makes the station glow and makes labels easier to read in dim break rooms. Keep the actual coffee setup minimal: one machine or kettle, two canisters, and one cup tray. This idea works when your office wants a clean, modern look and you don’t need a ton of add-in options on display.
Start by mounting a shallow shelf or wall ledge and installing a frosted acrylic sign panel above it. Add a low-voltage LED strip behind the panel and wire it to a plug-in power supply with a switch. Place only two matching canisters on the shelf and one utensil holder, then add a cup tray at the front edge. Finish by using a drip mat under the machine and wiping the shelf so the LED glow doesn’t highlight dust.
Use warm white LEDs (around 2700K) so the station looks cozy, not blue.
Don’t put the LEDs too close to glossy jars — reflections look messy in photos.
16. Large tray centerpiece with tiered risers and spill-proof liners
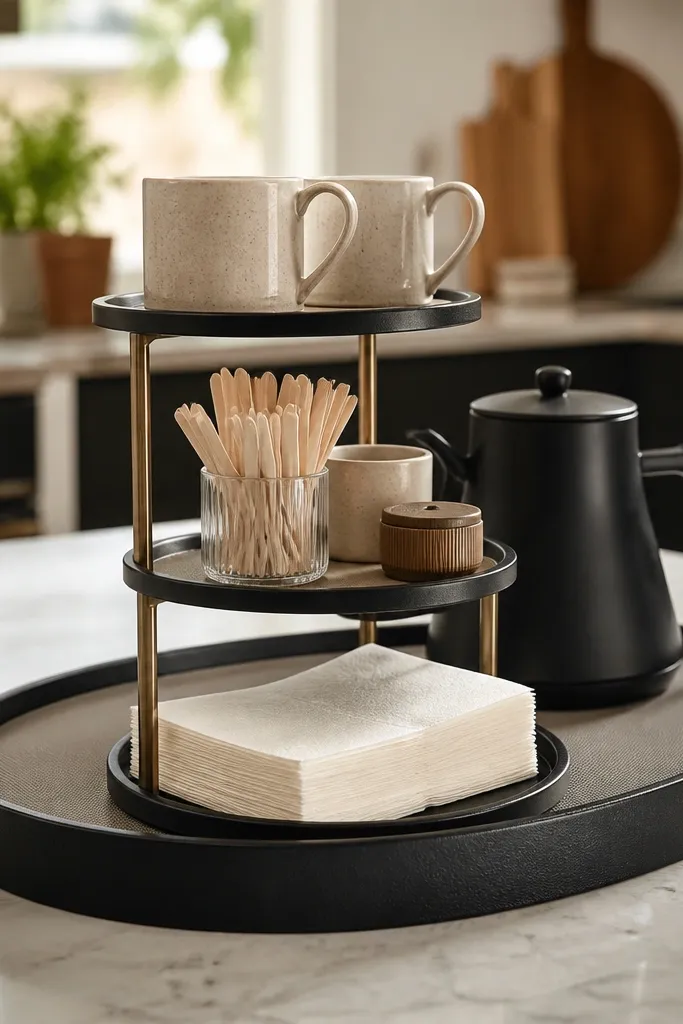
A single oversized tray makes a coffee station look styled because it creates one boundary for everything. When you add tiered risers, you get height variation, which looks better in pictures and also reduces the “flat clutter” look. Spill-proof liners keep the tray looking clean even when people set items down quickly. This works in almost any office layout because you can place it on a counter, sideboard, or kitchen table.
Editor's noteChoose risers in the same finish as the tray for a clean, “set” look.
Start with a tray about 20-24 inches wide, preferably with raised edges so spills don’t roll off. Add two tiered risers inside the tray — one for cups and one for add-ins — then place labeled containers on each level. Line the bottom of the tray with a silicone mat to catch drips. Finish by setting a small compartment container for stirrers and spoons so loose items don’t scatter.
Skip thisDon’t use open bowls for sugar — they look messy fast; use lidded containers.
17. Wall-mounted swing-out shelf for meetings and extra bags
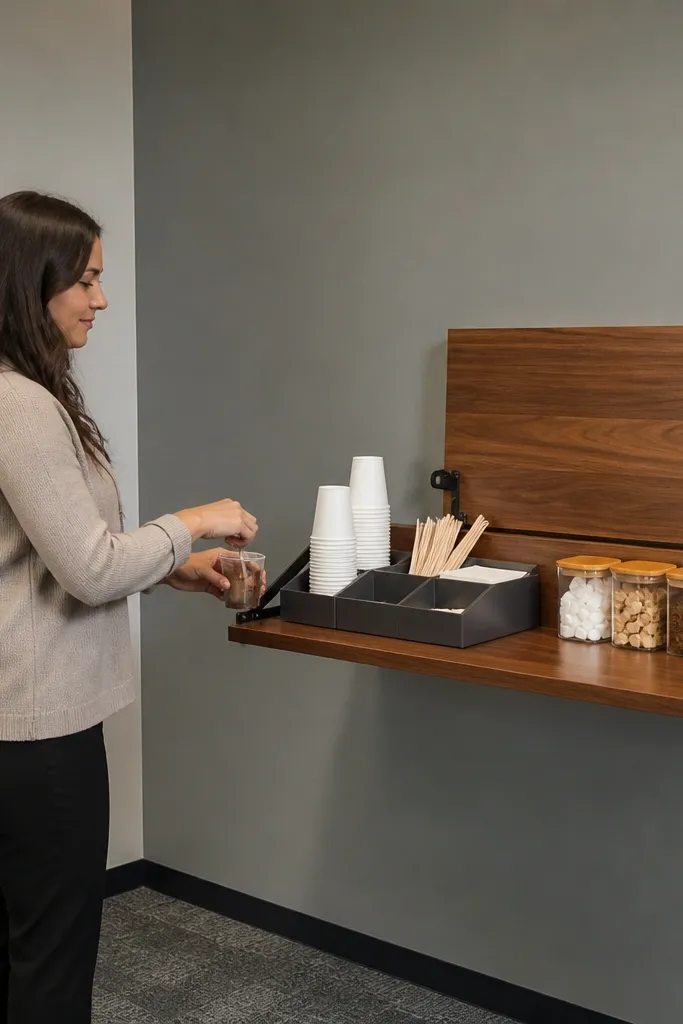
For offices that use the break area for meetings, a swing-out shelf keeps the station usable without permanently taking up space. When it’s folded in, the wall looks tidy. When it swings out, everything is staged and ready — cups, stirrers, and add-ins face forward. This is a smart aesthetic move because it prevents the station from becoming “always cluttered” in between meetings.
Editor's noteUse soft-close hinges if the shelf will be used daily — less banging equals fewer chipped edges.
Start by installing a swing-out wall shelf system into studs, sized to hold a coffee tray and at least one row of cups. Mount the shelf so the folded-in position sits flush with the wall and the opened position lands around 34-36 inches high. Add a removable tray insert and a drip mat on the shelf surface. Place lidded containers and a small bin for extra cups on the shelf when open, and keep backups in a closed cabinet.
Skip thisDon’t mount it to drywall only — the station needs real stud support.
18. Coffee station with color-matched ceramic canisters and a chalk label strip
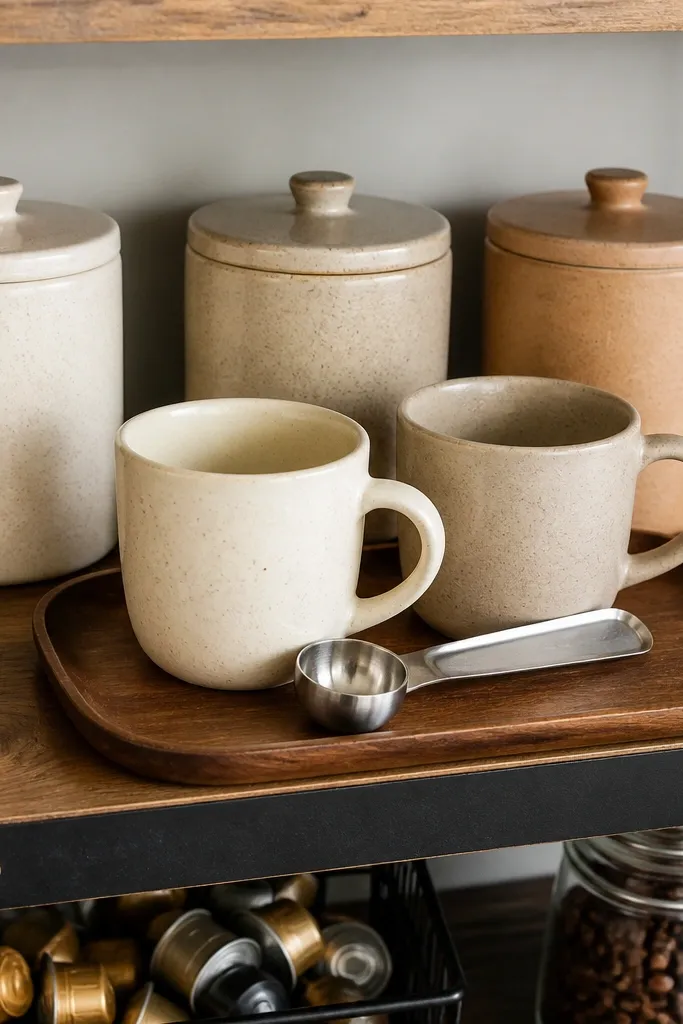
Ceramic canisters look good even when the office is busy because they add a smooth, uniform texture. A chalk label strip keeps the station flexible — you can update “Decaf” or “House Blend” without printing new labels. Keep the rest of the setup simple: one wood shelf, one tray, and three canisters. This setup is great for offices where coffee options change by week or where multiple shifts use the station.
Start with a wood shelf around 36-48 inches wide and seal it with a satin finish. Mount a narrow chalkboard strip (about 1-2 inches tall) above or beside the canisters, then label each canister with removable chalk or chalk markers. Use three ceramic canisters sized for your routine: one for coffee, one for sugar, one for creamer. Add a tray on the counter below for cups and stirrers, and include a small eraser holder so labels stay neat.
Use chalk markers made for chalkboards — they smear less than regular chalk in humid offices.
Don’t put chalk labels directly on glossy canisters — adhesion and wiping get messy.
19. Mini shelf with mirrored backing and a clean stainless utensil jar
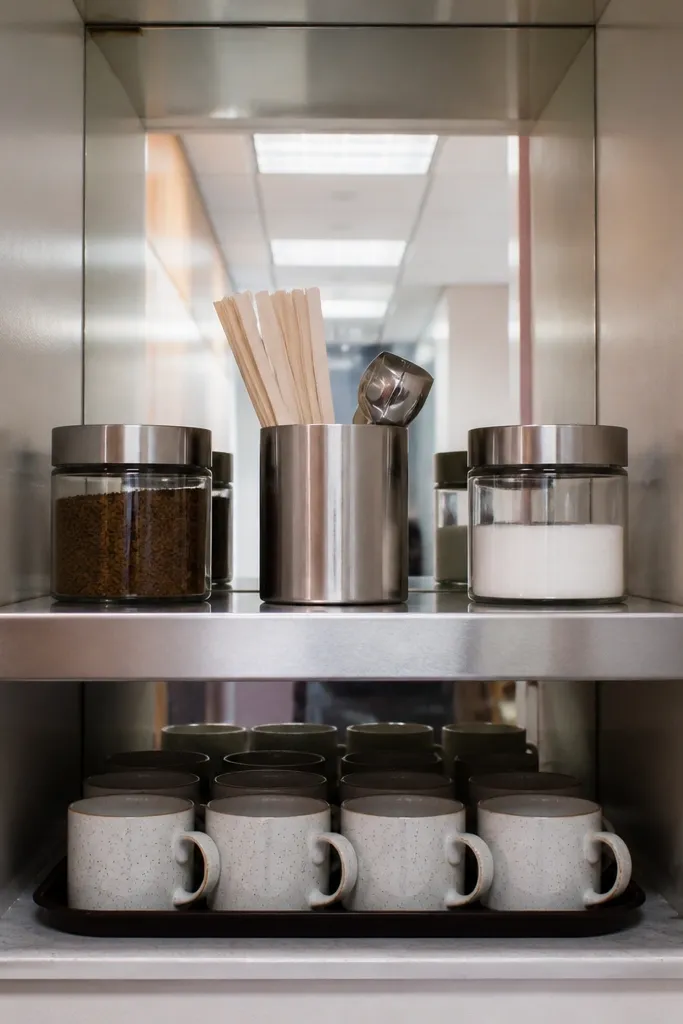
Mirrored backing makes small stations look bigger and more polished, especially in narrow break areas. It also gives you that bright, reflective look that helps labels pop under overhead lighting. Keep the rest controlled: one stainless utensil jar, two labeled canisters, and cups in a tray. This is best when your station lives in a tight corner and you need it to look intentional without adding lots of furniture.
Editor's noteWipe the mirror with glass cleaner and a microfiber cloth before refilling, so smudges don’t show in photos.
Start by mounting a small shelf (about 24 inches wide) with a mirrored back panel behind it. Use a real mirror or mirrored acrylic sheet fixed securely so it doesn’t warp. Place a stainless jar in the center for scoops and stirrers, then add two matching canisters on one side. Put cups on the counter in a tray aligned under the shelf so the mirror doesn’t reflect a cluttered surface.
Skip thisDon’t place messy stacks of napkins near the mirror — reflections amplify clutter.
20. Oak frame coffee station with fabric-covered bulletin and supply bins
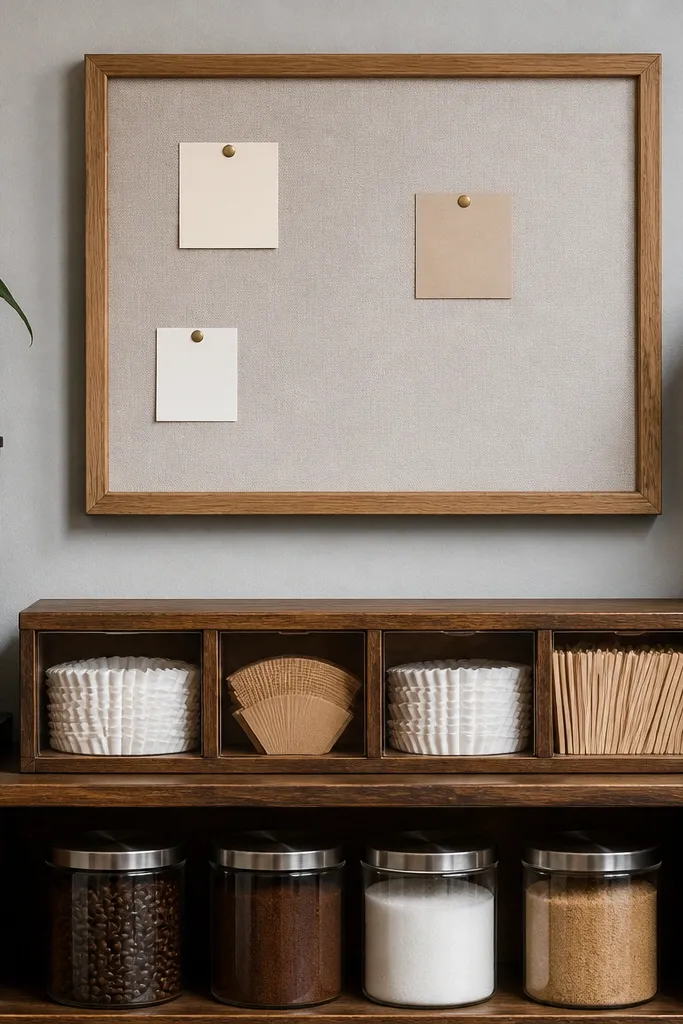
This idea looks like a designed wall piece, not a functional afterthought. The oak frame warms up the space, and the fabric bulletin area lets you post simple reminders without paper tape. Use supply bins behind a clear front or on shelves so the station stays tidy, and keep coffee items in labeled canisters for a clean, consistent look. It fits well in offices where the break area also acts like a casual community spot.
Editor's noteChoose fabric in a solid color or large weave pattern — texture looks good, and it hides small imperfections.
Start by building or buying an oak picture-frame style panel and attach a fabric backing to the inside. Mount it to the wall at about 50-54 inches high, then add small shelves or bins beneath it for supplies. Place labeled canisters in the bins and keep only daily items visible. Add a cup tray on the counter below and include a wipeable mat under the machine area.
Skip thisDon’t use thin fabric that stains easily — coffee splashes will show.



