
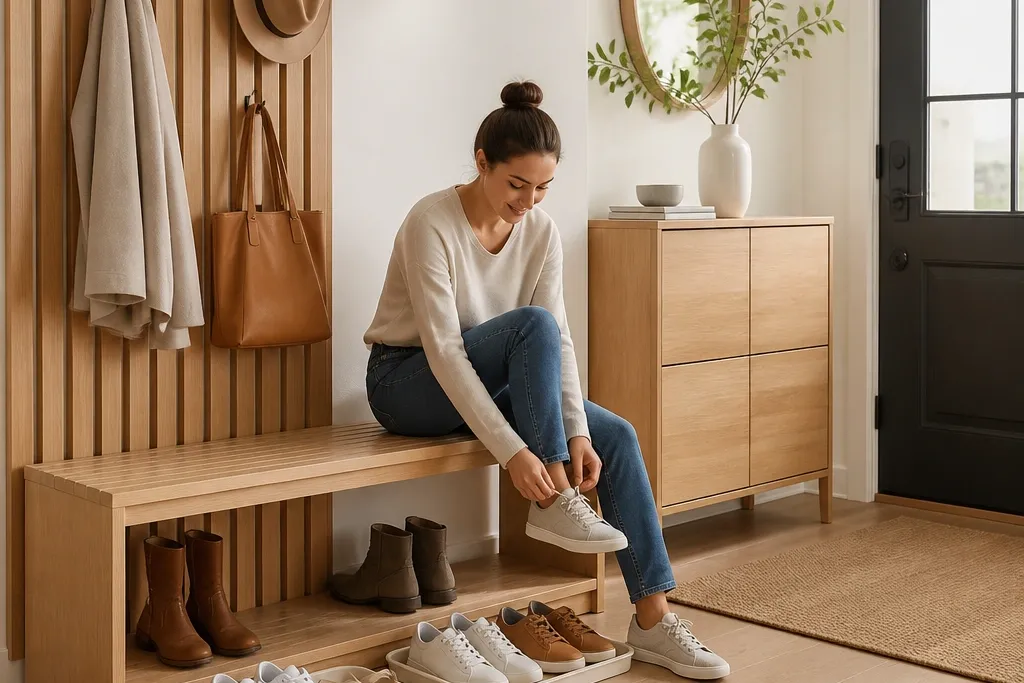
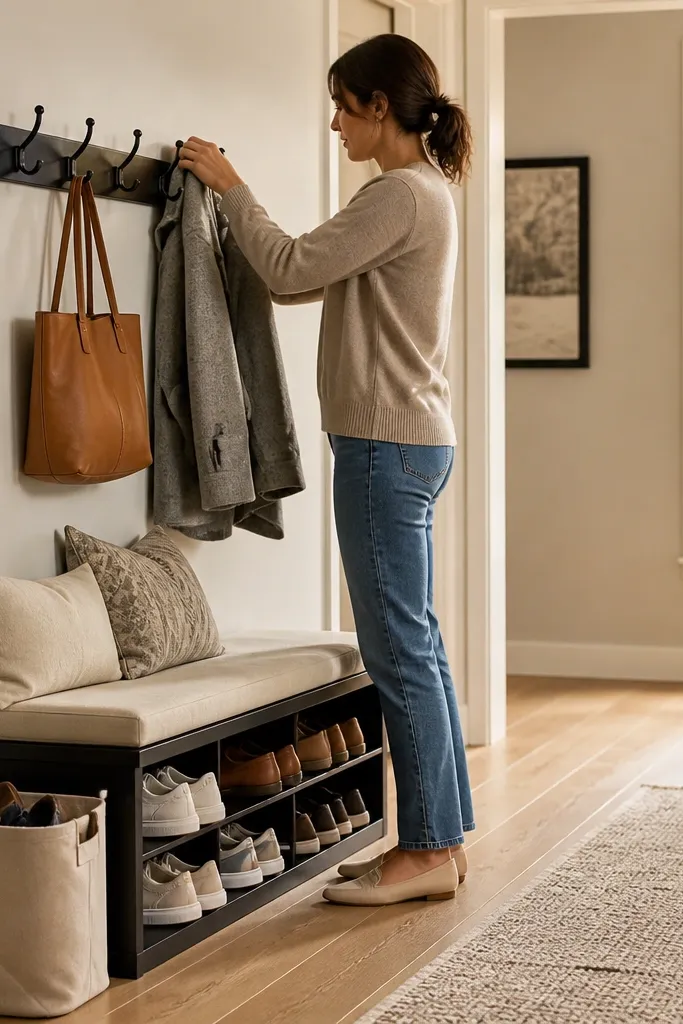
1. Slatted Bench with Lift-Top Shoe Compartments
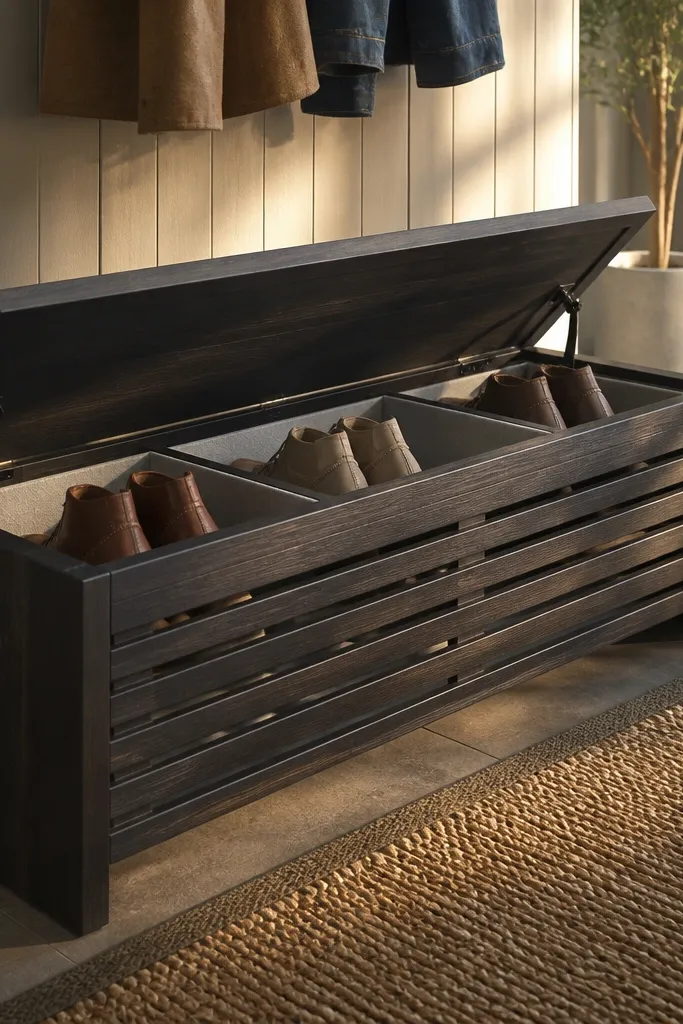
Start with a bench frame sized to your space, then plan 2-3 compartment sections so each holds one pair snugly. Build a base from 2x2 lumber or a simple plywood box frame, then add slatted doors/panels to the front using 1x2 slats with 1/4 in gaps for airflow. Install lift hinges and gas struts or sturdy lid supports for smooth opening, then line the compartment floors with a removable sheet of thin plywood or a washable mat. Finish the wood with two coats of polyurethane, then add a simple pull handle on each lid so fingers don’t slip.
A lift-top bench turns your entryway into a real landing zone instead of a place where shoes get dumped. The slatted front keeps the look airy and modern, while the inside compartments keep pairs from migrating around the room. It’s also photogenic because the bench reads like furniture, not storage bins. You get the visual payoff of clean lines plus the practical payoff of hiding the mess when guests arrive.
Skip thisDon’t seal the inside completely — trapped moisture will make the bench smell fast.
Editor's noteUse 1/4 in spacing on slats and leave a small gap at the back edge so air can move even with the lid closed.
2. Vertical Wall Rack with Hidden Shoe Trays
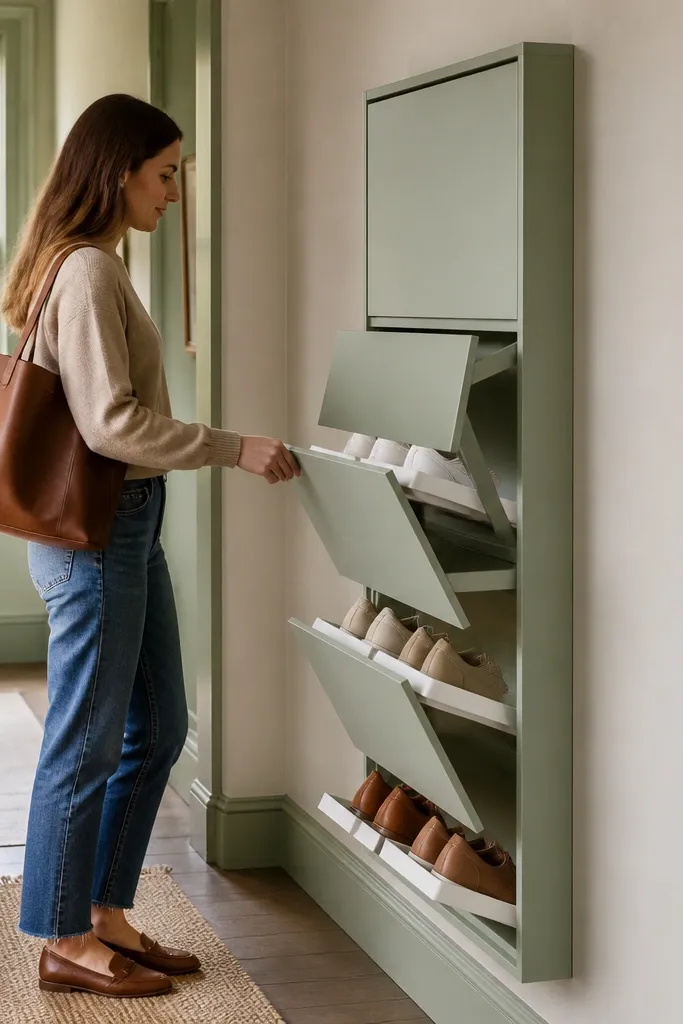
If your floor gets messy because shoes pile up while you’re deciding what to wear, a vertical wall rack is a strong fix. The rack pulls storage up and away from the entryway floor, which instantly makes the space look calmer. Hidden trays keep the front clean even when shoes are stored — you see a tidy wall until you slide a tray out. This works especially well in narrow entryways where a bench would block movement.
Mount a vertical back rail to studs using a level and 2-1/2 in structural screws, then attach two horizontal rails that define tray positions. Build or buy shallow trays sized for your shoe types, aiming for about 10-12 in depth for sneakers and 7-9 in for flats and sandals. Use drawer slides or simple roller guides so trays pull out smoothly without scraping. Paint or stain the rack to match your entryway hardware, then add a small stop block so trays sit flush when closed.
Label the trays by height category (low/medium/high) in pencil on the underside so you never ruin the look.
Avoid mounting to drywall alone — wobbly rails make trays feel messy, not modern.
3. Modular Cubby System with Match-Flip Pair Holders
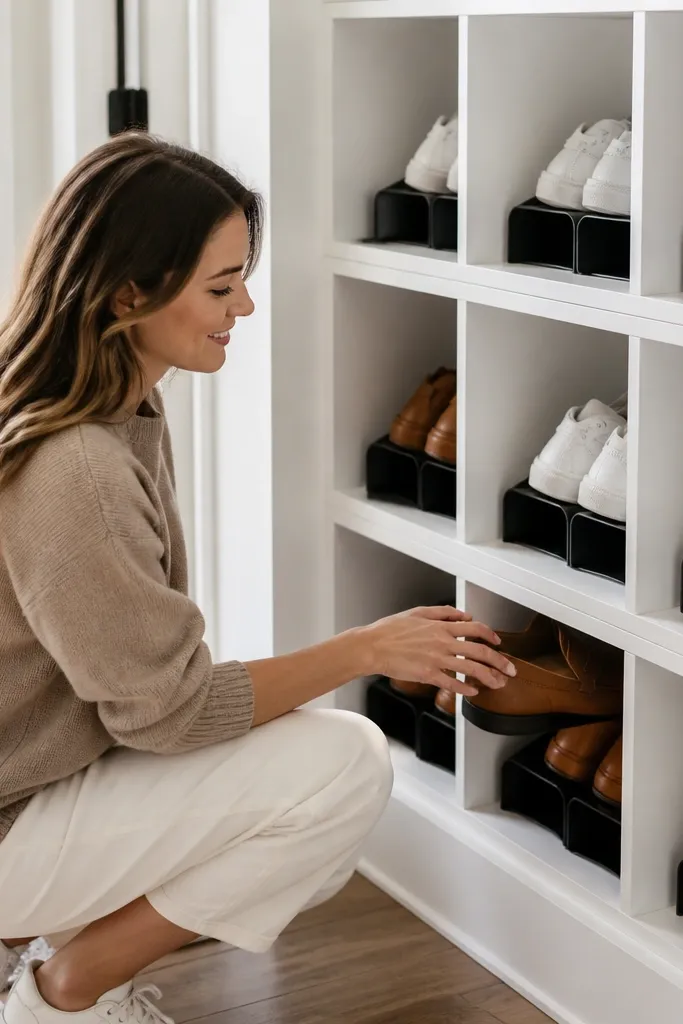
Open cubbies can look messy fast, but a cubby system with match-flip pair holders keeps everything aligned and visually quiet. The trick is controlling the angle: shoes sit facing the same direction, and each pair has a dedicated slot with a small divider so they don’t lean into neighboring cubbies. The modern look comes from repeatable units and a clean color finish across every cubby. This setup is great if you have sneakers, flats, and boots that all need different spacing but you still want one unified system.
Choose a grid size that fits your space, then build cubby boxes from 3/4 in plywood with consistent internal widths. Add removable dividers inside each cubby using plywood strips, spaced so a shoe toe rests against a stop. For match-flip pair holders, hinge a thin plywood flap at the back of each cubby that flips up to create a backstop, then flips down to keep the pair from sliding. Finish the whole unit in a single color — two coats of paint with a satin sheen looks clean and easy to wipe.
Set cubby heights around 6-1/2 in for flats and 8-3/4 in for sneakers so you don’t waste space with empty air.
Don’t mix heights inside the same cubby row — it forces shoes to stack unevenly and ruins the tidy look.
4. Corner Shoe Cabinet with Slanted Upper Door
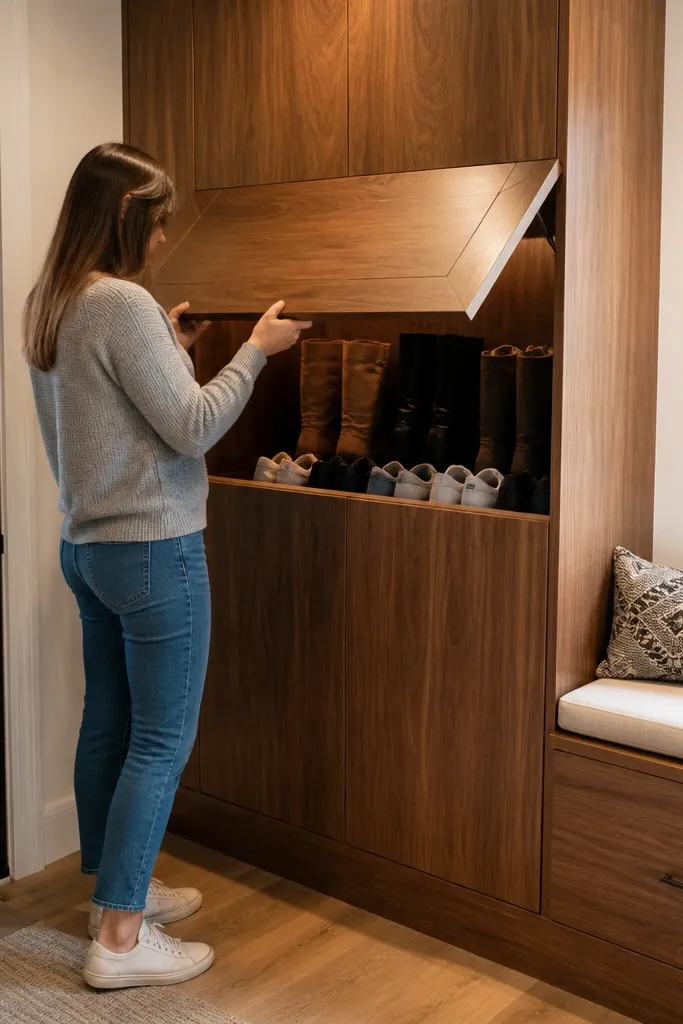
Build a cabinet carcass sized to your corner footprint, leaving at least 1/2 in clearance from baseboards for smooth placement. Create a triangular or angled interior back panel so shoe heels don’t jam and pairs sit flat. Install an upper door panel cut with a slant so it opens outward without hitting the door swing; use soft-close hinges if you want a calmer feel. Finish with a wipeable topcoat and add a magnetic latch so the door shuts firmly even if you’re rushing.
Corner entryways look sharp when storage follows the geometry of the room. A corner shoe cabinet with a slanted upper door gives you that built-in look while still hiding everything that makes entryways feel cluttered. The slant helps you access shoes without digging your hand into a deep box, and it keeps the cabinet visually interesting in a good way. If your door opens into a tight corner, this design keeps the floor clear and the cabinet reading clean.
Skip thisAvoid fully flat shelf bottoms in corners — shoes stack crooked and you’ll see the mess every time you open the cabinet.
Editor's noteUse a matte finish on the exterior and a slightly rougher interior surface so wet soles don’t slide into a sloppy pile.
5. Ladder-Style Shoe Display with Removable Covers
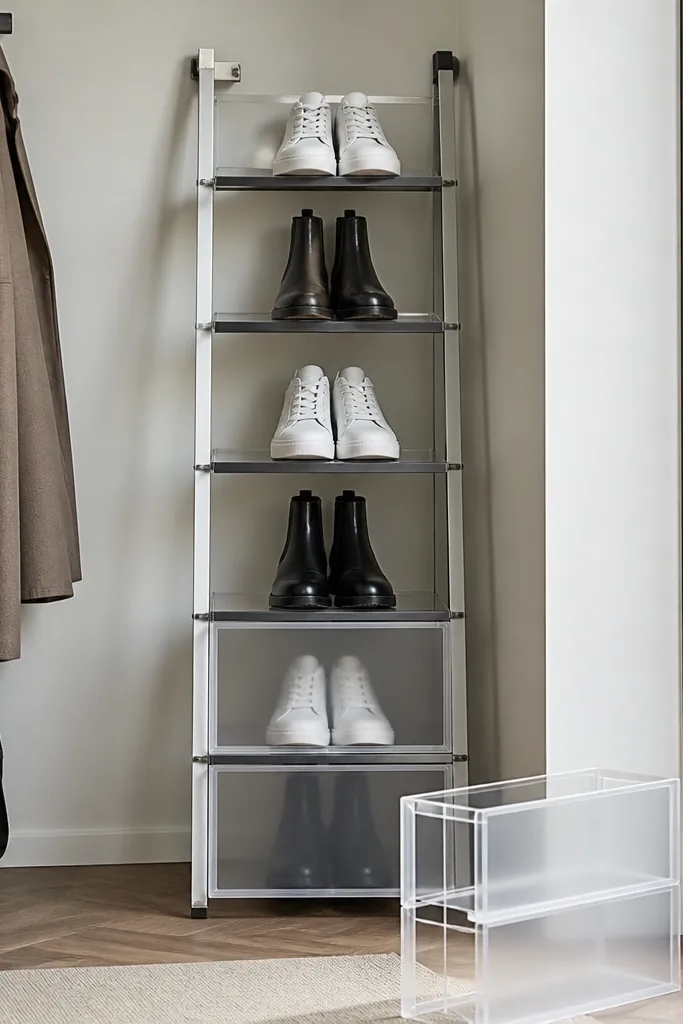
This is for the entryways that want to look styled, not hidden. A ladder-style rack shows off clean lines and turns shoes into a design element when pairs are arranged consistently. The removable covers are the secret — you get the modern, airy display look on good days, and you hide everything when the entryway is a mess. It’s also quick to refresh because you can swap covers by season or color without rebuilding.
Build a simple ladder frame with two vertical rails and 4-6 rungs, spacing rungs about 7-1/2 in for sneakers and 6 in for flats. Attach each rung with end brackets so the ladder stays square, then sand and round edges so it feels furniture-like. Add removable covers using magnetic strips or hook-and-loop fasteners on the front edge of each shelf so covers pop off for washing. Choose fabrics that are thick enough to hold shape, like cotton canvas, and stain or seal the ladder frame so it resists scuffs.
Keep the ladder in a single finish family — warm wood and black covers look better than mixed hardware tones.
Don’t leave covers fully open in the back — shoes still look messy through gaps when light hits.
6. Pegboard Shoe Drop Zone with Numbered Pair Hooks
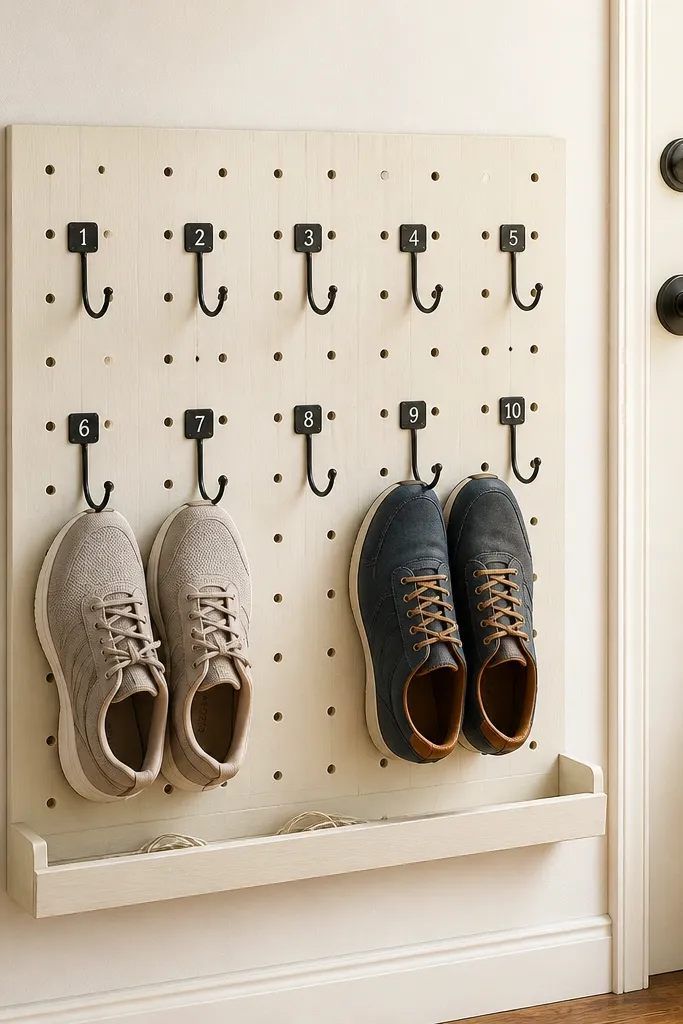
Mount pegboard to studs and keep it at a comfortable height so you can hang shoes without bending deeply — aim for the hook line around 48-54 in from the floor. Install a set of hooks sized for your shoe openings, then add numbered labels on small metal tags so each pair has a home. For pairs, hang shoes toe-to-toe with the hooks supporting the tongue edge so they don’t slip. Paint the pegboard with a durable enamel and finish hooks with a wipeable coating.
If your clutter problem is shoes that land on the floor the second you kick them off, a pegboard drop zone is a fast, good-looking correction. You create a clear place for each pair, and the numbered hooks make it feel organized instead of chaotic. Pegboard also looks modern when you paint it the same color as the wall or use a dark stain with black hooks. This setup works best for smaller collections and for households that need a daily routine, not a complicated system.
Skip thisDon’t use thin wire hooks for heavier boots — they bend and everything starts hanging crooked.
Editor's noteUse two hook rows per pair size: one row for toe support and one for heel support so shoes don’t rotate.
7. Under-Bench Drawer Inserts for Daily Sneakers
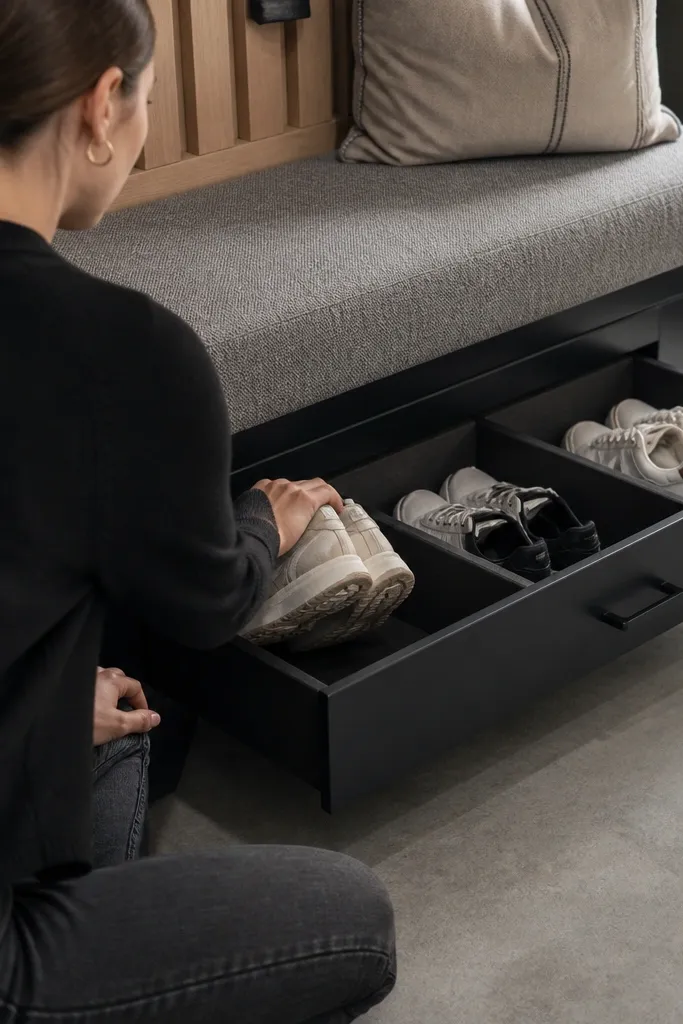
This is the cleanest option when you already have a bench but it’s just a seat with a clutter gap underneath. Drawer-style inserts keep daily sneakers out of sight, which makes the entryway look finished even when you’re wearing different shoes each day. The fabric lining controls scuffs and helps keep the drawer from feeling like a storage junk drawer. It’s also a great aesthetic move because drawers look uniform and intentional in a way open bins never do.
Pick drawer sizes based on your most-used shoe type, then build shallow plywood drawer boxes that slide under the bench. Install full-extension slides or sturdy glides so you can pull the drawer out without it tipping. Add removable liners using canvas or felt-backed foam, cut to fit with a slight lip so shoes don’t snag the edge. Seal the plywood with a wipeable finish, then attach a simple front pull that matches your existing hardware.
Add a small vent gap on the back of each drawer insert so damp shoes don’t sit in a closed box.
Avoid storing wet shoes directly on bare wood — use a liner you can lift and wash.
8. Slim Shoe Cabinet with Front Door + Air Gap Toe Kick
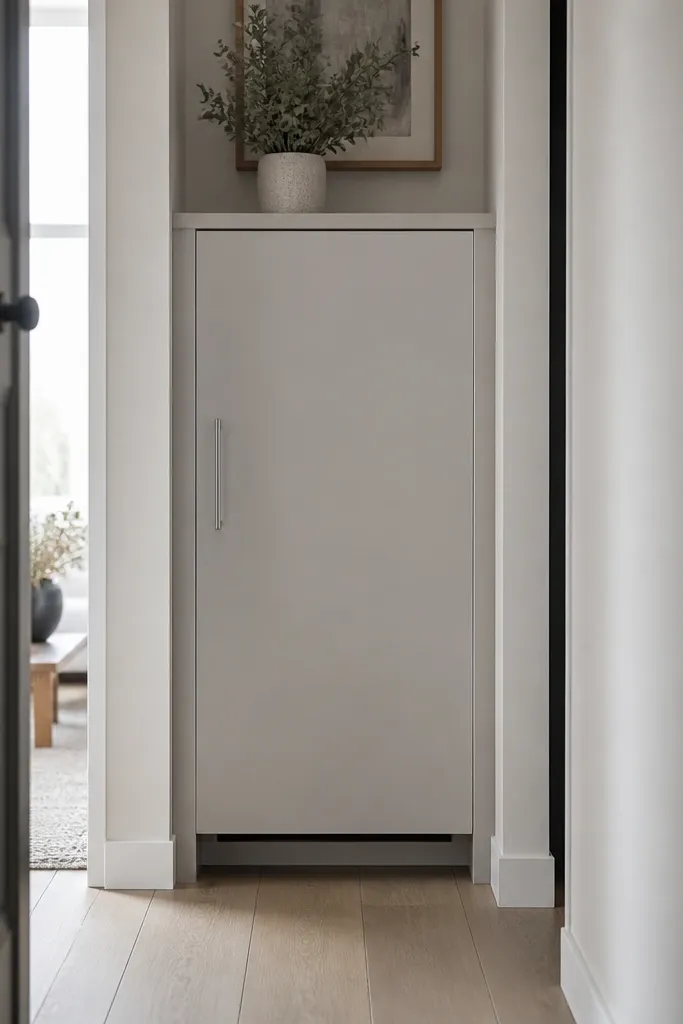
Build or buy a slim cabinet frame with a depth around 12-14 in so it fits without crowding the doorway. Install internal shelves on a staggered pattern so pairs rest at a comfortable angle, then leave at least 1/2 in between shelf faces for airflow. Create an air gap toe kick by raising the cabinet slightly or adding a vented panel at the bottom edge. Add a magnetic or soft-close door, then finish the exterior with satin paint and the interior with a wipeable topcoat.
When you want modern shoe storage ideas that look built-in and quiet, a slim cabinet with a front door is hard to beat. The door hides everything, the slim depth keeps it from eating your entryway, and the air gap at the base prevents odor lock-in. This is perfect for narrow hallways where you still want a real furniture piece instead of a pile of baskets. You’ll get a crisp look because the front stays mostly unbroken — no open shelves to visually clutter the wall.
Skip thisDon’t pack shelves tight against the door — it blocks the airflow you need to keep shoes smelling neutral.
Editor's noteUse vented backing panels or drill a line of 1/2 in holes under the first shelf for airflow without changing the clean front look.



