
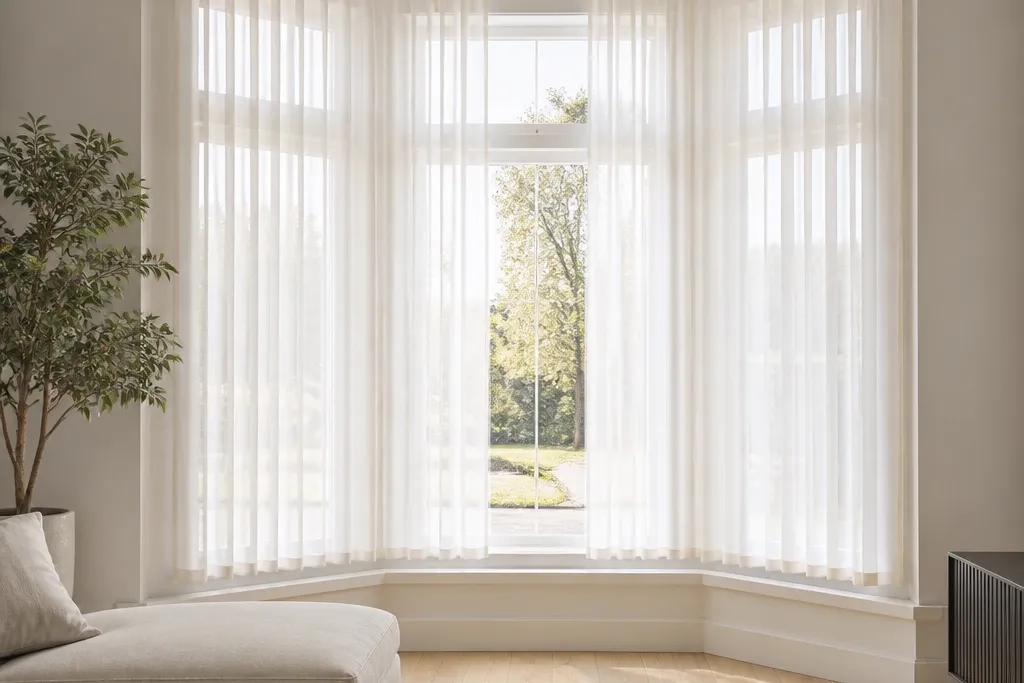

1. Ceiling Track With Full-Length Pinch Pleat Sheers
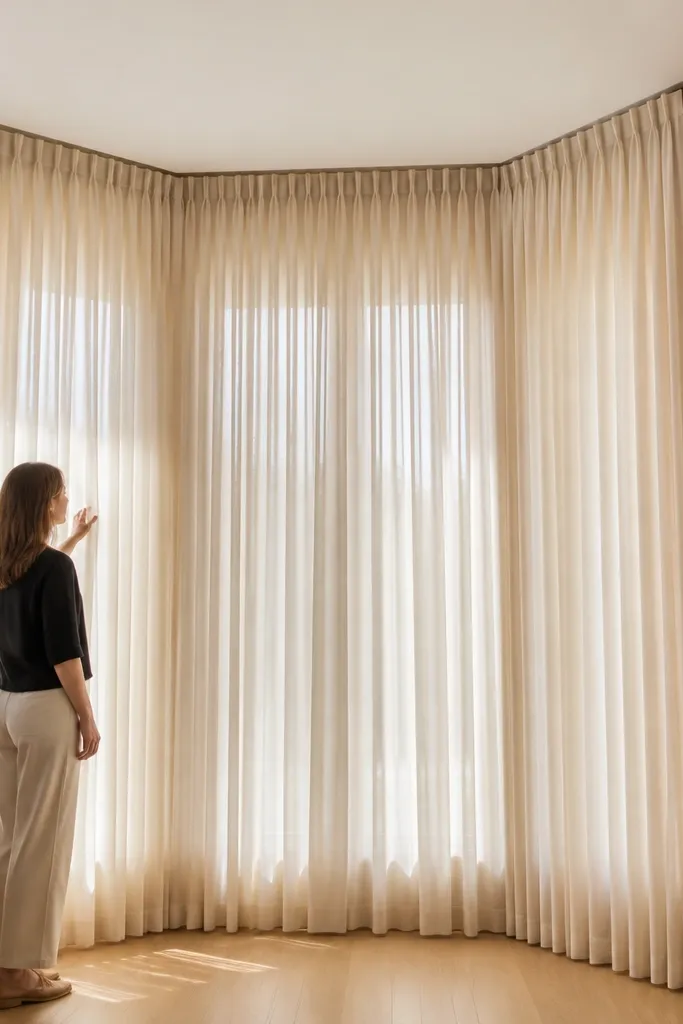
This is the cleanest modern Bay Window ideas look because the curtain hangs from the ceiling line, not from the angled trim. Pinch pleats create consistent fold spacing, so the fabric reads “tailored” even when the bay angles change. Use a light, opaque-sheer that still lets daylight through, and keep the color in warm white or true white so the bay stays bright. It’s a great choice for living rooms that need privacy at night but still want a soft daytime glow. Skill level is beginner-friendly if you can measure accurately and install a track straight.
1) Measure the bay width across each face and add enough track run so the curtain travels past the corner by 3-6 inches. Install a continuous ceiling track at least 2 inches above the trim; use a level and mark screw points into studs or use proper anchors. 2) Hang pinch pleat sheer panels on the track hooks, then pull each panel slightly open and mark where it should land when closed. Hem to the floor by checking on a bare floor with the rod fully extended; aim for a 1/2-inch break. Finally, test open/close once before tightening anything permanently.
Steam the sheers before hanging and don’t rush the hem — a 1/2-inch difference shows in bay corners.
Don’t use grommet panels on a track; they twist the fabric at the angles.
2. Two-Layer Matte Blackout Behind a Sheer Curtain Line
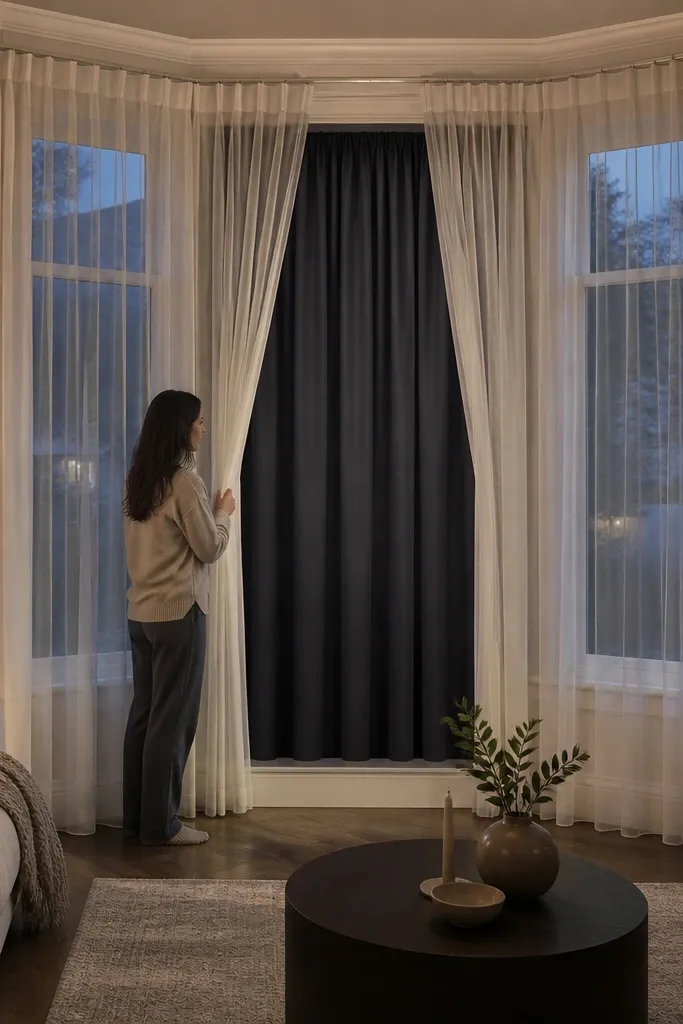
Layering is where modern Bay Window ideas get practical. The sheer controls how light spreads, while the matte blackout handles glare and nighttime privacy without looking shiny. Keep the blackout in a cool neutral like dove gray or charcoal so it doesn’t look heavy or yellow. This setup also hides the seams and track hardware because the sheer floats in front. It suits bedrooms and home offices where you need both daylight and actual darkness.
1) Install a ceiling track wide enough for two curtain sets, or use a double-track system if you want the layers to open independently. Hang the blackout on the inner track and the sheer on the outer track so the sheer always stays in front. 2) Choose blackout panels with a width that stacks — for bay windows, plan about 2x the visible opening width for each layer so you don’t get gaps. Hang the blackout first at the correct height, then add the sheer so it covers the top edge by about 1 inch. Finish by hemming both layers to the same length and steam-checking the folds.
Editor's noteIf the bay is bright in the morning, go matte instead of satin; satin reflects light and looks glossy in photos.
Skip thisDon’t match the sheer and blackout fabric colors exactly; mismatched undertones fight in daylight.
3. Roman Shade Look With Soft-Sheer Top Layer
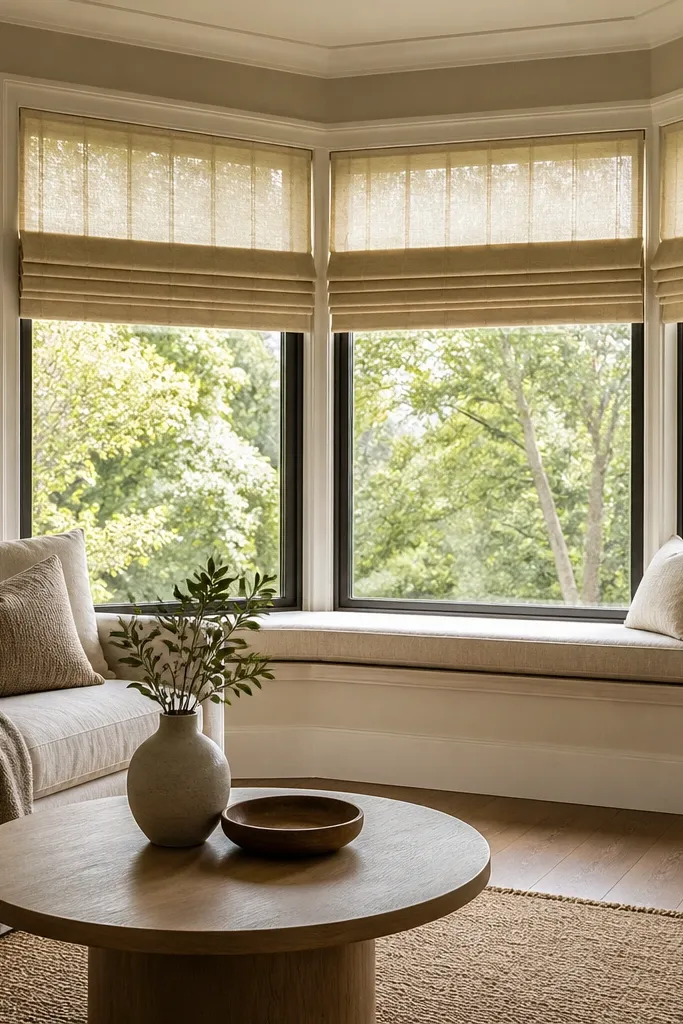
If you want a modern Bay Window ideas look that still feels airy, build a roman shade style with a light top layer. The secret is using a shade fabric that folds neatly and looks intentional when raised. Then add a sheer valance or top curtain that stays open in daylight, so you keep brightness even when the shade is down. This works well in kitchens and dining rooms where you want privacy without full-length curtains brushing furniture. It’s a medium DIY because you’re managing lift cords or a shade track.
1) Choose a roman shade kit sized to each bay face, and mount it so the fabric rises into the center of the window frame line. Add a sheer top layer as a short curtain panel that spans the bay width, mounted on a small ceiling track or tension rod under the shade. 2) For the modern look, keep the sheer 6-10 inches longer than the shade when fully lowered so it overlaps cleanly. Install lift hardware according to the kit and adjust the cord length so the shade top sits evenly. Test raise/lower and fix any uneven fold before you cut hems or finalize mounting screws.
Use a shade fabric with weight and structure so it creases crisply instead of collapsing into wrinkles.
Don’t mount roman shades directly to the angled trim without checking clearance; the fold can catch.
4. Single Long Panel for Each Bay Face With Knife-Edge Folding
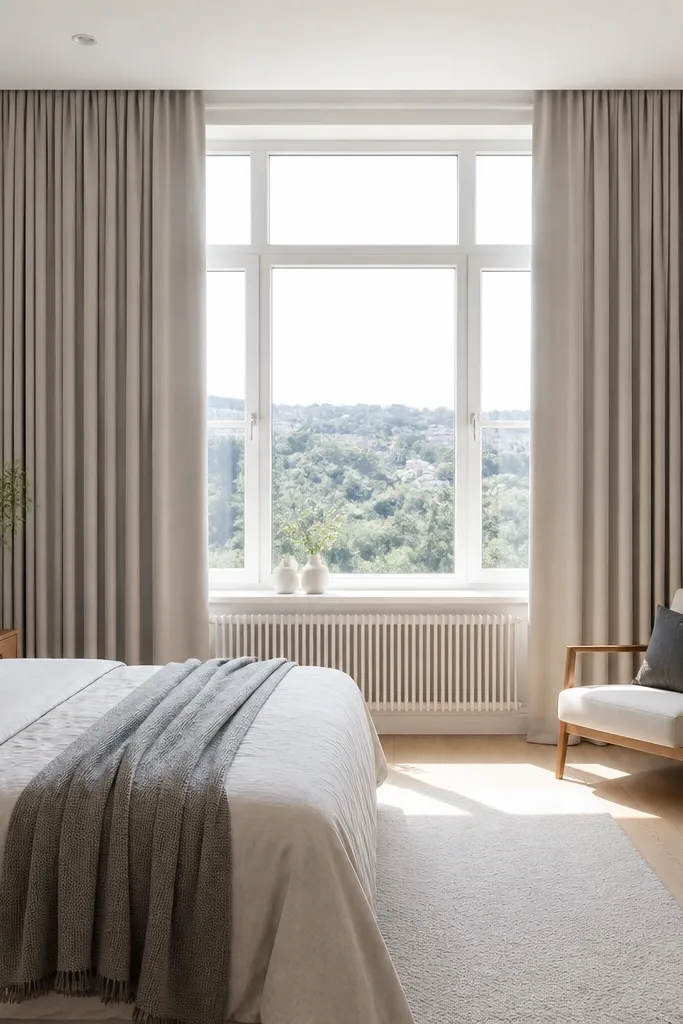
This is a modern Bay Window ideas approach that looks expensive because it reduces visual clutter. Instead of multiple small panels, use one wide panel per bay face and create knife-edge folds with a controlled stack. The fabric stays smooth and the bay reads as one clean shape, even with angles. Use a medium-weight linen-look cotton or a smooth polyester that holds creases without looking stiff. This suits spaces where you want a tailored, architectural feel without full pleats. DIY difficulty is beginner to intermediate depending on how you attach the folds.
1) Install a ceiling track with separate curtain carriers for each bay face so each panel can hang straight. Cut panels so each one spans from just past the corner to the next corner, then add an extra 2-3 inches for overlap. 2) Create knife-edge folds using pinch ties or fold tape inside the panel top — mark fold positions every 8-10 inches for consistent spacing. Hang the panel, then adjust fold anchors so the folds hit the floor evenly. Hem after final positioning to keep the bottom line straight across the bay faces.
Press a knife-edge crease before hanging; it saves you from “training” the fabric for weeks.
Don’t choose a slippery fabric like thin satin — knife folds won’t hold their edges.
5. Gauzy Side Curtains Only on the Angled Faces
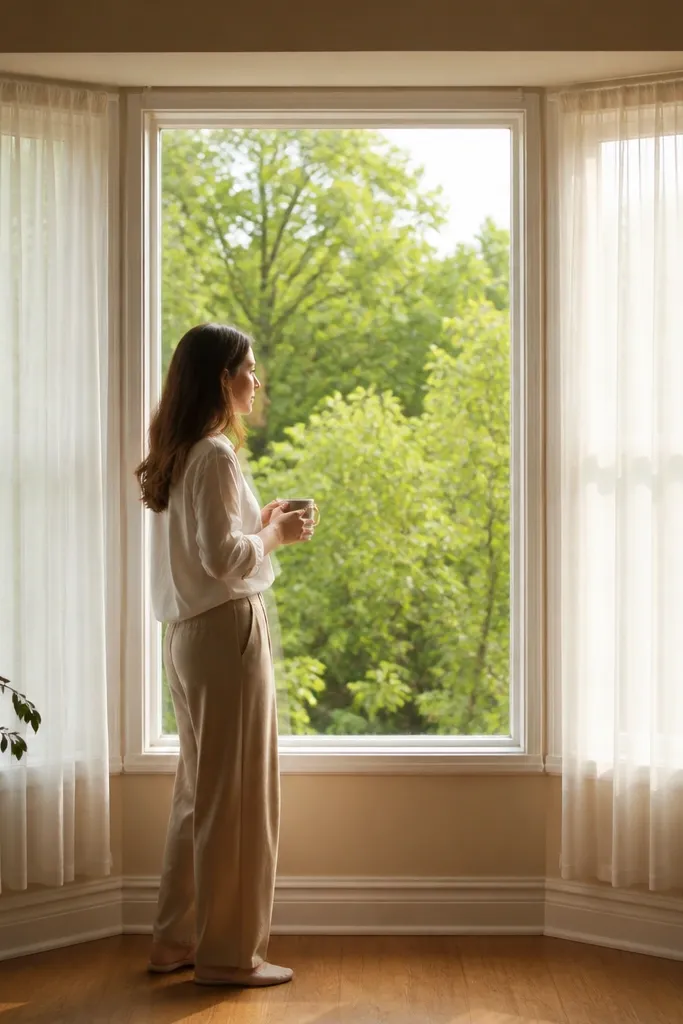
This look is modern Bay Window ideas with restraint — you let the center window breathe and focus the fabric on the angled sides. It’s visually light, and it avoids the “three-panel heaviness” that bays can get. Choose a sheer that barely shows texture so it looks like soft light rather than a fabric wall. You can keep the center open for daylight while still framing the bay. This works in living rooms and reading nooks where you don’t need full coverage across the whole bay.
1) Mount a small ceiling track or tension rod only on the angled faces, starting 2 inches above the trim and ending 3 inches past the corner. Cut two sheer panels sized to overlap the inner edge by about 2 inches when closed. 2) Use simple rod pockets with a hidden tab spacing so the panels hang straight — don’t rely on loose rings. Hem to a 1/2-inch break and steam flat so the sheer doesn’t twist at the corners. Finally, check that the panels don’t block the window handles when opened.
Editor's noteUse fabric weights that hang straight — lightweight organza twists, while a light woven sheer falls cleaner.
Skip thisDon’t mount side curtains too close to the glass; you’ll get a constant draft and the fabric will cling.
6. Wide Linen-Look Swag at the Top, Panels Down the Sides
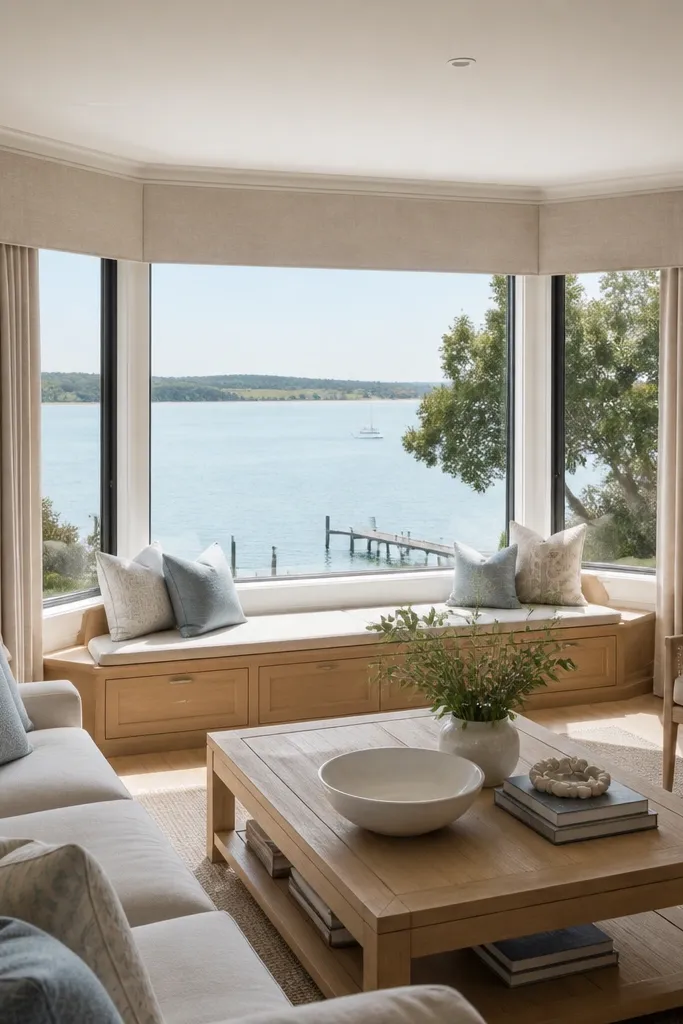
Swags can look dated, but this version reads modern because it stays wide, flat, and minimal. You mount a top swag band across the bay and let two straight panels drop down the angled faces. The swag is made from the same fabric as the panels, so it looks intentional and uniform. This is a strong option when your bay has a decorative surround and you want to highlight it instead of covering it. Expect intermediate DIY because you’re shaping and securing the swag folds.
1) Install a ceiling track or discreet mounting bar for the swag band at least 2 inches above the trim. Cut a swag piece wide enough to cover the bay width and create shallow gathers; pin and test the shape before you sew. 2) Attach the swag to the mounting bar, then hang two straight panels on separate track sections for the angled faces. Secure the swag ends so they don’t droop unevenly; use hidden hooks behind the fabric. Steam and press the folds so the swag stays flat and the panels hang straight.
Editor's noteKeep swag folds shallow and spaced; deep gathers look heavy in a bay.
Skip thisDon’t use heavy upholstery fabric for the swag — it makes the top look bulky.
7. Sheer Curtains in Warm Ivory With Black Ceiling Track
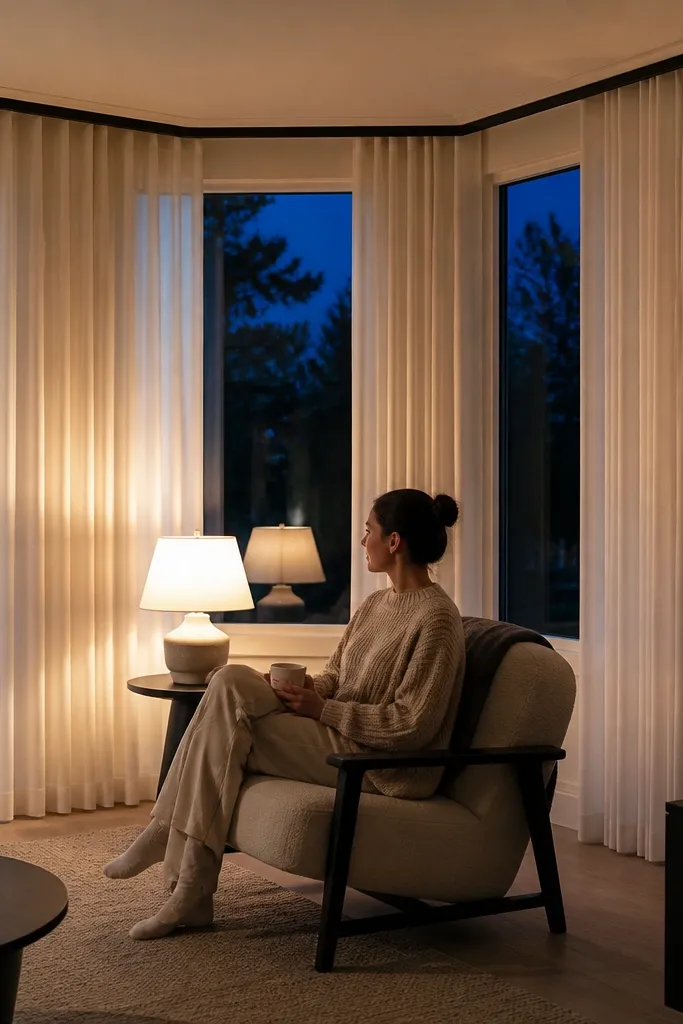
This is a high-contrast modern Bay Window ideas combo that looks crisp in both daylight and evening. Warm ivory sheers brighten the room, while a black track gives you that clean, graphic line. The contrast also hides minor alignment issues because your eye reads the track line, not the fabric seams. Use a sheer with a tight weave so it doesn’t look see-through in a patchy way. This works in modern living rooms where you want the bay to look designed, not decorated.
1) Choose a black ceiling track system and install it level and centered 2 inches above the trim. Hang warm ivory sheer panels with pinch pleats or pencil pleats so the folds don’t collapse. 2) Adjust panel spacing so seams land near the corners and the center line stays smooth. Hem to a 1/2-inch break and steam to remove waviness. Finish by checking the fold spacing from standing eye level, not from the floor.
If your walls are cool white, warm ivory still works — it keeps the bay from looking sterile.
Don’t use a track that’s too glossy; shiny metal shows in photos and makes the bay look unfinished.
8. Curtain Panels on a Single Tension Rod for a Floating Look
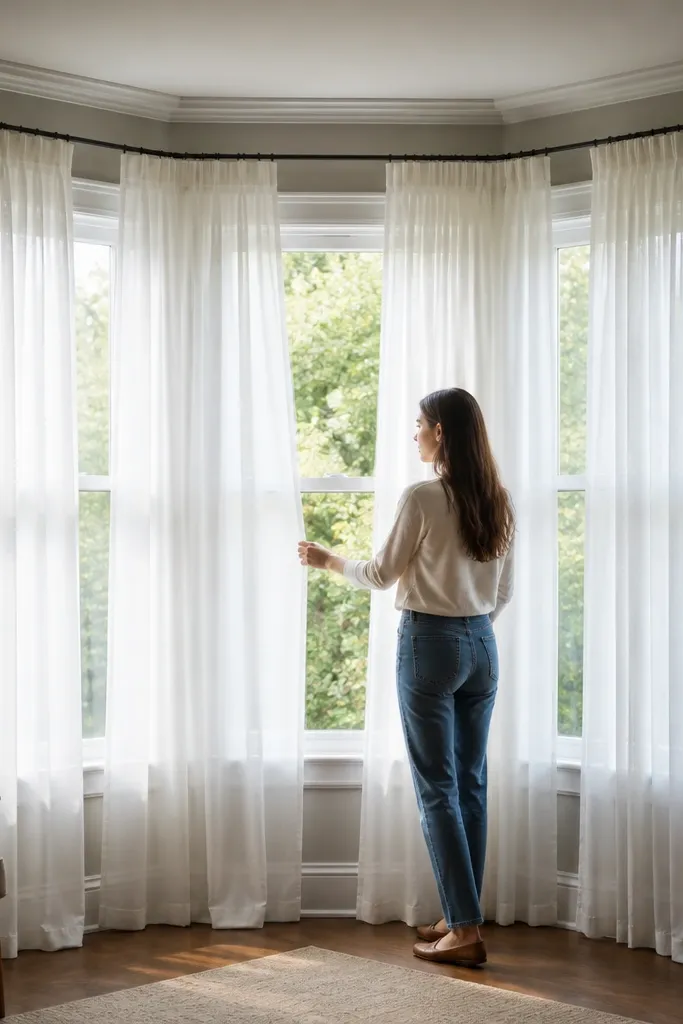
Want modern Bay Window ideas without full track installation? Use a tension rod mounted high so it creates a floating curtain line. This works best if your bay surround is sturdy enough to hold the tension and you keep the fabric light. Choose a smooth sheer or light voile and use pencil pleat tape or rod-pocket panels that hang evenly. The look is airy and minimal, especially when you keep curtain lengths just brushing the floor. This is beginner-friendly if you’re comfortable mounting brackets.
1) Measure the bay width across each face and install two tension rod brackets so the rod sits 2-3 inches above the trim. Test the rod height with a level and ensure the rod clears window openings. 2) Hang one light panel per bay face, using pencil pleat tape tied evenly so the folds align at the corners. Set the panel length for a 1/2-inch break and steam flat. Finally, adjust rod ends so the panels don’t pull tight and distort the fabric at angles.
Use fabric weights that don’t pull the rod down; light sheers with air pockets look better than thin organza.
Don’t use long, heavy panels on tension rods — they sag and break the clean line.
9. Double-Stack Corners With Corner Tiebacks
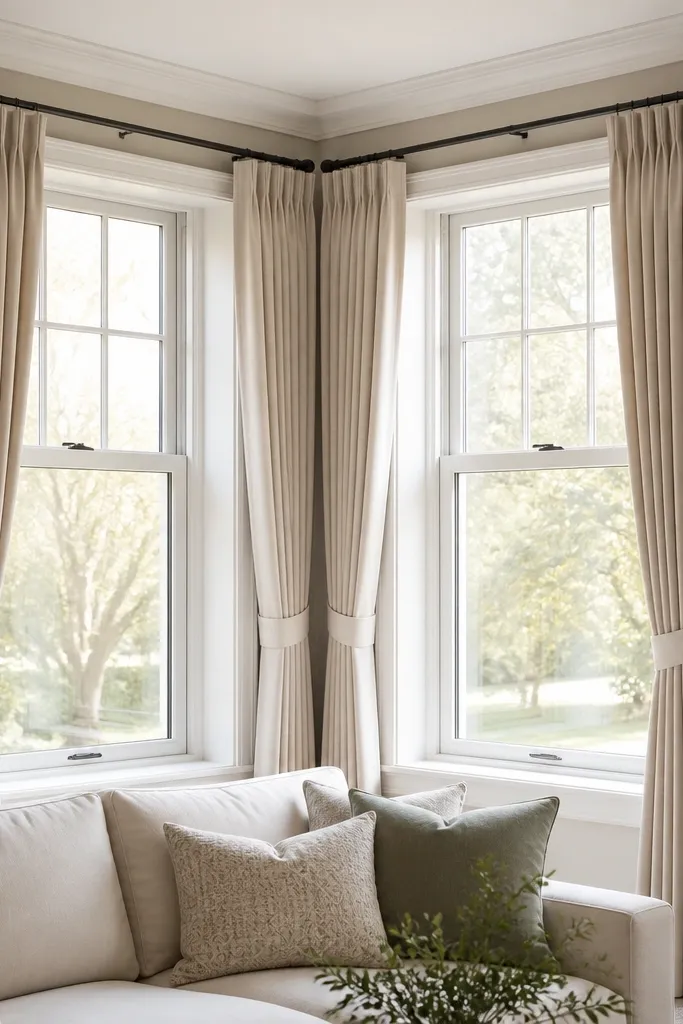
This idea fixes a bay-specific eyesore: corner bunching. With double-stack corners and tiebacks, the panels fold inward cleanly instead of twisting around the angled trim. The result looks modern because the curtain edges stay sharp when open. Use a midweight fabric that holds shape — think cotton-linen blend or structured polyester. This suits rooms where you keep curtains partially open most of the day. DIY difficulty is intermediate because you’re planning how the fabric stacks at each corner.
1) Install a ceiling track that allows panels to stack toward the center, not toward the corners. Add corner tieback hooks or small rings behind the fabric so tiebacks pull the panel edge inward. 2) Hang panels, then open them fully and mark where the fabric naturally wants to bunch. Adjust tieback height so the panel edge lands in a straight line at the corner. Secure tiebacks and confirm window operation with the panels tied back.
Use matching tieback fabric strips or concealed elastic tiebacks so the tie doesn’t show as a bulky knot.
Don’t tie back with cords that wrap around the curtain rod; they create uneven pull and visible distortion.
10. Color-Blocked Panels With a Single Sheer Middle
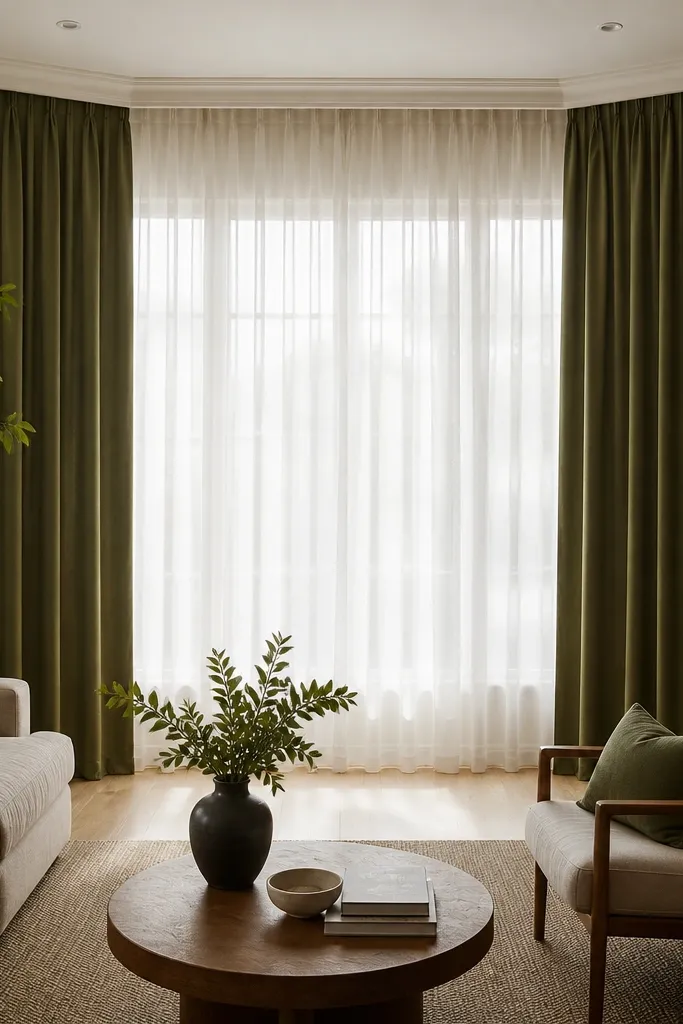
Modern Bay Window ideas can handle color without looking messy. Use a single sheer center panel across the bay for brightness, then color-block the angled sides with a matte solid. The eye reads the center as light, while the sides frame it like picture mats. Choose one accent color like deep olive or terracotta and keep the other layer neutral so it doesn’t fight your walls. This looks incredible in dining rooms and home offices because it adds style without blocking daylight.
1) Install a ceiling track wide enough for three positions: left angled panel, a center sheer span, and right angled panel. Hang the center sheer first and keep it slightly wider than the opening so it covers seams. 2) Add color-block panels on the angled faces, cutting them so the inner edges overlap by 2 inches when closed. Hem all panels to the same length and steam. Finally, adjust stacking so the center sheer stays visible when the sides open.
Editor's notePick matte fabrics for the colored sides; they absorb light and look cleaner than glossy weaves.
Skip thisDon’t use loud patterns on both sides; one accent color beats two competing prints in a bay.
11. Cafe Curtains on the Lower Half With Full-Length Sheer Above
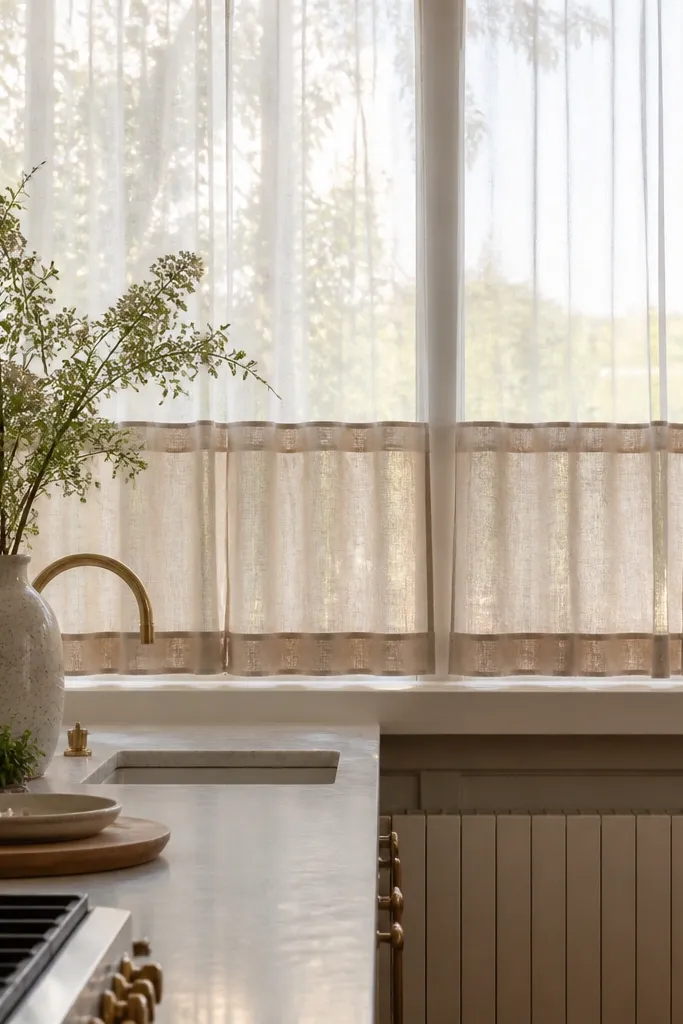
This is a modern Bay Window ideas setup that’s practical and pretty. The lower cafe section gives privacy and blocks direct sightlines, while the full-length sheer above keeps the bay bright and soft. It’s especially good for bays over radiators or in kitchens where you don’t want fabric sweeping near counters. Choose cafe fabric in a light neutral and keep it matte to avoid glare. This takes a bit more measuring, but the payoff is a layered look that doesn’t overwhelm the room.
1) Install two mounting points: one rod or mini track for the cafe curtains at about 36-48 inches from the floor, and a ceiling track for the sheer above. Use a level and measure from the floor consistently on both sides of the bay angle. 2) Cut cafe panels so they cover the lower glass with a 2-inch overlap at corners, then hem. Hang the full-length sheer to a 1/2-inch break and steam. Test window tilt and handle clearance.
Keep the cafe fabric slightly heavier than the sheer so the two layers read as separate, intentional zones.
Don’t mount the cafe rod too low; it can make the bay feel shorter and the lower fabric will visually crowd the trim.
12. Curtain Panel With Oversized Grommets for a Graphic Line
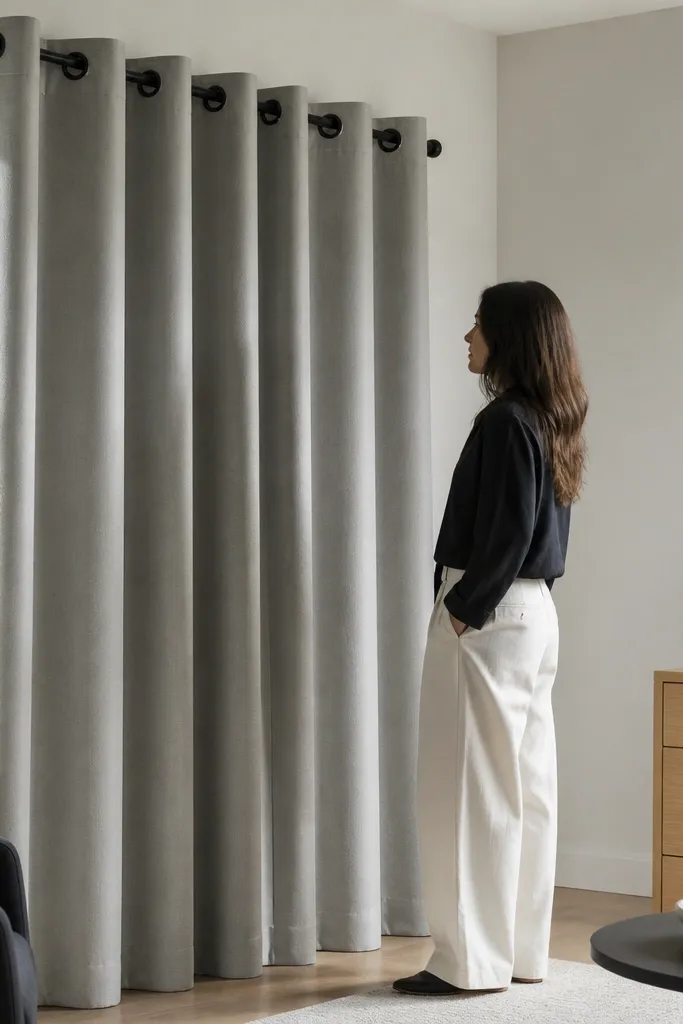
If you like modern Bay Window ideas that look graphic, oversized grommets give you a bold curtain rhythm. It’s modern because the hardware line is visible and the folds are simple, not fussy. Use a sturdy curtain fabric that doesn’t collapse around the grommets — medium-weight woven polyester or cotton-linen blend. This looks best in rooms with clean wall lines and minimal decor where the curtain becomes the design feature. DIY is straightforward: install a rod system that handles the bay angles.
1) Choose a bay-capable rod set or a track-to-rod adapter system so the rod line stays continuous across each face. Install the rod 2-3 inches above the trim and ensure each segment is level relative to its face. 2) Hang grommet panels with the same starting fold position on both sides so the grommet spacing lines up at the corners. Adjust panel length for a 1/2-inch break and steam. Check that the grommets slide smoothly without snagging on angled brackets.
Editor's noteUse grommet panels with a fabric lining or interfacing if you want the top edge to stay crisp.
Skip thisDon’t use flimsy curtains; grommets reveal thinness and the top edge will curl.
13. Patterned Sheer Only on One Bay Face for a Subtle Accent
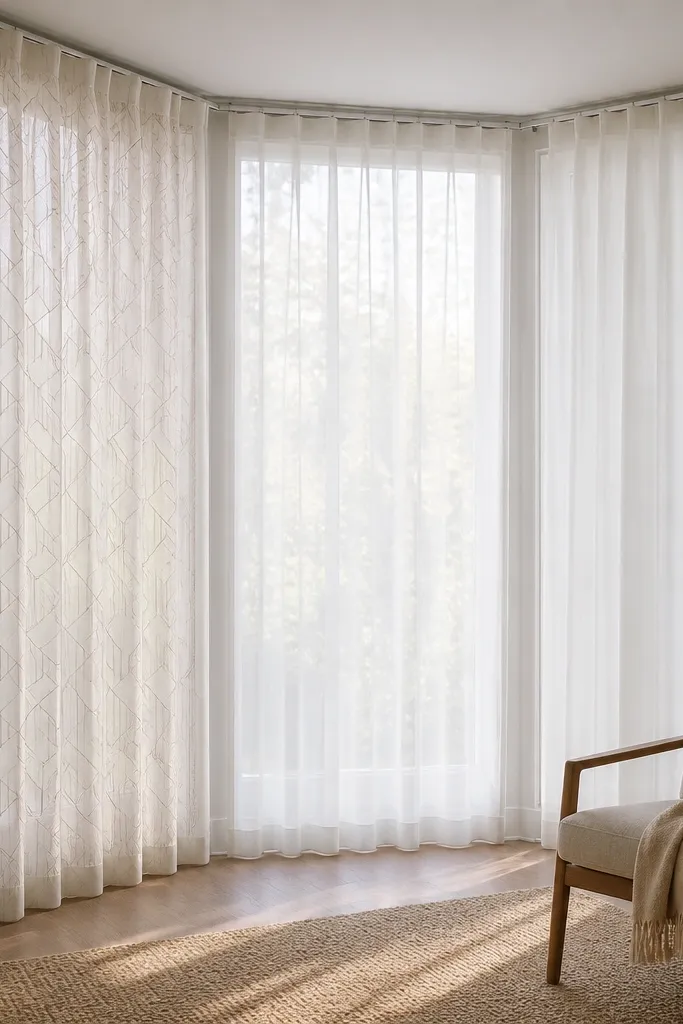
Modern Bay Window ideas don’t have to be plain to be clean. The trick is to keep only one angled face patterned and the other faces in solid sheer. This frames the bay like a design panel and prevents the room from feeling busy. Pick a small-scale pattern that reads as texture at distance, like micro-geometric or thin stripe, and keep the background warm white. This works great in entryways and reading corners where you see the bay from the side. It’s intermediate DIY because you need to match lengths and keep the patterned panel from looking like it was added later.
1) Install a ceiling track for three sections and hang plain solid sheers on two faces first, then hang the patterned sheer on the third. Make sure all panels are cut to the same finished length for a unified bottom line. 2) Align the patterned repeat so a stripe or motif lands near the center of the bay face window. Use pinch pleats or pencil pleats so the pattern doesn’t distort when stacking. Steam and adjust fold spacing until the pattern looks steady from the main viewing angle.
Editor's noteChoose patterns with a clear direction so the motif doesn’t look like it rotates at the corners.
Skip thisDon’t use two different patterned fabrics on different faces; bays amplify visual chaos.
14. Lined Textured Voile in Sand With Minimal Side Panels
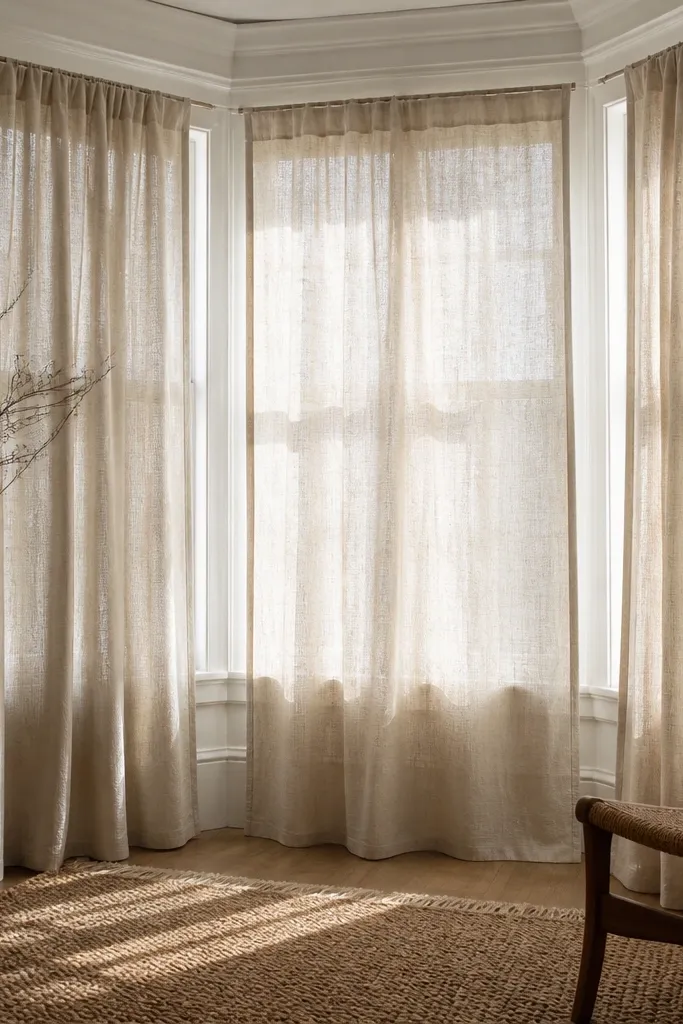
This is modern Bay Window ideas that look soft without turning shapeless. A lined textured voile in sand or oatmeal gives you daylight diffusion plus subtle privacy, and the lining keeps the panels from glowing too bright. Keep the number of panels minimal: one wide panel per face with clean folds. The texture reads like fabric, not like print, so it’s forgiving in different lighting. Great for living rooms where you want cozy but still clean lines.
1) Hang using a ceiling track or a rod set that stays straight across each face, mounted 2 inches above trim. Cut panels so they overlap at corners by 2 inches and cover the inner edges fully when closed. 2) Steam the fabric and press the folds before hanging to prevent uneven waves. Hem to a 1/2-inch break and confirm the bottom doesn’t skim the floor in high-traffic spots. Finally, check the lining — it should hang flat, not twist around the fold.
Editor's noteBuy an extra 1 yard of fabric for each panel — textured voiles can shift during hemming.
Skip thisDon’t skip lining if you want privacy; unlined voile looks beautiful but gives almost no control at night.
15. Floor-to-Ceiling Curtain Panels With Hidden Weighted Hem
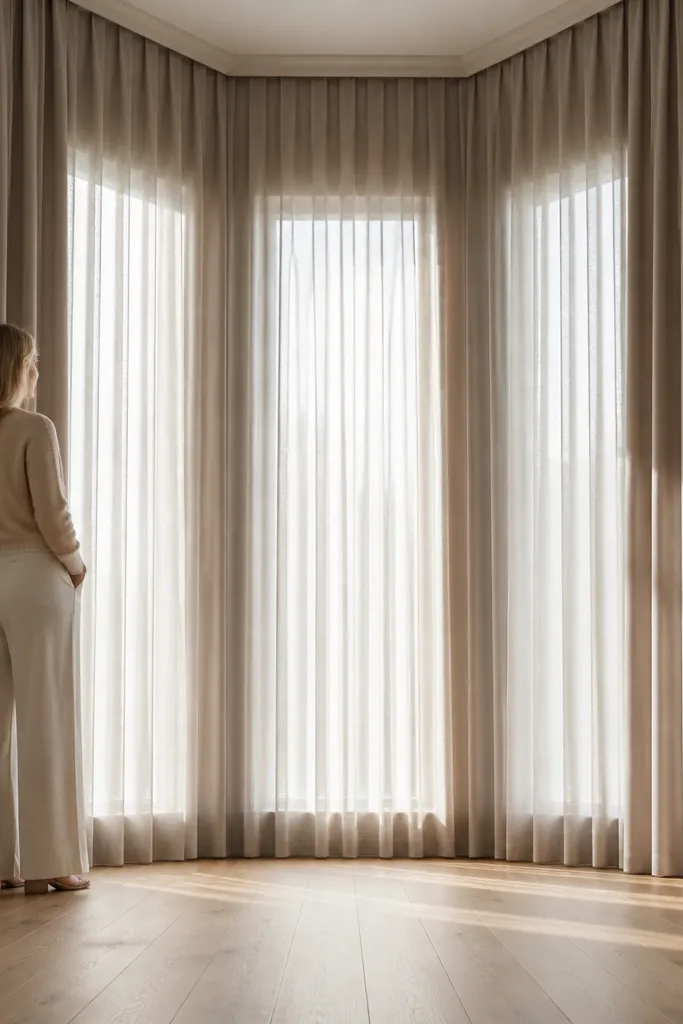
A weighted hem is the difference between curtains that look modern and curtains that look sloppy. This idea keeps the bottom edge straight even when the bay angle pulls fabric slightly to one side. Use a medium-weight curtain fabric and add weights inside the hem so the folds relax into a smooth line. It’s a good match for modern Bay Window ideas when you want full coverage and a polished silhouette. DIY is intermediate because you’re sewing or installing weights, but the result looks professional.
1) Choose curtain panels sized for full coverage, then install a ceiling track or rod at 2 inches above trim. Hang panels and pin the hem while the fabric is fully relaxed, not stretched. 2) Sew in a weighted hem tape or small lead-free weights spaced every 8-10 inches along the hem. Hem and press, then steam the entire panel so the folds settle. Test open/close — the weighted hem should keep the bottom line consistent.
Editor's noteUse weights in a hem channel so you can remove or adjust them later if you change curtain length.
Skip thisDon’t hang curtains before you decide the final length; a bay’s angle makes hem adjustments noticeable.
16. Sheer + Roller Shade Hybrid for Clean Daylight Control
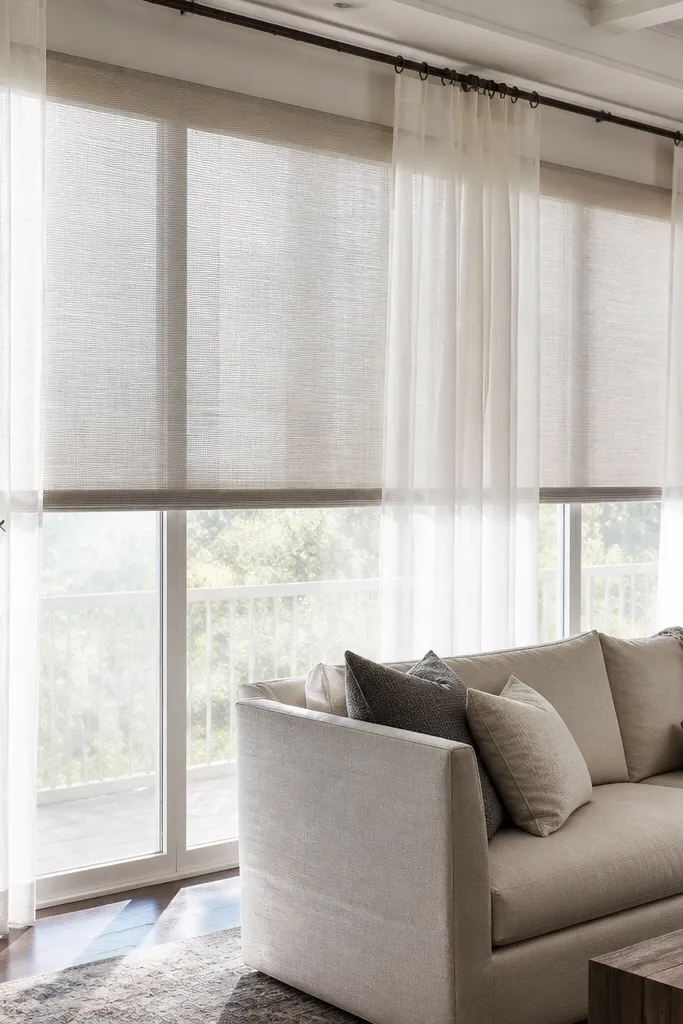
This hybrid gives you the best modern Bay Window ideas in one: the sheer keeps the room bright, and the roller shade handles light control without fabric bunching. Roller shades are great for bays because they sit close to the glass and don’t fight angles. Use a light-filtering roller shade in a neutral gray-beige behind a sheer layer that covers the track line. It’s a smart pick for rooms with glare on screens or windows that face strong sun. DIY is beginner to intermediate if you can mount the shade brackets accurately.
1) Mount the roller shade inside the bay opening or on the inner face so it runs straight and clears the window trim by a small margin. Then install a ceiling track for a sheer panel that spans each bay face with consistent overlap. 2) Choose sheer length for a 1/2-inch break and adjust the sheer so it covers the roller shade headrail by about 1 inch. Test shade up/down and confirm it doesn’t snag the sheer. Finally, steam the sheer and make sure the folds look intentional when the shade is down.
Editor's notePick light-filtering roller fabric with a matte surface; glossy roller shades reflect light and look off in photos.
Skip thisDon’t choose a sheer that’s too thick; it can reduce daylight more than you expect.
17. Curtain Panels in a Single Color With Contrasting Under-Edge
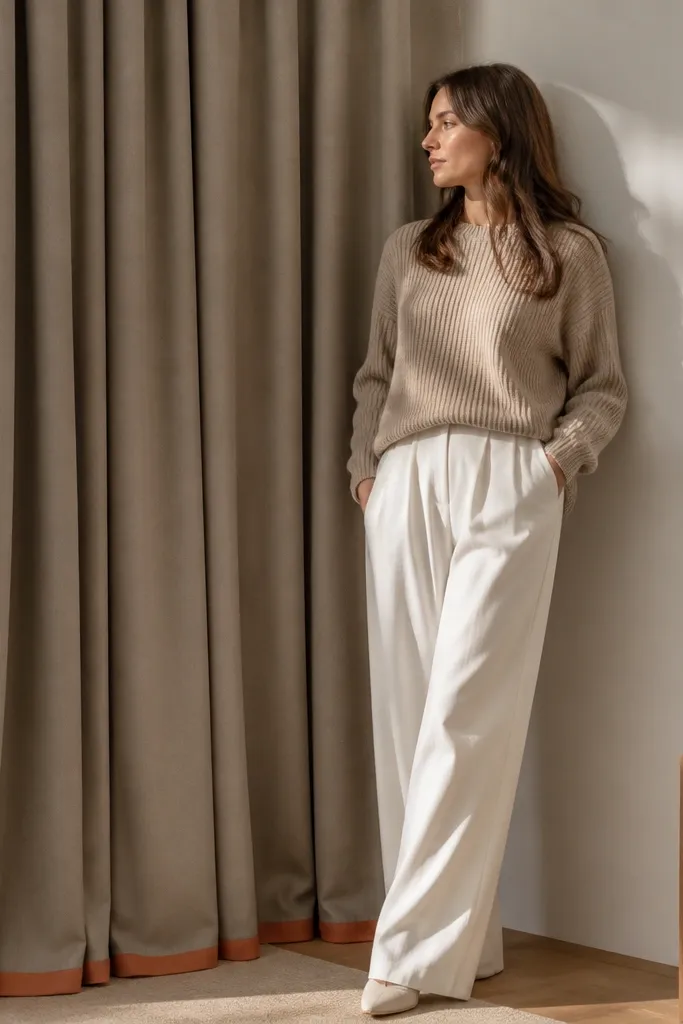
This idea is a modern Bay Window ideas trick for making plain curtains look designed. Keep the main fabric monochrome, then add a contrasting under-edge panel inside the hem so the bottom line has a subtle visual snap. When curtains move, the under-edge peeks out and looks intentional, not decorative clutter. Choose the contrast lightly — like off-white under charcoal or warm beige under cool gray. It’s best in rooms where you want a calm color palette but still want something that reads in daylight and at night. DIY is intermediate because you’re sewing an inner hem detail.
1) Hang your monochrome curtain panels on a ceiling track and set the finished length for a 1/2-inch break. Mark the final hem line and remove the panels if you need to sew comfortably. 2) Sew a narrow contrasting fabric strip (about 1.5-2 inches wide) to the inside hem facing, then fold and finish the hem channel so the contrast only shows when the fabric shifts. Rehang and steam to lock the hem crease. Check the contrast from both seated and standing eye level so it doesn’t show too much.
Use a contrast fabric with similar weight to the main fabric so the hem doesn’t ripple.
Don’t use a bright contrast color; it reads childish in bays and looks like an afterthought.
18. Sheer Curtains With Micro-Texture and Brass-Colored Track
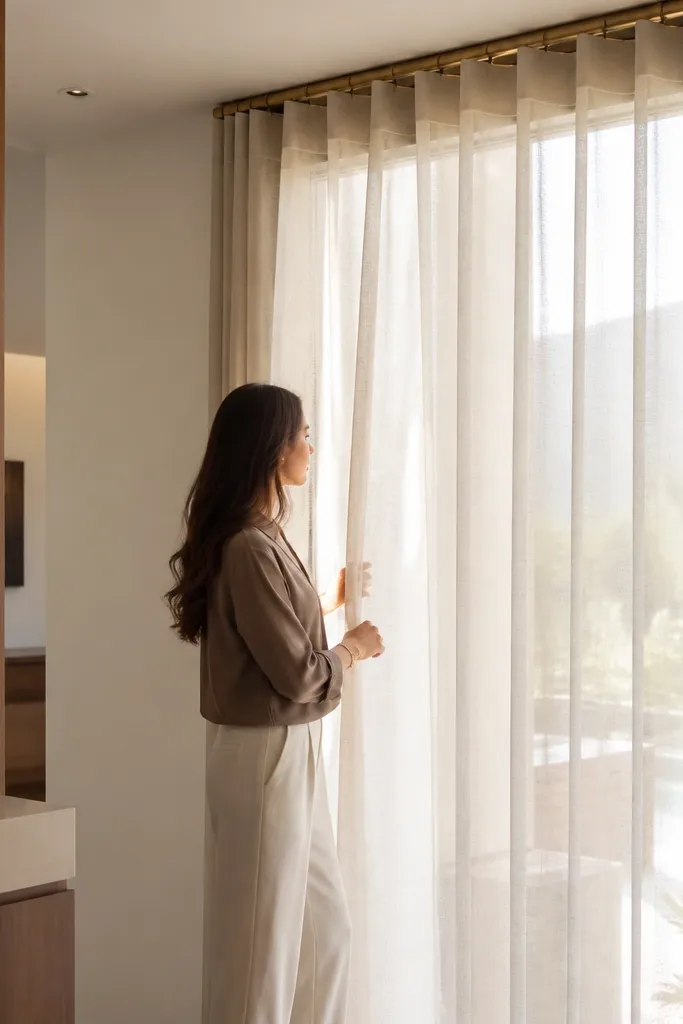
Brass-colored track hardware can look modern when you pair it with a micro-textured sheer. The texture gives depth in daylight, and the warm metal line looks intentional against neutral walls. This combination works when your room has warm wood tones or brushed metal fixtures. Keep the sheer in off-white and choose a tight weave so it doesn’t look like it’s shedding fibers. It’s a strong option for entry living spaces because it photographs well and makes the bay feel designed without heavy drapes.
1) Install a brass-colored ceiling track system 2 inches above the trim, centered across the bay faces. Hang sheer panels with pinch pleats so the fabric doesn’t collapse and hide the track line. 2) Use panel widths that stack neatly — about 2x the visible opening width per face — and adjust the spacing so folds meet at corners. Hem to a 1/2-inch break and steam to flatten the micro-texture. Finally, open and close the curtains to confirm the fabric slides smoothly over the track.
Wipe metal tracks with a dry microfiber cloth before installing; fingerprints show on warm metal.
Don’t pair brass hardware with shiny satin sheers; they look mismatched and glare-prone.
19. Two-Tone Sheer Panels With Vertical Stripe Alignment
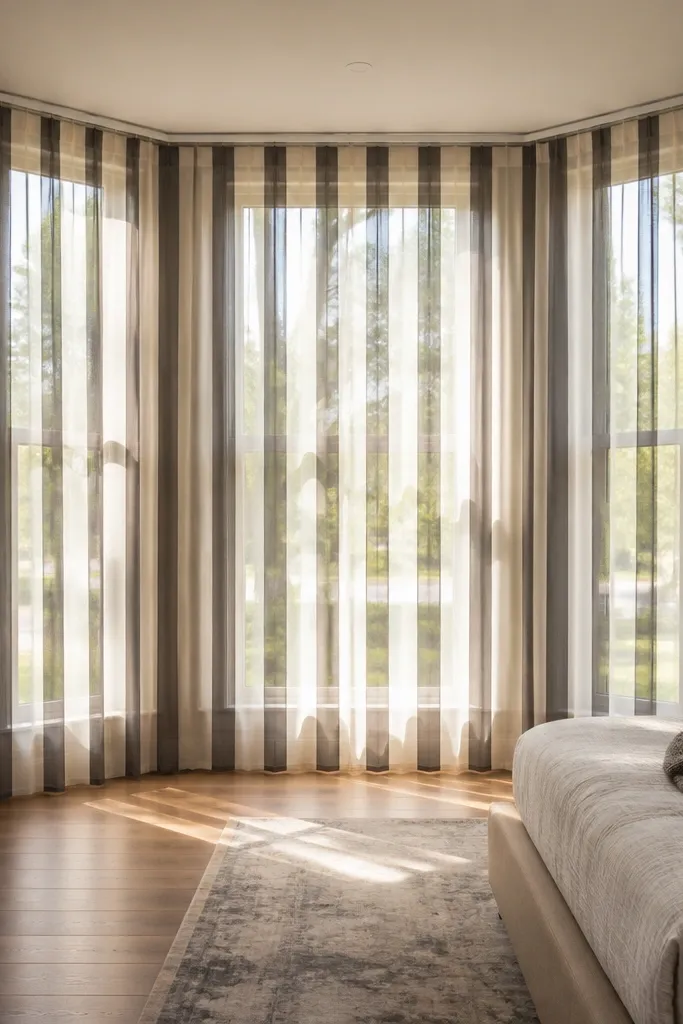
Vertical stripes make bays look taller, and aligning them across the bay turns a basic curtain into modern Bay Window ideas. Use two-tone sheer panels with a vertical stripe pattern and keep the stripe alignment consistent across each face so the bay reads as one composition. Choose a stripe scale that’s medium, not tiny, so it’s visible from across the room. This look is especially photogenic because daylight travels through the stripes and creates soft banding. DIY takes care because alignment is the whole point.
1) Install a ceiling track and hang panels without final spacing. Pull panels until the stripe lines match at the corner seams, then mark where the pleats land on the track carriers. 2) Adjust panel width so the stripes align across the angled faces — overlap the inner edges by 2 inches to hide seams. Hem to a 1/2-inch break and steam carefully without flattening too hard. After steaming, re-check alignment from the main seating position and tweak if needed before removing tags or finalizing.
Use a chalk pencil and mark stripe alignment on the inside edge so you don’t leave marks on the front.
Don’t cut panels without checking the stripe repeat; the bay angles can shift the pattern if you eyeball it.
20. Curtain Panels on a Slim Track With No Rings Visible
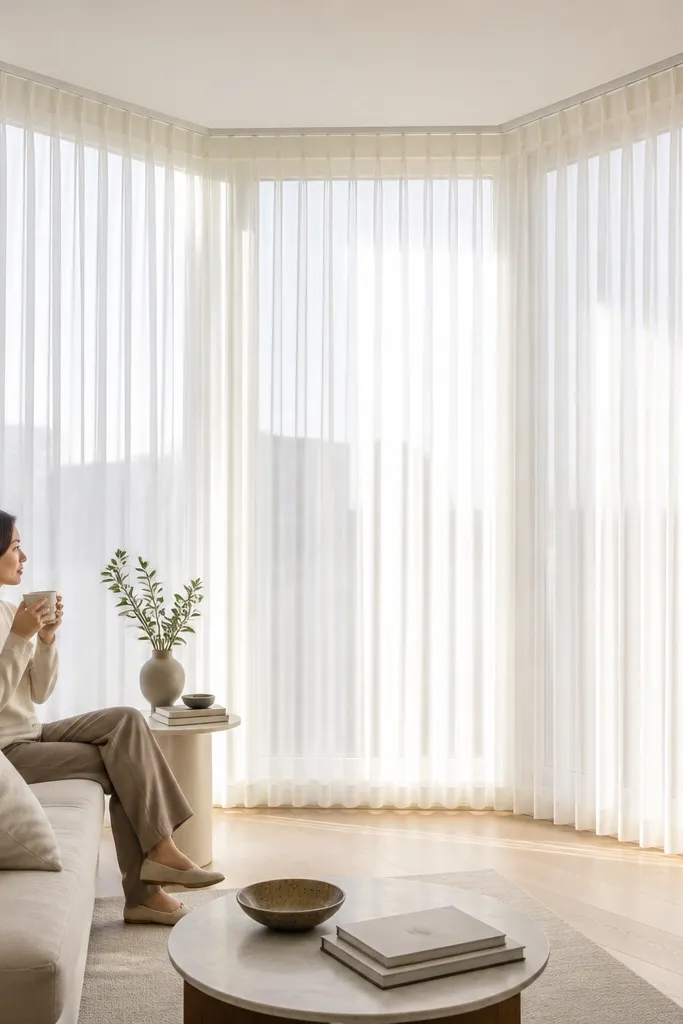
This is the modern Bay Window ideas version of “nothing extra.” A slim ceiling track plus a concealed carrier system keeps rings and hardware out of sight, so the bay looks sleek. Pair it with either solid sheers or light room-darkening curtains for a smooth, minimal line. The look is great in modern apartments, hallways, and rooms with low window trim because it doesn’t visually clutter the surround. DIY is intermediate because the track system needs careful alignment, but the finish is worth it.
1) Purchase a slim ceiling track system with concealed carriers and install it level, 2 inches above the trim. Use a stud finder to secure the rail; if you must anchor, use anchors rated for the curtain weight. 2) Hang panels using the track’s built-in carriers so the top hardware stays hidden. Set panel widths for clean stacking and adjust the carriers so folds land evenly at the bay corners. Hem and steam so the bottom line stays straight and the fabric doesn’t twist.
Use a laser level if you have one; a slight ceiling angle makes bays look off immediately.
Don’t use thick bulky fabric on slim tracks; it can snag and look messy at the corners.



