
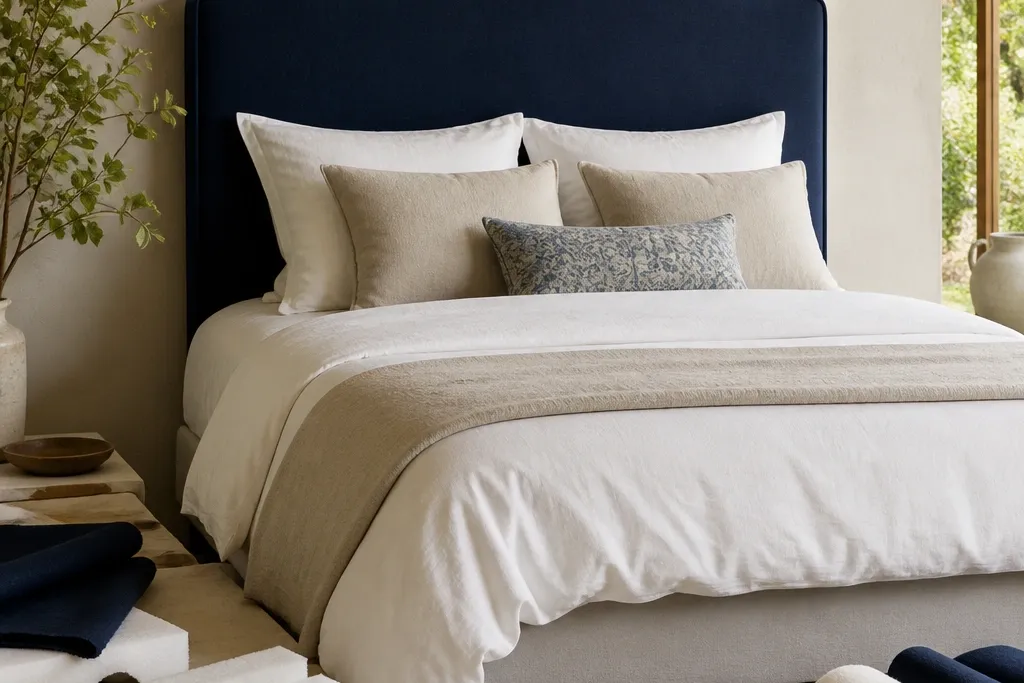
1. Piped upholstered headboard on a rigid plywood frame
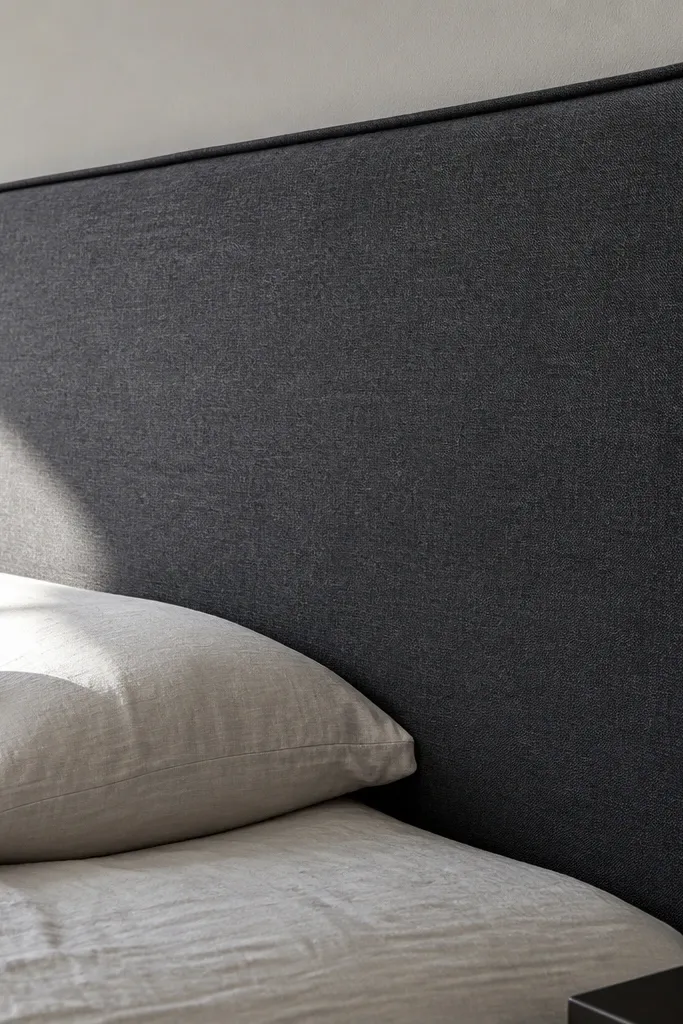
This is the “designer hotel” look that reads expensive even in harsh daylight, because piping makes the perimeter feel engineered. The build matters: a rigid plywood frame keeps the face flat, and foam thickness controls how the fabric drapes over the edges. Pick a tightly woven performance fabric if you want it to look clean for years; cheap upholstery fabric pills and fuzzes at the seams fast. The finished result anchors the bed visually and gives you a soft backrest without the sag that happens on loose DIY panels.
Step 1: Build a plywood rectangle for your bed size and add a perimeter cleat on the back so the front face sits perfectly flat. For foam, use 1.5 in high-density foam for support plus a thin 0.25 in layer of batting for a smooth top. Step 2: Wrap fabric using a consistent tension — start stapling in the center of each side, then work outward so the corners stay square. Step 3: Add piping by stitching it around the front edge first, then trap it under the fabric wrap so the seam stays hidden and the piping line stays crisp.
Editor's noteCut piping length with extra for a clean miter at corners, then trim after stapling so the corner doesn’t bunch.
Skip thisDon’t use thin foam or flexible backers — it makes the headboard look wavy instead of tailored.
2. Channel-tufted look using foam channels and false button caps
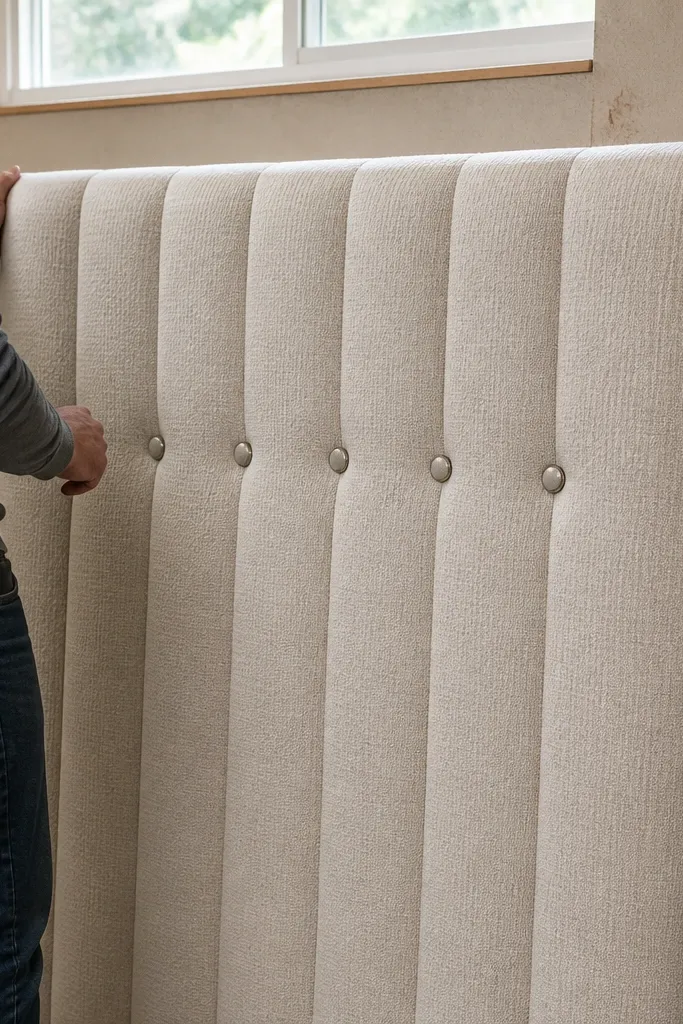
Channel-tufted texture reads luxury because it creates shadow lines, but deep tufting is where DIY gets frustrating. This method gives you the same visual depth with a controlled build: you cut shallow channels in foam and cover them so fabric falls into the lines. The false button caps add the high-end look without needing the heavy button-tufting hardware. It fits modern bedrooms, especially with linen or textured weaves where the channels catch light.
Step 1: Mark your channel grid on the foam before cutting. Use a straight guide and cut shallow grooves (about 3/8 in deep) so the fabric doesn’t tear at sharp edges. Step 2: Cover foam with a thin batting layer, then pull upholstery fabric tight while keeping channel spacing consistent — staple near the channel lines, not across them. Step 3: Install false button caps by gluing them to the fabric surface and securing through to the frame with short screws where needed.
Editor's noteUse a laser level or long straightedge to keep channel spacing dead straight — off-grid channels look cheap fast.
Skip thisSkip stretchy fabric for this — it warps the channel lines and makes the spacing look uneven.
3. Board-and-batten headboard with a framed center panel
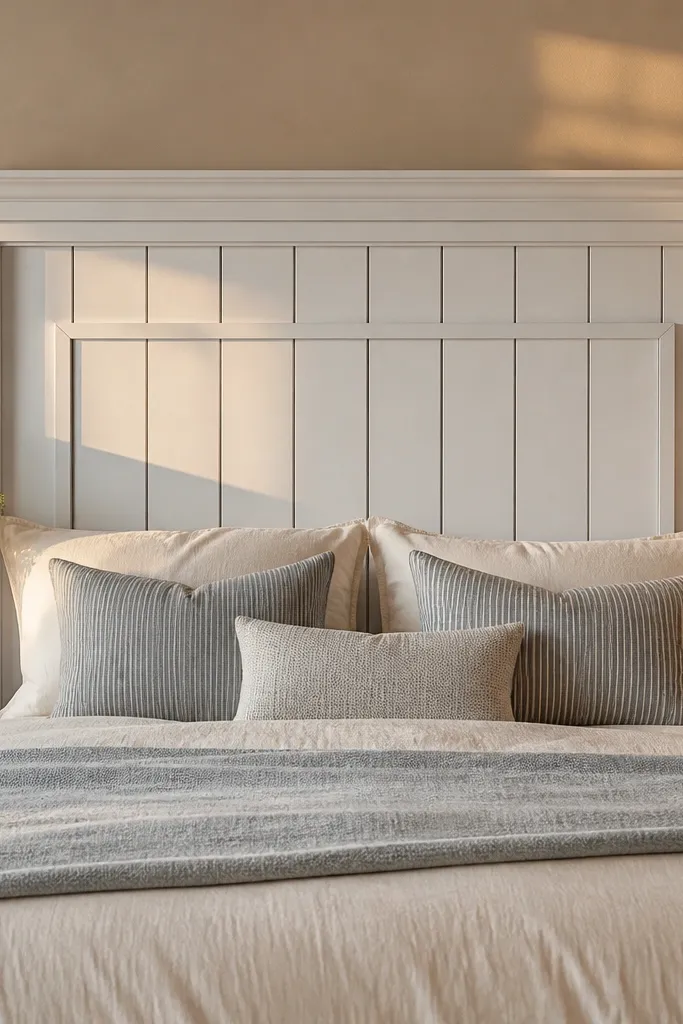
If you want luxury without upholstery, board-and-batten gives you that tailored, architectural look. The framed center panel makes it feel intentional, not like random slats glued to the wall. Stain plus a satin clear coat is the move here — it looks like furniture, not a craft project. This style works in farmhouse, modern farmhouse, and transitional rooms, and it’s friendly for people who don’t want to wrestle fabric.
Step 1: Build a rectangle frame from 1x3 or 1x4 boards, then add vertical battens evenly spaced across the center panel. Measure your center panel width so the battens don’t drift — draw a simple spacing grid before cutting. Step 2: Pre-sand everything to 150 grit, then fill nail holes with wood filler and sand again to 220. Step 3: Stain the entire assembly, let it dry fully, then apply a satin clear coat in thin coats.
Editor's noteUse wood glue plus 18-gauge brad nails for the frame joints — it stays square and doesn’t loosen later.
Skip thisDon’t skip pre-finishing — raw wood edges drink stain unevenly and ruin the “designer” uniform look.
4. Walnut-stained wood slat headboard with a hidden back rail

Wood slats look expensive when they’re consistent and when the mounting doesn’t show. This design uses a back rail that supports the slats and lets you hang the headboard securely without visible hardware on the front. A walnut stain plus satin topcoat creates depth that looks like store-bought furniture, especially when the slats are sanded smooth and the edges are slightly eased. It suits modern and Scandinavian bedrooms, and it’s great if you want airflow behind the bed.
Step 1: Cut two horizontal rails and several vertical slats with the same width and length. Sand slats to 220 grit and lightly ease edges with a sanding block so they don’t feel sharp. Step 2: Attach slats to the rails with wood screws from the back, spacing them with a jig (a scrap spacer works if it’s the exact width you want). Step 3: Build a mounting rail on the back — use French cleat style or a concealed ledger — then hang it above the mattress so it doesn’t touch bedding.
Editor's noteIf you want extra depth, use a conditioner before walnut stain so the color doesn’t go blotchy on lighter boards.
Skip thisDon’t mount slats directly to drywall with visible anchors — the front will look messy and it can loosen over time.
5. Wallpaper luxury headboard with a thick trim frame
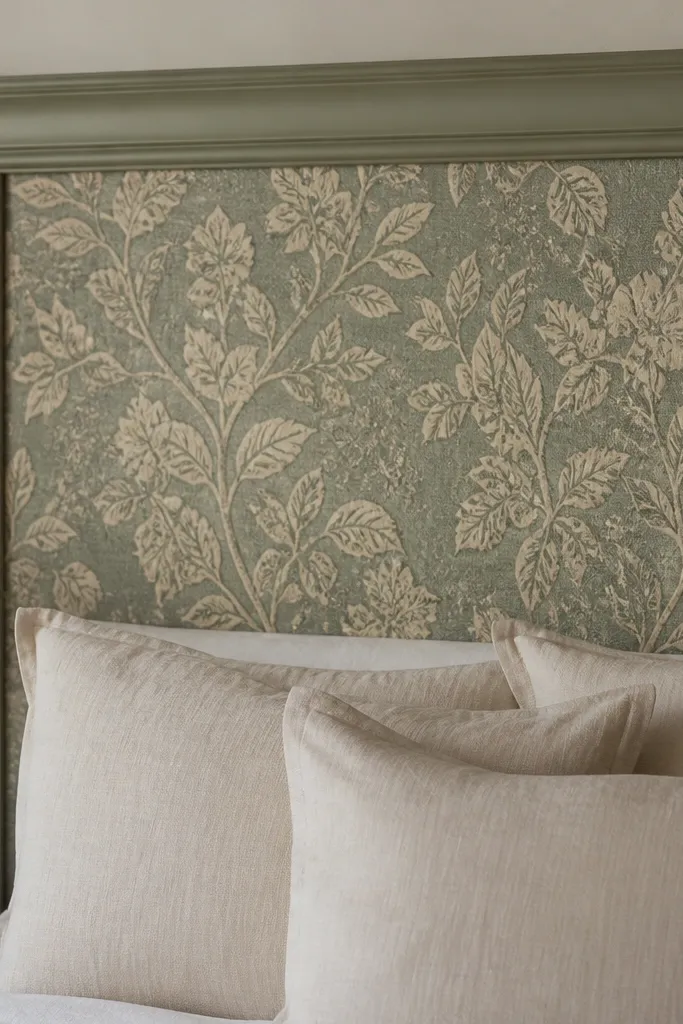
This is the quickest way to get a luxury look when you don’t want upholstery work. The trick is not the wallpaper itself — it’s the thick trim frame that makes the panel look built, like a design piece, not a printed sheet. Use wallpaper with a heavier weight so it doesn’t ripple, and seal it with a clear matte topcoat after dry for durability. This works especially well in guest rooms, renters setups, and bedrooms where you want a bold statement but limited time.
Step 1: Build a rectangular frame from MDF or plywood trim pieces so the panel is rigid. Cut a backing panel, mount the wallpaper to it, then trim cleanly with a sharp utility knife. Step 2: Install the frame over the wallpaper edge so the cut line disappears under the trim — gaps are the enemy here, so dry-fit first. Step 3: Seal the wallpaper surface with a compatible matte sealer and let it cure fully before mounting.
Editor's noteMatch the wallpaper pattern across the panel before you glue — misalignment kills the luxury effect immediately.
Skip thisAvoid thin wallpaper — it shows wrinkles and seams under bed-level lighting.
6. Rope and macramé wall panel with a solid backing board
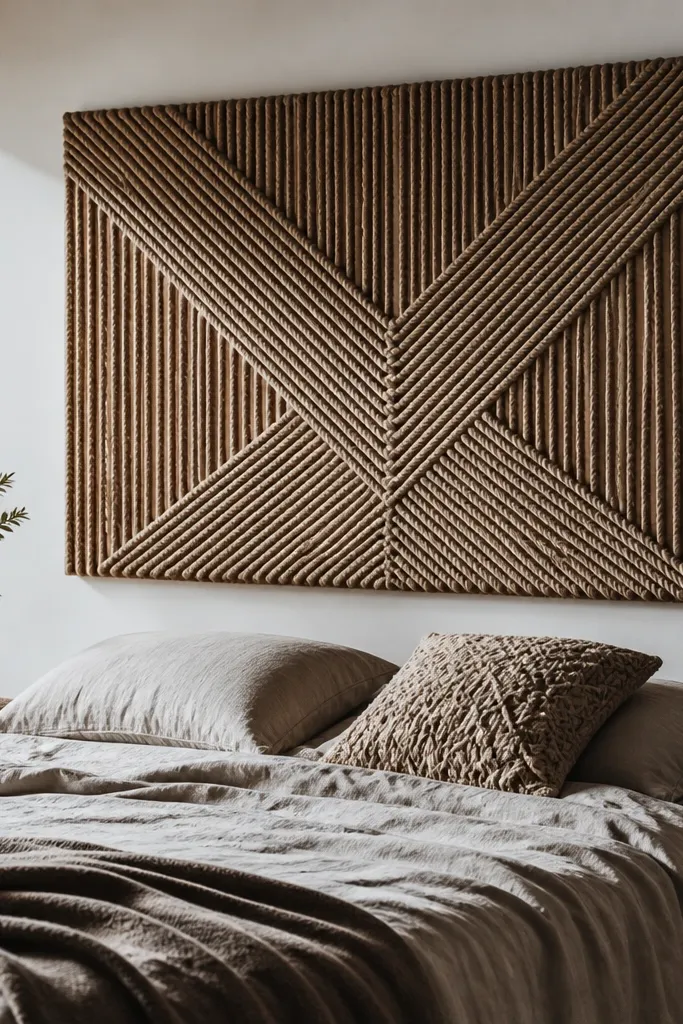
Rope wall panels look airy and expensive when they’re built on a solid backing that keeps everything taut. The luxury comes from the texture and the controlled shape — not from free-hanging knots that sag. Use a thick cotton rope or jute blend and keep your tension even so the pattern stays crisp. This fits boho, coastal, and soft modern interiors, and it’s a good match if you want something that doesn’t feel like traditional furniture.
Step 1: Stretch rope over a backing board frame and secure with strong adhesive or tie-off knots at consistent intervals. Keep the rope diameter consistent so the texture looks uniform across the panel. Step 2: Build a simple geometric pattern (vertical rows or a wave) so the eye reads structure. Step 3: Mount the finished panel on a wall using a French cleat or two sturdy top anchors into studs.
Editor's notePre-wax or lightly condition rope before assembly if your rope frays — it cleans up the look at the edges.
Skip thisDon’t mount it directly without a backing — the panel will bow and look uneven once it’s on the wall.
7. Powder-coat look metal grid headboard with a fabric backing
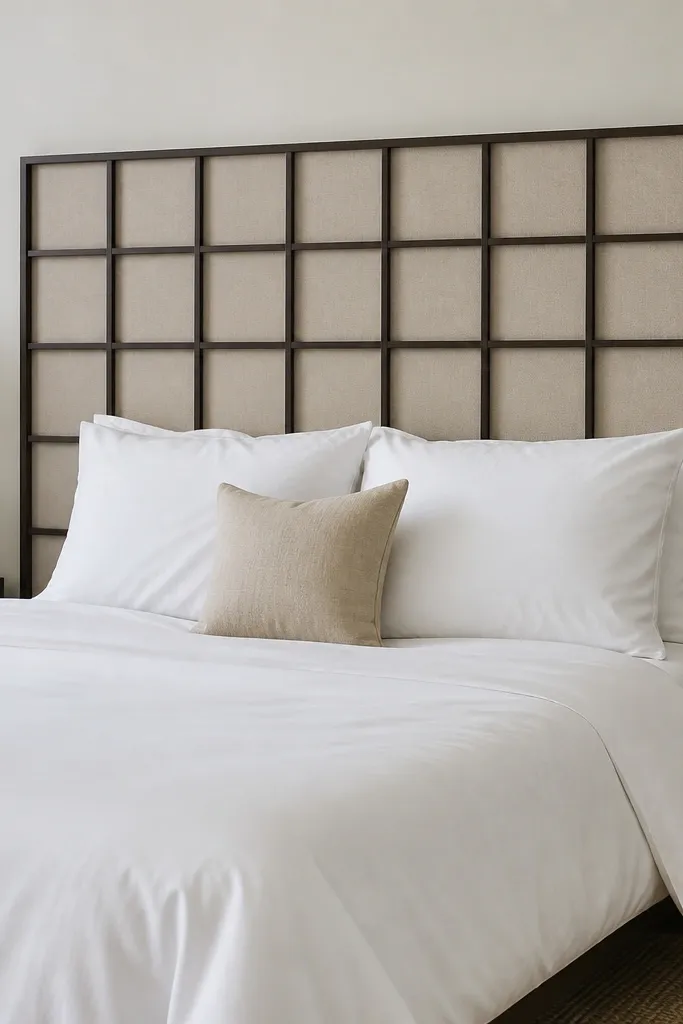
Metal grid headboards look designer when the grid is straight and the finish is consistent. The luxury trick is adding a fabric backing behind the grid so the bed feels comfortable and the wall behind doesn’t show through. Paint the metal for a powder-coat look using a proper primer and multiple light coats so it doesn’t chip. This style works in industrial, modern, and transitional rooms, especially with neutral bedding that lets the grid pattern stand out.
Step 1: Assemble or source a metal grid frame and sand it lightly, then clean with degreaser. Prime the metal with a bonding primer, then spray paint with light passes — let each coat flash off before the next. Step 2: Attach a fabric backing panel behind the grid using staples or small screws — use a dense upholstery fabric so it doesn’t wrinkle. Step 3: Mount with a top ledger rail into studs so the headboard stays level.
Use painter’s tape to mask the grid intersection lines while painting if you want the pattern to look extra crisp.
Skip the primer — paint won’t grip well on metal and it will wear around edges.
8. Oversized tufted look using fabric panels and stitched channels (no button hardware)
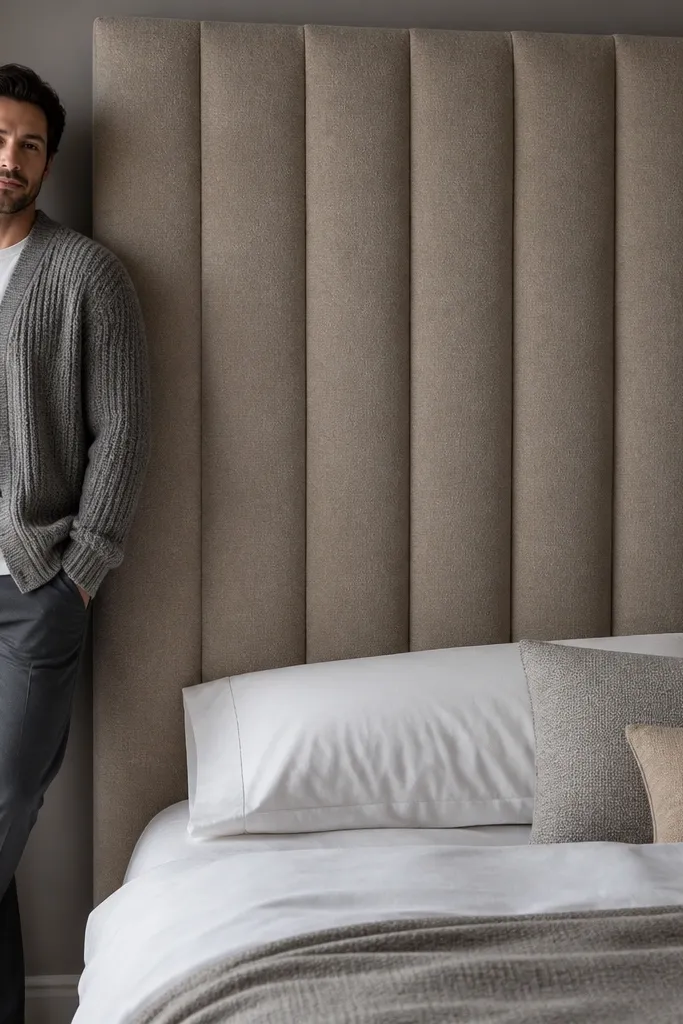
If you want the sculpted look of tufting but don’t want to install button backs and heavy hardware, stitched channels is the smarter DIY path. You get the deep, tailored shadows by stitching through fabric and batting into a foam layer, then keeping the panel rigid behind the scenes. This looks great in bedrooms with bold wallpaper or solid bedding because it adds structure without needing visible button hardware. It’s a good choice for people who can sew and can measure straight lines.
Step 1: Build a rigid panel and place a medium-density foam layer on top, then cover with batting. Step 2: Mark channel lines and stitch with a strong upholstery thread, pulling the fabric tight at each channel so it forms consistent dips. Step 3: Wrap the panel edges cleanly and attach the backing so the front stays smooth and the stitches don’t distort the perimeter.
Editor's noteStitch with a walking foot if you have one — it prevents fabric creep that makes channels drift.
Skip thisDon’t rely on batting alone without foam support — the channels will relax and flatten over time.
9. Luxe faux leather headboard with a wrapped edge and hidden zipper
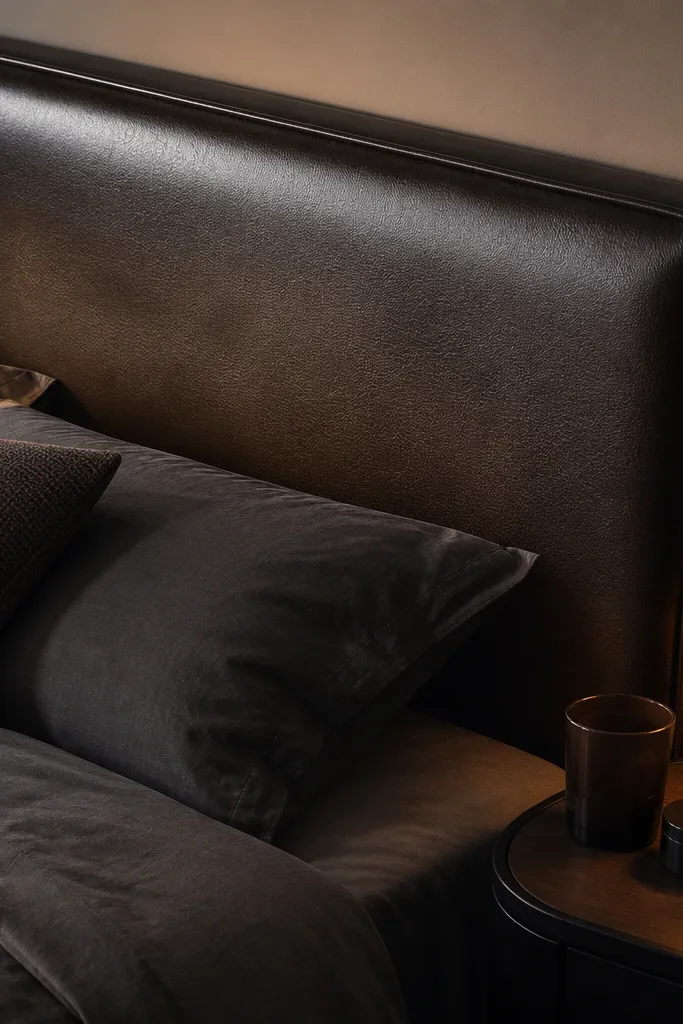
Faux leather reads luxury because it reflects light smoothly and hides minor imperfections better than many textiles. The wrapped edge makes it look tailored, and a hidden zipper at the back lets you remove and re-cover later instead of replacing the whole thing. It’s a practical pick for kids, pets, and high-traffic bedrooms because wipe-clean surfaces hold up. This style works best in sleek, modern, and glam-leaning spaces where you want a bold statement.
Step 1: Build a padded frame and attach a removable cover panel using a zipper along the back edge. Use foam that’s firm enough to prevent creasing, then wrap faux leather with consistent tension. Step 2: Sew or install the cover so the front has no visible seam bulk — keep seams on the back corners. Step 3: Mount the headboard to a bracket system so it sits straight and doesn’t pull the cover off alignment.
Editor's noteUse a leather needle and test stitch on scrap first — faux leather can pucker if the needle is wrong.
Skip thisDon’t stretch faux leather too hard — it will wrinkle at the edges after mounting.



