
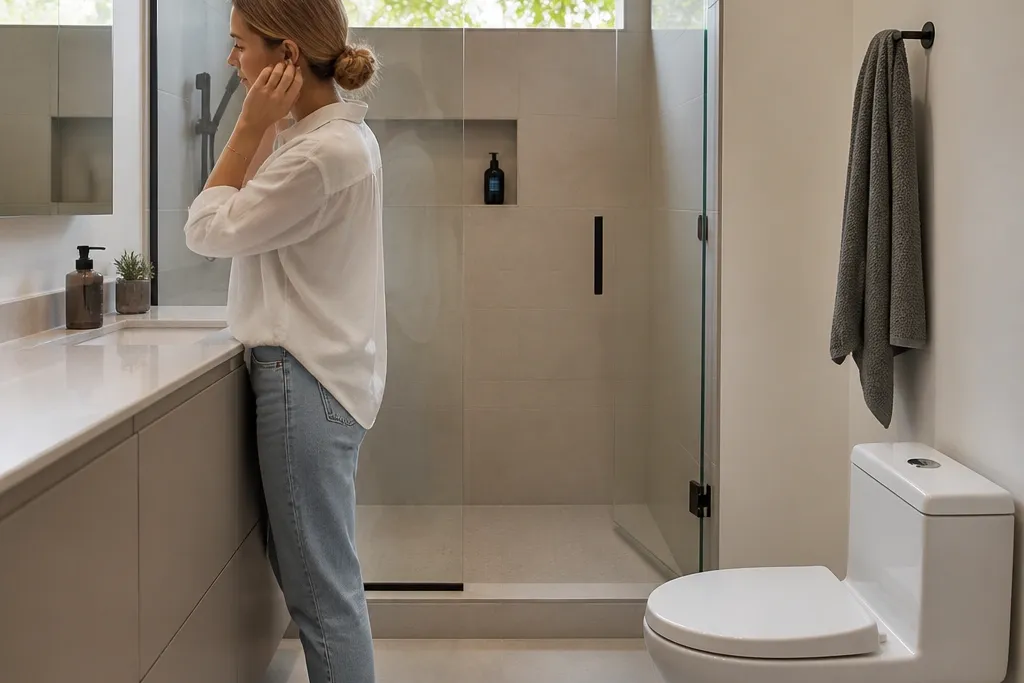
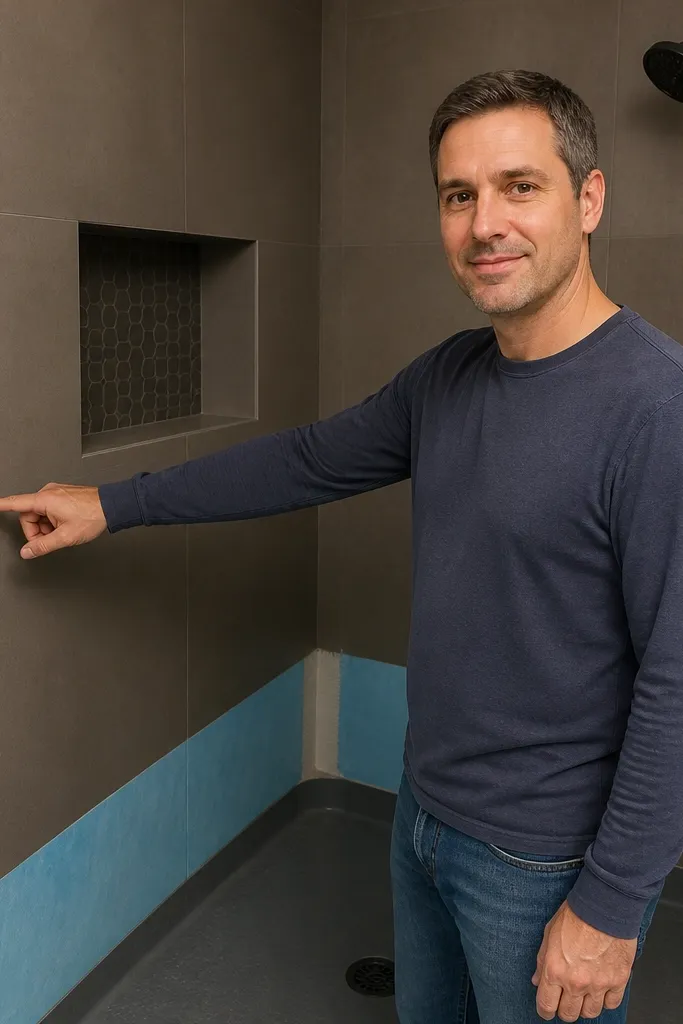
1. Matte porcelain shower walls instead of glossy tile
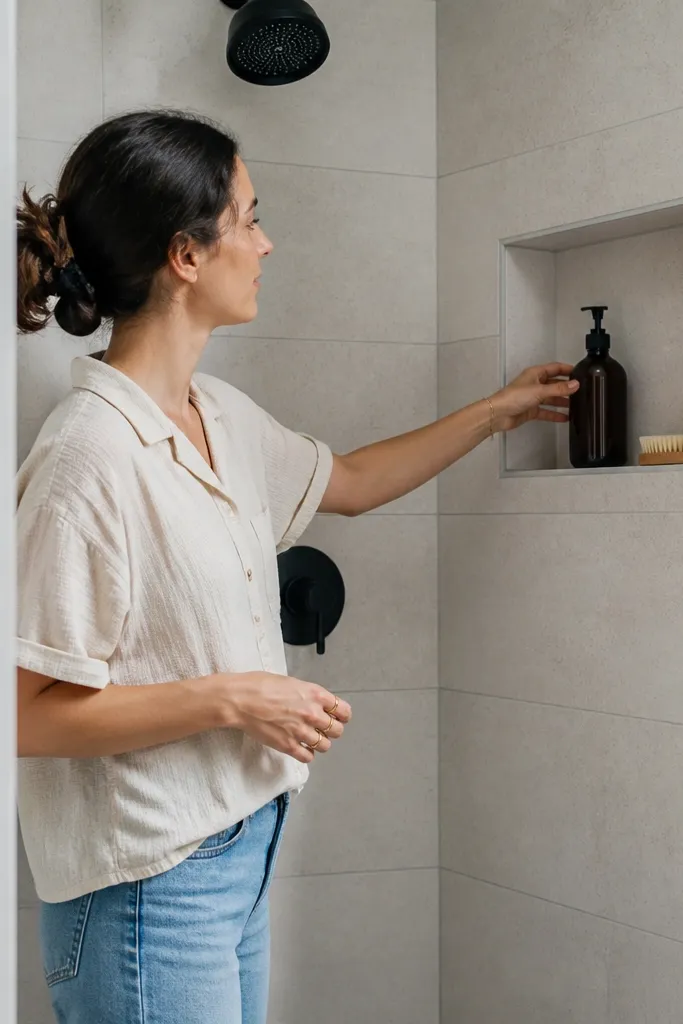
People think glossy tile looks cleaner because it reflects light. In a small bathroom, it also shows every water spot and every streak from quick wipe-downs, so you end up cleaning more than you planned. Matte porcelain hides micro-water marks better and still looks sharp when the grout lines are tight. This is one of the simplest ways to get the “low maintenance” vibe without changing your routine. Skill level is moderate since you’re tiling, but the payoff is real: less visible buildup and easier day-to-day care.
Editor's noteUse a tile leveling system on the first two rows so the rest of the wall stays straight without rework.
Start by measuring your shower surround and choosing a tile size that reduces cuts — 12x24 for walls is usually easier than lots of small pieces. Then plan your layout so you keep grout lines consistent and avoid narrow sliver tiles near corners. Install with a thinset made for porcelain and use a waterproofing system behind the tile if your wall isn’t already waterproof. Finish with a grout color close to the tile and a grout sealer if your product recommends it, then cure fully before the first shower.
Skip thisDon’t pick glossy tile unless you’re committed to wiping the walls after every shower.
2. One-piece or easy-clean toilet instead of a crevice-heavy design
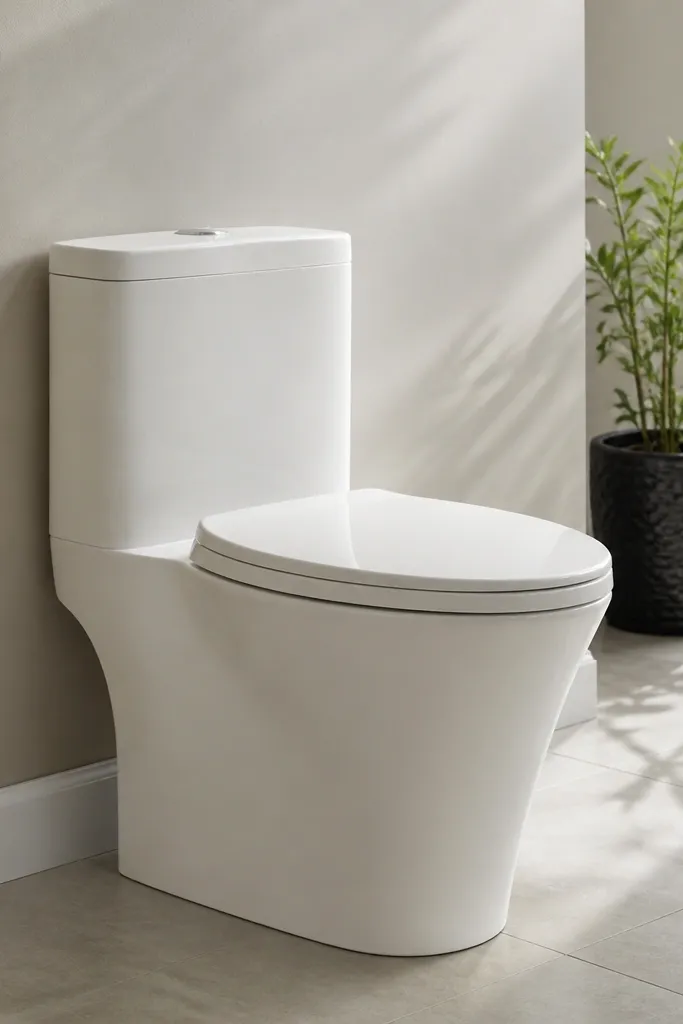
A small bathroom toilet is where cleaning gets gross fast, because grime collects around seams and under awkward shapes. Many “decorative” toilets have extra contours that trap dust and make the rim harder to scrub. A one-piece toilet with smooth sides and an easy-to-clean rim is a direct fix: you wipe, it looks clean longer. It also helps with maintenance because there are fewer joints to inspect for leaks. This is an easier swap than people think — you’re mostly matching the rough-in and choosing the right bowl shape.
Editor's notePick a toilet with a skirted or smooth exterior so you can clean with one pass using a toilet-safe spray and a microfiber cloth.
Measure your rough-in distance from the wall to the center of the drain — 10-inch and 12-inch are the common ones. Choose a one-piece toilet that matches that rough-in so you don’t have to rebuild the flange. Turn off water, remove the old toilet, check the flange height, and set the new toilet on a new wax ring. Tighten evenly, caulk the base with bathroom-rated silicone, and run a leak test by filling and checking around the base for drips.
Skip thisDon’t buy a toilet based on color alone — rim access and exterior seams matter more for maintenance.
3. Shower pan waterproofing you can verify before tile
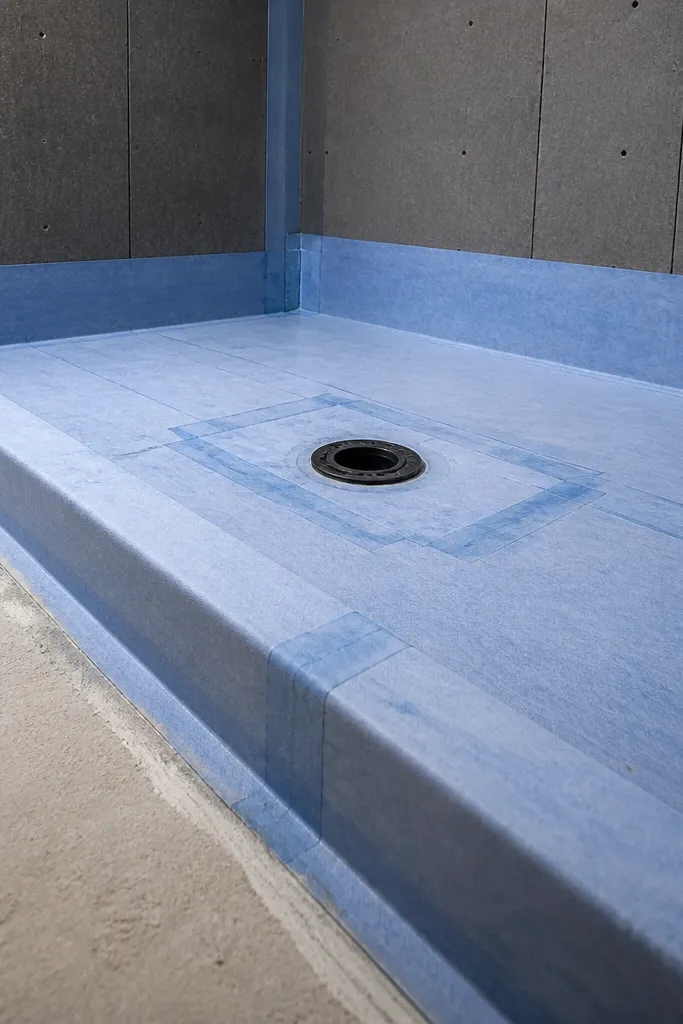
Low maintenance starts before you see the finished walls. If waterproofing fails, you get hidden damage that turns into a future remodel — not a simple fix. The mistake is trusting a “water-resistant” wall system without checking the details and seams. A proper shower pan waterproofing system lets water stay where it belongs, so you don’t deal with soft spots, mold smells, or recurring repairs. This project is hands-on but straightforward if you follow the system’s steps and curing times.
Editor's noteTape and seam-check every transition — the corners and around the drain are where most failures start.
Start by removing old materials down to the subfloor and framing, then inspect for flatness — thinset and membranes hate dips. Install a shower pan waterproofing system that includes the drain flange and properly sealed seams, not just a coating you brush randomly. Do the required flood test or system pressure test if your method calls for it, and document the results for your own peace of mind. Only after the waterproofing passes do you install the tile over the wall and pan, following the manufacturer’s thinset and reinforcement guidance.
Skip thisDon’t skip the flood test or rush curing times just to get to tile.
4. Bathroom fan with sealed ducting and a real timer switch
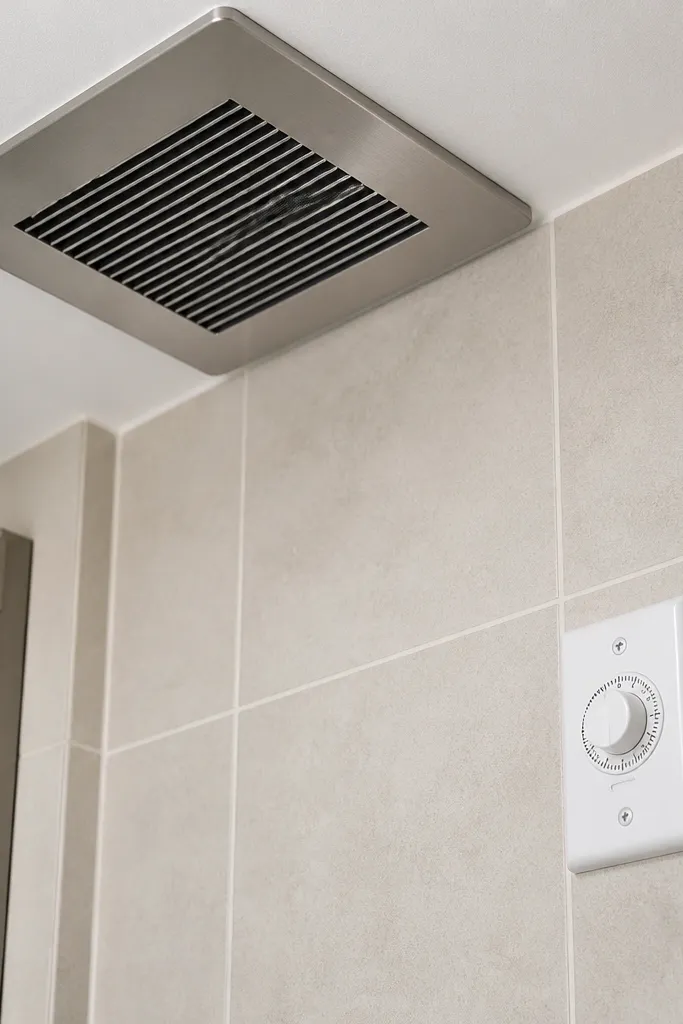
A small bathroom that stays damp is a cleaning problem disguised as a ventilation problem. If your fan doesn’t move air long enough, you get mildew spots on grout and a persistent musty smell. The common mistake is swapping in a fan without sealing duct joints or using a basic switch that shuts off immediately after you leave. Choose a fan sized for the room and connect it with sealed ducting so moisture actually clears. This is one of the highest impact low-maintenance upgrades because it prevents issues that create more work later.
Editor's noteUse a humidity-sensing switch if you want hands-off control when you forget to turn the fan on.
Measure your bathroom square footage and ceiling height, then choose a fan with the right CFM rating for your space. Install the fan with a duct run that stays as short and straight as possible, then seal every duct joint with foil HVAC tape. Set up a timer switch or humidity-sensing control so it runs 15-30 minutes after you exit. Test airflow with a tissue near the grille and confirm the duct termination isn’t blocked before you close the ceiling.
Skip thisDon’t use flex duct for long runs without support — sagging blocks airflow and kills performance.
5. Quartz or solid-surface countertop with sealed edges
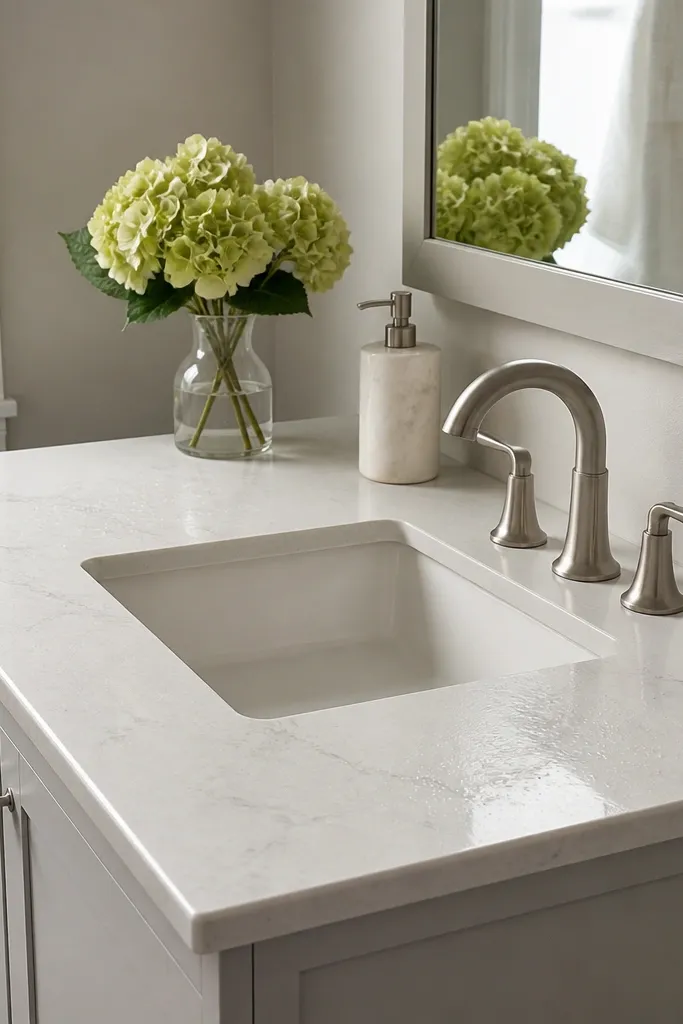
Countertops get the most daily abuse in a small bathroom. The mistake is choosing a porous surface or leaving edges unsealed so water sits at seams and chips slowly. Quartz and solid-surface materials resist stains, wipe clean fast, and look consistent even after years of splash. If you go with a vanity top, prioritize an integrated or well-fitted sink so gunk can’t collect in a hidden seam. This upgrade reduces scrubbing and also protects the cabinet below from standing water.
Editor's noteChoose a slightly darker edge color than the top so tiny chips don’t jump out.
Pick a countertop material with a non-porous surface and a finish that doesn’t show every smear — matte or satin works well. Confirm overhang and sink cutout dimensions match your vanity cabinet before ordering. Install with a thin bead of silicone at the seam where it meets the cabinet top, then tighten clips if your design uses them. Seal any backsplash seam and check that water doesn’t pool at corners — fix that before caulking cures.
Skip thisDon’t rely on caulk alone between the sink and countertop — it needs to be the right fit and still be cleanable.
6. Fog-resistant mirror with wipeable coating
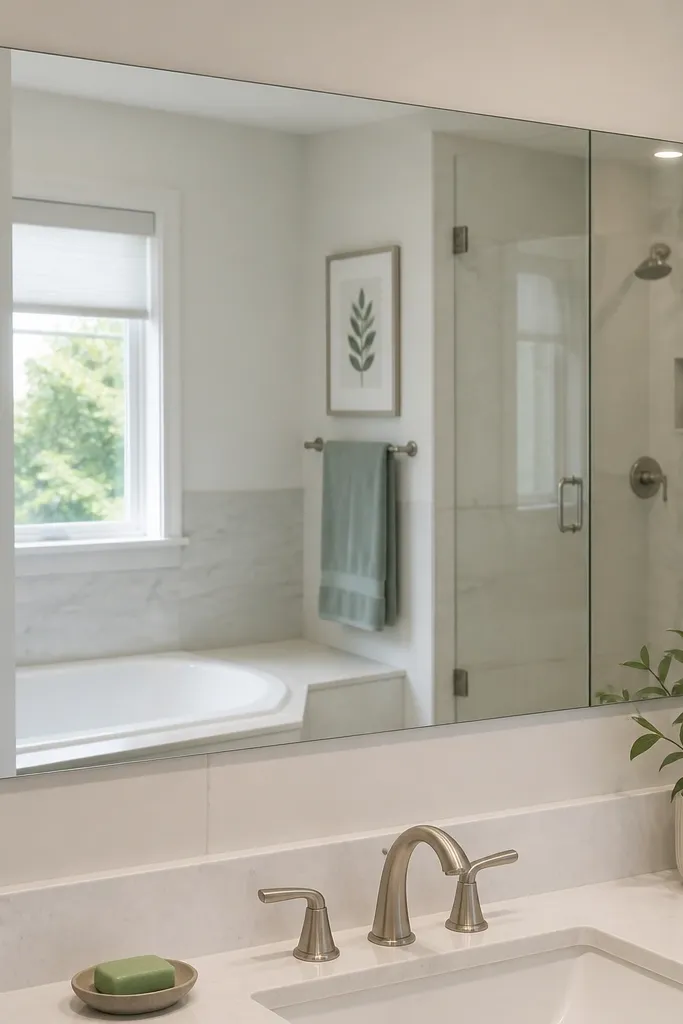
A foggy mirror makes you wipe with whatever is handy, and that creates streaks and grime that stick around. The low-maintenance fix is a mirror designed to resist fog or a mirror with a wipeable coating that doesn’t smear when you clean quickly. The mistake is buying a plain mirror and then dealing with constant condensation, especially in small bathrooms where warm humid air hits the glass fast. A mirror that stays clear means fewer wipes and less buildup around the edges. This is a cheap change that improves daily usability.
Editor's noteUse a microfiber cloth and a gentle glass cleaner — avoid paper towels that create micro-scratches and streaking.
Choose a mirror with an anti-fog feature or a coating rated for bathroom cleaning. If it’s hardwired or has a pad, check the power location before mounting. Remove the old mirror carefully and check the wall for flatness where clips or adhesive will sit. Install using the manufacturer’s mounting method, then test with a hot shower to confirm the fog clears within a reasonable time.
Skip thisDon’t mount a mirror over fresh tile grout lines that aren’t fully cured — moisture can creep into gaps.
7. Anti-splash sink layout with a backer splash that wipes easily
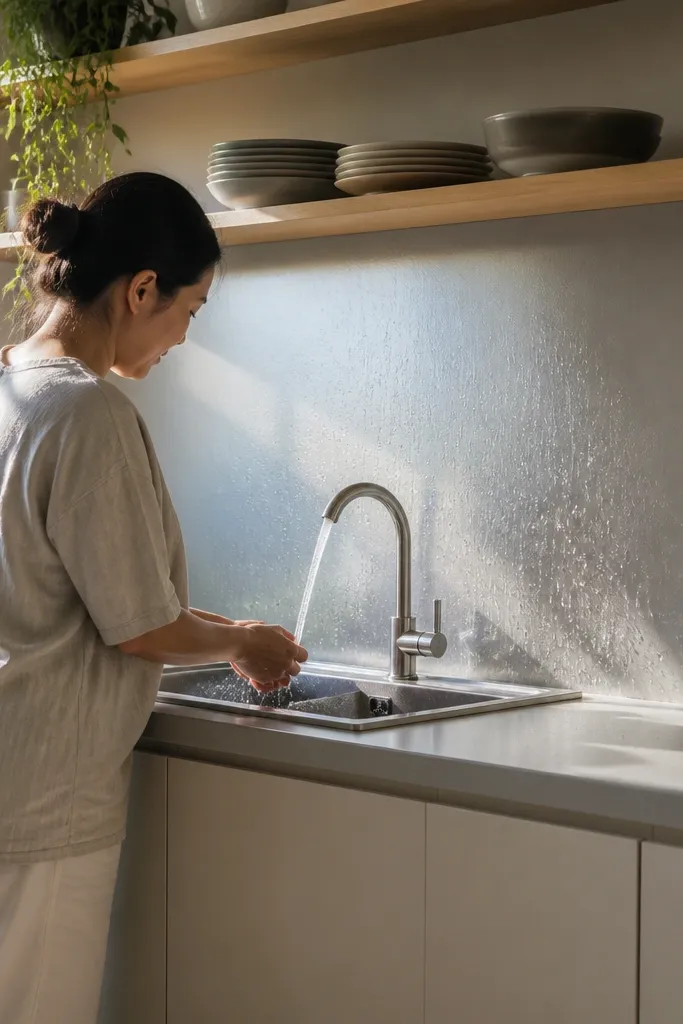
Splash marks are constant in small bathrooms because there’s nowhere for water to land safely. People fix it with a decorative backsplash that has texture or deep grout lines, then spend weekends scrubbing it. A smooth, wipeable backsplash — like a sealed tile sheet with minimal grout or a solid-surface panel — keeps water from spreading across the wall. This reduces cleaning time and makes the whole wall look tidy even between cleanings. The project is easy if you plan the height and keep the seams clean.
Editor's noteDry fit the panel and mark outlet locations so you don’t end up with awkward gaps around the faucet plumbing.
Measure from the countertop up to where faucet spray lands, then set a backsplash height that covers that zone — often 4-10 inches depending on faucet type. Use a smooth material that you can wipe without scrubbing, and keep grout lines narrow if you tile. Install a backer board if you’re going over drywall that needs protection, then apply thinset or adhesive rated for the material. Caulk the edges with bathroom-grade silicone so water can’t creep behind the panel.
Skip thisDon’t use a high-texture backsplash or lots of small tiles — it turns into a grime magnet.
8. Smooth, frameless shower door with minimal tracks
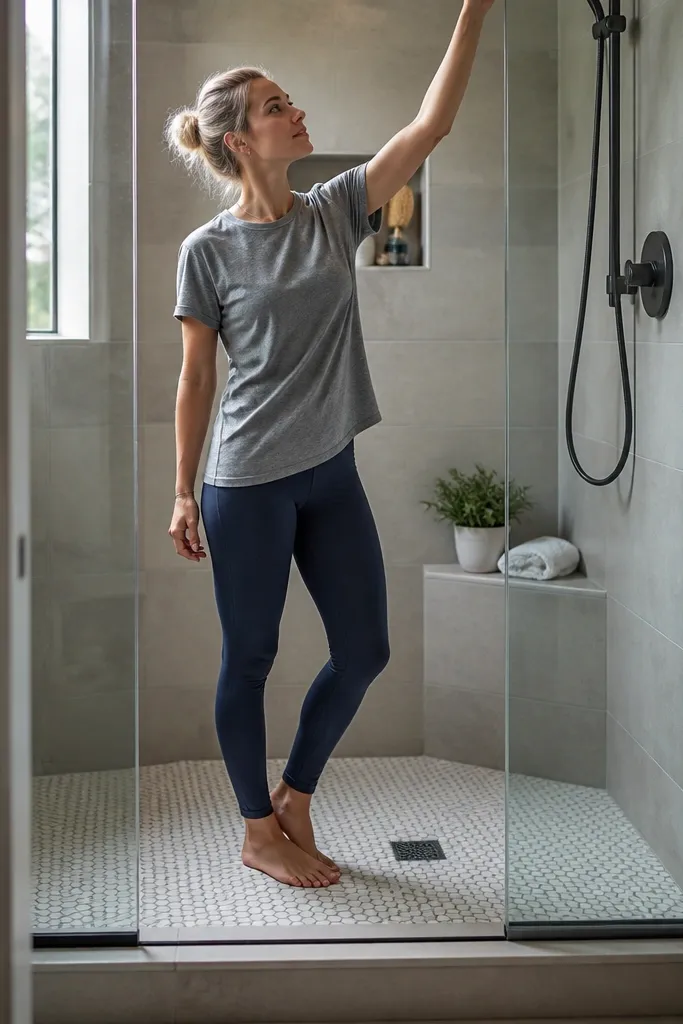
A shower curtain is easy to replace, but it’s also easy to forget until it smells. The common mistake is choosing a door with heavy hardware and a track that collects soap scum. A frameless or near-frameless glass door with a simple bottom seal makes wiping faster and reduces the places water sits. In a small bathroom, less visual clutter also helps the room feel larger, which changes how messy it looks. If you’re worried about maintenance, glass with a proper coating helps a lot.
Editor's noteAdd a squeegee hook inside the shower so you can do a 10-second pass after each use.
Measure the shower opening width and height including any out-of-square issues. Choose a door system with a track that’s easy to access or minimal tracks if your layout supports it. Install with the proper anchors into studs and seal the bottom and side edges with silicone designed for glass. After installation, apply a glass water-repellent coating only if the manufacturer allows it, then clean with a non-abrasive squeegee routine.
Skip thisDon’t pick a door that forces you to clean a deep track — it’s always more work than you expect.
9. Wipe-down storage: closed cabinets plus a tall slim pull-out
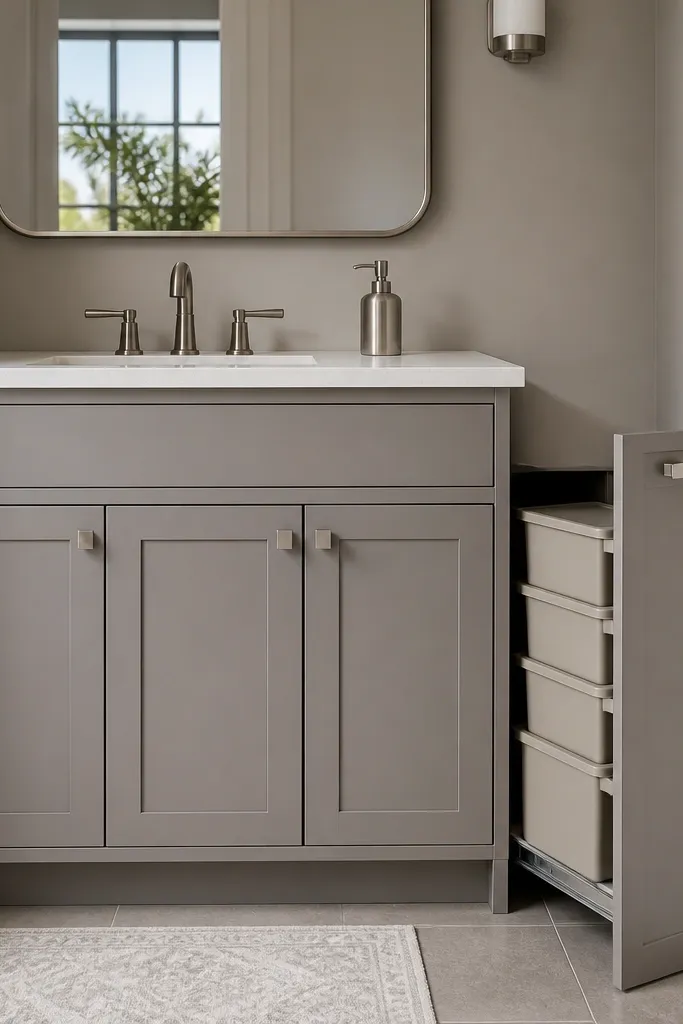
Open shelves look nice until your small bathroom turns into a visible mess. The mistake is planning storage around display, not around quick wipe-down. Closed cabinets keep products from becoming dust collectors, and a slim pull-out helps you store overflow without crowding the counter. When everything has a home, you clean less because there’s less to move around. This is one of those upgrades that doesn’t look dramatic, but it changes your day-to-day reality.
Editor's noteUse clear bins only inside drawers; keep the cabinet exterior closed so the room stays calm.
Start by listing what you use weekly: toothpaste, body wash, hand soap, hair tools. Choose a vanity with doors that fully close and add at least one pull-out or drawer insert for bottles so they don’t topple. Install organizers before you do final caulking and hardware so you can adjust spacing. Keep a small caddy for daily items and move everything else inside — that’s the system that stays low maintenance.
Skip thisDon’t rely on towels on open hooks as storage — they collect dampness and look messy fast.
10. Hidden shutoff valves behind an access panel
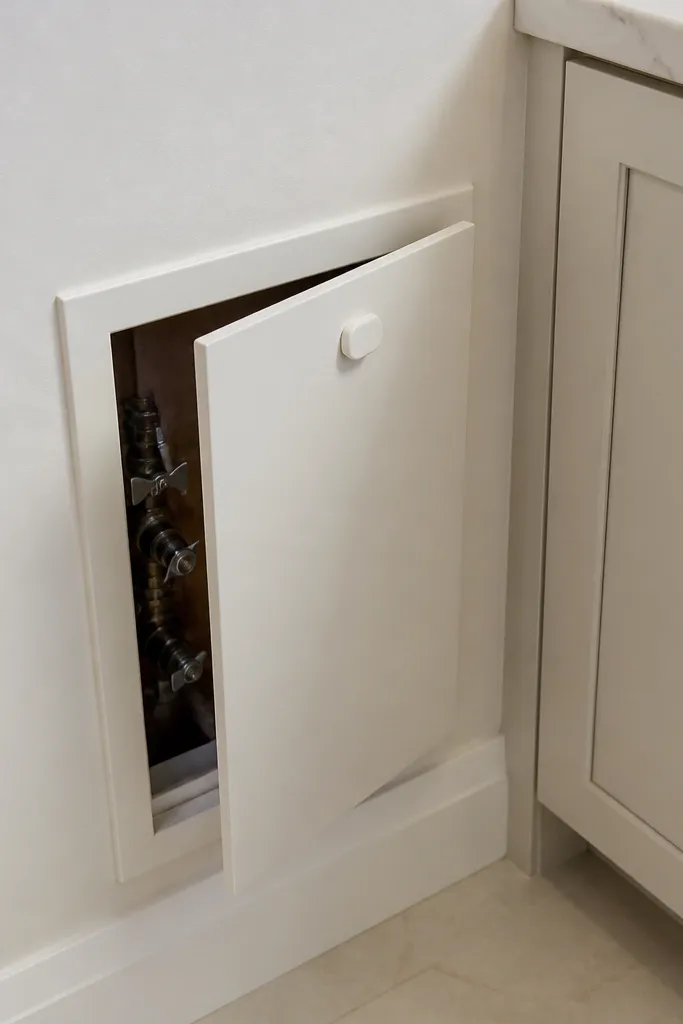
A leak in a small bathroom gets ugly fast because everything is close together. The mistake is burying shutoffs behind drywall with no access, so a minor drip becomes a demolition project. Hidden shutoff valves with a simple access panel makes maintenance realistic. You can turn off water quickly, fix a fitting, and move on without tearing up tile. It’s not glamorous, but low maintenance bathrooms are built on easy repair paths. This is a simple framing and plumbing decision that pays off every time something drips.
Editor's notePut a small piece of painter’s tape on the handle direction so it’s obvious how to shut it off in a rush.
Plan where the shutoffs should sit before you close the wall or cabinet area — aim for easy hand access and straight lines to the supply. Install valves with service clearance and add an access panel sized to reach the shutoff handle and connections. Use a panel that matches the wall finish and can be removed without damaging tile edges. After installation, test for leaks with the water on, then label the shutoff so you don’t guess later.
Skip thisDon’t cover shutoffs with permanent trim that requires caulk cutting and tile chipping to reach.
11. Anti-mold bathroom paint in a scrub-friendly finish
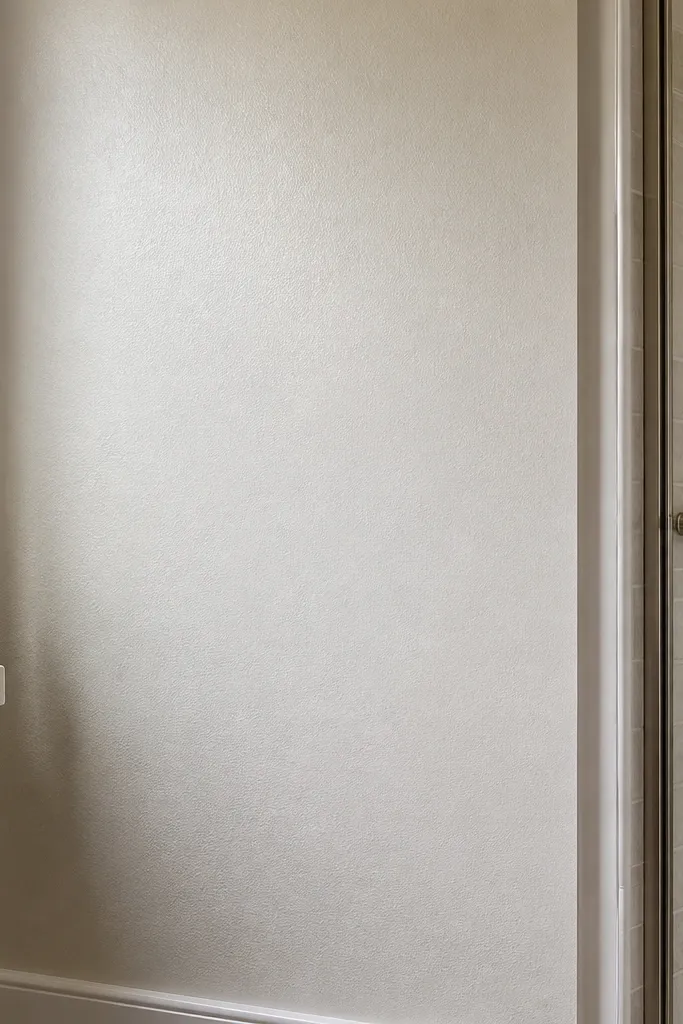
People pick paint based on color and forget surface behavior. Flat or ultra-matte paint looks good at first, then it stains and turns patchy when you wipe. The low-maintenance move is a bathroom-rated paint with mildew resistance and a finish that tolerates cleaning — usually satin or eggshell. In small bathrooms, condensation hits the same corners repeatedly, so paint has to handle that cycle. This upgrade reduces the “spot cleaning” spiral.
Prep the walls by washing off soap film and sanding any glossy patches so paint bonds well. Use a primer if the surface is stained, glossy, or uneven — skip this and you’ll see bleed-through later. Apply paint with a roller for walls and a brush for corners, then keep a wet edge to avoid lap marks. Allow full cure time before you run hot showers repeatedly so the finish hardens properly.
Use a roller cover made for smooth walls so the finish looks even and doesn’t hold residue in texture.
Don’t choose flat paint if you expect to wipe — it stains and looks worse when cleaned.
12. Grout-sparing tile layout with big-format floor tiles
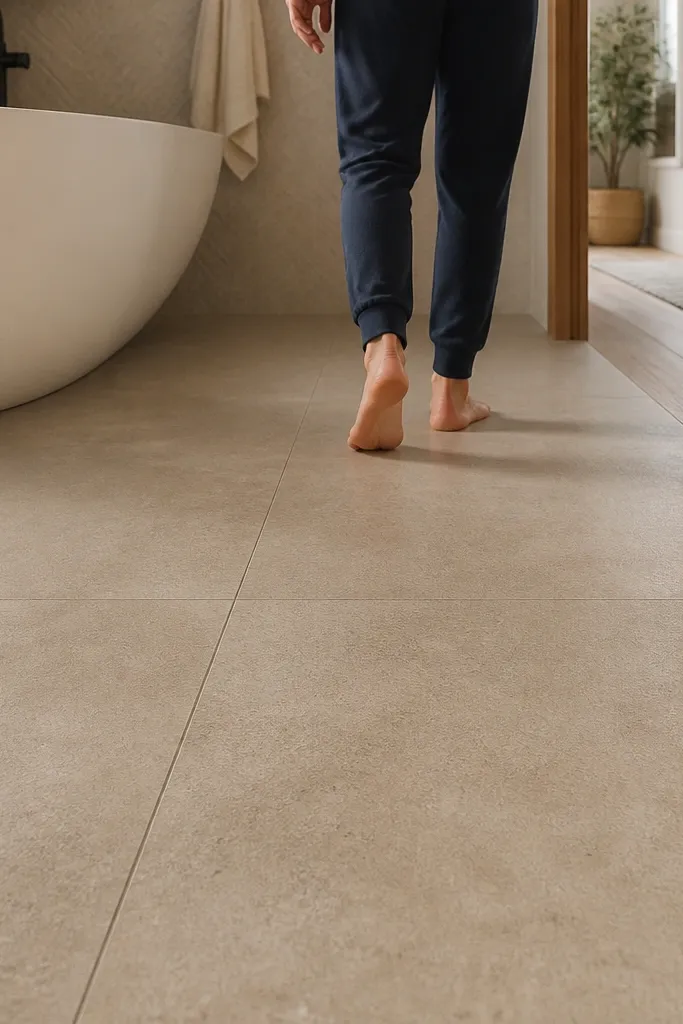
Grout is the maintenance tax. Every joint holds dirt and soap film, and in a small bathroom you’re always walking close to the floor and tracking in moisture. The mistake is using lots of small tiles because they look cute on Pinterest. Big-format floor tile reduces the number of grout lines you have to scrub, and matte finishes hide scuffs better. This makes the floor look clean longer and cuts weekly cleaning effort. It’s also easier to keep consistent underfoot.
Editor's noteDry-lay two or three rows first — it reveals whether your doorway threshold will look balanced or chopped.
Measure the floor and choose a tile size that fits without too many awkward cuts — 12x24 or 24x24 often works well. Plan the layout with a center line so you keep cuts even on both sides, and keep grout joints narrow to reduce dirt traps. Use unmodified thinset if your tile and system specify it, and keep the subfloor flat so tiles don’t rock. Seal grout only if the product recommends it, and cure the floor before heavy use.
Skip thisDon’t ignore subfloor flatness — cracked grout and uneven tiles create extra cleaning trouble.
13. Waterproof vinyl-free shower surround with no wood in splash zones
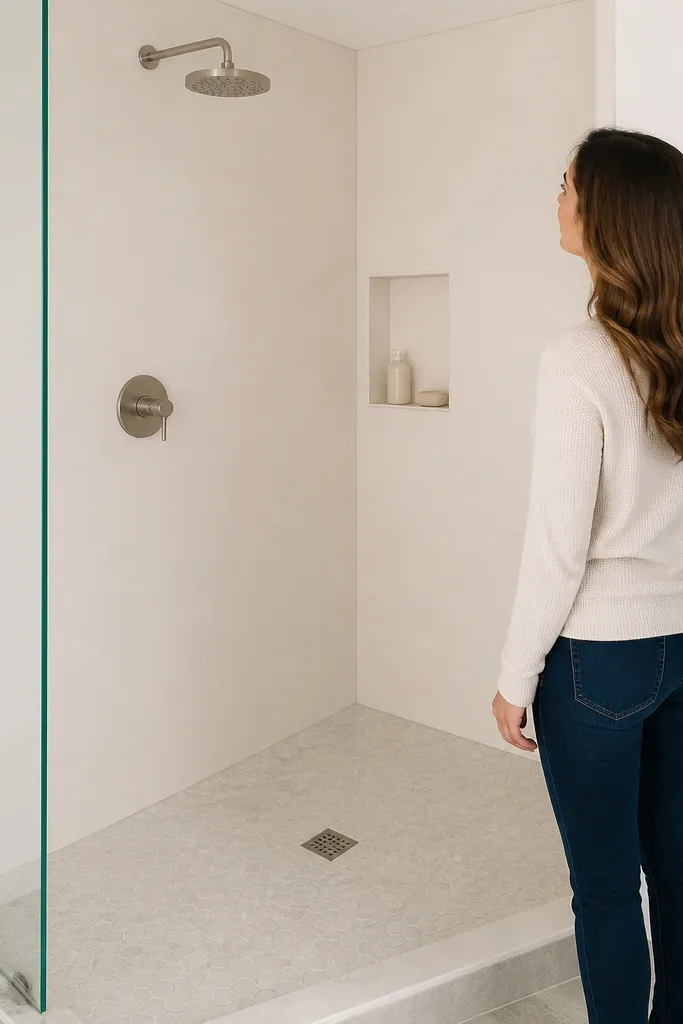
Wood and particleboard are the silent failure points in bathrooms. People install cabinets or backer materials that aren’t designed for wet areas, then the bottom edges swell and crumble. The low-maintenance approach is to keep wood out of direct splash zones and use waterproof backer systems designed for wet rooms. This also helps with long-term appearance because swollen edges create gaps that collect grime. The look stays tight when the structure stays stable.
Editor's noteUse foam backer or waterproof board only where the system allows it — follow the manufacturer’s layering rules closely.
Remove any materials that can absorb water — particleboard and unsealed plywood in the shower area are out. Use a waterproof backer board or direct-to-membrane system rated for showers, then install with the proper thinset. Keep sealant at transitions like corners and where the wall meets the pan. Let everything cure fully before tile, then inspect for any gaps that could become a water path.
Skip thisDon’t build the shower surround on unsealed wood framing without a waterproofing system.
14. Single-handle faucet with ceramic cartridge and a simple finish
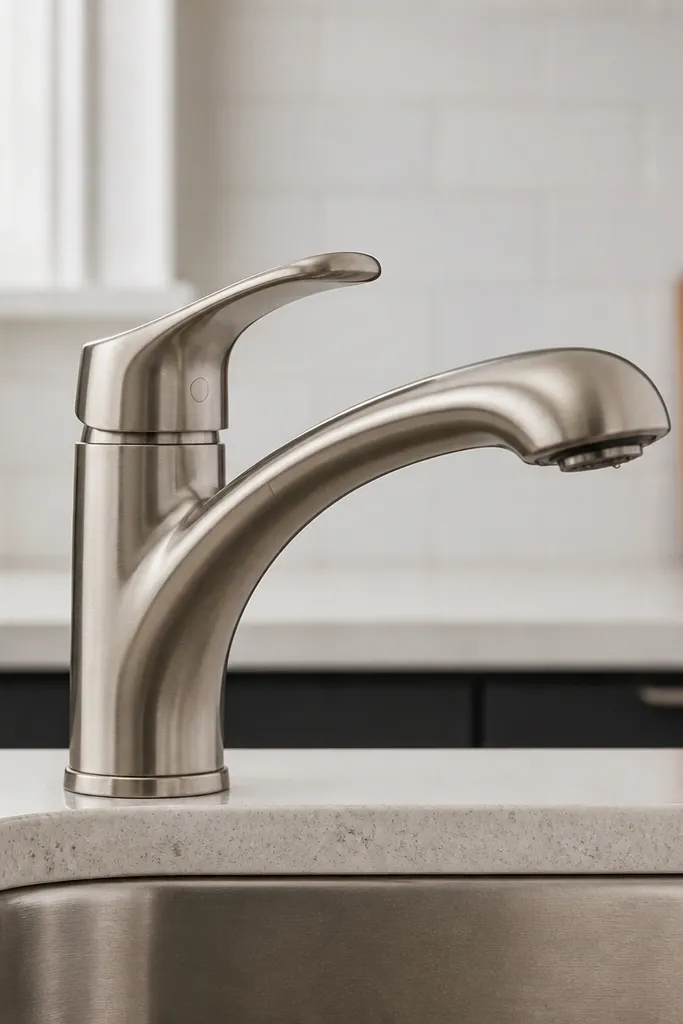
Faucet choice is maintenance choice. Multi-piece faucets with lots of angles trap water and mineral deposits, and cheap cartridges start leaking at the worst time. A single-handle faucet with a ceramic cartridge is easier to clean because you have fewer crevices and fewer parts. Choose a finish that doesn’t show water spots too aggressively — brushed nickel or matte chrome tends to hide marks better than ultra-polished chrome. It also reduces how often you scrub around the handle base.
Editor's noteIf your water is hard, swap in a faucet aerator that’s easy to remove for quick cleaning.
Match faucet mounting hole spacing to your sink and check deck thickness requirements before ordering. Install the faucet with new supply lines if yours are old, and use plumber’s tape only where the manufacturer recommends it. Tighten connections evenly and test for drips under full pressure. After installation, run water for a few minutes to flush debris, then check the aerator for leaks and proper flow.
Skip thisDon’t pick a faucet with decorative nooks that you can’t reach with a microfiber cloth.
15. Anti-slip bathroom floor with a matte finish and easy grout color
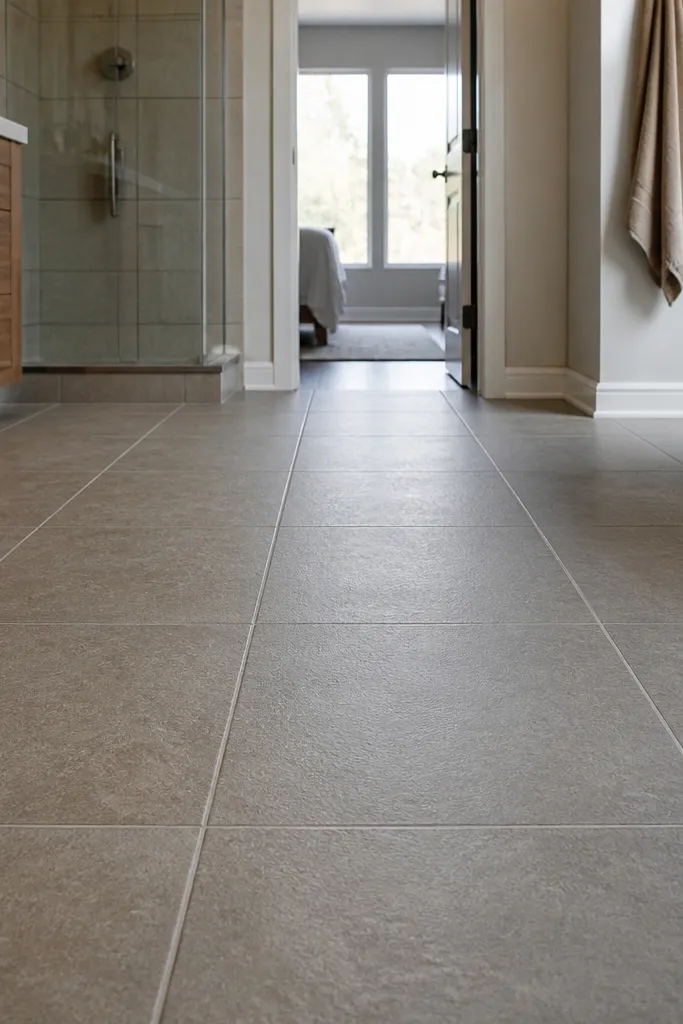
Low maintenance includes safety. Smooth glossy floors show every footprint and require constant wiping, and they can be slippery when wet. A matte, anti-slip rated tile hides scuffs and reduces the “always wet-looking” effect. The mistake is choosing a high-gloss tile for looks — it looks clean for five minutes and then it looks dirty. Neutral tones with a grout color close to the tile help the floor stay visually calm even if you miss a scrub.
Choose a tile with a slip rating appropriate for bathrooms and confirm it’s rated for floor use. Lay it so the most visible area near the vanity doesn’t have heavy cut lines — it makes the floor look more even. Use grout color that matches the tile’s undertone to avoid stark contrast that highlights dirt. Seal grout only if your grout is porous or the product calls for it, then use a mop-safe cleaner.
Use a grout that dries to a consistent tone by mixing thoroughly and scraping off excess the same way each time.
Don’t go for high-contrast grout — it makes every speck obvious in a small space.
16. No-ledge shower caddy with suction or wall niches that drain
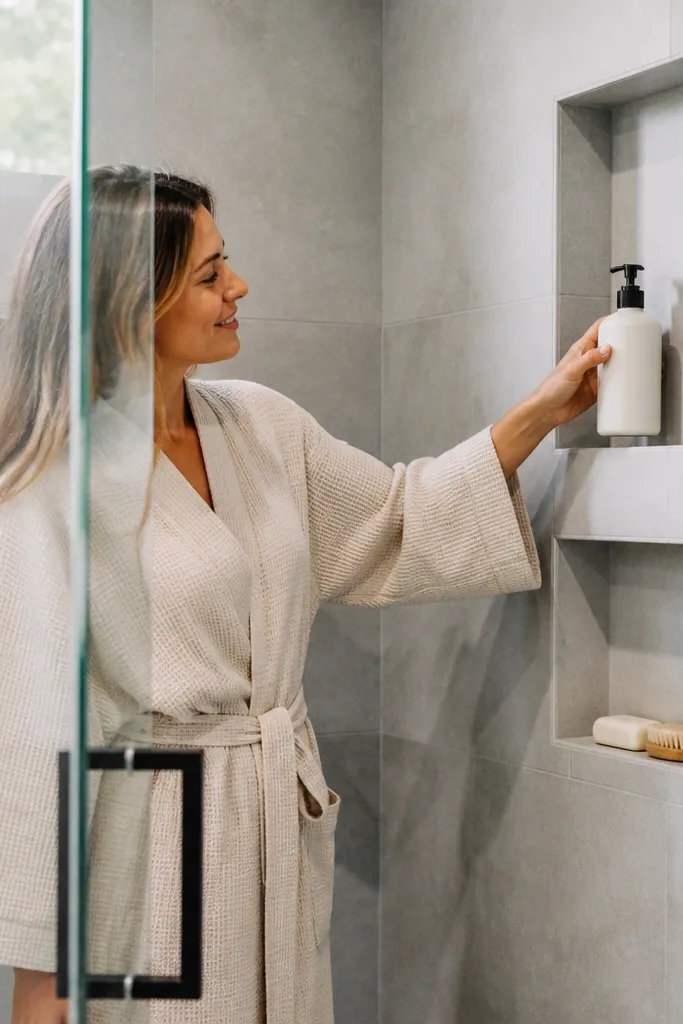
Ledges look practical until soap turns them into a cleaning job. The mistake is adding a big corner shelf that collects shampoo residue and water that never fully drains. Low-maintenance shower storage either stays recessed and easy to wipe or uses a suction caddy you can remove for cleaning. Recessed niches can work well if they’re built with waterproofing and have a slope that drains. This keeps bottles off the floor and reduces clutter while still staying cleanable. It also stops the “random product shelf” look that makes small bathrooms feel messy.
Editor's noteIf you use a niche, keep the opening slightly larger than your largest bottle so you can wipe the corners without fighting tight gaps.
Decide between a recessed niche or a removable caddy based on your tile layout. For a niche, frame it to fit between studs, then waterproof it before tile — include corner reinforcement and proper membrane overlap. For a suction caddy, clean the surface and install on a smooth, non-textured tile so it seals reliably. After installation, test by filling the niche area with water — it should drain without pooling.
Skip thisDon’t add a flat shelf with no drainage — it becomes a soap tray.
17. Linen cabinet alternative: one narrow tall cabinet with pull-out bins
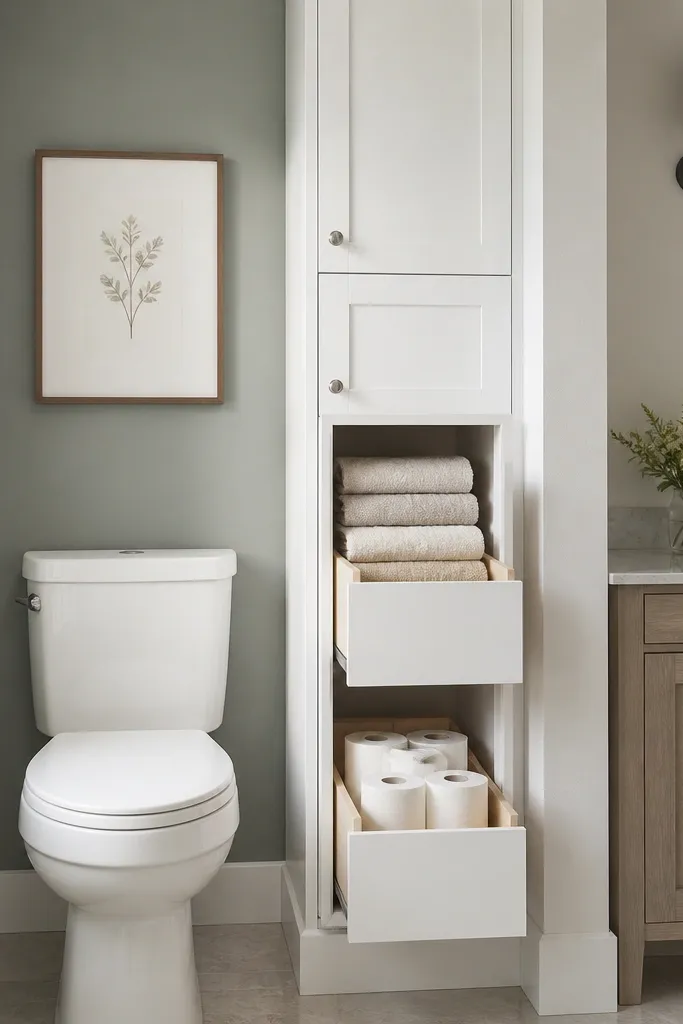
People try to solve towel and toilet paper storage by stuffing baskets on counters. That works until the counter becomes a daily mess and everything gets damp. The low-maintenance alternative is a narrow tall cabinet with pull-out bins so you can store items without leaving them exposed. Pull-outs also make it easier to spot what’s running out, which means fewer emergency trips for replacements. This setup looks cleaner because doors close and the mess stays inside. It’s a smart move for small bathrooms where wall space is limited.
Editor's noteUse bins with handles so you can pull them out without knocking bottles or smearing water on surfaces.
Measure the available wall width and depth and make sure you can open the cabinet doors without hitting the toilet or sink. Choose a cabinet width that fits your clearance — narrow often means 10-14 inches. Install with anchors into studs or rated wall mounts, then add pull-out bins sized to your most common items. Organize by category — towels in one section, backups like extra rolls in another — then keep daily items in a small contained caddy.
Skip thisDon’t place towels in a damp open basket — it smells and looks off quickly.
18. Matte black or brushed hardware with fewer touch points
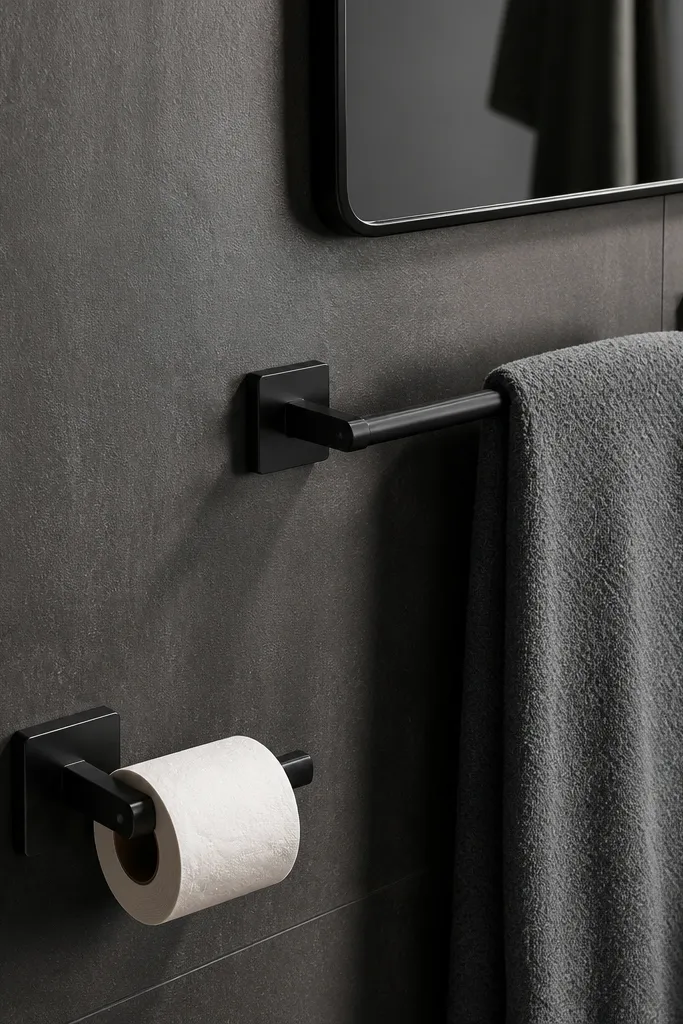
Hardware is small, but it’s touched constantly. The mistake is choosing glossy or highly detailed hardware that shows fingerprints, water marks, and dust — then you clean it even when you’re trying to avoid extra work. Straight, simple bars and holders look tidy longer because there are fewer edges for grime to cling to. Matte black or brushed finishes hide small smudges better than polished chrome. If you keep hardware minimal, you also reduce the number of places towels and products hang in the wrong spots.
Editor's noteChoose hardware with smooth edges you can wipe in one swipe — corners are where residue builds.
Pick one style set for the bathroom so everything matches and you don’t end up with mismatched finishes that look dirty faster. Install towel bars and paper holders using a stud finder and anchors designed for the wall type. Keep spacing consistent so towels hang flat instead of twisting and dragging on the floor. After install, wipe fingerprints with a gentle cleaner and microfiber cloth so the finish looks uniform.
Skip thisDon’t add extra towel hooks everywhere — they create more clutter and more cleaning surfaces.
19. Anti-stain shower curtain alternative: sealed vinyl liner only if you must
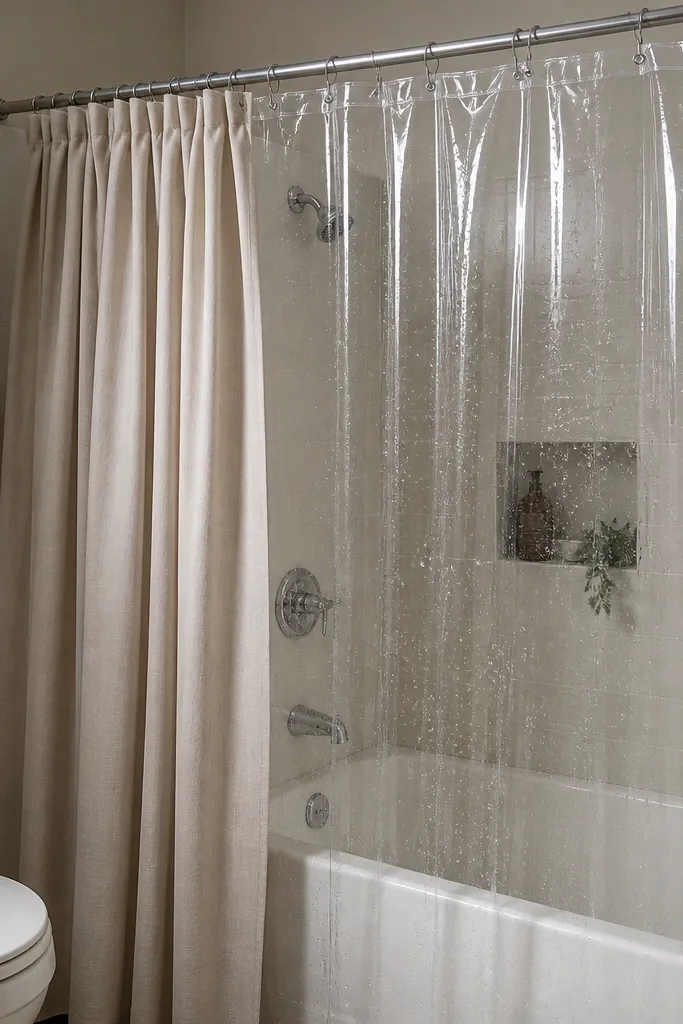
Some bathrooms can’t fit glass doors, and people default to a standard fabric curtain that soaks up moisture and stains. The mistake is treating it like a fashion item instead of a hygiene tool. A sealed vinyl liner that is easy to remove and wipe reduces smell and keeps the curtain from turning discolored. It also cuts maintenance because you can take it down quickly for cleaning. If you’re remodeling on a budget, this is a practical low-maintenance workaround — but it only works if the liner is sealed and you maintain it.
Editor's noteHang the curtain so it doesn’t touch the toilet or floor — contact points become stain points.
Choose a liner that has a sealed coating and a bottom magnet or weighted hem so water doesn’t escape. Install with rust-resistant rings and a tension rod so the liner stays tight and doesn’t touch the floor. After each shower, give the liner a quick shake so water doesn’t cling to one spot. Every couple of weeks, remove it and wipe it with a bathroom-safe cleaner, then let it dry fully before reinstalling.
Skip thisDon’t use fabric curtains in a humid small bath unless you’re willing to launder frequently.
20. Lighting that hides streaks: frosted vanity lights and correct bulb color

Lighting can make a bathroom feel high effort even when you cleaned it. Bright, harsh bulbs and clear fixtures highlight streaks on mirrors and smears on fixtures, so your “quick clean” looks worse. The low-maintenance fix is frosted or diffused vanity lighting and a bulb color that doesn’t exaggerate imperfections. Warm neutral lighting also makes tile and paint look smoother, which helps the whole room feel clean longer. This matters in small bathrooms because the mirror and sink are in your direct line of sight. It’s an upgrade that changes perception and reduces the urge to wipe constantly.
Editor's noteIf you see streaks, clean with a glass cleaner plus microfiber and buff in circles, then switch to straight passes for the final wipe.
Pick vanity lights with frosted covers or diffusers so the light spreads evenly across the mirror. Choose bulbs in a neutral warm range like 2700K-3000K so skin tones and surfaces don’t look harsh. Replace any flickery bulbs first; unstable light makes streaks look like smears. Install bulbs with the right wattage for your fixture rating and then check mirror clarity after you run the shower and fog clears.
Skip thisDon’t use ultra-cool bulbs (6000K+) — they make tiny smears look obvious.



