
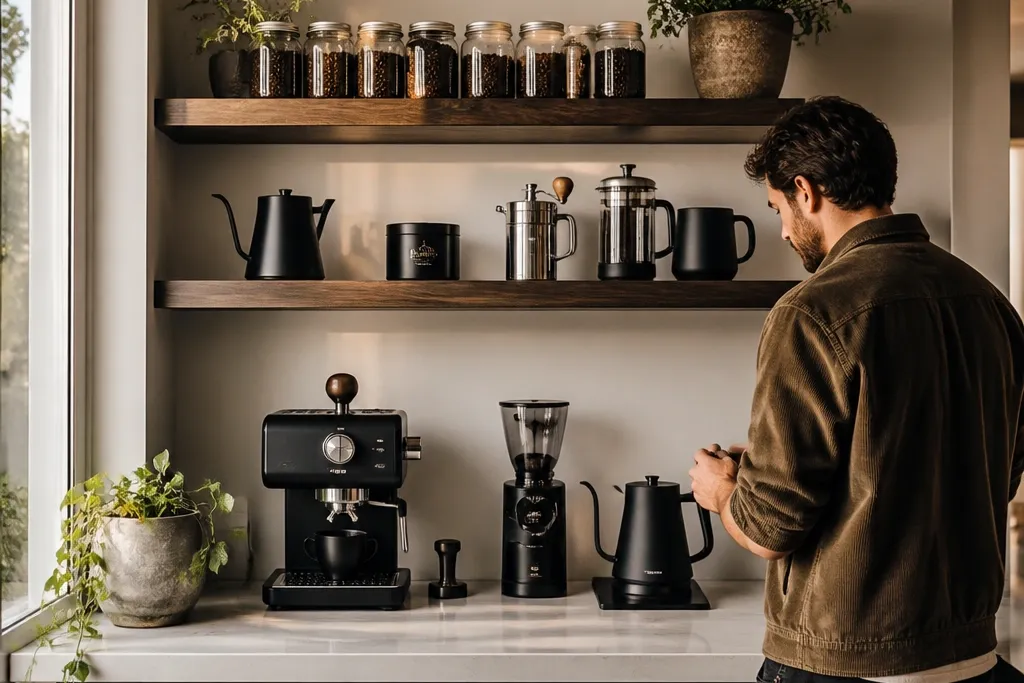

1. Matte Black Shelf + Brass Pump Coffee Station
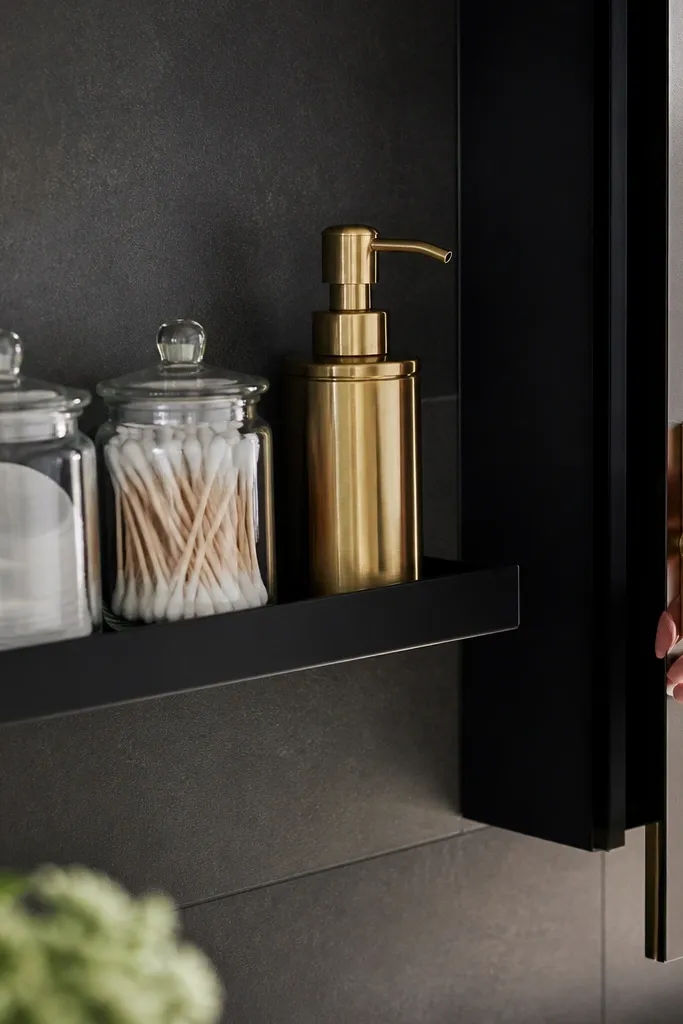
This look is clean, modern, and it hides clutter because the black shelf visually disappears behind your darker tools. Pair it with brass pumps for the “styled” hit — the metal catches light when you open a cabinet door or walk past. Use a tight jar lineup so you’re not hunting for the right container every morning. The result reads like a design store shelf, but it’s still simple: wipe the shelf, refill the jars, done.
Start with two floating shelves that are 6 in deep and about 36 in long each. Mount them to studs using a steel floating shelf bracket system, then add a thin backer panel painted the same matte black for a clean background. Place a tall glass canister on the right, then 2 smaller matching jars on the left so all labels face forward. Finish by installing brass pump bottles on a small tray so spills stay contained.
Use a silicone tray liner under the pumps so you can wipe drips without scrubbing the shelf surface.
Avoid mixing three metal finishes — it makes the shelf look busy even when everything is “organized.”
2. Warm Walnut Backer Panel Floating Coffee Bar
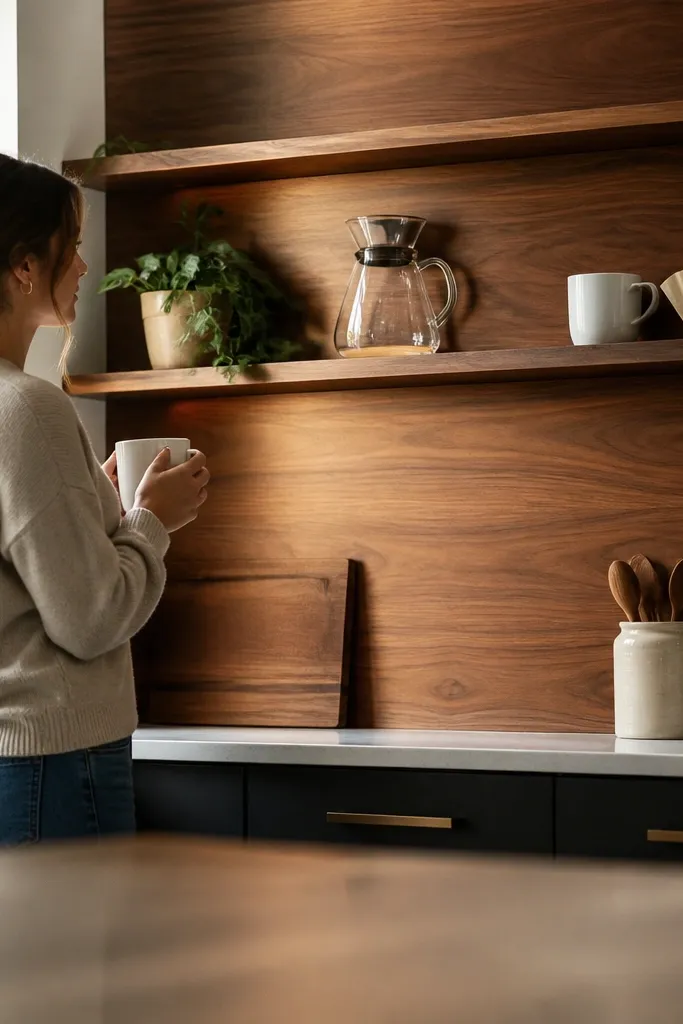
A walnut backer panel turns floating shelves into a coffee bar backdrop, which instantly makes the whole corner look intentional. The wood warmth makes light-colored items — like filter paper, a white mug, or a clear carafe — pop. This setup is low-maintenance because the backer panel gives you a wipeable surface behind your storage, so you’re not cleaning around nooks or exposed drywall. It also reduces visual noise from the wall, which means your bar looks neat even when you’re mid-routine.
Cut a 1/4 in plywood backer panel to the width of your shelf run and stain it walnut-brown, then apply a clear matte polyurethane. Install the floating shelves on top of the backer so the brackets sit behind it. Keep the top shelf for display (pour-over dripper, scale, small plant), and the bottom shelf for storage (filters and beans) using clear canisters. Add a magnetic strip under the top shelf edge for metal scoop storage so small items don’t clutter the front.
Editor's noteSand the backer to 180 grit before staining, and wipe with a tack cloth so the stain doesn’t blot.
Skip thisDon’t mount shelves directly to bare drywall if the wall is textured — brackets pull tight, but the gap behind the shelf looks messy.
3. White Shaker-Look Coffee Bar with Hidden Tray
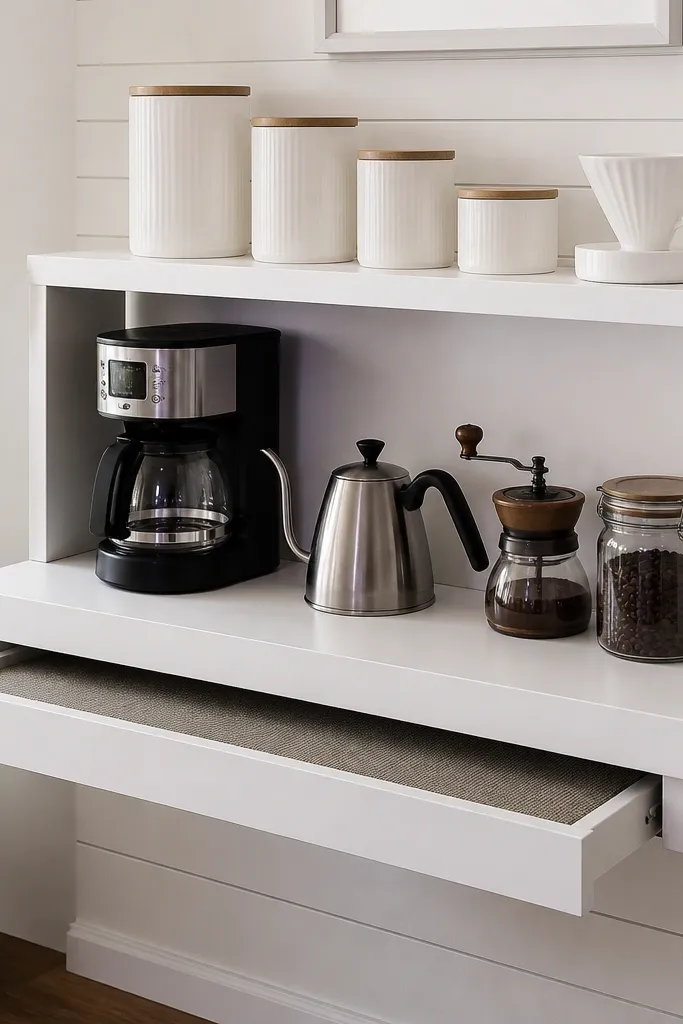
If your counter gets messy because items slide around, this is the most practical aesthetic. The white shelves read bright and clean, and the hidden tray catches drips and keeps small items from creeping forward. It’s “low-maintenance” because you can lift the tray liner and wipe in seconds. Pair it with matching white canisters so the shelf looks styled even when you swap out coffee filters or restock sweeteners.
Choose two white floating shelves with a 7 in depth so you have room for canisters and a tray. Build a shallow front tray insert from 1/4 in plywood with a lip that sits under the shelf overhang. Install shelves level using a laser line, then screw the tray insert into the underside using wood screws from inside the shelf. Fill the setup with white-lidded canisters and keep your scoop in a small cup mounted on the tray.
Editor's noteUse a removable vinyl liner on the tray — it wipes clean without leaving micro-scratches.
Skip thisSkip open bins with mixed colors; the white setup looks great only when the front row is uniform.
4. Two-Tone Coffee Bar Shelves with Dark Under-Shelf Ledge

Two-tone shelves look like a custom cabinet without the custom cabinet price. The trick is the dark ledge under the top shelf — it acts like a shadow line that hides the messy bottom of canisters and keeps the front edge tidy. This setup is photogenic because it creates depth and a clean frame for your coffee items. It’s also low-maintenance because the dark ledge is easier to keep looking clean than light wood.
Use light wood shelves (or light stain) for the main board, then paint a 1x2 in strip to create the under-shelf ledge. Mount your floating shelves first, then attach the underside ledge to the shelf front using countersunk screws. Keep the top shelf for display items and place canisters slightly back so they don’t hang over the ledge. Put your daily-use items on the bottom shelf in matching labeled jars so the ledge hides the clutter behind them.
Editor's noteLeave a 1/8 in gap between the ledge and the shelf board for easier cleaning and less paint chipping.
Skip thisDon’t paint the underside ledge glossy — it shows dust and streaks in bright kitchens.
5. Recessed Look Coffee Bar with Half-Depth Shelves
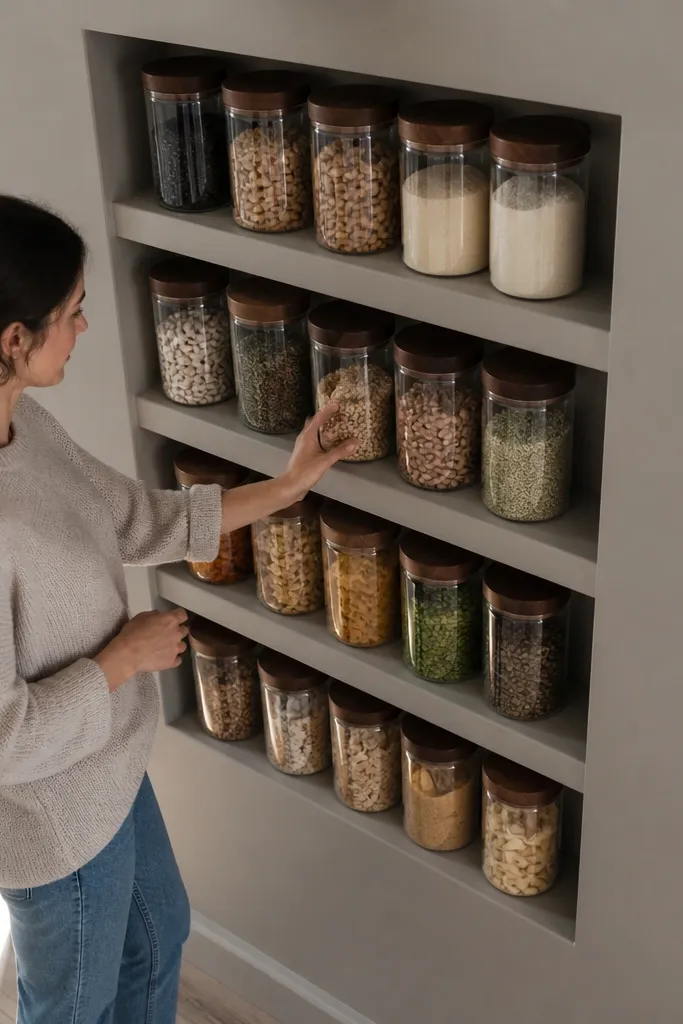
Half-depth shelves give a recessed look, like your coffee bar is built into the wall. Visually, it’s cleaner because the jar bodies sit deeper and don’t spill into the front line. This is low-maintenance because you’re not constantly rearranging items to keep them from overlapping. The shelf depth also forces good habits: you’ll only keep what you actually use, and the rest stays in a cabinet or pantry.
Pick shelves that are 4 in deep and mount them with a bracket system that supports the full underside. Use a centered tall canister on the bottom shelf, and two smaller items on each side so your composition stays balanced. Add a simple backer strip behind the shelf run so the wall doesn’t show through. Seal the shelf edges with a clear coat so any spills wipe without soaking in.
Use uniform jar shapes — a mix of tall and squat jars makes half-depth shelves look cramped.
Avoid stacking items on top of each other; half-depth shelves hide clutter only when there’s one layer.
6. Ceramic Tile Backed Floating Shelves
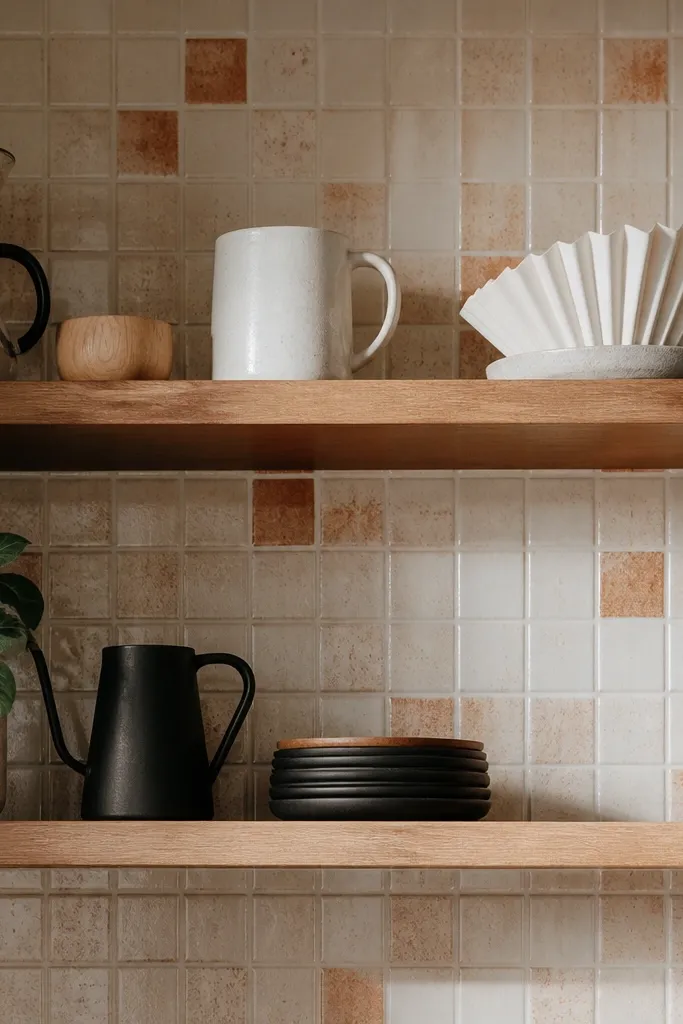
Tile behind the shelves is a cheat code for low-maintenance. It wipes clean and looks intentional, so even if you splash a bit of milk froth, you’re not dealing with stained drywall. The shelf itself stays light and airy, while the tile adds texture and color without clutter. This setup looks great in kitchens that already use tile backsplashes — it matches the vibe and reads like a designed coffee nook.
Choose a tile backsplash panel area that matches your shelf width, usually 24-36 in wide. Install the tile first, then mount floating shelves on studs with a bracket system that clears the tile surface. Keep mugs on the bottom shelf and use lidded canisters on the top shelf for a tidy, styled line. Finish by sealing grout lines if your tile installer left them unsealed.
Editor's noteUse grout sealer once the grout cures — it makes coffee splashes wipe off without scrubbing.
Skip thisDon’t mount shelves only to anchors in tile — studs give you the strength you need for full jars and mugs.
7. Butcher Block Floating Shelves with Hard Wax Finish
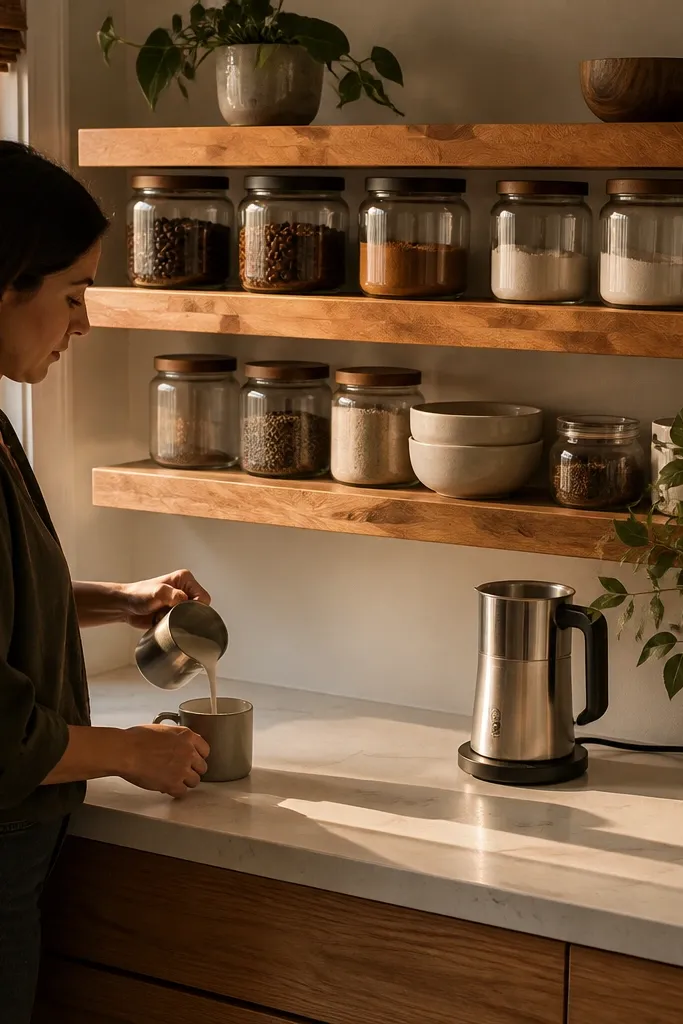
Butcher block looks warm and handmade, and it’s forgiving if you seal it the right way. A hard wax finish gives you a durable surface that handles daily coffee spills better than raw wood. This setup stays low-maintenance because you’re not re-painting or re-staining every year. Keep your coffee tools in clear containers so you can see what’s low without opening cabinets.
Buy butcher block boards thick enough for stability (at least 1-1/2 in thick), then cut them to 7 in depth. Sand to 150 grit, wipe clean, and apply hard wax oil in thin coats, letting each coat cure. Mount shelves to studs with metal brackets, leaving the underside edges sealed. Arrange a clear bean jar, a filter canister, and a small scoop cup so items don’t overlap.
Sand lightly between wax coats with 220 grit for a smoother wipe surface.
Don’t skip end-grain sealing — that’s where coffee rings start.
8. Dark Espresso Stain Shelves with White Counterpart Canisters
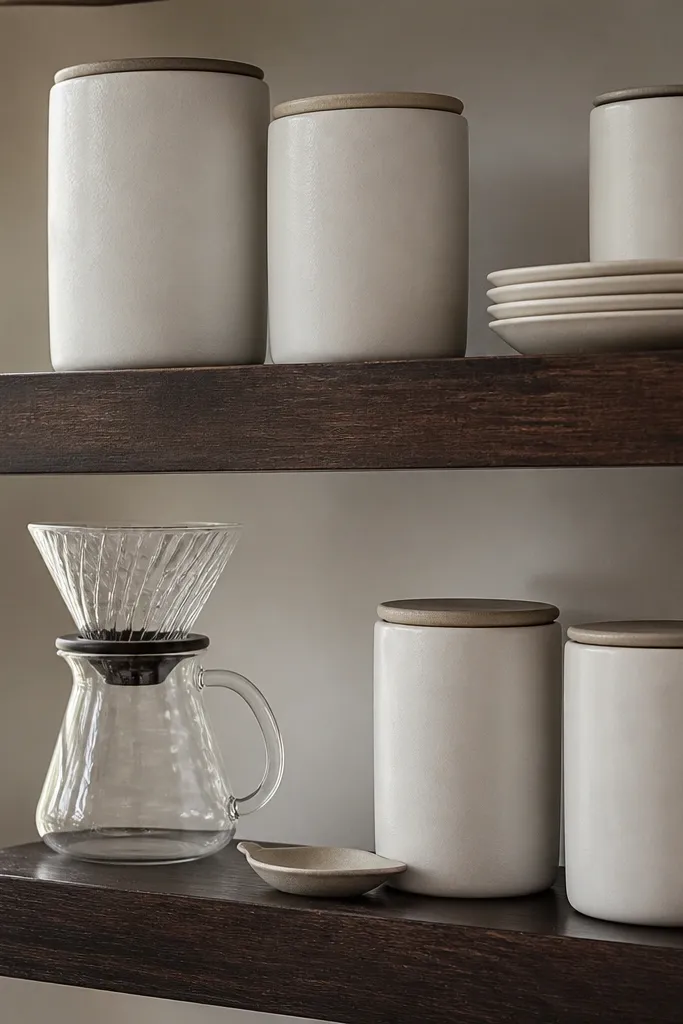
Dark espresso-stained shelves look dramatic, and the contrast with white canisters keeps the shelf looking crisp. It’s low-maintenance because stains hide minor scuffs, and white canisters make it obvious when you need to refill. The visual payoff is fast: your coffee bar reads styled even if you’re not perfect with daily resets. This is a great option if your kitchen has warm wood cabinets or dark hardware.
Stain shelves with an espresso tone and seal with a matte topcoat to prevent glare. Mount two shelves 16-18 in apart so mugs fit on the bottom shelf without blocking the top row. Use white ceramic or enamel canisters with matching lids, and keep a glass carafe or pour-over kettle on the top shelf center. Add a small tray under the canisters to catch drips and keep wipe-ups easy.
Use matte sealer on dark wood — glossy finishes show fingerprints from daily handling.
Avoid translucent jars on dark shelves; the labels and contents look messy under low light.
9. Rattan Accent Coffee Bar with Clear Storage
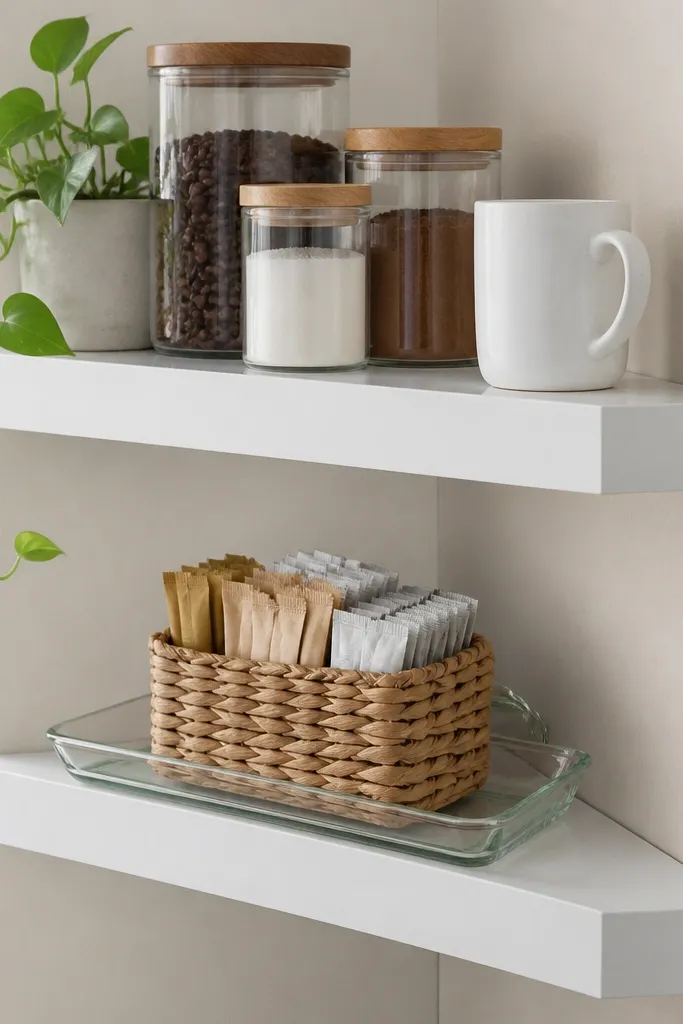
Rattan accents bring texture without adding clutter. The trick for a low-maintenance floating shelf coffee bar is keeping the storage clear or uniform so your shelf never turns into a pile of mismatched containers. Rattan works best on one or two items — like a small basket for sugar packets or a woven tray under a scoop cup. It looks cozy and still easy to wipe around.
Use light wood shelves and keep them 6-7 in deep so baskets don’t protrude. Add one rattan tray or basket on the bottom shelf and place clear jars on both shelves for beans, filters, and sweeteners. Mount a small metal hook underneath the top shelf edge for a spoon or scoop so it doesn’t sit loose. Seal the shelf top with a wipeable matte finish so rattan oils don’t transfer to the wood.
Use a removable tray inside the rattan basket so you can lift it out for cleaning.
Don’t add multiple open baskets; too many textures make the shelf look crowded.
10. Slim Floating Shelves with Vertical Coffee Canister Line
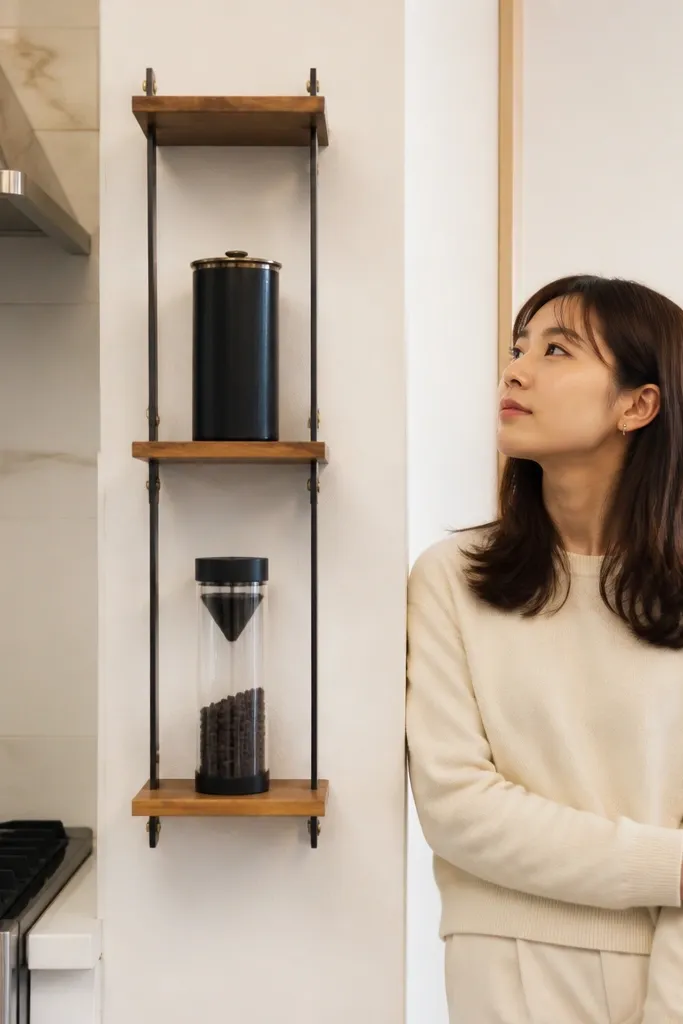
This is the “small kitchen” version of a coffee bar that still looks intentional. Slim shelves keep the visual footprint small, and a vertical canister line makes the composition look designed rather than sparse. It’s low-maintenance because you only keep a minimal set of items on the shelves: one canister, one dripper, one mug stack. If you’re fighting counter clutter, this layout pulls your daily items up and out of the way.
Pick shelves 5 in deep and mount them to studs with a bracket kit rated for the board length you buy. Use a tall canister (at least 10-12 in tall) on the bottom shelf, then place a dripper or kettle on the top shelf center. Keep mugs to one side only, stacked or arranged so they create a clean vertical block. Use a small cable tie or strap to keep a paper towel roll tucked behind the shelf end so it doesn’t show.
Editor's noteChoose canisters with similar lid shapes; it makes the whole line look cohesive.
Skip thisAvoid mixing tall and short items across the same shelf — slim shelves magnify imbalance.
11. Floating Shelf + Hanging Cup Rail Look
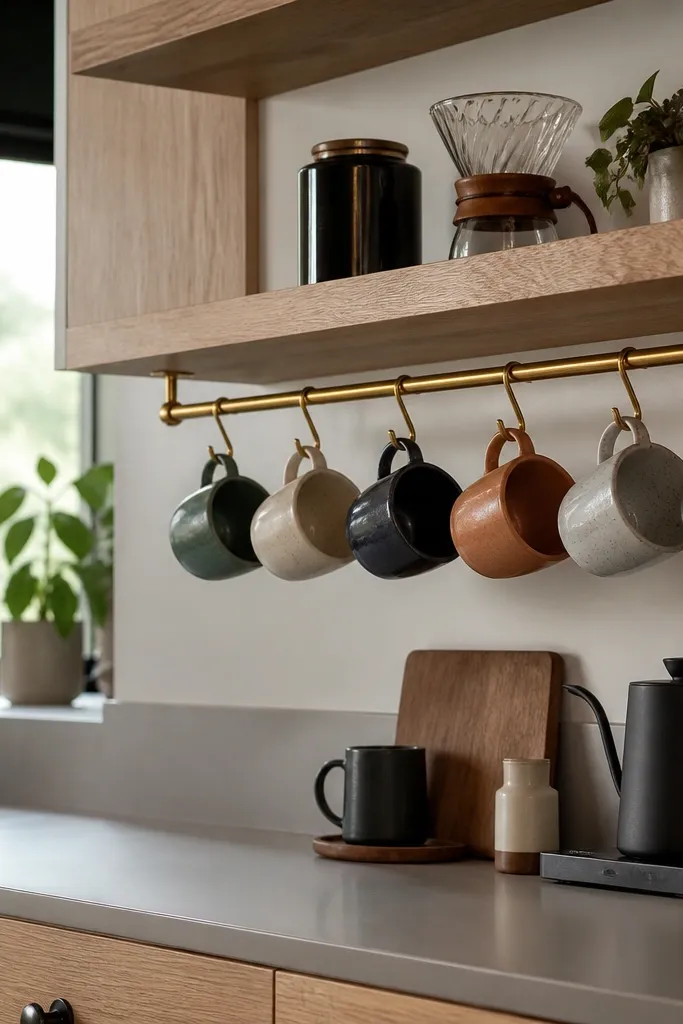
The hanging cup rail gives you “instant café” styling, and it’s low-maintenance because cups dry faster and you’re not stacking them where they collect water. The floating shelves keep coffee ingredients at eye level, so daily prep is quick. This setup looks good in open kitchens because the cups create a patterned line. Keep the cup count tight — three to five cups — so it stays photogenic.
Mount your floating shelves first, then install a small cup rail under the top shelf using two screws into studs. Add a shallow tray on the bottom shelf for scoops and filter tools. Use matching cups or cups in one color family so the hanging line looks intentional. Seal shelf surfaces and use a damp cloth wipe after spills, not soaking.
Editor's noteUse cup hooks with rounded ends so mugs don’t chip when you grab them quickly.
Skip thisDon’t hang heavy mugs alone on drywall anchors — studs or you’ll get sagging.
12. Floating Shelves with Built-In Pegboard Coffee Tools
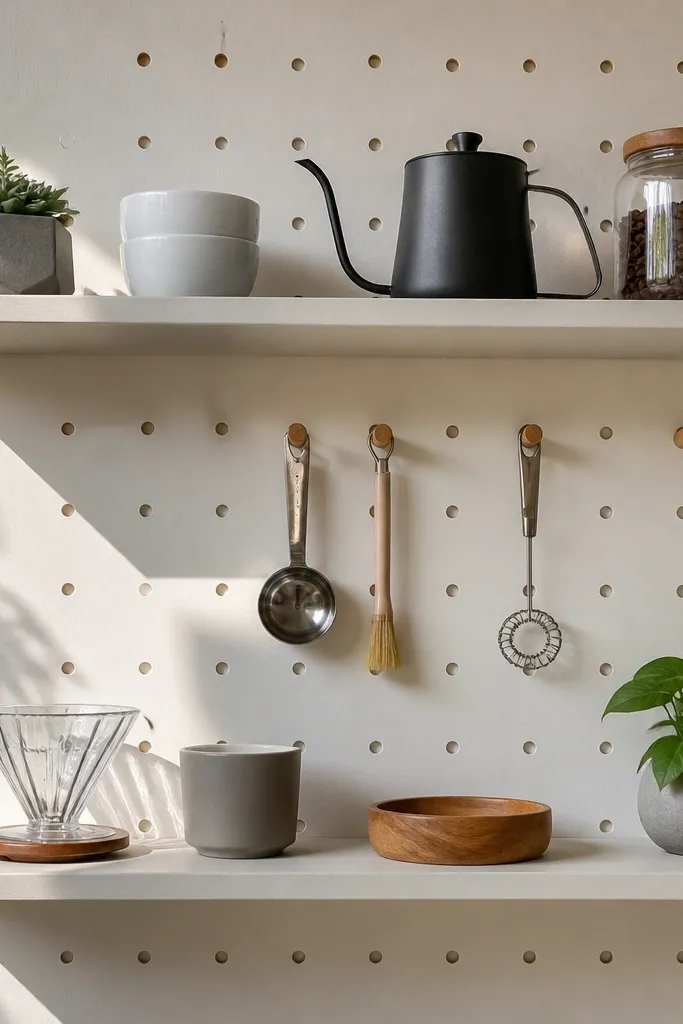
Pegboard behind floating shelves makes coffee tools look organized without feeling like a messy workshop. It’s low-maintenance because tools stay in one place and you don’t hunt for a scoop or brush. The pegboard also creates a clean background, which helps your shelf look styled in photos and in real life. Keep the pegboard accessories in a single metal finish — black or brushed steel — for a cohesive look.
Cut pegboard to the width of your shelf run and mount it to studs. Install floating shelves so they sit over the top edge of the pegboard, then screw hooks into the pegboard for a distribution line: scoop, brush, thermometer. Put canisters on the shelves with lids that match the pegboard metal. Seal any exposed wood edges and wipe the pegboard with a dry cloth after use.
Editor's notePaint the pegboard with a matte cabinet paint so it hides dust and looks uniform.
Skip thisAvoid hanging too many tools — three well-chosen items look cleaner than a full kit.
13. Glass Canister Coffee Bar with Clear Shelf-Edge Backing
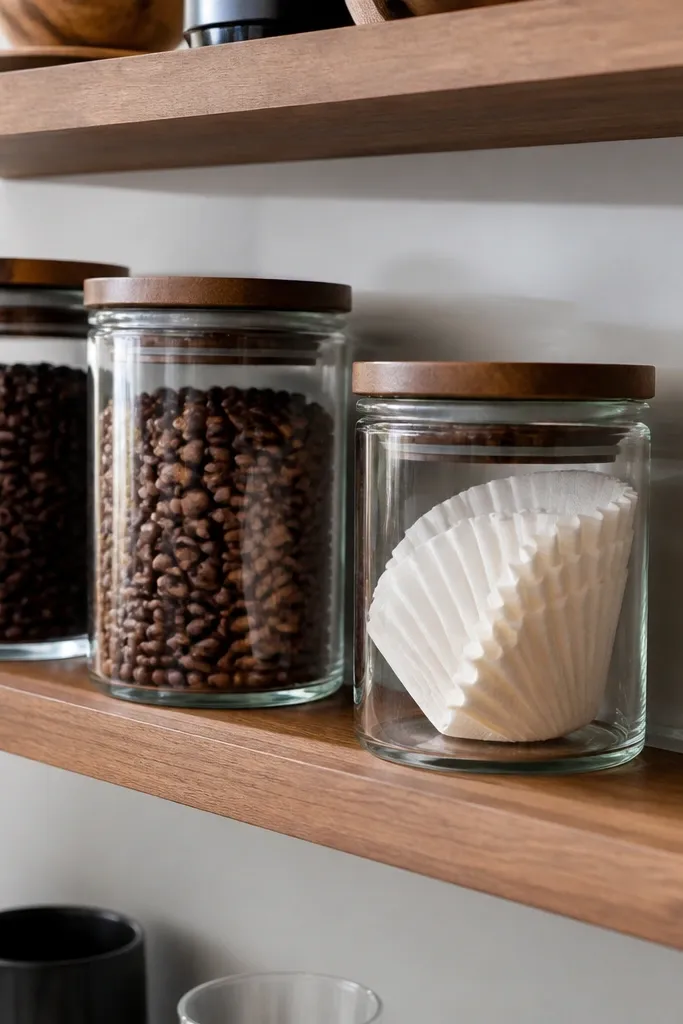
Glass canisters make everything look tidy because you can see what’s inside, and they photograph well with light bouncing off the surface. To keep this low-maintenance, you need a clean background behind the canisters so dust and labels don’t look messy. The shelf-edge backing trick hides small gaps and makes the canisters line up visually. This is a great choice if your kitchen has bright lighting and you want the coffee bar to look airy.
Install shelves 6-7 in deep and add a thin backing strip behind the canisters in a light neutral color. Use matching glass canisters with similar lid heights so the shelf looks uniform. Keep the top shelf for display items like a dripper and a small plant, and the bottom shelf for the canister lineup. Add a non-slip shelf mat under the canisters to prevent sliding when you wipe.
Editor's noteUse a spray glass cleaner on a microfiber cloth, not directly onto the shelf edges, to prevent streaks.
Skip thisAvoid clear canisters with random labels — they look messy even when your storage is technically organized.
14. Two Shelves Over a Coffee Nook Drawer Pull-Out
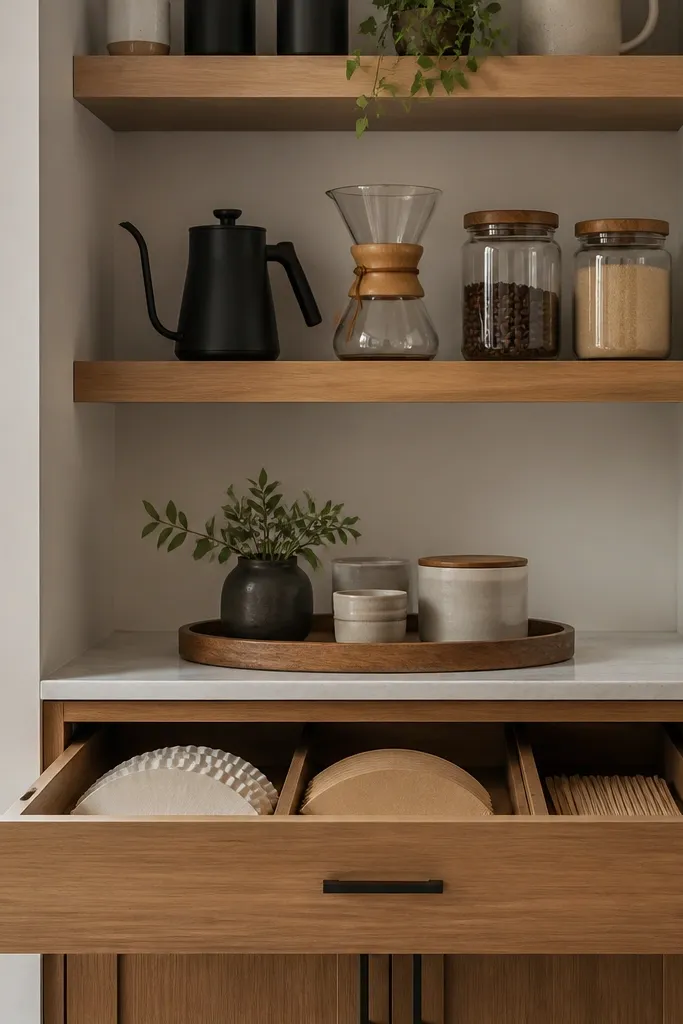
This setup looks custom because the floating shelves frame a dedicated drawer zone. The shelves hold the “pretty” items — dripper, kettle, labeled jars — while the pull-out drawer hides the boring stuff like extra filters, stir sticks, and backups. That’s low-maintenance in practice: your shelf stays photo-ready even on busy weeks. It also keeps your coffee prep smooth because you grab what you need from the drawer instead of digging through cabinets.
Build or buy a shallow pull-out drawer insert sized to your space, ideally 14-18 in wide and 4-6 in tall. Mount two floating shelves above it, keeping the bottom shelf high enough that the drawer handle clears. Use a small divider inside the drawer for filters and sweeteners. Finish by placing only three to five items on the shelves so the visual line stays clean.
Add a small drawer liner with grip texture so jars don’t rattle and slide during pull-outs.
Don’t stack too many decorative items on the shelves — the drawer does the heavy lifting for storage.
15. Stone-Look Laminate Floating Shelves Coffee Bar
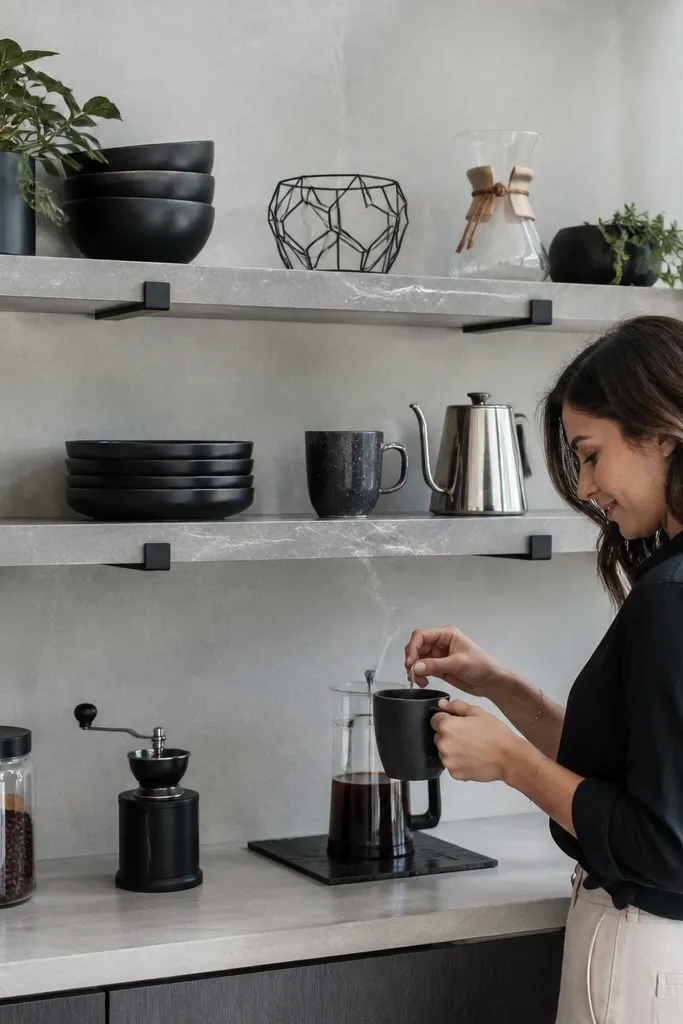
Stone-look laminate gives you the look of a countertop without the countertop maintenance. It hides minor stains and wipes clean fast, which matters when you’re dealing with coffee drips and milk splatter. The vibe reads modern and clean, and it pairs well with black hardware or brushed metal accents. Keep your items minimal and aligned — stone-look shelves look best when the shelf surface isn’t crowded.
Buy pre-finished laminate boards or laminate sheets for a DIY top, with 3/4 in thickness for stability. Seal the cut edges with matching edge banding so moisture can’t creep into layers. Mount shelves using a bracket system rated for the board length, then install a small backsplash strip in a matching neutral. Arrange coffee jars so their labels face forward and keep tools on a compact tray for quick wipe-downs.
Editor's noteEdge-band everything. Cut edges are the real maintenance problem, not the top surface.
Skip thisDon’t use glossy laminate — it reflects your kitchen lights and makes dust look louder.
16. Shallow Floating Shelves with a Center Mug Ladder
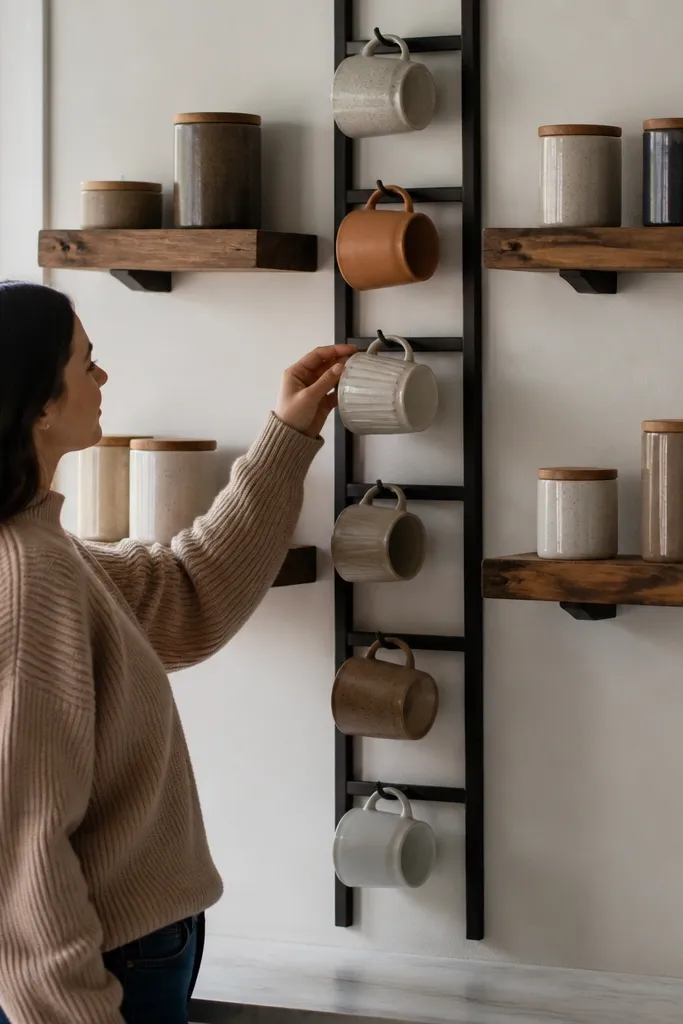
A mug ladder gives you a vertical focal point that makes shallow shelves look intentional. Instead of piling mugs on a bottom shelf, you hang them neatly so your coffee bar stays airy and low-maintenance. This design is photogenic because the mug handles create a repeating pattern, and it’s easy to keep consistent with matching mugs. Keep the rest simple: one canister lineup and one tray for daily tools.
Mount two shallow floating shelves 5-6 in deep, leaving enough vertical space for the mug ladder. Install a small vertical ladder rack centered between shelves or mounted slightly below the top shelf using screws into studs. Place canisters on the shelves with lids aligned and labels facing forward. Put your scoop and stir sticks on a tray on the bottom shelf so you can wipe everything without moving items around.
Editor's noteUse the same mug color for at least three mugs — the ladder looks like a design choice instead of random cups.
Skip thisSkip mismatched mugs of wildly different shapes; the ladder makes differences more obvious.
17. Floating Shelves with Chalkboard Label Strip
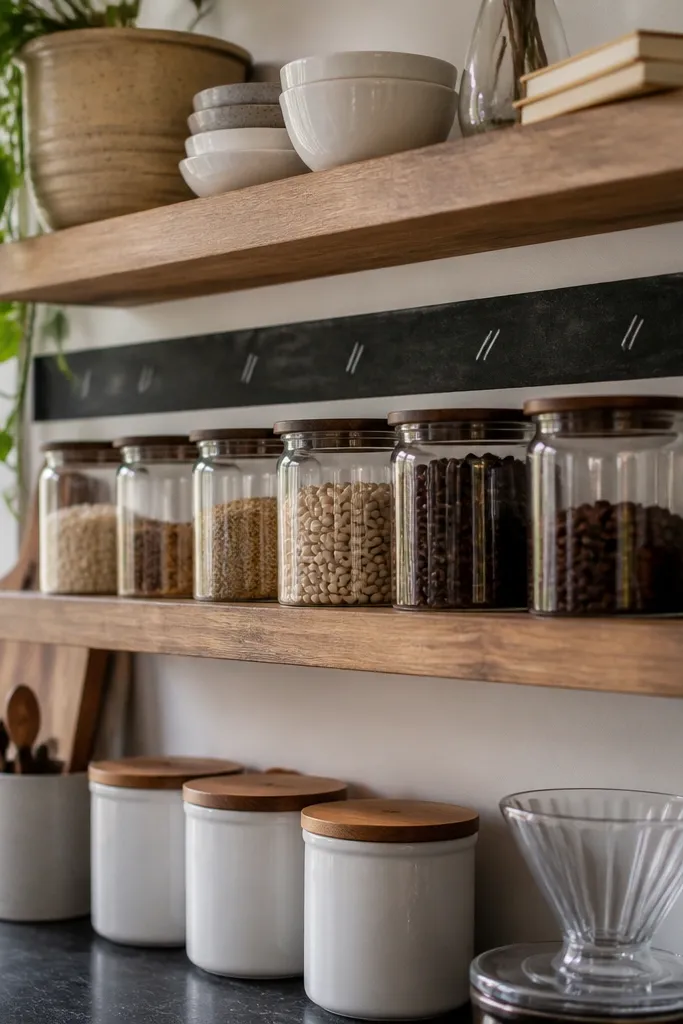
A chalkboard label strip makes your coffee bar look styled and it’s low-maintenance because you can update labels in seconds. It also creates a clean visual anchor so the rest of your shelf looks organized even if you change beans or syrups. Use it behind the jar lineup so labels and jars read as one system. This is a great option if you like switching up coffee types and want the shelf to stay pretty without redoing decor.
Paint a thin wood strip or MDF strip with chalkboard paint and mount it behind the jars so it acts like a label background. Install floating shelves 6-7 in deep with a bracket system into studs. Place your canisters in a straight row and write labels that match their contents: espresso, decaf, cinnamon sugar. Seal the shelf surface and keep a small eraser or brush tucked in a jar or tray so the chalk stays sharp.
Use a fine-tip chalk marker for cleaner labels than chunky chalk sticks.
Don’t cover the whole back wall in chalkboard — a strip looks designed, a big board looks cluttered.
18. Matte White Shelves with Black Wire Basket Insert
White shelves plus a black wire basket is one of the easiest aesthetic combos to keep clean. The basket holds messy items like packets and filters, so your shelf stays neat even when you’re restocking. The wire texture looks intentional and adds depth without adding lots of decorative objects. This layout is low-maintenance because you can pull the basket out and dump trash or old packets in seconds.
Mount two matte white shelves 6 in deep with a strong bracket system into studs. Install a black wire basket that fits the bottom shelf width — leave 1/2 in clearance on each side. Put filters, stir sticks, and sugar packets inside the basket, then keep only two lidded canisters on the shelf surface. Add a small tray under the canisters to catch any drips.
Editor's noteChoose a basket with a powder-coated finish so it doesn’t rust from coffee moisture.
Skip thisAvoid loose paper packets scattered on the shelf — the basket is the containment system.
19. Brass Rod Under-Shelf for Spoons and Milk Frother
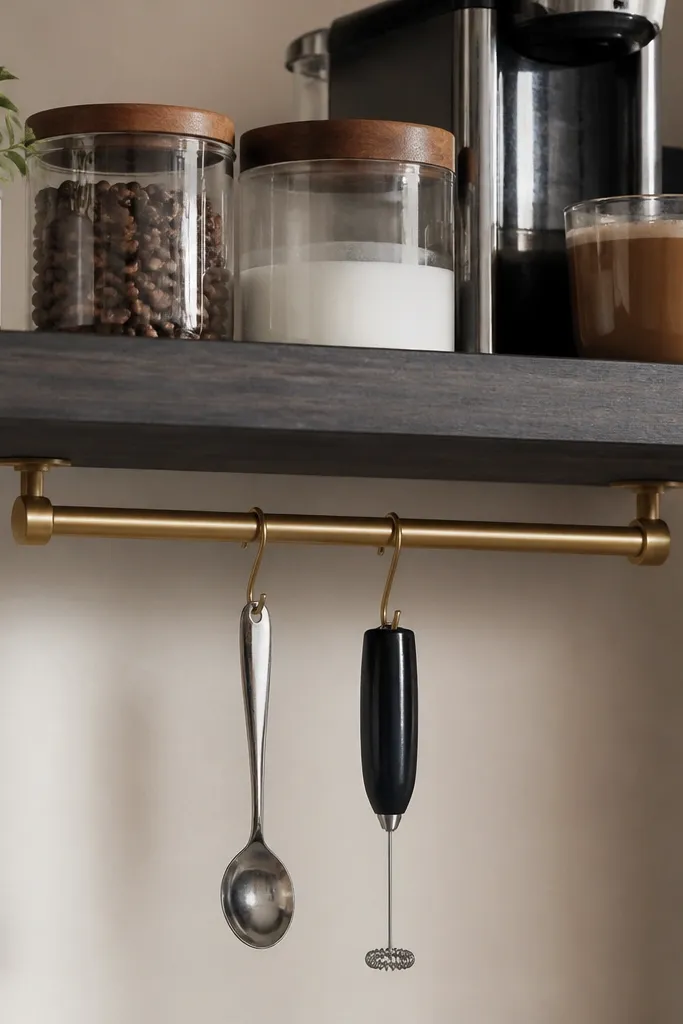
Under-shelf storage makes floating shelves look more “built-in” and keeps your tools from sitting out. A brass rod is photogenic, warm, and it makes small metal items look intentional instead of random. This is low-maintenance because you’re reducing the number of items that can fall forward or get dusty. It also helps you keep a consistent coffee workflow: tools hang, ingredients sit in jars, mugs stay on the bottom shelf.
Mount two floating shelves 6-7 in deep, then install a brass rod under the top shelf edge using two brackets screwed into the underside. Use hooks on the rod for a long spoon and a small frother accessory, keeping them off the shelf surface. Place canisters on the shelf and keep them aligned to the rod centerline. Seal shelf surfaces and add a small tray under where drips might happen.
Measure rod height so hooks clear jar lids by at least 1 in.
Don’t hang oversized items — the rod should hold tools, not replace the shelf.
20. Floating Shelves Coffee Bar with One Big Oversized Canister
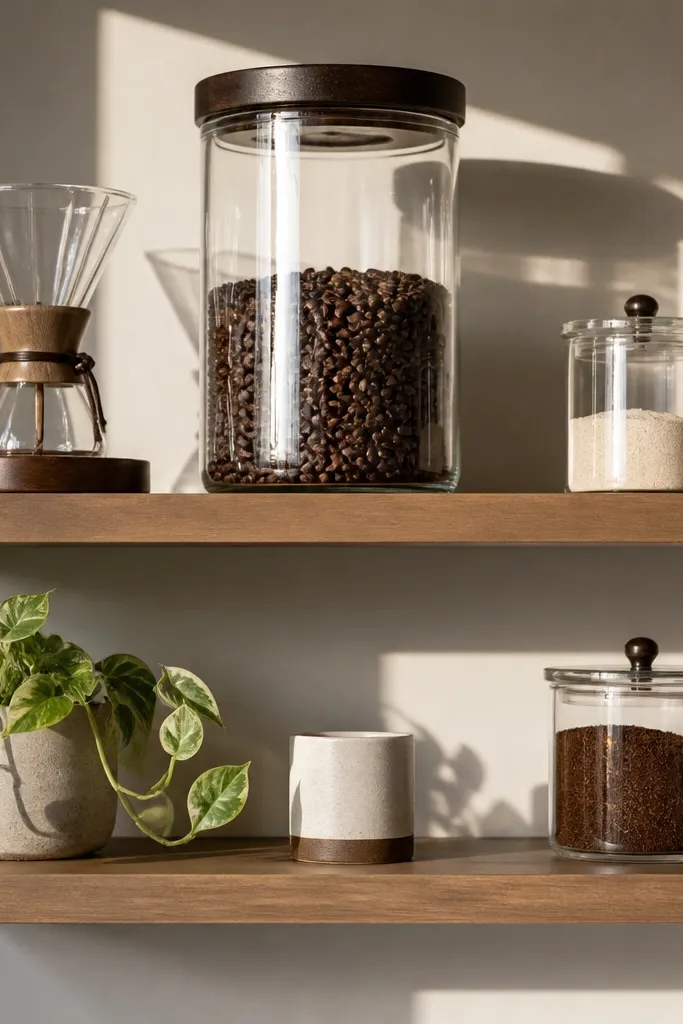
One oversized canister creates instant structure. Your eye knows where to land, and everything else looks like it belongs there. This layout is low-maintenance because you can keep the rest of the shelf minimal — no constant rearranging to make it look balanced. It’s photogenic because the tall cylinder shape catches light and makes the shelf look styled even if you’re using different coffee beans.
Use two floating shelves, 7 in deep, spaced about 16-18 in apart. Place one oversized canister on the bottom shelf center (at least 12 in tall), then add two smaller jars on either side on the top shelf. Keep tools on a single tray so nothing spills forward. Use matching lids so the shelf looks cohesive even when you refill.
Pick canisters with the same lid diameter — it makes the shelf look “set” instead of improvised.
Avoid three oversized items. One hero canister is enough for a clean look.



