
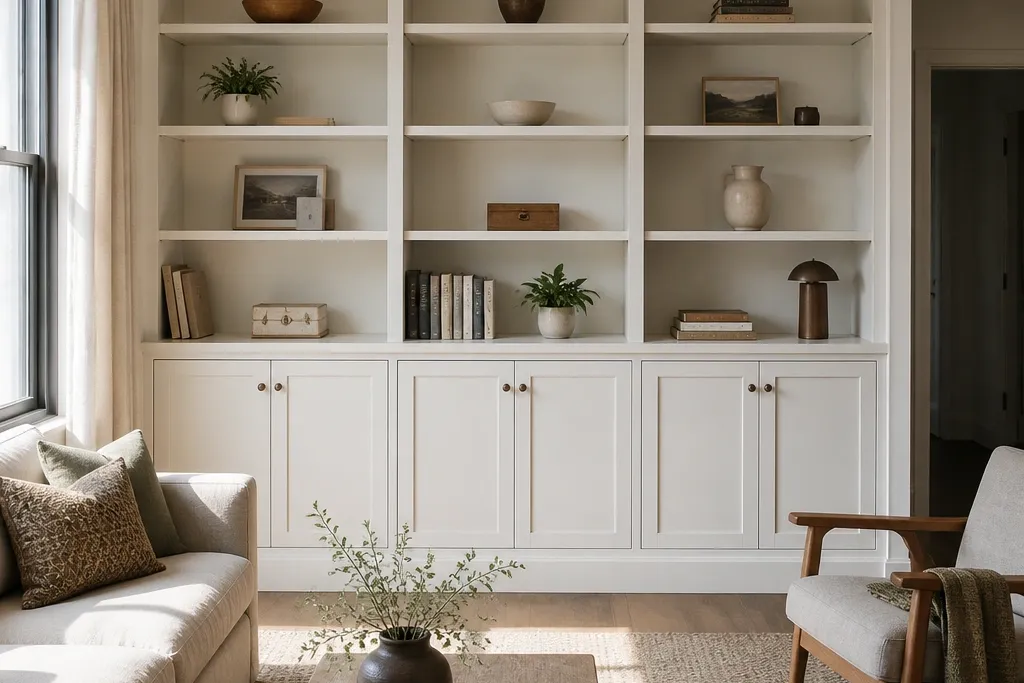
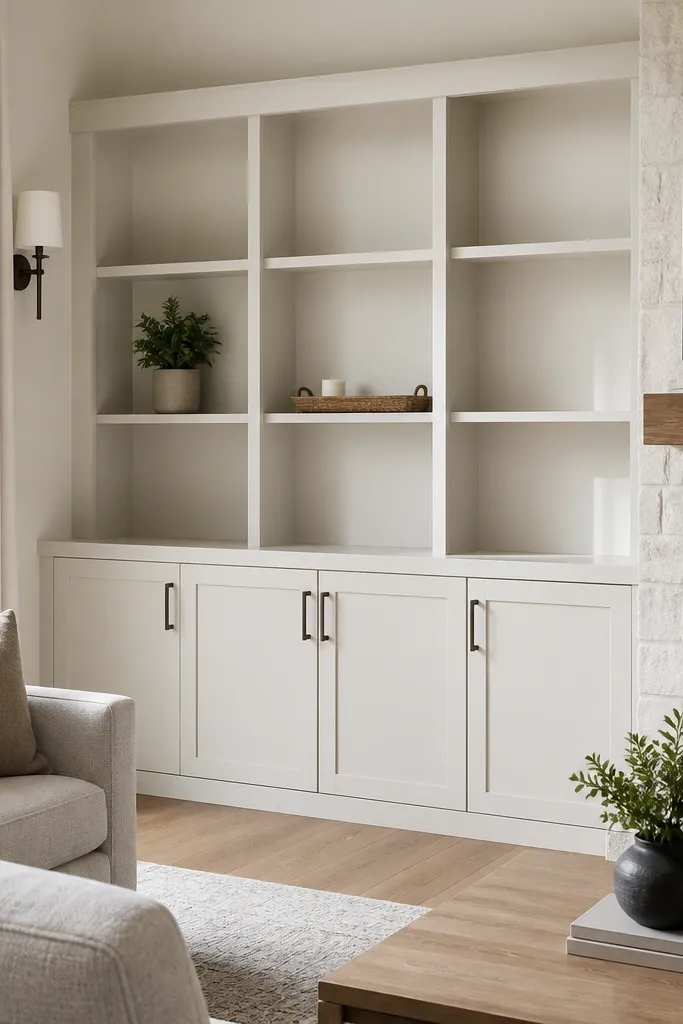
1. Tall Open + Closed Column Built-Ins in Soft White
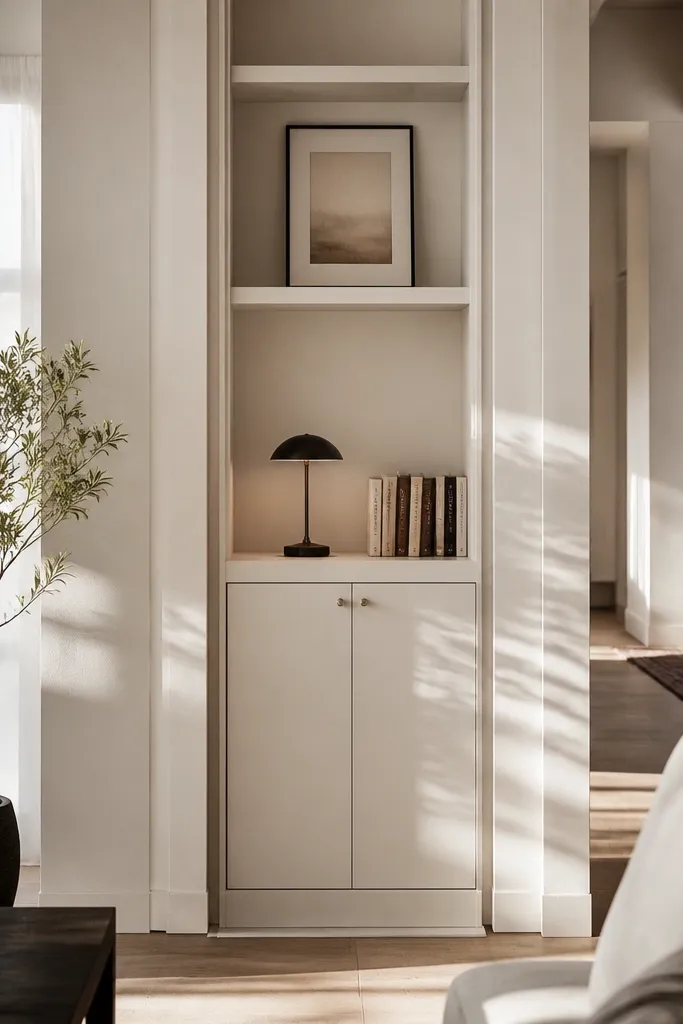
This layout reads clean because it gives your eye a rhythm: open space for styling on top, and closed storage that hides clutter below. The soft white finish keeps everything bright, so you don’t need dark decor to make it look intentional. It’s low-maintenance because most dust collection happens on open surfaces, and you control that by limiting open bays. You also get a place for baskets, chargers, and spare throws without turning your shelves into a catch-all.
Start by marking the run on the wall at your chosen shelf heights, then locate studs with a stud finder. Build a simple frame using 1/2-inch plywood for the outer panels and face; add a level ledger board temporarily to hold everything while you screw it in. Install the open bays as fixed shelves (don’t rely on adjustable brackets if you want it to stay tidy), then build a closed base with door openings sized so the doors don’t scrape. Finish by filling seams, sanding smooth, priming with a bonding primer, and painting with cabinet-grade paint in a satin finish.
Editor's noteUse a 1/8-inch reveal line around doors and shelves. It makes the whole run look like real millwork, not DIY plywood.
Skip thisAvoid MDF for the shelf panels — it dents fast and looks tired once you wipe it a few times.
2. Warm Oak Veneer Look Using Paint + Woodgrain Contact Laminate
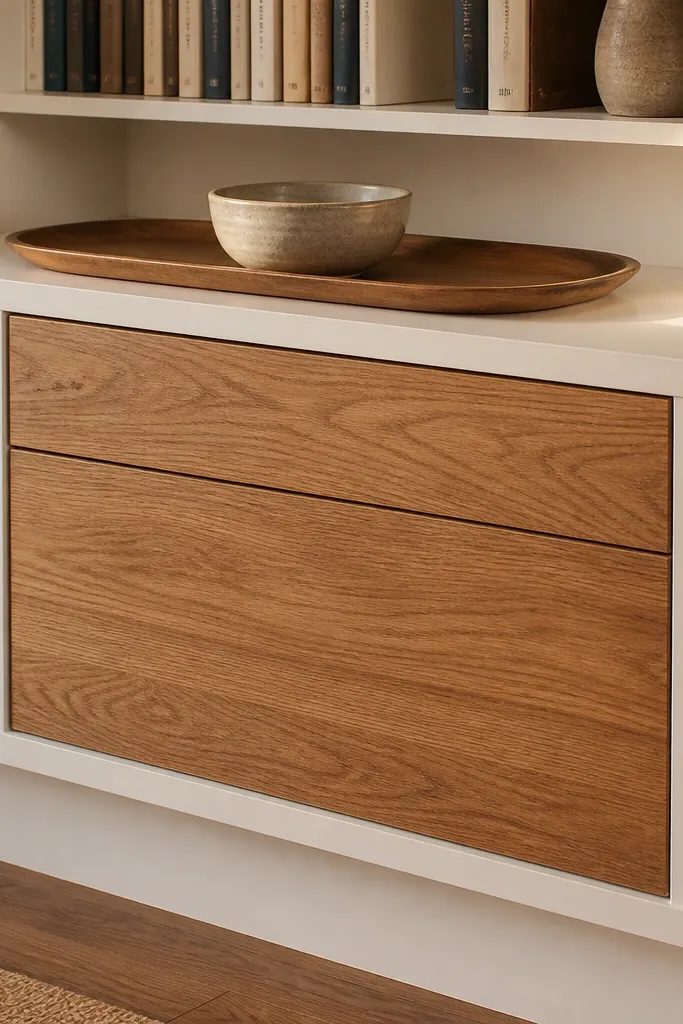
If you want that cozy oak look without spending on real veneer, this combo gives you the same visual payoff. Paint the carcass and face in crisp off-white, then apply woodgrain laminate or woodgrain contact to the shelf surfaces only. That split keeps the structure clean while making the shelves feel warmer when light hits them. It’s low-maintenance because the shelf surfaces wipe clean, and you don’t have to worry about staining unevenly.
First, paint the plywood face and frames and let it cure fully (overnight is the safe move). Measure each shelf top and cut woodgrain laminate/contact with a sharp utility knife, then dry-fit before removing backing. Apply using a slow, straight pass: start at one edge, smooth with a plastic squeegee, and trim the overhang with a fresh blade. Finally, seal the edges with a thin bead of clear caulk or edge-sealing trim so water or cleaner doesn’t creep under the film.
Editor's noteDo a test panel on scrap plywood. Woodgrain contact can “telegraph” seams if you line it up wrong.
Skip thisDon’t apply laminate to raw, dusty plywood. Clean with a degreaser wipe and sand lightly so it sticks.
3. Floating-Style Built-Ins Using a Hidden French Cleat Backer
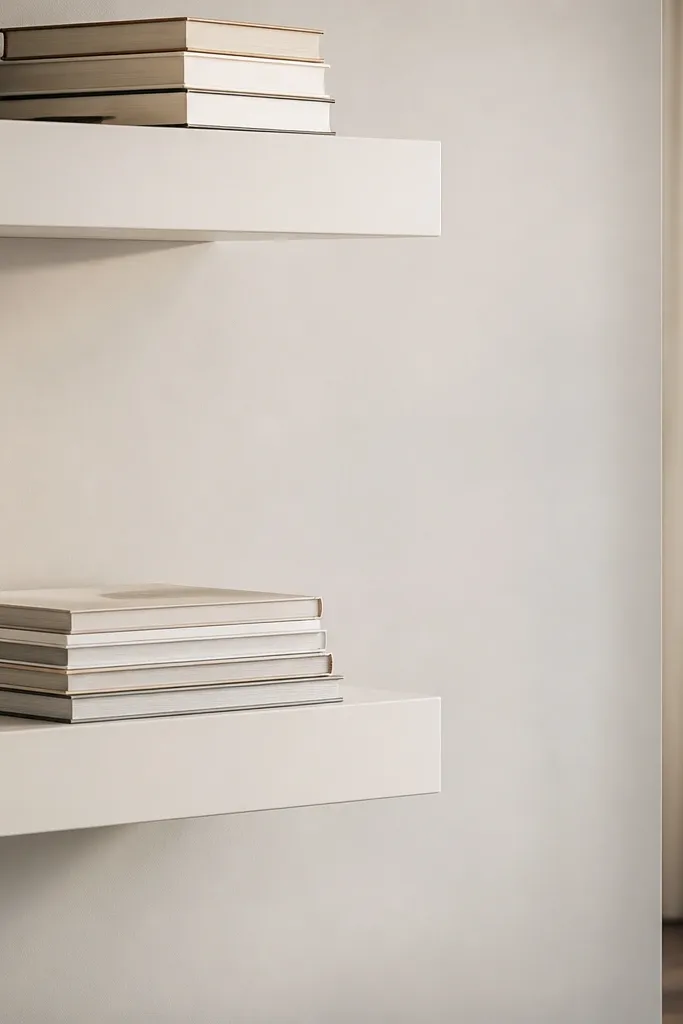
This look is photogenic because the shelves appear to hover — clean sides, no visible brackets, and a sharp shadow line. A hidden French cleat backer also makes the build more forgiving: you can hang the units accurately, then lock them in with screws. It supports low maintenance because you can keep the shelf faces smooth and sealed, and you can add a closed base later if you want. Great for smaller living rooms where bulky storage would crowd the wall.
Cut a backer strip from 1/2-inch plywood and build a French cleat system: one angled piece fastens to the wall studs, the matching angled piece fastens to the back of each shelf unit. Use a long level to mark stud locations and mount the wall cleat so the top runs perfectly straight. Hang the shelf units onto the wall cleat, then add two screws through the face frame into studs for security. Sand seams, prime, and paint the face; finish shelf surfaces with a wipeable topcoat.
Editor's noteMark the cleat angle on painter’s tape on your saw guide. It keeps the mating pieces consistent across multiple cuts.
Skip thisDon’t skip the stud screws after hanging. The cleat holds position, but the screws stop side-to-side movement.
4. Deep 14-Inch Open Shelves with a Built-In Tray Rail
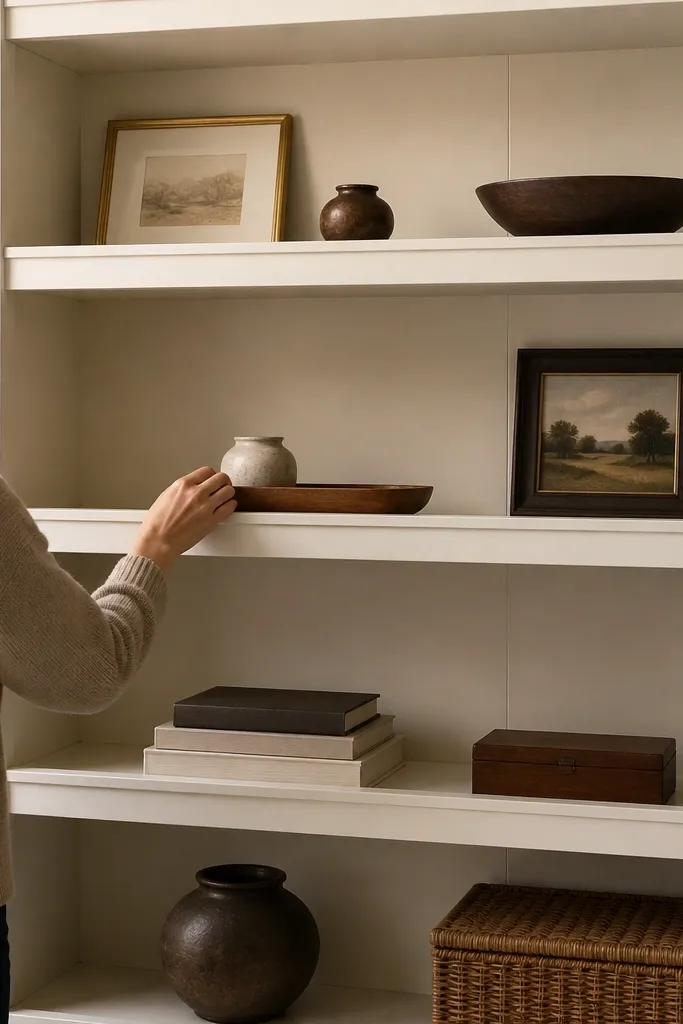
Deep shelves are where the “expensive” look comes from because decor doesn’t sit like it’s perched on the edge. Add a small tray rail (a shallow lip) so small items land in the same spot every time. This creates a controlled, styled look without constant rearranging, which is exactly what you want for low-maintenance built in shelves living room decor. It also makes dusting easier since loose items are contained on trays rather than scattered.
Plan your depth at 14 inches for a comfortable styling area and a less cramped feel. Build the carcass with 1/2-inch plywood for the shelf panels and 3/4-inch plywood for the side frames if you want extra stiffness. Add a 3/4-inch-tall tray rail along the back edge using a cut strip that’s glued and screwed, then sand flush. Seal everything with primer and a cabinet paint topcoat, and finish the shelf surface with satin paint or a clear water-based topcoat rated for furniture.
Editor's noteUse 1/4-inch plywood for the tray inserts so you can replace them if you change your decor style later.
Skip thisAvoid placing open shelves above a vent without checking airflow. Warm air can dry out finishes and warp thin boards.
5. Sleek Black Shelves with White Back Panels for Maximum Contrast
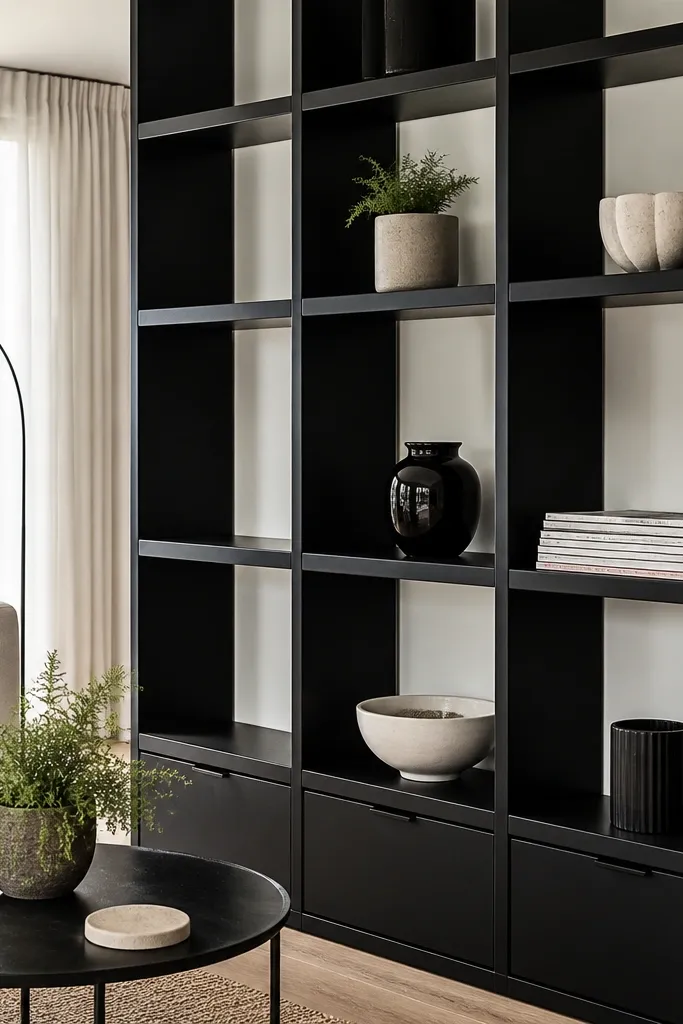
High-contrast shelves look sharp in photos and in real life because the back panel makes objects pop. Black shelves hide minor scuffs better than light colors, and white back panels keep the cubbies bright so the room doesn’t feel heavy. This is low-maintenance because the black finish is easier to keep looking clean with quick wipes, and you’re not relying on fragile light wood stains. Use this if your living room has warm lighting or wood floors and you want a modern look.
Paint the wall inside the open bays a crisp white first, using painter’s tape to keep edges clean. Build the shelf carcass in 1/2-inch plywood, then prime and paint the shelves in a durable black cabinet enamel (satin looks best). For the back panels, cut 1/4-inch plywood or hardboard to fit behind the shelf grid and glue it in place before installing shelves. Finish with caulk along the edges, light sanding on the caulk after it cures, then a final paint touch-up.
Use painter’s tape on the shelf faces only after the black base coat cures. Tape can pull fresh paint and create a “fuzzy” edge.
Don’t paint the entire wall black if you want low maintenance. You’ll show every wipe mark and smudge.
6. Shiplap-Backed Built-Ins with Closed Cabinets and Open Center
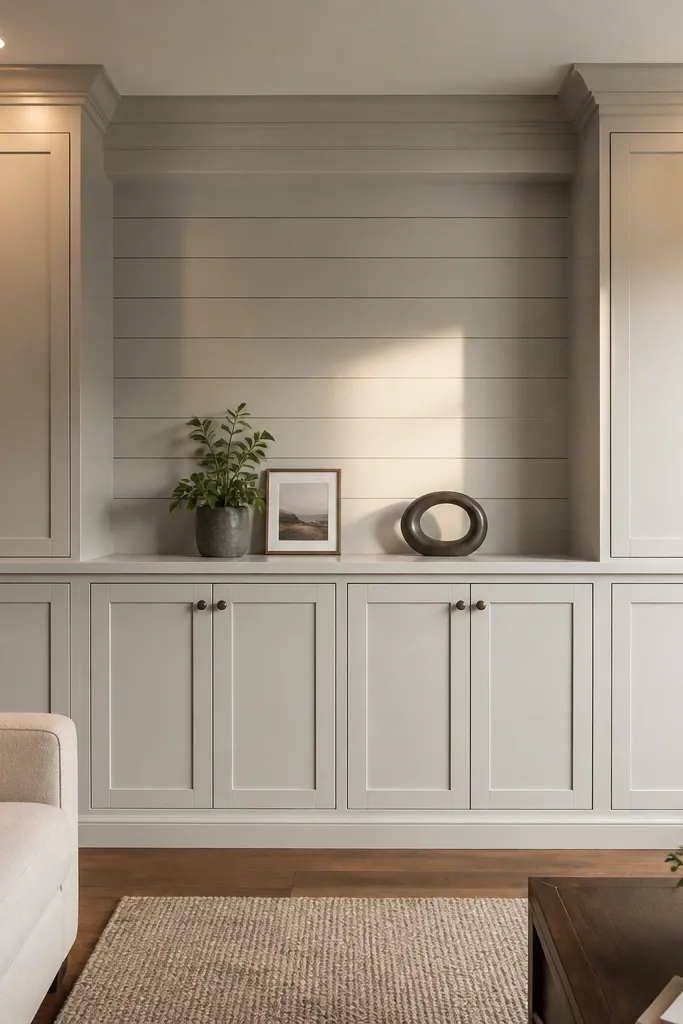
Shiplap-style backs add texture without turning the shelves into a clutter magnet. Keep open shelving only in the center run, and use closed cabinets on the sides so you control what dust sees. The texture looks good from multiple angles, which matters because living rooms aren’t viewed straight-on like a showroom. It’s a strong choice when your wall is plain drywall and you want the built-ins to look intentional without expensive trim work.
Install a flat backer panel first (1/2-inch plywood or glued hardboard) so the shiplap-style boards don’t warp. Add thin shiplap boards (about 1/4-inch thick) horizontally or vertically depending on your room, then prime the texture thoroughly. Build the built-in frame with plywood, then glue and screw the shiplap back panel in the open section only. Add door frames for the closed sides, install doors, and finish with paint in a semi-gloss on the doors and satin on shelves for wipeability.
Editor's noteCaulk the shiplap seams lightly and sand after it dries. It makes the texture feel smooth instead of grainy.
Skip thisAvoid using untreated soft wood for the back texture. It soaks paint unevenly and looks patchy.
7. Built-In Entertainment Wall Shelf with Wire Management Spine
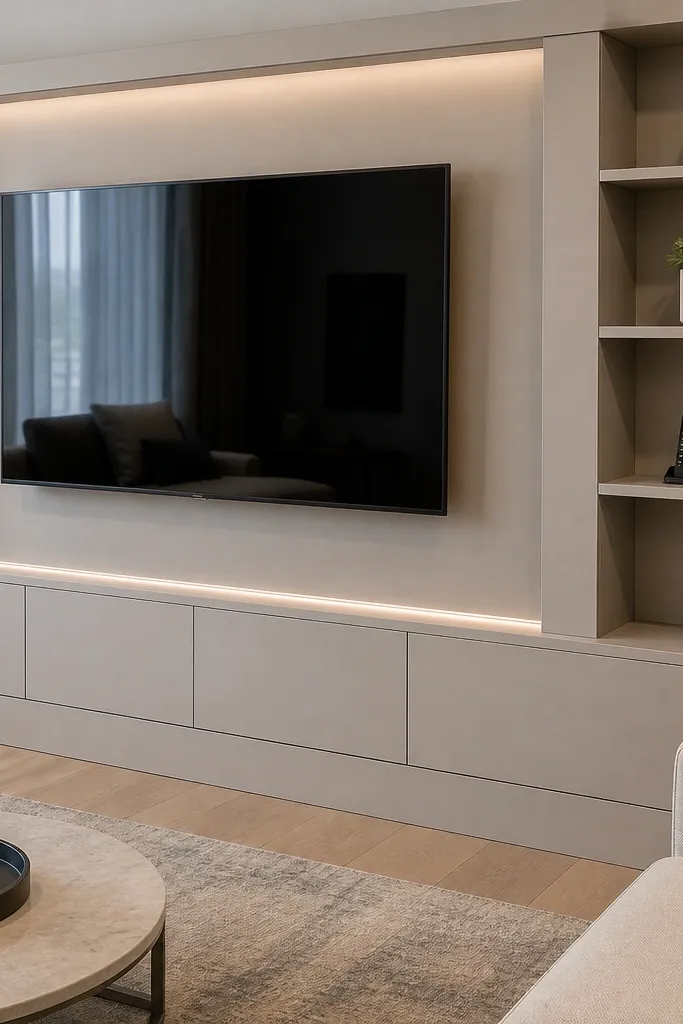
This is the “low-maintenance” version of entertainment shelves because cords are the first thing that ruins the look. Put your outlets and power strip behind a hidden wire management spine, then route cables through a cut channel before the shelves go up. The open shelves stay clear because remotes, chargers, and HDMI clutter don’t spill out. It also looks cleaner in photos since the back of the shelf area doesn’t show messy cable runs.
Before building, map the TV and device locations and find an outlet near the center. Install a vertical wire channel spine behind the shelves: use a cable management raceway or a plywood-backed channel with a removable cover panel. Cut openings for cables and add a grommet where wires pass through. Build the shelf frame around it, then install a solid back panel behind the open shelves only at the cable area so you block sightlines. Finish with paint and add a small removable tray for remotes so you can keep the front tidy.
Editor's noteLabel both ends of every cable with masking tape before you route them. You’ll save hours later when something changes.
Skip thisDon’t run power and low-voltage cables side-by-side in the same channel. Keep them separated so you don’t get interference.
8. Corner Built-Ins with a 45-Degree Shelf and One Clean Display Bay
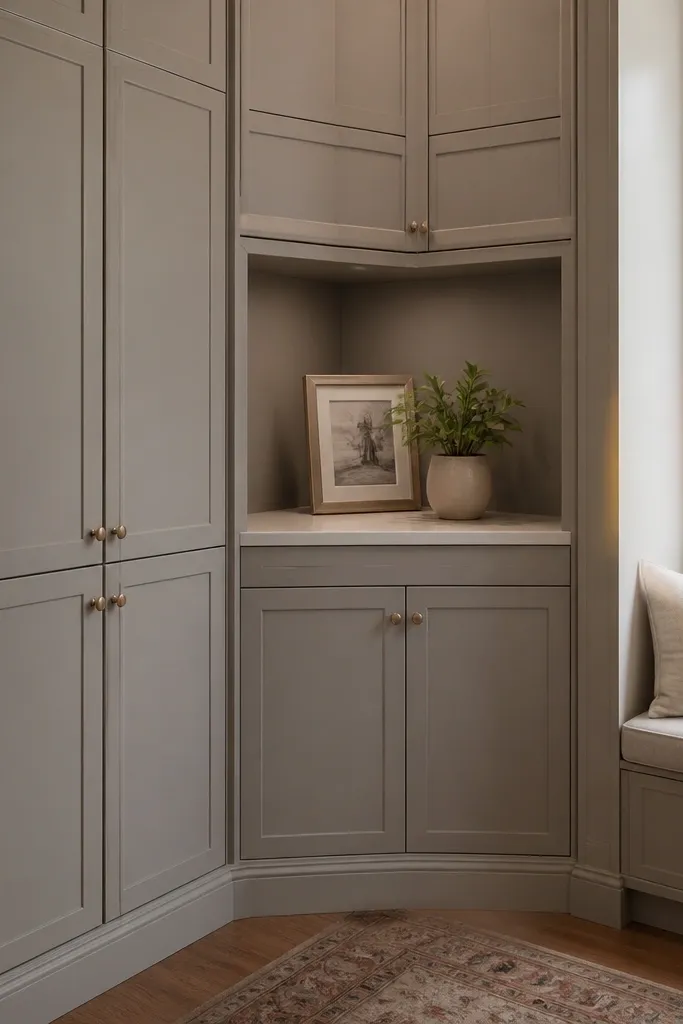
Corners are tricky, but they look amazing when you commit to one clean display bay instead of trying to fill every inch. A 45-degree shelf gives you a natural place for a plant, framed photo, or small sculpture without it falling off a flat edge. This is low-maintenance because you can keep the corner surfaces minimal and easy to wipe. It also makes the room feel bigger by using the corner’s dead space for storage and display rather than clutter.
Measure your corner and pick a shelf width that fits the space without blocking walk paths, then decide the 45-degree shelf size first. Cut two side panels and one 45-degree shelf panel from 1/2-inch plywood, then build a small triangular frame that bolts into studs on both walls. Add one vertical face frame for the display bay so the look is cohesive rather than two separate shelves. Sand, prime, and paint the face; finish the shelf top with satin paint or a wipeable clear topcoat.
Use a stop block for your 45-degree cuts so both angled edges match. Mismatched angles show immediately in corners.
Avoid overloading the corner shelf. A deep display item makes the shelf feel heavy and harder to keep dust-free.



