
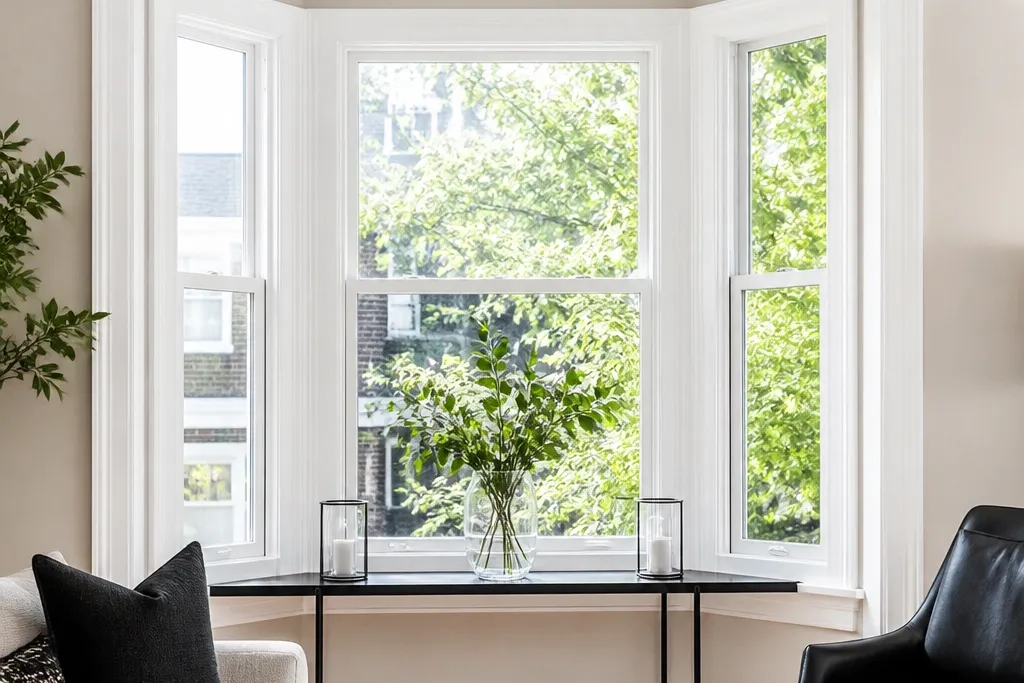

1. Satin-White Picture Trim with Caulked Returns
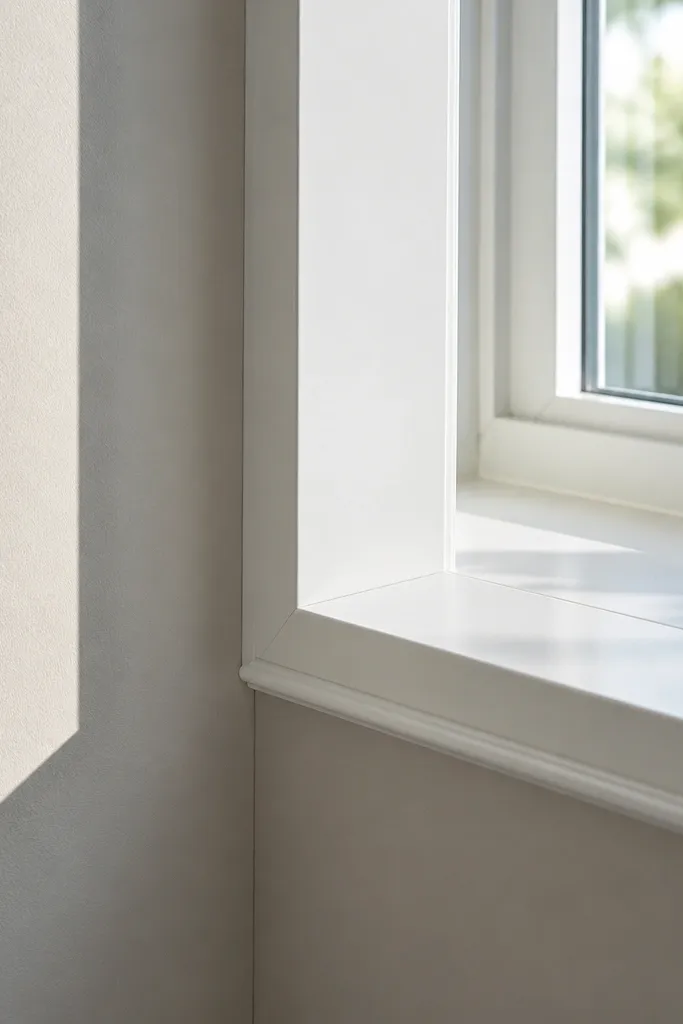
This is the easiest way to make a bay look modern without turning it into a maintenance project. The trick is using satin-white trim paint and finishing the returns — the little side edges where dust likes to collect. Caulk those seams so you don’t get a gritty line you’ll keep wiping. It reads crisp in daylight, and it stays that way because satin holds up to regular wipe-downs. Skill level is beginner-friendly if you can tape straight lines; time is about a weekend for one bay.
Start by cleaning the trim, then scuff-sand with 220 grit and wipe again so the paint bonds. Tape both sides of the trim edges and apply two coats of satin trim paint, letting it cure between coats. Run a thin bead of paintable caulk at the return corners, tool it smooth with a damp finger or plastic caulk tool, then touch up paint once dry.
Use painter’s tape with a firm burnish (press hard with a plastic card) so the edge stays razor-clean.
Don’t skip sanding — glossy trim paint will peel at the corners.
2. Removable Roman Shade Panels in Washable Fabric
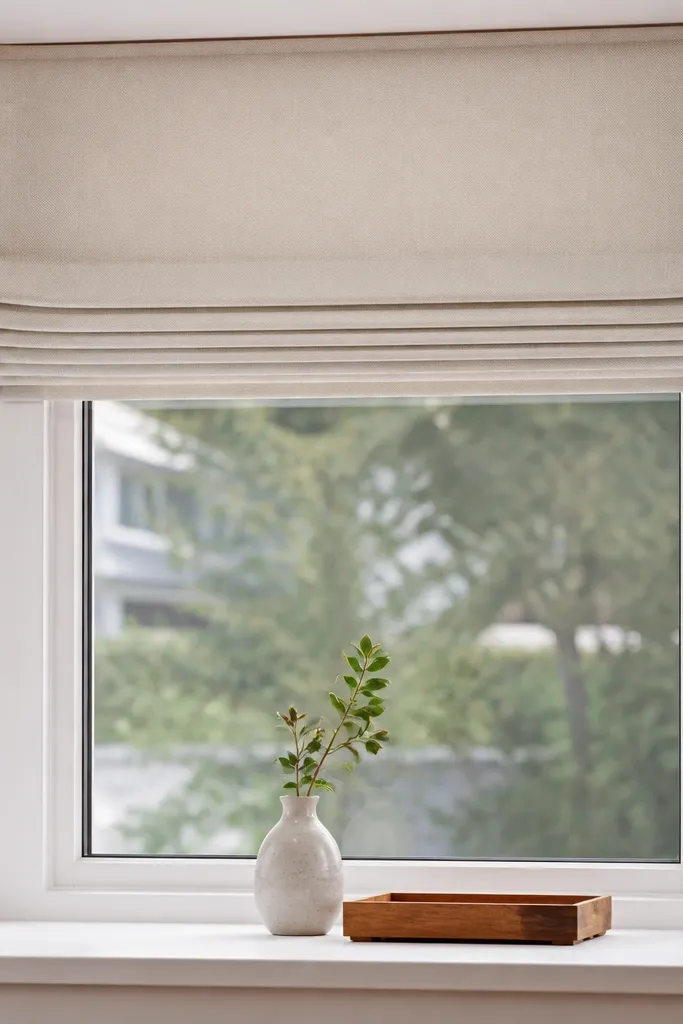
Roman shades look tailored in a bay because the folds stack neatly and don’t balloon outward. For low-maintenance, you want washable fabric and a removable panel system, not delicate dry-clean-only material. Choose a light-neutral color so the bay stays bright even when the shades are down. The result looks custom because the folds are level across all three window sections. This is a solid DIY if you can measure carefully and mount brackets straight.
Measure each window section separately for width and height, then buy or make Roman shade panels that match those dimensions. Install mounting brackets at the same height on the left, center, and right sections, using a level and marking pencil lines. Add the fabric panels so they clip or screw on and can be removed; test raise/lower motion before finishing trim.
Editor's notePick a fabric with a tight weave so dust doesn’t cling and the folds stay sharp.
Skip thisDon’t install brackets by eye — uneven mounts make the folds look messy fast.
3. Wipeable Faux-Leather Bench Skirt for the Sill

A sill that looks dressed up always makes the bay feel intentional. A wipeable faux-leather bench skirt (or vinyl) gives you the look of upholstery without the maintenance of real fabric. It hides the gap beneath the sill and blocks dust from collecting where the room meets the window. The shine is controlled — go matte or low-sheen for modern — and it wipes clean with a damp cloth. This works best in living rooms and dining nooks where people lean or pass by the bay often.
Measure the bay sill length across each section and add 1 in for overlap on the corners. Build a simple frame with 1x2 furring strips or use rigid foam panels, then wrap with faux leather and staple or screw the edges to the back. Add a Velcro or hidden magnetic attachment along the top edge so the skirt can be removed for wiping and occasional deep cleaning.
Use contact adhesive only on the back side — you want a clean front edge you can rework.
Don’t use glossy vinyl — it shows fingerprints and looks dated quickly.
4. Low-Sheen Chalk-Resistant Paint on Sill and Trim
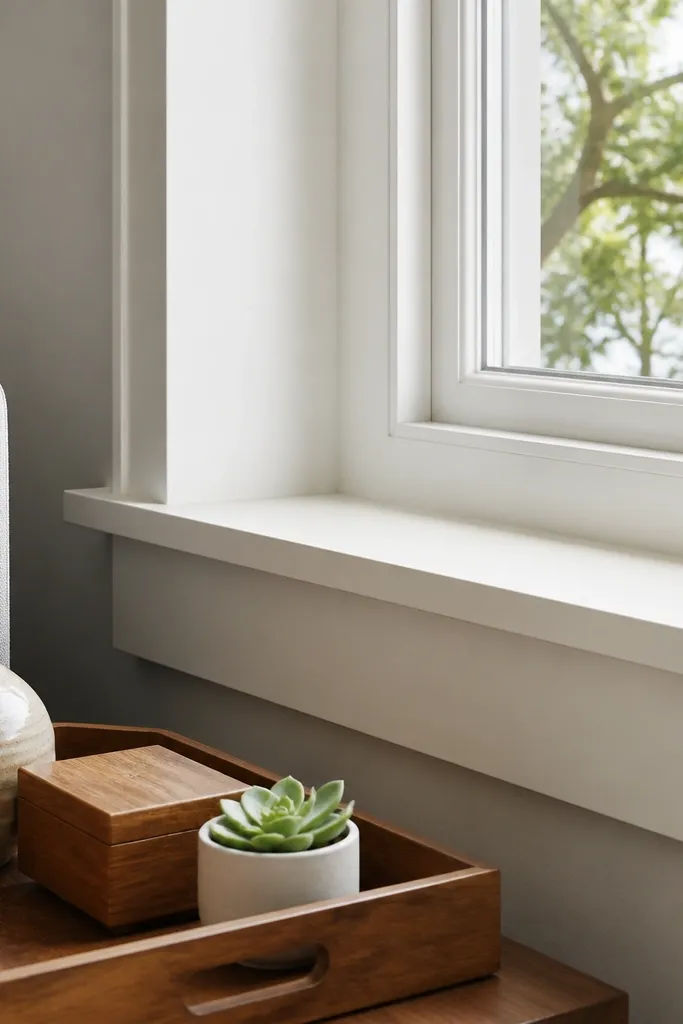
If your bay looks dull or grimy after a few wipes, the finish is usually the problem. A chalk-resistant, low-sheen paint on both the sill and trim keeps the surface clean-looking and reduces streaks. Choose a color that matches your trim or sits one step warmer than wall paint so it reads modern and bright. This idea is great for older homes where trim has stains, because the right primer plus two coats evens everything out. It’s DIY-friendly and gives the biggest “fresh bay” impact per hour.
Scrape any loose paint, then clean with a degreaser if the area has fingerprints or cooking residue. Prime with a bonding primer if the surface is glossy or stained, then apply two coats of low-sheen, wipeable wall/trim paint. Paint from the inside of the bay outward so you don’t trap drips on the visible face; let cure fully before hanging anything near it.
Use a foam roller for the large flat areas and a 2 in angled brush for corners to avoid brush marks.
Don’t paint over chalky, unsealed trim — it will keep rubbing off under cleaning.
5. Clear Acrylic Window Film for Privacy Without Losing Light
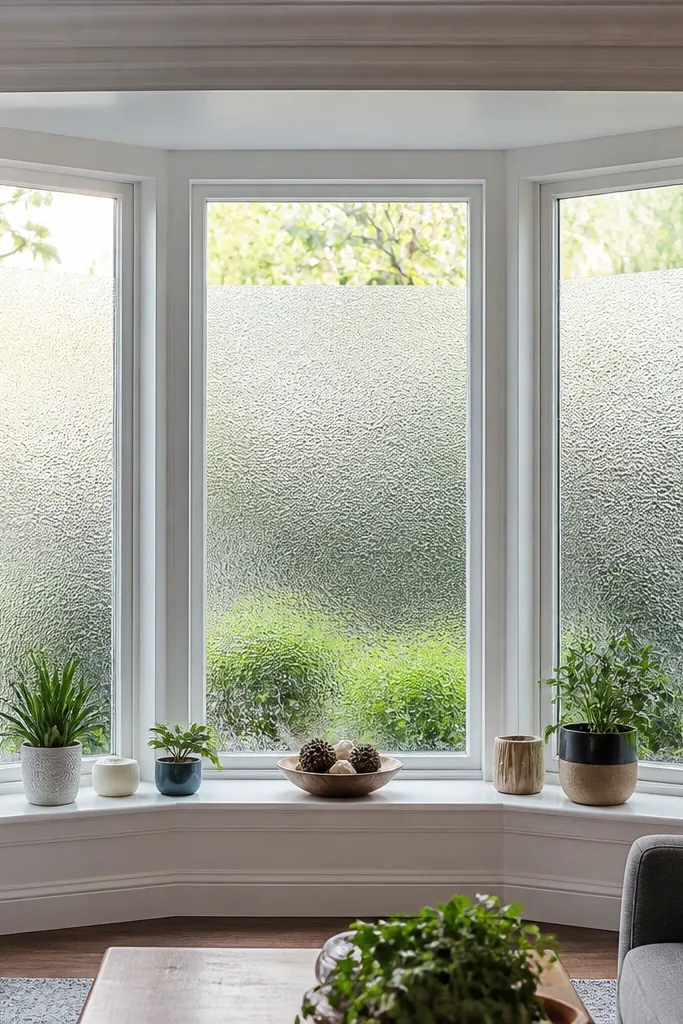
Window film is one of the fastest ways to make a bay feel more modern and private without adding fabric that traps dust. Clear or lightly frosted privacy film reduces glare and makes the room feel calmer, while still letting daylight pour in. Choose a pattern with a subtle, random texture so it looks contemporary instead of “bathroom.” It’s low-maintenance because you wipe it like glass, and it doesn’t require replacing hardware. This works especially well for street-facing bays in bedrooms and first-floor living rooms.
Clean the glass thoroughly with an alcohol-based cleaner so the adhesive bonds. Measure each pane and cut film to size with a sharp utility knife, leaving a small margin for trimming. Wet the glass with the included application solution, apply the film, squeegee from center outward, then trim edges with the blade once it’s positioned.
Editor's noteUse a lint-free microfiber and squeegee slowly to avoid tiny air lines.
Skip thisDon’t apply to dusty glass — you’ll see bubbles and peeling along the edges.
6. Slim Black Steel Shelf Ledges with Hidden Brackets
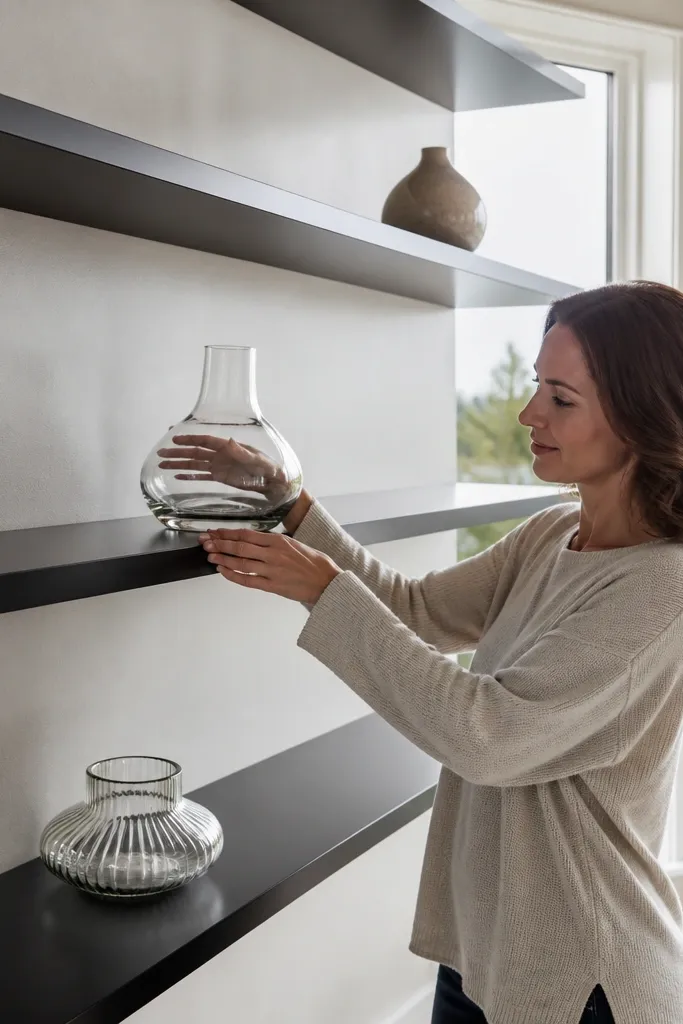
A bay window looks instantly more modern when there’s a strong horizontal line. Slim black steel shelf ledges do that while staying low-maintenance because you can wipe the surface and keep decor minimal. Use hidden brackets so the shelves look built-in, not like floating hardware. Style it with a few glass pieces and one plant, and the bay reads intentional from every angle. This is a mid-level DIY because shelf alignment across three sections matters.
Mark your shelf height on each window section with a laser level or long level, keeping the line consistent across the bay. Install hidden brackets into studs (or use proper anchors if you hit solid masonry), then attach the shelf ledge supports. Finally, screw the shelf boards/metal ledges on top and check for level before adding finish items.
Editor's noteLeave a 1/2 in gap between the shelf and any trim so caulk and cleaning don’t fight you.
Skip thisDon’t mount without checking stud locations — shelves pull out fast under decorative weight.
7. Matte White Laminate Paneling on Bay Nook Walls
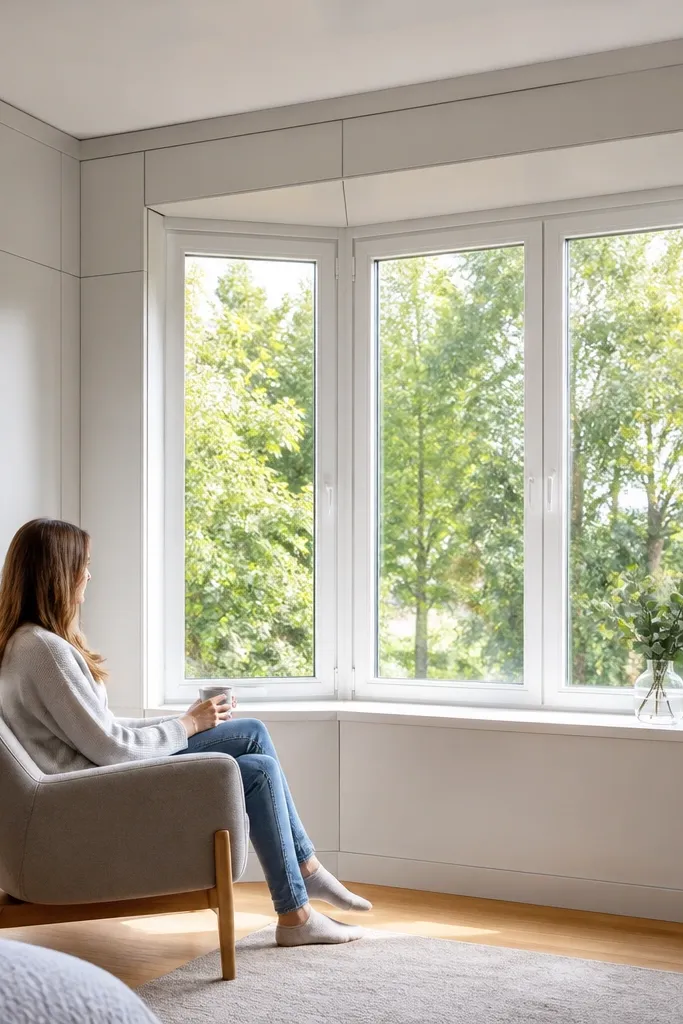
If your bay is surrounded by blank wall, paneling makes the whole corner look designed. Matte white laminate panels are wipeable, resist scuffs, and keep the look crisp even when hands touch the wall. Use a simple flat-panel layout so it feels modern, not cottage. The seams are the key — tight spacing and consistent caulk lines create a polished look that hides dust traps. This works best when you’re doing a refresh anyway, like painting and updating trim.
Measure the bay wall surfaces and map panel sizes so seams land evenly on the corners. Install furring strips or a flat backing system so the paneling sits flush, then cut panels to fit around window trim. Apply construction adhesive or screw through the panel backing as your system requires, then caulk seams with a paintable, flexible caulk and paint only if needed.
Editor's noteDry-fit every panel before fastening. Bay corners are rarely perfectly square.
Skip thisDon’t leave gaps at corners — dust builds up and makes the seams look dirty.
8. Magnetic Removable Curtain Panels with No-Cord Hardware
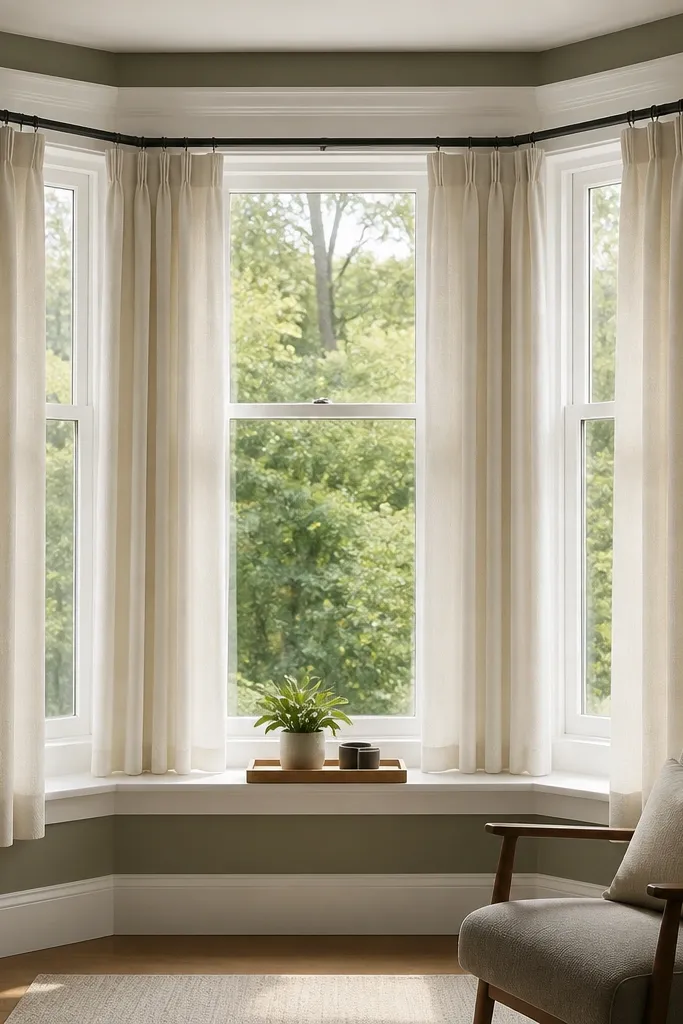
Curtains can be low-maintenance if you remove the hassle — cords, threading, and re-hanging. Magnetic removable panels let you take the fabric down quickly for washing, while the bay still looks soft and modern. Use a simple rod with a clean profile and magnets hidden behind the fabric header. Choose a medium-weight sheer or linen-blend for an airy look that doesn’t cling to dust. This is ideal for bays in dining rooms where you want privacy and light control without constant cleaning.
Install a single curtain rod across the bay with brackets set into studs or strong anchors. Sew or attach a fabric header that has evenly spaced magnet pockets, then test magnet strength before hanging. Hang each panel, align the folds, and make sure the hem clears the sill by at least 1 in so it doesn’t pick up dirt.
Use magnets rated for upholstery weight so the fabric doesn’t sag after washing.
Don’t pick super-thin fabric — it shows wrinkles and looks messy between washes.
9. Aluminum Slat Blinds with Dust-Resistant Finish
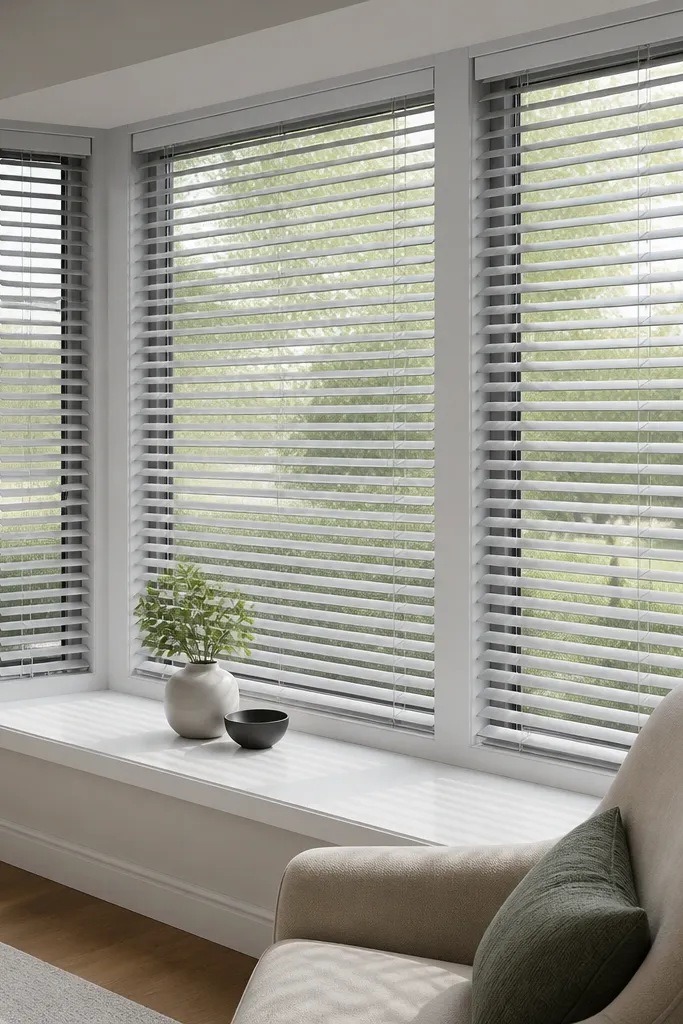
Slat blinds are the definition of low-maintenance when you choose aluminum and a dust-resistant finish. They wipe clean fast, and you can adjust slats to keep glare down without fabric. In a bay, the key is installing each section so the slats align when open, which makes the whole look feel modern and engineered. Go with white or a soft greige so it blends with trim and doesn’t look like hardware. This is a beginner-friendly install if you follow measurements carefully.
Measure each bay pane for width and height, then order blinds that match those dimensions and include side brackets. Mount the brackets with a level and confirm clearance at the sill and trim edges. Install the headrail, then test tilt and lift action on each section; adjust bracket position if any slats don’t align.
Editor's noteIf your bay has slight out-of-square walls, use shim packs behind brackets for a perfect line.
Skip thisDon’t mount blinds tight to the glass — leave clearance so slats move freely.
10. Built-In Window Seat with Removable Cushion Covers

A modern bay window seat can look designer and still be low-maintenance when the only “soft” part is removable cushions. Use a built-in frame with a wipeable top deck and vinyl or sealed wood for the seat base. Then choose cushion covers you can unzip and wash — this matters because window seats collect crumbs and sun-fade faster than you expect. Pick a neutral fabric with a tight weave and a simple pattern so it stays attractive after repeated washes. This project takes more time, but it solves multiple problems at once: storage, comfort, and a clean bay finish.
Build a base platform with plywood and 2x framing, then add a sealed top surface like paint with primer or a clear coat rated for furniture. Install a backrest and side supports so the seat looks built-in, then make two or three cushion inserts sized to fit snugly. Cover with zippered fabric cases and add a non-slip backing layer so cushions don’t shift.
Use foam with a medium density and let it sit 24 hours before cutting covers for a tighter fit.
Don’t choose untreated fabric — spills and sun make stains stick to light colors.
11. Open-Cell White Window Trim Wrap Around Bay Corners
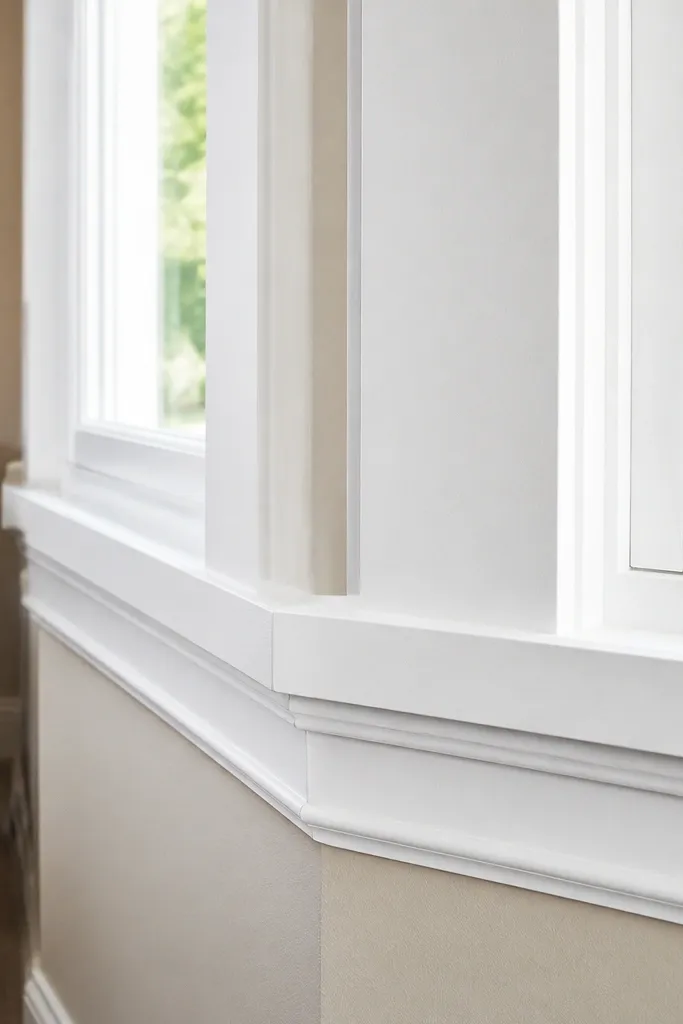
Bay corners often show messy gaps where old trim meets new paint or where casing doesn’t line up. A trim wrap system that covers corners cleanly makes the bay look crisp and modern. Use a white, smooth, paintable material that you can sand and caulk — it’s the difference between “DIY” and “finished.” Low-maintenance comes from having fewer crevices for dust to collect. This is a good choice when you’re already repainting because you can correct uneven casing in one go.
Remove any loose casing or failing caulk, then sand the edges so the surface is flat. Cut trim wrap pieces for the bay corners and test-fit around the window casing, marking where they need trimming. Glue or nail the wrap in place, then fill seams with paintable caulk and sand smooth before applying two coats of matching trim paint.
Editor's noteUse a flexible caulk at corners — rigid filler cracks when the house shifts.
Skip thisDon’t leave exposed foam texture — it collects grime and looks uneven under light.
12. Clear Glass Beadboard Sidelight Panels for Brightness
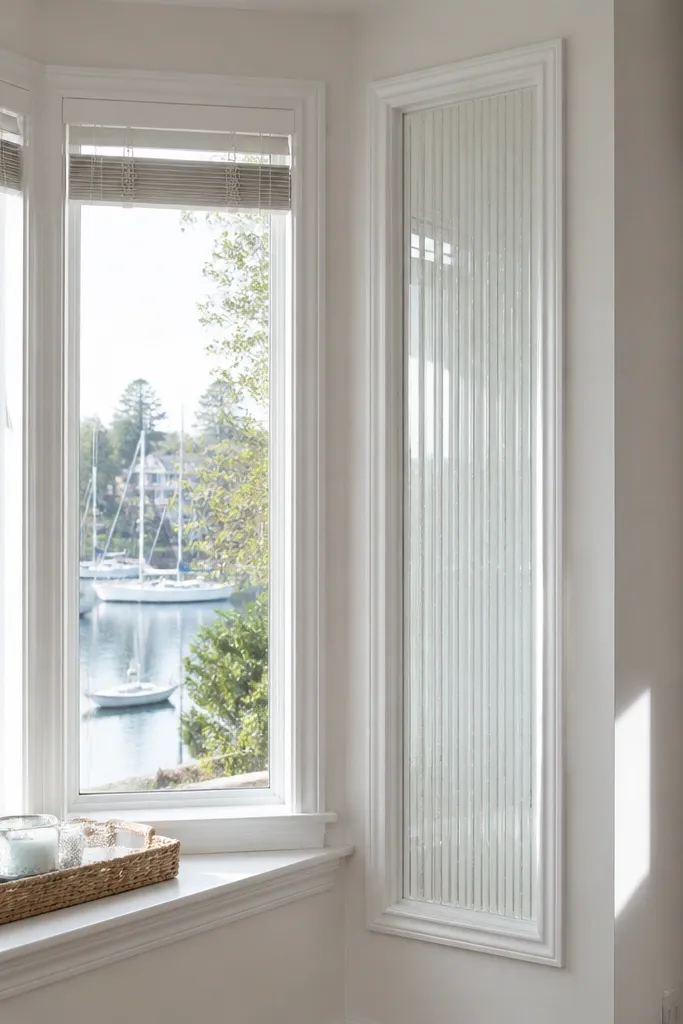
If your bay has adjacent wall space, beadboard-style paneling can look modern when you keep it light and clean. Use a beadboard texture in white, but keep the most visible areas wipeable and flat. This idea gives you classic texture without fabric or dust magnets because the surfaces are smooth enough for quick wiping. It also frames the bay so the room feels brighter and taller. It’s best for entry-adjacent bays or breakfast nooks where you want texture but hate constant cleaning.
Measure the side wall sections next to the bay and cut smooth panel boards to fit with small clearance gaps. Install a backing strip or thin framework so the panels sit straight and don’t warp. Attach panels, then caulk along the edges and paint with a durable, semi-smooth finish. Finish by sealing any cut edges so they don’t absorb moisture or dirt.
Seal cut edges with primer before topcoat so they don’t flash lighter under sunlight.
Don’t use thick beadboard with deep shadows — dust shows up in the grooves.
13. Matte White Shiplap Panels with Caulked Seams
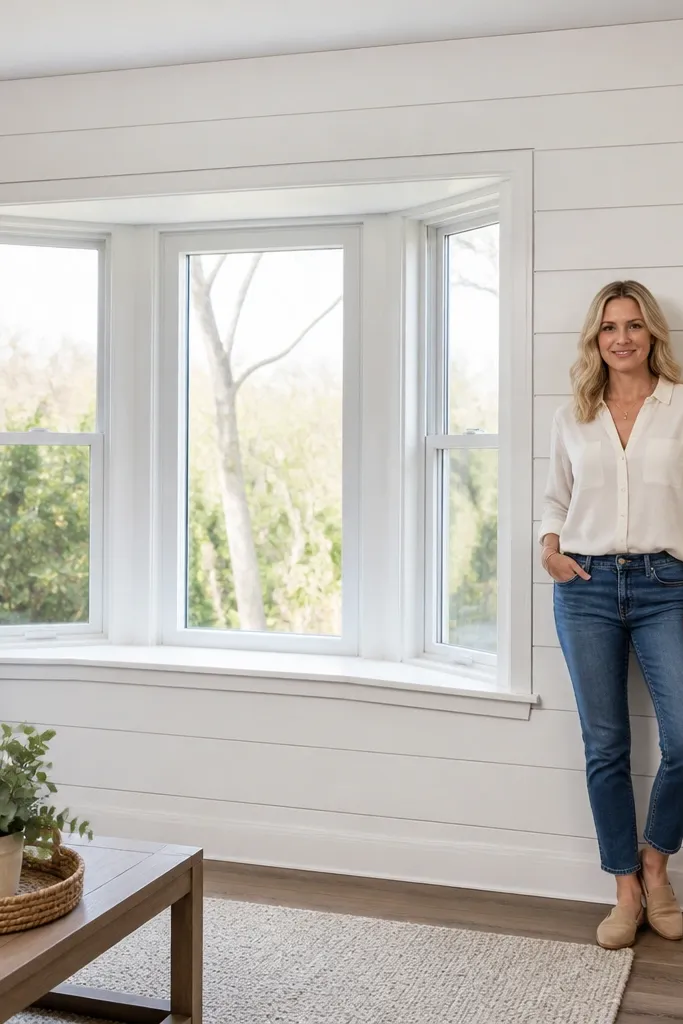
Shiplap can look very modern when the color is matte white and the seams are clean. The maintenance part is about seam treatment: caulk the gaps so you don’t get a dusty trough. A bay window with shiplap around it looks bright because the wall catches light evenly and frames the windows. This is a great option when you want a modern farmhouse vibe without the messy, distressed look that needs touch-ups. DIY is straightforward with basic carpentry skills.
Find studs, then install a level starter board and check your layout so the first plank is straight. Cut panels for the bay’s angles and corners, leaving a small expansion gap where needed. Nail or screw panels, then caulk every seam line, wipe off excess, and paint two coats of matte white with a durable interior paint.
Editor's noteUse a small foam roller after painting to even out brush texture in the plank grooves.
Skip thisDon’t leave seams uncaulked — the gap becomes a dust line you’ll chase forever.
14. Powder-Coated Black Curtain Rod with Simple Rings

Hardware is the part people notice first, and powder-coated black reads modern without looking fragile. If you pair it with easy-clean curtains or removable panels, the whole bay stays neat because the rod doesn’t rust and the rings slide smoothly. Choose a rod that matches the bay width and use brackets placed so the rod stays level across all sections. This idea is low-maintenance because you’re not dealing with complicated track systems. It works in living rooms, offices, and bedrooms where you want a clean, graphic look.
Measure the bay span and choose a rod length that covers it with consistent overhang on each side. Install brackets into studs, keeping the rod height consistent so the curtain hem sits evenly. Hang rings, then attach curtain panels with a simple header so you can remove panels quickly for washing.
Editor's noteUse a rod level on a phone app or laser — a slightly tilted rod makes curtains look crooked even if the fabric is perfect.
Skip thisDon’t use flimsy thin rods — they sag in the middle and ruin the straight-line look.
15. Linen-Blend Drape with Adjustable Hem Clips
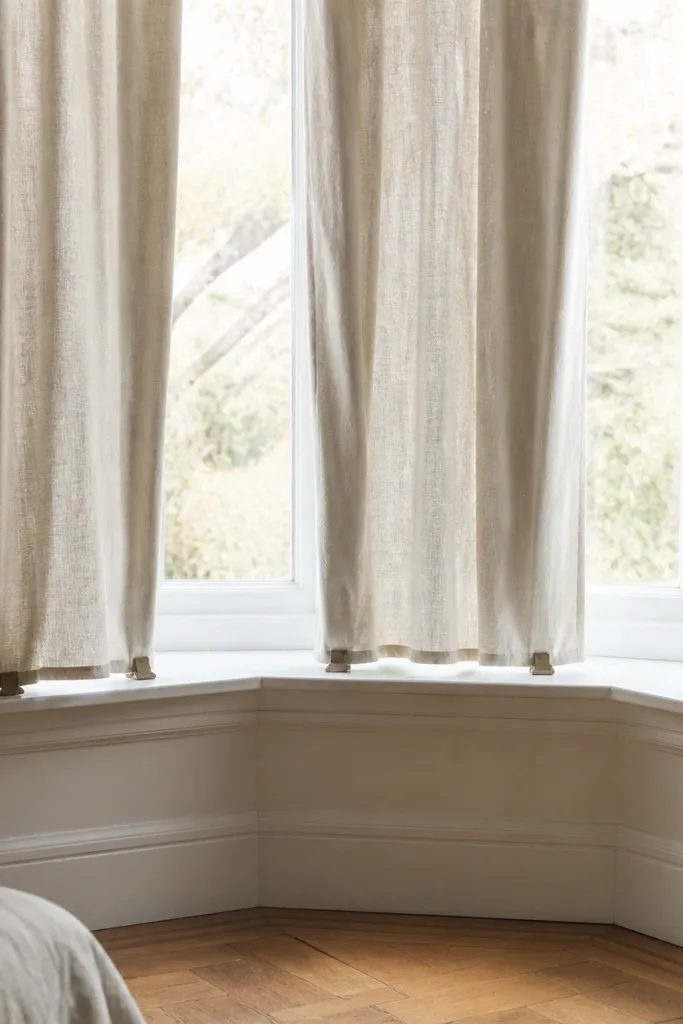
You can keep drapes looking modern in a bay by controlling the hem. Hem clips let you adjust length and keep the fabric from dragging onto the sill where it picks up dirt. Linen-blend looks good in daylight and hides minor wrinkles better than silky fabrics. For low-maintenance, use clips so you don’t have to re-pin or re-thread hems every time you wash. This works well when you want a softer look but still need the bay to stay clean-looking between cleanings.
Choose linen-blend panels sized to the bay so each section hangs with the same drop length. Install curtain hooks or rings, then attach hem clips along the bottom edge with even spacing. Test the height by holding the fabric against the sill — aim for 1/2 in to 1 in clearance so dust doesn’t settle into the hem.
Wash on cold and hang dry to reduce ironing — clips keep hems consistent even when the fabric relaxes.
Don’t let the hem touch the sill. That’s where the grime line forms.
16. Frosted-Glass Insert Panels in a DIY Window Frame

If you want a modern look without fabric, frosted-glass inserts add softness and privacy while staying wipeable. The bay still feels bright because frosted glass scatters light instead of blocking it. You also get clean lines — the frame hides imperfect edges and makes the window area look intentional. This is best for bays that are accessible and where you can replace or install inserts in a frame system. Skill level is moderate because you need accurate cutting and a solid mounting plan.
Measure each window section and build a thin frame system with straight, square corners, using miter cuts or pre-made trim profiles. Install frosted film or frosted glass inserts into the frame with a gasket or mounting beads so edges stay sealed. Mount the frame to the bay trim with screws into studs or strong anchors, then caulk the perimeter for a clean, dust-free edge.
Use painter’s caulk around the perimeter, not silicone — it makes future touch-ups easier.
Don’t skip sealing the perimeter — any gap becomes a dust catch.
17. Corner-Only Plant Rails with Removable Trays
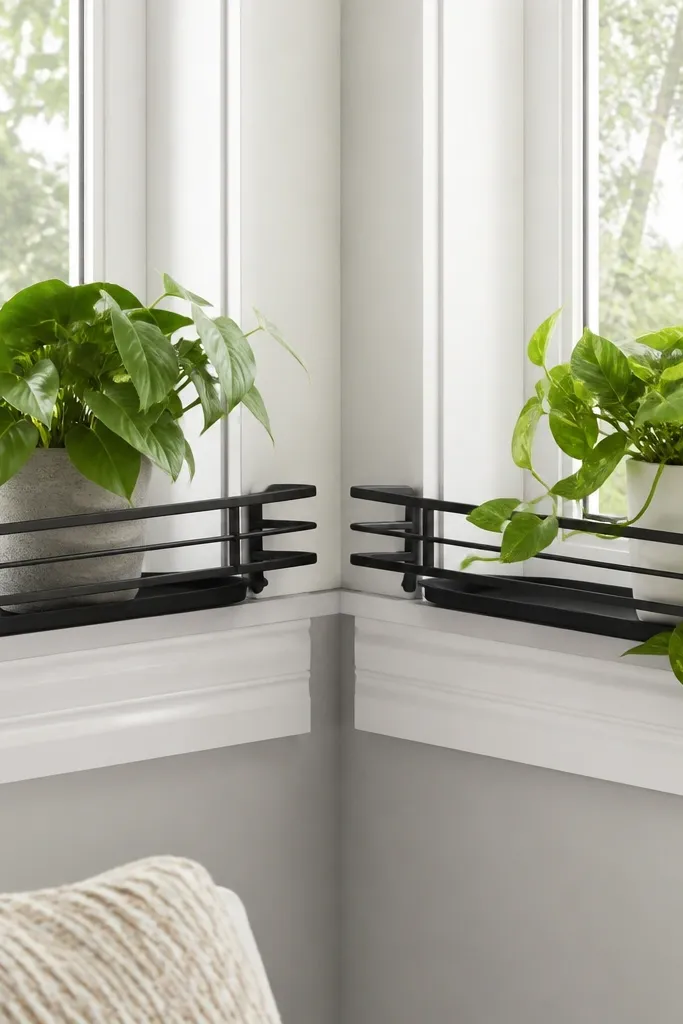
Plants can make a bay look alive, but constant watering mess kills the “low-maintenance” goal. Corner-only plant rails solve it by limiting where water and soil sit, and removable trays catch drips so your sill stays clean. It looks modern because the rails create a clean vertical rhythm rather than a cluttered shelf. Pick matte ceramic pots and keep the number of plants small — the bay should still feel airy. This is ideal for people who love greenery but want the bay to stay tidy.
Install two narrow rails at the bay corners only, using brackets anchored into studs. Place removable trays on top or under the rails so each plant sits over a catch surface. Use a drip tray liner that you can remove weekly, then wipe the rails with a damp cloth after watering.
Editor's noteChoose rails with a powder-coated finish so water spots don’t bake in.
Skip thisDon’t put plants along the full sill. That’s where water damage and soil dust accumulate.
18. Matte White Vinyl Window Valance Panel
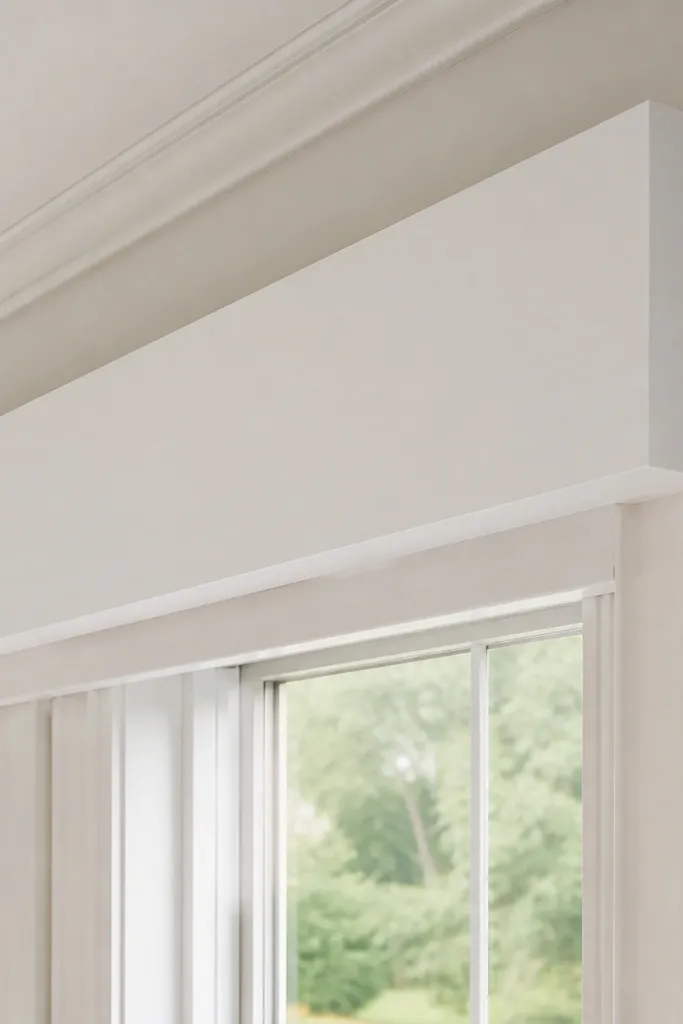
A valance can make a bay feel finished, and vinyl valance panels keep cleaning simple. You get a modern, flat look without the fabric fuzz that collects dust above the windows. Choose matte white and a simple profile that doesn’t have deep decorative ridges. The panel hides cords and the top of blinds or shades, making the whole setup read intentional. This works when you already have blinds and you just want the bay to look “done.”
Measure the bay width and determine how much overhang you want on each side, then cut the valance panel to size. Mount a simple mounting strip behind the casing so the valance clips or screws on evenly. Attach the panel so the bottom edge lines up with the top of your shades or blinds, then caulk any visible gaps for a smooth finish.
Use a flexible caulk where the valance meets trim so it doesn’t crack as the house moves.
Don’t choose high-gloss vinyl — it reflects light and shows every smudge.
19. Tube LED Sconce Line Under the Bay Seat Area

Lighting makes a bay feel modern even when you keep decor minimal. A low-profile LED sconce line under the seat or along the lower trim adds warm, even illumination that makes the bay look brighter at night. For low-maintenance, LEDs have no bulbs to replace frequently, and the fixtures are easy to wipe if you use a sealed profile. The aesthetic is clean because the light is directional and avoids harsh glare on curtains. This is a DIY-friendly electrical project only if you’re comfortable with basic wiring and local codes.
Pick an LED strip or linear LED fixture with an enclosed diffuser so dust doesn’t collect in the channel. Plan the run length across the bay and mark mounting points under the seat area or trim. Install the mounting clips, connect with the correct power supply, and test before closing panels or adding covers.
Choose warm white around 2700K for a cozy bay — 4000K can look cold next to natural wood and beige walls.
Don’t mount LEDs without a diffuser. Hot spots look cheap fast.
20. Shallow Window Sill Organizer Trays in Sealed Wood

A bay sill looks messy when everything sits directly on the flat surface. Shallow sealed wood organizer trays keep items contained — glasses, candles, small decor — so dust and crumbs don’t spread. Seal the wood with a wipeable finish like a water-based polyurethane so it handles routine cleaning. The look is modern because trays create structure and negative space, not clutter. This idea works in homes where the bay is used daily as a display area.
Measure your sill depth and choose tray thickness so you keep at least 1/2 in clearance from the window edge. Cut or buy shallow wood trays, then sand smooth and seal with two coats of wipeable finish. Place trays centered on the sill and use felt pads underneath to prevent scratching and keep the spacing consistent.
Editor's noteKeep tray interiors light-colored. Dark trays show dust quickly.
Skip thisDon’t use raw wood. It stains and warps from water and sunlight.
21. Matte Acrylic Panel Side Protectors for High-Touch Bays
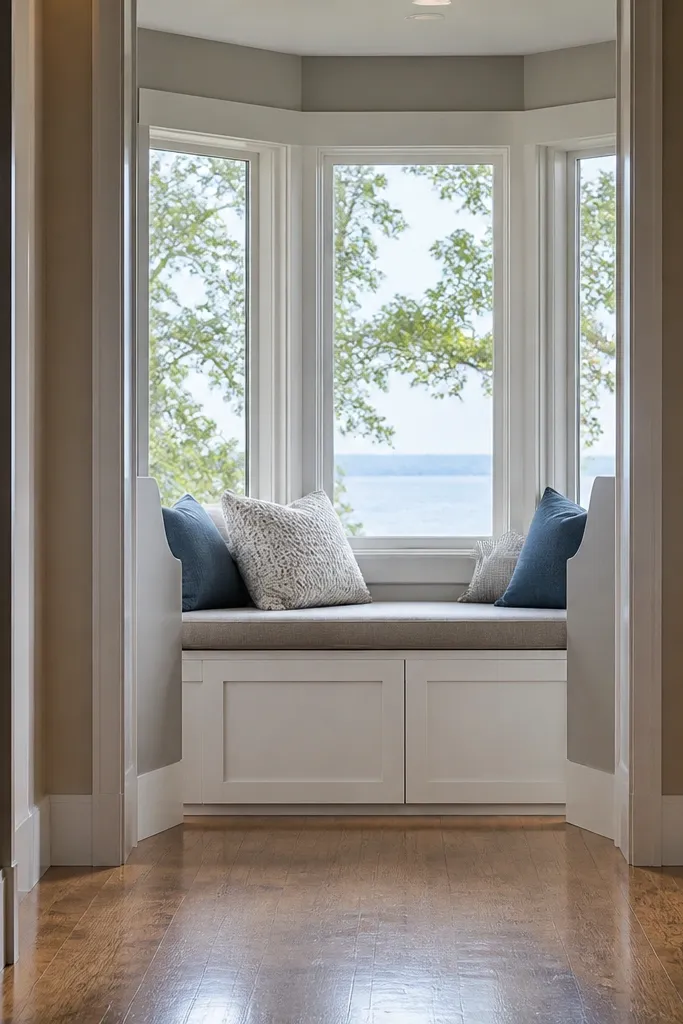
If your bay is near a hallway or entry, the side areas get scuffed and grimy from coats and bags brushing by. Matte acrylic protectors take the hit while keeping the bay looking clean and modern. They’re wipeable, and the matte finish hides fingerprints better than clear glossy plastic. Install them only where touch happens so the visual stays light. This is a practical aesthetic upgrade that prevents the “why does this bay always look dirty?” problem.
Measure the side touch zones and cut matte acrylic sheets slightly larger than the area. Clean the mounting surface and use a mechanical mounting method with standoffs or a strong double-sided mounting tape rated for acrylic surfaces. Seal edges with a protective trim strip so the acrylic can’t chip and the gap doesn’t collect dust.
Editor's noteUse a plastic-safe cleaner and avoid alcohol-heavy solvents that craze acrylic over time.
Skip thisDon’t mount acrylic directly with thin tape on painted trim — it can pull paint when you remove it.
22. Cable-Managed Smart Blind Power Box Hidden in Trim
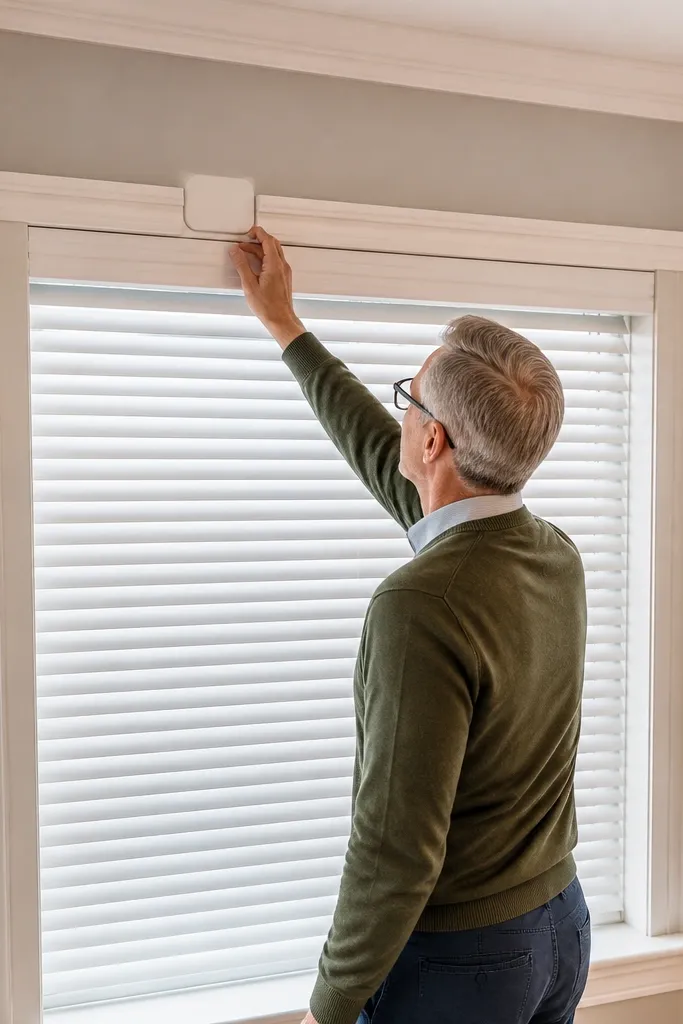
Smart blinds look great until you see the power setup. Hiding the power box and routing cables behind trim makes the bay look genuinely modern and keeps dust off wires. This is low-maintenance because you’re not dealing with cords that snag and collect grime. Use a clean, matte cover so it blends with trim and doesn’t stand out. This works best when you’re installing new motorized blinds or adding power to existing ones.
Plan where the power box sits behind the bay trim and confirm you have access for future servicing. Install a small access panel behind the trim edge, then run cables through a protected channel or conduit. Mount the cover so it sits flush, then connect blinds and test operation before closing the access panel permanently.
Label cables inside the box with painter’s tape so future troubleshooting is quick.
Don’t bury connections without an access panel — you’ll hate it later.
23. Accordion-Free Folding Screen Panels for Bay Privacy
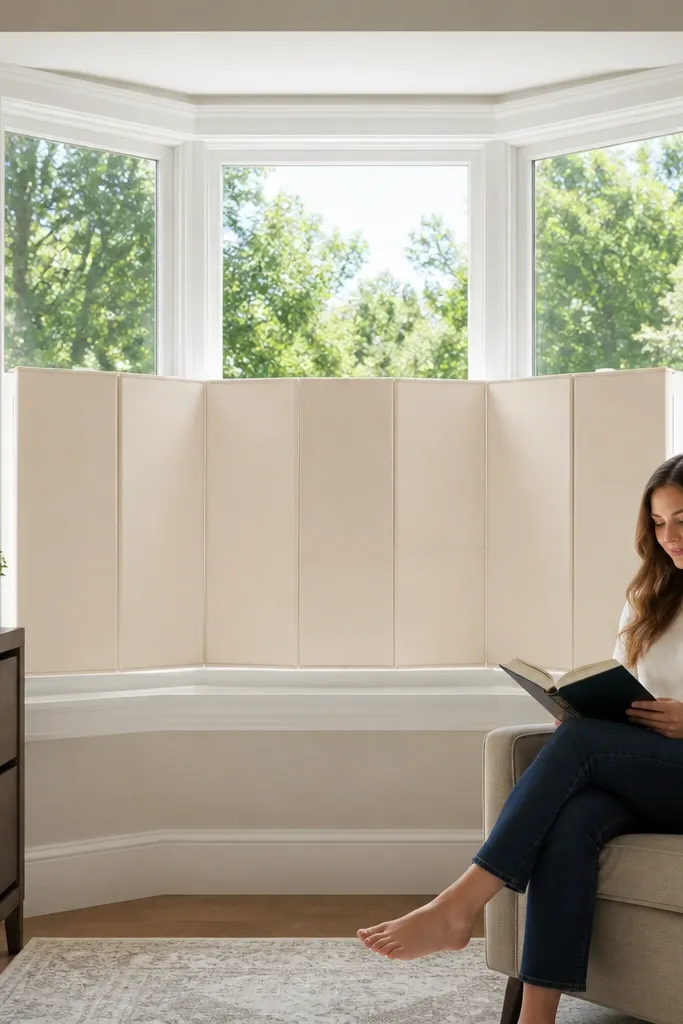
A folding screen can add privacy and softness without installing anything into the bay. The modern version uses straight, rigid panels instead of accordion folds that collect dust in the creases. Choose a smooth fabric or a wipeable surface so the screen stays easy to clean. It’s low-maintenance because you can wipe it and move it out of the way for deep cleaning days. This works well in rentals or when you want a temporary update for a bay that you don’t want to drill.
Pick screen panels with rigid frames and straight hinges so they fold flat and don’t create deep dust pockets. Set the screen slightly in front of the bay so it doesn’t block the window completely, and use felt pads at contact points. Clean surfaces with a damp cloth and keep the screen on a stable floor mat so it doesn’t shift and create uneven gaps.
Editor's noteUse a weighted base or add non-slip feet so the screen doesn’t drift and look sloppy.
Skip thisDon’t choose textured fabric with deep pile. It looks great for a week, then it traps dust.
24. Modern Bay Window Ceiling Trim Line with Easy-Wipe Finish
A thin ceiling trim line above the bay makes the whole area look intentional and modern, especially when the walls around it are plain. Keep it simple: a narrow crown or flat casing that you can wipe clean. The low-maintenance part is finish choice — semi-satin ceiling paint or trim paint holds up to dusting and occasional damp wiping. This also helps visually “frame” the bay so window treatments sit better. It’s a quick project if you already have ladders out for painting.
Mark the trim line height around the bay with a laser or long level, then install a straight starter strip so your casing stays aligned. Cut corners carefully and dry-fit pieces before nailing or screwing. Caulk the seam lines, let cure, then paint with trim paint in a semi-satin finish for wipeability.
Editor's noteUse a small foam roller to paint the casing so you don’t get brush ridges on the ceiling line.
Skip thisDon’t rush corner cuts — tiny gaps show in daylight from the bay.
25. Waterfall Quartz-Effect Sill Skirting with Snap-In Panels
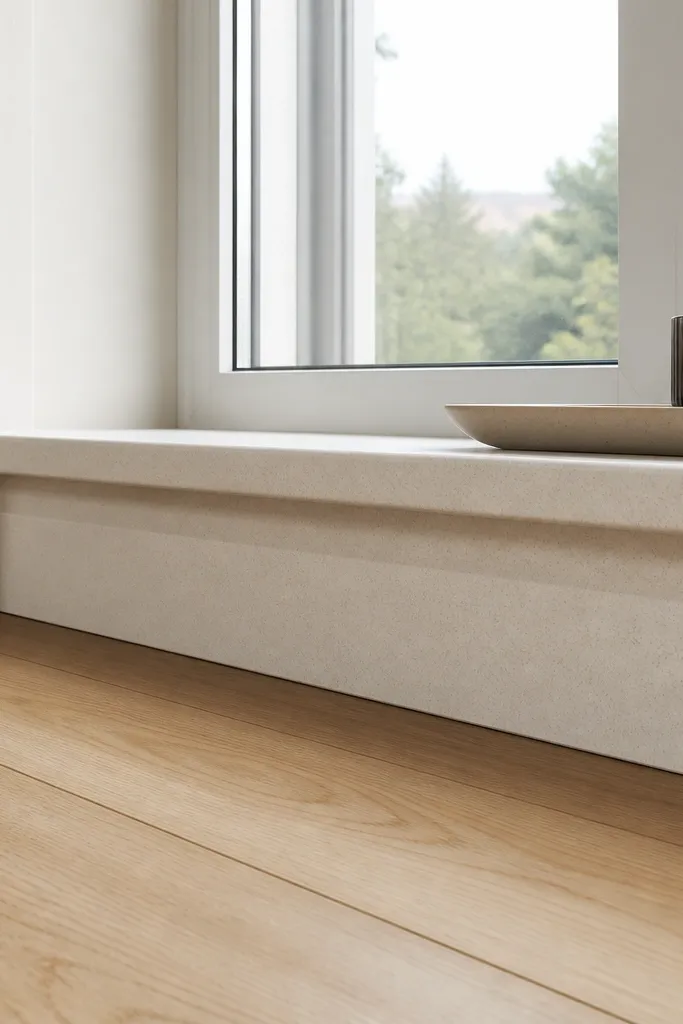
This is the clean, modern look you get when a bay window sill feels finished from floor level up, without the “hard to clean” problem. The waterfall quartz-effect panels create a soft, layered shadow line that reads bright in daylight, but still hides scuffs and everyday mess. You build it with snap-in MDF slats covered in a wipeable quartz-look film, so you can pop a panel out in seconds and clean behind it. It’s a medium DIY project that takes a weekend, mostly because you’re cutting consistent widths and lining up the snap edge. Best for living rooms, reading nooks, and entry bay windows where the sill gets touched, kicked, or splashed by plants.
1) Measure the bay sill skirt run (outside corner to outside corner) and decide your panel height, usually 3 to 4 inches. Cut 1/2-inch MDF strips to width with a 1/8-inch reveal gap between panels for expansion, then round the bottom edge with a 1/4-inch round-over bit so it doesn’t look boxy. Apply quartz-look vinyl film to each strip, using a squeegee and trimming the edges with a sharp utility knife, then seal the top edge with a clear water-based polyurethane so the film edges don’t lift. 2) Build a simple mounting rail inside the skirt line: use a straight 1x2 backer rail screwed to the wall studs or solid blocking, keeping it level to the highest point of the bay. Add a continuous snap track from flexible PVC or a spring-steel retainer strip along the rail top so the panel lip clicks in. Install the first panel, then use a spacer strip to keep the reveal gaps even while you mark and screw the remaining rail positions. 3) Finish the look with a thin trim cap at the top edge and caulk only the outer perimeter seams with paintable acrylic caulk. Test removal and re-clicking of one panel before you commit to caulk so you don’t trap the snap track. Allow sealant and caulk to cure fully before heavy cleaning or placing pots directly on the sill.
Editor's noteCut one sacrificial panel first and test the snap fit; a 1/16-inch difference in the lip thickness changes how easily panels pop out.
Skip thisSkip wrapping MDF without sealing the cut edges — unsealed edges wick moisture and the film corners lift.



