
1. Clear Glass Panels with Slender Powder-Coated Posts
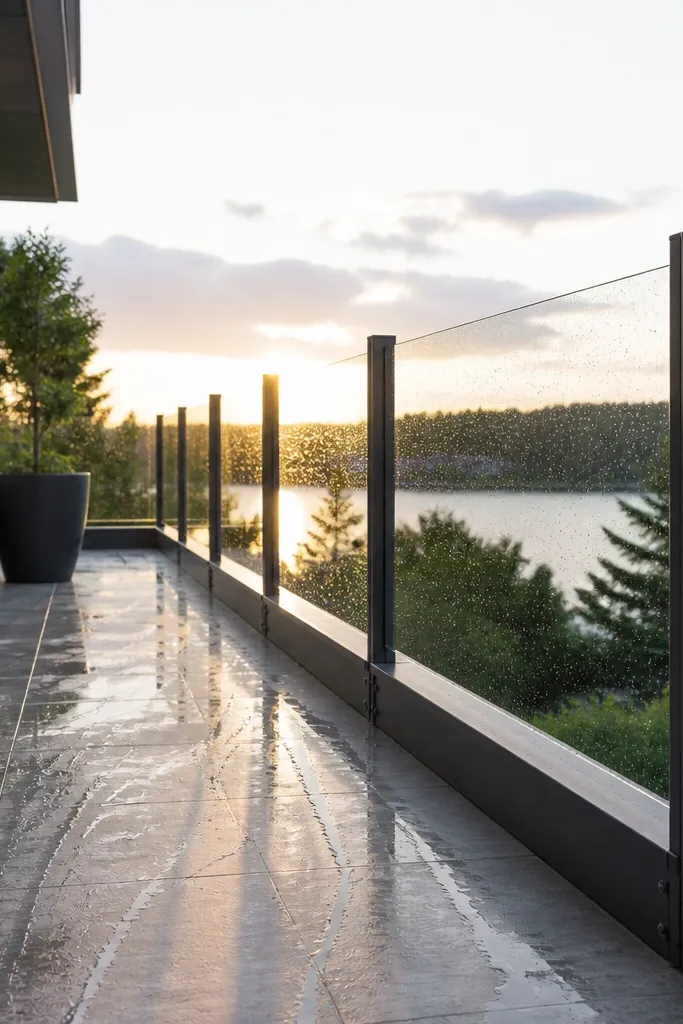
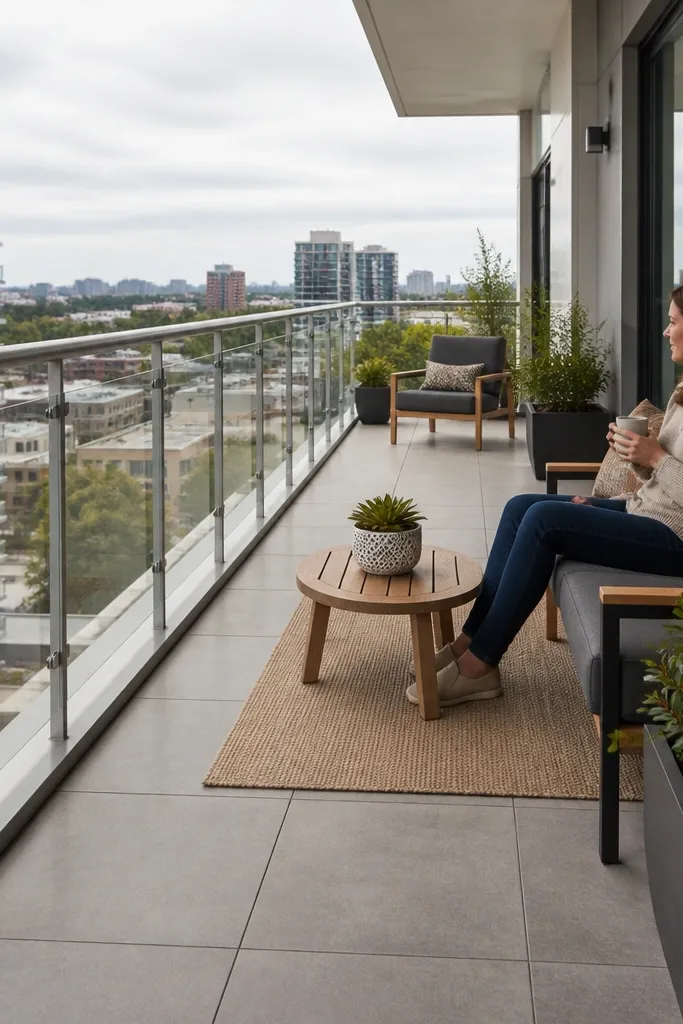
This is the cleanest modern look because it keeps the railing line thin and lets the balcony view stay open. The “low-maintenance” part is the same thing you see: fewer frame parts means fewer places for water to pool. Use slim posts with a smooth powder coat so rain doesn’t cling to textured paint and attract dirt. For the glass, choose railing-rated tempered glass and keep the edges tidy with proper caps. Skill level is moderate: you’re aligning posts and drilling anchors carefully, but the design stays simple.
Start by marking post positions on the balcony slab or wall plates, using a level and a string line so the glass will sit straight. Install the powder-coated posts with corrosion-resistant anchors, then set glass standoffs so the panel sits with an even gap. Finally, fit the top and side clamps, tighten to the manufacturer’s spec, and cap all exposed hardware so water can’t creep into joints.
Use a squeegee with a soft rubber blade right after rain; it prevents hard water spots from building up.
Don’t use chunky flat plates at the base — they create a ledge that collects wet grime.
2. Top Rail Only Design with Edge-Clamped Glass

If you want the most modern silhouette, this is it: a single top rail and glass held by edge clamps. It looks lighter than full-frame systems and it’s easier to clean because you don’t have a lot of horizontal surfaces trapping water. The clamps should be designed for railing loads and made from stainless or properly coated metal. Choose clear glass with a smooth, clean edge finish so grime doesn’t catch. This build fits balconies where you can anchor the top rail securely and you want maximum sightlines.
First, install a continuous top rail ledger along the railing run, making sure it’s perfectly level across the span. Then mount edge clamp brackets at planned intervals, set each glass panel into the clamps, and tighten evenly so the panel doesn’t twist. Finish by installing the end caps and applying a clear sealant only where the system calls for it, keeping weep paths open.
Ask for clamps rated for tempered glass railings — cheap clamp hardware is the difference between “clean” and “rattly.”
Don’t add extra filler plates under the glass just to look tidy; they trap water.
3. Low-Profile Bottom Channel with Drain Holes
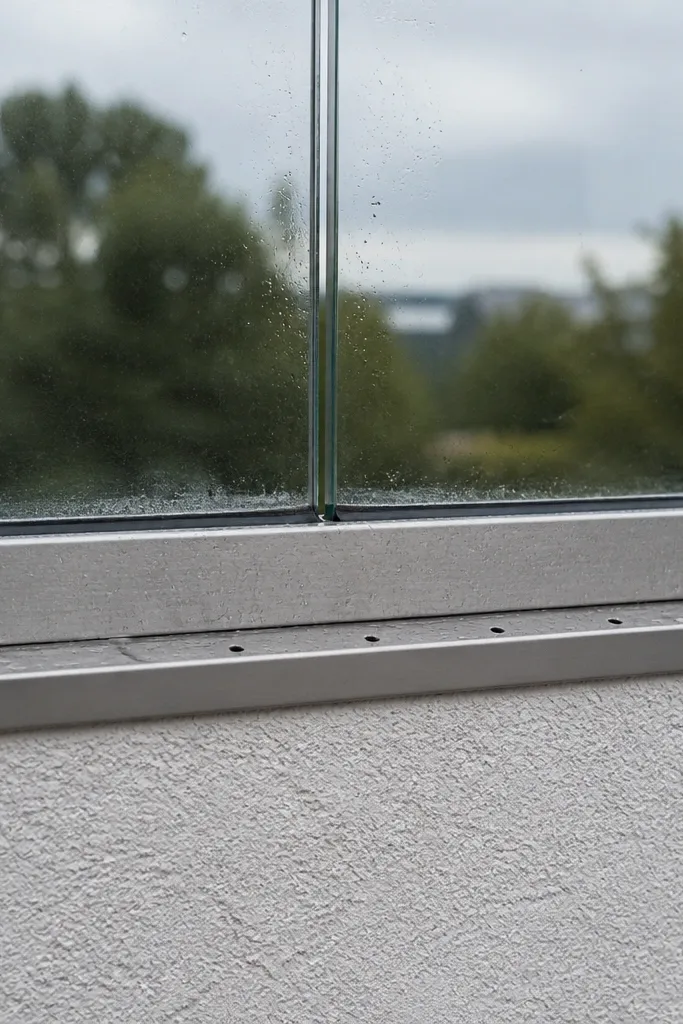
This design is a practical answer to spotting. A slim bottom channel gives the glass stability while the drain holes keep water from sitting under the panel. The look stays modern because the channel is low and straight, not a big toe-kick. Choose powder-coated aluminum or stainless for the channel so it doesn’t stain around the holes. If your balcony gets frequent rain, this is one of the best ways to keep the glass clearer between cleanings.
Measure the glass panel height and thickness, then choose a bottom channel that matches the system’s tolerances. Install the channel level with a slight outward slope if your balcony allows it, then drill or use the pre-made drain holes in the channel line. Set the glass into the channel, install side guides or clamps, and seal only the required joints so water can still exit through the drains.
Use a thin bead of sealant at the top edges only; avoid sealing the bottom so drains stay functional.
Don’t block drain holes with silicone “for neatness.” That’s how you get permanent wet spots.
4. Smoked Grey Glass with Matte Black Frames
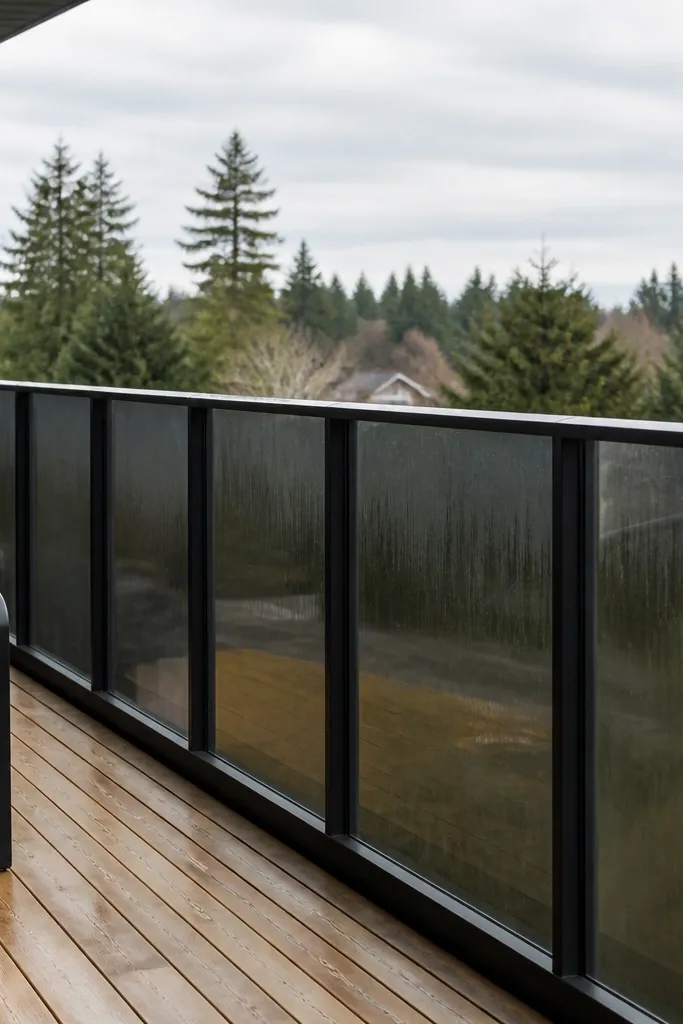
Smoked glass hides minor streaks and looks modern even when the balcony is lived-in. Matte black frames also hide light scuffs from wipes, which is real-world maintenance. You still need good drainage and sealed edges, but the visual forgivingness buys you time between cleanings. Use tinted tempered glass rated for railing use and keep the frame geometry simple to avoid corners. This works great on sunny balconies where glare is a problem and you want privacy without curtains.
Editor's noteUse a microfiber cloth only for final touch-ups; for daily upkeep, use a squeegee to reduce smears.
Pick a smoked glass tint that doesn’t look too purple; aim for neutral grey so it reads “architectural.” Install matte black powder-coated posts and rails, then mount the glass using the system’s gaskets so water can’t creep into the metal-to-glass interface. Finish by installing bottom channel covers that still allow drainage and fitting end caps tightly.
Skip thisAvoid glossy frames; they show every wipe mark and turn maintenance into a visible chore.
5. Clear Glass with Vertical Stainless Spacers
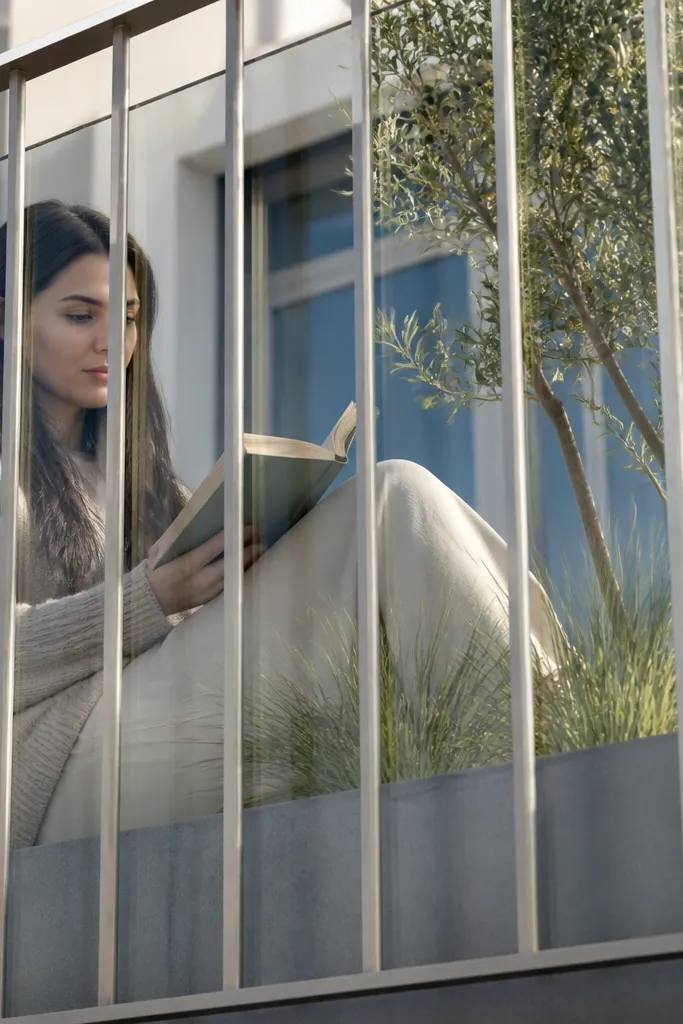
Instead of a full frame, this uses stainless spacers that create a crisp grid. The spacing breaks up reflections and gives the railing a tailored, modern rhythm. Stainless spacers also resist staining and wiping marks better than many painted metals. For low-maintenance, the key is keeping the glass edges clean and using proper gaskets so grime doesn’t get into the seam. This design looks sharp on balconies with modern outdoor furniture because it matches linear metal details.
Plan your spacer spacing based on your glass panel size so each panel sits centered and stable. Install the stainless spacers to the posts or top rail with consistent spacing, then set the glass panels into place with gaskets on both sides. Tighten clamps evenly, then check for even gaps and install bottom supports that drain outward rather than pooling.
Choose gaskets in a color that matches the glass edge — mismatched gaskets look dirty fast.
Don’t use random spacer thicknesses; uneven spacing makes the railing look cheap even when it’s clean.
6. Minimal Wood-Accent Posts with Clear Glass Panels
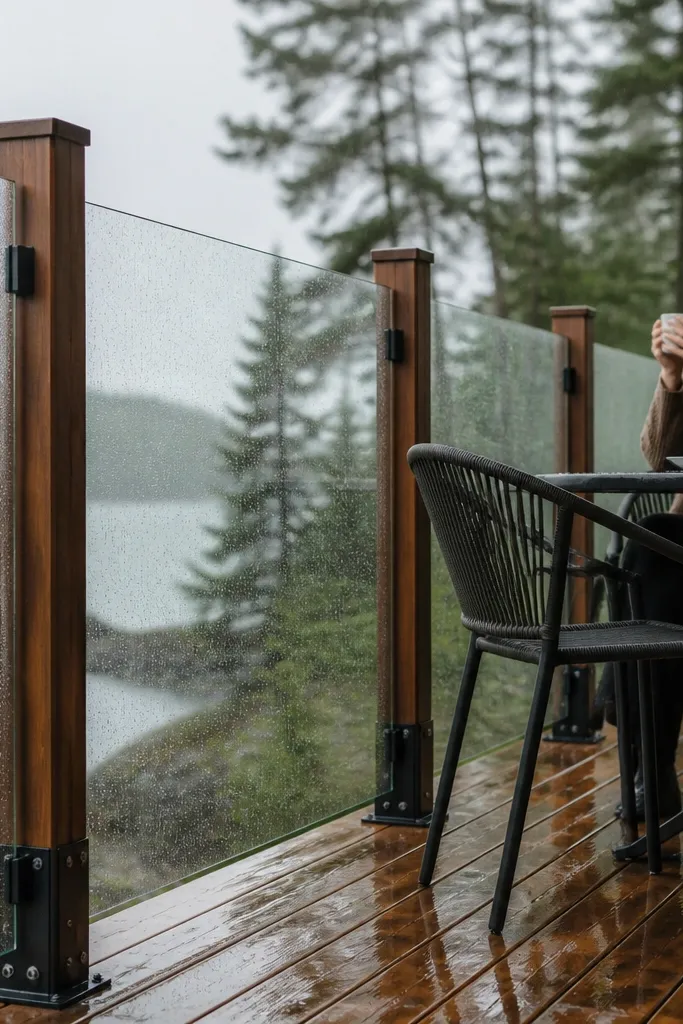
This is modern warmth without turning the railing into a maintenance nightmare. The trick is using wood only as a visible accent while the structural parts are metal behind it. Use exterior-grade hardwood or a rated exterior composite for the visible posts, and seal or factory-finish them so they don’t absorb water. Clear glass keeps the look airy, and the metal behind the wood handles the load. Maintenance stays manageable because you’re wiping glass and occasionally wiping the wood posts, not dealing with exposed fasteners everywhere.
Editor's noteSeal the underside of the wood sleeves — the underside is where water sits and causes ugly discoloration.
Mount the structural metal posts first using anchors and level checks. Attach wood sleeves or caps over the post bodies using stainless screws through pre-drilled holes, then sand and finish the wood with an exterior clear coating that resists UV. Install glass panels with gaskets and metal clamps, then add a slim bottom channel to keep the glass aligned and draining.
Skip thisDon’t leave wood fasteners exposed to rain; they stain and loosen over time.
7. Hinged Glass Panels for Easy Access Cleaning
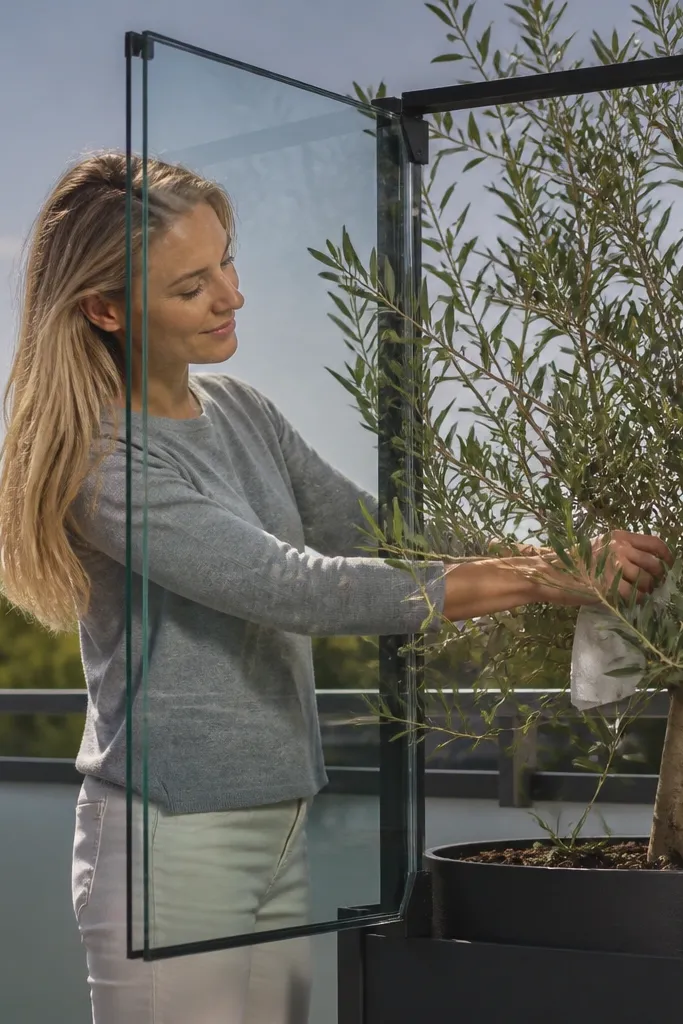
If cleaning is what you dread, make access part of the design. A hinged glass panel lets you swing the glass inward so you can reach the back side without climbing or using a long pole. This also helps when you get stuck with pollen or bird mess that won’t wipe off from the far edge. For low-maintenance, use a proper hinge rated for glass railing loads and keep the hinge area sealed. The look stays modern when hinges are concealed and the latch is clean and flush.
Choose a glass panel size that’s manageable to open and hinges that match the glass thickness. Install the hinge rail to the top and side posts, then hang the glass panel with glazing gaskets and spacer blocks so it doesn’t rub. Add a magnetic or latch mechanism at a comfortable height, then install bottom guides with drainage so water runs away from the hinge line.
Use a soft rubber stop on the hinge so the panel lands quietly and doesn’t chip the glass edge.
Don’t rely on surface latches that stick out; they catch gloves, bags, and cleaning tools.
8. Alternating Clear and Frosted Glass for Privacy Without Curtains
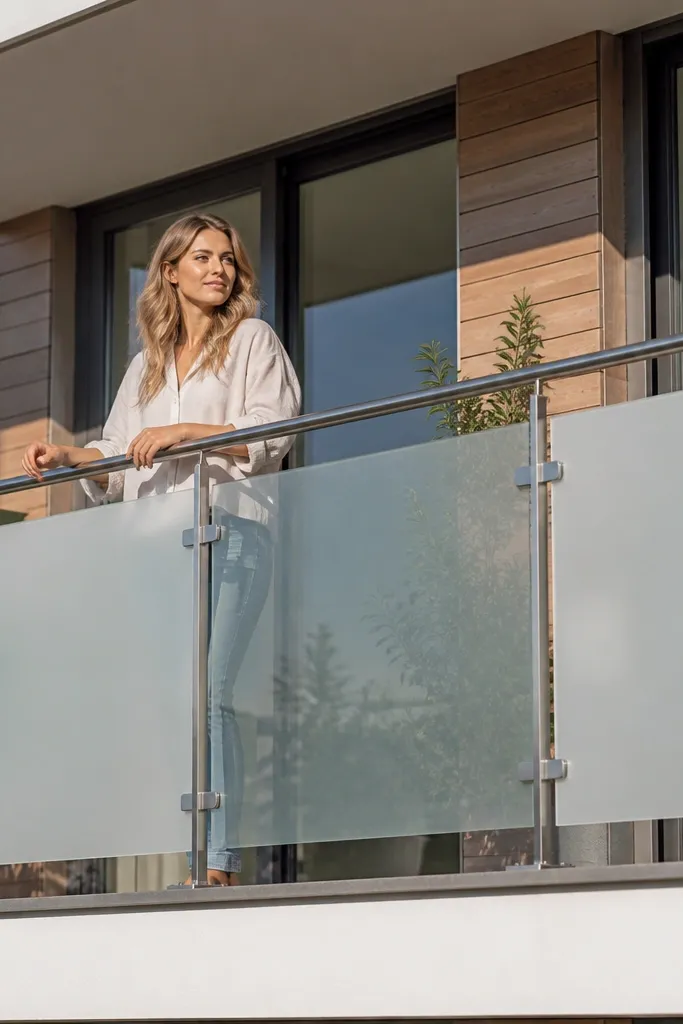
This design gives you privacy where you need it while keeping the rest crystal clear. Frosted sections hide smudges and reduce the look of water streaks, which helps maintenance. The clear panels keep the balcony feeling open and modern. Use frosted glass with a consistent pattern so it doesn’t look patchy, and keep the frame line simple. This works well for balconies facing neighbors where you want privacy but still want daylight and a clean look.
Editor's noteUse the same frosting finish on every frosted panel; mixed frosts look messy after a few months.
Decide which panel segments should be frosted, then measure your total run and divide it into equal glass bays. Install posts and top/bottom rails with the same spacing for every bay, then set clear and frosted panels using the same gasket system. Keep the frosted edges protected with proper caps so the frosted surface doesn’t collect grime at the seam.
Skip thisAvoid “random” frosted strips — they create hard-to-clean edges that look dirty sooner.
9. Clear Glass with Continuous Stainless Handrail
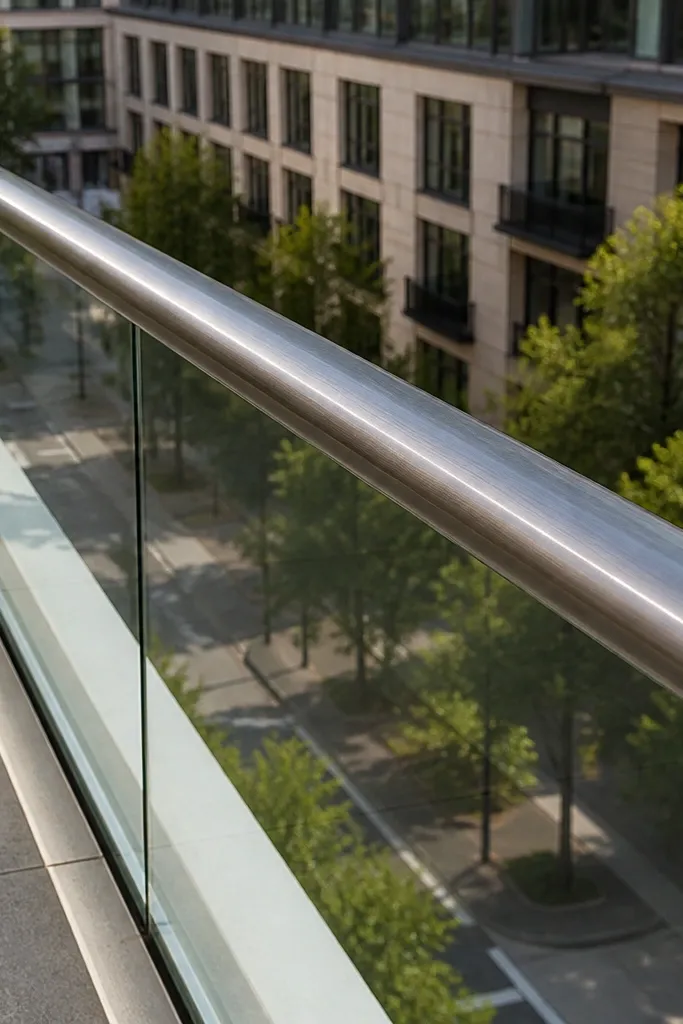
A continuous stainless handrail makes the railing feel finished and modern, and it’s easy to keep clean. Stainless resists staining and wipes down quickly, so the top rail stays good even when the glass needs a deeper clean. The design also helps you grip safely without reaching around clamps. Pair brushed stainless with clear tempered glass for a crisp look that matches outdoor hardware. This is a solid choice for families because it’s comfortable to hold and simple to maintain.
Editor's noteUse a dedicated stainless cleaner wipe for the handrail — it prevents the dull film that builds on outdoor metal.
Install the stainless handrail ledger across posts, ensuring it’s level and aligned with the glass run. Mount glass brackets below the handrail at consistent spacing, then set glass panels with gaskets that create a tight seal. Finish with end caps and a bottom channel or base plate that drains water away from the glass edges.
Skip thisDon’t use a painted top rail; it chips where hands rest and the chipped spots collect grime.
10. Frameless Glass with Hidden Wall Anchors
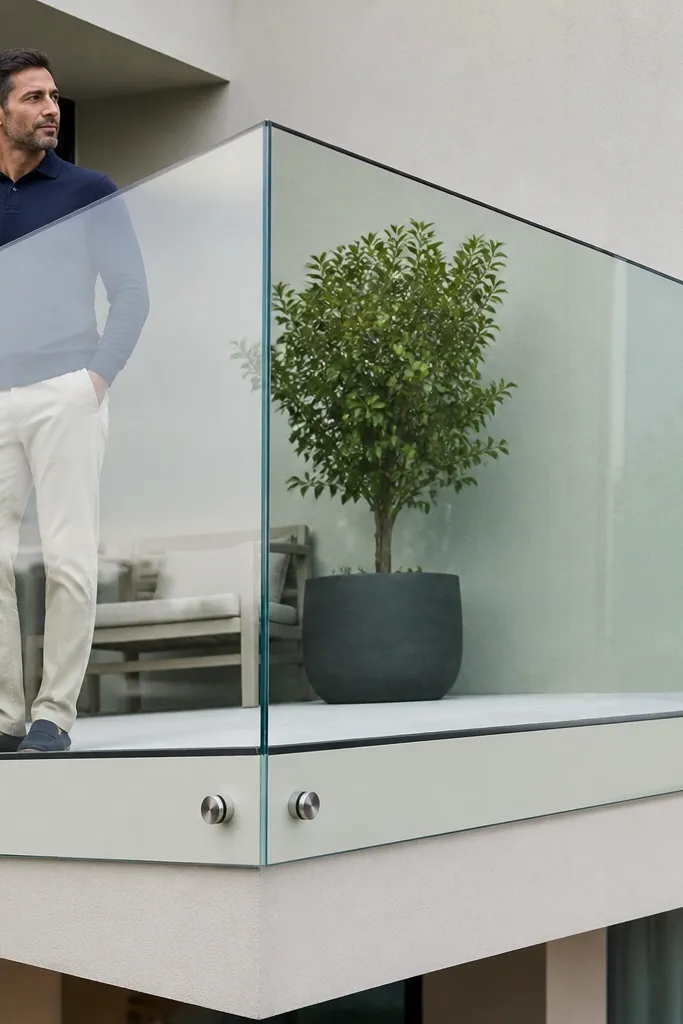
Frameless looks are hard to keep looking perfect, but they can be low-maintenance when the anchoring is done cleanly. Hidden wall anchors keep the sightline uninterrupted and reduce the number of crevices where water collects. The glass must be installed with proper standoffs and gaskets so it doesn’t rub or trap moisture. This design suits balconies where the railing line attaches to a wall or structural posts with enough support. It’s photogenic because it looks like the glass is floating.
Editor's noteBefore final tightening, dry-fit each panel and check for consistent gaps; small misalignment shows immediately with frameless systems.
Start by locating wall anchor points using the glass panel layout and a level line. Install the anchors with corrosion-resistant hardware, then attach standoff plates at the correct height so the glass sits straight. Set each glass panel, secure with the system’s clamps, and install edge trims that keep water from running behind the glass.
Skip thisDon’t skip gaskets — frameless without gaskets ends up with constant squeaks and moisture staining.
11. Black Glass Panels with Polished Edge Details
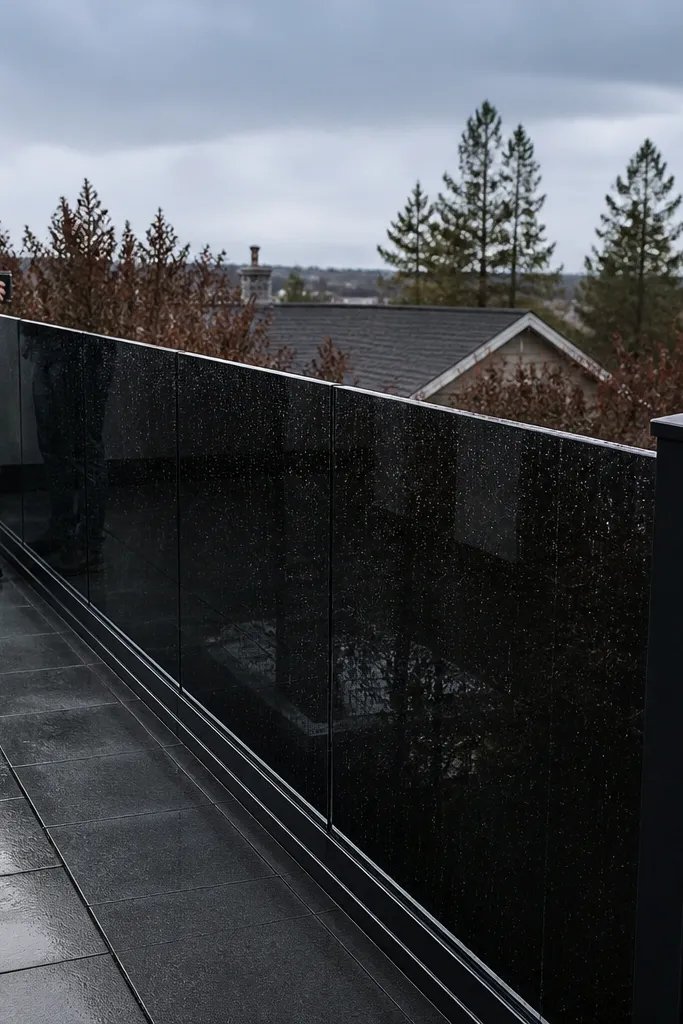
Dark glass plus polished edge trims looks sleek and hides fingerprints better than clear glass. The visual trick is that the edges catch light without adding extra frame bulk. For maintenance, dark tint reduces the visible streaks from rain, and a polished trim resists snagging dirt. Use railing-rated tempered glass with a uniform dark tint and a trim system designed for outdoor exposure. This is a great match for balconies with dark floors or modern metal furniture.
Editor's noteUse a glass cleaner that leaves no oily residue; oil smears show more on dark glass.
Choose a dark tint that reads neutral (not greenish) so it looks intentional. Install powder-coated posts with a consistent spacing, then fit glass panels with outdoor-rated glazing gaskets and edge trims. Seal the top joints where the system specifies, then add bottom drainage support so the dark tint doesn’t show wet streak lines.
Skip thisAvoid heavily textured edge trims; they collect grime and look rough after a season.
12. Clear Glass with Invisible Bottom Brackets
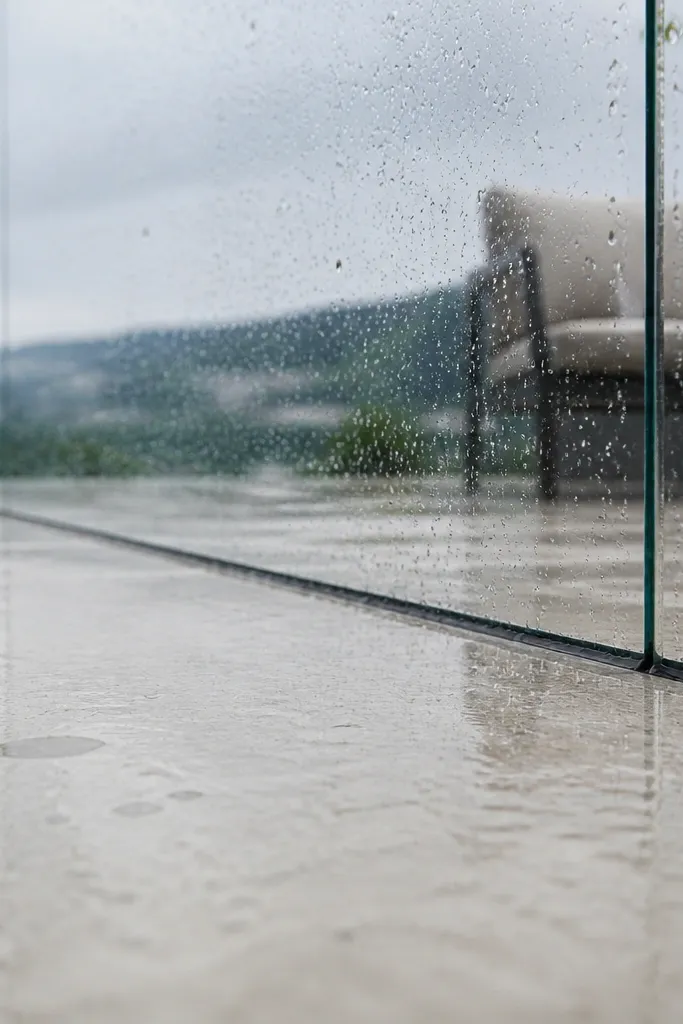
This design keeps the bottom edge clean while still supporting the glass. Invisible or concealed bottom brackets reduce the number of places where water can sit, which is where low-maintenance railing design wins. The look stays modern because you see a straight glass line with no exposed bracket web. Use a system with proper brackets rated for railing loads and designed for outdoor drainage. Ideal for balconies where you want the railing to look “built-in” rather than bolted on.
Mark bracket positions based on the glass panel size and install the concealed brackets to the base plates or underside supports. Place the glass panels into top guides, then align the bottom so it seats on the concealed bracket pads. Tighten, add caps to cover bracket access points, and verify that water runs off the base without pooling under the glass.
Use a bead of sealant only at the top of bracket interfaces; keep the bottom open for drainage.
Don’t leave the underside exposed with open cavities; wind-driven rain will fill them with dirt.
13. Two-Tone Frame: White Powder Coat with Clear Glass

White frames look modern and bright, and they make the glass look extra crisp. The maintenance angle is that white powder coat shows fewer “shadow” stains than bare metal, and it wipes clean easily. Use a powder-coated system with smooth surfaces and rounded corners to prevent dirt from sticking. If you’re in a coastal area, choose a corrosion-rated frame and stainless hardware. This design looks best on balconies with light stone, light wood, or modern outdoor lighting.
Pick a powder coat color that’s meant for outdoor metal, not a generic paint. Install the posts and rails, then add any two-tone accents (like black caps) using pre-finished parts so you don’t end up with mismatched chips. Set glass panels with gaskets and clamp hardware, then check bottom alignment so drainage stays free and water doesn’t run back toward the balcony floor.
After installation, hose down with clean water once before your first wipe; it removes metal dust that causes spotting.
Avoid sharp 90-degree corners on the frame; they trap grime and show it against white paint.
14. Clear Glass with Inline Lighting Channel
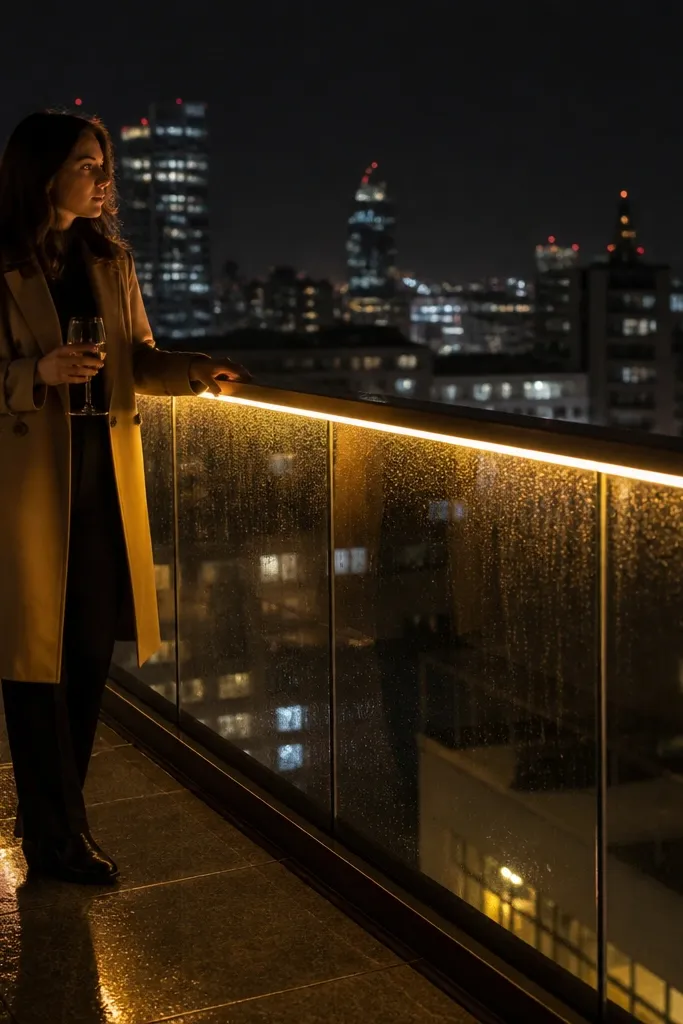
This one is about night looks. A recessed lighting channel along the top rail makes the balcony feel high-end, and the railing still stays low-maintenance because the glass line stays clean. Use warm LED strips inside a sealed aluminum channel with diffusers so rain doesn’t hit the electronics directly. The glass panels remain the same easy-to-wipe surface; you’re just adding a protected light source under the top rail. It’s photogenic because it creates a continuous glow line.
Editor's noteUse a transformer mounted under the balcony ceiling or a protected junction box — never leave it in a drip zone.
Install the top rail section with an integrated lighting channel or add a recessed channel to the underside of the handrail. Run low-voltage wiring through sealed conduit, then mount the LED strip with a diffuser cover so water can’t reach the board. Install glass panels and clamps afterward, then test lighting before final caps so you can fix wiring without disassembling glass.
Skip thisDon’t mount LEDs directly on metal without a diffuser; hotspots look cheap and attract bugs.
15. Matte Charcoal Frame with Clear Glass and Spaced Posts
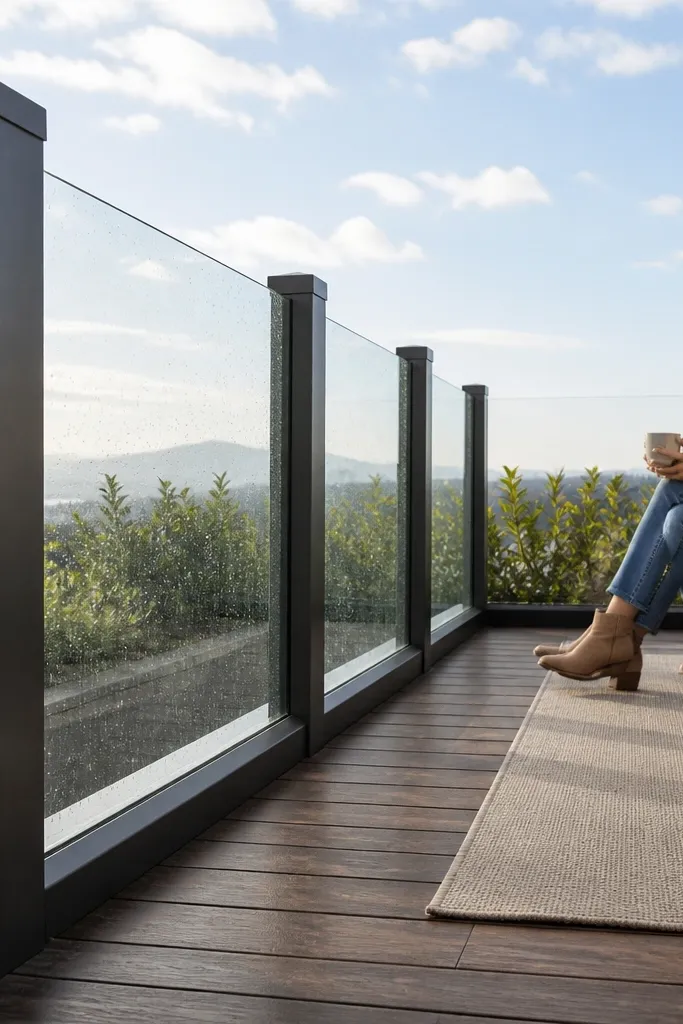
Matte charcoal is the sweet spot when you want modern without the maintenance headaches of bright colors. It hides tiny scuffs and wipe marks, so the railing stays photogenic between cleanings. Even spacing of posts makes the glass bays look intentional, which matters because bad spacing makes the whole railing look “off,” even when it’s clean. Pair it with clear glass and a bottom channel that drains to the outside edge. This design suits medium-sized balconies and looks great with grey outdoor furniture.
Layout post positions by dividing your railing run into equal bays so every glass panel looks the same size. Install matte charcoal powder-coated posts with corrosion-resistant anchors, then attach top and bottom rails or guides that keep the glass aligned. Set glass panels with gaskets, tighten clamps, and add end caps. Finish by checking that the bottom channel drains outward and doesn’t trap water in the center.
Use a line level for the top guide — a slight twist shows up in the glass reflections.
Don’t “eyeball” post spacing; uneven spacing makes the railing look DIY even when materials are premium.
16. Stainless Frame with Clear Glass and Rounded Base Plates
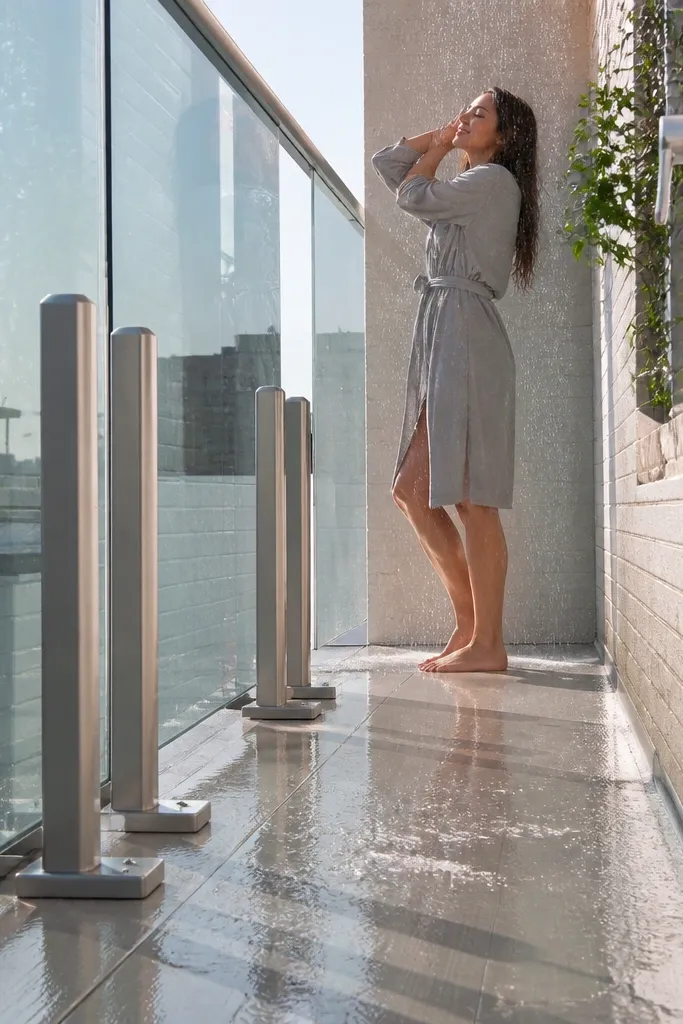
Rounded base plates make a huge difference in maintenance. Sharp corners collect water and dirt; rounded profiles let rain sheet off and reduce grime buildup along the balcony edge. Stainless also cleans well and resists staining, so you can keep the bottom line looking crisp. Use clear tempered glass for maximum light and a clean modern look. This works best when you want a durable railing that matches stainless outdoor fixtures or grill hardware.
Editor's noteFor cleaning, use a soft brush around the base plates after rinsing; it knocks loose grit without scratching stainless.
Choose base plates with a rounded lip and install them with correct spacing to match the post locations. Mount the stainless frame components, then set glass panels using gaskets and proper clamps. Seal only the required joints, and verify the bottom gap lets water drain away from the balcony floor. Finish with stainless end caps to cover any exposed edges where dirt could accumulate.
Skip thisAvoid flat base plates with tight crevices; those crevices become permanent dirt gutters.
17. Smoked Glass with Horizontal Minimal Bracing

Horizontal bracing adds a modern architectural look without turning the railing into a heavy frame. Smoked glass reduces visible streaks, and the thin braces create a clean rhythm across the panels. For low-maintenance, keep the braces smooth and powder-coated so they wipe clean in one pass. The glass stays the main surface, and the bracing is just structure and style. This is a strong choice for balconies that face direct sun or need a bit of visual privacy.
Editor's noteUse a satin powder coat, not matte — satin wipes cleaner and resists streaking better.
Plan your brace placement so it aligns with the top and bottom rails and doesn’t create extra ledges. Install the posts, then attach the horizontal braces with stainless hardware at consistent spacing. Set smoked glass panels with gaskets, tighten clamps, and check that water flows down and off the braces instead of into pockets. Add end caps and a bottom channel if your system doesn’t already include drainage.
Skip thisDon’t add decorative ledges to “balance” the design; decorative ledges are dirt traps.
18. Clear Glass with Vertical Cable-Like Stainless Rods
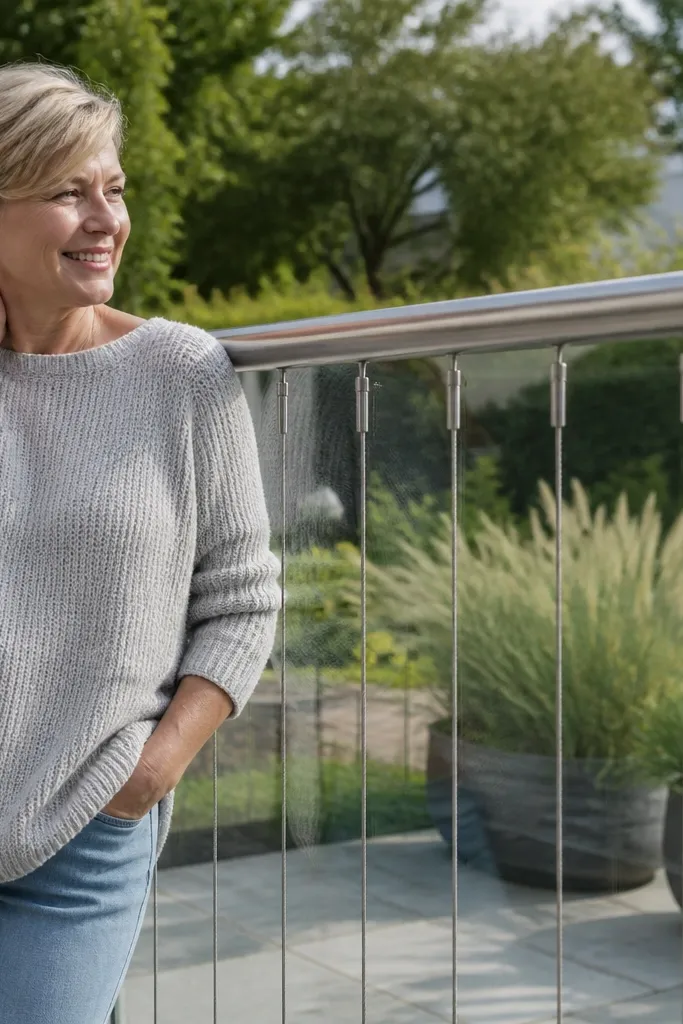
This style looks modern and light because the rods read like thin lines behind the glass. It also helps with low-maintenance because the rods are narrow and easier to wipe than a full frame. Use stainless rods designed for railing use, with proper tensioning hardware and sealed connections. Clear glass keeps the view open, and the rod pattern gives the railing a composed look even from close up. This works well on balconies where you want a high-design look without complex joinery.
Editor's noteBefore final tensioning, mark rod lengths and cut precisely; uneven lengths show instantly in the visual grid.
Install posts and top/bottom rails first, then attach rod anchor points at measured heights. Thread the stainless rods through the anchor points, set tension to the railing system spec, and secure with the recommended tension hardware. Mount glass panels with gaskets so the rods don’t rub the glass edges, then add end caps and bottom drainage support to keep the base area dry.
Skip thisDon’t use generic wire or hardware-store rods; non-rated materials sag and create cleaning gaps.
19. Clear Glass with Recessed Screw-Line and Cover Strips
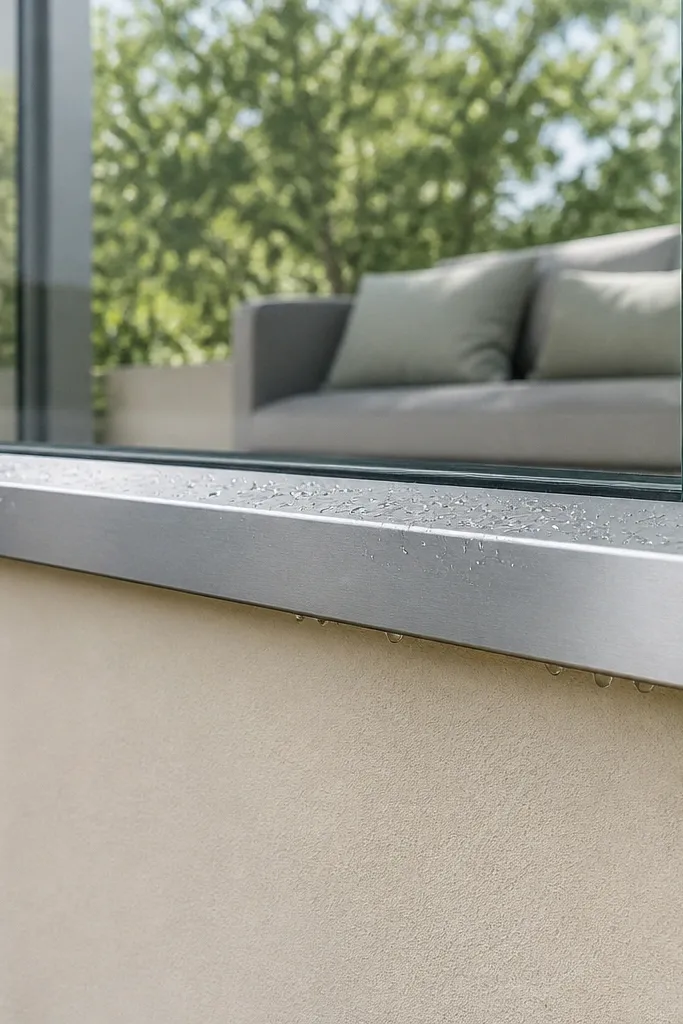
This design hides the worst-looking maintenance spots: exposed screw heads and messy sealant lines. Recessed screw lines plus cover strips keep the railing looking clean and reduce places where grime builds. The cover strips also protect the fasteners from rain impacts, which keeps the hardware looking good longer. Use a railing-rated glass system with gaskets, and choose cover strips in the same powder-coated color as the frame for a seamless look. It’s a great pick if you want modern aesthetics but don’t want constant touch-ups.
Install the frame components and mark where the glass brackets will land, then drill or mount recessed screw points according to the bracket pattern. Place the glass panels into position with gaskets, tighten the brackets, and cover the screw line with the matching cover strips. Seal the joints only where required, then run water over the base to confirm it drains away instead of pooling under the cover strips.
Use stainless screws with matching head finish so you don’t get rust freckles around the cover strips.
Avoid leaving screw lines exposed “because it’s easier.” Exposed hardware is where the railing starts looking dirty.
20. Clear Glass with Frameless Corner Returns
Corner transitions are where modern railings either look custom or look patched. Frameless corner returns keep the glass line continuous, giving a clean, architectural wrap-around look. Low-maintenance comes from reducing the number of corners with ledges and trapped water. Use a system that supports the glass turn with proper corner fittings and gaskets. This design is perfect for L-shaped balconies because it looks intentional and photographs well from multiple angles.
Editor's noteUse the same glass thickness for every panel in the corner run — thickness changes create tiny alignment gaps.
Measure the corner angle and order glass panels sized for the corner returns so edges meet cleanly. Install the main posts and rails, then fit corner return fittings that clamp the glass without creating a gap pocket. Set the corner panels with gaskets, tighten clamps evenly, and install corner caps that cover fasteners while allowing drainage through the bottom channel. Test water flow by hosing the corner area and checking for pooling.
Skip thisDon’t patch corners with extra trim pieces; that’s where grime collects first.
21. Clear Glass with Integrated Privacy Wind Screen Panel
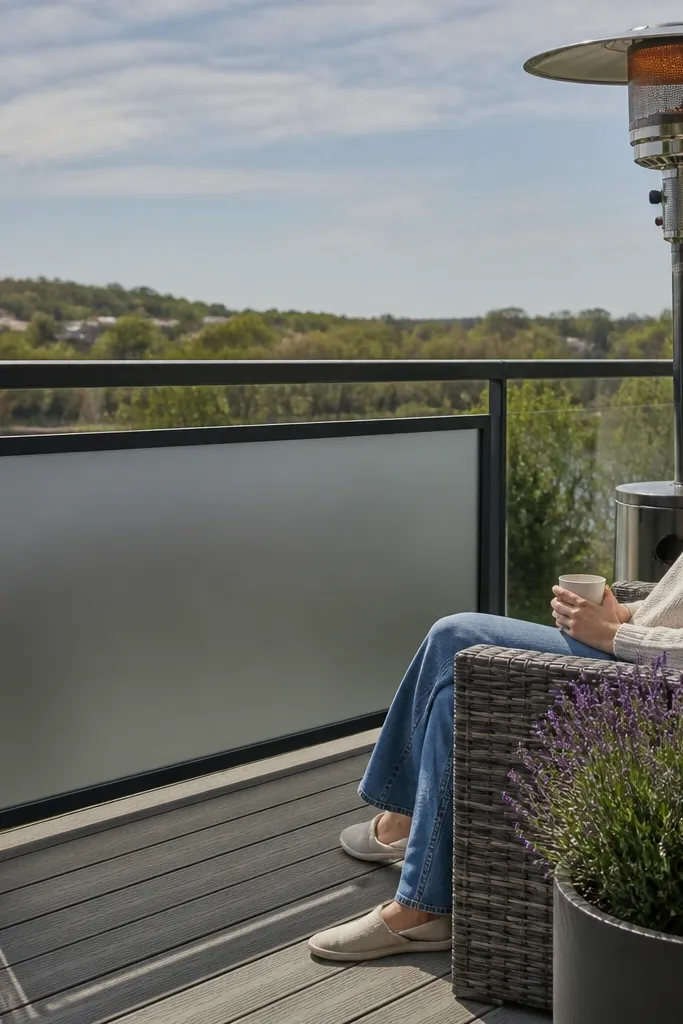
You get a modern glass railing look while adding wind privacy in one clean line. The wind screen panel is integrated into the railing frame so it doesn’t create a separate, fiddly accessory that collects dust. For low-maintenance, choose a screen material with a smooth surface and good UV resistance, and keep the frame sealed so wind-driven dirt doesn’t enter seams. This setup looks best when the screen is flush with the glass line and the hardware stays hidden. It’s ideal for balconies on windy upper floors.
Editor's noteUse a screen panel coating that resists water spotting; it reduces the “rain streak” look a lot.
Pick a wind screen system designed to mount to railing frames, then plan which bay gets the screen based on your wind direction. Install posts and rails, set glass panels, then mount the screen panel using the manufacturer’s brackets so it sits flush. Seal the perimeter joints where the system specifies, and ensure the bottom channel still drains so the screen area doesn’t hold water.
Skip thisDon’t attach a wind screen with random zip ties or exposed fasteners — those collect grime and fail fast.
22. Clear Glass with Powder-Coated Steel Grid Behind
This is for people who like the clean glass look but want more design depth. A powder-coated steel grid behind the glass adds texture and hides minor imperfections in the outdoor view, while still letting light through. Maintenance stays manageable because you still clean one glass surface, and the grid is protected behind it. Choose grid spacing that looks intentional, not cluttered — thin bars with consistent spacing read modern. It’s a good choice for balconies that feel too exposed but you don’t want frosted glass.
Editor's noteUse a grid color close to the frame color; contrast can look like a cheap sticker once dirt accumulates.
Build or buy a grid panel sized to fit behind each glass bay, then powder coat it or use pre-finished parts. Install the railing frame, set the glass with gaskets, then insert and secure the grid backing behind the glass using hidden clips or frame stops. Seal perimeter edges so wind-driven dust doesn’t get between glass and grid, and add bottom drainage so any condensation can escape through the system paths.
Skip thisAvoid thick bars — they make the railing look heavy and reduce the airy glass effect.
23. Clear Glass with Vertical Ribbed Aluminum Inserts
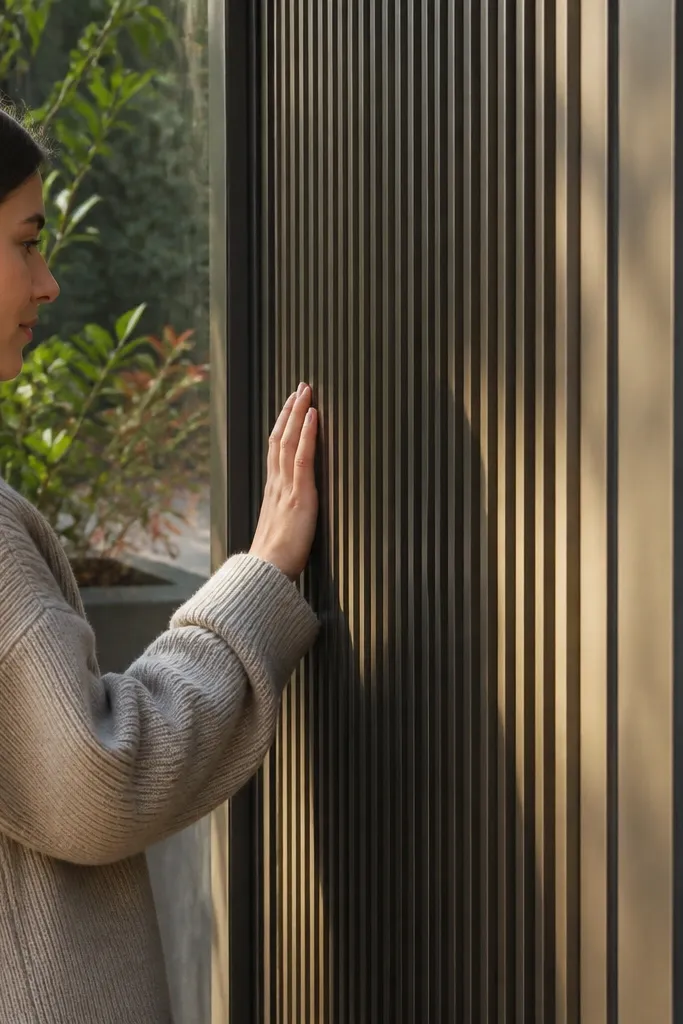
Vertical ribbed inserts add texture and a modern industrial feel without changing the cleaning routine. The ribs are easy to wipe because they’re open and smooth, and the glass still acts like the main surface you clean. Use ribbed aluminum with a powder coat that resists chalking and fading. This design helps break up reflections so the railing looks good even when the sun hits it hard. It suits balconies with concrete, tile, or metal railings nearby.
Editor's noteBefore final assembly, wipe ribbed inserts with a degreaser — factory residue shows up fast on powder-coated finishes.
Choose ribbed aluminum insert profiles with a consistent rib spacing and install them into the frame slots before the glass panels go in. Mount posts and top rails, then slide or bolt the ribbed inserts into place with stainless fasteners. Set glass panels with gaskets so the insert edges don’t rub the glass, then finish with bottom channel drainage and end caps to cover exposed frame edges.
Skip thisDon’t use glossy ribs; they show smudges and streaks worse than satin finishes.
24. Clear Glass with Continuous Surface-Mounted U-Channel and Micro-Spacing
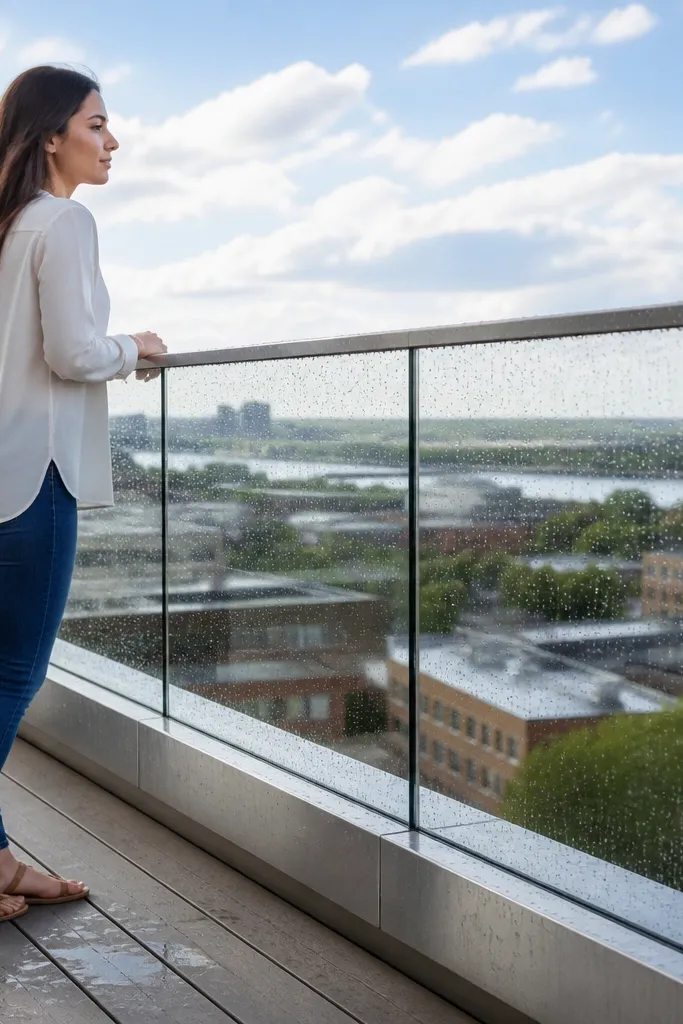
This design fixes the two things that annoy people about most glass railings: messy bottom hardware and a “big frame” look. A continuous surface-mounted U-channel gives you a clean, uninterrupted line at the top or bottom, while micro-spacing between panels keeps it modern and airy. Use clear tempered glass with a small, consistent gap so the railing reads light even when viewed straight on. It is low-maintenance because dirt has fewer crevices to stick to, and the channel hides the fasteners so you do not have to polish exposed heads. This suits balconies with clean architectural lines, especially when you want a low-maintenance balcony railing design that looks crisp in daylight and at night.
Editor's noteUse a thin masking tape strip along the glass edge before sealing. It keeps silicone lines straight and makes cleanup fast when it skins over.
1) Measure the railing run and plan your panel widths so each glass sheet leaves a 6-8 mm gap for visual rhythm and thermal movement. Buy 10-12 mm tempered glass panels and a matching continuous aluminum or stainless U-channel sized to the glass thickness, plus 2-part silicone setting blocks or glazing gaskets. 2) Mark the mounting line level using a laser and install the U-channel to the concrete or steel substrate with stainless anchors on a 12-16 in spacing. 3) Set the first panel on the gasket, slide in the side gaskets for the micro-gap, then clamp with the U-channel cover/retainer. 4) Seal the ends with glazing sealant rated for exterior use, wipe squeeze-out immediately, and torque any retainer screws to snug only — you are compressing gaskets, not crushing glass.
Skip thisDo not rely on “eyeballing” the micro-gaps — you need shims to keep every panel visually even.
25. Clear Glass with Side-By-Side Laminated Safety Strips and Hidden Drip Edge
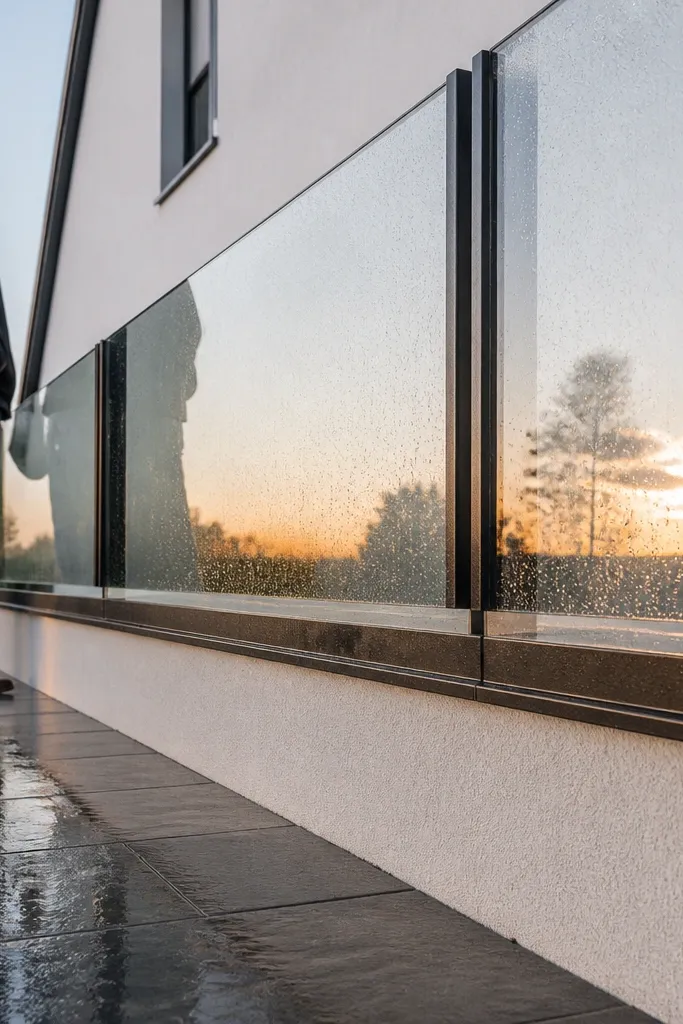
This is a glass railing design that looks razor-clean but solves a real maintenance problem: water spotting and grime streaking along the bottom edge. Instead of visible posts fighting the glass line, you mount glass to the side and let a hidden drip edge channel catch runoff before it can run down the facade. The laminated safety strips behind the glass give you a subtle line detail that catches light without turning the railing into a “busy” grid. Choose clear glass with a low-iron look if you want maximum transparency, and use exterior-grade sealants so the bottom stays dry and the glass stays easier to wipe. It fits modern balconies where you want a low-maintenance balcony railing design that stays crisp after rain and winter.
Editor's noteDry-fit the drip channel with the fascia before any sealant. If the lip overlap is even by 2-3 mm, your glass stays cleaner because runoff falls into the channel instead of behind it.
1) Order two-layer laminated glass panels: clear outer + clear inner interlayer, thickness 12-13.5 mm, cut to your bay widths. Pick a side-mount bracket system that clamps the glass edge with stainless hardware, and plan a bottom drip channel that sits behind the fascia trim. 2) Install the side brackets first, keeping the glass plumb and spacing bays at 6-10 mm between panels using setting blocks. 3) Slide the drip channel into the fascia and set its lip so it overlaps the glass bottom by 8-12 mm; then install the glass panel and tighten clamps evenly. 4) Seal the top and bottom ends with UV-rated glazing sealant, and run a continuous bead at the fascia-to-channel seam so water does not sneak behind the trim.
Skip thisDo not skip the overlap measurement — a drip edge that is flush will still let water creep behind the glass.



