
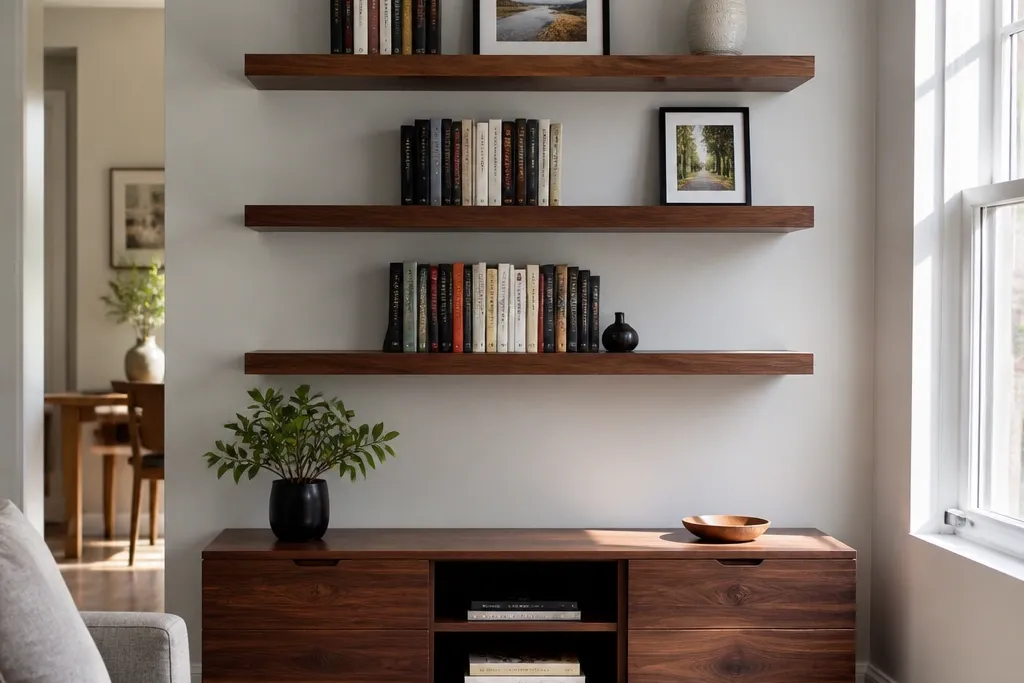
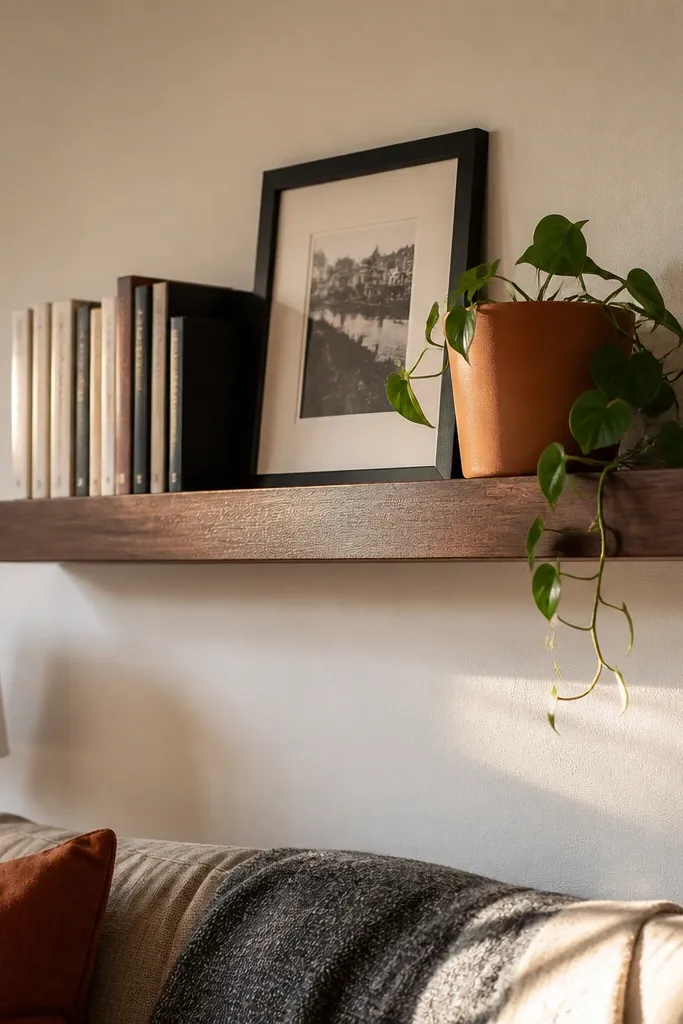
1. Walnut stain box shelves with hidden European brackets
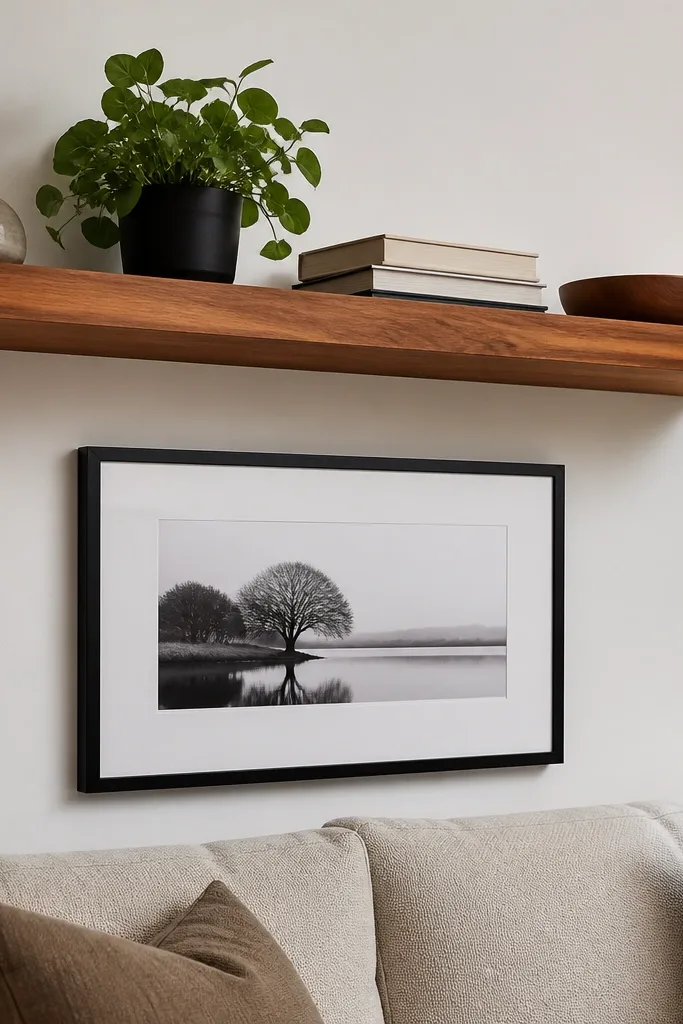
This look is clean and warm at the same time. A box-style shelf (a front face with side thickness) makes the depth feel intentional, and the walnut stain gives you that rich living-room tone without needing decorative trim. Hidden European-style brackets keep the wall line uninterrupted, so the shelf reads like it’s floating from the wall. Use a satin clear coat so the wood catches light without glare when lamps hit it at night. It’s a solid choice for a living room that already has dark furniture, black frames, or warm metals like brass.
Start by cutting your shelf from solid wood or a plywood core with a solid-wood face. Sand to 180 grit, then stain evenly with a pre-stain conditioner if your wood is blotchy, followed by 2-3 coats of satin polyurethane. Mark stud locations, then install the bracket rail at a level line that matches your shelf bottom height. Slide the shelf onto the brackets, then add a tight backer strip if you need to cover any bracket gap. Finally, check level at both ends and tighten all bracket screws from underneath.
Editor's noteSpray the clear coat with light passes; brush strokes show more on dark stains than on lighter finishes.
Skip thisDon’t mount the rail by measuring from the floor — measure from a fixed reference like the top of a nearby picture frame.
2. Painted white shaker shelves with a thin shadow gap
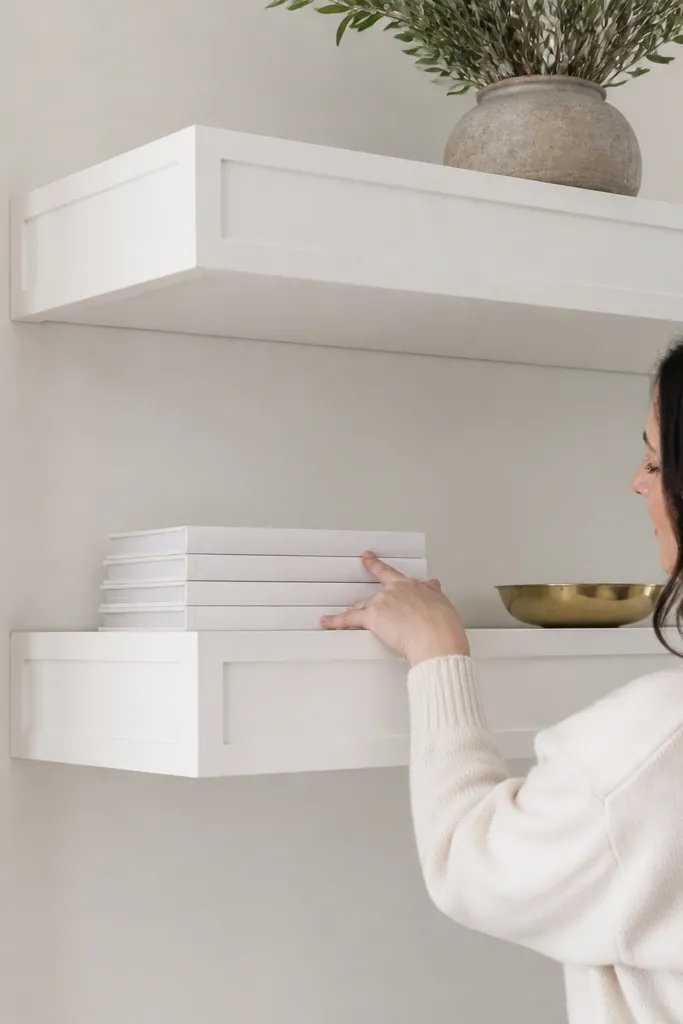
If you want bright, airy shelves that look tailored, shaker-style faces do the job. The thin shadow gap between shelf and wall makes the shelf look crisp instead of flat against paint. Paint also hides small wood imperfections, so you can focus on straight lines and clean edges. This style photographs well in rooms with light walls, pale sofas, and natural fibers like jute rugs. Keep the finish matte or eggshell so it doesn’t reflect overhead lighting.
Build the shelf with a simple frame: cut a face frame from 1x material and attach it to a plywood base using wood glue and brad nails. Sand the face frame flush, then fill nail holes with spackle and sand again. Prime with bonding primer, then paint two coats of cabinet-grade enamel. For the shadow gap, use a backer spacer strip or a thin mounting standoff so the shelf sits slightly off the wall. Install hidden brackets or a French cleat behind the shelf, then slide the shelf onto the mounting system and secure from underneath.
Editor's noteUse painter’s tape as a straight edge while painting the underside so you get a crisp line under the shelf lip.
Skip thisAvoid glossy paint — it highlights uneven sanding and makes the shelf look cheaper in photos.
3. Natural oak floating shelves with a chamfered edge
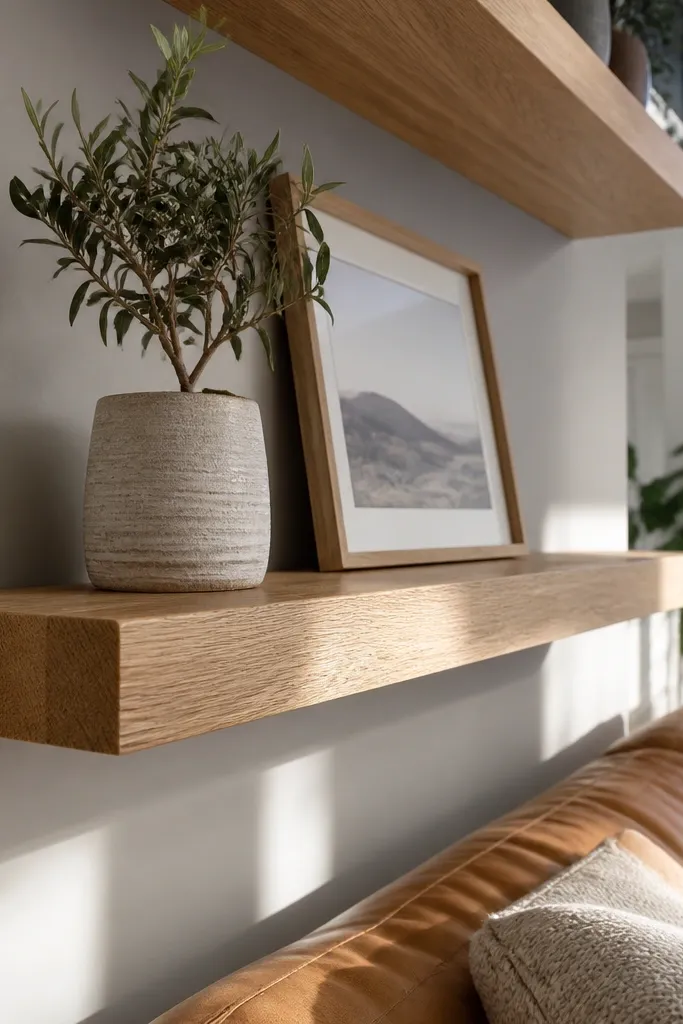
Chamfered edges make light wood feel modern without looking sterile. Natural oak brings grain and warmth, and a clear satin top coat keeps the color consistent when the room lighting changes. This is the best route when your living room has tan leather, light gray walls, or lots of daylight. The edge shape also hides minor sanding waves because the bevel catches light smoothly. If you like the look of store-bought floating shelves but want it to match your decor, this is the clean middle ground.
Rip your shelf boards or cut your plywood core, then glue on a solid-wood face strip for a clean edge. Sand to 120 then 180 grit, and test a clear finish on a scrap to confirm the tone. Use a 1/8-inch chamfer on the front edge with a router and a chamfer bit, then sand the chamfer lightly to remove fuzz. Finish with a wipe-on or spray clear satin, 2-3 coats. Mount using hidden brackets fixed into studs, then position the shelf so the bracket line sits behind the back edge.
Stain consistency comes from controlling sanding — stop at 180 grit for oak so the grain doesn’t get too bright.
Don’t use a high-gloss clear coat — it reflects ceiling lights and makes the shelves look “wet.”
4. Blackened steel look floating shelves with matte stain and metal brackets
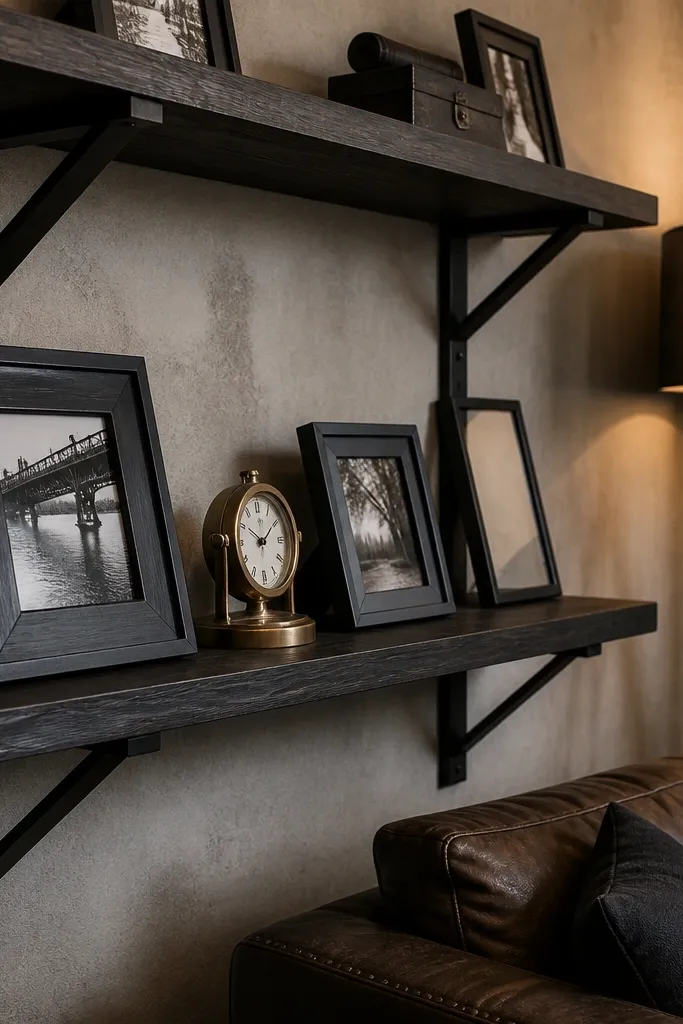
This is for the lived-in industrial look: dark shelves plus visible hardware that still feels intentional. Matte stain (not glossy) keeps the wood from looking like it’s coated in plastic. Black metal brackets create a strong visual line and work great with black picture frames, TV mounts, and steel floor lamps. It’s also easier to build than fully hidden brackets because you can align the shelf and brackets carefully without trying to conceal every screw. The result is bold and readable from across the room.
Sand your shelves to 150-180 grit, then apply a dark matte stain in thin coats, wiping off excess to avoid pooling. Seal with a matte clear coat that matches the stain depth. Mark stud locations and install the metal brackets at the level line for your shelf bottom. Pre-drill bracket screw holes to prevent wood splitting. Set the shelf on top of the brackets, align the front edge, then tighten screws and add small wood plugs only if you’re using bracket mounting plates that hide them.
Editor's noteUse a black oxide or powder-coated bracket if you want the finish to stay consistent next to matte wood.
Skip thisDon’t stain over heavy dust — it creates speckles that show up instantly on dark finishes.
5. Two-tier floating shelf run with staggered heights over a sofa
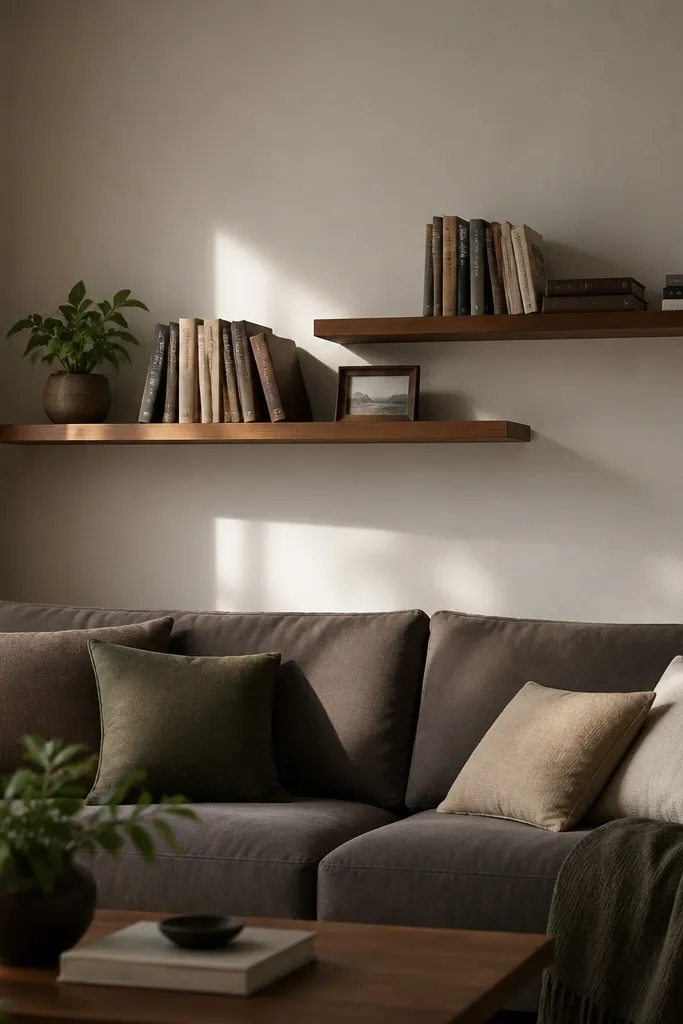
Staggered tiers look designer because they create a rhythm instead of a grid. Over a sofa, two shelves at different heights give you space for books, framed photos, and small plants without everything looking stacked. Keep the shelves the same depth for a unified look, but vary the vertical placement by 4 to 6 inches. This style works when your wall has a picture gallery or a TV that limits the space above. It’s still DIY-friendly because you can mount each shelf to studs using hidden brackets.
Pick one shelf depth (8 inches looks great in most living rooms) and cut both shelves to the same length. Mark your studs and draw a level baseline for the lower shelf, then set the upper shelf line 4-6 inches higher. Install hidden brackets or a French cleat system for each shelf separately, then mount and verify level at both ends. Stain or paint both shelves together for consistent finish. Add a back lip strip only if you need to keep decor from sliding off the wall.
Editor's noteLay out your decor on the floor first so you know which shelf needs more load capacity and which needs a lighter visual footprint.
Skip thisAvoid identical heights — a perfectly matched pair reads flat and less interesting.
6. Thick live-edge floating shelf with a clear matte top coat
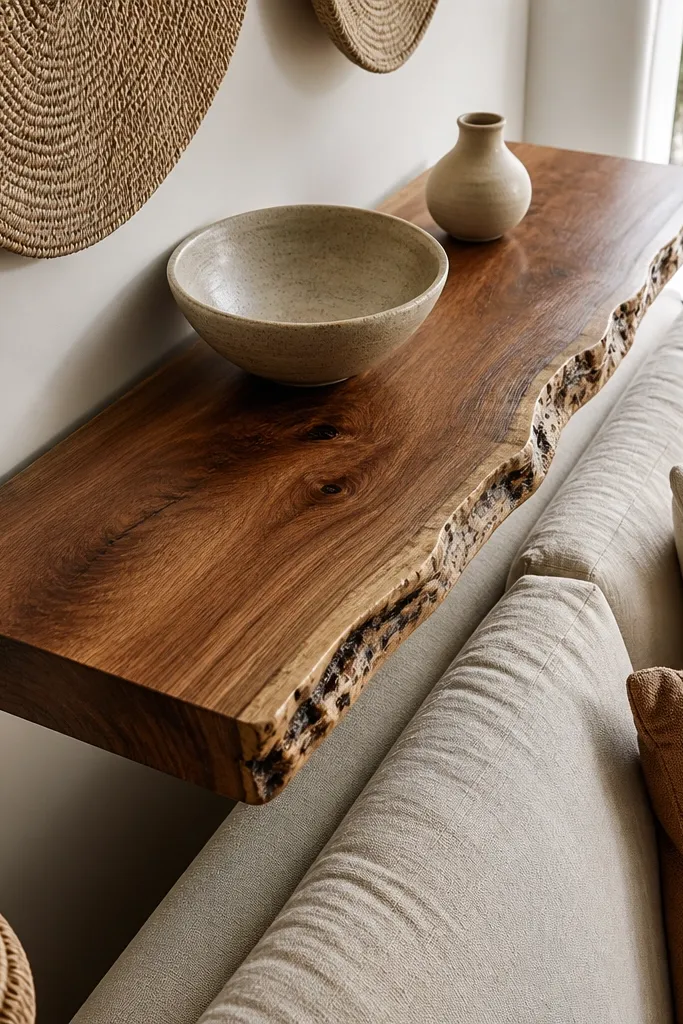
Live-edge shelves bring a sculptural look to a living room. The trick is thickness: go thick enough that the shelf feels substantial even when mounted with hidden hardware. A matte clear coat keeps the live edge from looking glossy and plastic. This style looks best in rooms with natural textures like linen, rattan, or stone. It’s also a great option when you want one statement shelf instead of a full wall of storage.
Choose a live-edge board and cut it to length, then square the underside where it will mount so the shelf sits flat. Remove loose bark and sand the face to 150 grit, keeping the live edge mostly natural. Install a hidden mounting rail or multiple hidden brackets spaced every 16-24 inches along the studs. Use a level and a straight shim behind brackets so the shelf sits even. Finish with a matte clear coat in 2-3 coats, and add a light wax topcoat only if you want a softer feel on touch.
Sand the underside edges more than the top — fingerprints show on the top, but splinters show on the bottom.
Don’t skip sealing the live edge — porous areas soak up finish unevenly unless sealed.
7. Whitewashed oak shelves with a recessed panel back
A recessed back panel makes the shelf look built-in, even though it’s mounted like floating. Whitewashing lightens oak while keeping the grain visible, which gives you that airy, coastal feel without turning everything to pure white. The recessed area also hides small gaps where brackets meet the wall, so the shelf line looks smooth. This is a great living-room option for light blue walls, sandy neutrals, and light wood furniture. It also gives you a clean backdrop for ceramics and small framed prints.
Build the shelf as a plywood base with a solid oak face and a back panel that sits 1/2 inch behind the face. Cut the recessed back panel from 1/4-inch plywood and glue/screw it to the underside perimeter. Whitewash the oak using a diluted stain or whitewash paint, then seal with a satin clear. Mount hidden brackets into studs and position them so they sit behind the recessed back panel. Secure the shelf to brackets from underneath, then caulk the perimeter where the recessed panel meets the wall if you want a tight built-in look.
Editor's noteTest the whitewash on a scrap — oak takes whitewash differently depending on growth rings.
Skip thisAvoid over-brushing the whitewash — it streaks and looks uneven under lamp light.
8. Walnut shelves with rope lighting channel along the underside

This is the “wow” version of floating shelves: warm light under the shelf edge makes the wall look curated. The underside channel lets the rope lighting tuck away so you see glow, not wiring. Walnut keeps it warm and upscale, and satin finish prevents glare. This style works best in living rooms that have wall sconces, a dimmer switch, or warm bulbs. If your decor includes books and small sculptures, the lighting makes everything pop without adding clutter.
Cut shelves to your chosen depth (8-9 inches works well), then route a shallow channel on the underside front edge sized for 1/4-inch rope lights. Finish the shelf first with stain and satin clear so the wood doesn’t get dirty later. Install mounting brackets into studs, then position the shelf so the channel aligns evenly across the length. Feed the rope light through the channel with a small gap for the wire, then connect to a low-voltage driver. Add a diffuser strip or frosted cover inside the channel if you want softer light.
Editor's noteUse warm white rope lighting at 2700K for living rooms; cooler whites make wood look gray.
Skip thisDon’t mount the shelf without planning the driver location — wiring access matters before you close anything up.
9. Floating shelves with a built-in cable notch for media walls
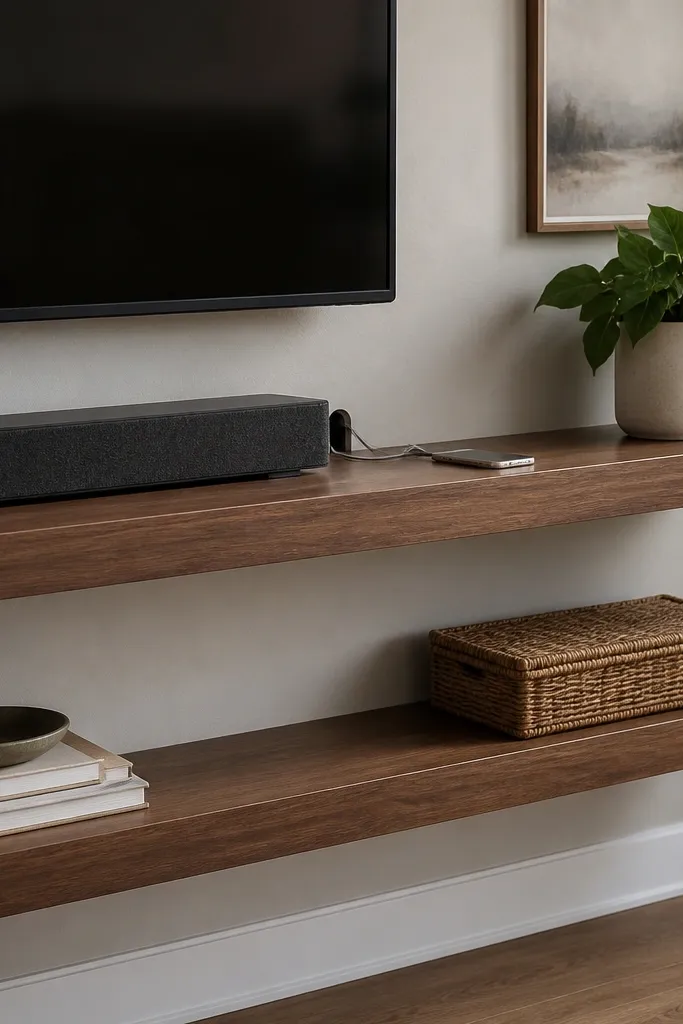
If your living room has a TV or soundbar, cable clutter can ruin the whole look. A built-in cable notch under the shelf keeps charging cords and small device wires hidden while the shelf still looks like one uninterrupted line. Choose a simple notch cut near the center or where the console sits behind. This style is especially good for shelves used to display a streaming box, a small router, or framed photos. It’s a practical aesthetic upgrade: clean face, tidy function.
Decide where the cable path needs to go, then mark the notch location on the shelf underside. Cut a U-shaped channel using a router with a template or a plunge router, leaving enough wood thickness above the notch so it stays strong. Finish the shelf with stain or paint, then drill a small access hole behind the notch for cable routing. Mount hidden brackets into studs and position the shelf so the notch lines up with your device area. Test by running the cables before you fully tighten the shelf.
Add a small removable cover plate for the notch if you want easier maintenance later.
Avoid notching too close to the ends — it weakens the shelf and can crack with heavier decor.
10. Stainless-finish floating shelves with clear acrylic side supports
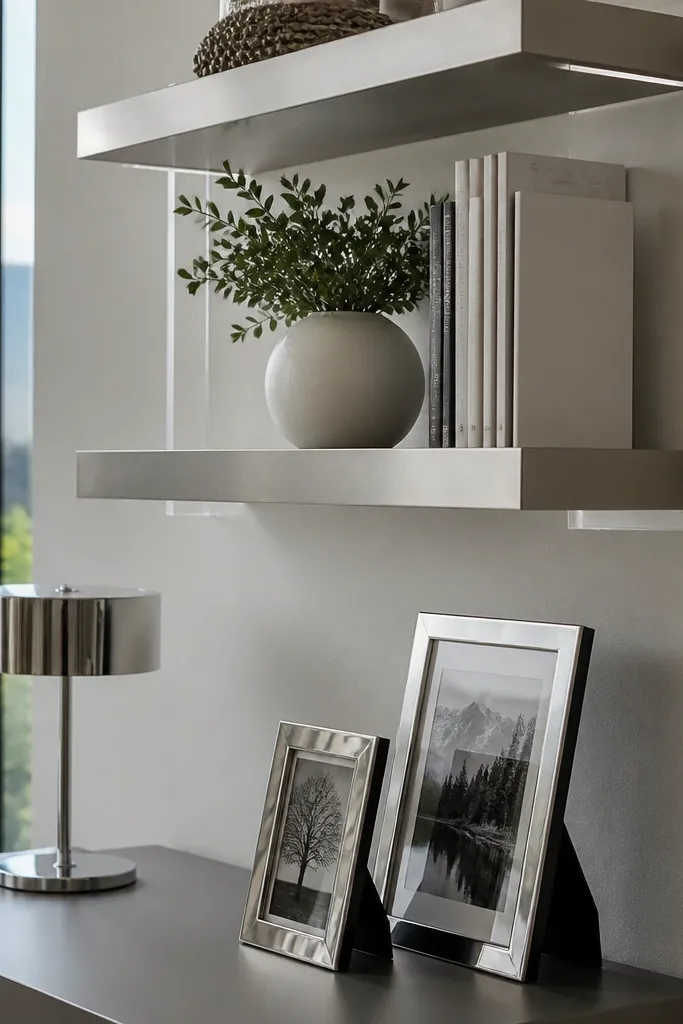
This is a modern look that feels light even when the shelf is sturdy. Clear acrylic side supports make the shelf edge look suspended, and a simple top finish keeps the focus on the wall. It’s good for living rooms with glass tables, chrome light fixtures, or a modern TV console. The shelf edge becomes a visual frame for decor — small plants, stacked books, and slim picture frames. The aesthetic works because the side supports create clean vertical lines without heavy hardware showing on the wall.
Cut shelves to length and choose a smooth finish like painted white or clear-coated maple. Attach acrylic side supports to the shelf underside at both ends, using countersunk screws and pre-drilled holes. Mount the wall brackets behind the shelf — either a hidden rail or studs with concealed hangers. Slide the shelf so the acrylic supports align with the wall mounting points, then tighten the hardware. Seal acrylic edges if needed and wipe everything clean before final placement.
Editor's noteUse frosted acrylic for a softer glow effect; clear acrylic shows tiny dust specks.
Skip thisDon’t skip pre-drilling acrylic — it cracks if you force screws.
11. Reclaimed wood floating shelves with a modern painted backer
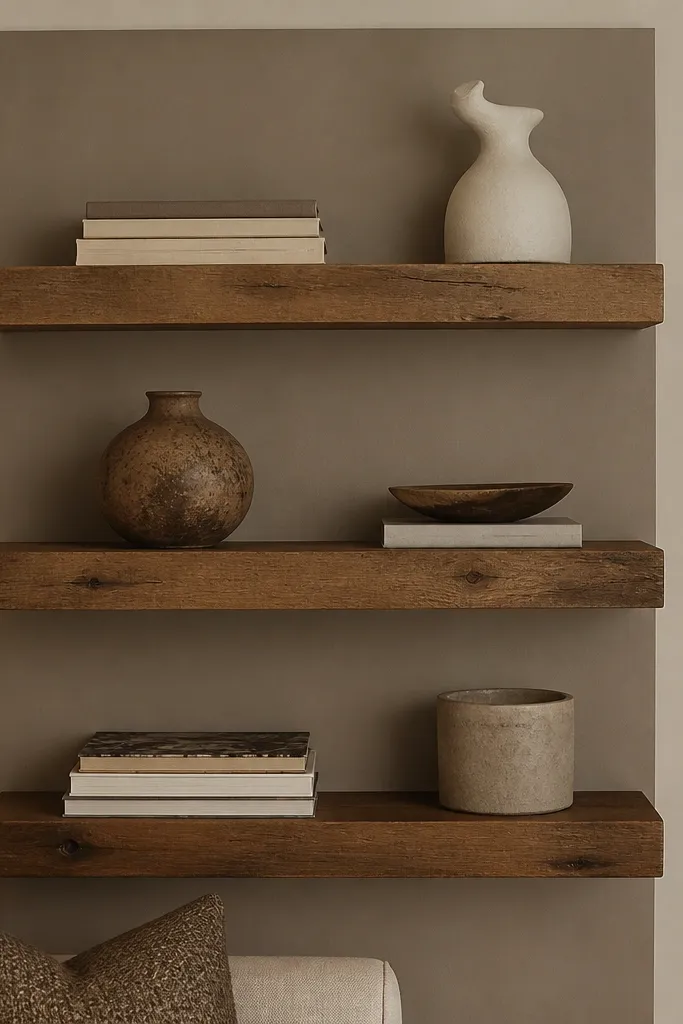
Reclaimed wood gives you texture and character, but it can look messy if the wall behind it is bare. A modern painted backer makes the shelf face look intentional, like a gallery ledge instead of a random plank. Choose a backer color that matches your wall trim or a nearby accent color — warm greige, deep charcoal, or soft sage. The shelf stays rustic, while the overall composition stays clean. This style is great for living rooms that have one or two strong colors and need something tactile to balance them.
Cut reclaimed boards to length and square the underside where brackets will mount. Sand only enough to remove splinters; keep some original texture for the look. Attach the reclaimed face to a plywood base so the shelf is stable and flat. Add a painted backer panel under the shelf that’s flush with the underside edge, then finish the wood face with a matte clear coat. Mount hidden brackets into studs and secure the shelf, making sure the backer covers any bracket gaps.
Editor's noteMatch the backer paint to your trim paint sheen so the shelf line looks consistent across the room.
Skip thisDon’t clear-coat reclaimed wood without checking for loose splinters — they will pop after the finish cures.
12. Two-shelf grid with matching lengths and hidden rails
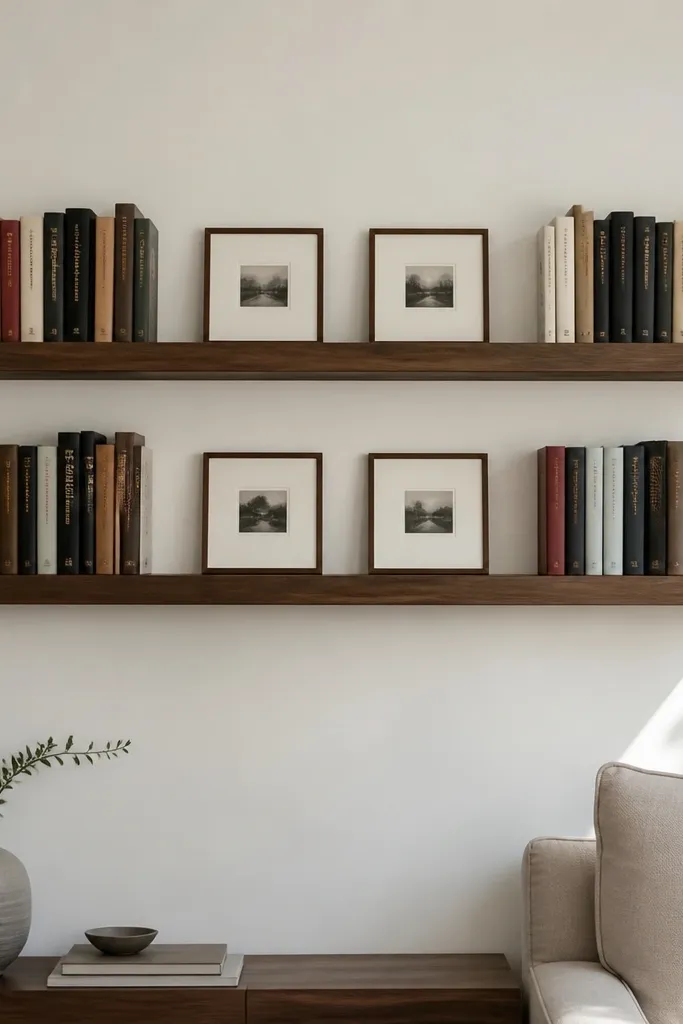
A matching grid layout is the cleanest way to make a floating shelf wall look designed instead of accidental. When both shelves are the same length and depth, the room gets a structured storage zone for books and decor. Hidden rails keep the hardware invisible, so the grid reads as a single design element. This is a good option for modern living rooms with minimal patterns. Keep decor disciplined: two to three book stacks per shelf, then space for frames so the shelf faces stay calm.
Measure the wall section and cut two shelves to the same length and depth. Use a plywood core with a solid wood edge band if you want a crisp, straight face. Sand and finish both shelves identically. Install a hidden mounting rail system for the lower shelf first, then use a level line to install the second rail at your chosen spacing. Slide each shelf onto the rails and lock them in place, then inspect the front edges for alignment before you load decor.
Use a long level or a laser level — tiny rail misalignments show up immediately in a grid.
Avoid mixing depths between shelves — the grid loses its clean, engineered look.
13. Slim metal-cast style shelves with narrow depth and staggered decor
Slim shelves feel modern and don’t crowd the room, especially if your living room already has a lot going on. This look uses narrow depth (around 5-6 inches) and a clean, flat underside so the shelf reads as a line. Pair it with staggered decor placement: books spine-out on the back edge, small frames centered, and one plant at an end. The result is photogenic because the shelf face stays uncluttered. Use this style when you want storage but hate the bulky ledge look.
Cut shelves at 5-6 inches deep and choose a straight edge finish like a crisp chamfer or a very slight roundover. Use a mounting method that supports the shelf close to the wall so it doesn’t sag visually. Install hidden brackets in studs and place them closer together than you think — for slim shelves, spacing every 16 inches keeps the face straight. Finish with matte paint or a clear satin if you want wood grain. Load test with heavy books before you style the final decor.
If you’re using narrow shelves, keep your decor weight light near the middle and heavier items closer to bracket zones.
Don’t overload slim shelves — a slight sag makes the whole look feel off.
14. Floating shelves with a hidden face frame for a 'built-in' illusion
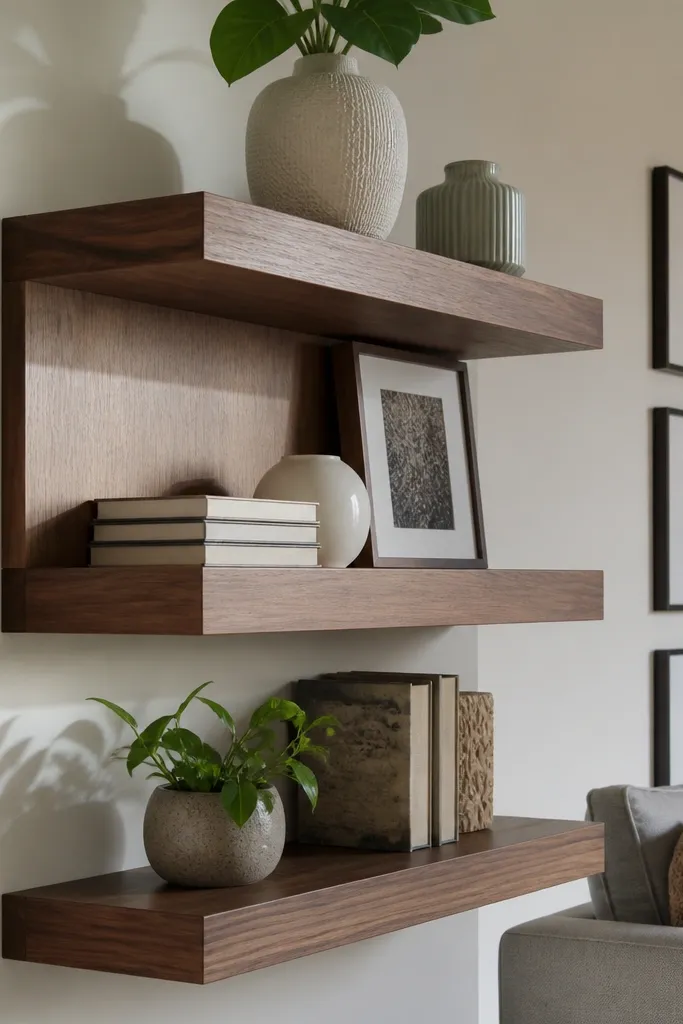
This is the trick for making floating shelves look like built-ins without the carpentry project. A thin face frame wraps the front and sides enough to hide bracket shadows and mounting gaps. It also makes the shelf look thicker from the front even if the actual shelf is a standard thickness. This look is perfect for living rooms with paneled walls, wainscoting, or strong trim lines where you want the shelves to match the architecture. It reads polished because the edges are framed, not exposed.
Build the shelf base first using plywood and a solid front edge band. Then add a face frame around the perimeter using thin strips, leaving the underside open for bracket access. Pre-finish the shelf frame before final assembly so the inside edges look clean. Mount a hidden rail or brackets into studs, then slide the shelf onto the mount and secure from underneath. The last step is to check the face frame alignment and caulk the tiny seams where it meets the wall for a tight built-in look.
Use 1/8-inch reveals for the face frame so the seam lines stay crisp after paint or stain.
Avoid thick face frames — they hide the floating effect and make the shelf look bulky.
15. Carved edge shelves with subtle groove detail
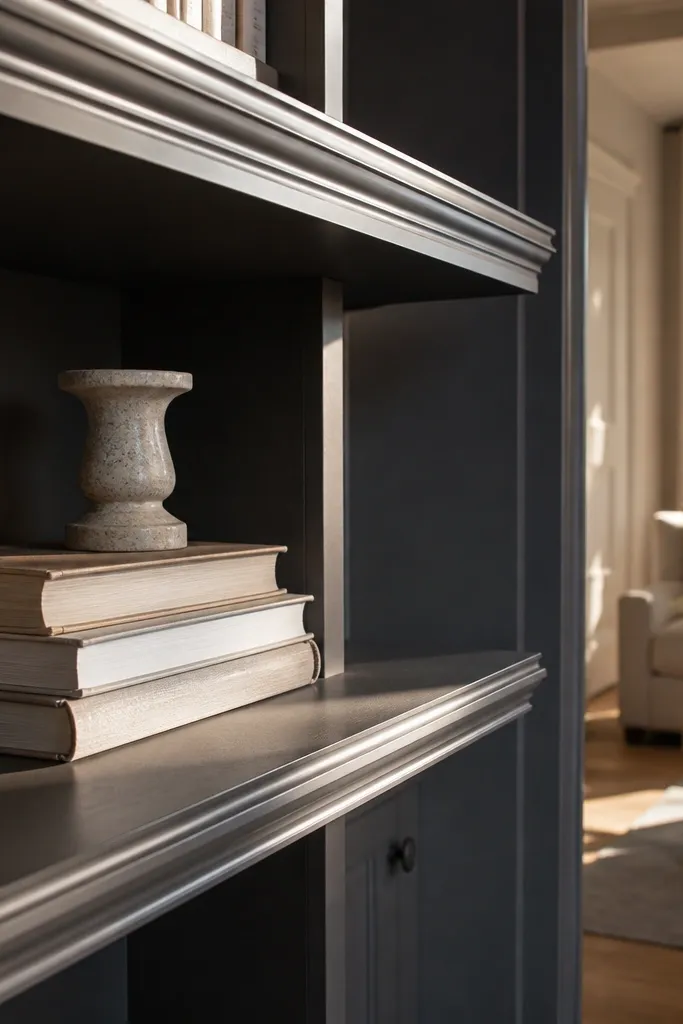
If you want something more decorative than plain flat boards but not fancy, a subtle groove does it. The groove catches light and gives the shelf a tailored look, especially with a matte finish. This works great in transitional living rooms where you have both modern and classic elements. The shelf becomes a visual frame for decor without turning into a carved statement. Keep the groove shallow so you don’t create dust-catching corners.
Cut your shelf from plywood with a solid edge band or use solid boards cut straight and flat. Sand and finish the shelf, then use a router to cut a shallow groove along the front edge — about 1/4-inch wide and 1/8-inch deep is plenty. Test on scrap because groove depth changes how it looks under warm lighting. Mount using hidden brackets, and make sure the front face stays even so the groove line is straight. Seal the groove with the same top coat so it doesn’t absorb stain unevenly.
Round over the groove entrance slightly with sandpaper so it doesn’t chip when you move decor around.
Avoid deep carved profiles — they collect dust and look messy fast.
16. Floating picture ledge shelves with a 3/4-inch lip
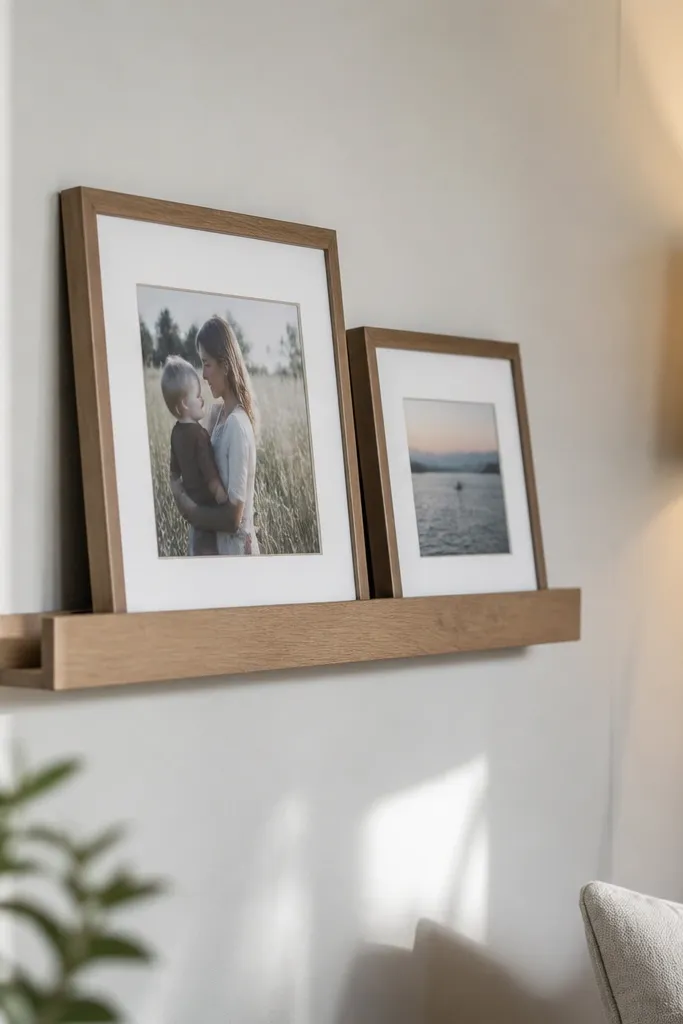
A picture ledge shelf is built for frames, not just books. The 3/4-inch lip prevents frames from sliding forward, so your living room looks styled instead of slightly messy. This is a great choice if you display art, family photos, or tabletop decor that you want to stay in place. The look is also clean because the lip adds a shadow line at the front edge. Pair it with a satin finish and a simple edge profile so it looks intentional. It’s one of the easiest ways to make floating shelves look high-end.
Cut your shelf base to the depth you want, then add a front lip strip that’s 3/4-inch tall. Glue and nail the lip strip, then sand the joint flush. Finish with paint or stain and seal. Mount hidden brackets into studs and position them so the shelf sits level and the lip sits parallel to the wall. Before you hang, dry-fit a frame on the lip to confirm it doesn’t tip or slide.
Editor's noteUse felt pads on the underside of the lip if you’re displaying heavier frames to prevent scuffs.
Skip thisDon’t rely on friction alone — if the lip is too short, frames still creep forward.
17. Long maple shelves with a two-tone finish and clean end caps
Two-tone shelves look designer because they add a subtle graphic element without clutter. Keep the top edge lighter (maple) and stain or paint the inner face darker, or do the reverse. End caps matter here: clean end caps make the shelf look manufactured, not DIY. This style is especially good for living rooms with light walls and dark accents like black decor or navy textiles. It’s also a good move if your room has a lot of vertical lines — the end caps add crisp horizontal balance.
Cut your shelf base and face from maple, then glue a darker inner panel strip to the underside edge. Finish the underside panel separately so color stays crisp. Add end caps by attaching pre-cut maple pieces on both ends, then sand flush. Mount using hidden brackets spaced every 16 inches for long lengths so the front edge stays straight. After mounting, touch up the end cap edges and seal everything with satin clear to keep the two-tone contrast consistent.
Editor's noteMask the color boundary with thin painter’s tape and remove tape while paint is still slightly tacky for sharp lines.
Skip thisDon’t mix water-based and oil-based finishes on the same surface without sealing — you’ll get uneven sheen.
18. Recessed board shelves with a back panel that matches wall color

Recessing the shelf face makes the whole installation look calmer and more expensive. When the back panel matches the wall color, your eye reads the decor first, not the shelf hardware. This look is ideal for small living rooms where you want vertical storage without visual noise. It also helps if your wall has texture — the back panel hides unevenness around mounts. Use a satin paint finish to keep everything consistent with wall paint sheen.
Cut a shelf base and add a back panel that sits behind the front edge by 1/2 inch. Paint the back panel with the same wall color (use the same paint system if possible). Install hidden brackets into studs, then mount the shelf so the recessed panel covers bracket gaps. Finish the shelf face separately and seal it with satin clear if using wood, or prime and paint if using wood face. Let everything cure before installing the decor so the shelf doesn’t stick or smear against the wall.
Editor's noteBring a small sample of your wall paint to the shelf shop and match sheen — matte walls + eggshell shelf panels look wrong together.
Skip thisAvoid leaving raw edges in the recess — tiny gaps look obvious once the shelf is mounted.
19. Moroccan-inspired scallop edge shelves with hidden mounting
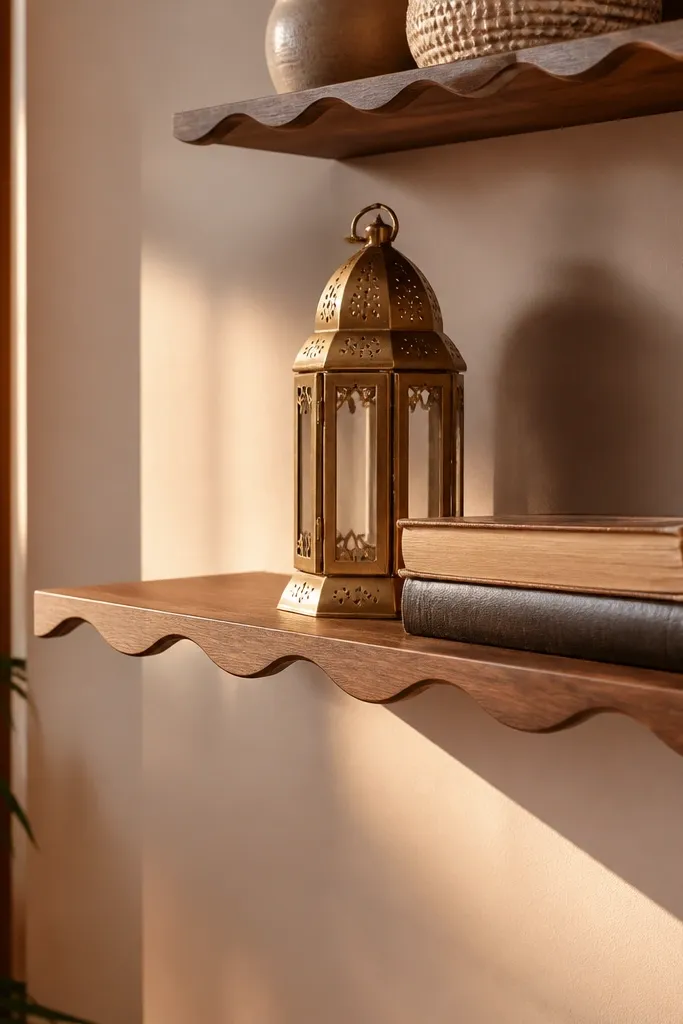
Scallop edges add personality without turning your shelf into a craft project. The key is to keep the scallops shallow so the shelf stays practical and doesn’t look overly theme-y. Pair scallops with a dark finish or a warm walnut stain so the curves read as intentional. This style works well in living rooms with patterned pillows, textured rugs, or brass accents. It’s photogenic because the edge shape creates a repeating highlight line when light hits it.
Cut your shelf base to size, then template the scallop pattern on the front edge using a flexible curve template or a printed arc pattern scaled to your shelf width. Use a jigsaw to rough the scallops, then sand to smooth, uniform curves. Mount with hidden brackets inside the shelf footprint so the wall face stays clean. Finish with stain and a satin top coat, then seal the scallop edges thoroughly. After mounting, place one larger decor item per shelf to let the edge detail read clearly.
Editor's noteKeep scallops centered and consistent — mismatched curves make the shelf look handmade in a bad way.
Skip thisDon’t make scallops too deep — they catch dust and make small decor sit unevenly.
20. Floating shelves with a concealed ledger rail and angled end blocks
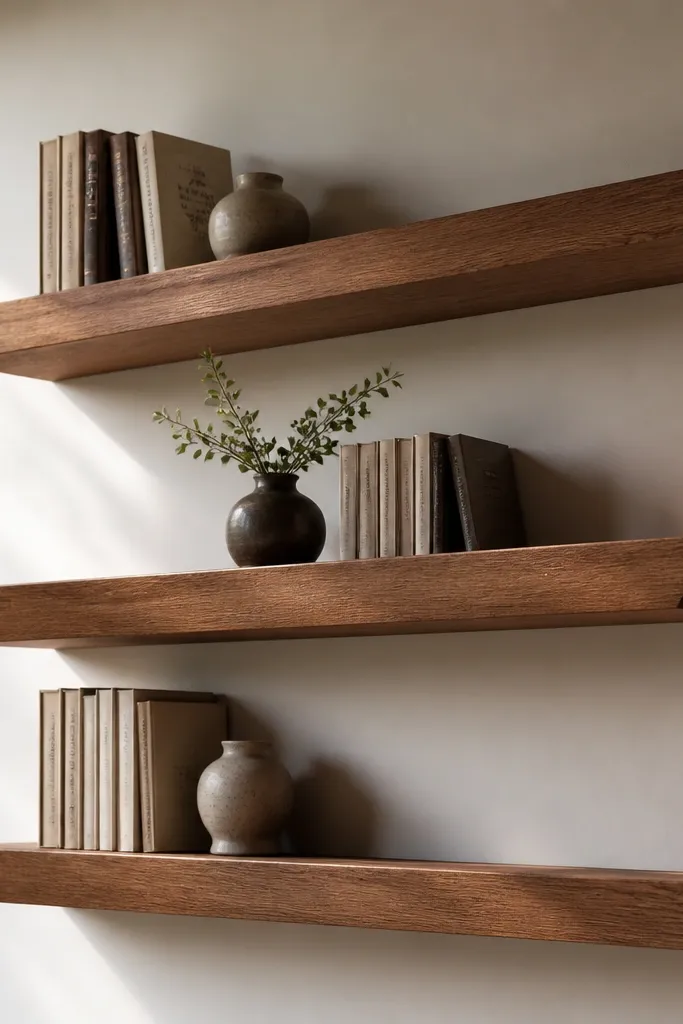
This version makes good-looking Floating Shelves Living Room setups look built-in without the bulk of a full cabinet. The trick is a concealed ledger rail behind the shelf that hides the mounting hardware, while angled end blocks create a clean shadow line at each end. Use a warm wood finish and a satin clear coat so the underside stays uniform and doesn’t look patchy where brackets meet the wall. It works in living rooms where you want shelves to look intentional from every angle, including from the side when you walk past the sofa or TV console. Skill level is medium — you’re doing straight carpentry plus careful layout — and it takes about a weekend for two shelves with a proper finish cure time.
Buy 3/4-inch thick shelving material in the look you want (walnut veneer ply or solid oak boards ripped to width). Cut two end blocks per shelf from the same material, each 1-1/2 inches wide and 1-1/2 inches deep, then bevel the inner face so it creates a diagonal shadow line — 30 degrees is an easy starting point. Mount a straight ledger rail to studs using 2-1/2-inch screws — set the rail height so the shelf top ends up level after you account for shelf thickness. Pre-drill and screw the shelves onto the ledger rail from underneath using a pocket-hole jig or 3/16-inch pilot holes, then glue the end blocks in place with wood glue and pin them with 1-inch brads. Finish everything before installation: sand to 180 grit, stain if needed, then apply two coats of satin polyurethane, keeping the underside sealed so it won’t blot near the mounting points.
Dry-fit one shelf with painter’s tape on the wall and check the shadow line from standing eye level — adjust the ledger height before you commit to screws.
Avoid mounting to drywall only; anchor the ledger rail to studs or use proper toggle hardware rated for the shelf load.



