
1. Elbow-Height Lap Desk Station with Storage Tray
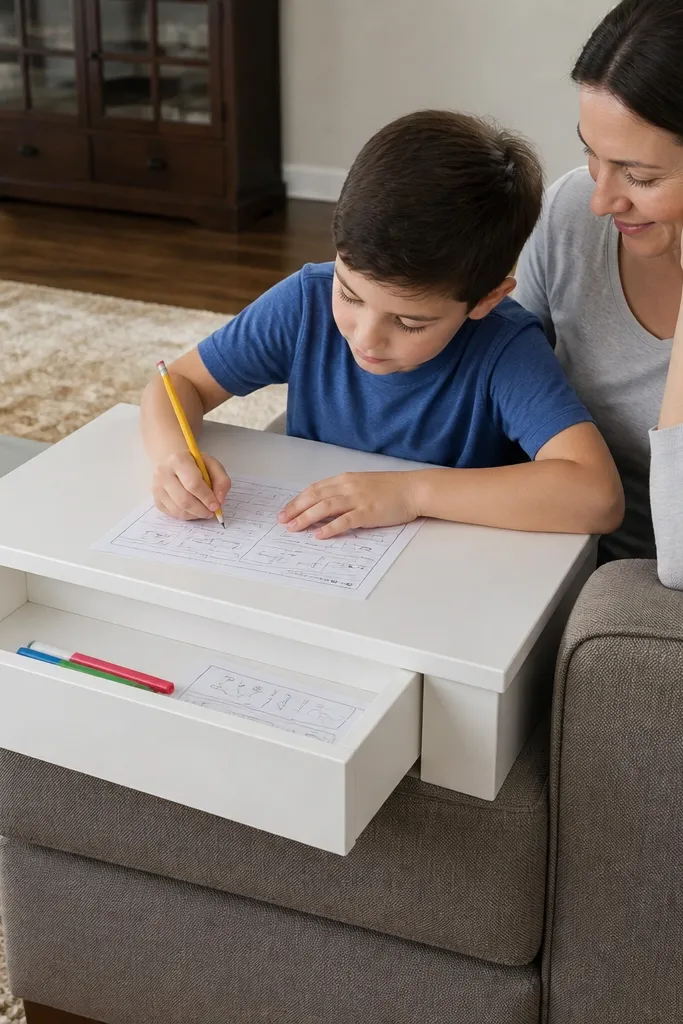
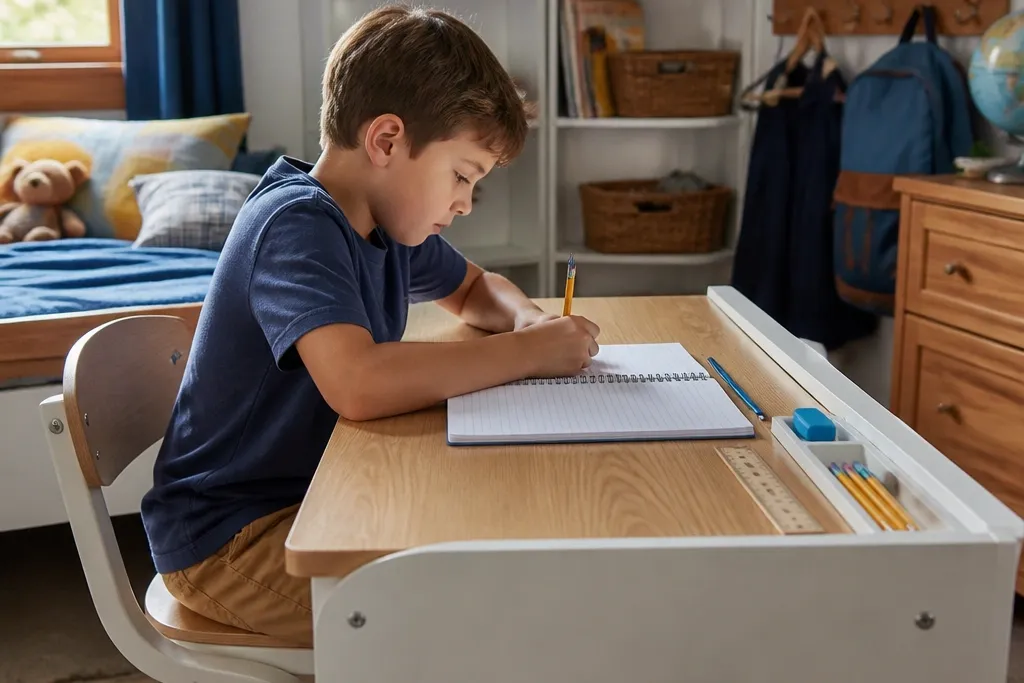
This setup is for kids who can’t sit still for long stretches. A lap desk keeps them close to their work without forcing perfect posture, and the shallow tray stops the “everything falls off the table” problem. The look stays clean because the tray has straight edges and matches the desk color, so markers and worksheets sit neatly in one visible zone. It’s a great choice for small bedrooms, shared spaces, and kids who do homework in short bursts after school.
Start by cutting a lap desk top from 3/4-inch plywood, sized to sit just inside the child’s knees (a common working size is about 18 x 14 inches). Sand the edges, then add a simple lip along the bottom edge using a 1x2 strip so the desk doesn’t slide forward. Build a matching shallow tray from 1/2-inch plywood or thin MDF, sized to fit on top or hang from small cleats on the side. Finish with matte paint or a warm wood stain and seal with a water-based poly that won’t feel sticky.
Editor's noteGlue a thin felt strip under the tray lip so it grips the desk surface and doesn’t rattle.
Skip thisDon’t use a high-gloss finish — it shows fingerprints and makes the whole setup look messy fast.
2. Pegboard Wall Study Desk with Rail Hooks
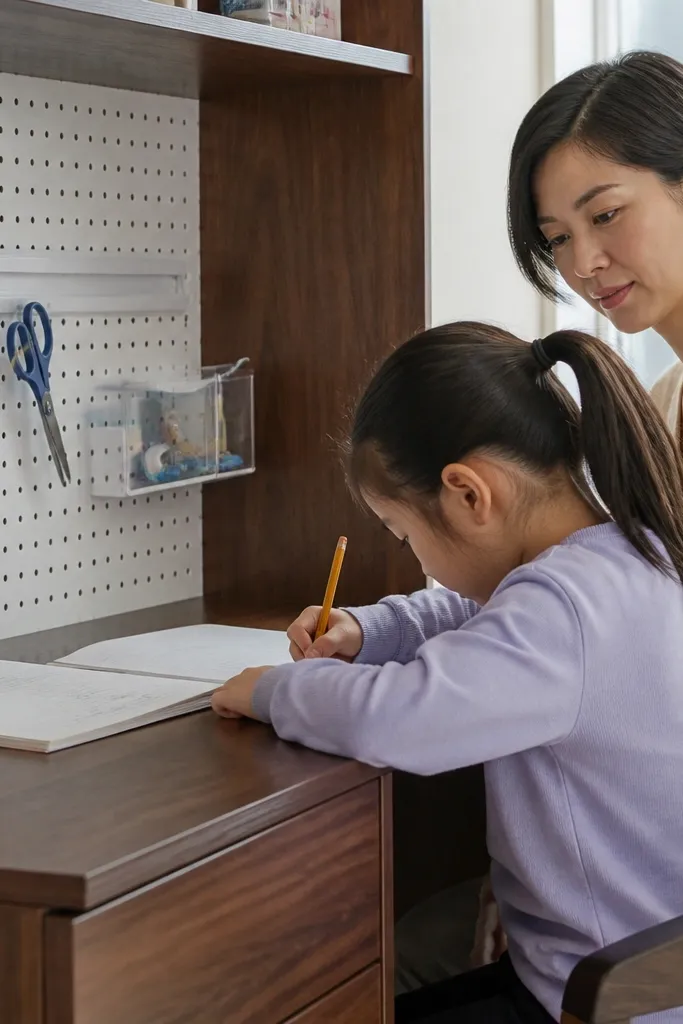
This is the “everything has a home” look, and kids actually use it because the tools are visible. A pegboard wall behind the desk turns supplies into a small display, which makes the desk feel intentional instead of temporary. It’s also the most forgiving option for changing needs, since you can rehang organizers as homework grows from coloring to projects. The style is crisp and photogenic: light pegboard, straight lines, and a few matching bins.
Mount a 1/4-inch pegboard vertically to the wall behind where the desk will sit, using wall anchors if you’re not hitting studs. Install a simple desktop on top of two sturdy brackets or a small table base, leaving space between the pegboard and the desktop for hanging items. Add a rail or row of hooks for a pencil cup and scissors, then use pegboard baskets for paper and erasers. Seal the pegboard with paint made for walls, and add a clear matte topcoat so it wipes clean.
Editor's noteKeep heavy items on the lower pegs so the wall doesn’t feel “tippy” when kids grab supplies.
Skip thisSkip tiny hooks that hold only one pen — kids end up cramming everything in and nothing stays neat.
3. Floating Shelf Desk with Down-Lip Clipboard Surface
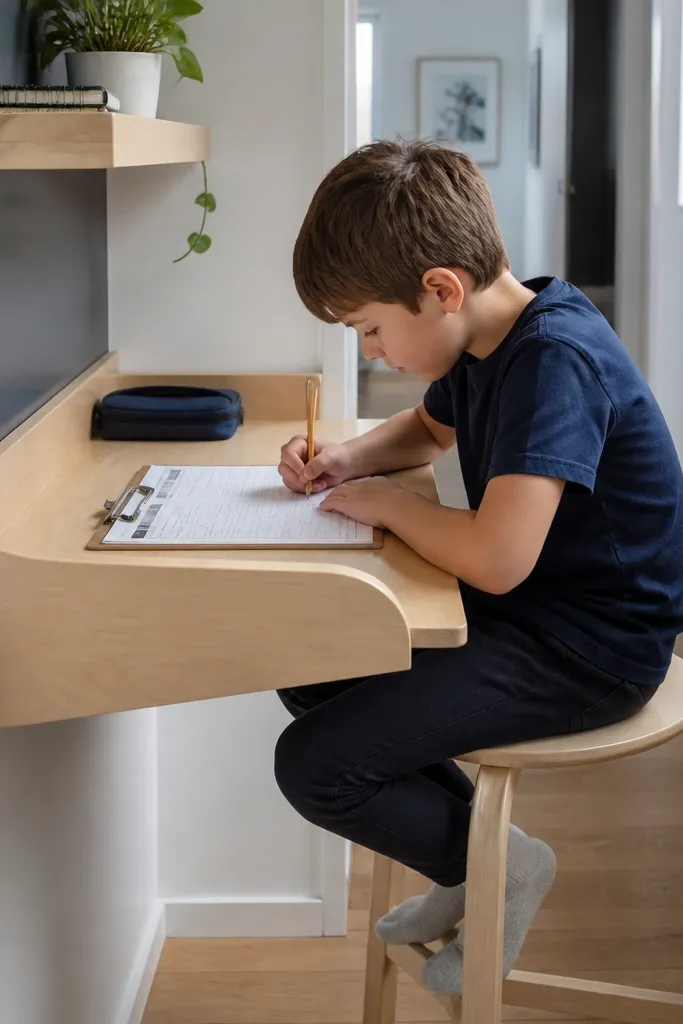
This idea is for tight rooms where a full desk feels bulky. A floating shelf desk gives you a clean, wall-forward look and keeps the floor open, which makes the area feel bigger. The down-lip clipboard surface is the key — it prevents paper from sliding and makes homework look tidy even when the kid is moving around. It’s also easy to refresh visually because you can swap clipboards, binders, and shelf bins without rebuilding anything.
Install a floating shelf at the correct height for your kid’s seated elbow level, using at least two studs for support. Add a down-lip strip under the front edge using a 1x2 piece cut to the shelf width, so it forms a shallow “catch” for paper. Mount two small side cleats or removable hooks so a pencil pouch stays in place. Finish the shelf with matte paint in a warm tone and cover the top with a thin, wipeable laminate or a removable desk mat.
Editor's noteUse a clipboard with a clip that clamps firmly — cheap clips let paper drift and the whole setup looks chaotic.
Skip thisDon’t mount the shelf too high just because it looks better — the first time the kid writes with bent wrists, usage drops.
4. Rolling Cart Study Corner with Pegboard Backboard
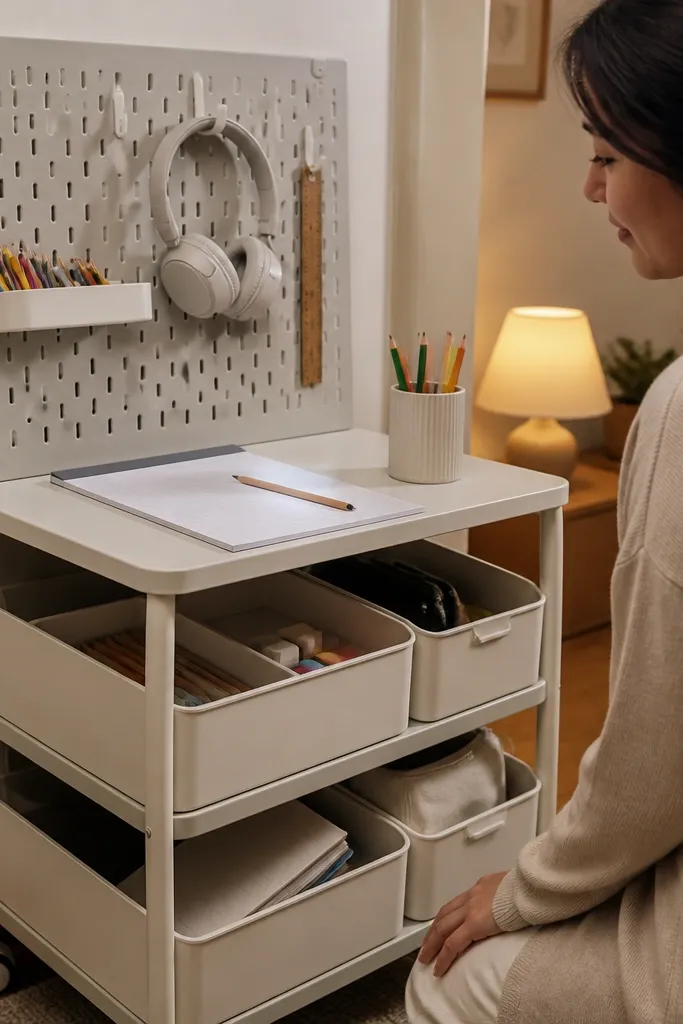
A rolling cart turns homework into a “grab-and-go” moment, which is perfect for kids who hate sitting still. The aesthetic is clean when the cart is the same color as the bins and the backboard is a simple board like pegboard or painted plywood. You get a dedicated writing zone at the top, plus vertical storage that looks organized in photos and in real life. This setup also works for shared rooms because you can roll it out of sight between activities.
Pick a cart with a flat top around 20-24 inches wide so a small book and worksheet fit without hanging off. Screw a painted pegboard backboard to the rear of the top shelf area using short standoffs or L-brackets. Add a shallow tray on the top tier for pens and a lidded bin underneath for paper. Choose bin sizes that match common homework items: one for loose paper, one for supplies, one for finished work.
Add a small rubber liner under the top tray so markers don’t slide when the cart moves.
Avoid mismatched storage — if bins are different heights and colors, the cart looks cluttered even when it’s “organized.”
5. Mural-Panel Study Table with Removable Supply Bins
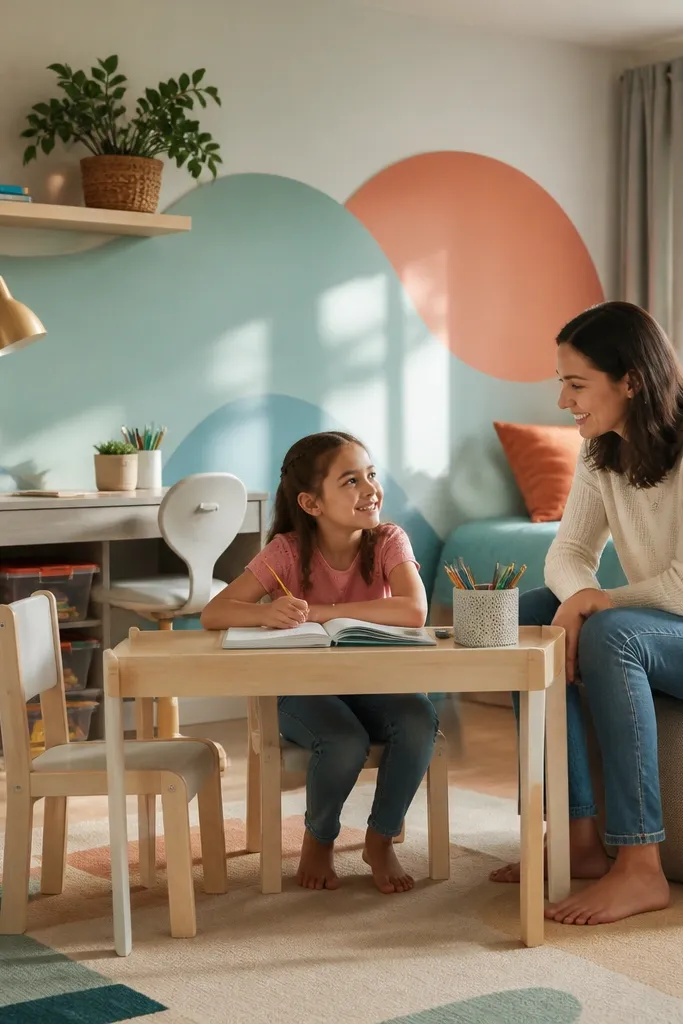
This is a mood-maker. A painted panel behind the desk adds color without turning the whole room into a craft mess, and it makes the desk feel special enough to use. The removable bins keep the setup photogenic because you’re not storing supplies in random corners. When you pull the bins out, kids can clean up fast, then slide them back into place so everything looks neat again.
Build a simple desk base from a pre-cut table frame or two sturdy side panels and a tabletop sized about 24 x 18 inches. Paint a panel for the back using matte wall paint and seal it with a water-based clear coat. Install two bin rails or small cleats on the underside of the panel so bins sit flush and don’t tip. Use standard bin sizes that fit snugly so there’s no gap where paper can fall.
Editor's noteUse painter’s tape to mask edges before painting the panel so the lines look crisp instead of wobbly.
Skip thisDon’t put the bins where kids have to reach over the desk — they’ll skip cleanup because it’s annoying.
6. Two-Tier Desk with Under-Shelf Book Stacker
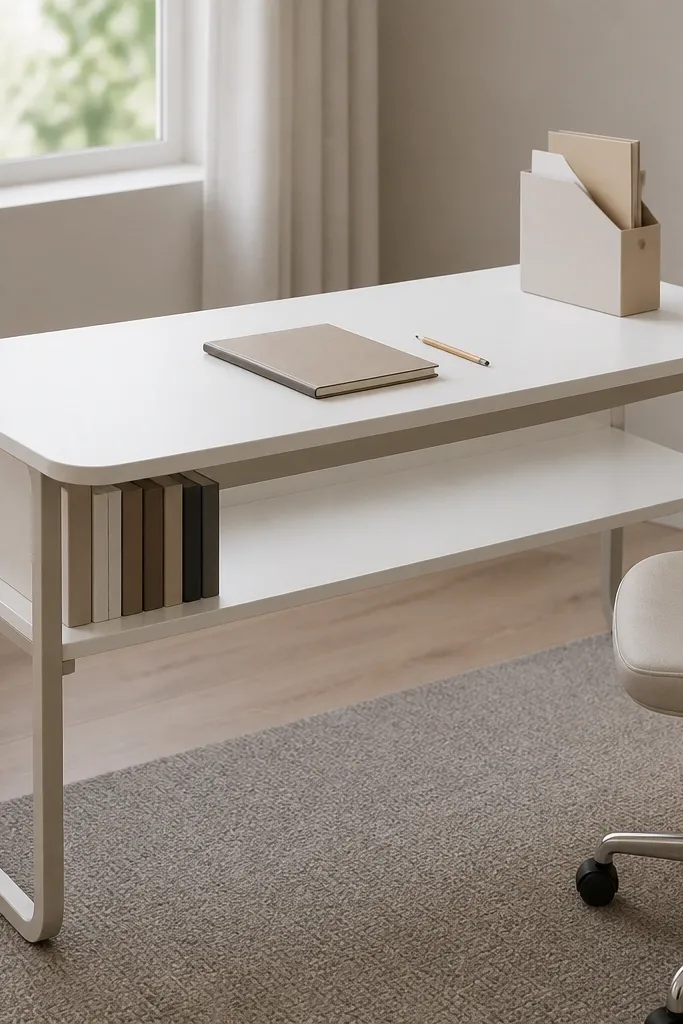
Books are the biggest visual clutter for homework time, and this design fixes that. A two-tier desk gives you a clean top surface for writing and a lower shelf for books and folders, so the desk doesn’t look like it’s drowning in paper. It also reduces the “where do I put this?” moment because the lower shelf is clearly the book zone. The look is strong and minimal — straight lines, no chaos on top, and a tidy stack.
Cut a tabletop from plywood and attach it to two side frames, then add a lower shelf about 8-10 inches below the top surface. Keep the lower shelf depth shallow so it holds books without creating a big visual slab. Add a front lip to the lower shelf using a 3/4-inch strip so books don’t slide forward. Finish with matte paint and add a non-slip mat on the top for grip.
Editor's noteLabel the lower shelf edge with a tiny strip of tape for “Books” so kids learn the return habit quickly.
Skip thisSkip open space under the shelf — if there’s no lip, books slide and the desk looks messy again.
7. Pegboard Drawer Organizer Desk Insert
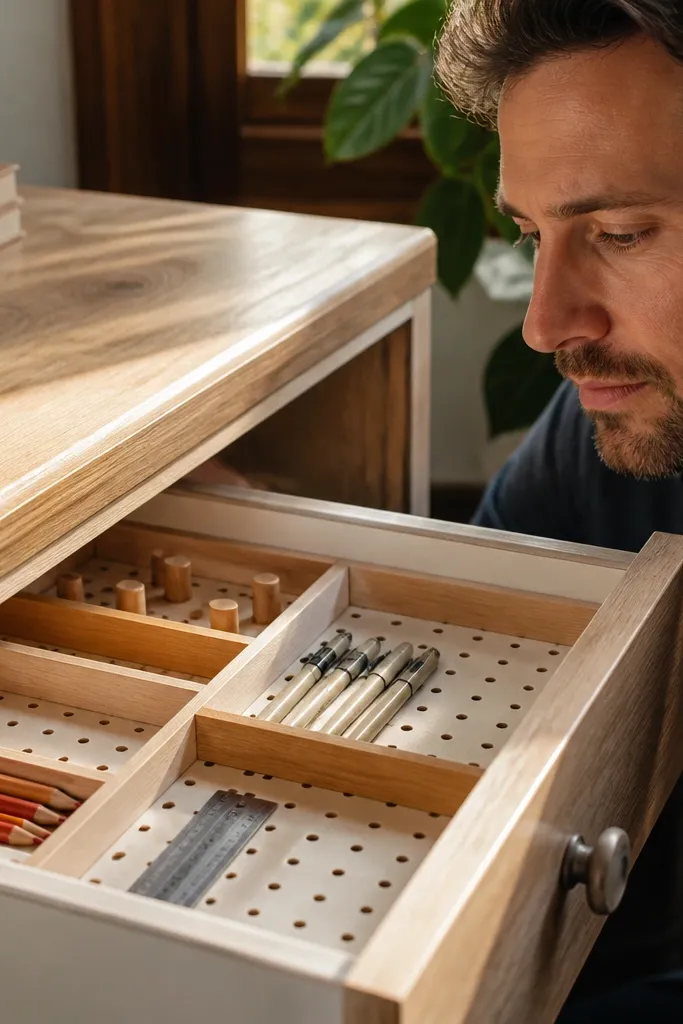
This is for kids who have a desk but can’t keep it organized. Instead of adding another full shelf, you build a drawer insert that makes supplies easy to grab and easy to put back. The pegboard-style holes let you customize where each item goes, so the desk adapts from crayons to colored pencils to fine-tip markers. Visually, it looks neat because everything has a slot, even when kids are moving quickly.
Measure your existing desk drawer interior and cut a base insert from 1/4-inch plywood to fit with a small clearance on each side. Cut a pegboard panel or perforated board to match the insert and screw it down with spacers so it sits flat. Add small bins or cup holders using pegboard accessories, then add a removable tray for tiny items like erasers. Sand edges, then seal with matte clear coat so it wipes clean.
Use two pencil cup sizes: one for pencils, one for pens — mixing them makes kids dump and lose track.
Don’t rely on empty space — if a slot is missing, kids will fill it with random junk and the drawer becomes a mess.
8. Fabric-Front Drawer Desk with Chalk Label Tabs

This one looks soft and friendly, which matters for younger kids who resist “serious homework furniture.” Fabric drawer fronts hide clutter, but the chalk label tabs keep it functional. The labels make it obvious where things go without needing a printed chart that kids ignore. The result is a desk that stays cute on camera and still gets used daily because cleanup is simple.
Build or buy a simple desk with at least one drawer, then attach fabric panels to the drawer fronts using a frame or stapled backing. Cut chalk label tabs from thin wood or plastic board and mount them centered on each drawer front. Add one drawer bin inside for supplies and another for paper, using a small divider so items don’t mix. Finish the drawer fabric with a fabric sealant if the fabric is washable so it tolerates spills.
Use painter’s tape to mark label positions before drilling or gluing so the tabs line up straight.
Avoid thick fabric that sags — it looks sloppy and makes drawers feel “unfinished.”
9. Corner L-Shaped Study Table with Cable-Safe Back Channel
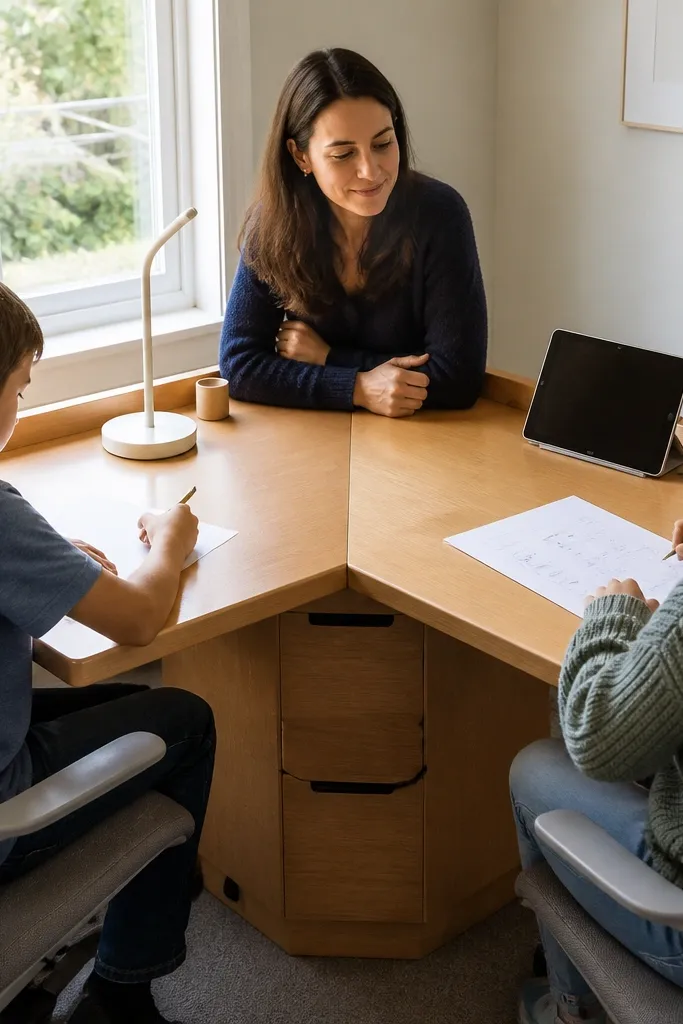
For kids who use tablets or a lamp, cables create mess fast. An L-shaped corner desk gives you two clean work faces while keeping the main writing area uncluttered. The cable-safe back channel hides charging cords so the desk looks crisp instead of tangled. It’s also a great solution when siblings share a room because each side can have its own supply zone.
Cut an L-shaped desktop from two plywood pieces joined with a corner brace, or use a corner desk kit and upgrade the top with a new matte finish. Add a back channel by installing a slim raceway strip along the rear edge and fastening it with screws. Place power strips inside the channel and route cords down behind the desk, not across the tabletop. Finish the top with matte laminate contact paper or a durable matte paint system for easy wiping.
Editor's noteUse adhesive-backed cable clips on the underside of the desktop so cords don’t sag.
Skip thisDon’t route cords across the corner seam — that spot gets bumped and cords start to fall into view.
10. Light Wood Writing Pad Table with Magnetic Pencil Strip
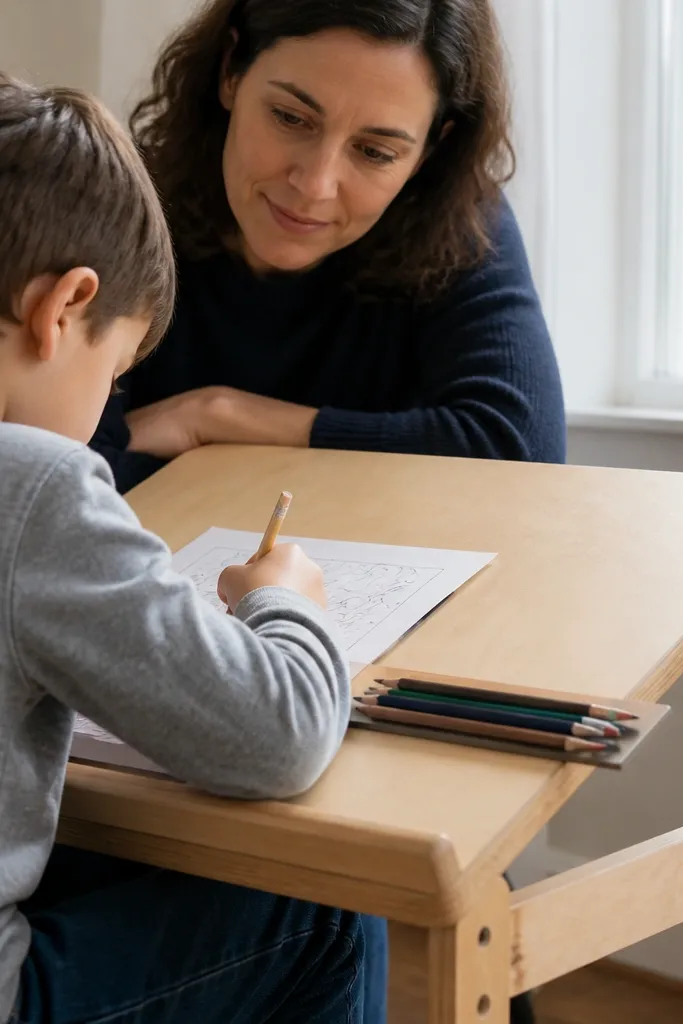
This is a small-surface idea that looks tidy and stays tidy. A writing pad table keeps paper flat and makes the desk look like a real work station, not a folding surface. The magnetic pencil strip is the visual hero: pencils line up neatly, and kids can grab one without digging through a cup. The whole setup photographs clean because the surface stays mostly empty.
Build a simple tabletop from 3/4-inch plywood and attach it to a sturdy base or small table legs. Cut a thin writing pad top from a sheet of smooth board covered with a wipeable material like matte laminate. Mount a magnetic strip along the back edge using screws and a spacer so it sits above the writing surface. Add a small catch tray under the strip for sharpeners or erasers, then seal the wood with matte poly.
Editor's noteUse a strip length that holds at least 8 pencils — kids will stop overstuffing a pencil cup.
Skip thisAvoid weak magnets — if pencils fall off, the strip becomes useless and kids go back to dumping.
11. Bedside-Height Study Table with Drawer for "Return Zone"
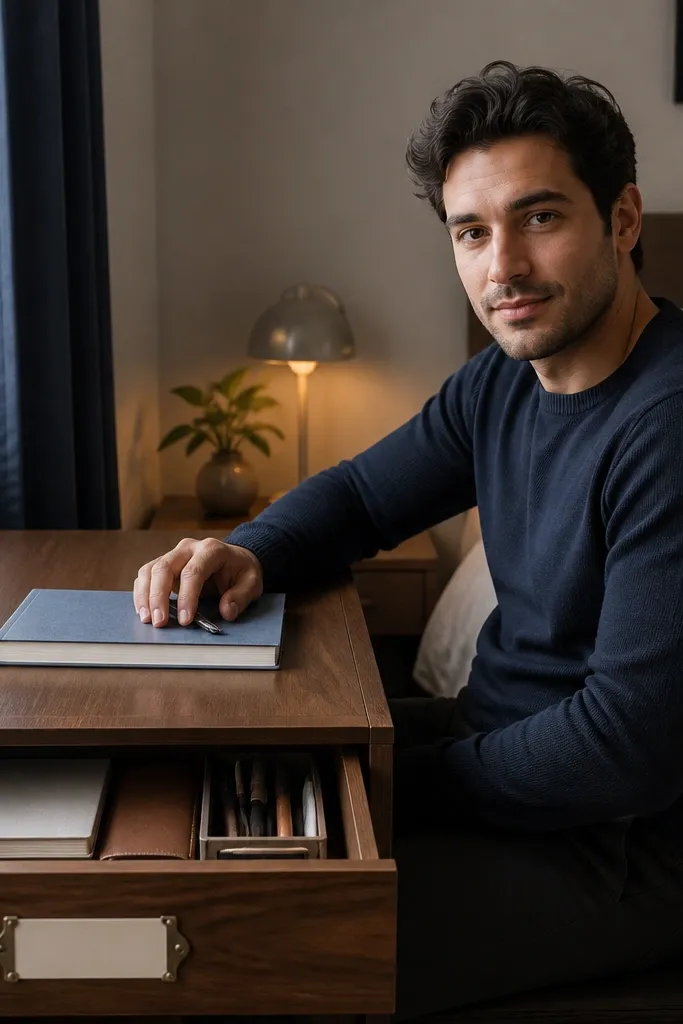
This design works when kids do homework in short windows and parents want the space to look calm. A smaller, lower desk feels less intimidating than a full-size desk and makes it easier for younger kids to start. The key is the “return zone” drawer — it’s where everything goes at the end of the session, so the desk doesn’t turn into a staging area. It also looks tidy because the top stays mostly clear.
Choose a desk height around 20-22 inches for younger kids, or adjust using shorter legs if building. Add one drawer with a simple label on the front so kids recognize it instantly. Inside, install a low divider using thin plywood so supplies don’t pile into one messy mound. Finish the tabletop with matte paint and add a removable desk mat to protect the surface from spills.
Editor's noteMake the drawer shallow enough that kids can see the contents without digging.
Skip thisSkip “mystery storage” — if the drawer has no purpose, kids stop using it for cleanup.
12. Chair-Height Adjustable Desk with Step Footrest Box
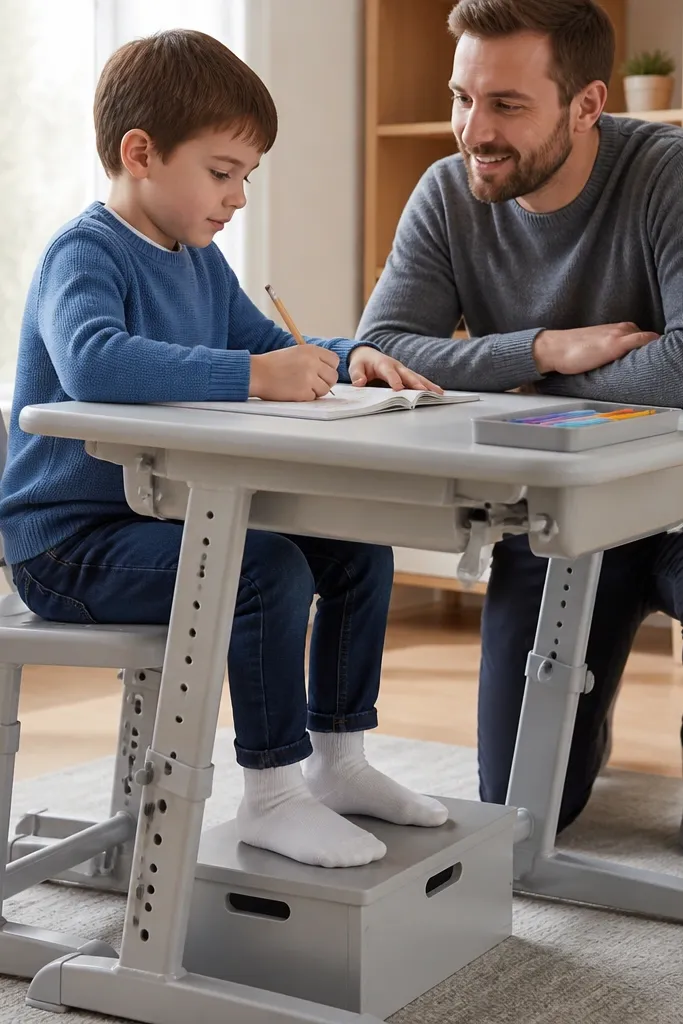
When the desk height is wrong, kids slouch, swing, and stop trying. An adjustable desk solves that, and the footrest box makes it feel stable and comfy so writing looks better. The look stays clean because the build is simple: neutral tabletop, simple frame, and a matching footrest under the chair. This is one of the most “used” designs because you can keep it working as they grow.
Build an adjustable tabletop using two vertical side frames with pre-drilled holes and a removable top platform. Use a plywood top and add a non-slip mat on top for grip. Make a footrest box from scrap plywood sized so the kid’s feet rest flat, then sand and round the edges. Paint everything matte and add corner guards if you want extra safety in a tight room.
Editor's noteDrill holes in 1-inch increments so you can fine-tune height without guesswork.
Skip thisDon’t use wobble-prone legs — a shaky desk makes kids avoid it.
13. Art-Grade Study Table with Fold-Down Side Tray
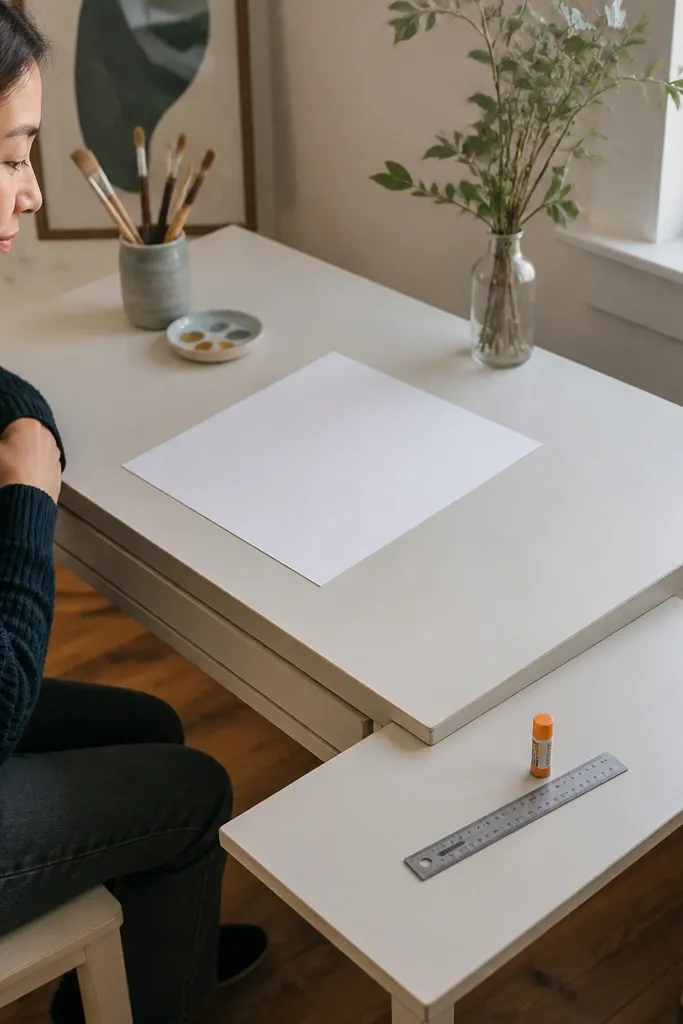
This idea handles both writing and messy projects without turning your whole table into a craft zone. The fold-down side tray gives kids a temporary landing spot for paper, rulers, or glue sticks, then it tucks away so the main writing area stays clean. It looks smart and intentional because the tray has a crisp line and matches the desk finish. It’s a strong choice for kids who alternate between homework and art during the same session.
Build a desk tabletop from plywood and install a side tray on hinges along the right or left edge. Cut the tray to about 12-14 inches deep so it’s useful but doesn’t crowd the writing space. Add a simple latch or magnetic catch so the tray stays down when in use and folds flat when not. Sand, then seal with matte topcoat so glue smudges wipe off.
Editor's noteUse soft-close hinges or gentle tension hinges so the tray doesn’t slam shut.
Skip thisDon’t make the tray too narrow — kids end up putting items on the main surface instead.
14. Wall-Mounted Lift Top Desk with Hidden Supply Box
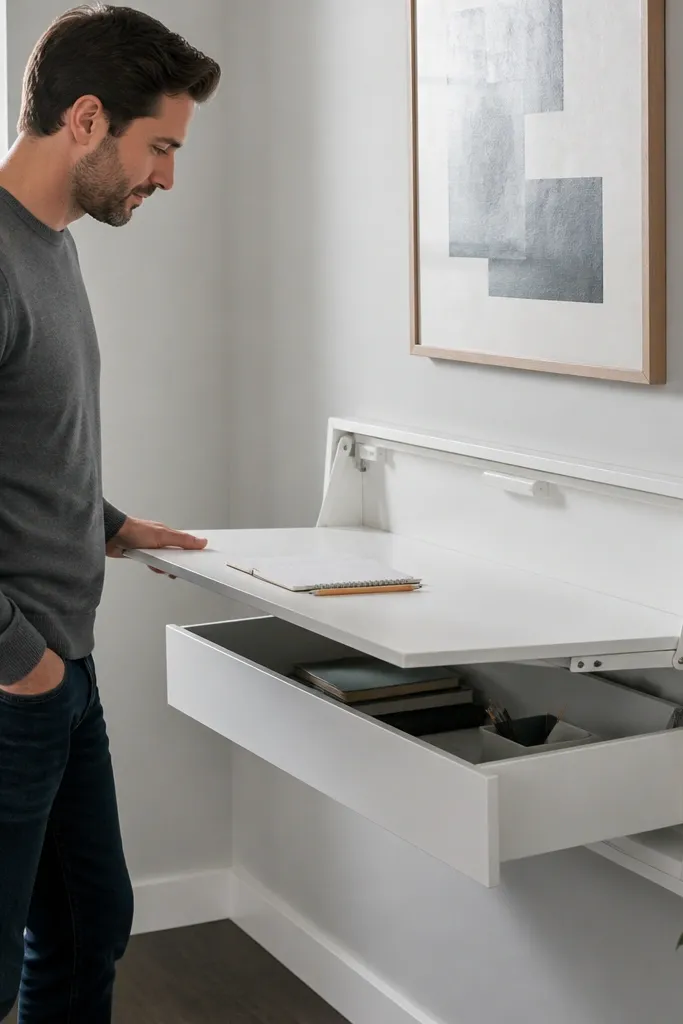
A lift-top wall desk keeps the room looking neat because the work surface disappears. Kids use it more when they can close it like a “real” workstation at the end of homework. The hidden supply box is the secret — it prevents loose paper and markers from living on top between sessions. Visually, it’s clean and modern, and it works especially well in small bedrooms or playrooms where the desk has to share space.
Mount a wall desk frame into studs using a heavy-duty hinge system rated for the tabletop weight. Build a tabletop from 3/4-inch plywood, size it to fold down comfortably, and add a front lip so it stays stable when open. Install a hidden supply box inside the wall frame or behind the lift panel with dividers for paper and supplies. Finish with matte paint and add a wipeable top mat.
Editor's noteAdd a small felt bump stop on the underside so the top closes quietly and doesn’t chip paint.
Skip thisSkip flimsy hinges — if the top sags, kids avoid using it.
15. Built-in Window Nook Study Table with Swing-Down Task Light Shelf
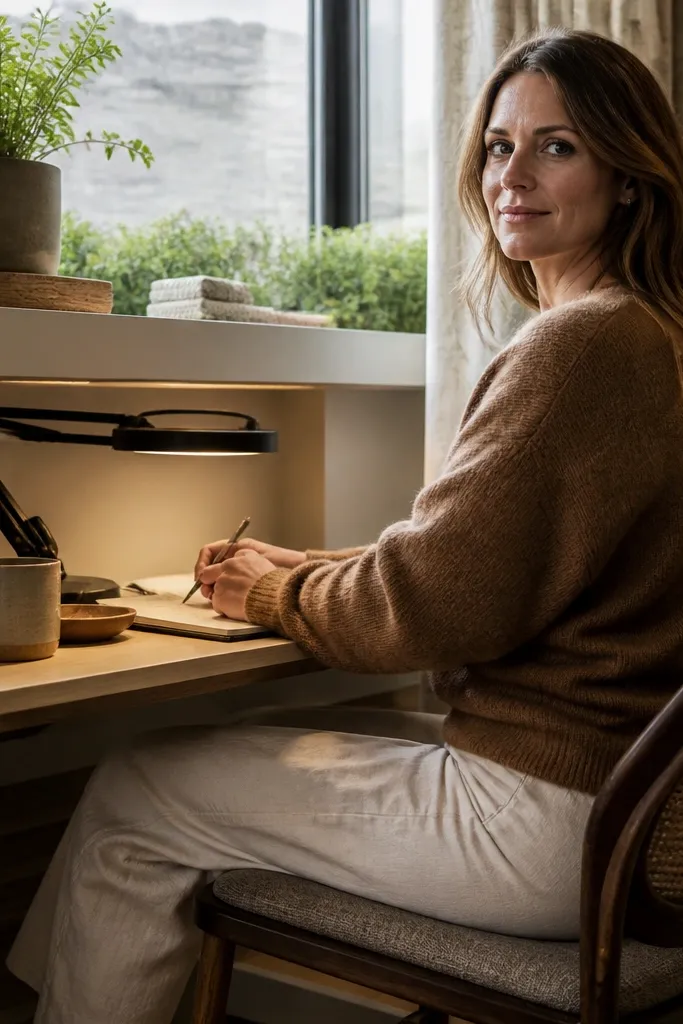
This is the kind of kids study table that gets used because it feels like a spot, not furniture. The desk sits right at the window, with a shallow work surface that pulls the eye and hands forward, plus a swing-down shelf that holds a task light when homework starts and tucks away when it’s done. You get a clean, photogenic look — light wood, white backing, and closed cubbies — so the corner doesn’t turn into a catch-all. Build it with a fixed base and simple hinged hardware so it stays sturdy even when backpacks get thumped against it. It fits best in bedrooms, hall nooks, and any space where a window is close enough for natural light and a short walking distance to the rest of the room.
1) Frame the base first: build a rectangular desk base from 3/4 in plywood (about 48 in wide x 18 in deep x 28 in high for most kids) and add two closed cubbies on the ends using 1/2 in plywood dividers. Install a 1/2 in thick back panel behind the desk area so wall clutter disappears in photos and in real life. 2) Add the work surface and the swing-down light shelf: mount a 1 in thick tabletop cap over the base with countersunk screws, then hinge a 12 in x 16 in shelf under the tabletop using a sturdy piano hinge or two heavy-duty cabinet hinges. Wire the task light to a plug-in cord routed through the back panel (or hardwire if you already have that setup), and secure the shelf with a magnetic catch or a simple latch so it stays put while the light is in use. 3) Finish: sand to 180 grit, prime, then paint the base (semi-gloss white) and stain or paint the tabletop (light wood tone looks best). Add felt pads inside cubbies and a small cable grommet hole near the back so chargers and headphones don’t snag.
Editor's noteMount the task light on the swing shelf, not the wall. Kids grab the shelf with their hands less than they grab a dangling cord, so you get fewer broken chargers and a tidier look.
Skip thisAvoid making the desk deeper than 18 in — it looks bulky and kids stop using the middle because their elbows hit the edge.



