
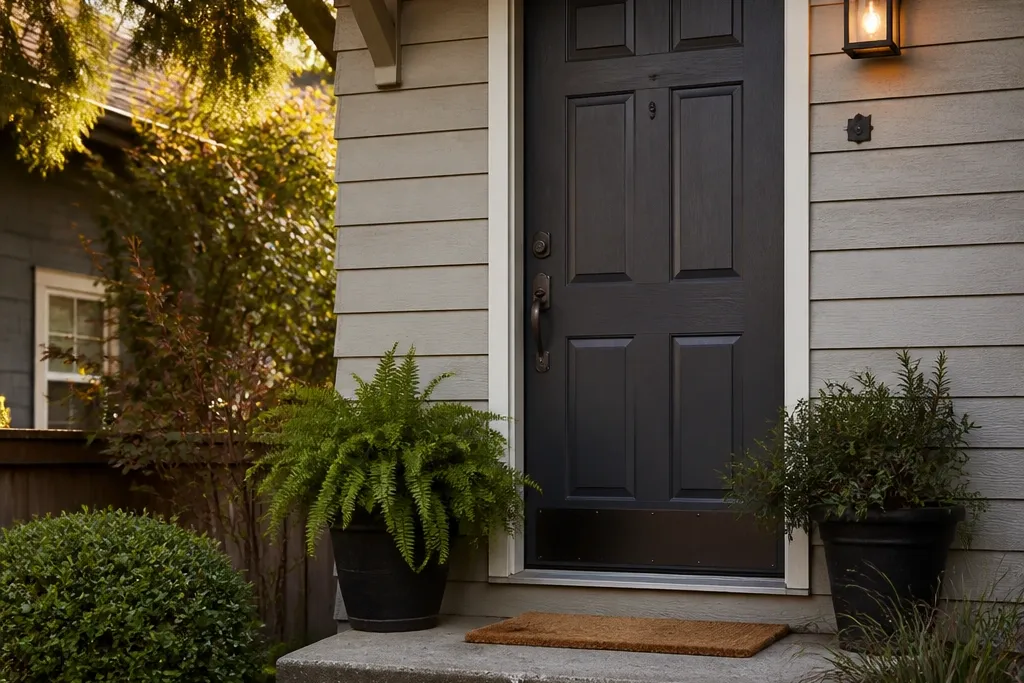
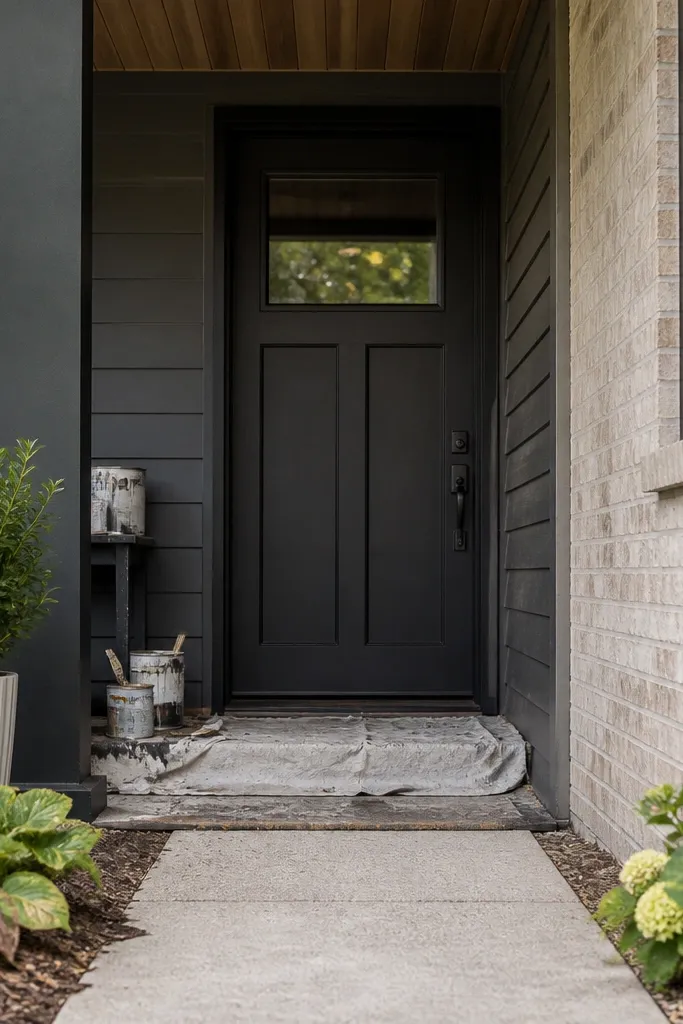
1. Charcoal + matte clear topcoat repaint
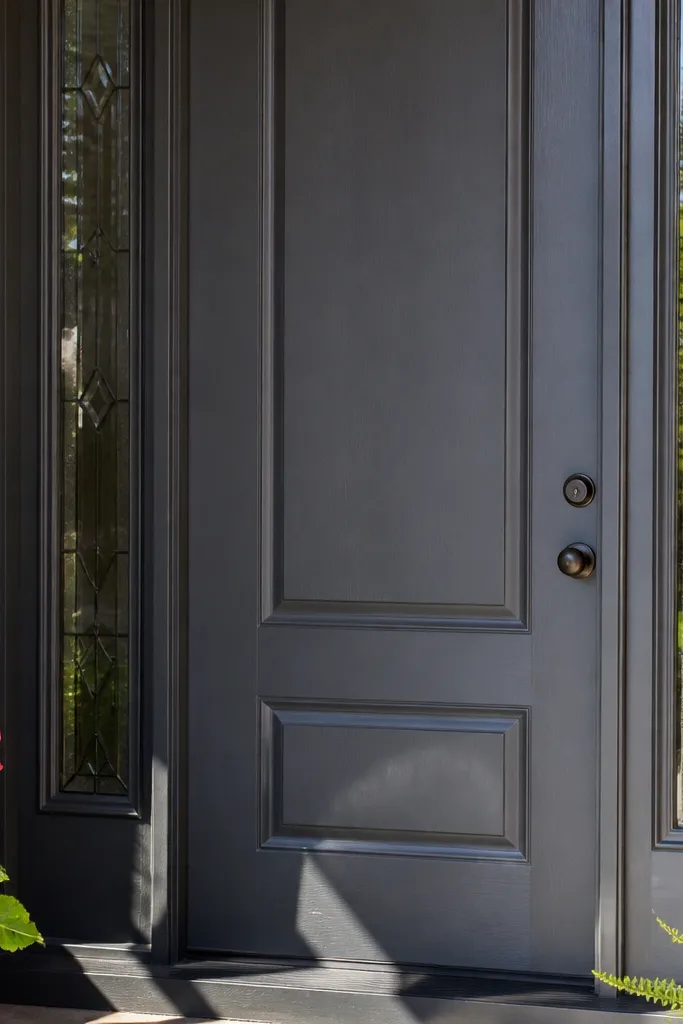
A charcoal repaint is one of the fastest ways to make a main door look intentional in every season. The color hides minor scuffs better than true black, and the matte topcoat cuts glare so your door looks good in bright summer sun and overcast winter light. Use an exterior-grade system because temperature swings make cheap paints crack around edges. This is a solid choice if your door has faded, scratched paint, or uneven sheen but the slab is still straight and sound.
Start by removing the knob, deadbolt, and any door hardware so you can paint clean edges. Sand the surface to scuff-gloss (80-120 grit on rough spots, then 180 grit for smoothing), then wipe with a degreaser and dry fully. Prime with an exterior bonding primer, let it cure per the label, then spray or roll with exterior enamel in charcoal. Finish with a matte exterior clear coat (or a matte enamel if you don’t want two coats) and reinstall hardware after full cure.
Tape off the door edges with fine painter’s tape and pull it while the final coat is still slightly tacky for crisp lines.
Don’t paint over peeling spots — scrape to solid edges and prime the bare substrate first.
2. Warm wood stain with exterior clear for a natural entry
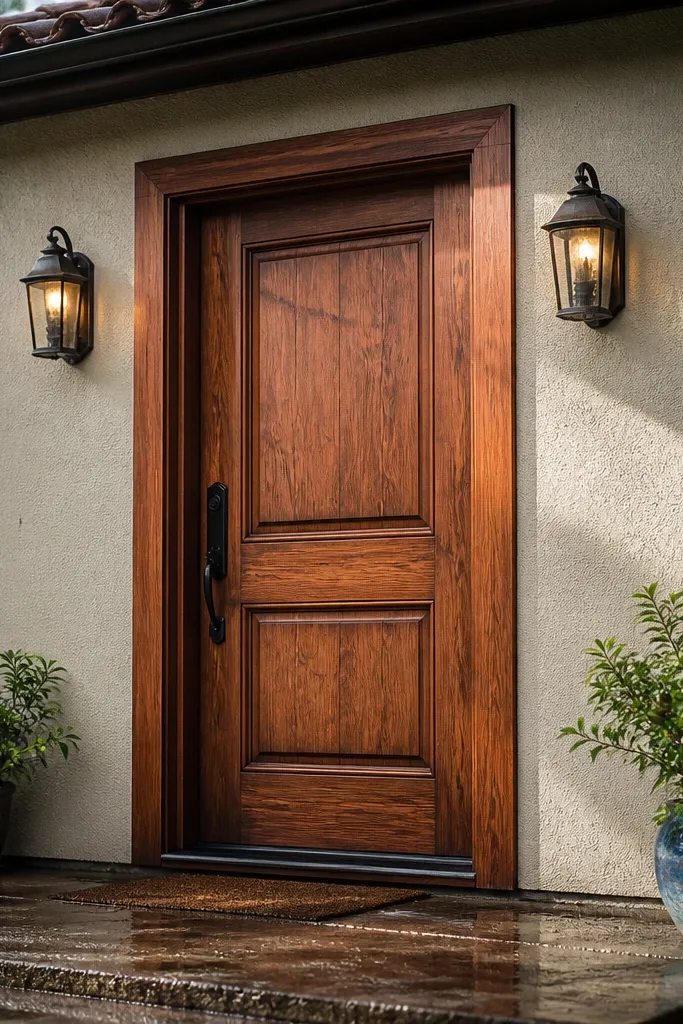
Strip or sand down to bare wood or to a stable, evenly sanded finish — uneven adhesion shows through stain fast. Wet a cloth with mineral spirits and wipe a small hidden area to check how the color will land, then proceed with the full coat. Apply stain with a rag or brush, working with the grain, then wipe off excess after the listed dwell time. Let it dry, then apply two to three thin coats of exterior clear (spar urethane or an exterior clear made for doors) sanding lightly between coats with 220 grit.
If your door reads too plain, a warm stain can make it look like a custom built-in without replacing anything. Stain brings out the grain and gives you that “designed” look even when the rest of the entry is simple. For year-round performance, you need an exterior clear coat that resists UV and water — otherwise the stain fades and the surface turns blotchy. This works best on doors that are already wood or have a wood-grain surface that can accept stain cleanly.
Skip thisDon’t rush the clear coat — trapping moisture under the topcoat causes cloudy patches.
Editor's noteUse a rag application for control and fewer lap marks; brush only if the grain is tight and uniform.
3. Porch-ready door hardware upgrade in oil-rubbed bronze
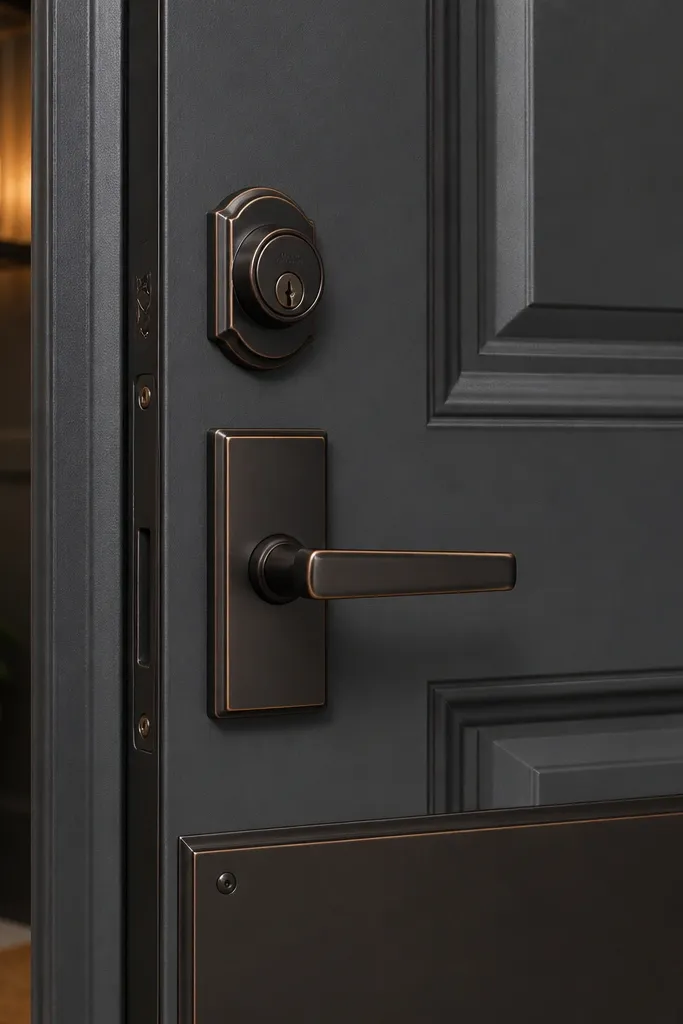
Hardware is the quickest way to make your main door look finished without touching the door surface. Oil-rubbed bronze reads warm against almost any paint color and hides minor wear better than chrome. It also photographs well because the finish has depth, so it doesn’t glare under harsh overhead lights. This idea is perfect when your door is already solid but the knob, deadbolt, or hinges look dated or mismatched.
Measure the current knob and deadbolt spacing so you buy matching-size replacements. Remove the interior knob/lever and deadbolt by backing out the mounting screws, then pull the spindle and latch components. Install the new latch and strike plate first, then mount the lever/knob and tighten evenly so the faceplate sits flat. Swap hinge pins or hinges only if they’re visibly mismatched; otherwise, keep hinges and just replace the hardware that moves.
Use a small amount of anti-seize on the hinge pin threads if you’re swapping hinges — it prevents squeaks without messy lubricants.
Avoid mixing finishes (bronze lever with silver deadbolt) — the mismatch makes the whole entry look unfinished.
4. New exterior lockset + matching kick-plate
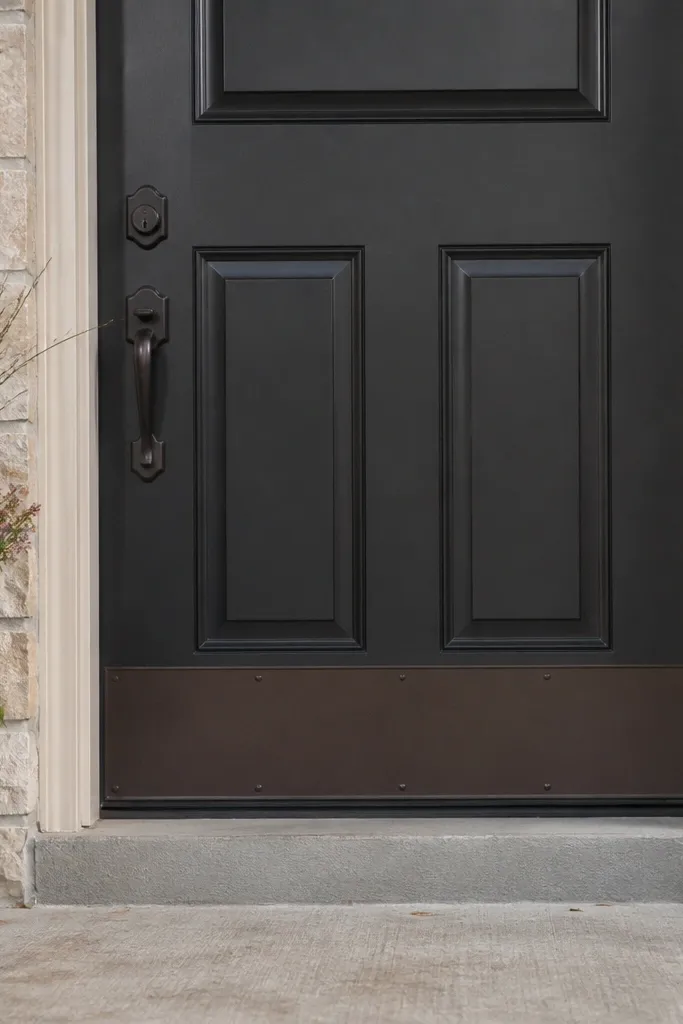
Pick a kick-plate height that matches your door traffic — most people land around 8-12 inches from the floor, centered where shoes hit. Mark the mounting holes using the kick-plate template, then predrill pilot holes to avoid splitting wood or cracking fiberglass. Install the kick-plate with corrosion-resistant screws. Replace the lockset at the same time so your keyway and handle finish look intentional together.
A kick-plate is one of those unglamorous parts that makes a door look cared for. Add a lockset that matches it, and your entry instantly looks more premium because the lower and upper focal points align. The best kick-plates are scuff-resistant and fastened with real screws, so they hold up to bags, bikes, and rainy-day shoes. This is a good choice for busy households or rentals where the door face gets beat up.
Skip thisDon’t mount a kick-plate without predrilling; it warps the plate and creates uneven gaps.
Editor's noteClean the door face with isopropyl alcohol before mounting — it helps the kick-plate sit tight and prevents edge grime lines.
5. Raised panel overlay skin for instant character
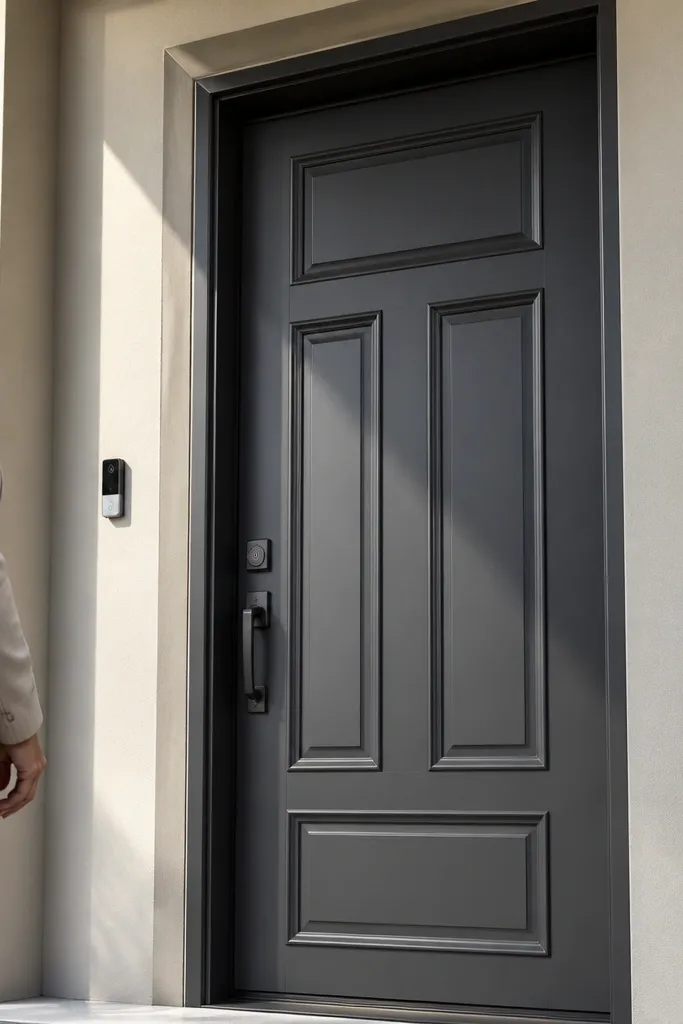
Measure your door width and height, then buy an exterior-rated overlay kit sized for your slab. Dry-fit the pieces first and check that the panel edges don’t cover the knob/lock cutouts. Glue and fasten according to the kit instructions, then fill seams with exterior filler and sand smooth. Prime and paint the overlay system with an exterior primer and topcoat so it weathers as one surface.
A raised panel overlay turns a flat slab into something that looks like it belongs in a traditional home. The trick is the shadow lines: panels create depth that shows up in photos, even when your lighting isn’t perfect. You keep your existing doorframe and hardware holes, so the project stays budget-friendly. Choose overlay panels designed for exterior use and plan for a proper seal around edges so water can’t creep underneath.
Skip thisDon’t skip painting the underside of any overlay pieces — edge failures start there.
Editor's noteUse a thin bead of exterior caulk where the overlay meets the door edge — it hides the seam and blocks water.
6. Sheet-style decorative glass film for privacy and pop
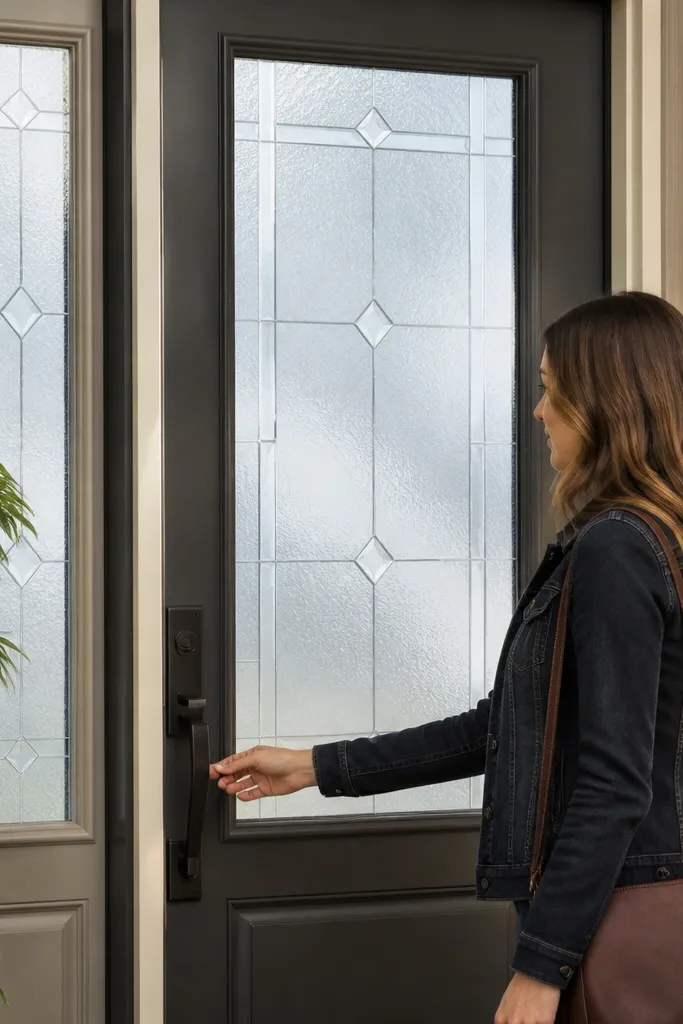
Remove any old film with the right adhesive remover and scrape gently so you don’t scratch the glass. Clean with a glass cleaner, then wipe with isopropyl alcohol so the surface is fully grease-free. Cut the film slightly larger than the lite, spray the application solution, then squeegee from the center outward. Trim the edges with a sharp blade and seal any exposed edges with the film’s recommended edge sealer.
Decorative glass film is one of the cheapest ways to make the entry look designed when you have sidelights or a door lite. The pattern gives you a consistent, photogenic look and the frosted effect hides the inside without curtains. Pick a film that blocks UV so your interior doesn’t fade and the film doesn’t yellow as quickly. This works best if your glass is clean and free of heavy etching or old film residue.
Skip thisDon’t apply over hard water spots; they lock in as visible streaks under the pattern.
Editor's noteDo the install in a warm room — film stretches and adheres more evenly when the glass and film aren’t cold.
7. Modern trim frame using 1x3 exterior moulding
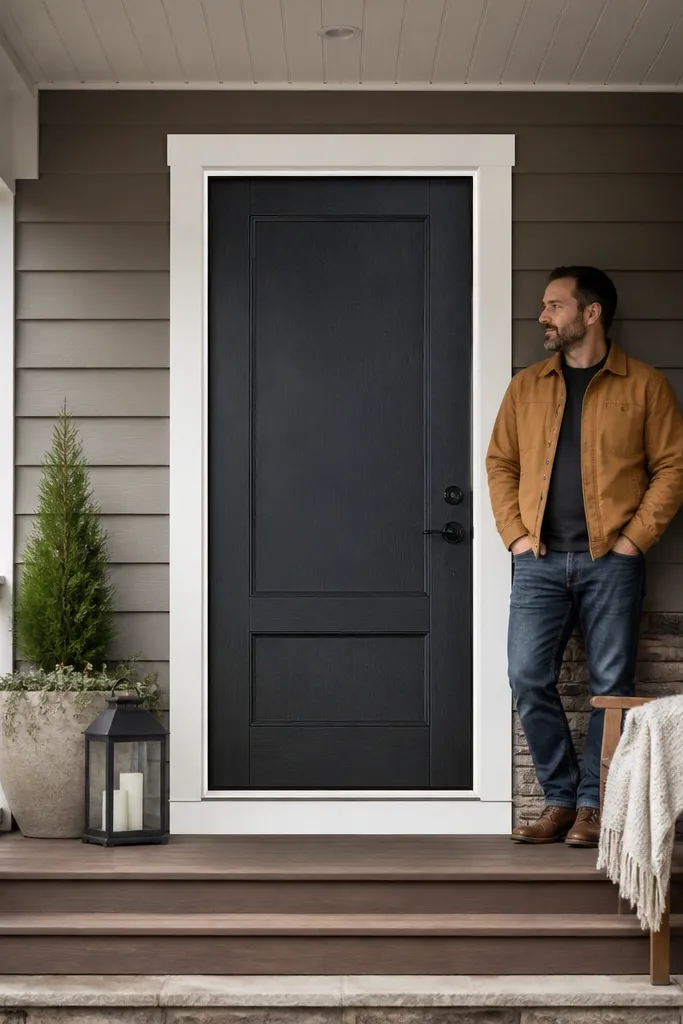
Choose exterior-rated moulding (often 1x3 or similar width) that won’t swell when it rains. Measure the door panel area and lay out a centered rectangle with even spacing so the frame looks balanced. Use exterior wood glue plus small brads or screws, then fill nail holes and sand flush. Prime the moulding and the door where it meets, then paint with exterior trim paint.
A trim frame makes your door look architectural. Using exterior moulding creates a crisp border that reads “custom” because it creates a defined edge and stronger silhouette from the street. This is a great option if your door is plain and you want a high-contrast look without changing the whole door. You can paint the trim the same color as the door for tone-on-tone or go two-tone for extra punch.
Skip thisAvoid wide gaps between trim and door — water gets in and the paint line cracks.
Editor's noteUse a mitre saw and label each piece before assembly; tiny measurement errors show up in photos.
8. Two-tone door with contrasting sidelights trim paint
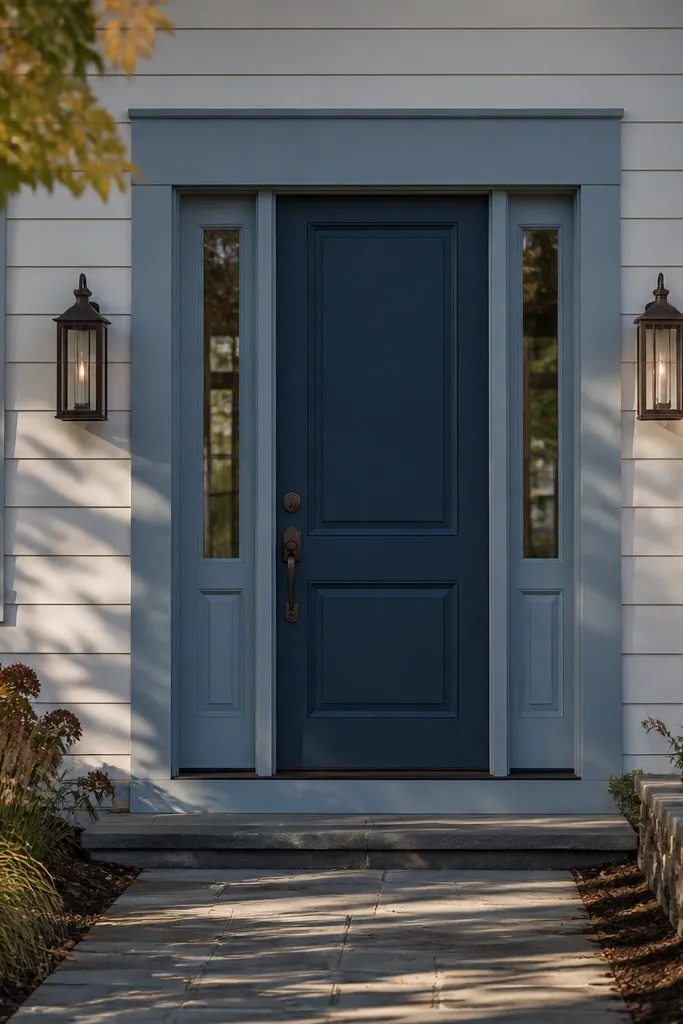
Mask the door edges and lite trim with painter’s tape, then scuff-sand the areas you’ll paint. Prime both colors separately so you don’t get bleed-through, then paint the lighter color first and let it cure. Paint the darker door color next, then remove tape carefully while paint is still slightly tacky. Finish with an exterior topcoat if your paint system requires it, and reinstall any hardware covers.
Two-tone is the fastest way to make a main door look styled, especially if your entry has sidelights. Paint the door in one color and the trim around the lite in another — keep the trim slightly lighter or darker so the contrast reads clean. This works year-round because the lighter trim holds up visually even when the door gets sun-faded. It’s also a budget-friendly way to fix a mismatch if the house trim is painted but the door isn’t.
Skip thisDon’t paint trim and door with the same sheen — shiny trim against flat door looks cheap.
Editor's noteUse a small foam roller for trim edges; it reduces brush marks and keeps the line crisp.
9. Weatherproof door skirt with matching exterior caulk line
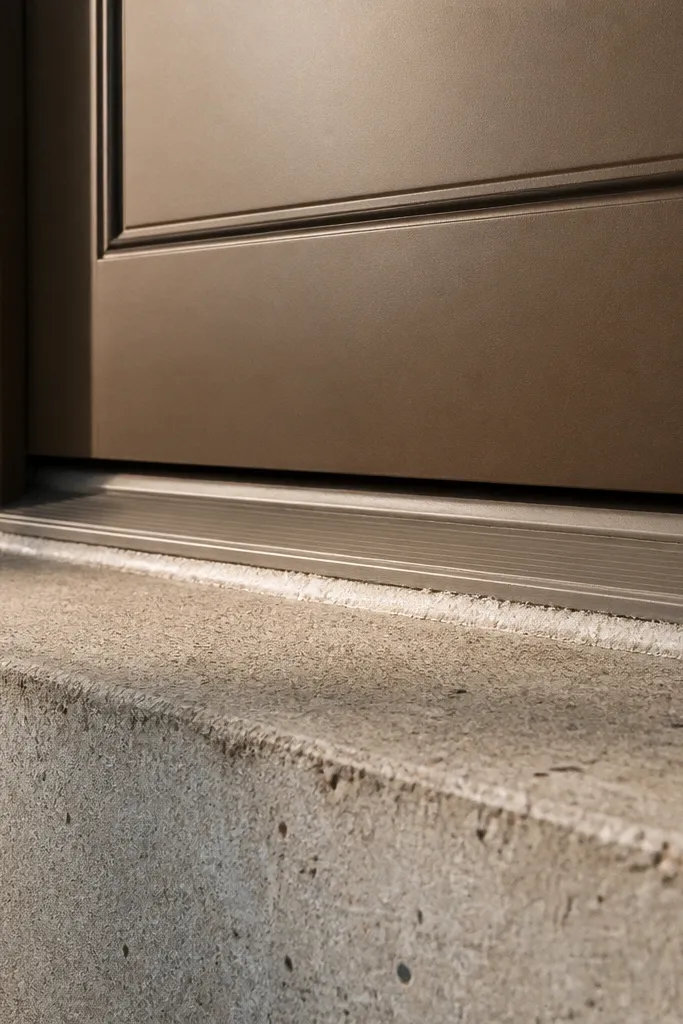
A door can look bad even when it’s clean because drafts and water leave grime trails at the bottom edge. A door skirt and a tight caulk line make the entry look maintained, and it directly supports House Main Door year-round performance by reducing moisture intrusion. This is one of the most “invisible” upgrades that still reads visually because the bottom edge stays cleaner and the door doesn’t swell as easily. It’s ideal for doors with visible gaps, worn thresholds, or muddy entry floors after rain.
Inspect the bottom sweep, threshold, and the area where the frame meets the siding or brick. Replace the door sweep if it’s worn, then set a new threshold if yours is pitted or uneven. Clean all surfaces, then apply exterior-rated caulk around the frame/shim points so water can’t creep behind. Recheck clearance after installation — the door should close without grinding while still sealing.
Test the seal with a garden hose on low — watch for water lines before you call it done.
Avoid thick caulk blobs; apply a neat bead and tool it smooth so it doesn’t crack.
10. Exterior stain-blocking primer + long-lasting paint system for fading doors
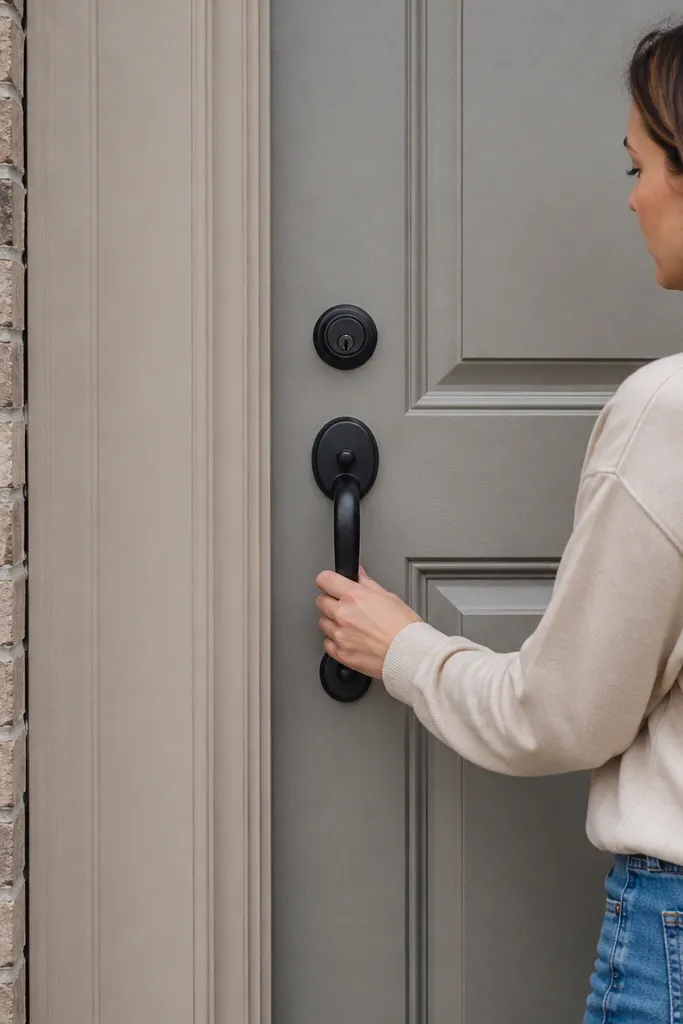
Scuff-sand until the surface feels uniformly dull, then wipe with a degreaser and let it dry fully. Apply a stain-blocking exterior primer across the whole door, paying extra attention to knots, edges, and any rust spots. Once the primer cures, lightly sand with 220 grit to smooth texture. Paint with two coats of exterior door enamel, then check the edges and recoat any thin spots where brush marks show.
Some doors fade unevenly because sap, tannins, or old stains bleed through paint. If your door looks blotchy or you see rust-like spots returning, the fix is the primer system, not another topcoat. A stain-blocking exterior primer gives you a clean, even base so the color looks uniform year-round. This is a smart budget move because it prevents repeat repainting.
Skip thisDon’t spot-prime only the problem spots; bleed-through spreads under surrounding paint.
Editor's noteUse a bright work light from the side while painting — it reveals missed thin areas that cause early fading.
11. New door slab with matching frame paint for a clean silhouette
Measure the door slab thickness, hinge spacing, and the width/height openings before buying. If replacing the slab, remove hinges and pull the old slab, then test-fit the new one for even reveal on both sides. Paint the frame edges and any exposed wood before the slab goes in. Install hinges, hang the slab, then adjust until the latch closes smoothly without rubbing. Finish by painting or caulking around the trim gaps.
If your current door is warped, stained beyond saving, or has hardware alignment issues, a new slab can still be budget-friendly compared to a full custom entry. The look improves because the slab sits straight in the frame and the gaps become even. Pair it with fresh frame paint so the whole silhouette reads clean from the street. Choose a prehung door only if you’re confident with measurements, otherwise stick to a slab replacement only when your frame is square.
Skip thisAvoid rushing caulk before you confirm the door closes evenly; you want alignment first.
Editor's noteDry-fit the slab with shims before tightening anything — it prevents a crooked reveal that ruins the look.
12. Storm-door look with clear acrylic panel and magnetic seal
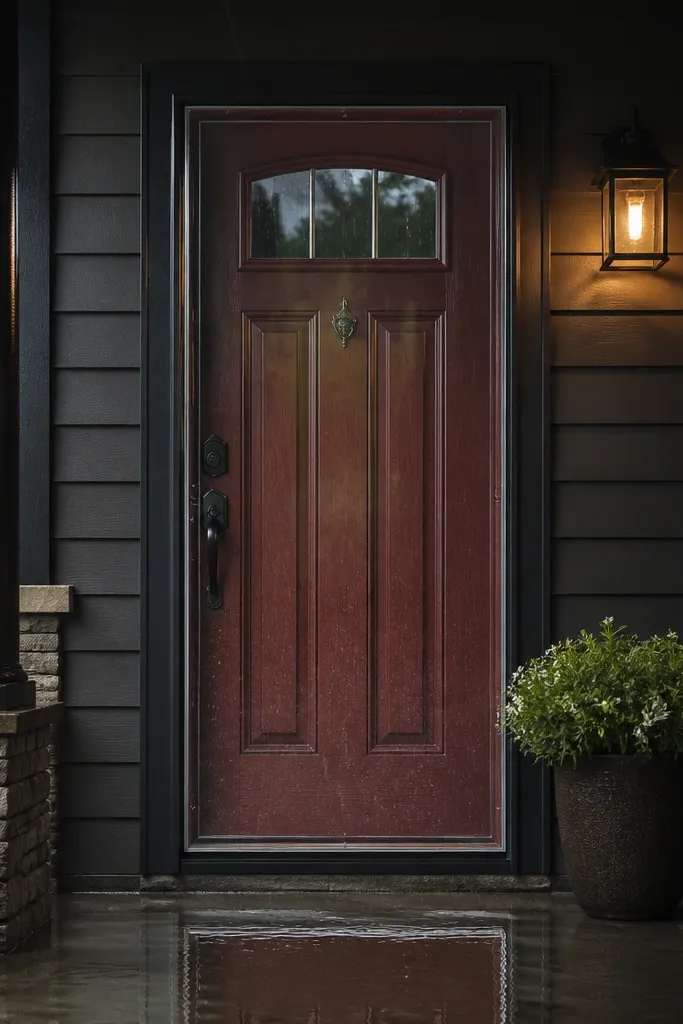
Measure the door lite area or the main door surface where the cover will mount, then buy a kit that matches those dimensions. Clean the mounting surface and test placement with the panel dry. Install the frame or adhesive strips as directed, then mount the clear acrylic panel and check alignment. Add magnetic seals so edges close tightly, then apply exterior caulk where the kit calls for a waterproof barrier.
You get a storm-door vibe without spending storm-door money by adding a clear acrylic cover that keeps rain off the main surface. The clear panel keeps the entry bright and lets your door color show through, while a magnetic seal helps it stay tight. This is a strong year-round approach because it reduces direct water impact in storms and helps with drafts in cold months. It’s best for entries where you want protection but don’t want a bulky screen door look.
Skip thisDon’t mount over loose paint or dust; the seal fails and water finds the gaps.
Editor's noteUse clear acrylic cleaner and avoid harsh solvents — they haze the panel and ruin the clean look.
13. Painted entry numbers with weatherproof stencil
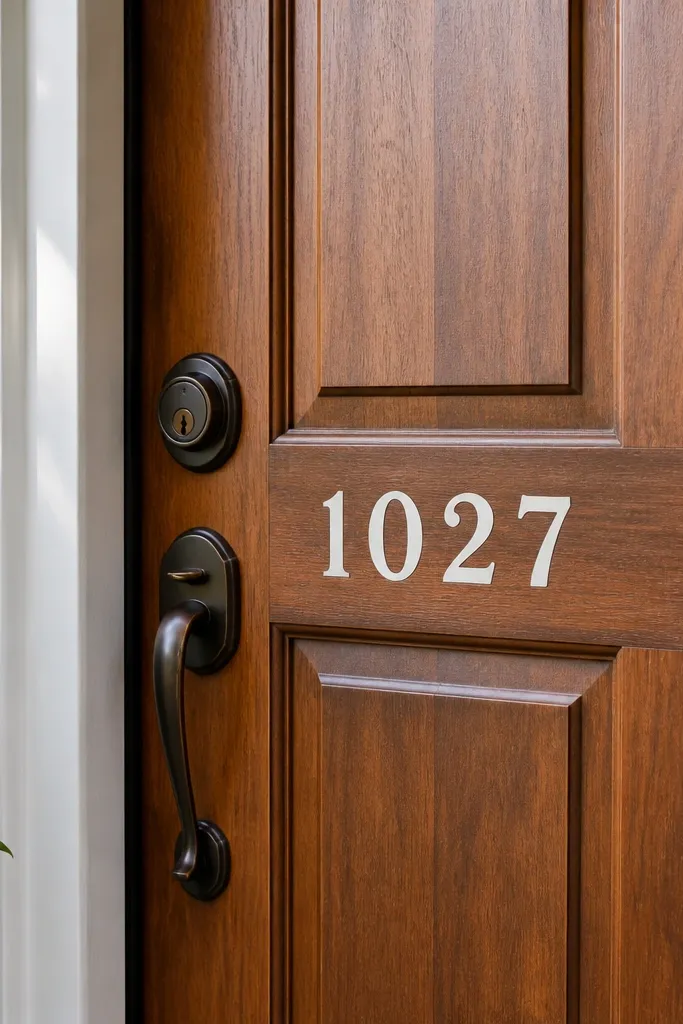
Door numbers are small, but they make the entry look curated and readable from the street. Painting them with a stencil looks cleaner than crooked vinyl because you control thickness and alignment. For year-round use, choose exterior paint and prime the mounting area if it’s raw wood or peeling. This works especially well on plain doors where your eye needs a focal point besides the knob.
Find your number size by checking typical viewing distance — for a main door, 4-6 inch tall numbers read well. Tape a stencil in place with painter’s tape, then lightly mark the centerline. Prime the door area if needed, then apply exterior paint using a foam brush or stencil brush with light dabs. Let it dry, then seal with a clear exterior topcoat if the door finish is glossy or if you want extra scuff resistance.
Apply paint in two thin coats instead of one heavy coat to avoid drips and fuzzy edges.
Avoid freehand numbers — even slight slanting makes the whole door look DIY in a bad way.
14. Matte black porch light + matching doorbell cover
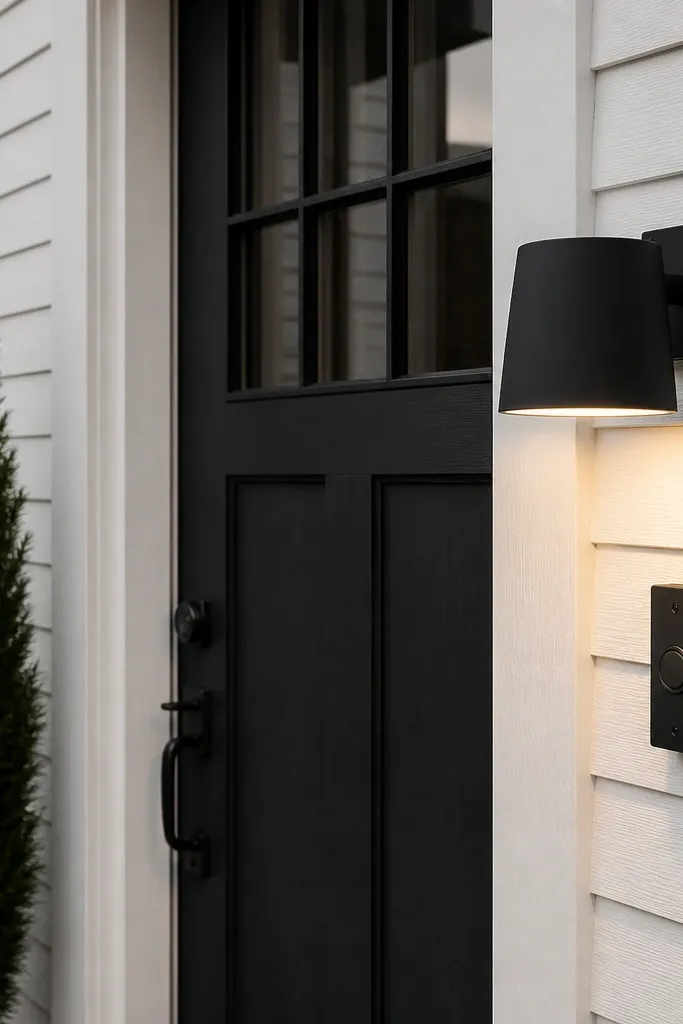
Turn off power at the breaker, remove the existing fixture, and check the wiring type before buying a replacement. Choose a matte black exterior-rated fixture with a glass cover that matches your door style. Mount the new fixture to the junction box, then install a matching doorbell cover if your doorbell has a worn plate. After power is back on, confirm the light is aimed to avoid washing out the door.
Lighting hardware changes the look more than people expect because it defines the door at night. Matte black fixtures reduce glare and match most door colors, so the entry reads cohesive in photos and real life. If your porch light is old or shiny, swapping it and pairing it with a matching doorbell cover gives you a clean frame around the main door. This is a year-round aesthetic fix because daylight color and nighttime shadows both look better with consistent finishes.
Skip thisAvoid mismatched metal finishes between light, house numbers, and hardware.
Editor's noteUse a level to align the fixture so it doesn’t tilt; tilted fixtures make the door feel off.
15. Faux wood-grain vinyl wrap for fiberglass doors
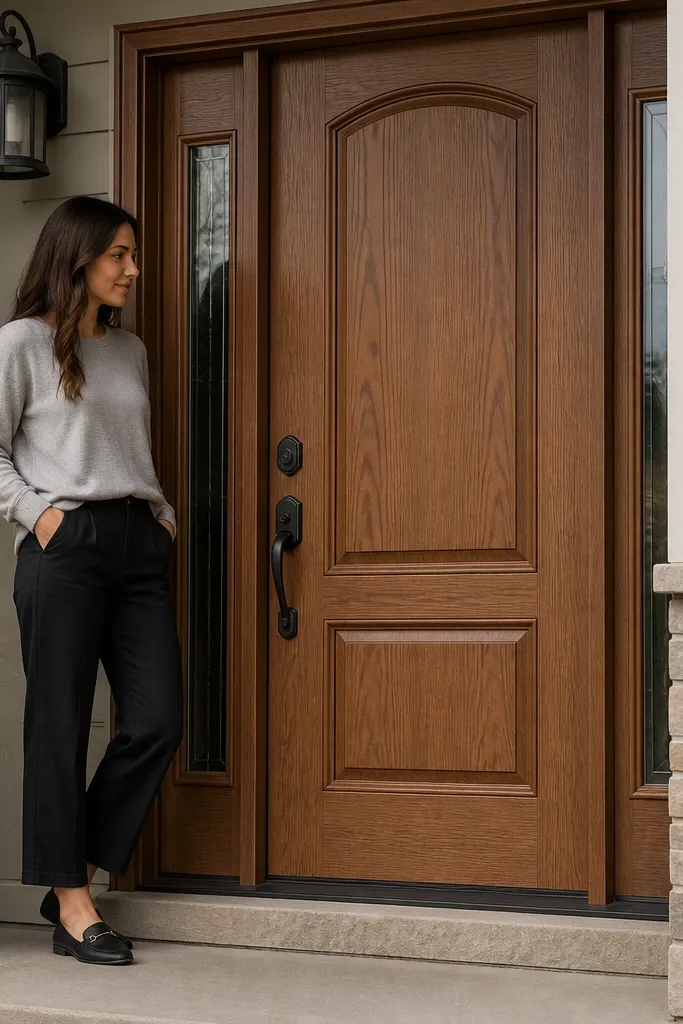
Clean the door with a degreaser, then lightly sand to help adhesion if the surface is too glossy. Cut vinyl slightly oversized, then apply using a squeegee and heat gun to help it conform to curves and panel edges. Work from the center outward to avoid air bubbles, trimming excess with a sharp blade. Seal edges with vinyl-safe clear sealant and reinstall hardware after the wrap cures.
A vinyl wrap is a budget route to a door that looks like wood without dealing with stain maintenance. Faux wood-grain vinyl has a consistent pattern and can look surprisingly convincing when the wrap is applied smoothly and sealed at edges. This is a good choice for fiberglass doors that are scuffed, mismatched in color, or hard to sand for paint adhesion. For House Main Door year-round, pick an exterior-rated vinyl made for doors and use proper edge sealing so water doesn’t creep under the corners.
Skip thisDon’t wrap over loose paint or chalky residue; the vinyl will lift and trap dirt.
Editor's noteHeat the vinyl gradually — too much heat stretches it and makes the pattern drift out of alignment.



