
1. Honey Shaker Overlay Panels on a Painted Door
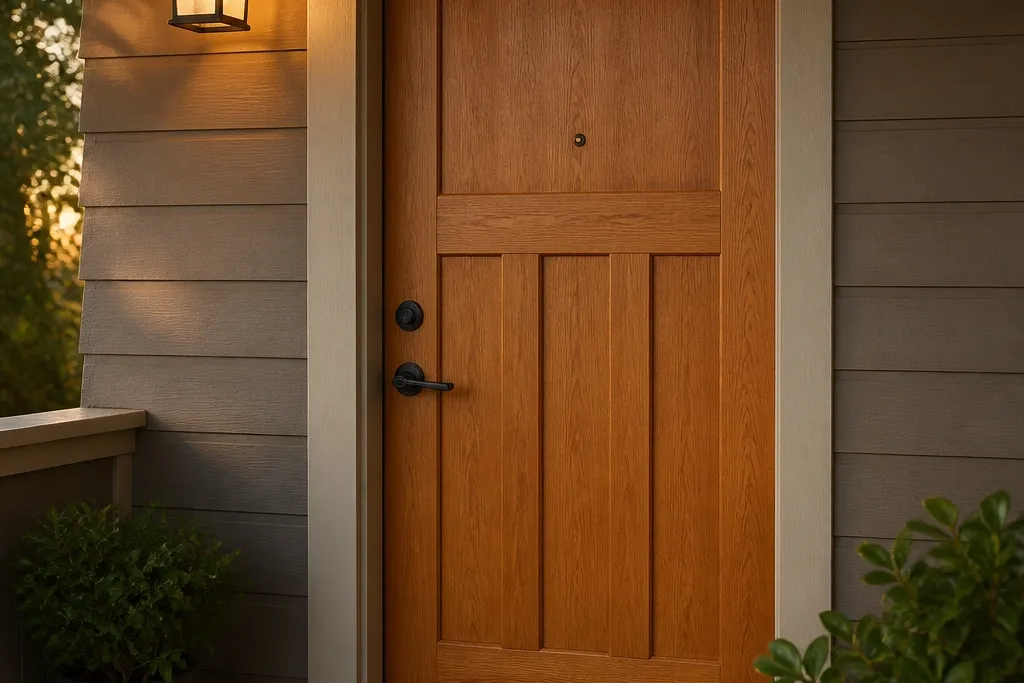
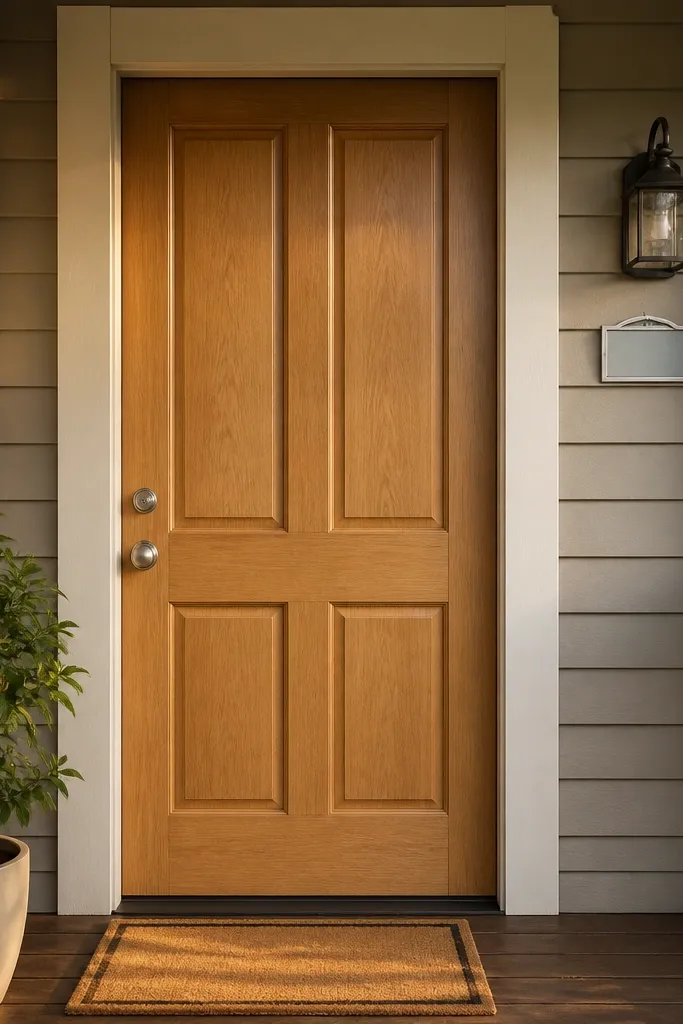
This design gives you the warm shaker look without committing to a full door replacement. The key is using wood-grain panels laid into a shaker grid so your door gets crisp vertical and horizontal shadow lines. Choose a honey oak or light golden brown grain so it reads warm in both morning and evening light. Finish with satin clear over the overlay for a more convincing wood sheen and better durability against wiping. It suits renters because you can remove it later, and it works best when your door is already smooth and flat enough for adhesion.
First, clean the door with a degreasing cleaner and let it dry fully — adhesion fails on residue. Measure each panel bay and cut wood-grain overlay sheets or trim strips to fit, using a straightedge and a fine-tooth blade. Dry-fit the layout, then apply adhesive according to the product instructions, pressing firmly along edges for full contact. Finally, seal with a satin clear topcoat made for interior/exterior use (check it’s compatible with the adhesive surface) and reinstall or keep your existing hardware.
Use painter’s tape as a “temporary guide” grid before you peel backing — it saves you from crooked lines.
Don’t seal over an overlay that isn’t rated for clear coat; some adhesives bubble or go cloudy.
2. Removable Wood-Veneer Slab Wrap with Satin Topcoat
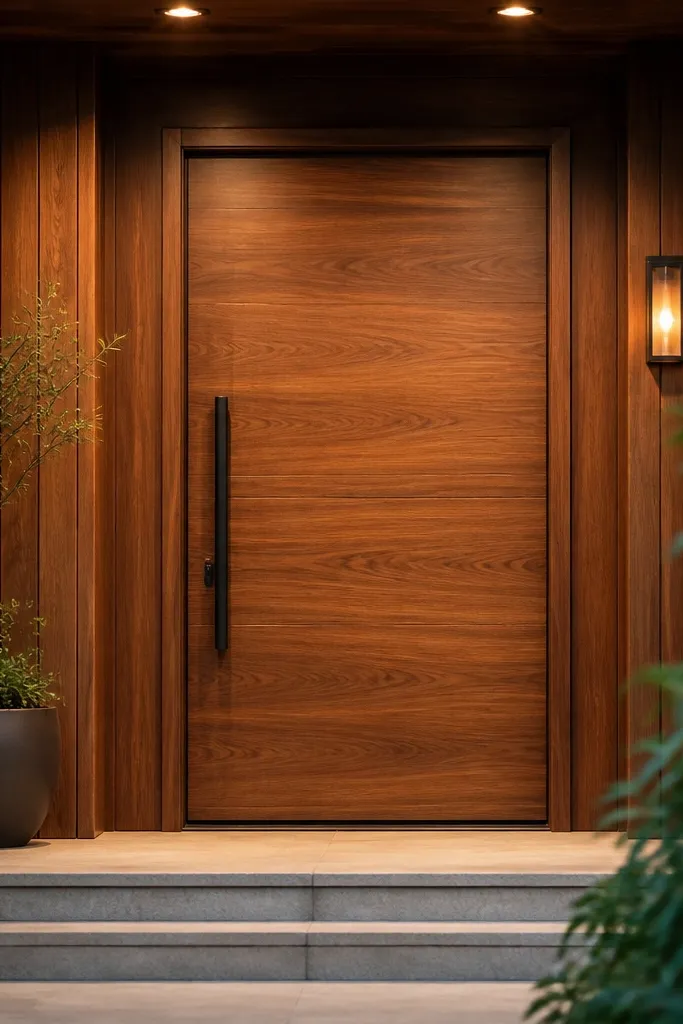
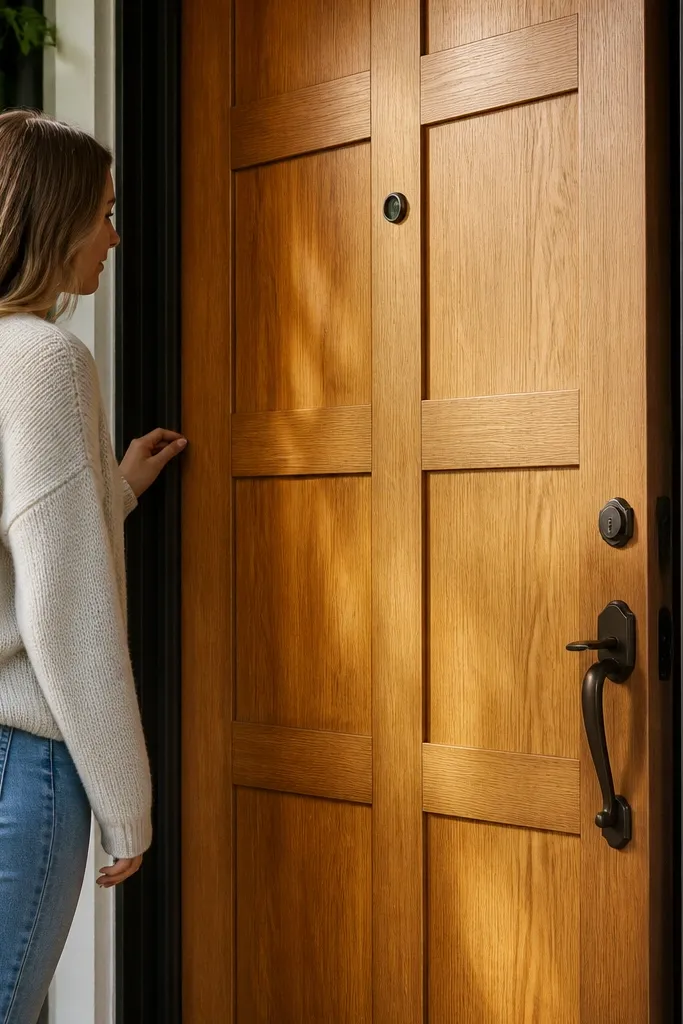
If you want a real-wood look without drilling into the frame, a veneer wrap is the most convincing route. You’re essentially creating a continuous wood face, so the door reads like a single slab with natural variation. Go for golden walnut or light teak-toned veneer depending on your trim — both read warm and photogenic. A satin topcoat brings the grain alive and makes it look less like a sticker. This approach is best for smooth doors and renters who are comfortable with careful cutting and patience.
Editor's noteUse a veneer roller and work slowly — tiny bubbles show up in sunlight and photos.
Start by sanding the door lightly (120-180 grit) so the surface is uniform, then wipe with a tack cloth. Cut veneer sheets slightly oversized, then trim with a sharp utility knife while the veneer is flat and supported on a board. Apply veneer contact adhesive or heat-activated veneer adhesive only where needed, smoothing from center outward to avoid bubbles. Seal with a satin clear topcoat in thin coats, letting each coat cure before the next pass.
Skip thisAvoid stretching veneer; it will “oil-can” later and the edges will lift.
3. Faux Wood-Grain Door Film in Raised-Panel Pattern
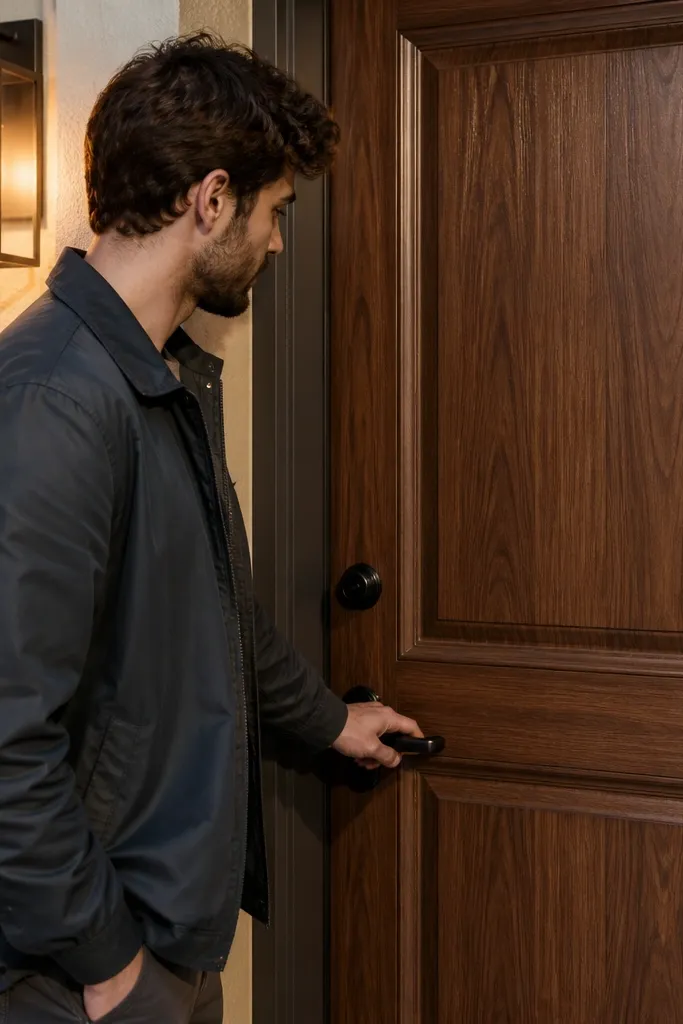
Door film is the fastest renter-friendly way to get a wood look, and the secret is choosing a pattern that respects your existing panel geometry. If your door already has raised panels, apply film so the grain lines up with those edges. This makes the door look intentional rather than “covered.” Pick a warm mid-brown grain with subtle figure, then pair it with warm bronze or brass hardware. The end result is surprisingly warm in daylight because the panel shadows and the faux grain interact.
Editor's noteWork in a warm room; cold film stiffens and causes edge lifting.
First, remove the door handle trim if possible so you can tuck film cleanly around edges. Measure each panel section and cut film pieces with a little extra for trimming — you can always trim more. Apply using a squeegee and a spray method (light mist water or product-approved slip solution) to avoid wrinkles. Trim around corners with a sharp blade, then reinstall hardware and add a satin protective layer if the film system recommends it.
Skip thisDon’t stretch film across corners — it wrinkles later and looks cheap in close photos.
4. Shaker Trim Frame Kit with Warm Walnut Stain
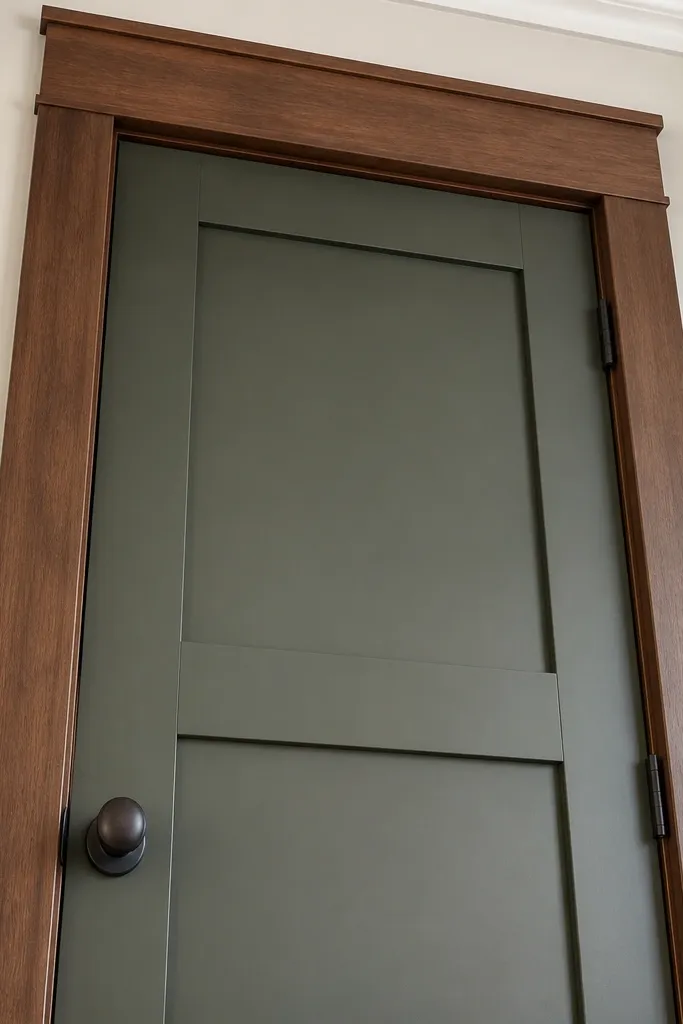
This look is all about crisp lines. A shaker trim frame kit mounted to the door surface gives you real dimensional edges that catch light and read as woodwork. Choose walnut stain on the trim pieces so the warmth comes from tone, not just color. You’ll get a “custom joinery” vibe from the curb even though it’s surface-mounted. It’s renter-friendly when the kit uses removable adhesive pads or light-duty screws into the door slab rather than the frame.
Start by removing the door hardware and marking the panel grid lines with a level and pencil. Cut or assemble trim pieces to match your door size, keeping the horizontal rails evenly spaced. Apply the adhesive mounting method from the kit or use small screws into the door slab where you can later fill holes. Stain the trim on a drop cloth, then seal with satin clear before mounting so you don’t smear stain on the door.
Stain before assembly so you can coat edges cleanly and avoid missed spots in corners.
Don’t skip sealing; raw stained wood will look patchy and absorb water at the edges.
5. Raised-Panel Door Insert with Peel-and-Stick Wood Texture
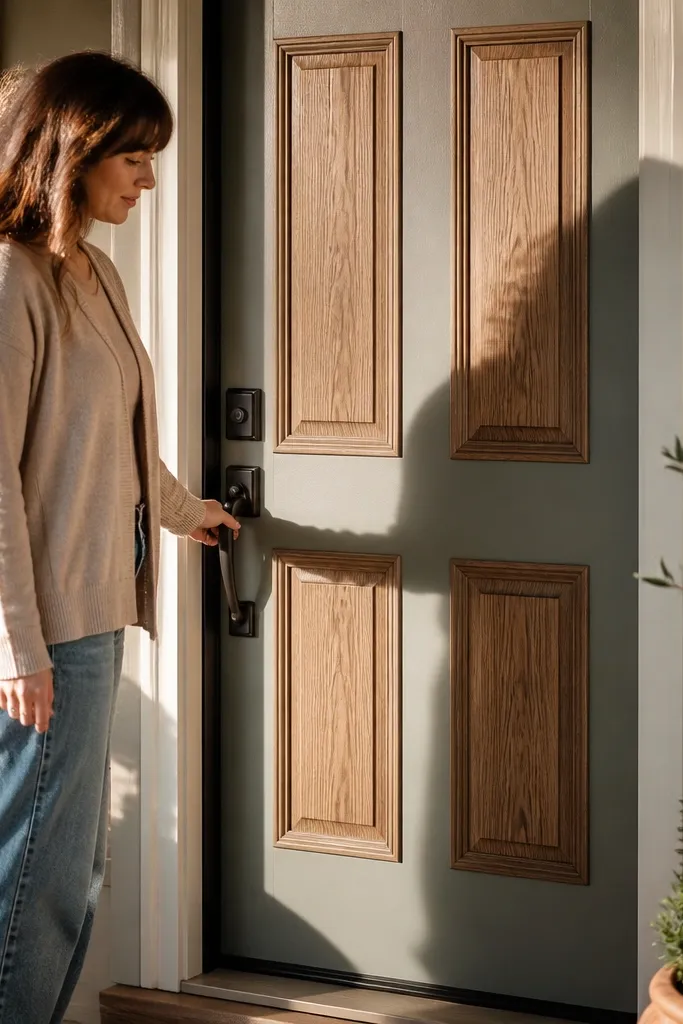
This is the “instant upgrade” option that still looks structured. Instead of covering the whole door with flat film, you create a raised-panel effect using textured peel-and-stick pieces. The texture exaggerates shadow depth, which is what makes wood doors feel warm and real. Choose a mid-tone walnut or aged oak texture so it doesn’t look yellow or gray. This works well for renters because it’s removable and doesn’t require drilling into the frame.
Editor's noteUse a 2-inch wide plastic scraper to press edges without damaging the texture.
Clean and dry the door thoroughly, then plan your insert layout by tracing your existing panels or creating a shaker grid. Apply the textured pieces starting at one corner, burnishing each section with a firm roller to lock it down. Trim carefully around curves or hardware openings using a fresh blade. Seal with a compatible satin topcoat if the texture product allows it; if not, rely on the built-in finish and wipe gently.
Skip thisAvoid applying over glossy paint without cleaning — the texture edges lift first.
6. Warm Oak Stain Over Prehung Door Replacement
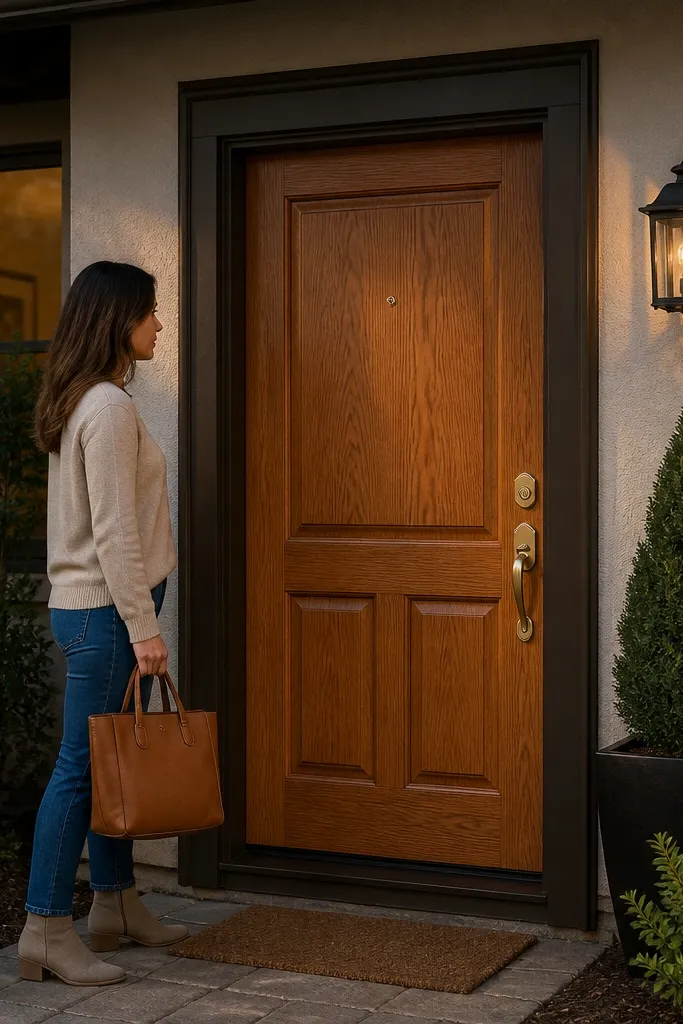
When you’re allowed to replace the door, a prehung door swap gives the cleanest “real wood” look. Warm oak stain on the entire slab makes the entry feel inviting, and the panel lines look crisp because the stain saturates evenly. This is the most photogenic option because edges, weatherstripping lines, and hardware alignment all look factory-new. It’s not the fastest renter move, but it is the least “DIY-looking” in photos when done with care. If your lease permits replacements, this gives you the most authentic warm wood effect.
Editor's noteDo a small test board with your exact stain and clear coat; wood species changes how “warm” it reads.
Pick a prehung door with raised panels and a sanding-ready surface (often unfinished or lightly primed). Sand in the direction of the grain, then wipe with a tack cloth to remove dust. Apply warm oak stain evenly with a foam brush or rag, working panel edges first to avoid lap marks. After stain cures, add two coats of satin exterior clear, then install the door using the existing jamb hardware and adjust until the gap is even.
Skip thisDon’t rush the clear coat — soft stain undercoat can smear and look dull.
7. Rustic Barn Door Style Main Door with Faux Reclaimed Planks
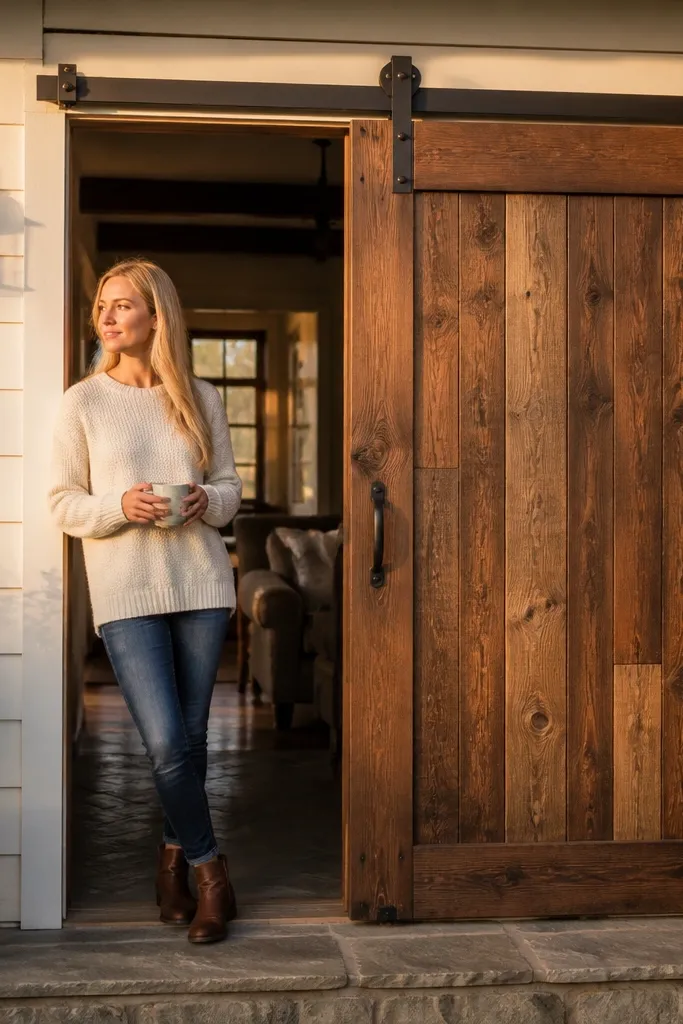
A barn-door-inspired front door reads warm because the board texture creates a lived-in, tactile surface. Faux reclaimed plank panels add visible “history” through knots and varied plank widths, which looks great in golden hour light. Choose warm brown and slightly varied tones, then keep hardware black or dark bronze so the whole entry doesn’t turn orange. This is renter-friendly when you mount plank panels to the door surface using adhesive and removable fasteners. It’s a strong choice for modern homes that still want a cozy entry.
Editor's notePlan plank seams so they land near the vertical door edges, not in the middle where they show most.
Measure your door face and cut faux plank panel sheets to fit, leaving a consistent border around the edges for trim. Apply panels in rows, aligning plank seams so they don’t drift across the door center. Use adhesive made for door surfaces, then press with a roller and add removable clamps while it cures. Seal the panels with satin exterior clear to protect from fingerprints and weather.
Skip thisDon’t use high-gloss clear; it makes faux planks look plastic.
8. Cedar-Tone Stain with Wire-Brushed Grain Effect
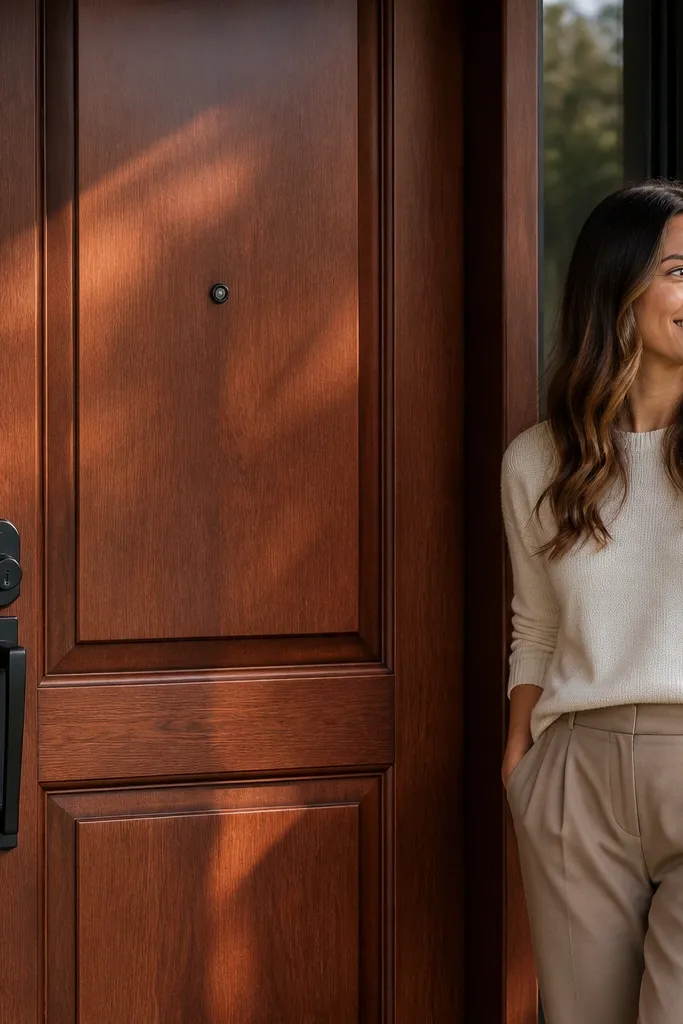
If your door is already wood or can be stained, a cedar-tone stain plus a grain-raising effect makes it look naturally textured. Wire brushing creates tiny grooves that catch light, which reads warm even when the door is painted in a brown tone. This is the best option when you want “wood character” instead of smooth veneer vibes. Pair it with warm bronze hardware and a light-colored entry wall for contrast. Skill level is moderate because you’re working texture and finish, but the result looks real in close-up photos.
Editor's notePractice on a scrap piece of the same wood if you can — grain brushing changes everything.
Start by sanding the door surface with 120-150 grit, then lightly wire brush in the direction of the grain. Wipe out dust with a vacuum and tack cloth so stain doesn’t get gritty. Apply cedar-tone stain with a rag, then immediately wipe off evenly to avoid dark blotches. After drying, seal with two coats of satin exterior clear, sanding lightly between coats with 220 grit.
Skip thisAvoid heavy pressure with the wire brush; deep grooves can turn muddy after sealing.
9. Walnut Stain + Thin Oak Veneer Edge Banding
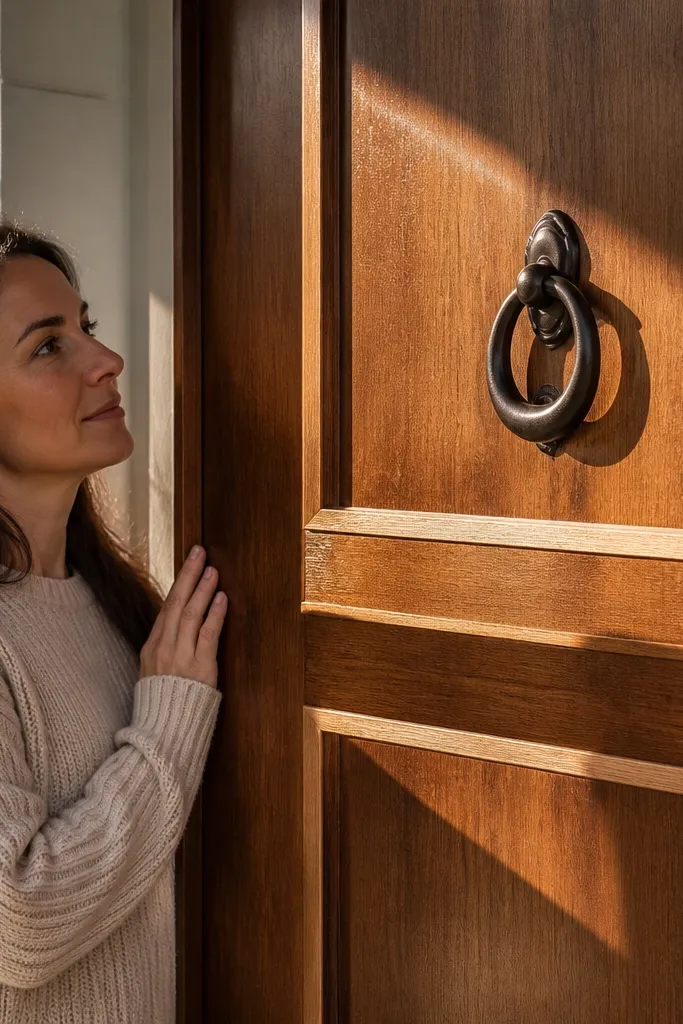
This is a finishing trick that makes doors look custom. You stain the main face a warm walnut, then add thin oak edge banding around panel borders so the door has a light “frame” within the door. The light edge catches sunlight and makes the whole door read warmer and more expensive. It’s renter-friendly when you apply banding with veneer adhesive and avoid drilling. This design is especially good if your door has flat panels or you want to sharpen the look of existing trim lines.
Sand the door face, then stain it walnut and seal with satin clear. Measure the panel borders and cut thin oak veneer edge banding to length, leaving a tiny gap for trimming. Apply veneer adhesive to the banding and press into place along the panel edges, using a roller for full contact. Trim excess with a sharp blade and touch up any exposed spots with a small brush of stain, then apply one more satin coat over the banding.
Use a ruler and blue tape to keep banding lines straight; it’s easy to drift on a vertical door.
Skip the touch-up coat; exposed adhesive spots show as lighter streaks.
10. Warm "Wood-Slat" Door Screen Mounted on the Surface
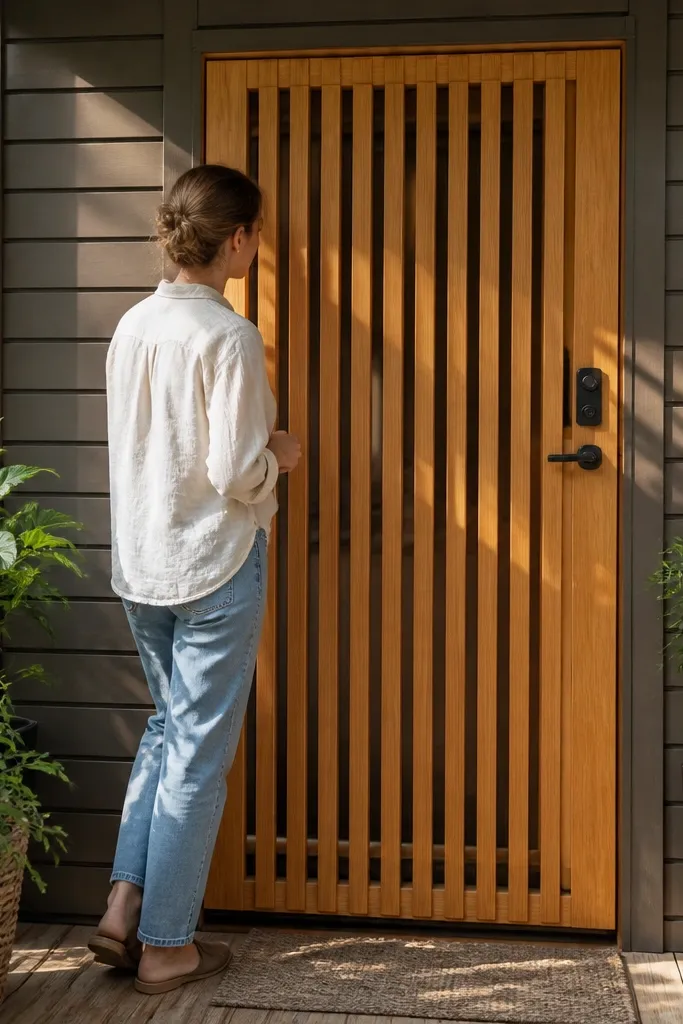
A surface-mounted wood slat screen gives you warm wood texture without changing the door itself. It’s also practical: it adds character, breaks up glare, and creates a cozy shadow pattern across the entry. Choose a slat spacing that lets light through but still reads like a wall of wood — about 1.25 to 1.5 inches between slats looks balanced on most entry doors. For renter-friendly install, mount with removable standoffs or adhesive-backed anchors that don’t require frame drilling. This design looks great with a warm exterior light and a simple doormat.
Measure the door face and decide on slat width and spacing, then cut slats from outdoor-rated wood like cedar or pressure-treated pine. Pre-stain and seal the slats with satin exterior clear before install to avoid uneven curing on the door. Attach a lightweight backing frame to the door slab using removable standoffs or surface-rated anchors. Screw the slats to the backing frame, then check alignment around the lock area so you don’t block hardware clearance.
Leave a 1/4-inch gap around the edges of the screen so it doesn’t look like it’s glued on.
Don’t use indoor-only wood; swelling warps the slat spacing and it looks messy fast.
11. Two-Tone Warm Door with Light Oak Center Panel
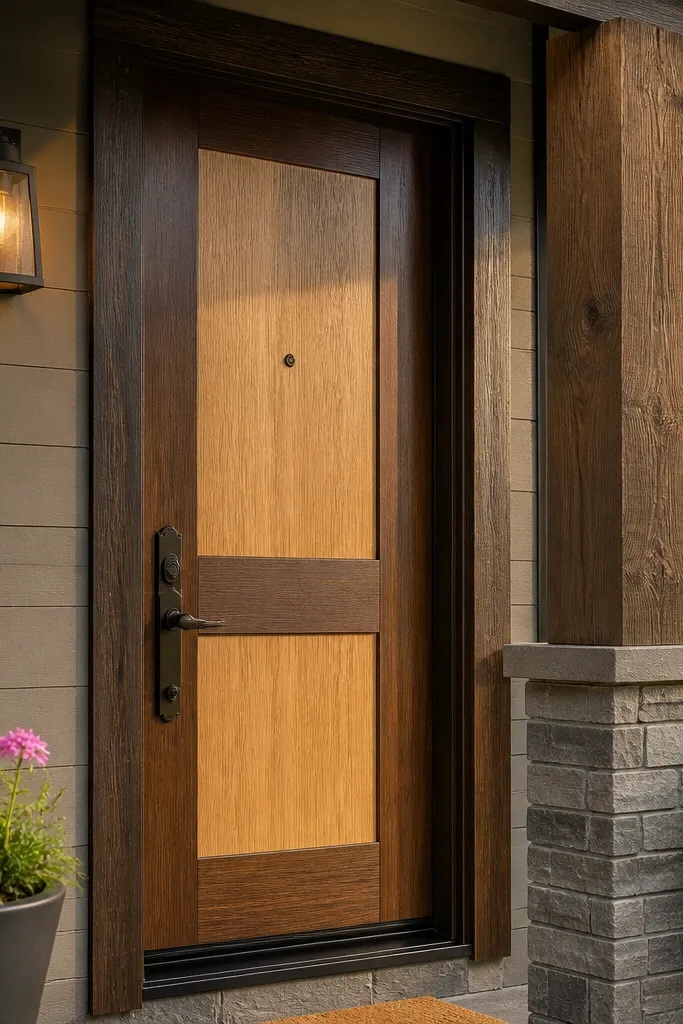
Two-tone doors look warm because they create internal contrast. The trick is to keep it controlled: use light oak for the center panels and a deeper walnut or espresso for the outer trim rails. That gives you a “wood-in-wood” look even if the door base is painted. It’s renter-friendly when you use trim overlays and paint, not frame modifications. This works best for doors with a clear grid or shaker style — you can paint the trim lines cleanly and let the center panels do the warmth work.
Tape off your panel design carefully, then scuff-sand the door and wipe clean. Prime the areas you’ll paint and use a wood-tone paint or stain-like finish for the light oak center. Paint the deeper walnut on the trim rails and let it cure fully before removing tape. Seal everything with satin exterior clear so both tones look like they belong together and wipe clean.
Use a small angled brush for panel edges — rolling paint on edges makes them look thick in photos.
Don’t blend two tones while wet; you’ll get a muddy center panel instead of a crisp frame.
12. Warm Oak Peel-and-Stick Panel + Real Wood Threshold Upgrade
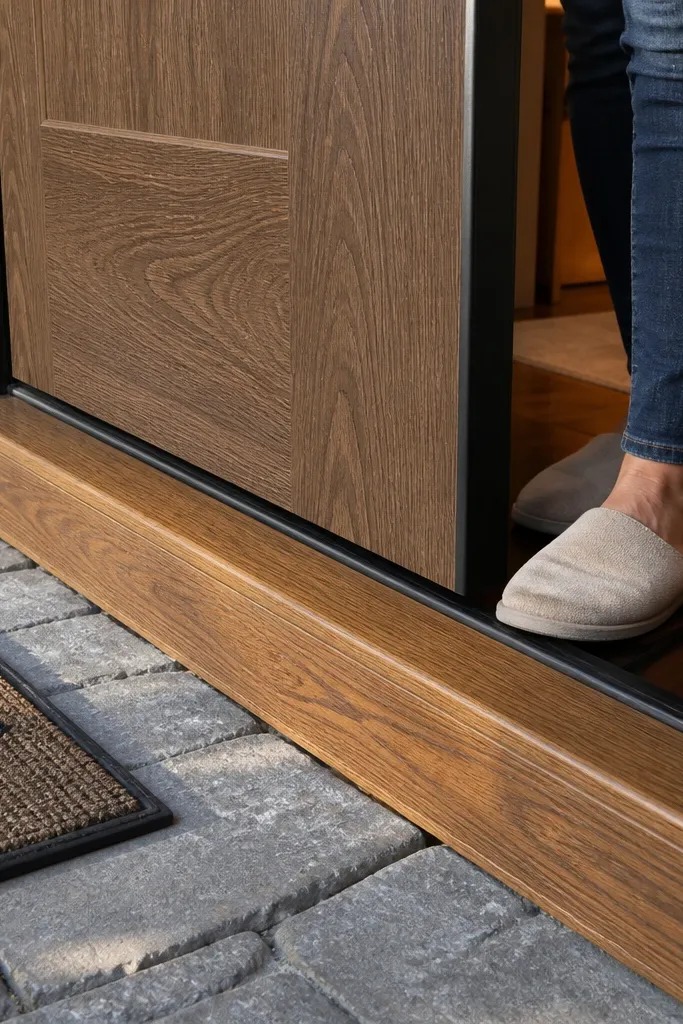
People notice the threshold and door face together. If your door is covered with wood-grain overlays, the entry can still feel cold when the bottom area looks cheap or worn. This design pairs a wood-grain panel overlay on the door with a real wood-look threshold or a properly finished wood threshold board. The result is a warm frame at the base of the doorway, which makes the whole door feel more intentional. It’s renter-friendly because threshold upgrades can often be done without changing the frame, and you can keep it removable.
Editor's noteMeasure the threshold height against your door sweep so you don’t create a gap that lets drafts in.
Start by installing the wood-look threshold board using a removal-friendly method like screws into an existing sub-sill if allowed, or a surface-rated adhesive strip system designed for thresholds. Then apply your warm oak peel-and-stick overlay to the door face, aligning with the panel lines. Seal the door overlay if your product allows it; otherwise, use gentle cleaning only. Finish by matching hardware color to the threshold tone with brass or warm bronze.
Skip thisDon’t cover the entire threshold with thick materials; it can bind the door sweep.
13. Mahogany Stain Look Using Gel Stain on Prepped Wood Door
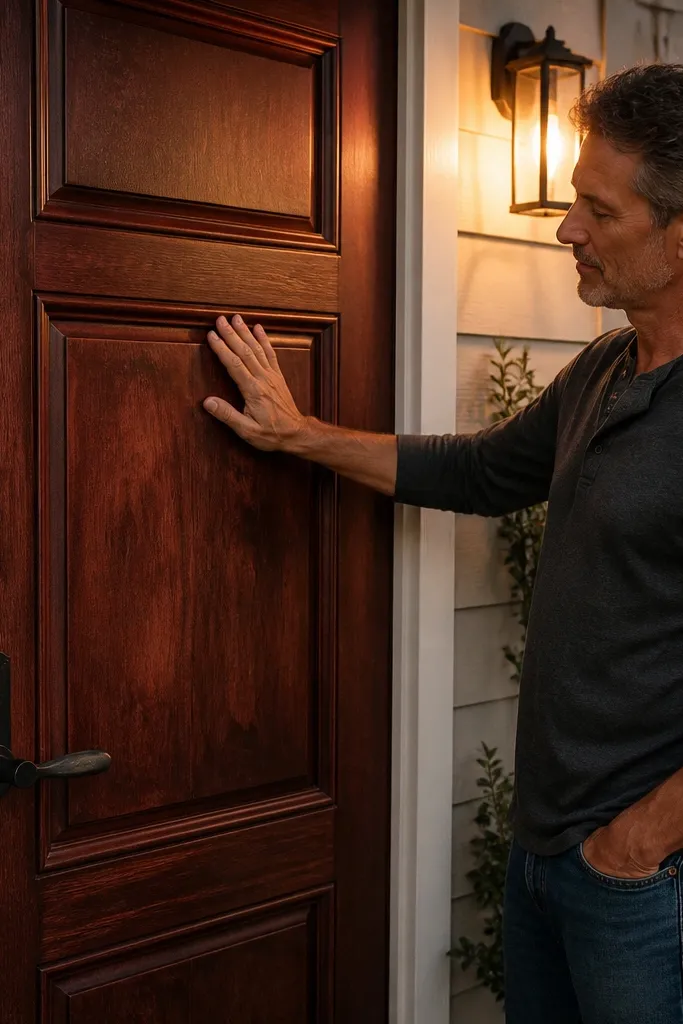
Gel stain is a strong choice when you want deep warmth and controlled color without blotchiness. Mahogany tones look especially warm because they pull red-brown into the finish without turning orange. On a panel door, the stain collects in grooves and makes shadows darker, which reads like real wood depth. This is renter-friendly only if you already have a wood door or you’re allowed to sand and refinish the slab. If you’re stuck with a painted door, use overlays instead.
Editor's noteUse a second rag for wiping back — the first rag loads up and causes uneven patches.
Sand the door to scuff the surface (do not sand through details), then wipe off dust thoroughly. Apply gel stain with a rag, working panel edges first so the color builds where you want it. Let it sit for the time on the label, then wipe back evenly until the tone looks consistent. Seal with satin exterior clear in two coats, sanding lightly between coats with 220 grit.
Skip thisAvoid overworking the gel stain; repeated rubbing turns it blotchy.
14. Outdoor-Rated Wood Decal Lattice for a Warm Shadow Pattern
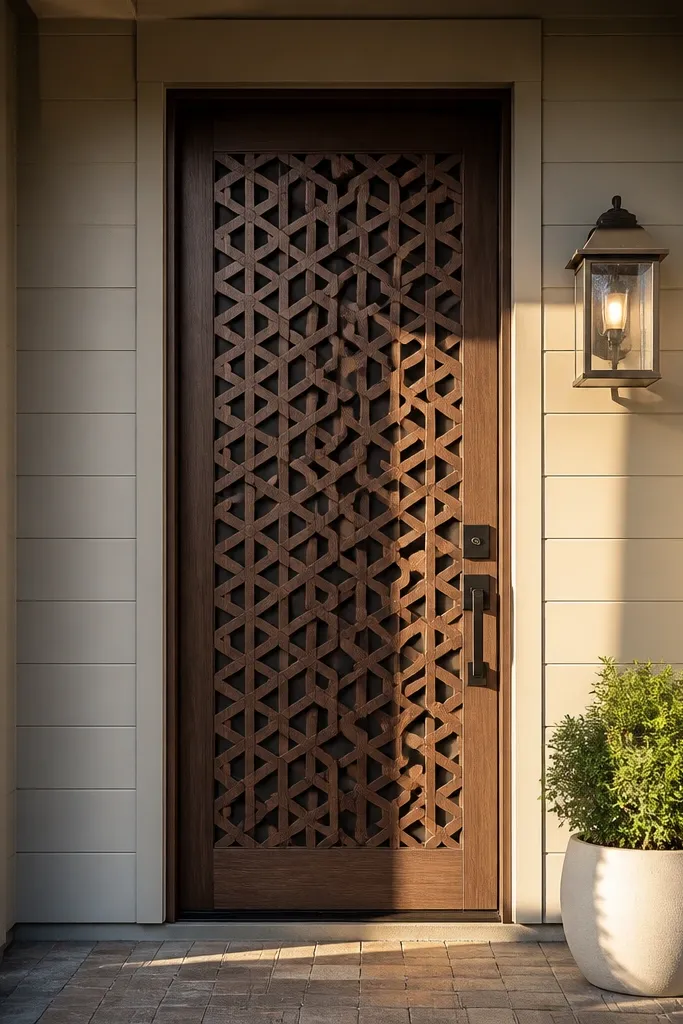
This one is for people who want the wood look to be photogenic even when the door is closed and untouched. A lattice decal pattern creates a repeating rhythm that reads like woodwork, and it looks especially good with side lighting because it throws shadow lines. Choose warm oak or aged walnut tones so the pattern doesn’t look flat. You can keep it renter-friendly by using removable decal film or adhesive lattice pieces that come off cleanly. The best setups include a porch light mounted close to the door.
Editor's noteUse a bright flashlight at an angle to check for silvering or trapped air — you’ll see it immediately.
Clean and dry the door surface, then mark the centerline so the lattice stays symmetrical. Measure the grid spacing and cut decal sections if needed, keeping the pattern consistent across the door. Apply starting from the center outward using a smoothing tool to prevent air pockets. Seal with a compatible satin topcoat only if the decal system allows it; otherwise just wipe gently after install.
Skip thisSkip the centerline marking; off-center lattice looks wrong fast in front photos.
15. Clear Satin Over Stained Panels with Brass Hardware Upgrade
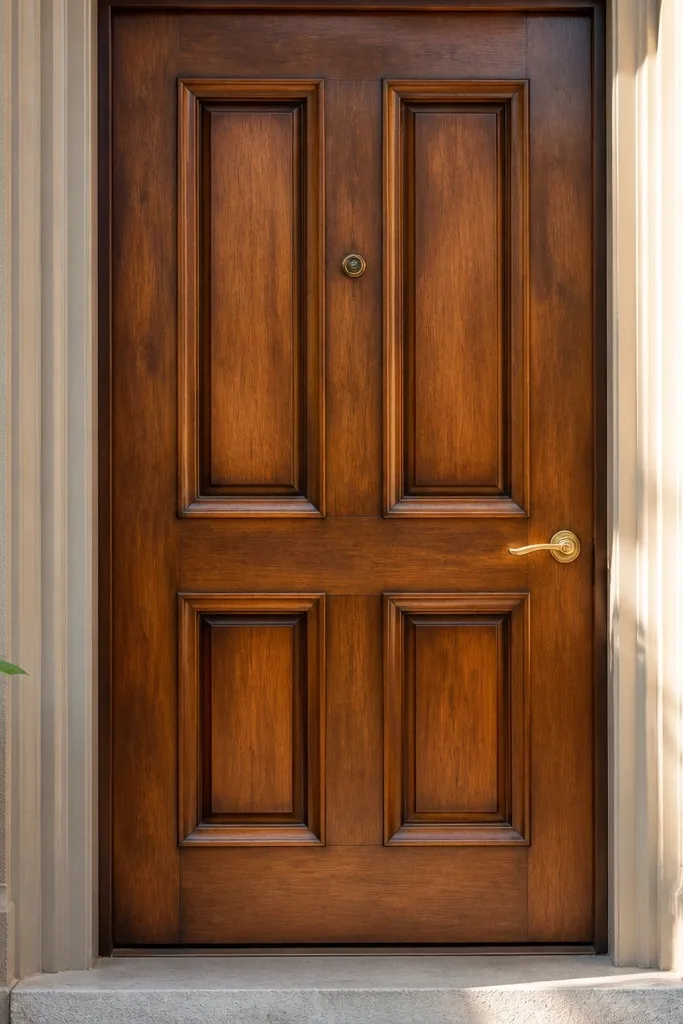
A warm wooden door look often fails because the finish is wrong, not the stain. If your door already has a stain or wood tone but looks dull, satin clear can bring back the warmth and make panel edges pop. Pairing that with brass or warm bronze hardware tightens the color story so the door reads cohesive. This is renter-friendly if you don’t change the frame and you can work on the door slab only. It’s a smart choice for people who already have a wood-look door but want it to look more “finished.”
Editor's noteThin coats dry faster and reduce the risk of streaks on raised panels.
Wash the door with a gentle cleaner and let it dry fully, then scuff-sand lightly so the clear coat can bond. Wipe with a tack cloth and apply satin clear in thin, even coats using a foam brush. Keep a wet edge to avoid streaking across panels. After the final cure, reinstall hardware and clean fingerprints from the satin surface.
Skip thisDon’t apply clear over waxy residues; it will fisheye and look patchy.
16. Warm Wood Door with Removable Faux Carved Rosette Around Knob

This is a small detail that changes the whole vibe. A removable faux carved rosette around the knob makes the door look like it has intentional woodwork, not just a flat surface treatment. It’s a renter-friendly way to add “heritage” styling without drilling into the door. Choose a rosette in warm walnut or honey oak tone so it matches the door finish. This design is best when your door already has some wood tone — the rosette upgrades the focal point and makes the door feel warmer.
Start by cleaning the area around the knob and lock so adhesive sticks. Select a rosette that fits over your hardware opening or mounts using a trim ring method included with the piece. Apply using the adhesive backing or mounting clips, pressing firmly and smoothing edges. Seal around the rosette edges with a thin satin compatible clear if the product allows it, then wipe clean.
Warm the rosette piece in your hands for a few minutes before applying; it conforms better to curved surfaces.
Don’t cover ventilation slots or block the latch opening — the rosette should sit flush.
17. Stained Wood-Panel Door with Removable Corner Trim Molding
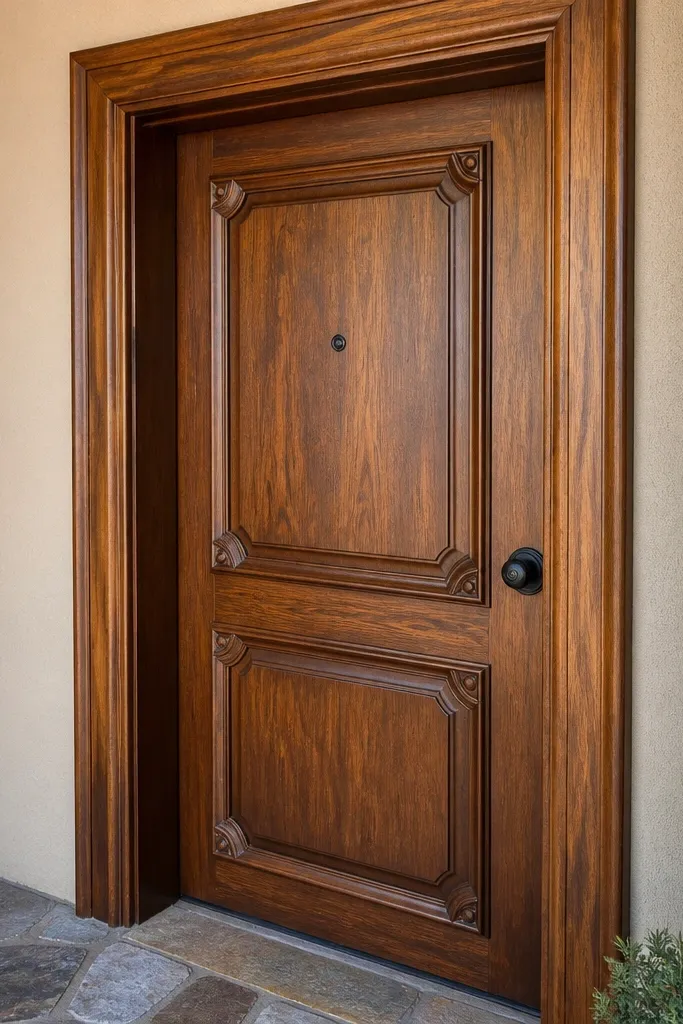
Corner trim molding frames the door face and makes any wood finish look richer. Even if you’re using an overlay or a stained base, adding removable corner trim creates a built-in picture frame effect. This makes the door read warmer because the eye catches the border first, then lands on the panels. Use molding in warm oak or walnut tone, and keep the profile slim so it looks like millwork, not chunky trim. It’s renter-friendly when the mounting method is removable and the door slab is smooth.
Editor's noteUse a small foam roller to press trim edges evenly; it prevents lifted corners after a few weeks.
Clean and lightly sand the door surface where trim will mount. Cut molding to fit the door corners, measuring twice because corner angles must match the door’s actual face. Apply removable mounting adhesive pads or surface-rated strips, then press trim into place and hold with painter’s tape until cured. Stain or prefinish the molding in warm tones and seal with satin exterior clear so it wipes clean.
Skip thisAvoid thick mounting pads; they create uneven gaps that show up in harsh porch light.
18. Tongue-and-Groove Accent Door Planks in Honeyed Pine
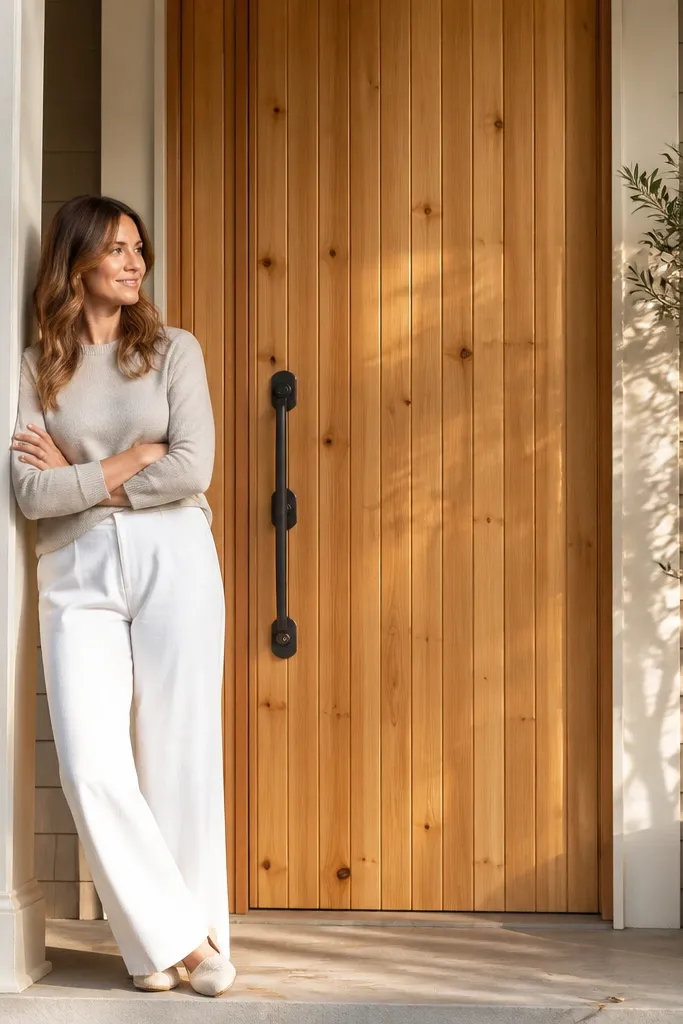
This is the warmest-looking wood treatment because it adds real depth, not just a printed pattern. Vertical tongue-and-groove strips catch light differently across the day, so the door looks “finished” even from the curb. Use honeyed pine and a clear topcoat so the grain stays soft and inviting, not orange or muddy. It’s renter-friendly because you’re building a removable overlay panel on top of the existing door or on a thin backing sheet, so you’re not cutting the door slab. Plan for about a weekend if you’re measuring carefully, and it fits entry doors in apartments, townhomes, and rental houses that need a quick face-lift without permanent changes.
Measure your door width and height, then decide on plank spacing so you end up with 1/4 in gaps for a shadow line. Buy pre-finished or raw tongue-and-groove pine boards and cut them to door height, keeping each board’s tongue orientation consistent (tongues all facing the same side). Build a removable backing by screwing and gluing 1x2 pine battens to a thin 1/4 in plywood sheet that matches the door size, then attach the planks to that backing with wood glue and 18-gauge brads. Sand the face lightly, stain with a honey pine tone (or mix a light golden stain with a touch of walnut), then wipe on a clear satin polyurethane. Finish by installing with removable door-safe adhesive strips or by using corner brackets that don’t require drilling through the door skin.
Pre-stain the planks before assembly so you get even color in the grooves, then do a quick edge touch-up after sanding.
Avoid gluing planks directly to painted doors without a test patch — some paints and varnishes react and leave bubbles.
19. Warm Wood Louver Inserts with Adjustable Slat Spacing
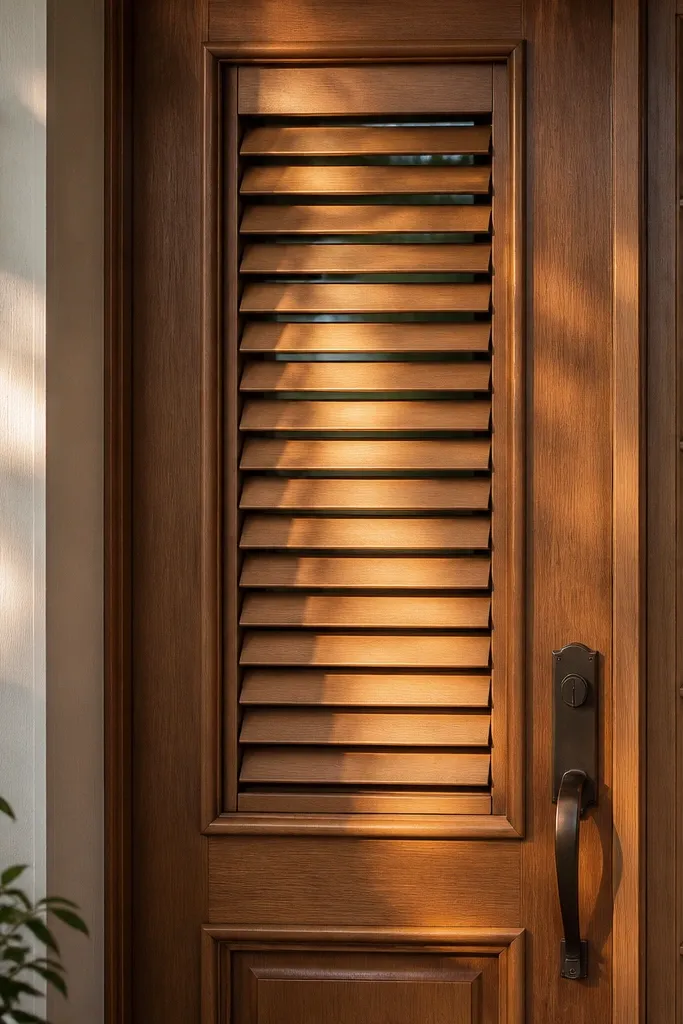
Louvers read as warm and architectural because the slats create a moving play of shadow, even when the door is still. This design also fixes a common rental problem: you want airflow and privacy without committing to a full glass door swap. Build it as an insert panel that sits in the upper half of the door, so you get the look without covering the entire slab. The “adjustable spacing” part matters because you can choose tighter slats for privacy or wider gaps for airflow without changing the whole system. It’s a solid DIY for people with basic tools: you’re cutting slats, aligning them, and finishing them, not doing cabinet-grade joinery.
Editor's noteMake a slat spacing jig out of scrap wood with a 1/4 in and 3/8 in notch so you can swap privacy levels in minutes.
Start by measuring the door’s upper panel area and cut a 1/2 in thick MDF or plywood frame insert to fit with a 1/8 in reveal around the edges. Cut 1x2 slats (about 3/4 in actual width) and pre-sand to 120 grit, then stain them a warm tone like medium oak or light walnut. Create a louver backing with two rails and a set of spacers: use two 1/4 in guides to keep the slat gap consistent, then dry-fit slats until the spacing looks right from curb distance. Attach slats to the backing with wood glue and small brads, then seal everything with satin clear coat. Mount the insert using removable screws into existing door framing (through safe access points) or with a bracket system that sits on the door’s inner lip, not through the exterior skin.
Skip thisAvoid sealing slats before dry-fitting — the added thickness from some sealers can throw off your spacing and alignment.
20. Woven Rattan-Style Door Overlay in Stained Wood Frame
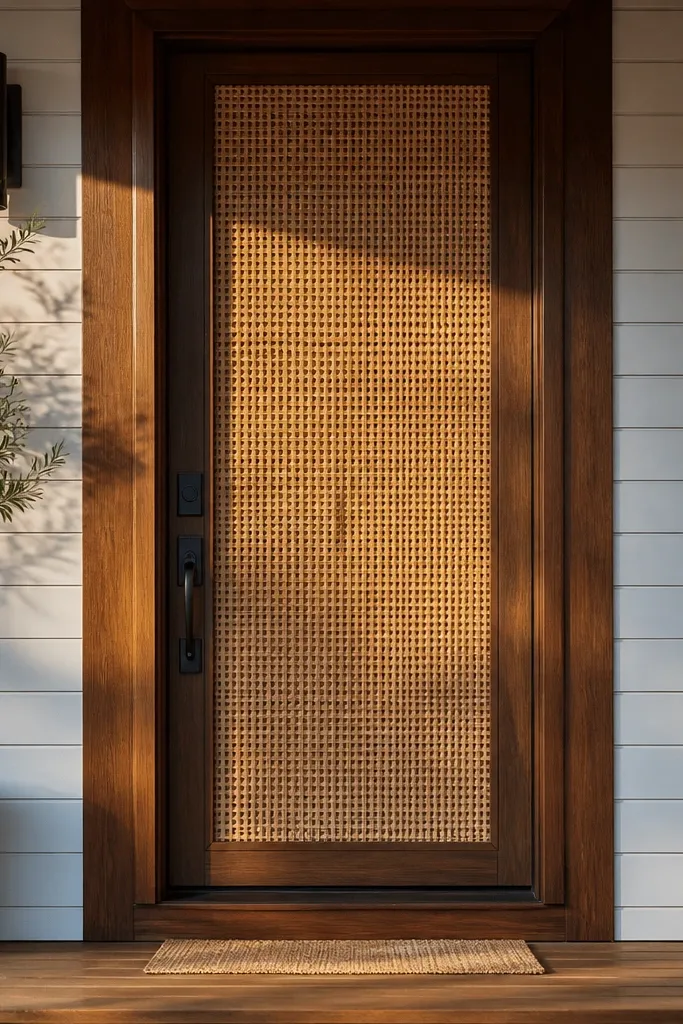
This one gives that warm, natural feel people associate with real wood interiors, but it’s built as a flat overlay so it works on rentals. The woven pattern adds texture that looks good in photos because it forms tight highlights and soft shadows across the grid. Use a stained wood frame around a cane-style sheet so the door reads like a crafted panel, not a sticker. It’s worth doing when your door is plain or flat and you want warmth without covering the whole door with thick planks. Skill level is medium-light: you’re cutting frame pieces, stretching a woven panel, and finishing — no complex routing.
Editor's noteSpray the clear coat in two thin coats and let it dry fully — thick coats on the woven sheet can make the texture look dull and plastic.
Measure the door face and decide the overlay size, usually leaving 2 in of border around for a clean look. Cut four frame pieces from 1x2 or 1x3 hardwood (or quality pine) so the outer dimensions match your chosen overlay, then miter the corners at 45 degrees. Stain the frame first, then seal with satin clear coat after the frame is assembled so corners don’t get missed. Use a cane/rattan-style mesh panel (indoor-outdoor rated) sized to the inside opening, then stretch it tight and staple it to a thin backing strip behind the frame. Mount the finished overlay using removable picture-hanging strips rated for the weight, or use small corner brackets that clamp onto the door’s existing edge without drilling.
Skip thisAvoid using flimsy, indoor-only woven panels — they warp when humidity hits and the pattern sags.



