
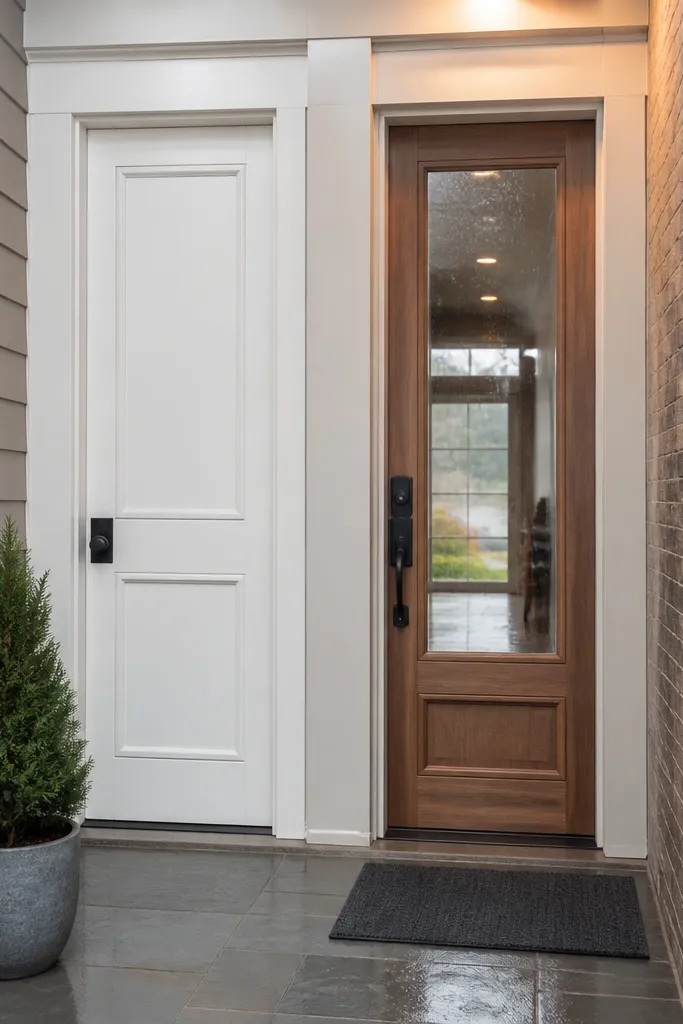
1. Painted solid wood prehung door with 6-panel look
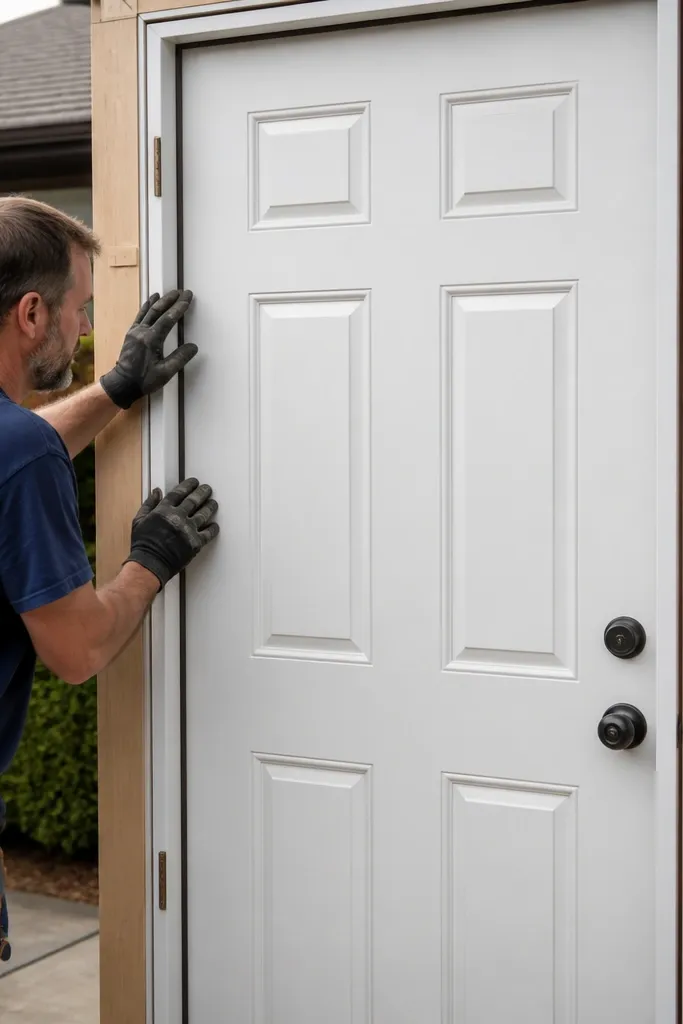
Start by measuring the rough opening width and height, then confirm it matches the prehung door spec with about 1/2 in total wiggle for shims. Set the hinge-side shims first, hang the door, and check the reveal around the jamb at the top and latch side. Adjust by moving shims at the hinge locations, then fasten through the hinge screw holes and re-check the latch-side gap. Finally, install casing/trim, caulk the exterior seam with exterior-grade paintable caulk, and test the swing for rubbing after the door settles.
If you want House Main Door quick and easy, this is the closest thing to a no-drama pick. A painted solid wood prehung door has fewer moving parts than anything with glazing, and you’re not fighting a heavy glass slab. The panels hide minor install imperfections better than flat doors, and the factory paint usually already has clean edges at the rails and stiles. It also takes weatherstripping and door sweep setups well, so you get a tighter seal without extra custom work. This style suits covered porches, standard entry openings, and anyone who wants a classic face with DIY-friendly adjustments.
Skip thisSkip trying to fix a twisted opening by forcing the door closed; correct the frame first with shims.
Editor's noteUse a 6 ft level on the hinge side and a feeler gauge for the reveal gaps so you don’t chase “looks” with guesswork.
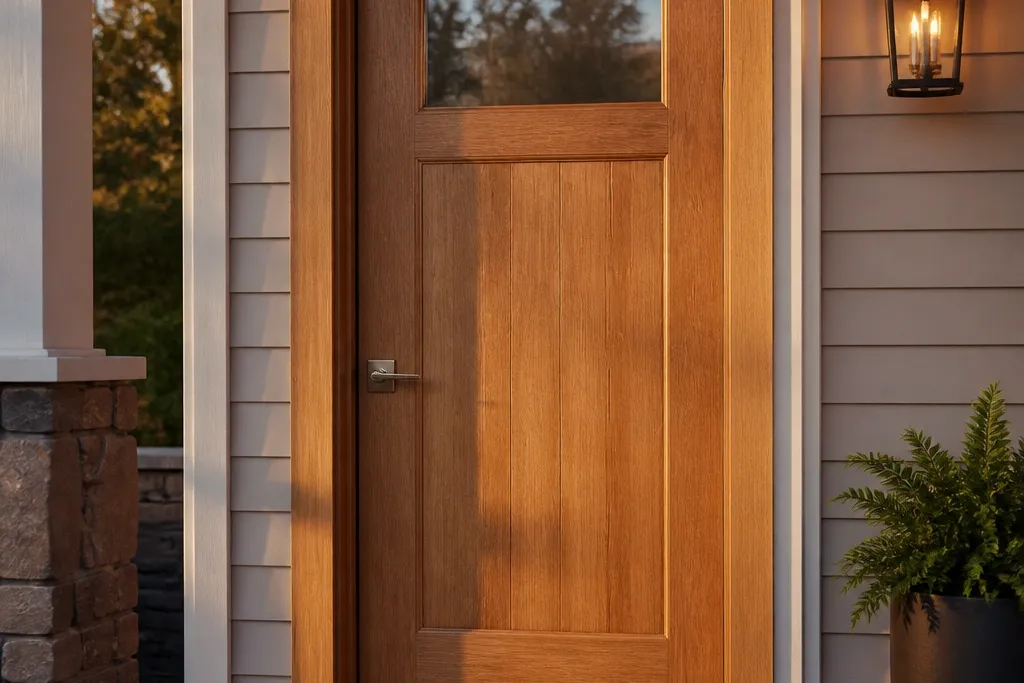
2. Stained solid wood prehung door with a simple slab-and-arch profile
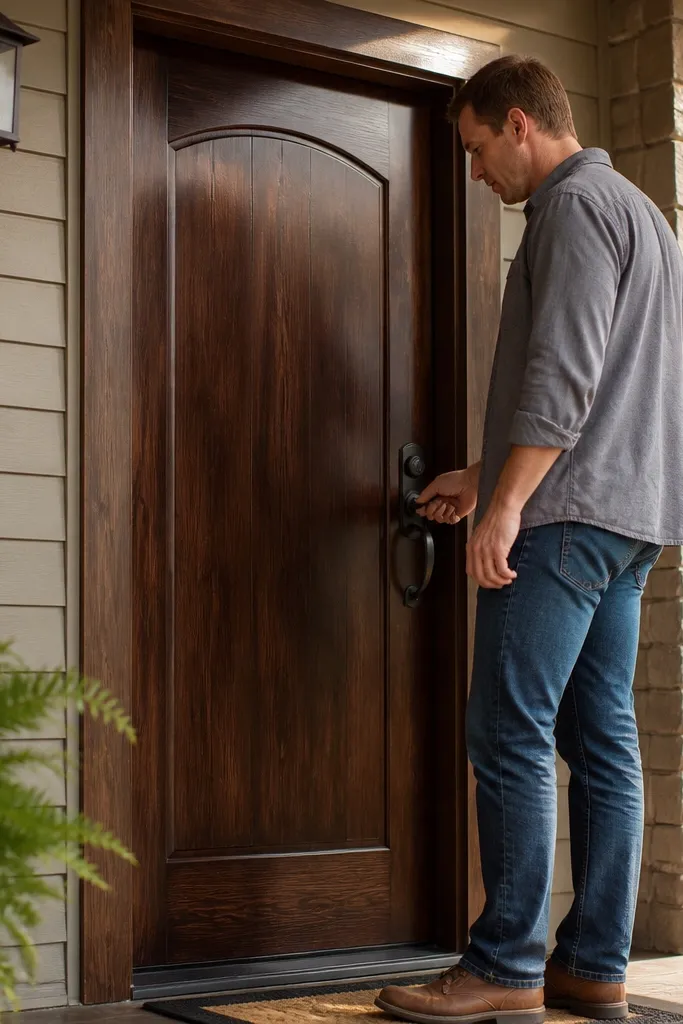
Order the prehung door with the same handing as your opening, then dry-fit the unit into the rough opening before you touch trim. Shim behind the hinges until the door sits plumb, then hold a spacer at the latch side reveal so the gaps stay even. Install the lockset hardware only after the door is hung and aligned, following the template that comes with the kit. Finish with exterior caulk at the jamb edges and add a door sweep if your threshold gap is larger than 1/4 in.
Stained wood prehung doors are a strong fast option because you’re not dealing with glass alignment or glazing hardware. The stain hides small surface flaws better than bare wood, and factory finishes are built to resist scuffs during install. An arch or curved top rail adds character without adding complexity, and it still uses standard hinge placement and locksets. This works best when you want the entry to feel warmer and more custom than plain white, but you still want the quick-and-easy installation path of a prehung unit. It also makes it easier to match existing trim colors if your house already has wood tones.
Skip thisDon’t paint or stain over unsealed end grain on the hinge side; it will drink the finish and look blotchy.
Editor's noteIf you’re staining or adding a topcoat later, seal the top and the hinge-side edge before final install so swelling doesn’t happen after you’ve trimmed.
3. Engineered wood door prehung for humid climates
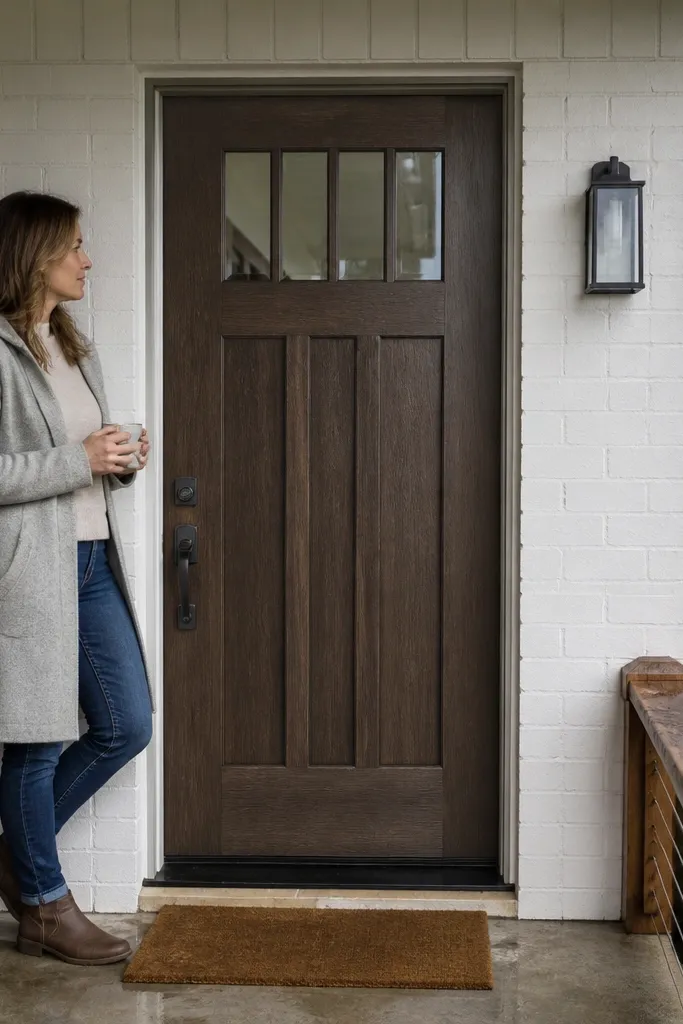
Engineered wood prehung doors are a smart pick when your area swings in humidity and you hate seasonal sticking. The core stability is the point: less movement means fewer latch rubs and fewer “why won’t it close?” mornings. You still get the quick install benefits of a prehung unit, and you avoid glass weight and glazing parts. Choose a factory-finished engineered door if you want the fastest path because you won’t need to babysit sanding and sealing after installation. This style fits ranch homes, modern trim packages, and any entry where you want a smooth surface that cleans easily.
Confirm the door is truly prehung and matched to your rough opening size, then check the hinge-side plumb before you fasten anything. Shim behind the hinges and at the strike location so the latch aligns without bending the jamb. Once it’s aligned, fasten through the hinge locations, then install casing and caulk the exterior seam. Do a final test after 24 hours; small settling changes the reveal, and you want to catch it before you finish paint all around.
Replace any tired shims with cedar or composite shims at the hinge points so they don’t compress over time.
Don’t install engineered wood doors without checking the sill and threshold level; a tilted threshold makes even stable doors rub.
4. Wood door with a sealed glass sidelight panel (light without full glass weight)
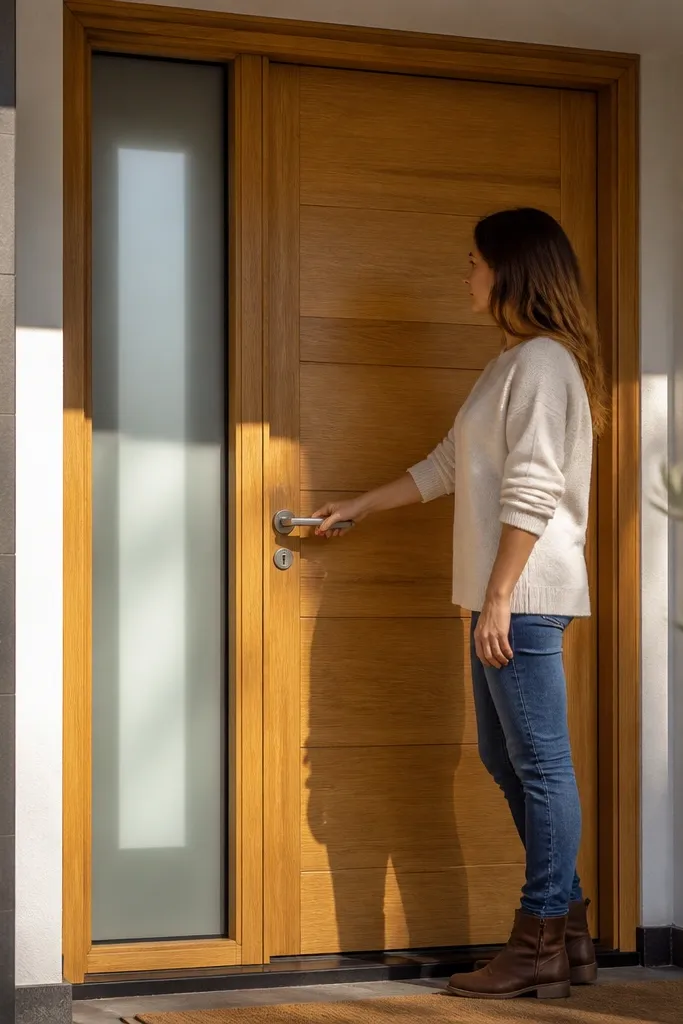
This is the “best of both” when you want House Main Door quick and easy but still crave daylight. A narrow sealed glass panel in a wood door slab gives you light and visual interest without turning the whole door into a heavy glass unit. It also keeps the install closer to a standard wood door because hinge geometry and slab thickness are still wood-based. The key trade-off is that you still have glazing safety and sealed IGU parts, so you pay more and you handle it more carefully. This works well for entries where the hallway inside needs brightness but you don’t want a full glass door facing the street.
Pick a prehung unit with sealed IGU glazing installed at the factory; avoid kits where you add the glass yourself. Hang the door first and align the reveals, then check that the glass panel edges sit evenly in the frame opening (no visible gaps). Install the lockset and handle, then apply exterior caulk only where the manufacturer allows it around the jamb seams. Finally, install the door sweep and test airflow by holding a strip of paper at the bottom while the door closes.
When you carry the door, support the weight under the slab, not by the handle side; glass-panel doors can twist if you grip wrong.
Don’t rely on silicone caulk on exterior seams; it can void paint adhesion and trap moisture.
5. Wood door with a single lite insert (factory sealed) for maximum brightness with fewer parts
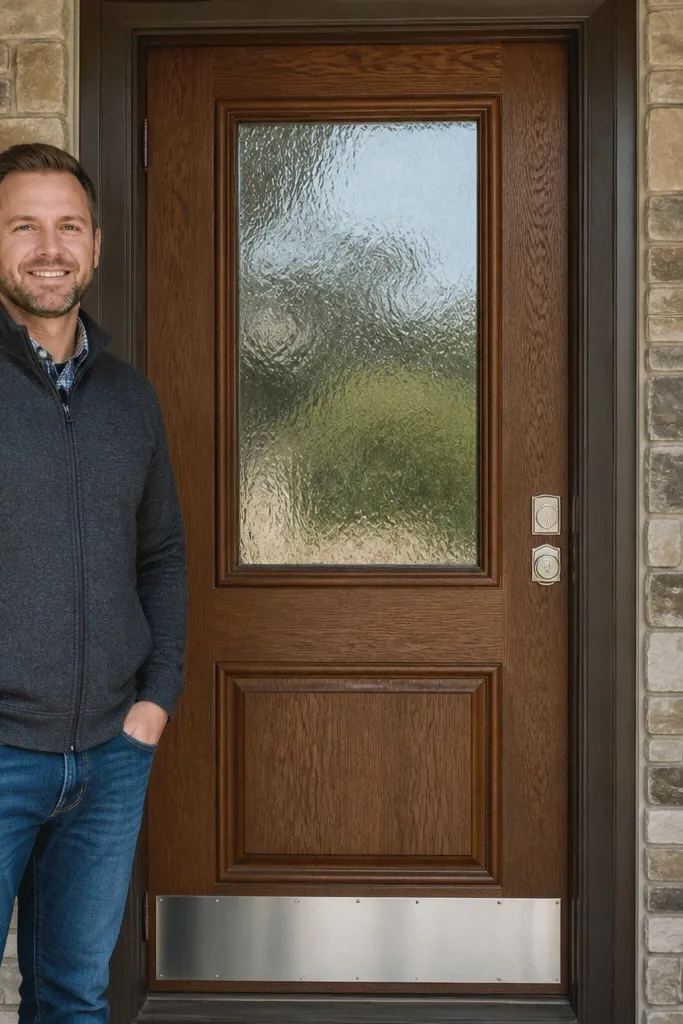
Choose a factory-sealed insert door or prehung door — avoid any door where the glass is shipped loose. Hang the door and set plumb at the hinge side, then verify the latch-side gap with a 1/8 in spacer block. After alignment, fasten the strike-side hardware, then tighten the lockset and test the latch engagement. Seal the exterior seam with paintable exterior caulk and check the bottom gap with a ruler to decide if you need a sweep adjustment.
A single lite insert in a wood door is a clean way to brighten your entry while keeping DIY complexity manageable. You still get a wood jamb hinge setup and a standard lockset, so the “quick and easy” part stays realistic. The glass insert is sealed at the factory, which means you don’t have to deal with glazing tape, bite depth, or trapped moisture around the lite. The look is modern without going full glass, and it also improves visibility at night compared to a fully solid door. Choose this when you want light, but you want your install to behave like wood.
Skip thisDon’t install the door sweep before the reveal is correct; you’ll end up with a sweep that scrapes or leaves a gap.
Editor's noteMeasure the reveal in two places — near the top and near the middle — because inserts can shift the way the door sits if the frame is off.
6. Matte-frosted glass prehung door with privacy pattern
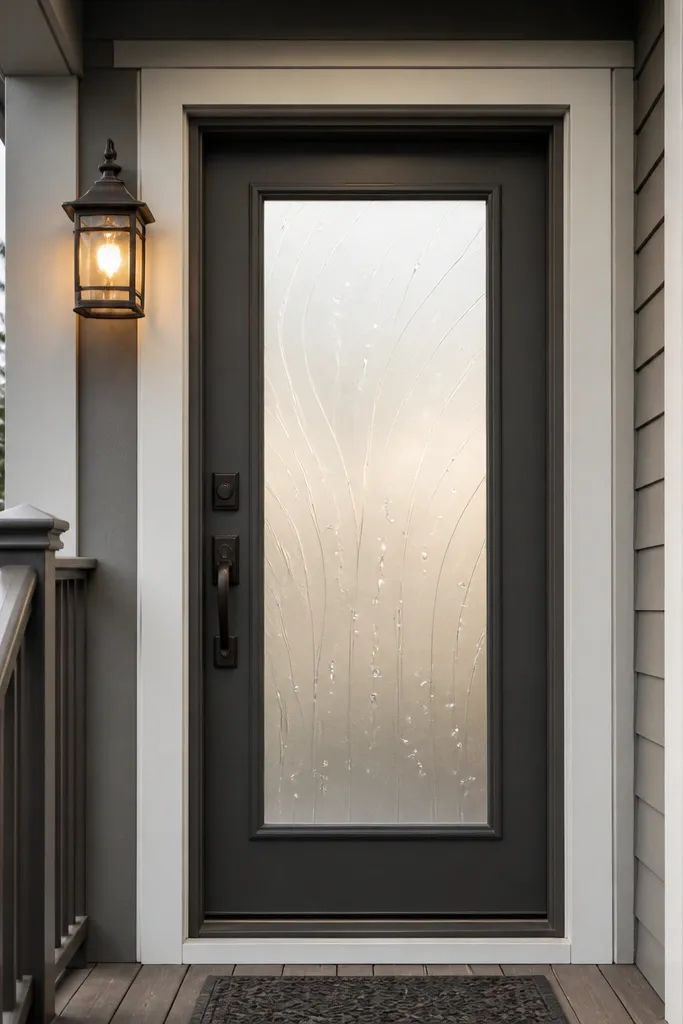
A matte-frosted glass prehung door is a strong quick-and-easy choice only if your priority is brightness and you accept careful handling. Frosting hides view-through, so you get privacy without adding blinds or film. The prehung format is what keeps it DIY-friendly: the frame, weatherstripping, and hinge locations are already engineered. The trade-off is that the door slab is heavier than wood, so you need good support during hanging and you should plan for a second person. Style-wise, it fits contemporary houses, apartments, and modern remodels.
Plan on lifting the door as a unit with at least two people, then shim at the hinge side until the door is plumb. Use painter’s tape to mark reveal lines around the jamb so you can spot drift while you fasten. Install weatherstripping and casing per the manufacturer, then set the strike plate only after confirming the latch engages without pulling the door. Finish with exterior caulk at the jamb edges and test for drafts by running your hand along the seams.
Put a moving blanket under the slab during install so you don’t scratch the glass or frame while it’s temporary supported.
Don’t force the latch alignment by over-tightening the strike screws; bend the door with the wrong pressure and it will stay misaligned.
7. Clear glass prehung door with sidelites for a bright entry wall
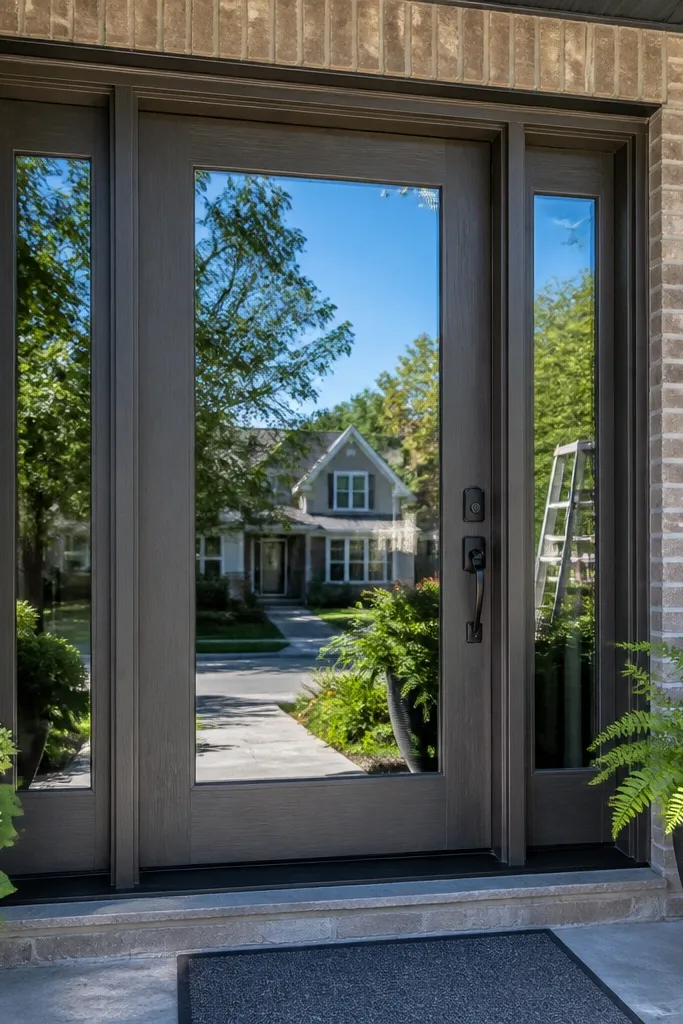
Order a prehung unit kit that includes sidelites, and verify rough opening height and width match the kit spec. Shim at the hinge side first, then shim at the sidelites mounting points so all reveal lines match across the full opening. Fasten anchors in the correct locations, then re-check plumb and level before trimming. After installation, seal exterior seams with paintable exterior caulk and install casing in a way that doesn’t flex the frame.
Clear glass with sidelites makes an entry feel bigger, but it’s not the fastest DIY path. The reason is simple: the unit has more glass area, more parts, and more places for alignment to drift during installation. If you measure well and use a helper, it can still go smoothly, but you’re spending more time on squareness and shimming than with a plain wood door. This is the best pick when your front hallway needs real daylight and you’re okay spending time on a clean install. It also looks best when your exterior trim lines are already crisp and straight.
Skip thisSkip rushing the sidelites — if they’re off by 1/16 in, the door swing and latch alignment will feel “off” forever.
Editor's noteDry-fit the casing pieces and mark the reveal with tape before you caulk; once caulk starts, you’ll lose the ability to correct tiny frame drift.
8. Glass door with decorative grille insert (privacy + easier cleaning lines)
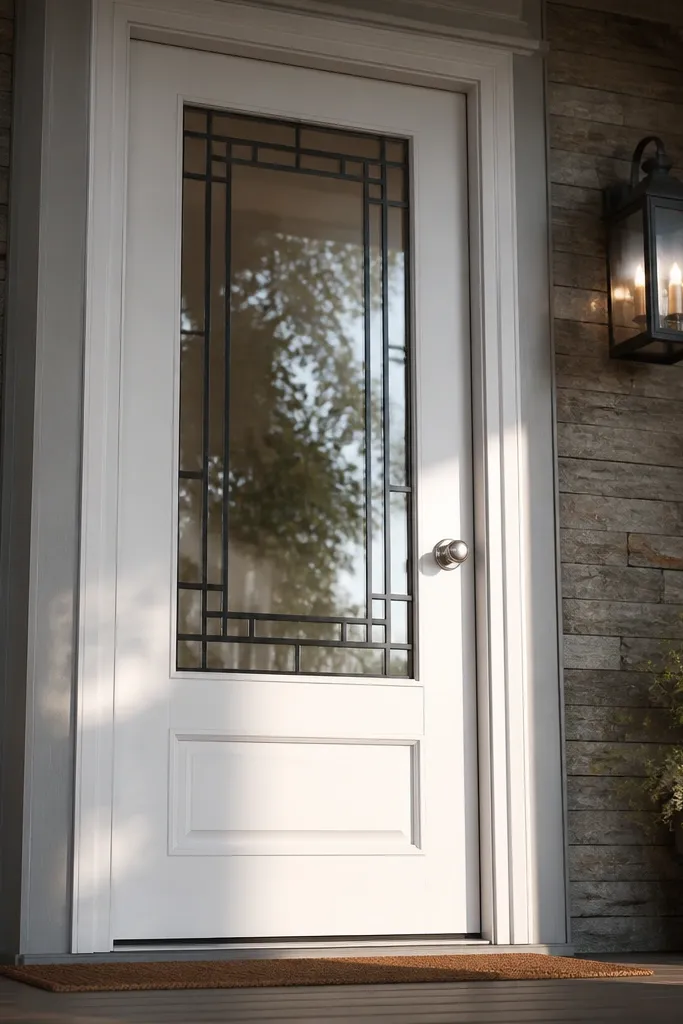
A grille insert is a practical way to make glass feel less exposed while keeping the brightness. It also helps you visually align the door since the grille grid gives you reference lines for straight installation. This option sits in the middle for DIY difficulty: you still handle glass carefully, but the insert design is factory-installed on most prehung units. It’s a good choice when you want the look of divided lites without the headache of separate muntins or DIY glazing. Expect moderate cost and a little more time than a solid wood door because of weight and careful alignment.
Pick a prehung door where the grille is part of the sealed glass assembly, not an add-on after the fact. Hang the door, set hinge-side plumb, and use reveal spacers so the grille lines sit straight relative to the jamb. Install the lockset, then check the door closing by watching the gap along the latch side from top to bottom. Caulk exterior seams, then clean the glass panel with a non-abrasive cleaner so you don’t scratch the frosting or coating.
Use a flashlight held low across the grille to spot tiny gaps that normal lighting hides.
Don’t use abrasive pads on grille-coated glass; it dulls the finish and makes smudges stand out.
9. Full glass modern entry door (sealed insulated glass) for a clean, bright front
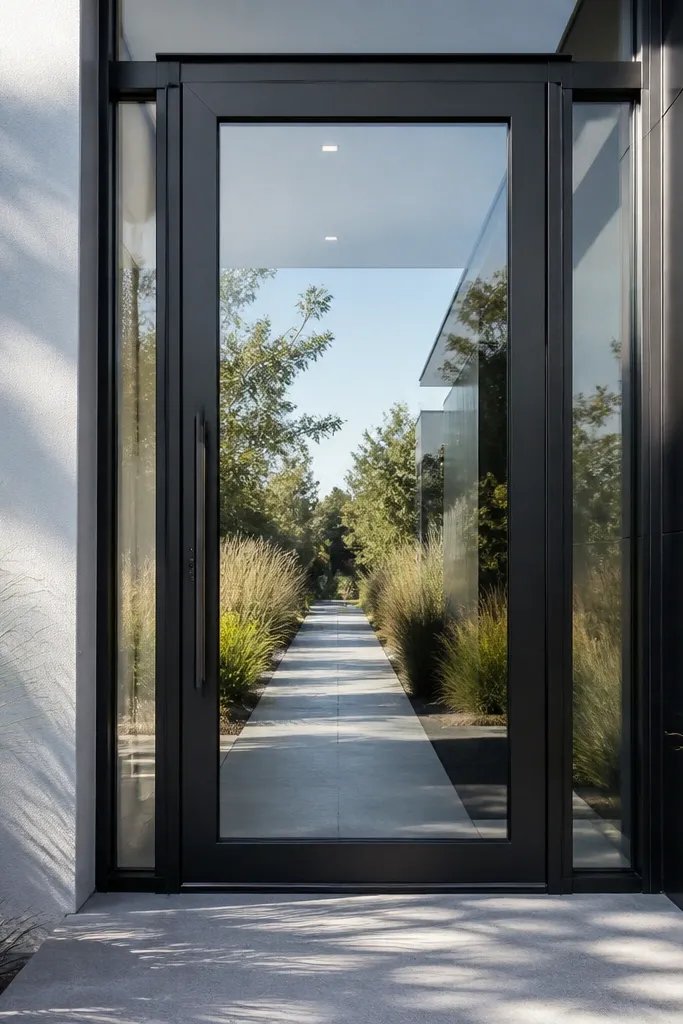
Full glass doors look incredible, but they are the least forgiving for DIY. The slab is heavy, the install must be square, and you need to protect edges and corners during hanging. If you’re chasing House Main Door quick and easy, this is the one I’d push back on unless you already have solid carpentry skills and a helper. The upside is maximum daylight and a sleek exterior line with minimal visual clutter. This fits contemporary builds, modern renovations, and covered entries where the door gets less direct weather beating than a fully exposed location.
Treat it like a precision install: measure rough opening diagonals and confirm it’s square before ordering or you’ll chase shims for days. Hang with at least two people, set hinge-side plumb first, then fasten and re-check reveal lines along the full height. Install hardware per template, then test swing and latch engagement without closing the door against resistance. Seal exterior seams carefully at the jamb, and avoid over-caulk buildup that creates visible ridges on the frame.
Use low-tack painter’s tape to mask the glass frame edge while you caulk so you don’t smear caulk onto the glass.
Skip “one person hanging it” — full glass doors twist easily and you’ll end up with a door that rubs.
10. Wood door with decorative glass transom panel (more light above, more parts overall)
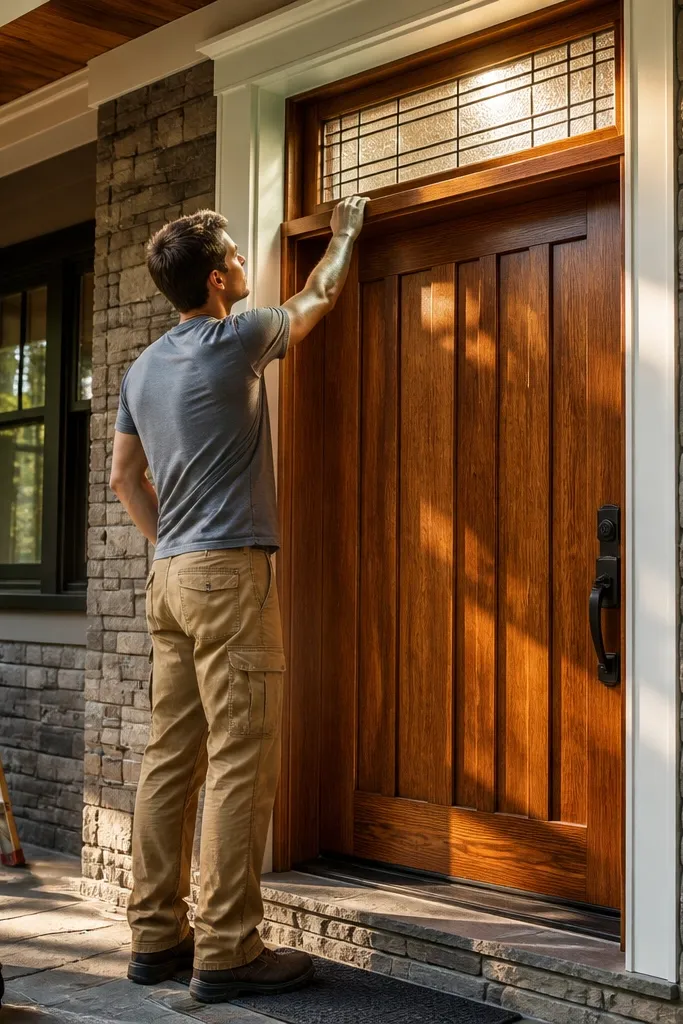
Choose a kit that includes the transom frame and sealed glazing, then verify rough opening height for the combined unit. Shim and level the transom frame first so it sits true, then hang the main door and align reveals at the latch side. Install casing and exterior trim last, after you confirm the door opens and closes without rubbing. Seal exterior seams with paintable exterior caulk and check for gaps at both the transom-to-jamb junction and the bottom sweep area.
A transom panel above a wood door gives you light where you want it, without turning the main door into a full glass slab. The catch is that transoms add parts and alignment points, so the install time rises fast compared to a simple prehung door. If your goal is House Main Door quick and easy, this is only “easy” when you’re using a complete prehung unit kit with all framing and weather sealing included. The look is great for entries that feel dark near the ceiling line, like foyers with high sightlines. You get airy brightness without the weight and complexity of a full glass door.
Skip thisDon’t install casing before checking the swing; trim can trap a misalignment you can’t fix later.
Editor's noteMark the transom frame corners with tape before you lift; it helps you keep it aligned while you fasten.



