
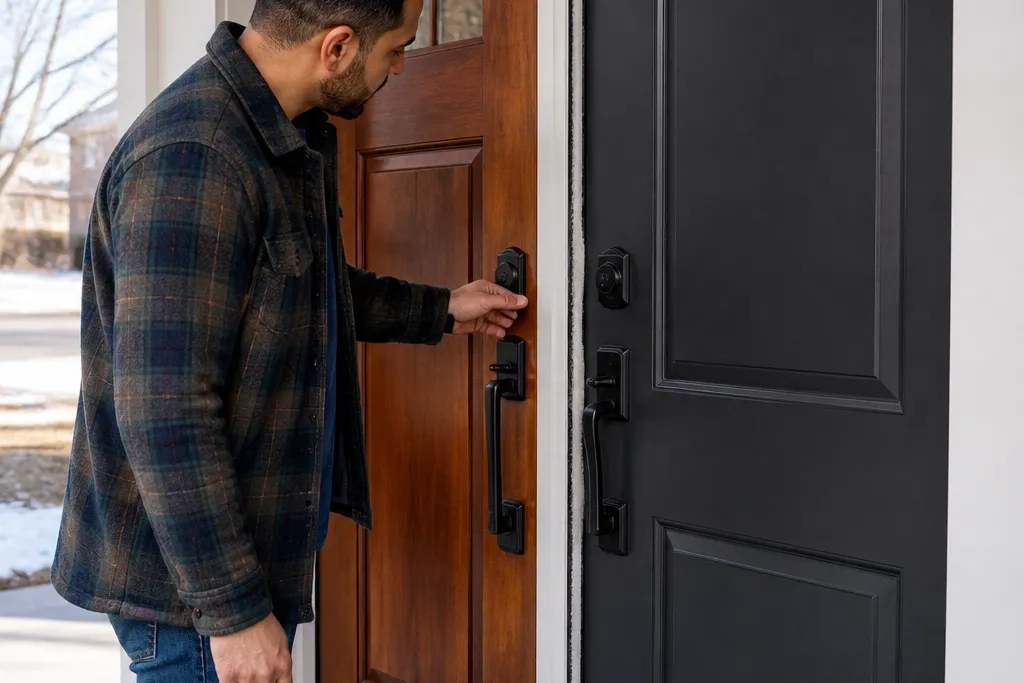

1. Solid Core Fiberglass with a Raised Panel Profile
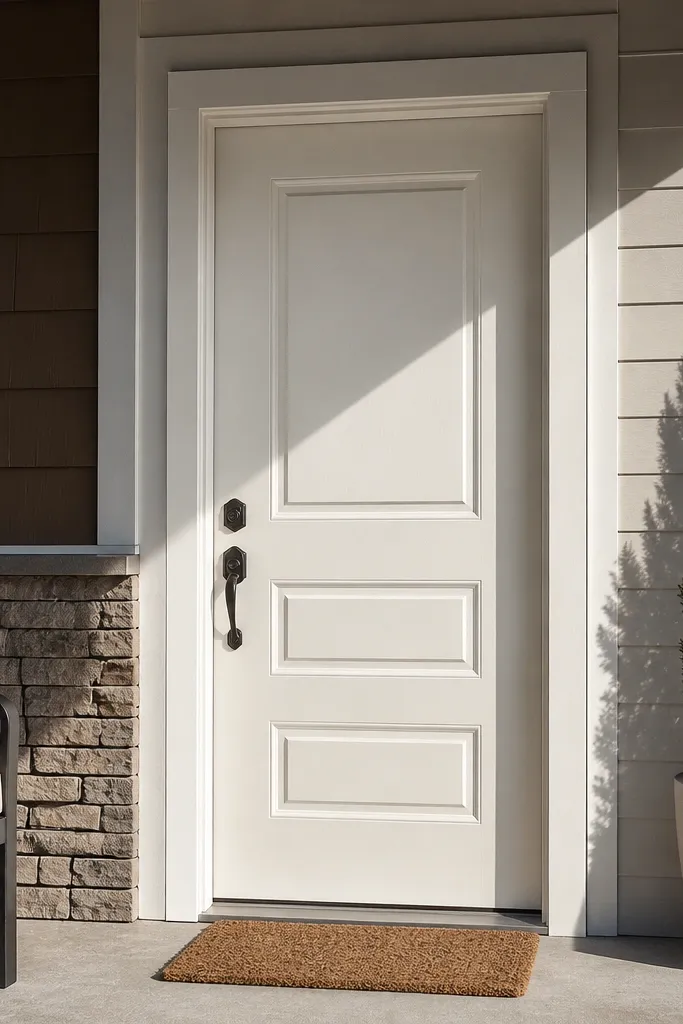
A solid-core fiberglass door is a strong choice when you want a traditional look without wood’s movement. The raised panel profile hides minor surface imperfections and gives you shadows that read well in harsh daylight. Look for a door with a real insulation core and a compression weather seal system, not just a decorative skin. This option fits entryways that get sun and rain and need a door that closes tight year-round. It’s also a good pick if you want a door that stays straight through humidity swings.
Start by matching the door slab size to your rough opening and confirm the frame depth you need for your wall thickness. Then select a door with a true solid-core construction and check that it includes preinstalled or compatible weatherstripping grooves. Finally, install it with shims at the hinge-side jamb and adjust until the latch engages without scraping, then seal the perimeter with exterior-rated caulk and a proper flashing plan at the top and sides.
Test-fit with the door held in place before you caulk anything — you want even reveal gaps on all four sides.
Avoid fiberglass doors that have thin-looking skins and no insulation details in the specs.
2. Steel Door with a Thermal Break and Intumescent Fire Label

A steel entry door works when you prioritize strength and low maintenance, especially in areas that see storms. The big mistake people make is buying steel without checking insulation and thermal break details, then wondering why the entry feels cold. The right version has an insulated core and a thermal break at the frame so you don’t get condensation and drafty edges. Pairing it with a quality threshold and tight weatherstripping gives you the “solid” feel you want when someone slams the door. This is a smart direction for households that want dent resistance and predictable performance.
Editor's noteBefore final screws, run the deadbolt and latch manually and watch for any binding — fix it now while shims are loose.
Choose a steel door that lists an insulated core and a thermal break in the frame construction. Then verify the thickness and backset specs so your latch and deadbolt align with the door’s predrilled prep. Install with proper shimming at hinges and strike side, then connect the weather seal by setting the threshold correctly and sealing the exterior perimeter with flashing tape where water can collect.
Skip thisDon’t assume all steel doors are equal — thin steel with poor insulation is the draft trap.
3. Exterior Wood Door with a Proper Topcoat System
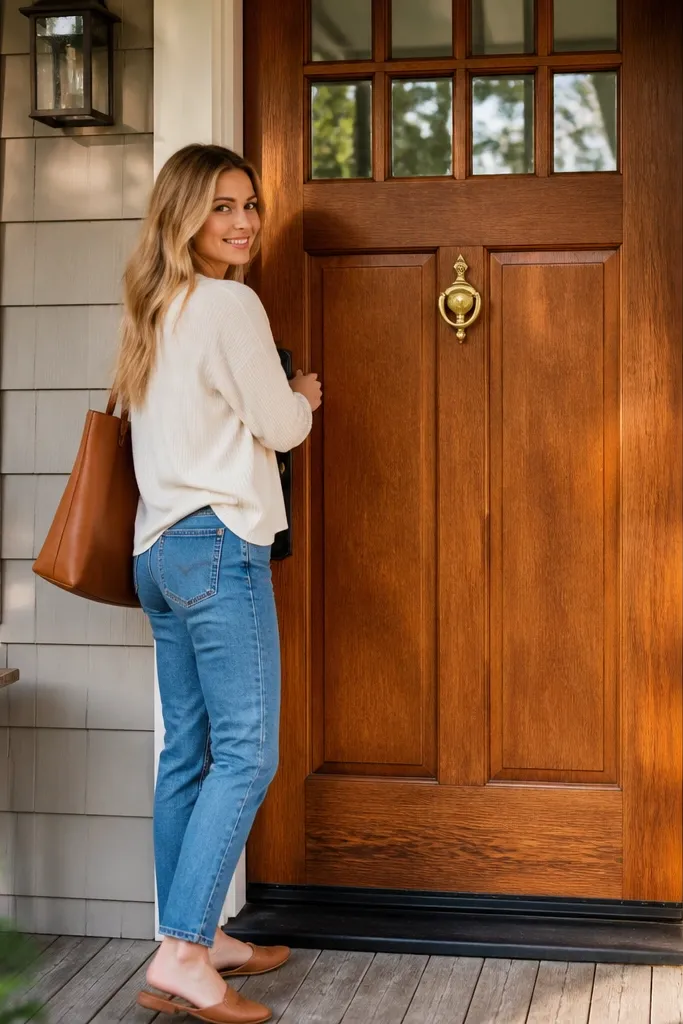
Wood is the choice when you want warmth and easy refinishing, but the door only lasts if you use the right exterior finish system. The most common failure is skipping a correct exterior clear coat or exterior-rated paint, then the edges soak moisture and the panel edges swell. A well-finished wood door also handles minor scratches better than you’d think, because touch-up is realistic. Choose a door with stable construction and good edge sealing because the bottom rail and stile edges take the abuse. This option fits covered entries too, but with the right finish it can handle uncovered areas.
Editor's noteSeal every drilled hole and mortise edge, not just the face — water loves the inside corners.
Start by selecting an exterior-rated wood door with sealed stiles and rails, then plan your finish before installation. Apply a primer made for exterior wood, then topcoat with an exterior paint or clear system that includes UV protection. After hanging, inspect all cut edges around the latch and strike — seal them with the same exterior-rated product so water can’t wick into bare wood.
Skip thisAvoid unfinished or “stain-only” wood doors for exterior use.
4. Flush Modern Door for Cleaner Weather Seals
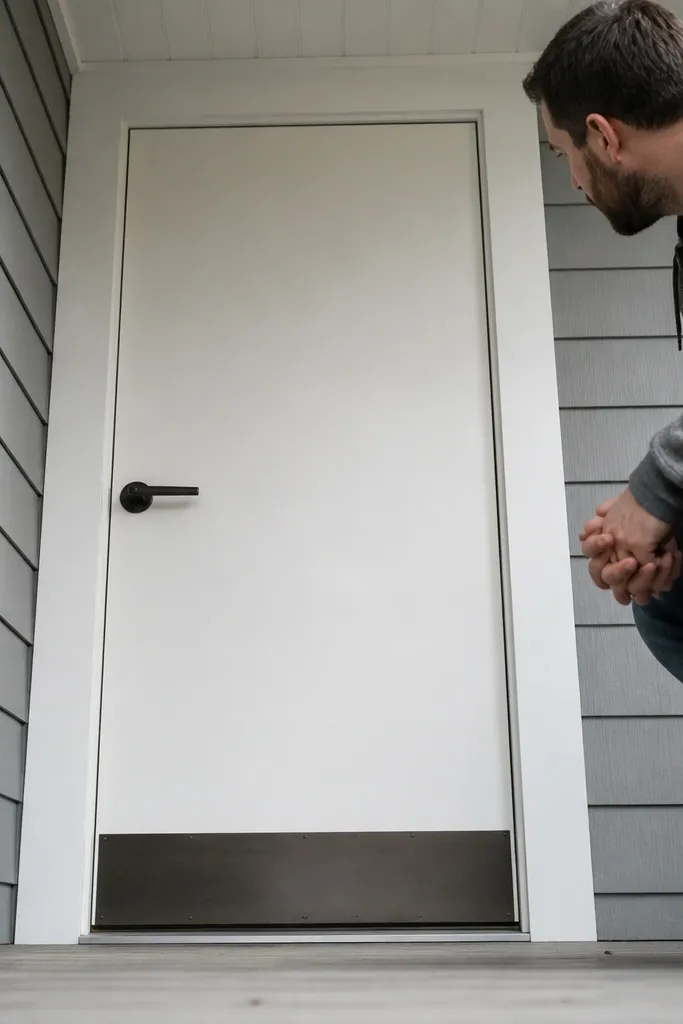
A flush door is a good move when you want clean lines and you’re serious about getting the seal gaps consistent. The flat face doesn’t hide sloppy installation, so it forces you to do fit and weatherproofing correctly. That’s why it’s great for people who want the “comparison best” result: you can’t blame the look when the seal fails. Choose this style with a strong perimeter gasket design and a threshold that matches the door’s bottom profile. In bright sun, the flush surface also shows how uniform your reveal gaps are.
Pick a flush door with a stated perimeter seal or gasket channel so the door compresses evenly. Then confirm the jamb reveals you want and measure your rough opening so you can keep even spacing around the slab. Install with the hinge side first, set reveal with shims, then attach the strike side and adjust until the latch catches cleanly without pulling the door shut.
Use painter’s tape to mark the reveal all around during adjustment — it makes misalignment obvious.
Don’t install a flush door with uneven shimming — you’ll see it immediately and it will leak.
5. Raised Panel Door with Matching Sidelight Plans
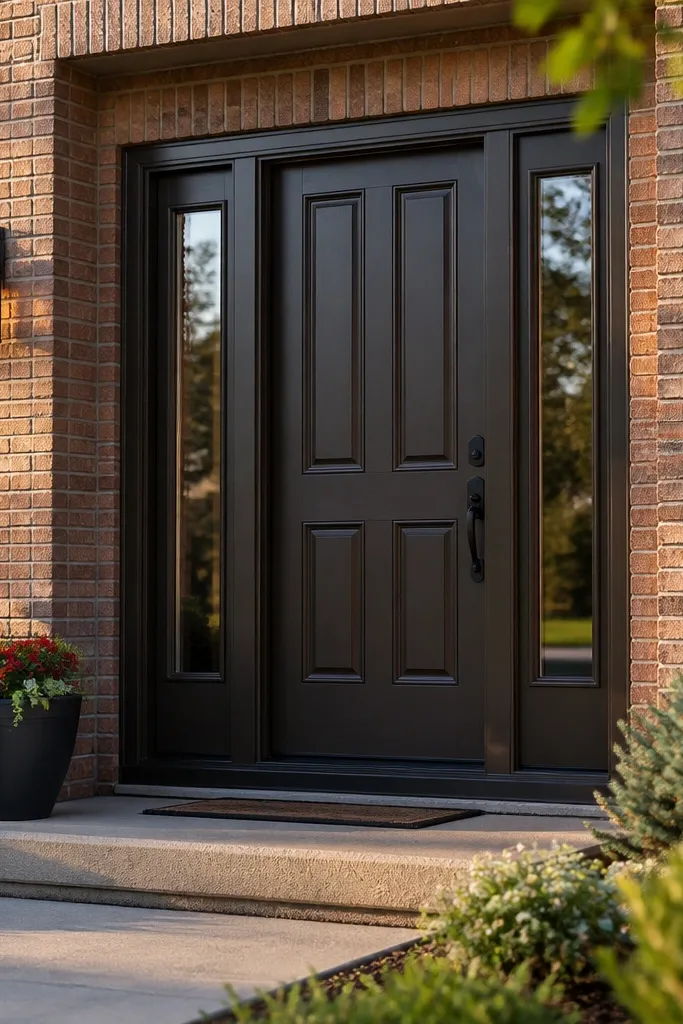
Sidelights change everything because they create more water paths and more places for air leaks. The mistake is comparing the door alone and ignoring how sidelights tie into the same flashing and seal line. If you want a raised panel look, plan the door and sidelights as one system with matching trim depth and consistent weather barriers. Done right, sidelights bring daylight without making your entry drafty. Done wrong, you get condensation on the glass edges and a whistle at the jamb.
Editor's noteUse backer rod at exterior gaps before caulk so the bead stays clean and doesn’t crack.
Measure the entire opening for the door plus sidelights and confirm the frame kit includes compatible flashing details. Then plan the installation order: set the sill and threshold first, flash the bottom and sides, then set the door frame so the weather barrier lines up with the sidelights. Seal the exterior joints with exterior-rated caulk and check door operation after final tightening so the latch alignment doesn’t shift.
Skip thisAvoid mixing brands or frame systems without checking how the weather barrier transitions.
6. Threshold-First Setup for Bottom-Edge Water Control
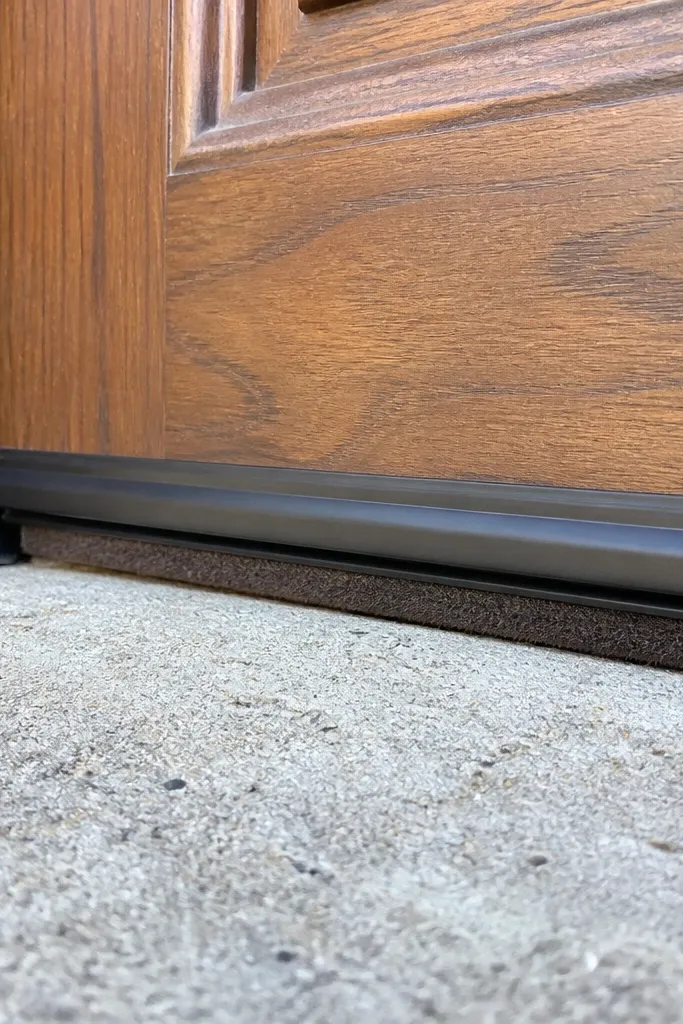
People obsess over the door slab and ignore the threshold, then act surprised when the bottom edge leaks. The bottom is where water has gravity, dirt, and temperature swings all at once. A threshold that matches your door’s bottom profile and weatherstrip design keeps the seal compressed even if the house shifts slightly. If you’re comparing door options, your best “comparison best” decision includes comparing thresholds too. This is the part that stops puddles from finding their way into the jamb.
Editor's notePut a thin bead of sealant at the threshold corners and wipe it clean — corners are where water sneaks in.
Start by choosing a threshold that matches your door’s bottom weatherstrip type and the sill conditions you have. Then dry-fit the threshold, check level, and set it on the right support shims so it doesn’t rock. Finally, flash the rough opening before final caulk, then install the door and verify that the door bottom compresses the weather seal without dragging.
Skip thisAvoid setting the threshold after the door is already shimmed — you’ll fight alignment.
7. Weatherstripping with Compression Gaskets, Not Foam Tape

Foam tape looks fine during install and then fails when it flattens or pulls loose in heat. For a main door, you want compression gaskets that maintain contact when the door moves slightly. The mistake is buying a door and then cutting corners with cheap aftermarket strips. Real compression weatherstripping plus a properly adjusted latch gives you quiet closing and fewer drafts. This matters most if you live where wind runs under the eaves and pressure changes move air through tiny gaps.
Editor's noteIf you can see daylight around the latch side with the door closed, stop and re-adjust — caulk won’t fix that.
Choose a door that includes perimeter weatherstripping designed for compression, then don’t replace it with generic foam. Then during installation, adjust shims until the gasket compresses evenly along the latch side and top. Finally, test by running a thin strip of paper around the seal — you want consistent resistance without gaps you can see.
Skip thisAvoid adding foam tape over a gap instead of fixing the reveal.
8. Hardware Backset Matching and Latch Height Check
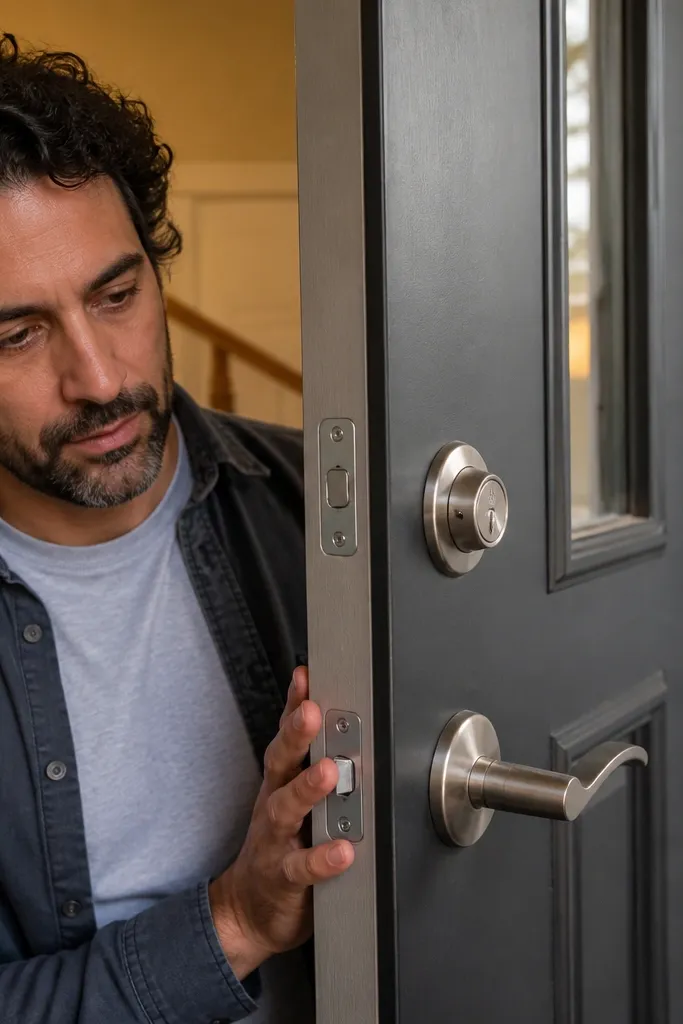
Hardware specs are where most comparisons fail. People pick the prettiest knob set and then discover the latch doesn’t line up with the strike or the deadbolt hits the frame. Backset and latch height are not “close enough” numbers; they decide whether the door closes smoothly. If you’re replacing an existing main door, matching the current prep saves you from patching mortises and rebuilding wood. The result you want is a deadbolt that drops cleanly without the door needing to be pushed.
Editor's noteMark the latch strike area with masking tape and close the door gently to see exactly where contact occurs.
Before buying hardware, measure the current backset (commonly 2-3/8 in or 2-3/4 in) and measure latch height from the floor to the center of the latch. Then order a door and hardware set with matching specs or choose a door that has predrilled prep for your backset. Finally, test the latch and deadbolt engagement before you install interior trim — it’s the last moment you can adjust strike position safely.
Skip thisDon’t guess backset — guessing creates misalignment that you’ll feel every day.
9. Matte Finish Hardware That Doesn't Show Fingerprints
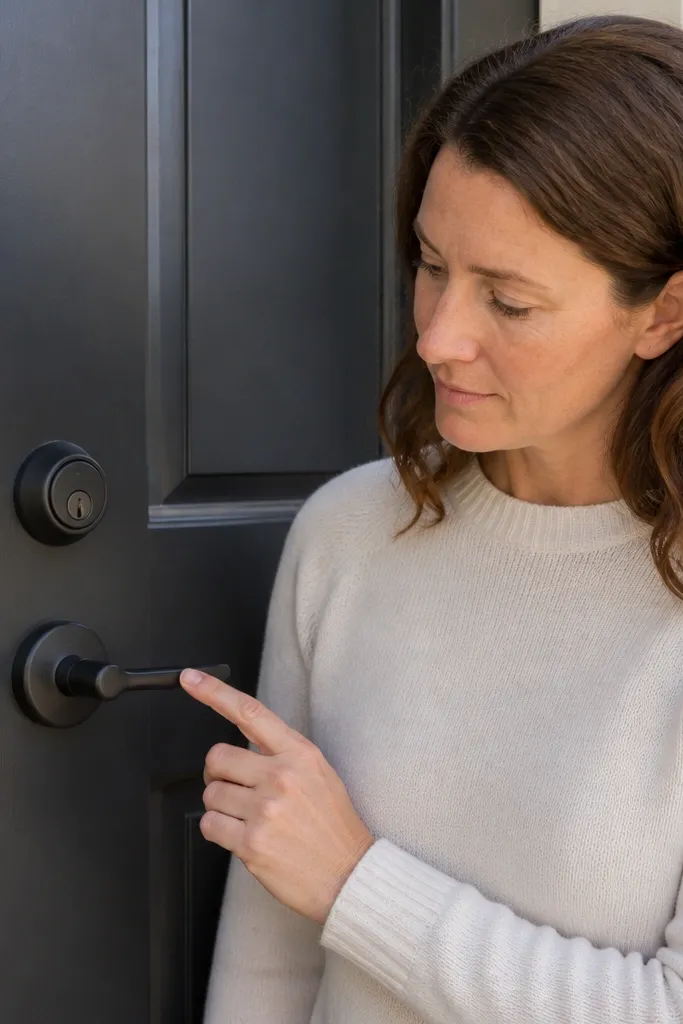
Main door hardware lives in fingerprints, grime, and weather exposure. A glossy finish looks great for a week and then shows smudges that make the entry look worn. Matte finishes hide daily mess better, and that matters if you’re comparing doors with similar styles. Choose hardware rated for exterior use and match the finish to your door and trim so the entry looks intentional, not accidental. This is a small choice, but it changes how “clean” your front door looks between cleanings.
Pick a finish that is specifically labeled for exterior durability and wipe resistance, then match the color family to your door hardware set. Then install with clean hands and avoid touching the finish with oily gloves. Finally, check clearance so the handle doesn’t scrape the door face — that scuff becomes permanent fast in matte finishes.
Use a microfiber cloth and a mild cleaner on hardware — harsh chemicals can strip the matte texture.
Avoid buying indoor-only knob sets — they pit and discolor quickly outdoors.
10. Door Frame Caulk Lines That Don't Trap Water

Caulk is not a magic water stopper. The common mistake is smearing caulk everywhere, including places where water should drain. That traps moisture behind trim and leads to swelling at the jamb. A good door comparison includes how the frame is flashed and how the caulk line is placed: you want controlled sealing, not a sealed box. Done right, the exterior joints stay clean and the wood or sheathing behind them stays dry.
Editor's noteIf your caulk looks thick like toothpaste, you’re probably covering a problem instead of sealing the right joint.
Start by confirming your installation uses flashing tape in the right places before any trim is installed. Then apply exterior-rated caulk only along the exterior joint lines where water can’t get behind flashing. Finally, tool the bead smoothly and avoid gaps at corners so you don’t create capillary paths for water.
Skip thisAvoid caulking over raw gaps without backing materials like backer rod where needed.
11. Correct Hinge-Side Shimming for Smooth Close

Most door installation issues start with shimming. People compare door styles and ignore that the hinge-side alignment controls reveal gaps, latch engagement, and how hard the door closes. If the reveal is off, the door will scrape or the weatherstripping won’t compress evenly. The result is a door that feels “slightly wrong” every day — and that’s exactly the kind of annoyance you regret after you pay for the door. A properly shimmed hinge side makes both wood and steel doors behave.
Editor's noteUse a long level on the latch side reveal, not just the floor — doors lie against the frame, not the room.
Start by installing the hinge-side shims behind the hinge locations, not randomly along the frame. Then set the door in place and adjust shims until the reveal gap looks even from top to bottom and the latch aligns without forcing. Finally, fasten hinges in order, check operation, then add shims where needed near the latch side and strike.
Skip thisAvoid tightening every screw immediately — it locks in misalignment.
12. Strike Plate Alignment to Stop Deadbolt Scraping

A door that scrapes at the deadbolt is usually a strike alignment issue, not a “bad door” issue. The scrape happens when the latch bolt hits the strike edge instead of seating fully. That creates wear, makes the deadbolt feel stiff, and can even prevent full engagement. When you compare door options, include the strike and latch setup quality — and plan to adjust it during installation. A properly aligned strike plate makes the whole door feel more expensive.
Start by closing the door slowly and watch where the latch bolt contacts the strike. Then adjust strike plate position by loosening screws and moving it in small increments, checking engagement each time. Finally, once it drops cleanly, tighten screws and test in both locked and unlocked positions to confirm consistent throw.
If you need more adjustment, widen the strike plate mortise slightly rather than forcing the door closed.
Avoid using heavy lubricant as a fix — it hides alignment problems and attracts grit.
13. Insulation Planning for No-Drama Draft Control

Drafts don’t come only from the door slab; they come from the gap between door frame and wall. But the door core matters because a thin door transmits temperature and makes weatherstripping work harder. People compare door materials and ignore insulation thickness and core type, then feel a cold front even with new seals. A better approach is to pick a door with real insulation and then seal the installation gap properly with the right foam and backer materials. That combo is what makes the entry feel stable.
Editor's noteUse low-expansion foam — regular foam can bow frames and ruin reveal gaps.
Start by choosing a door with an insulated core and check the door’s construction notes for foam type or core details. Then install the door frame with correct shimming and seal the perimeter gap between frame and rough opening using low-expansion window and door foam. Finally, after foam cures, trim excess and apply exterior caulk at the outer joint line so you don’t leave exposed foam.
Skip thisAvoid filling the whole perimeter with expanding foam without checking frame movement.
14. Door Size Comparisons That Include Swing Clearance
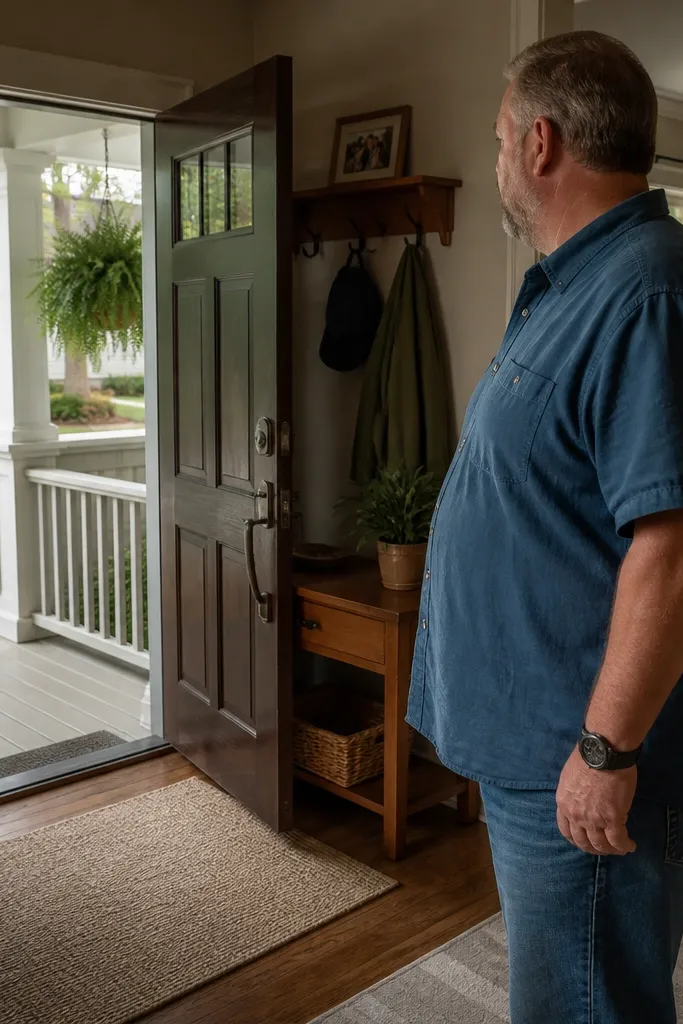
A door can be the perfect material and still be a pain if the swing clearance is wrong. People compare door sizes based on “it fits the opening” and forget the porch step, railing, and interior furniture layout. If the swing hits a wall or forces you to maneuver around a tight entry, you’ll hate the door every day. Swing clearance also affects how well weather seals compress because the door has to close freely without rubbing. That’s why your main door comparison best includes real-world swing measurements, not just dimensions.
Editor's noteTest with a temporary board cut to the door width if you’re unsure — swing arc math can lie.
Start by measuring the clear space where the door will swing — from the hinge side to the nearest obstruction at handle height. Then mark the swing arc on masking tape on the floor and check it with the door in the fully open position. Finally, confirm the interior trim and threshold height don’t create a snag point that blocks full closing.
Skip thisAvoid ordering a door with a 1/2 in wider slab than your clearance allows.
15. Paint Color Choice Based on Heat, Not Just Style
Color affects door behavior because darker finishes absorb more heat. That heat makes wood move more and makes steel expand slightly, and it can worsen seal wear if your installation is marginal. When you compare door options, don’t treat paint color as decoration only. Choose a finish system rated for exterior UV resistance and select a matte or satin finish that hides micro scuffs. This matters most for doors with direct afternoon sun exposure.
Editor's noteIf you go dark, don’t skip primer — it prevents uneven absorption that shows as blotches.
Start by checking the door finish spec — select an exterior paint or stain system that lists UV resistance. Then apply primer and topcoat with the correct number of coats and dry times so the film is even. Finally, after install, inspect edges around hardware and touch up any exposed wood or bare metal to keep moisture out.
Skip thisAvoid cheap interior paint on exterior doors; it cracks and lets moisture in.
16. Sidelight Glass Selection for Privacy and Impact Resistance

If you’re comparing doors with sidelights, glass selection is part of the door system. Clear glass makes your entry feel exposed and invites drafts of attention; patterned or frosted glass improves privacy without blocking daylight. Impact resistance matters too because sidelights are hit by debris and windborne objects. Choose tempered or laminated glass where code and product spec allow, and pick a pattern that doesn’t distort when viewed from the street. A good glass choice also reduces glare that makes it hard to see your porch steps at night.
Start by selecting sidelights with tempered or laminated glass that matches your local safety requirements. Then choose a privacy pattern that still lets you see movement at the door without full visibility into the home. Finally, confirm the frame gasket system is compatible with the glass kit so the seals stay tight around the perimeter.
Clean sidelights with a gentle glass cleaner — harsh solvents can degrade some coatings.
Avoid clear sidelights if privacy matters; you’ll end up tinting later and that can look uneven.
17. Door Sweep and Kick Plate Pairing for Wind and Scuffs
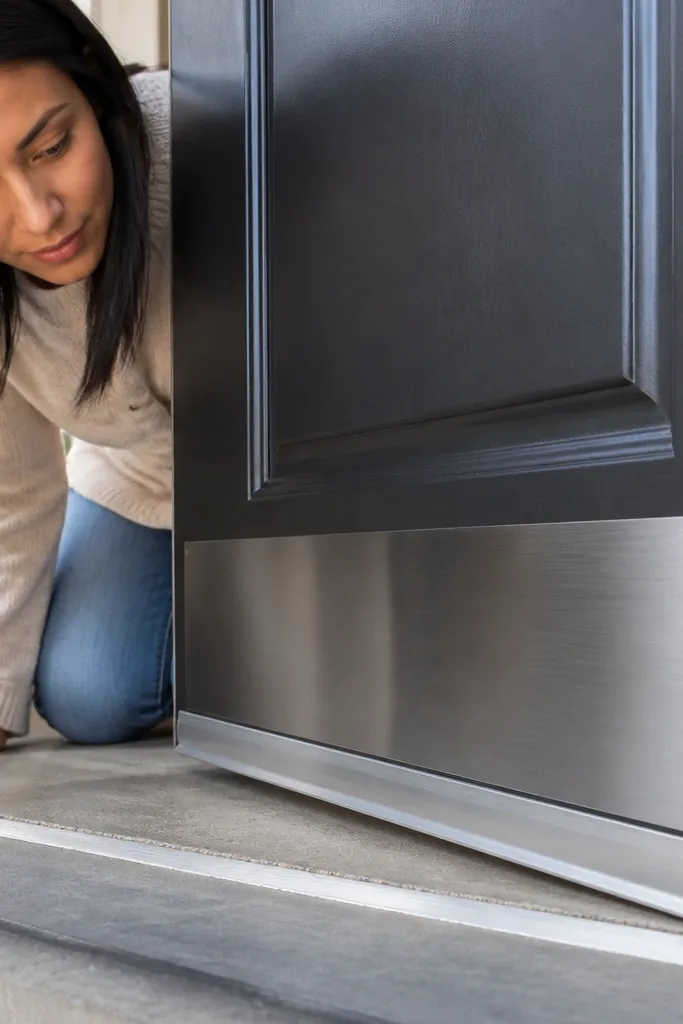
The bottom edge gets hit by shoes, leaves, and wind-driven rain. A door sweep paired with a kick plate prevents damage and improves how the door seals at the threshold. The mistake is installing a door sweep that’s too tall and then shaving it down later, or buying a kick plate that doesn’t match the door’s thickness. When you compare main door options, include the bottom clearance you’ll have at your threshold and the height where scuffs happen. This combo keeps the door looking new longer and stops gaps from forming as the bottom edge wears.
Editor's noteAfter installing the sweep, close the door gently and check for rub marks on the bottom rail before you tighten everything.
Start by measuring the clearance between the door bottom and the threshold, then choose a sweep designed to match that gap. Install the sweep bracket and adjust height so it brushes the surface lightly without dragging. Finally, mount the kick plate with screws that match the door thickness and use a protective finish or backing so water doesn’t track behind the plate.
Skip thisAvoid ignoring the threshold height — it decides sweep fit more than the door style does.
18. Replacement vs Retrofit Prep That Changes Everything
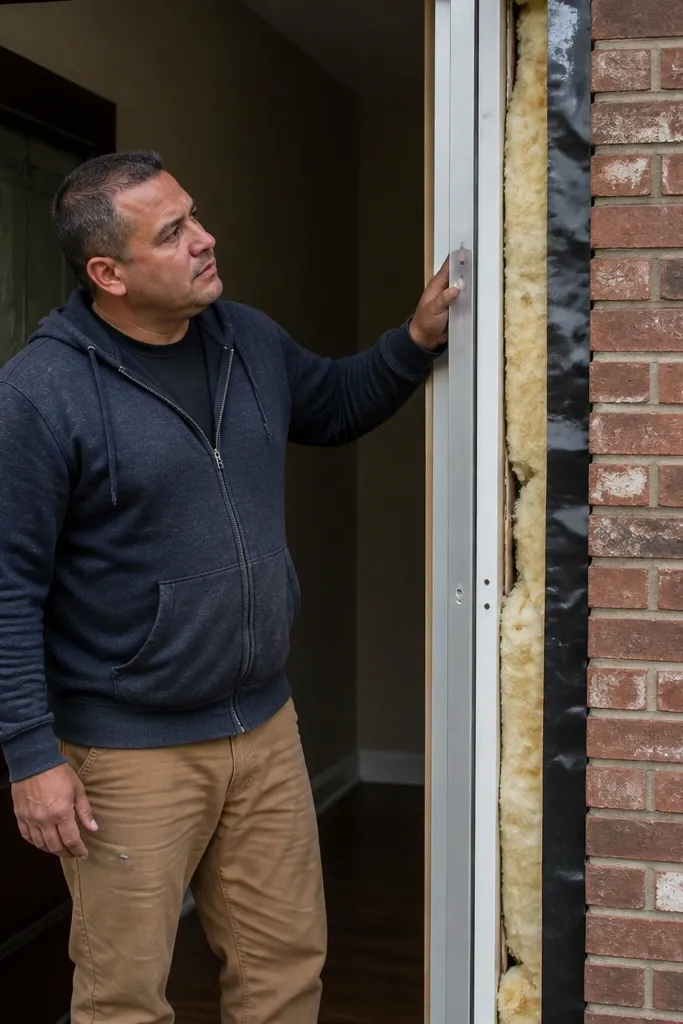
People compare door options but choose the wrong installation path. Retrofit installs can keep trim, but they rely on your existing frame being square and sound. Replacement installs give you better control over flashing, insulation, and seal lines, but they require more demolition. The mistake is assuming one path works for every opening and then dealing with uneven gaps, water intrusion, and hardware misalignment. If you care about “House Main Door comparison best,” compare the installation method as part of the decision, not an afterthought.
Start by checking whether the existing frame is square by measuring diagonals from corner to corner. Then decide retrofit only if the frame is stable and you can maintain seal lines at the exterior joint. If the frame is out of square or has rot, plan a full replacement, including flashing and threshold work, then install and adjust the slab for even reveals.
If the old frame has soft spots, stop pretending a retrofit will fix it — remove and rebuild the seal line.
Avoid buying a premium door and installing it into a damaged frame.



