
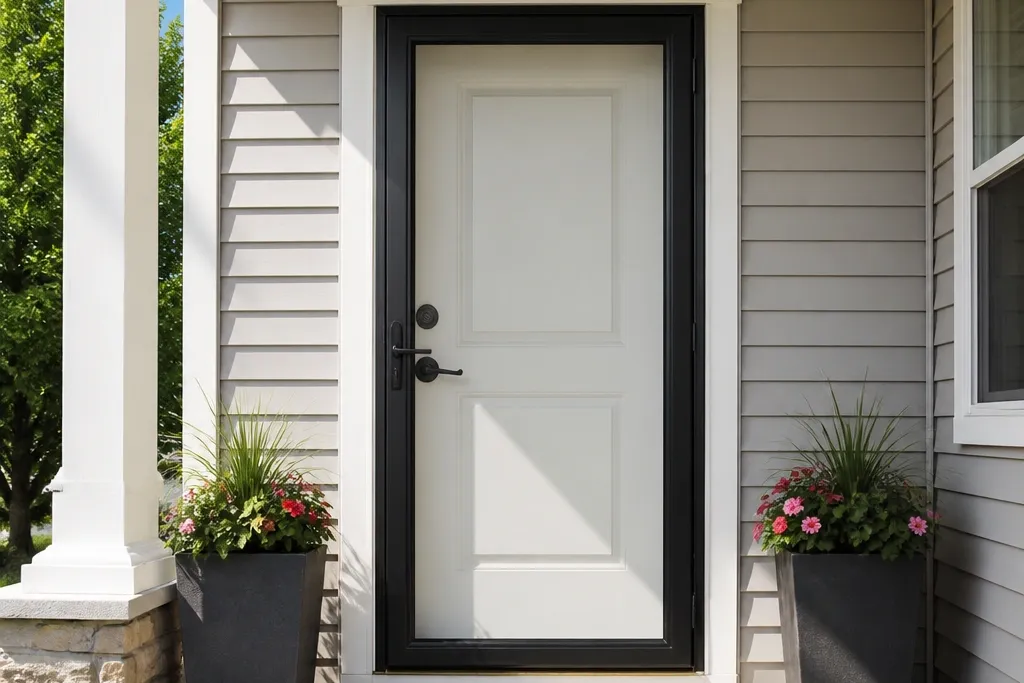
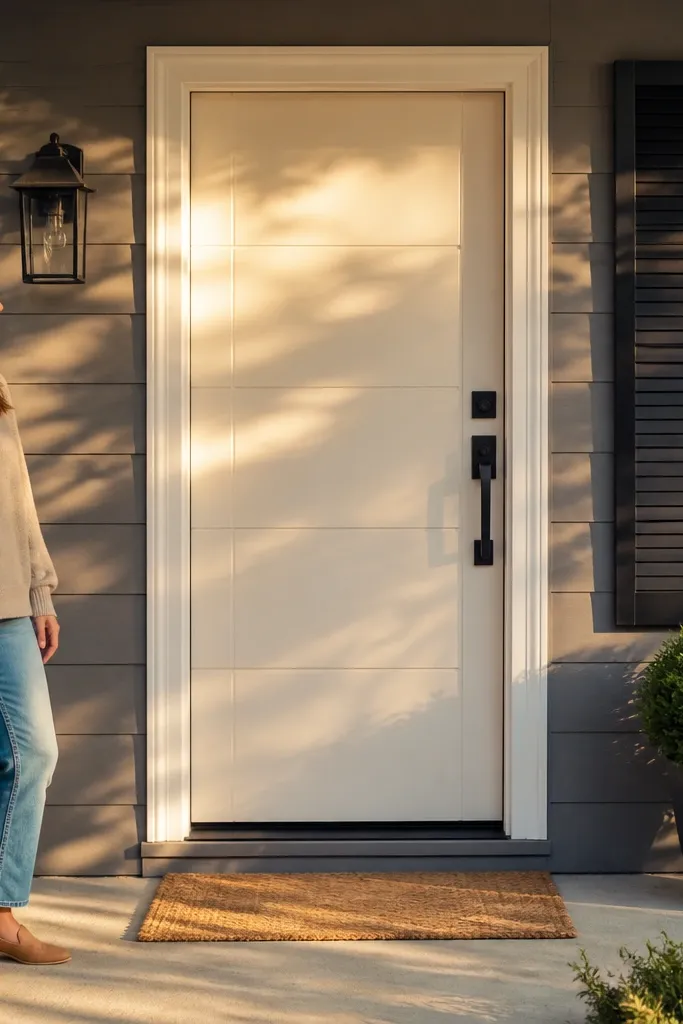
1. Matte off-white slab door with black lever and matching deadbolt
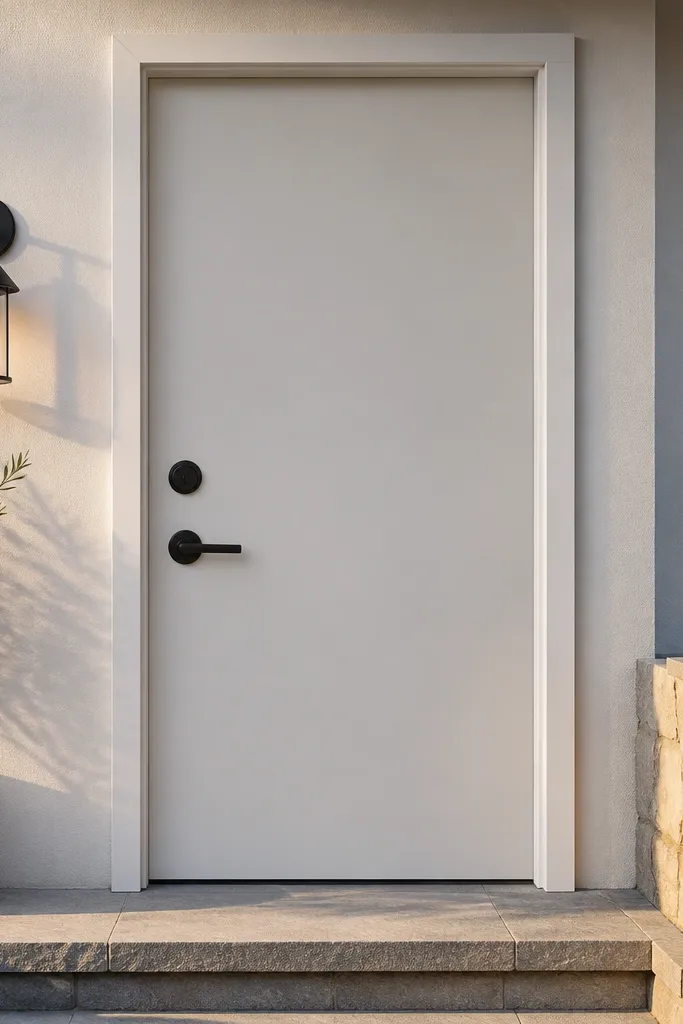
Start by sanding the door surface with 120-grit to remove gloss, then 180-grit to smooth. Fill any dents with wood filler, let it cure, and sand flush so the finish stays even. Wipe with a tack cloth, then prime with a stain-blocking bonding primer if you have any knots or dark patches. Spray or roll two thin coats of matte off-white door paint, letting each coat dry fully, then mount new matte black lever and deadbolt hardware after the final cure.
A matte off-white slab door makes the whole entry feel brighter and cleaner without changing the structure. The flat, simple surface reads modern because there are no busy rails or raised molding details. Pair it with matte black hardware so the eye lands on one crisp contrast instead of multiple finishes. This is the lowest-effort option that still looks intentional, especially if your current door is a glossy paint or a worn wood tone. It suits covered porches and interior-facing entries where you want a sleek look that stays sharp in sunlight.
Skip thisSkip gloss paint — it reflects uneven light and highlights old unevenness.
Editor's noteUse a foam mini roller for the flat face; it keeps the matte finish from showing roller texture.
2. Charcoal door with a thin vertical slat overlay frame
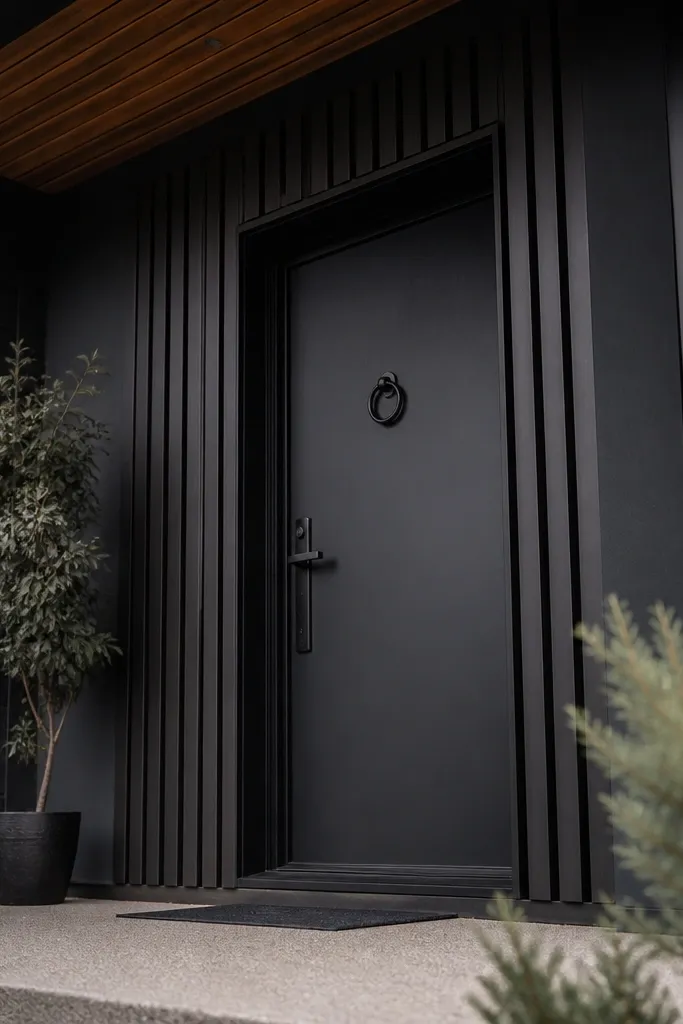
Measure the door face and plan a centered rectangle frame, leaving about 3 inches of border around it. Cut 1x2 or 1x3 primed MDF strips into vertical slats, then assemble a border frame with wood glue and 18-gauge brad nails. Dry-fit everything, then glue and nail the slats into place, keeping spacing consistent (about 1/4 inch gaps looks clean). Prime the whole door and overlay, then paint with a durable exterior enamel in charcoal, and seal edges where the overlay meets the door.
Charcoal paint plus a thin vertical slat overlay gives you that modern “architectural” look while staying budget-friendly. The slats create a light-and-shadow effect that reads premium in photos, even from across the porch. You’re not changing the door thickness or core, just adding a controlled grid. This works best on plain slab doors or doors with worn panels that you want to simplify. Choose slim slats so it stays sleek, not farmhouse.
Skip thisDon’t use thick lumber — heavy slats make a budget door look bulky.
Editor's notePre-sand the MDF edges before primer; it prevents fuzzy edges under paint.
3. Wood veneer reface with modern horizontal grain
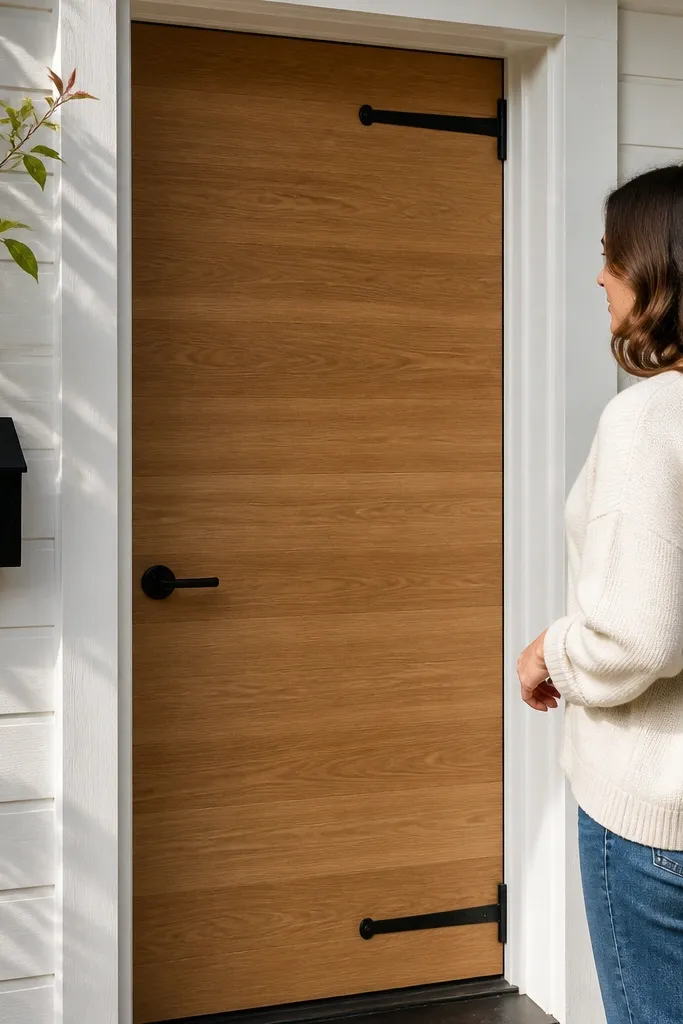
A wood veneer reface makes a door look custom because grain reads like real craftsmanship. For a modern style, keep the grain direction horizontal so it looks intentional and calm instead of busy. You’ll get warmth at the entry, and it pairs beautifully with simple black hardware. This is a smart move if your existing door is flat and you want a premium look without replacing the slab. It also hides minor surface imperfections better than you’d expect when the veneer is applied cleanly.
Start by sanding the door face smooth and removing all dust. Use a contact cement or veneer adhesive system rated for doors, then lay down the veneer so the edges are aligned and overhang slightly. Trim the edges with a sharp utility knife or veneer trimmer, then sand lightly with fine paper so the seam line disappears. Seal with a clear exterior topcoat (matte or satin) to protect against sun and moisture, and reinstall hardware only after the seal cures.
Use a roller to press the veneer during bonding so you avoid bubbles along the bottom edge.
Skip cheap craft veneer — thin sheets telegraph dents and lift at the corners.
4. Metal-look door skin in brushed gunmetal gray
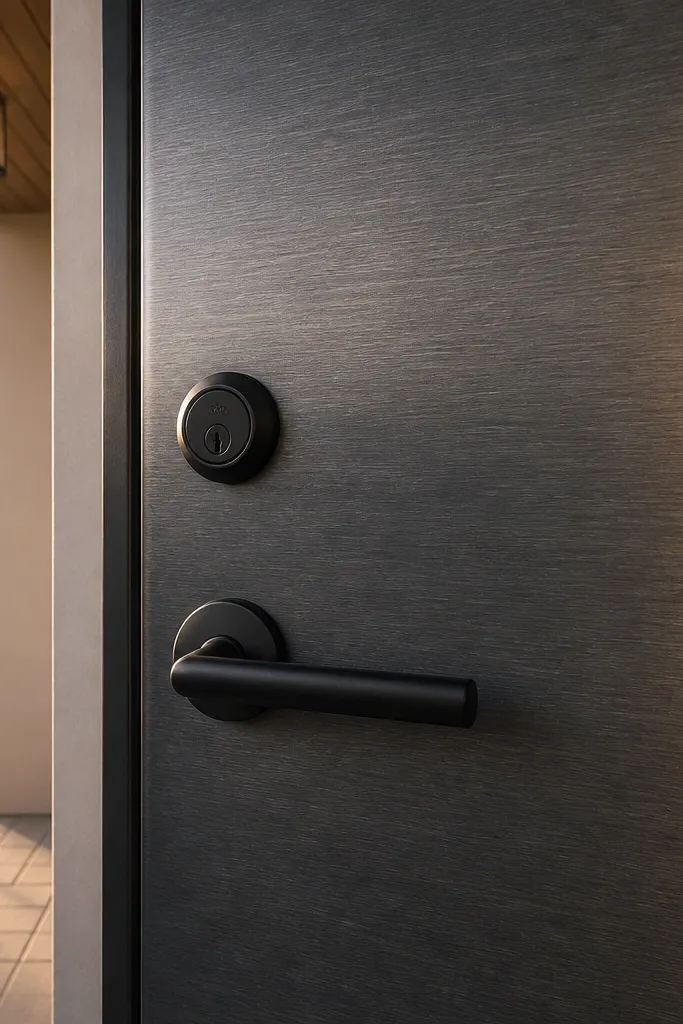
Remove the door from hinges if possible so you can work flat. Cut the metal-look skin to size, leaving a small margin, then mark and cut openings for the handle and deadbolt. Apply adhesive rated for door skins, spread evenly, and press from the center outward to prevent trapped air. Trim edges cleanly, then seal the seam lines with exterior-rated trim sealant and reinstall hardware after the adhesive sets fully.
A metal-look skin gives you an instant modern upgrade because it changes the surface from “painted” to “industrial.” Brushed gunmetal gray is the sweet spot: it hides scuffs better than pure black and looks great with bronze or black hardware. This is a good choice for homes with strong porch lighting because the brushed finish catches highlights without looking glossy. It’s also practical because the skin is tough compared to regular paint on a door face.
Skip thisDon’t leave gaps at the bottom edge; water gets in and lifts the corners.
Editor's noteUse a straightedge and a new blade for trimming — ragged cuts show through immediately.
5. Two-tone entry door with vertical glass inserts
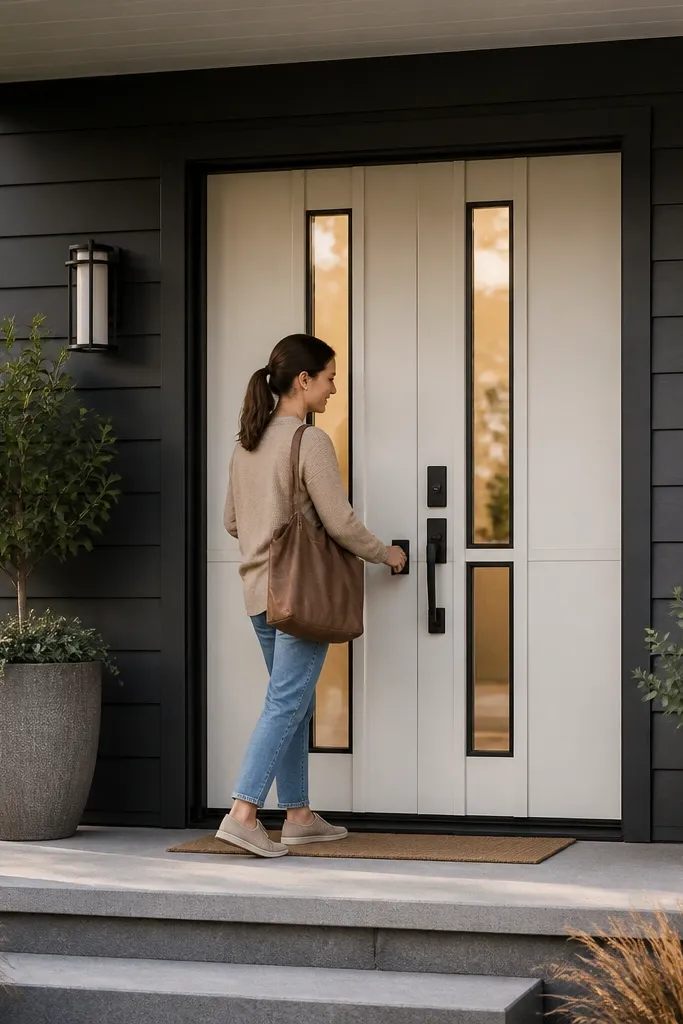
Plan the layout first: choose two or three slim vertical glass panels, keeping at least 2 inches from door edges and existing hardware. Remove the door slab if you can, then cut openings to match the glass insert frames using a jigsaw with a fine-tooth blade. Install the frames with exterior-rated screws and sealant, then paint the door base color while masking the glass. Finish by sealing all glass perimeter joints, let cure time pass, and reinstall hardware once the surface is fully dry.
Two-tone doors look modern because they break the surface into a controlled grid. Add slim vertical glass inserts, and you get light in the entry without the clutter of large windows. Keep the glass frames in a dark finish (matte black or oil-rubbed bronze) so it reads cohesive. This idea is best when your current door is solid and you want more daylight but still want privacy. It’s also photogenic because the vertical glass lines frame the entry like a design feature.
Skip thisDon’t choose huge glass panes — they make a budget door look like a replacement, not an upgrade.
Editor's noteUse frosted or seeded privacy glass so the modern look stays bright without showing silhouettes clearly.
6. Picture-frame overlay with clean square corners
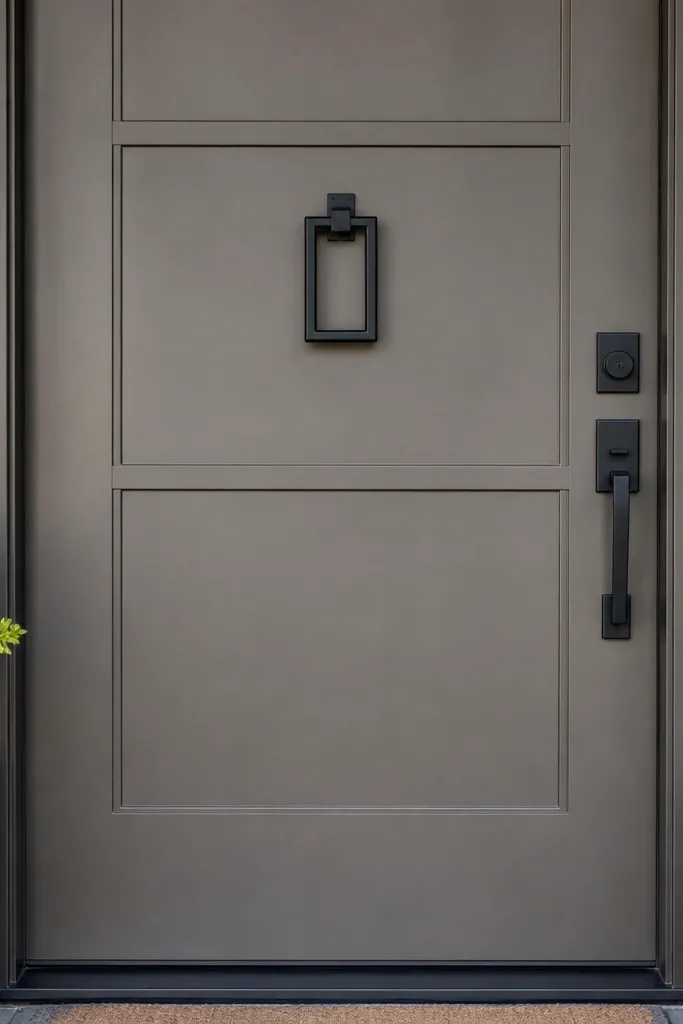
A picture-frame overlay turns a plain slab into a modern paneled door without the cost of custom milling. The key is crisp square corners and even spacing, so the door reads like built-in architecture. Use a contrasting trim color or paint the overlay the same color but with a slightly different sheen for depth. This works especially well if your entry has modern siding or clean window trim, because the geometry matches. It’s also forgiving: you can hide minor dents under the overlay strips.
Cut two vertical and two horizontal trim pieces from primed MDF or finger-jointed wood, aiming for 1x2 strips. Mark a centered rectangle on the door face and dry-fit so you like the proportions. Glue and brad-nail the frame pieces in place, keeping the corners square and using a carpenter’s square. Prime everything, then paint two coats, and reinstall hardware after cure so the screw holes don’t chip the finish.
Stagger your brad nails so you don’t split the trim; fill holes with matching filler before the final paint coat.
Don’t eyeball the spacing — uneven gaps turn the whole look messy.
7. Slab door with a centered matte black vertical panel
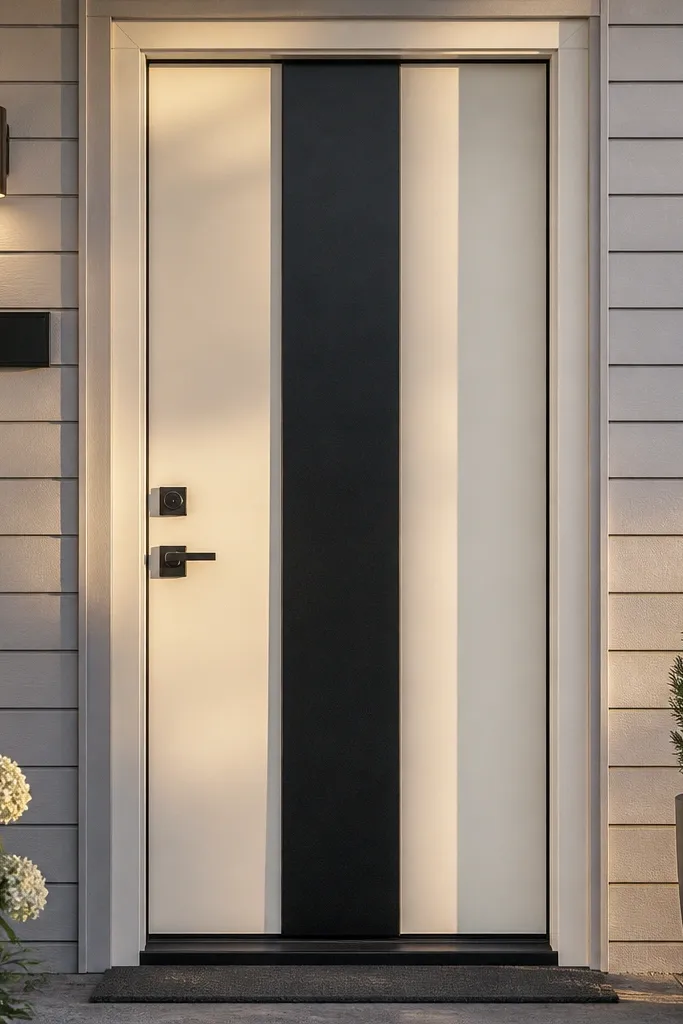
This is the cleanest modern trick when you want something graphic but not busy. Paint or apply a centered matte black vertical panel so the door has one strong focal line. It’s surprisingly elegant because it doesn’t rely on multiple colors or heavy trim work. Choose a light base color like warm white or greige so the black panel pops. Add simple black hardware and a clean door knocker or none at all for a sleek look.
Start by deciding the panel width; 6 to 8 inches looks right on most 36-inch doors. Mask a centered vertical rectangle on your door face using painter’s tape, then scuff sand the area lightly so paint bonds. Spray or roll the panel color (matte black exterior enamel) in thin coats, letting each coat dry before removing tape. Once cured, apply a clear matte topcoat only if the paint manufacturer recommends it, then mount hardware.
Use 1/8-inch foam tape as a spacer under tape edges if your door surface is slightly uneven, so lines stay crisp.
Don’t use satin — it reflects porch glare and makes the panel edges look fuzzy.
8. White oak stained door with black metal strap hardware
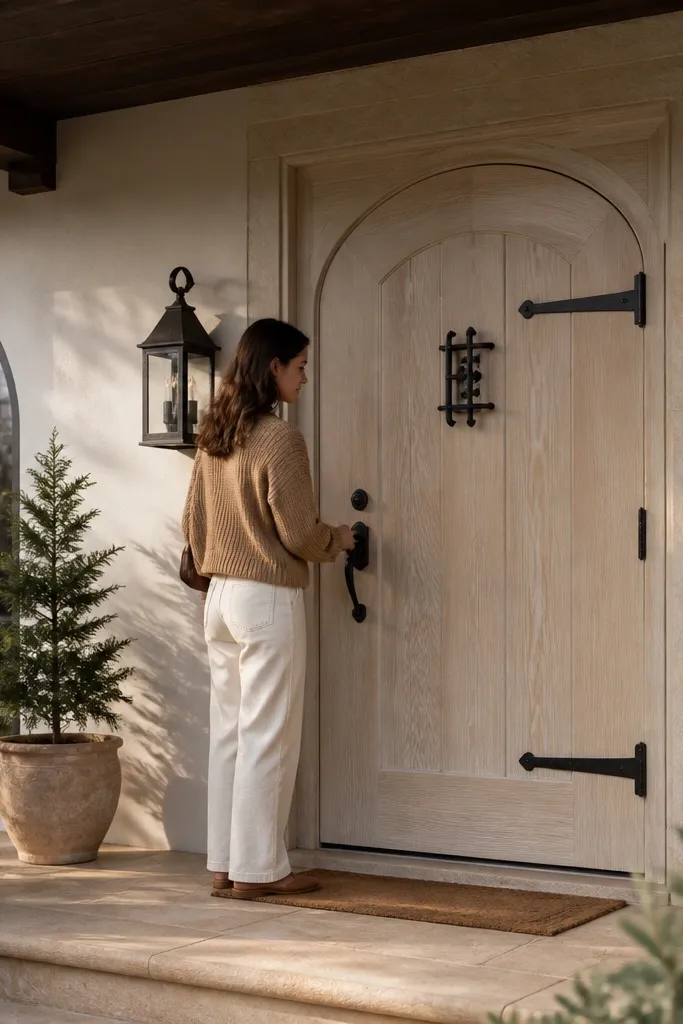
Sand the door to remove old finish, then wipe with a wood cleaner if you have residue. Stain with a light oak or white oak tone, testing on a scrap first to confirm it doesn’t go too yellow. Seal with a matte exterior polyurethane or conversion varnish if you want maximum durability. After curing, install black metal hardware, and use longer screws where the hinges mount so they stay tight.
If you want modern warmth, a light oak stain on a smooth door face looks current and expensive. The look hinges on staying light — “white oak” tones with a matte clear coat keep it clean instead of orange. Add black strap hinges or black metal hardware so the hardware matches the entry’s lines. This idea is best when your door is already wood or you’re willing to add a veneer. It’s also great for homes with wood soffits, beams, or warm trim colors.
Skip thisSkip conditioner if the wood is blotchy — it can make the stain look muddy on some door woods.
Editor's noteSand with 180-grit before staining; it helps the stain look even and less blotchy.
9. Black framed glass panel door using faux mullions
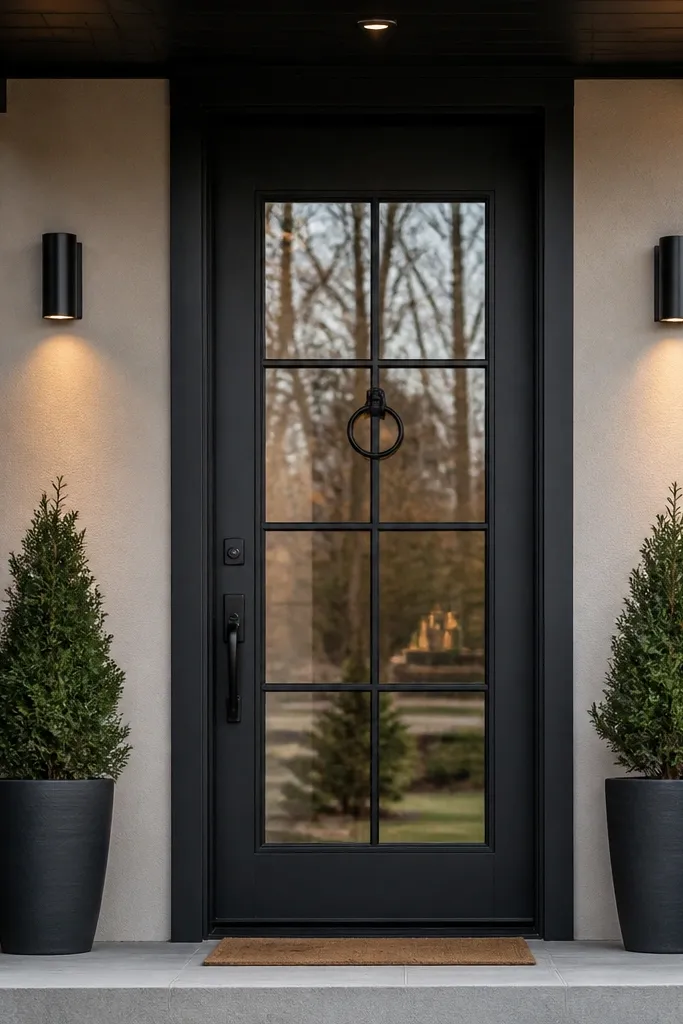
A big glass panel reads modern fast, and faux mullions make it look like a custom glazed door. You get a sleek, gallery-like entry without the cost of real divided-light window units. The secret is using thin, flat mullion strips that sit cleanly on the glass surface and look straight from the porch. This works best when your front entry is sheltered so the glass stays protected from direct weather pounding. Keep the frame and mullions matte black for a crisp look.
Choose a glass panel insert or replace an existing panel if your door has a cutout. Install a perimeter frame using exterior-rated screws and sealant, then add faux mullion strips on top of the glass using adhesive rated for glass and paint. Paint the mullions matte black after installation, so you unify the look. Seal all edges with clear exterior silicone and let it cure fully before testing the door swing.
Cut mullions with a miter box and test-fit dry; tiny gaps show immediately on black paint.
Don’t use glossy black — it turns into a glare stripe under porch lights.
10. Recessed panel look using foam molding and paint
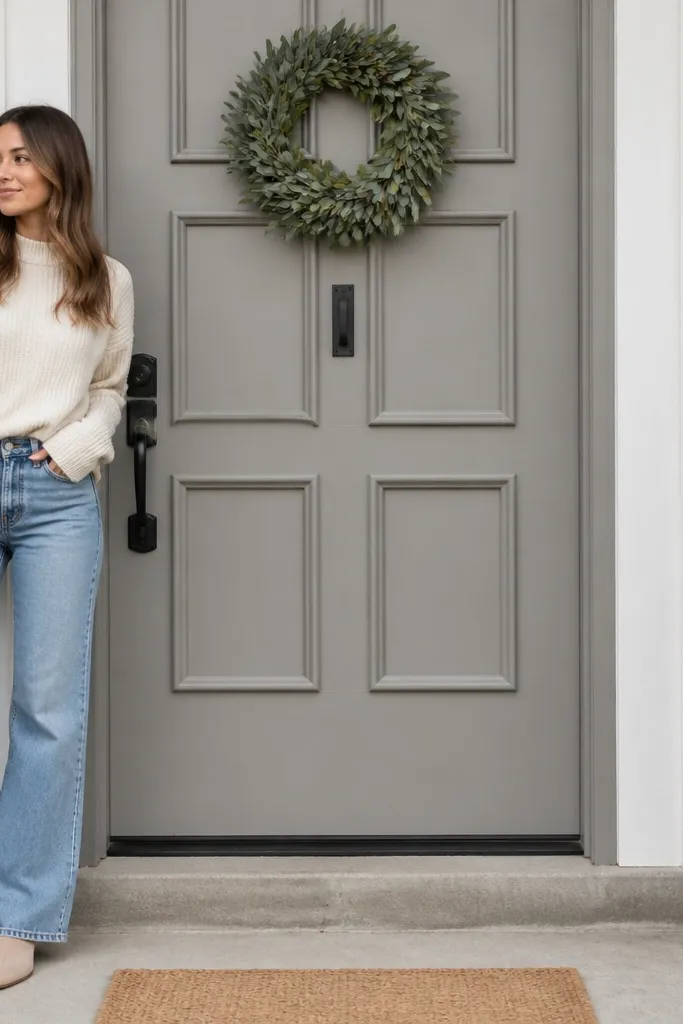
You can fake a recessed-panel door for cheap by building shallow “shadow boxes” with lightweight foam molding. Painted correctly, it looks like real millwork because the raised trim casts a clean shadow. This is a great option when you want a classic-modern blend: structured squares but kept modern through simple layout and matte paint. It’s also easy to adjust if your door has minor dents — the molding covers them. Use a single color scheme so it stays modern, not decorative.
Sand and clean the door face, then mark a grid for two or four recessed squares. Attach foam molding strips with construction adhesive, pressing firmly and wiping squeeze-out with a damp cloth before it sets. Fill any gaps with paintable caulk, then sand lightly after curing. Prime and paint with exterior-rated matte enamel, applying two thin coats so the foam texture doesn’t telegraph.
Paint the trim before installing hardware so you avoid chips around screw holes.
Don’t pile on thick caulk — it shrinks and cracks along edges.
11. Monochrome door with light stone-pattern vinyl overlay
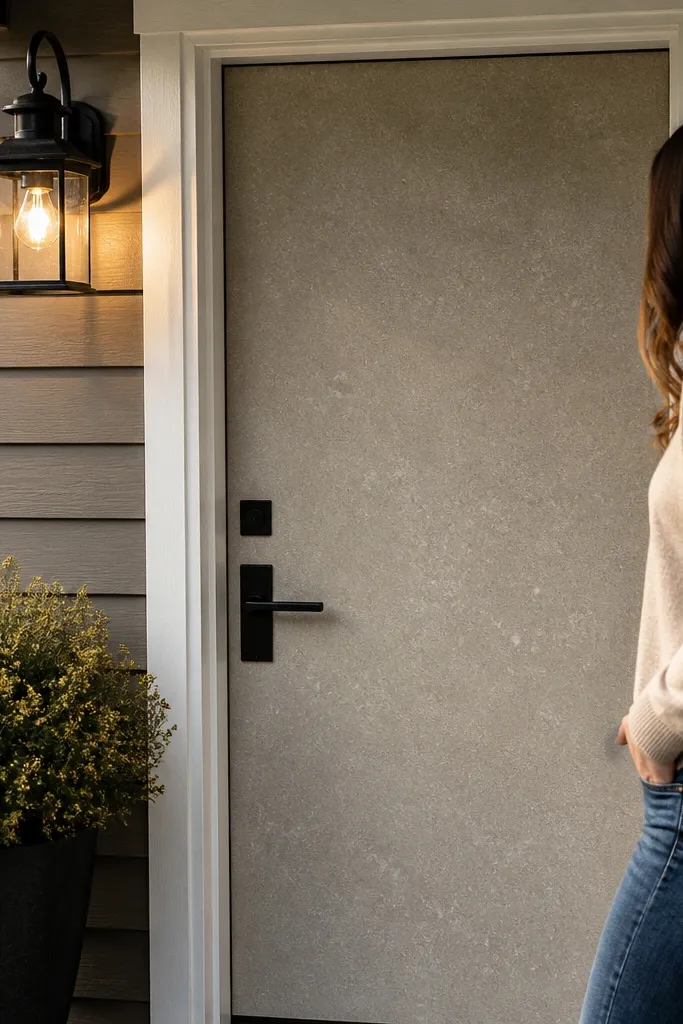
A subtle stone-pattern overlay gives you a modern, textured face without carpentry. The key is choosing a pattern that reads like micro-stone, not big dramatic rocks. Keep it monochrome in gray or taupe so it looks designed, not like wallpaper. This idea is photogenic because texture catches light differently than flat paint. It’s also a practical budget move when you don’t want to sand through old finishes.
Clean the door thoroughly and degrease so the vinyl bonds. Cut the vinyl slightly oversized, then squeegee it onto the door face from the center outward, using a felt squeegee to avoid scratches. Trim edges with a sharp blade and a metal ruler. Seal the perimeter seam with clear exterior trim sealant and reinstall hardware after the vinyl is fully adhered.
Work in a warm garage or under consistent temperature; vinyl edges lift when it’s cold.
Skip glossy vinyl — glare makes the texture look cheap.
12. Warm white door with thin vertical ribbing in matching paint
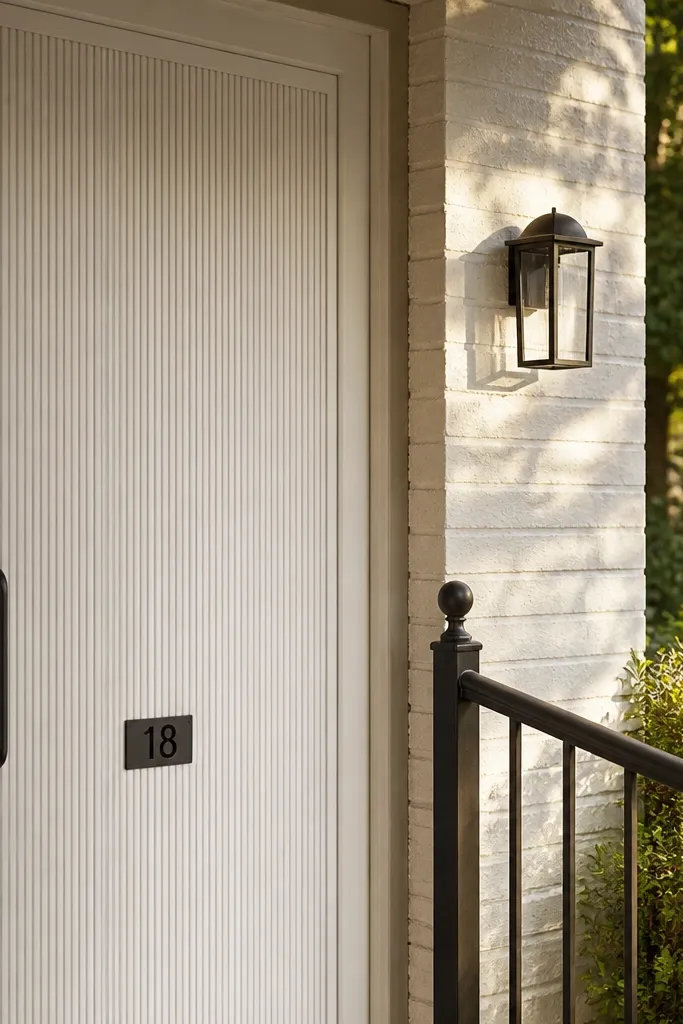
Thin vertical ribbing gives modern texture without changing the color story. Instead of going for loud contrast, you create depth by using ribs in the same warm white family, then painting everything with a uniform matte finish. The ribs catch side light and make the door look more expensive than a flat slab. This works well with modern siding and minimal trim, and it stays calm in photos. It’s also a good choice if you’re worried about the door looking too dark in winter.
Cut rib strips from primed MDF or PVC trim, keeping them narrow (around 1 inch wide). Mark a centered set of ribs on the door face, leaving even spacing (aim for 1/4 to 3/8 inch gaps). Glue and nail the ribs in place, then fill nail holes and any seams with paintable filler. Prime, then paint two coats in warm white exterior enamel, keeping the coat thin so ribs don’t fill in.
Use a long straightedge to confirm the ribs are parallel before the glue sets.
Don’t use wide ribs — it shifts the look toward farmhouse.
13. Black-and-brass hardware combo with a clear matte topcoat

Hardware can do more than people think, and a black-and-brass combo makes a simple door look designed. If your door is already solid and in good shape, you can keep the surface and focus on finish harmony: matte clear coat for the wood or matte paint for the slab. Brass with black reads modern because it creates a controlled two-tone metal story. Add a matching peephole and house numbers in the same brass shade for cohesion. This is a budget win when the door’s structure is fine but the look is tired.
Start by removing the existing hardware carefully and filling old holes if you’re changing sizes. If wood, sand lightly and apply a matte exterior clear coat; if painted, scuff sand and spot prime. Install new brass lever/knob and a black deadbolt (or vice versa) using the same manufacturer hardware so dimensions line up. Finish by updating the peephole and installing brass house numbers with a matching mounting method, then check alignment before tightening fully.
Take a photo of your current hole locations and measure from edges so you buy hardware that matches your door thickness.
Don’t mix three metal finishes — it looks like leftovers.
14. Exterior-rated raised panel overlay with oversized squares
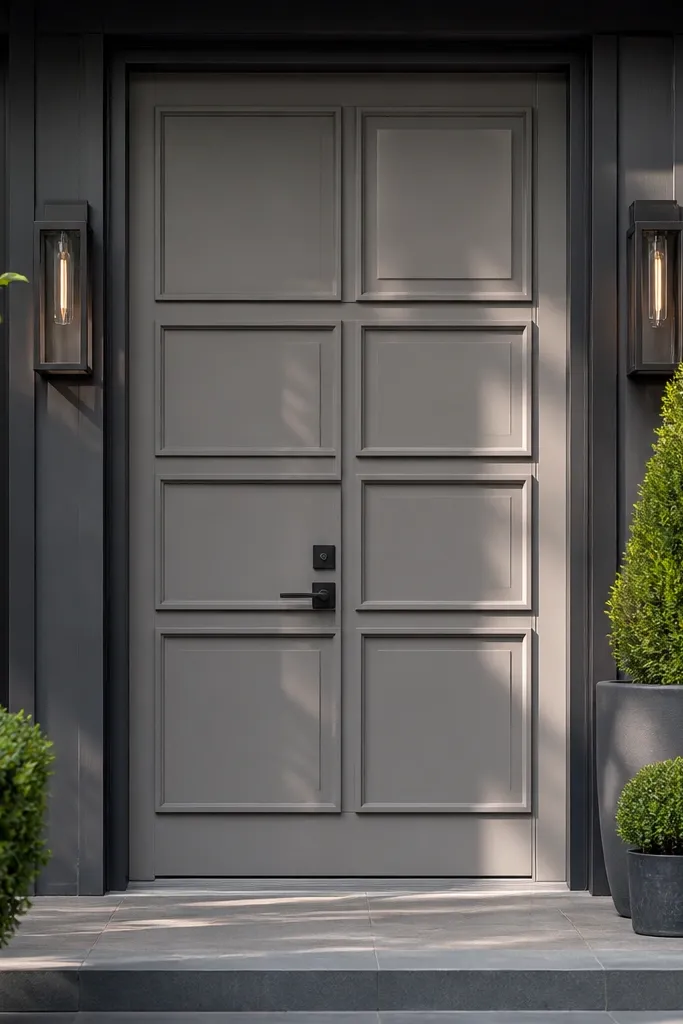
Oversized squares look modern because they simplify the door into big graphic blocks. Raised panel overlay strips give the shadow lines that make it read like real millwork, without buying a new door. Matte gray keeps it contemporary and pairs well with black hardware and dark trim. This works especially well when your entry has large windows or modern vertical siding, because the square geometry matches. It’s a strong option if you want “statement door” energy on a budget.
Plan the panel layout first: on a 36-inch door, four large squares or two large squares look best. Cut trim strips from primed MDF, then build the panel frames and insert flat backing boards for a clean face. Glue and nail the raised panel assemblies to the door face, then fill seams and sand smooth. Prime and paint the whole door and panels in matte gray, and seal edges around the overlay for exterior durability.
Use a consistent panel depth (about 1/2 to 3/4 inch) so the shadows look even across the door.
Don’t leave exposed MDF edges — they drink moisture and swell.
15. Smoked glass top light look using film and a painted frame
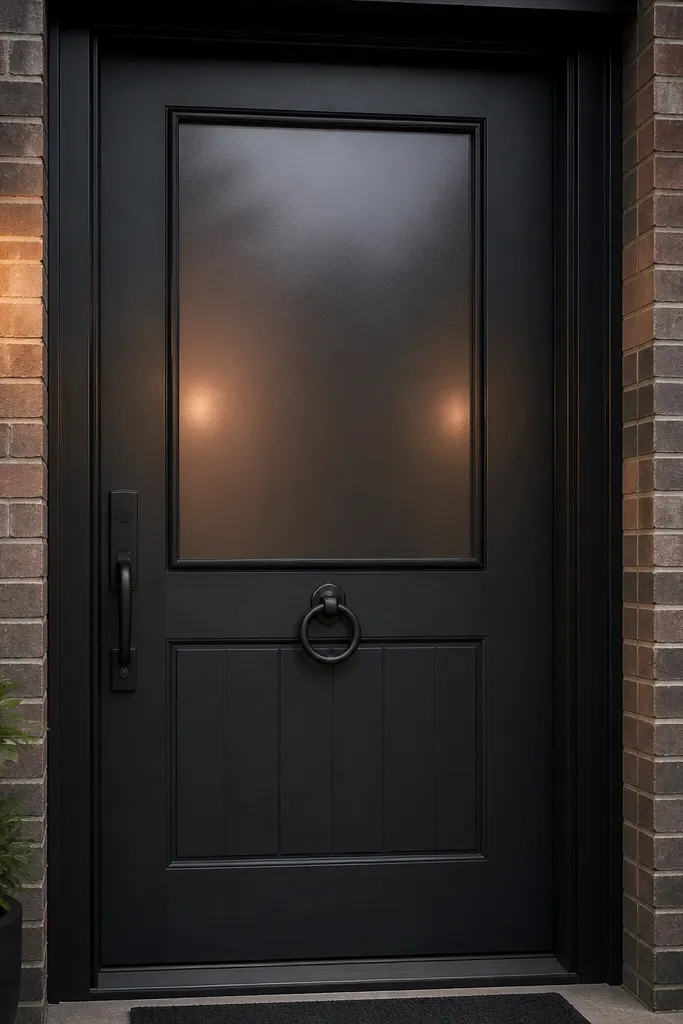
Clean the glass with a streak-free glass cleaner and plan your film size with a small margin. Apply the smoked film using an installation solution so you can position it and squeegee out bubbles. Paint a thin exterior frame around the window area with matte black exterior enamel, using painter’s tape to keep edges sharp. Let everything cure, then reinstall any trim pieces and check that the door seals correctly around the glass.
You can mimic a modern smoked-glass top light with glass film and a painted frame, even if your door only has a small window or none at all. The result looks sleek because the film darkens the light area and creates a soft glow under porch lamps. Paint a thin black frame around the window section so it reads like a designed feature, not a leftover panel. This is ideal for privacy-focused entries where you want a modern look without replacing the whole door or unit.
Skip thisDon’t skip glass cleaning; film shows every fingerprint in the light.
Editor's noteTrim film carefully at the edges so it doesn’t peel where water sits.
16. Concrete-gray paint with a faux floating frame border
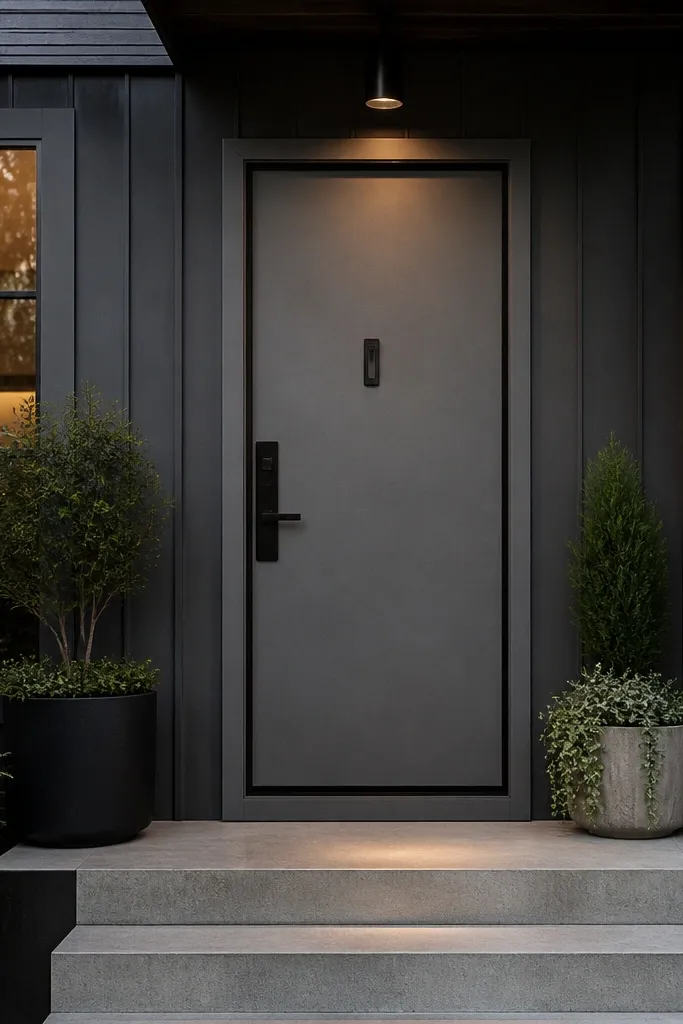
A floating frame border makes a budget door look like it has depth. The look comes from adding a thin border that sits slightly “off” the door face, so the eye reads layers. Concrete-gray paint keeps it modern and hides scuffs better than bright colors. Pair with a matte black handle and a simple rectangular knocker or numbers. This works best for doors with a clean, flat face because the floating border needs a smooth background.
Choose a border width around 1 inch and mark a rectangle inset about 2 inches from the door edges. Cut trim strips and attach them using thin spacers or foam tape so they sit slightly away from the door face. Glue the spacers to the door first, then glue the trim on top for a layered effect. Paint the base door and the border in concrete-gray, then do a second coat on the border for an even sheen, and reinstall hardware after curing.
Use a laser level or long level to keep the border perfectly square; the eye catches crooked lines fast.
Don’t use thick foam that squishes; it makes the frame look warped.
17. Aluminum trim kit border with white door and black numbers
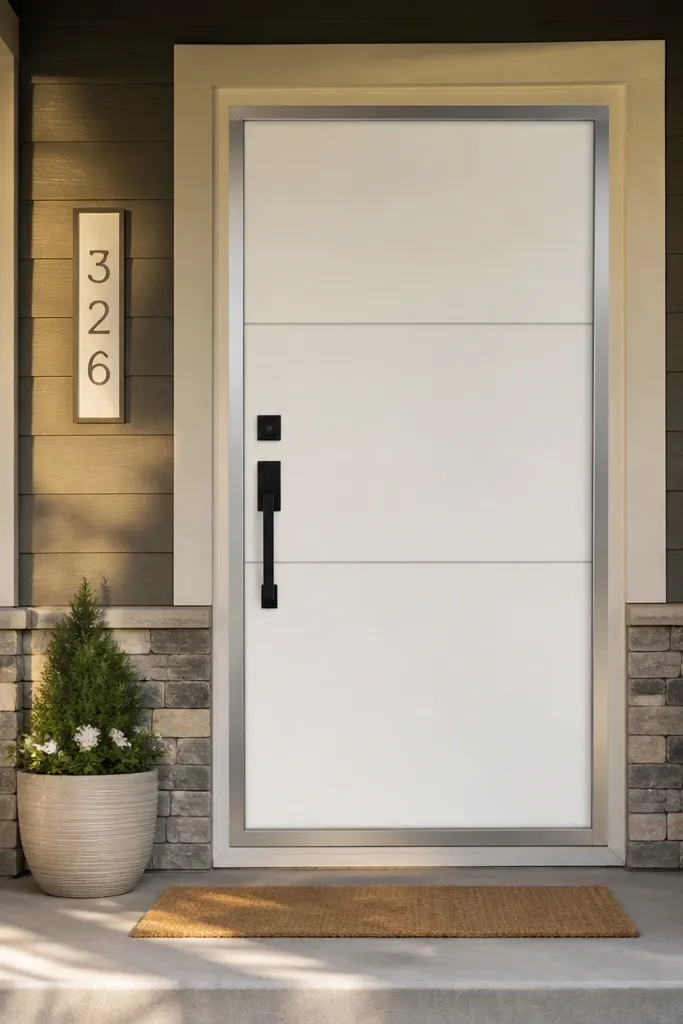
Aluminum trim borders create a crisp, modern edge line that paint alone can’t match. A white door with a thin aluminum border looks clean and architectural, especially when your entry has other metal trim. The border also protects the door face edges from minor scuffs. This idea is great if you want a “finished” look with minimal carpentry skills. Keep the border thin (about 1/2 inch) so it stays sleek rather than decorative.
Measure the door face and order or cut trim pieces so the border forms a centered rectangle or full perimeter. Dry-fit first, then drill and countersink holes if you’re using mechanical fasteners; use exterior-rated screws. Apply a thin bead of exterior construction adhesive along the back of the trim and press into place, then secure with screws. Prime and paint the door if needed, then mount black house numbers and update hardware to match the aluminum finish.
Wipe the aluminum with denatured alcohol before adhesive; it improves bond strength.
Don’t rely on adhesive alone on exterior doors — edges lift with temperature swings.
18. Walnut stain with a single vertical brass pull strip
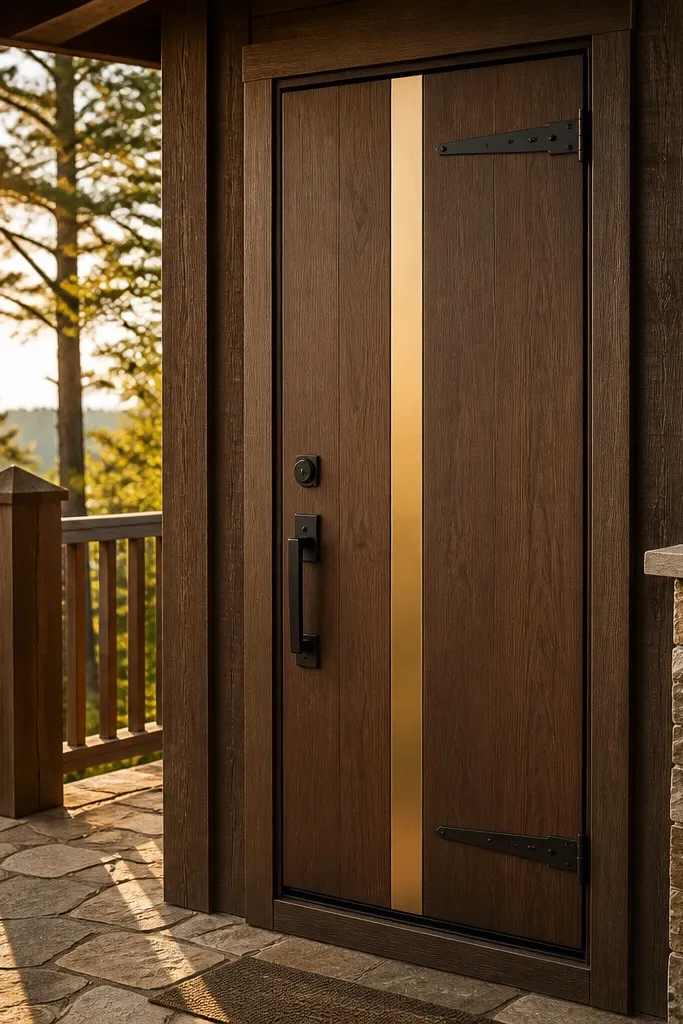
Walnut stain plus a single vertical brass pull strip turns a plain door into a modern focal point. The wood warmth keeps it welcoming, and the brass strip adds a high-end accent without turning the door into a gadget. This works well when your entry trim is warm wood or when you want the door to anchor the front facade. Keep other metals minimal so the brass reads intentional. It’s also a solid choice if you want a door that looks good in both daytime and porch light.
Sand the door to bare wood or to a smooth surface compatible with staining, then apply a walnut stain in even coats, wiping off consistently. Seal with a matte exterior clear coat so the wood doesn’t go glossy and glare under lights. Install a vertical brass pull strip using screws and adhesive (if the strip kit includes both, follow the kit method). Mark the strip location by centering it between the handle and the door top so it looks balanced, then install hardware.
Use a template for the brass strip holes so your screw lines don’t drift.
Don’t place the brass strip too close to the handle; it looks crowded.
19. High-contrast white door with black diagonal brace panel
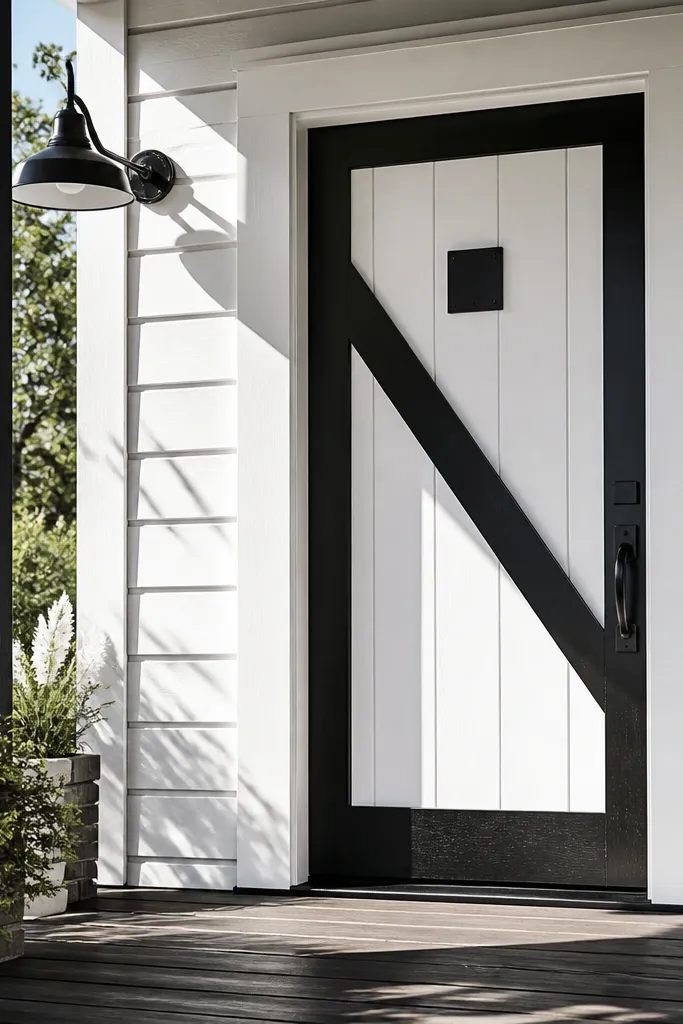
A diagonal brace panel is one of the few budget moves that screams modern from across the porch. It adds graphic tension and makes a flat door look like a design object. The look is bold but still clean if you keep the rest monochrome. Use a white base and a matte black diagonal panel so the door reads crisp in daylight and under warm porch lighting. This idea fits modern farm edges, contemporary siding, and any entry where you want the door to be the hero without adding clutter.
Mark a diagonal line from upper left to lower right based on your preferred geometry, leaving about 2 inches from each edge. Cut an exterior-rated panel board strip to follow the diagonal width, then glue and nail it to the door face. Fill fastener holes and seams, then prime the door and panel. Paint the door white and the diagonal panel black, masking carefully so the diagonal edge stays sharp, then mount hardware after cure.
Use a flexible straightedge or a long piece of cardboard to trace the diagonal so it stays true.
Don’t pick a glossy black — it reflects porch light and makes the diagonal edge look messy.
20. Cement-board texture slab with thin black reveals
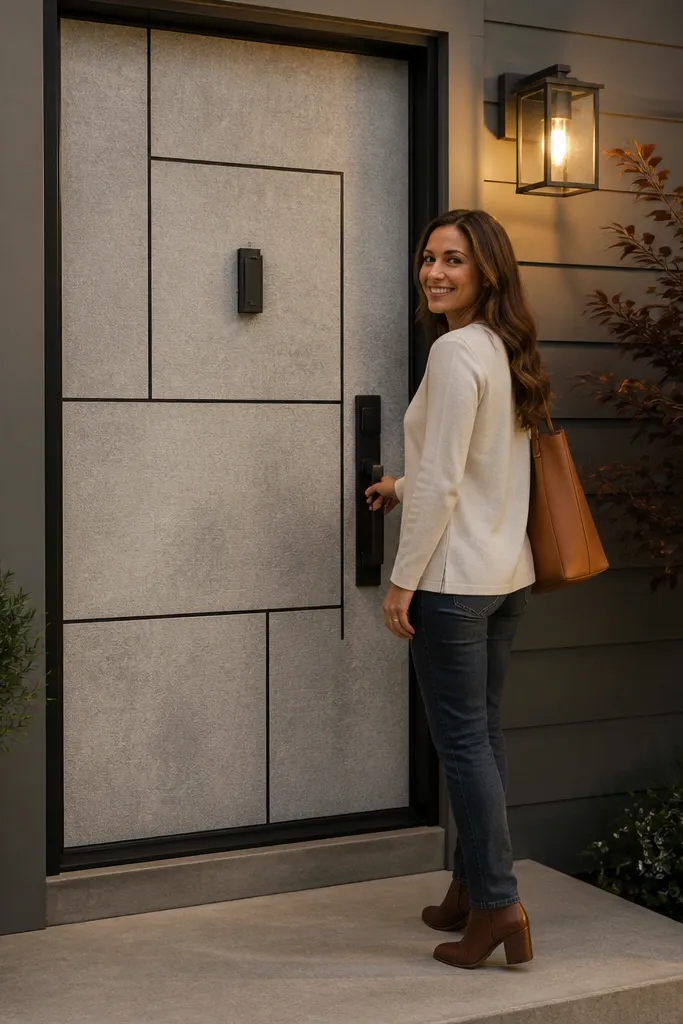
Start by removing the existing door skin or building a new slab panel over the old door core. Use exterior-rated cement board cut to the door size, leaving a 1/8 in gap around the perimeter so movement doesn’t crack the coating; fasten with corrosion-resistant screws at 6-8 in spacing and countersink slightly. Skim the edges with a thin exterior patch compound, then apply a cement-style texture finish over the field — aim for a consistent trowel pattern with 1/16 in variation. After it cures, paint with an exterior masonry paint in a cement-gray tone and add the thin black reveals using 1/2 in wide PVC trim strips or metal pinstripe trim, mitered at the corners. Seal the whole door with a clear exterior topcoat only if your paint system requires it, then reinstall hardware and use exterior-rated shims to keep the latch alignment tight.
This is a modern main door look that hides nothing — the surface has texture like a light concrete wall, but it stays clean and geometric because of the thin black reveals. You get depth without stained wood or busy paneling, and it photographs well because the texture catches light from the porch. The build is straightforward: cement-board base, skim coat for a smooth edge, then a textured finish system rated for exterior use. It suits budget house main door budget ideas when you want a high-end look without paying for a custom fiberglass door. Skill level is basic carpentry plus careful coating, and you should plan a weekend for prep and drying time spread across two days.
Skip thisDon’t skip the perimeter gap — locking cement board tight to the frame invites cracking after seasonal swings.
Editor's noteTape off your black reveal lines with automotive pinstripe tape and pull it while the paint is still tacky — the edge stays razor sharp.



