
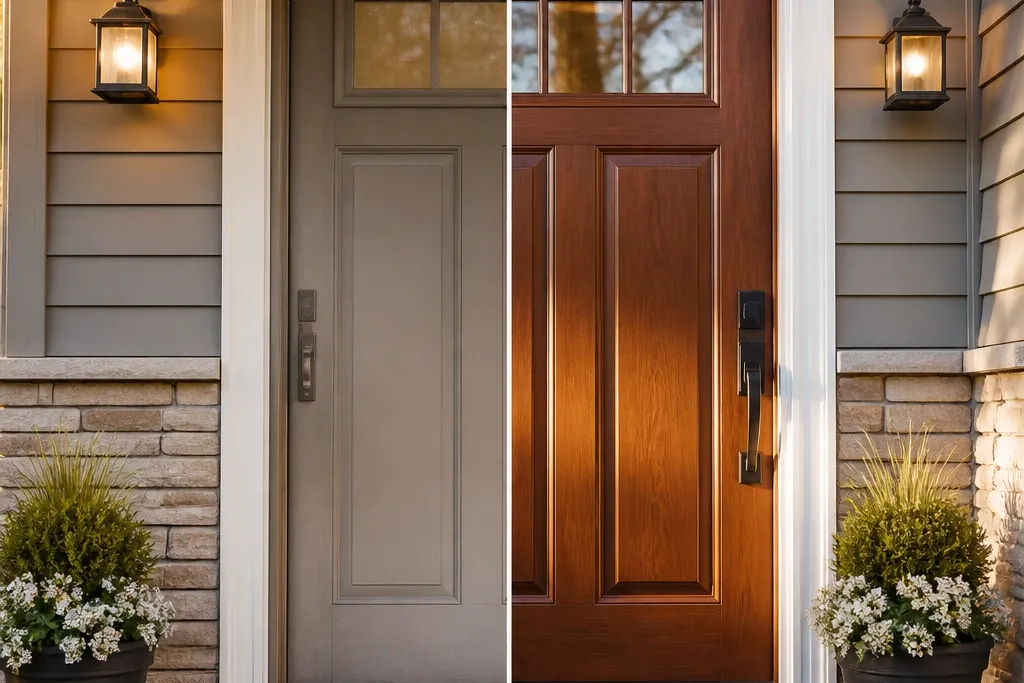
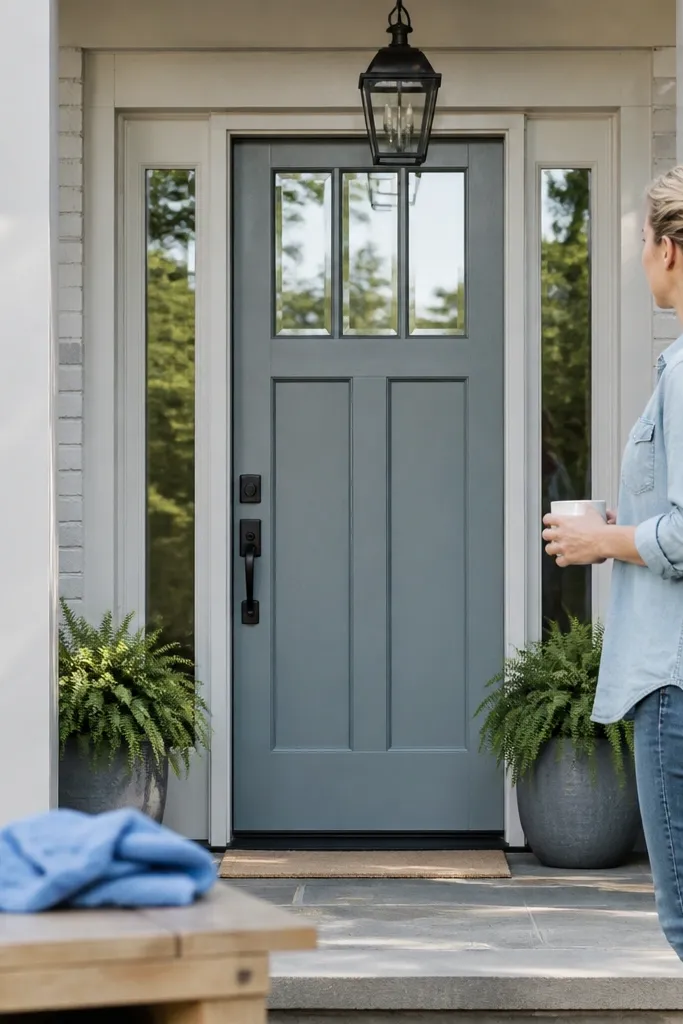
1. Matte black steel door with fresh weatherstripping and clean edge caulk
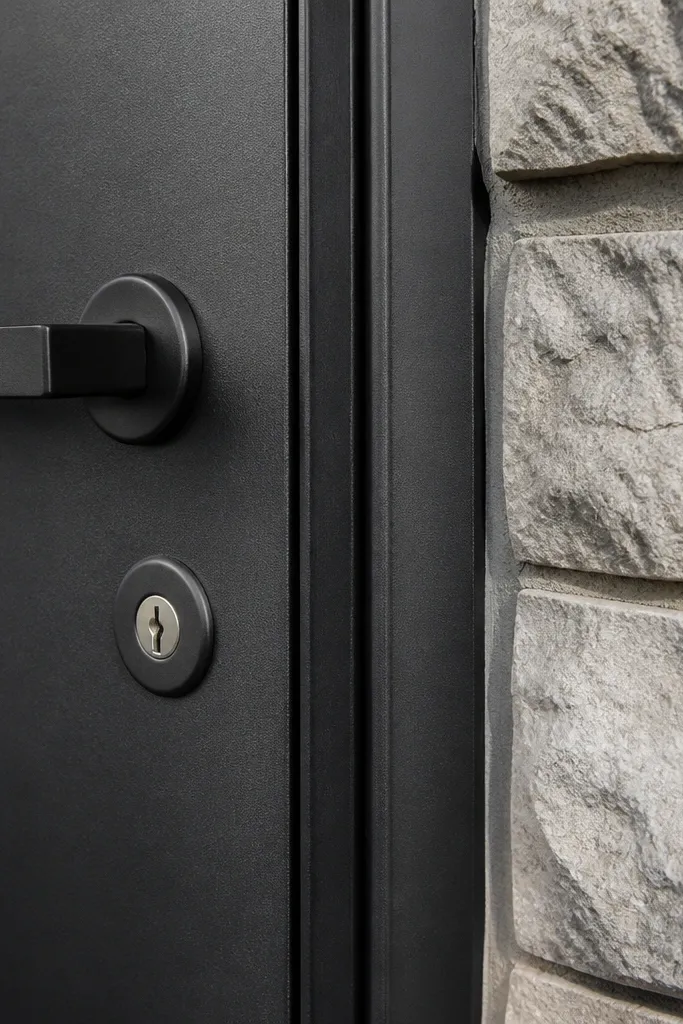
This makeover works when your main door still functions but looks tired because the gaps and worn seal show in the daylight. Matte black hides minor scuffs better than satin, but it also makes sloppy caulk lines and uneven weatherstripping stand out. The goal here is a door that looks sealed — no daylight gaps, no peeling edges, no chalky overspray on the trim. It suits steel doors, especially if you’ve got drafts, condensation, or a frame that’s been repainted over older grime.
Start by removing the door from the frame only if your hinge hardware allows it cleanly; otherwise mask carefully and work in place. Scrape and sand the steel to remove loose paint, then wipe with degreaser and a tack cloth. Apply a rust-inhibiting bonding primer to any bare spots and the full door face, then scuff-sand the primer when it’s dry. Paint with a matte exterior door coating in thin coats, and replace the weatherstripping along the sides and bottom before final paint cures. Finish by running a smooth exterior-rated paintable caulk bead where the frame meets trim, tooling it clean and letting it dry fully.
Use painter’s tape on the frame edge, then pull it while the last coat is still slightly soft so you don’t get a hard ridge.
Don’t paint over a drafty gap — you’ll trap air leaks and the door will keep looking “off” no matter how good the paint is.
2. Warm walnut stain on a flat-panel wood door with a satin clear topcoat
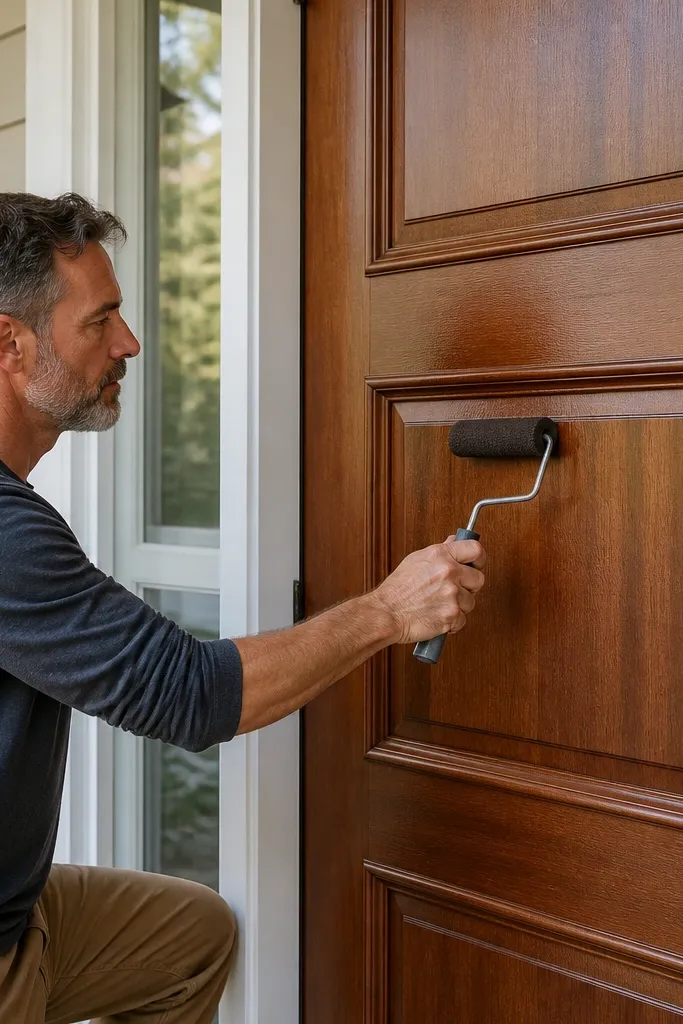
If your wood door looks gray or blotchy, a warm walnut stain plus satin clear is the cleanest fix. Walnut tones warm up the entry and make panel edges look sharper, which is what reads as “after” from the street. Satin clear matters because high-gloss shows every roller mark and uneven sand step, while matte can make grain look dead. This project is best when the door has old finish you can sand down to solid wood, not when the surface is sealed with heavy varnish you can’t remove.
Strip or sand the existing finish until you reach uniform bare wood on the door face and panels. Dry-wipe dust, then pre-condition the wood if it’s soft or prone to blotching. Apply walnut stain with a foam brush or lint-free cloth, working with the grain and keeping panel corners consistent. Wipe off excess at the same time across the whole door so the color doesn’t drift darker on the last panels. Once dry, apply a satin exterior clear coat in 2 coats, lightly scuff-sanding between coats with 220-grit.
Editor's noteTest the stain on the inside edge of the door where you won’t see it from the curb — wood reacts differently depending on how the old finish was removed.
Skip thisDon’t skip pre-conditioning on blotchy woods; it’s the fastest way to get darker rings in the panels.
3. High-contrast white door with crisp trim lines and satin enamel

White looks expensive when the edges are sharp and the sheen is controlled. This makeover is for doors that look yellowed, dull, or patchy from older repainting. Satin enamel gives you easy wipe-down for fingerprints while still reflecting enough light to make the door look “new.” The biggest difference in the before-and-after is the frame boundary: clean tape lines and consistent caulk make the door look professionally installed.
Clean the door thoroughly, then sand the whole surface until it feels smooth and the old gloss is gone. Prime with a stain-blocking exterior primer if there are any tannin bleed spots or prior dark color. Apply satin exterior enamel in 2-3 thin coats, keeping a consistent wet edge across the panels. Mask the trim and frame before the final coat so the boundary stays crisp; remove tape while the paint is slightly tacky. Patch and tool any frame gaps with paintable exterior caulk, then let the caulk cure before you paint the trim.
Editor's noteUse a small angled brush for panel edges so your roller doesn’t flood the corners and leave a wavy finish.
Skip thisDon’t paint over chalky, uncleaned surfaces; white will reveal every speck and wipe line.
4. Natural oak door refresh with toner stain and matte clear
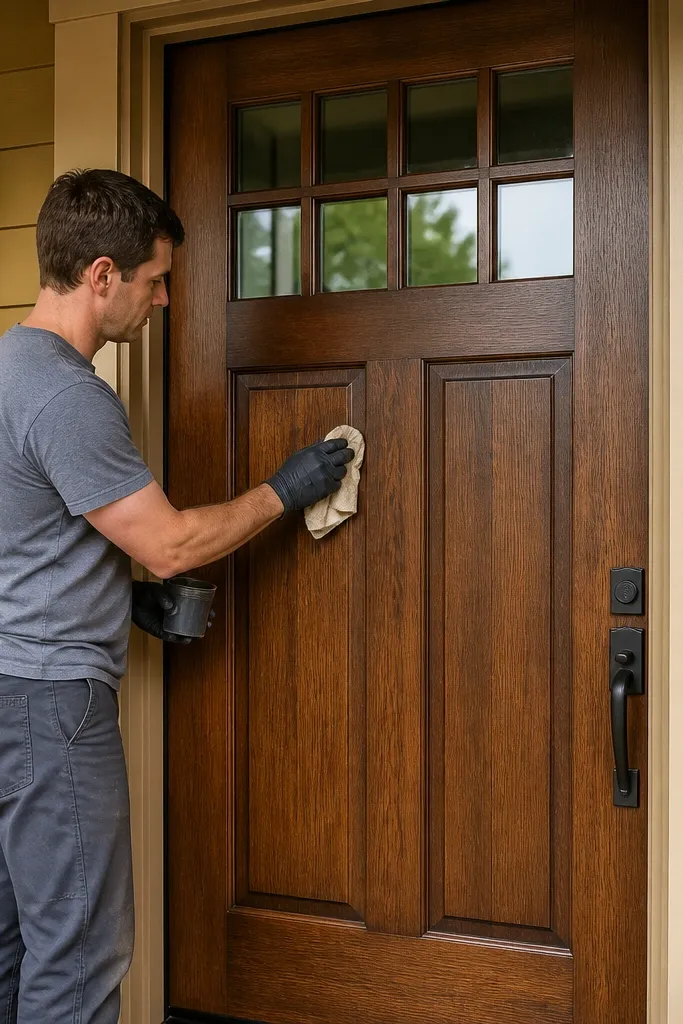
This is for oak doors that look too orange or too faded. A toner stain keeps the wood looking like wood, but it evens out the color so the grain reads consistent across panels. Matte clear reduces glare and makes the grain look calmer from the street. It’s a good choice when you have traditional trim and want the door to blend without looking gray.
Sand down to a consistent wood color; stop when the surface is uniform because deeper sanding can change how the grain drinks stain. Apply a toner stain in thin coats, wiping back quickly and reloading only where the color is lightest. Let it dry fully, then check under daylight; toner sometimes shifts after cure. When the color is right, apply a matte exterior clear in 2 coats, sanding lightly between coats with 220-grit. Final buff is optional, but don’t polish too hard because it can convert matte into satin.
Work panel-by-panel and keep a wet edge so toner doesn’t land darker in the corners.
Don’t chase blotches with extra stain coats; fix blotches with sanding and a lighter application, not more pigment.
5. Jet black with satin clear over a painted wood-grain effect (realistic finish, not decals)
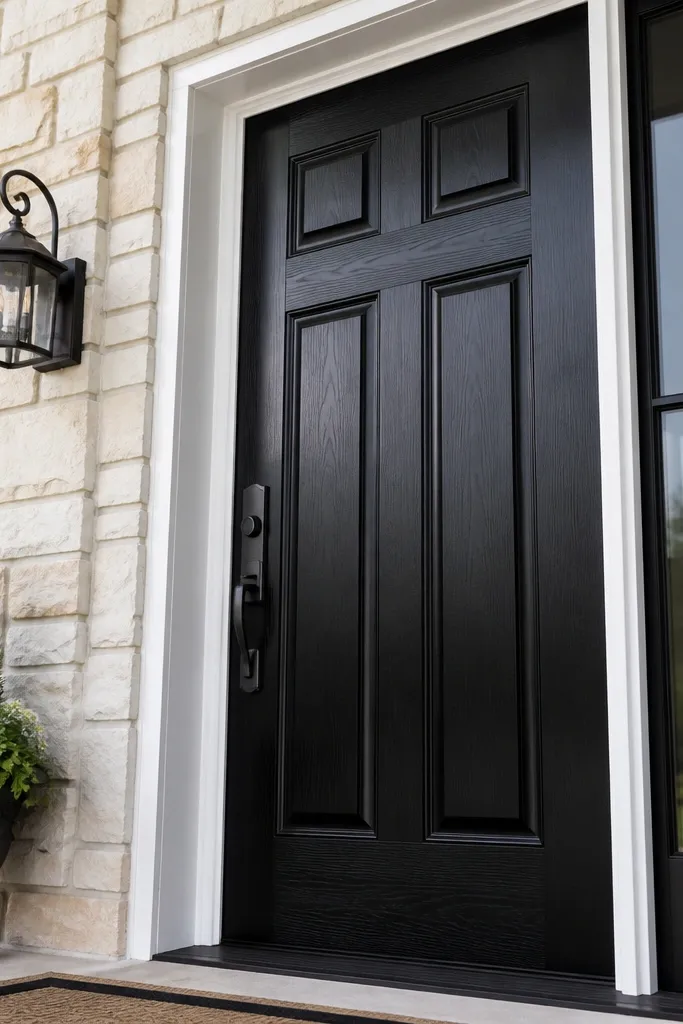
If your door is flat and boring, a controlled wood-grain effect can make it look like a more expensive material without changing the door. The trick is restraint: the grain lines are subtle, and the sheen stays satin so it reads like a finish, not a graphic. This makeover is for doors that already have a solid base paint job but look plain — you’re adding visual depth. It works best on smooth doors with panel separation, because the grain lines can follow the panel geometry.
Start with a smooth, fully cured base coat in jet black exterior paint. Use a glaze or thin specialty medium for the grain lines so you don’t create raised ridges. With a graining tool or a stiff brush and comb, draw straight-ish lines that follow the door’s panel layout, then soften edges with a damp rag. Let it dry, then apply satin clear coat over everything to unify the look and protect the grain effect. Keep the clear coats even; thick clear can pool in corners and make the grain look messy.
Editor's notePractice on a scrap of plywood with the same base paint before you touch the door — jet black hides mistakes until the clear goes on.
Skip thisAvoid heavy grain patterns; big dramatic lines look like faux finishing, not a believable finish.
6. Brass hardware swap with matching satin nickel accents
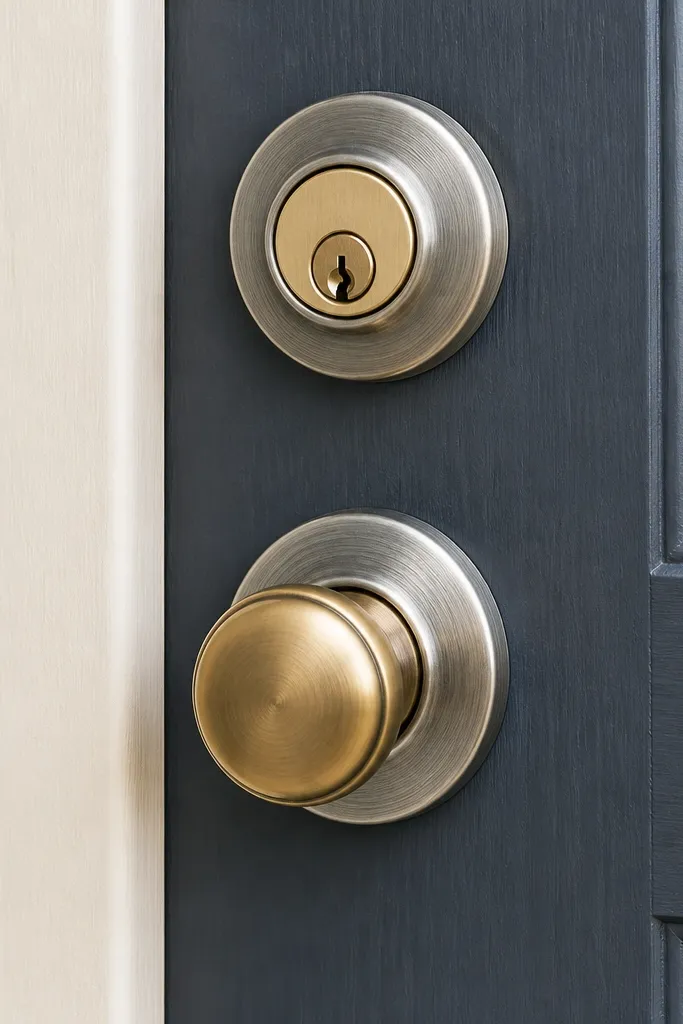
Sometimes the “after” is mostly hardware. If your main door has dull, scratched knobs or a deadbolt that looks smaller than the door, swapping to correctly scaled hardware makes the whole entrance feel intentional. This makeover works when the door finish is already decent, but the entry reads mismatched. The best results come from matching the hardware finish to the existing lighting and house trim — brass with warm trim, nickel with cooler metal accents.
Measure the existing hardware backset and hole spacing before buying; most common backsets are 2-3/8 in or 2-3/4 in. Remove the knob and deadbolt, then patch any stripped holes with wood filler or appropriate filler if the door is wood. Test-fit the new hardware to confirm alignment with the latch and strike plate. Install the latch and deadbolt first, then add the knob set, tightening screws evenly to avoid misalignment. Finally, clean the door face around the holes and touch up paint so there’s no bare metal showing.
Editor's noteIf your door has a worn strike plate, replace it too. A new strike plate makes the latch sit clean and reduces wobble.
Skip thisDon’t buy hardware based on color alone — wrong backset and hole spacing can force ugly adapter plates.
7. Door frame refresh: sand, prime, and paint the casing before the door

People often paint the door and ignore the frame, then wonder why the before-and-after looks unfinished. When casing and trim are scuffed or peeling, they steal attention from the door and make the entry look patchy. Painting the frame first gives you clean borders and a better sense of color match. This project is best when your door is structurally fine but the trim has visible wear, nail holes, or old paint ridges.
Remove the door if it’s easy, or mask the door edges with tape and plastic so you don’t get paint on the gasket. Scrape loose paint, sand ridges, and fill nail holes with exterior wood filler. Prime the casing and frame with bonding primer, then paint with the finish you want for trim — usually satin or semi-gloss exterior trim paint. Let trim paint cure enough to mask cleanly, then paint or touch up the door after. Keep the door edge gap crisp by using painter’s tape along the frame edge and removing it while paint is still slightly soft.
Editor's noteUse a small foam roller for flat casing areas and an angled brush for corners so you don’t get brush lines.
Skip thisDon’t paint trim over grime — even one oily fingerprint shows up as a dull spot on trim paint.
8. Replace a worn glass insert with a frosted privacy panel for a brighter entry
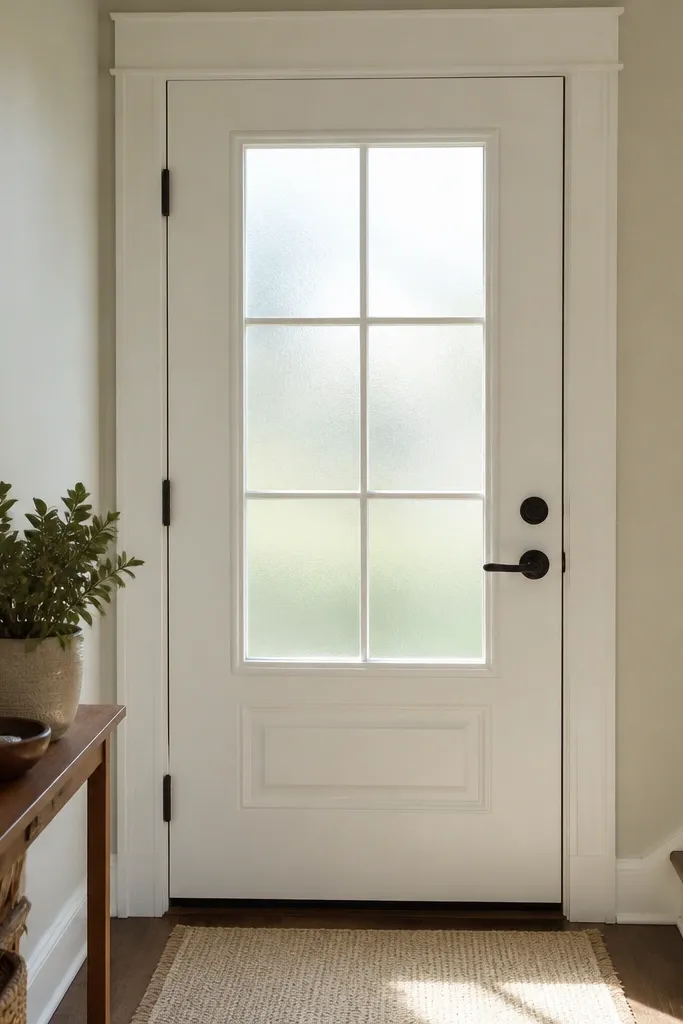
Clear glass that’s old and cloudy makes the whole door look dingy even when paint is new. Swapping to a frosted privacy panel changes the look immediately and makes the entry feel cleaner. It’s also practical: privacy improves without curtains, and smudges are less obvious. This works for doors with existing glass inserts where you can remove the panel and replace it with a measured frosted option.
Take careful measurements of the glass insert opening, including thickness and any glazing bead profile. Remove the existing glass insert using the correct method for your door type — most have glazing clips or beads you can pop off with a plastic tool. Clean the frame and check for old putty or failing glazing tape. Install the frosted panel with new glazing tape or clips, then reinstall the beads and press evenly. Finish by touching up any exposed wood or metal around the glass edge so it doesn’t show raw material.
Editor's noteOrder a panel that matches thickness exactly. A thin panel flexes and can rattle, which looks worse than you’d expect.
Skip thisDon’t use generic “privacy film” on cloudy glass — the cloudiness stays and the film makes it look patchy.
9. Two-tone update: painted door face with stained inset panels for depth
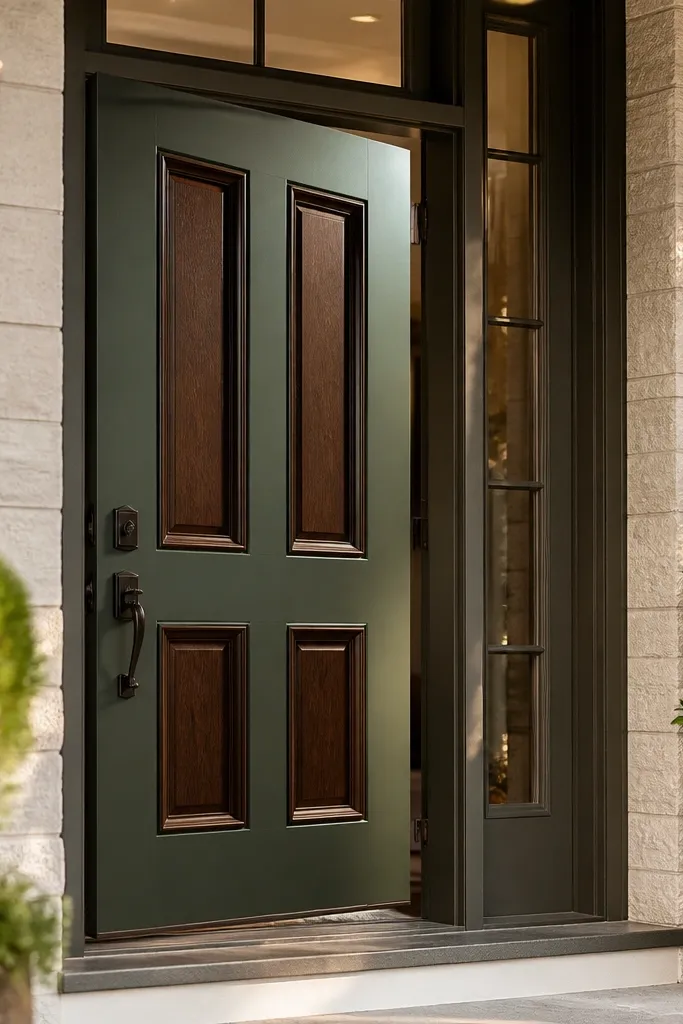
Two-tone doors look high-end when the separation between finishes is crisp and the undertones make sense. This makeover uses a painted exterior color on the main door field and stain on the inset areas so the panels show depth instead of looking flat. The painted finish reads modern, and the stained inset keeps warmth. It’s ideal when your door has inset panels that are currently painted over or faded, and you want a more intentional look without replacing the door.
Sand the inset areas down to wood so stain can bond, and keep the painted areas masked with tape and plastic. Prime the areas that will be painted with exterior bonding primer, then paint the field panels in your chosen color with satin enamel. Stain the inset panels with a consistent wipe-back method and let fully dry. Protect the stained inset with a satin clear that matches the sheen direction of the painted finish. Remove masking carefully after the topcoat is set but not fully rock-hard, so you don’t peel edges.
Editor's noteMatch undertones: warm stains pair best with warm whites and warm blacks, while cool stains pair better with cooler grays.
Skip thisDon’t stain over paint residue in the inset — it causes fisheyes and uneven uptake.
10. Repaint with a better sprayer-like finish using a foam roller and brush blend
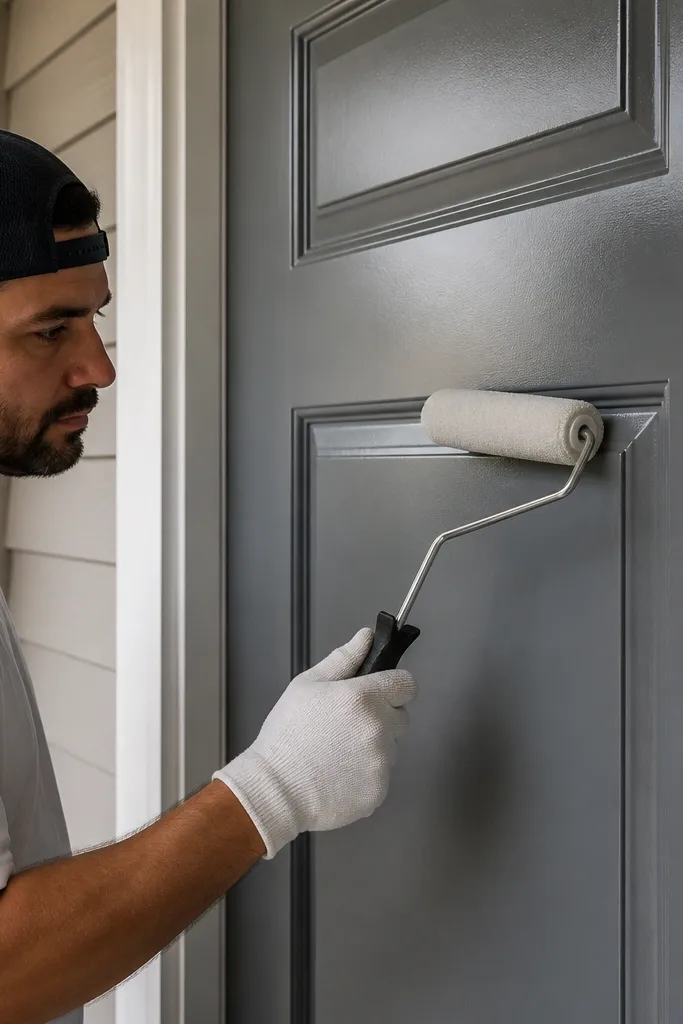
Some “before and after” results look worse because the topcoat texture is wrong. If your current door looks bumpy, roller-stippled, or has visible brush marks, the finish technique is the problem, not the paint color. This makeover uses a foam roller for broad areas and a brush to chase edges so the final surface looks closer to a sprayed finish. It suits most doors — especially flat-panel doors — when you want a professional-looking smoothness without renting a sprayer.
Sand the door surface to scuff the old finish and remove bumps, then wipe dust with a tack cloth. Prime with exterior bonding primer, then sand the primer lightly once cured. Apply topcoat with a foam roller using light pressure — don’t overwork wet paint. Immediately follow with a high-quality angled brush to lightly blend panel edges and any streaks, keeping strokes in the same direction. Let it level undisturbed between coats; rushing is how you get texture.
Editor's noteKeep a consistent coat thickness. Too thin shows the old color; too thick sags on vertical panels.
Skip thisDon’t apply heavy coats in one pass — that’s the fastest route to drips and orange peel.
11. Replace a tired door sweep and threshold for a tighter, cleaner bottom line
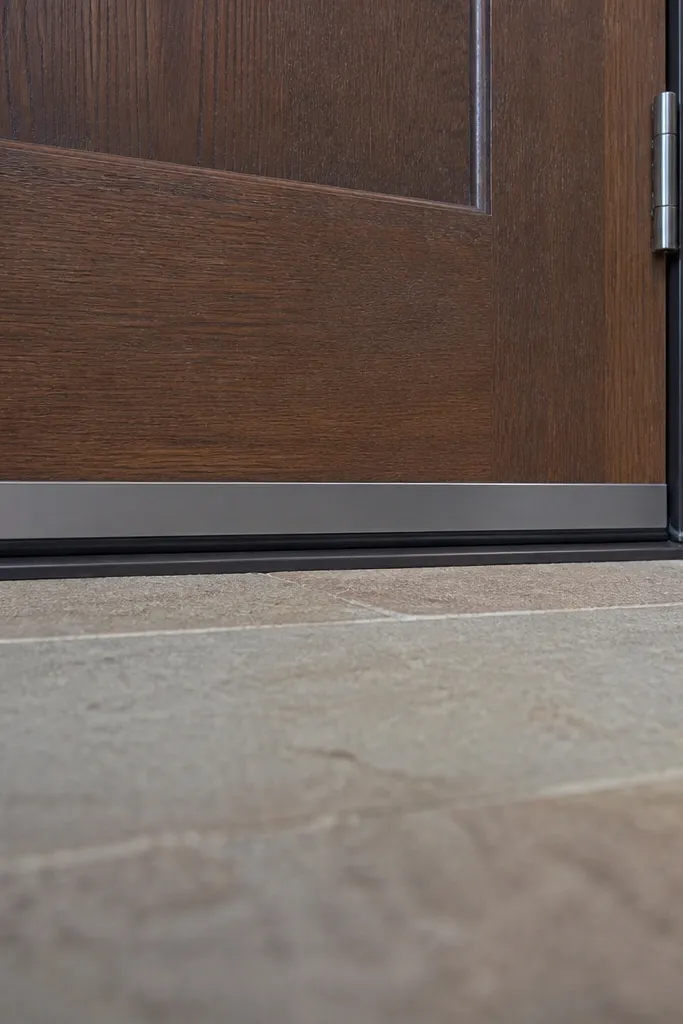
A main door can look “almost” done and still fail the before-and-after test because the bottom edge is drafty and messy. When the threshold is worn or the sweep is torn, you see uneven clearance, dirt streaks, and sometimes water staining. This makeover focuses on the bottom line so the door looks properly installed. It’s best when your door drags, lets in drafts, or the old sweep has curled.
Remove the old threshold and sweep, then scrape out old caulk and debris so the new pieces sit flat. Check the subfloor level — if it’s uneven, shim or address low spots before installing. Install the new threshold with exterior-rated sealant under it, then attach the new door sweep to the bottom of the door. Close the door and adjust the sweep so it lightly contacts the threshold without binding. Caulk around the threshold edges and paint touch-ups where needed after the sealant skins over.
Editor's noteDry-fit everything first. Once sealant touches metal or wood, shifting is a pain and the line ends up crooked.
Skip thisDon’t ignore the subfloor — a new threshold over a warped base gives you gaps that no caulk job fixes.
12. Cedar stain and clear for a warmer, natural entry with visible grain
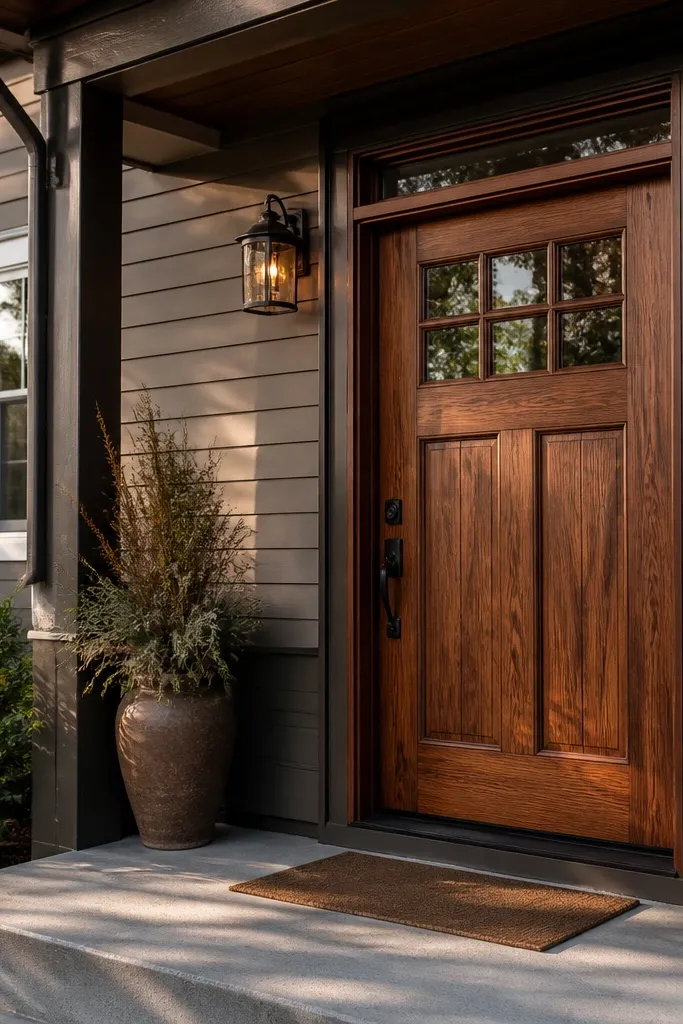
Cedar tones look inviting and hide some surface imperfections because the color warms the grain. This makeover is for doors that are wood and have some wear but still have solid structure. The clear coat keeps the door protected while letting the grain stay visible from the curb. It suits entries with warm exterior lighting, brick, or tan siding where you want the door to look like it belongs, not like a random color.
Sand the door until the grain is even and the old finish is removed in worn areas. Apply cedar stain in a thin, even coat and wipe back promptly to avoid dark puddles in panel seams. Let it dry fully, then inspect in daylight for any light spots. Apply an exterior clear in 2 coats, using a brush for panel edges and a foam applicator for large fields. Lightly scuff between coats with 220-grit so the second coat bonds smoothly.
Editor's noteKeep your wiping cloths consistent. Switching cloths mid-door can change how much stain you remove, and that shows up as panel-to-panel color shifts.
Skip thisDon’t use glossy clear if you hate glare — it makes every fingerprint and minor sanding mark visible.
13. Door hardware upgrade with new strike plates and longer screws for tighter latch
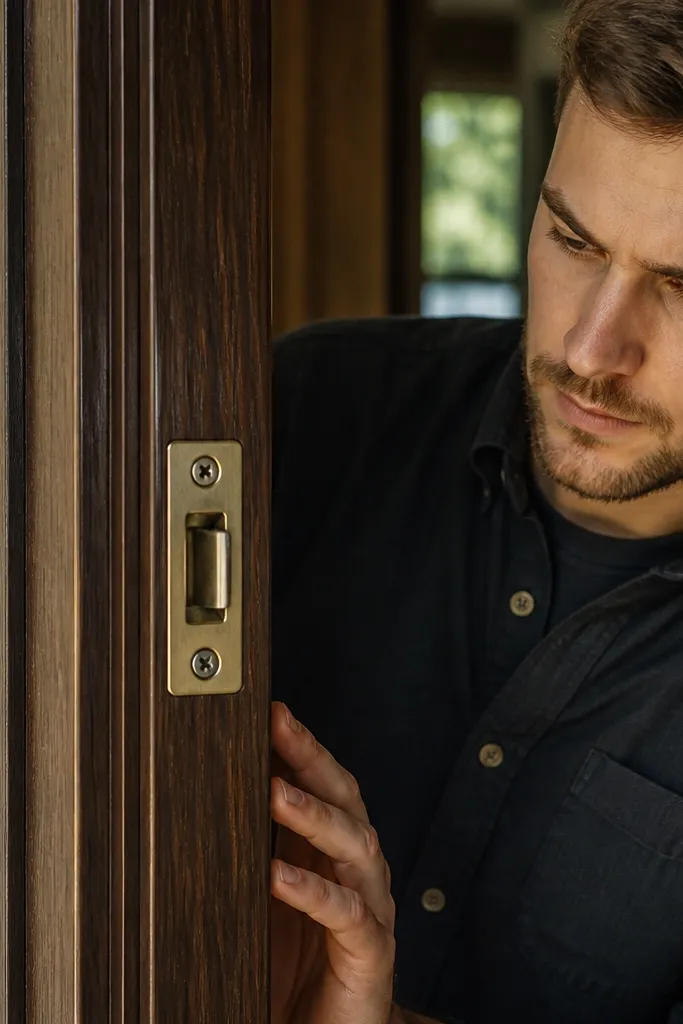
If your main door handle feels loose or the deadbolt doesn’t land clean, the issue is often the strike plate and screw length, not the knob. This makeover tightens the feel of the door and makes the entry look more solid because the hardware sits flush and aligned. It also improves security and reduces that rattling sound when you close the door. This is best when the door already has a decent finish and you want function and curb appeal at the same time.
Remove the strike plate and inspect the screw holes. If the screws pull out easily, you need longer screws that bite into framing — measure the depth to avoid hitting wiring or plumbing. Install the strike plate with longer screws and ensure it sits perfectly flat. Replace the latch and deadbolt if the internal mechanism is worn; otherwise clean and lubricate lightly with graphite or the manufacturer-recommended lubricant. Reinstall hardware, then test the latch throw and deadbolt alignment before you paint anything around it.
Use a straightedge to check that the strike plate aligns with the latch — even a slight angle makes the bolt scrape and look misaligned.
Don’t just swap the handle and leave the old strike plate — the loose latch look kills the whole makeover.
14. Re-stain with a darker glaze wash for panel definition (controlled, not muddy)
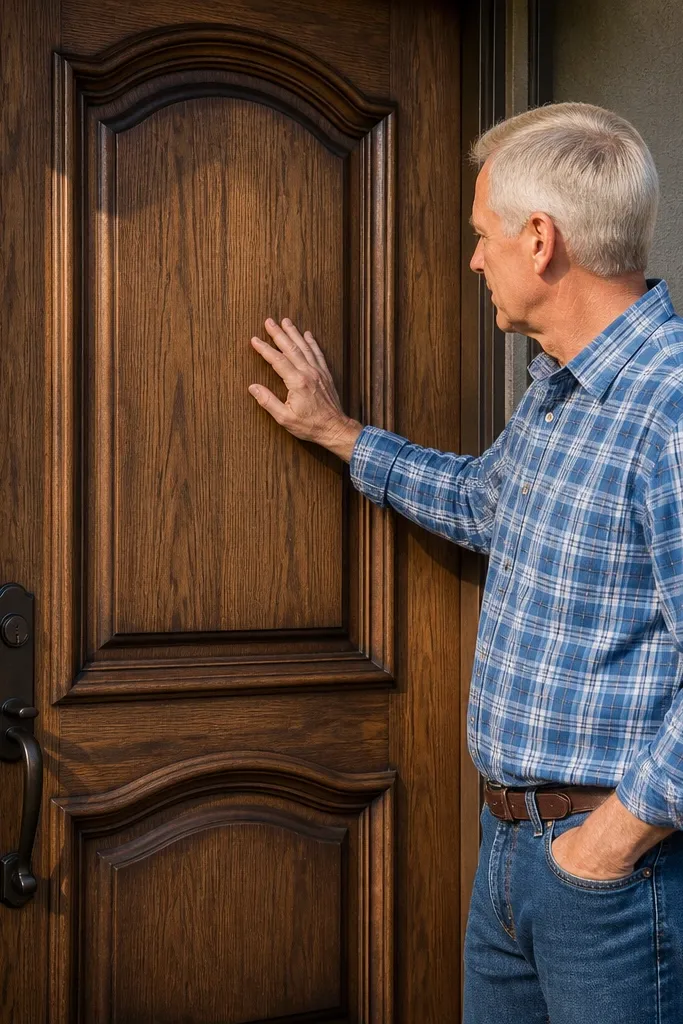
If your door panels look flat, a controlled glaze wash in the grooves adds definition fast. This is the makeover for wood doors where the grain and recesses are there, but the color isn’t separating the shapes. The trick is using a darker glaze wash that stays in the recesses instead of staining the raised areas. When done right, the before-and-after reads as “more depth” without changing the entire door color.
Start with a base stain that matches your desired overall tone and let it fully cure. Mix or use a pre-made glaze wash in a slightly darker color than the base; keep it thin enough to wipe clean. Apply the glaze with a brush into panel grooves, then immediately wipe the raised areas with a clean rag following the grain direction. Let the glaze set until it no longer smears, then seal with a clear topcoat so it locks in. Do a final inspection under porch light — grooves reveal uneven glaze more than daylight does.
Editor's noteWork small sections and keep one rag dedicated to wiping glaze so you don’t drag darker material back onto raised panels.
Skip thisDon’t overwork the glaze. Excess rubbing turns panel definition into a uniform muddy tone.
15. Repaint to match siding trim: cool gray door with satin enamel and clean shadow gap
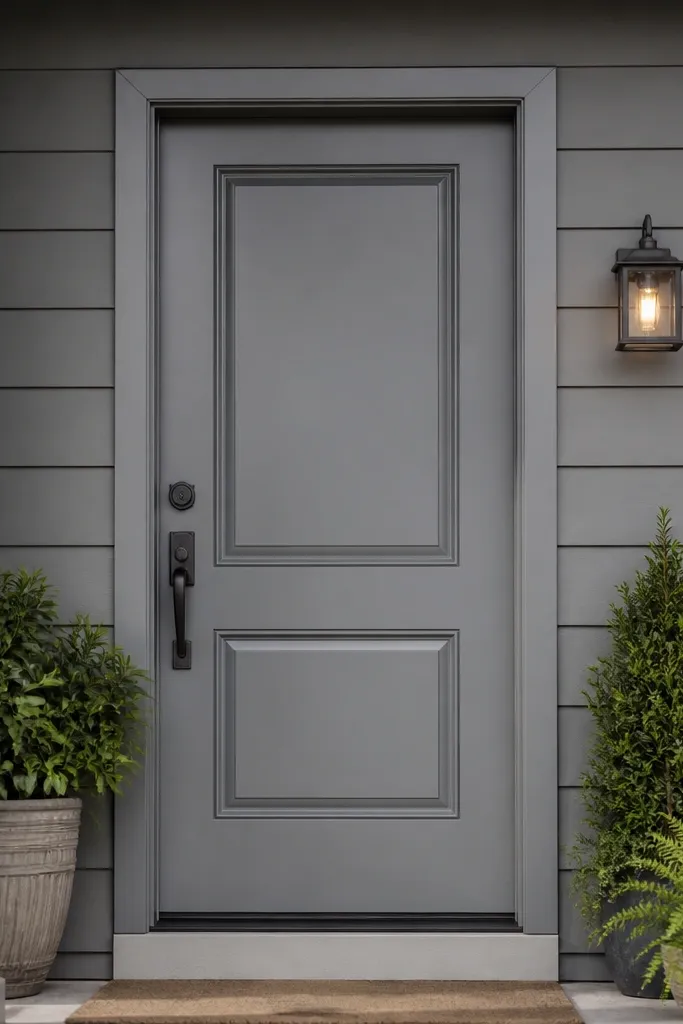
When the door color fights the siding trim, the whole entry looks unfinished even if paint is new. This makeover picks a cool gray door color and pairs it with crisp edges so the door reads intentional against the house. Satin enamel keeps the surface from looking chalky while avoiding the glare that makes roller marks obvious. The real before-and-after difference is the shadow gap: clean caulk lines and a consistent edge around the frame.
Remove loose paint and sand down to a smooth surface. Prime with exterior bonding primer, especially if you’re covering a darker door color. Apply satin exterior enamel in thin coats, using a brush for panel edges and a roller for flat fields. Tool caulk where the frame meets trim, and keep the caulk bead narrow so it doesn’t smear into the shadow gap. After curing, touch up any spots around hinges and hardware so the edge line stays consistent.
Choose a cool gray that matches your trim undertone, not your siding color from a distance. Paint chips under shade lie.
Don’t use a flat paint sheen for doors. It scuffs fast and looks patchy after a few months.



