
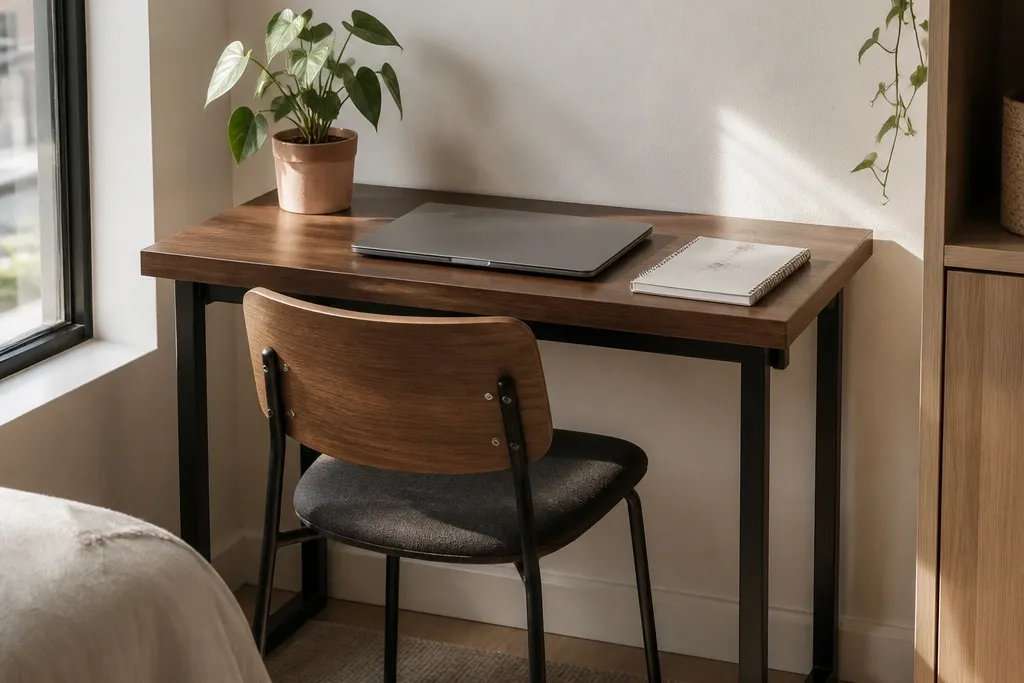

1. Floating Desk That Actually Feels Solid
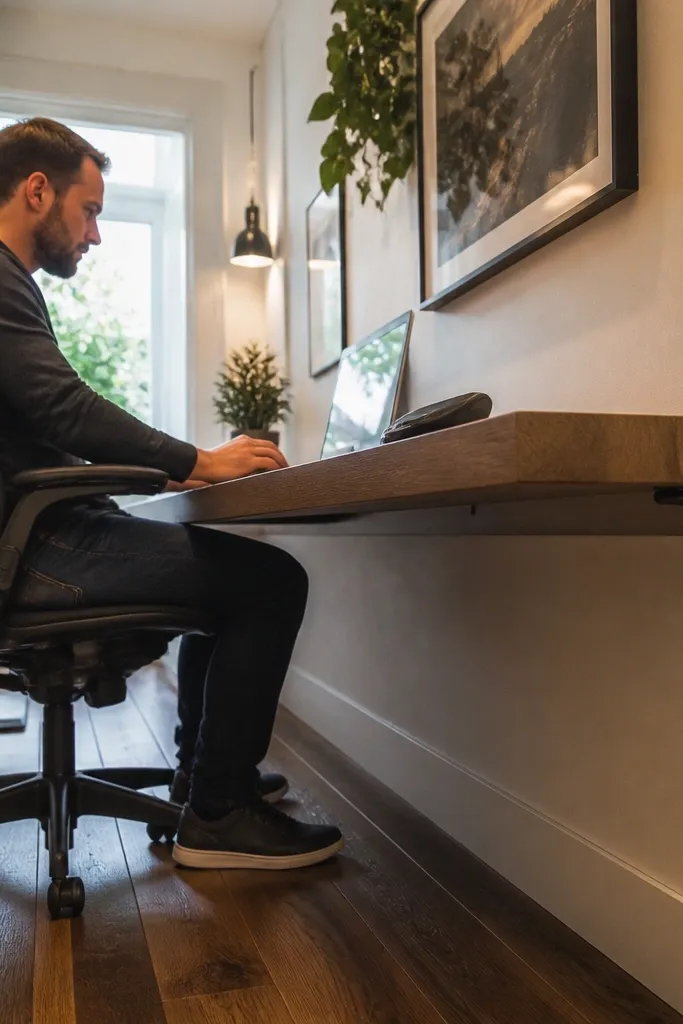
Start by choosing a tabletop thickness of 25-30 mm and cut it to your target width (a common win is 60-80 cm wide for small rooms). Locate wall studs with a stud finder and mark them. Install heavy-duty L-brackets or a French cleat system, then screw the tabletop onto the brackets using countersunk screws. Drill a single 60 mm hole near the back edge for a cable grommet and mount it before you attach the front edge banding. Finish by sealing the top with water-based polyurethane and tighten all bracket screws after the first day of load testing.
A floating desk looks high-end when it’s rigid and when the underside isn’t messy. The goal here is simple: no wobble when you type, and no cable spaghetti dropping behind your knees. Use a thick desktop and mount it with real structural brackets, then add a recessed cable pass-through so wires disappear. This setup is great for narrow rooms because it frees floor space while keeping a full work surface. It’s a beginner-friendly build if you can locate studs and measure twice.
Skip thisAvoid cheap thin brackets — they flex and the desk feels flimsy even with a nice top.
Editor's noteIf you want it to feel furniture-grade, sand the bracket contact points and use wood screws with pilot holes so nothing “pulls” when you tighten.
2. Built-In Corner Desk With Clean Knee Space

Corner desks win because they use awkward space without crowding the room. The high-end part is how the knees fit: you need a real corner cutout or you’ll hit the frame and stop using it. This idea gives you a large usable surface with storage placed above or to the side, not in the knee zone. It’s ideal for studying in small bedrooms where the bed takes one wall and you need the other wall for work. Build it with plywood and edge-banding so corners look sharp, not rough.
Measure the corner and decide the desk depth: 45-55 cm is comfortable for most keyboard-and-laptop setups. Build a base frame with two side panels that leave an open knee pocket in the inner corner (even a 15 cm wide opening helps). Cut and fix a 25 mm tabletop so it overhangs 1-2 cm on the outer edges for a finished look. Add a shallow shelf above the corner for books (max 18 cm depth) to keep your view clean. Seal all edges, then attach a cable channel along the inner back edge so cords run upward instead of across the leg space.
Use a 2 mm spacer when installing panels so your reveals look even — it makes the whole thing look planned.
Don’t put a drawer or cabinet in the inner corner knee zone — it turns a corner desk into a constant bump.
3. Narrow Desk With Slide-Out Keyboard Tray
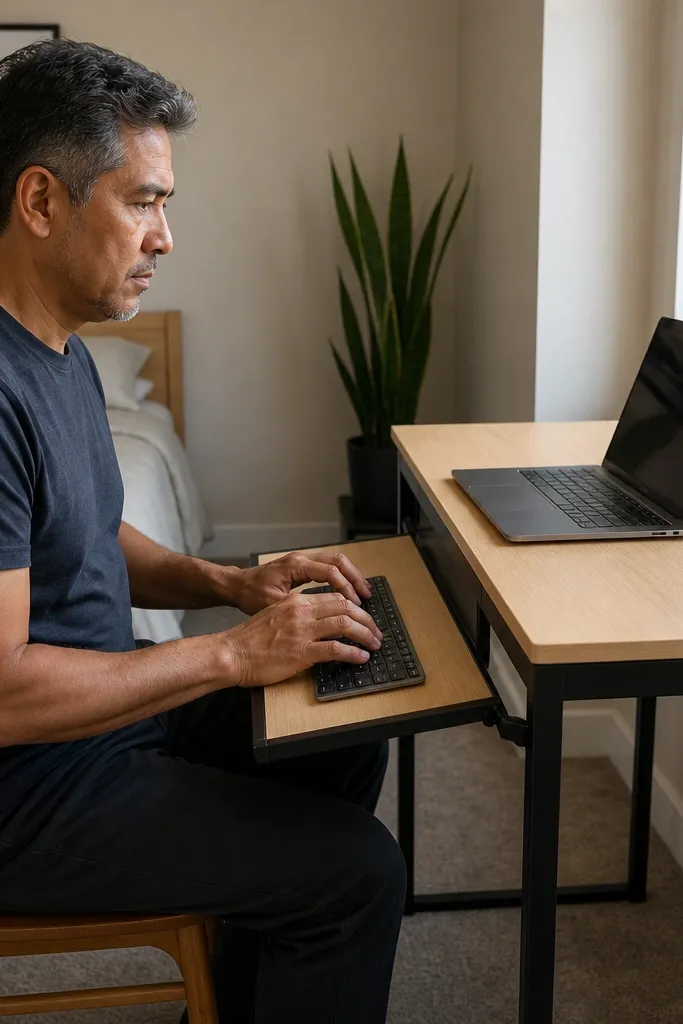
A narrow desk feels high-end when it’s ergonomic, not when it’s just skinny. A keyboard tray solves the biggest complaint about small desks: your elbows float and your wrists strain. This build lets you keep the main surface clear for a laptop, notebook, or tablet while the keyboard sits at a comfortable angle. It’s perfect for tight rooms where 90 cm width is impossible. Time-wise, it’s a solid half-to-one day project if you’re comfortable with drilling and aligning slides.
Pick a desk width of 55-70 cm and a depth of 45-50 cm, then mark the keyboard tray location 10-12 cm below the tabletop. Buy full-extension ball-bearing slides sized to your tray length (commonly 35-45 cm). Build a tray from 12-15 mm plywood and add a small lip to stop items sliding off. Mount the slides level side-to-side, then set the tray so it slides in without scraping the front apron. Seal the tray edges and install a simple cable tie point behind the keyboard area so charging cables don’t hang.
Test slide alignment with masking tape first — if the tray catches once, fix it before you seal the wood.
Avoid mounting slides at an angle — the tray will bind and your desk will feel “cheap” fast.
4. Wall Shelf Desk for Laptop-Only Study

If you only use a laptop, a wall shelf desk can look way more expensive than it costs, because it stays visually minimal. The mistake people make is using a thin shelf and pretending it’s a desk. Instead, use a thick shelf with a front lip and a cable hole so the setup looks planned. This works best for students, writers, and anyone who doesn’t need a big paper workspace. It’s fast to build and easy to customize with a pull-out power strip.
Choose a shelf thickness of 30 mm and a bracket system that supports load (at least 2-3 structural points). Mount it at a height where your elbows sit near 90 degrees when seated — measure from your chair seat height. Add a 20-30 mm front lip to stop notebooks from sliding off. Drill a single cable pass-through near the back edge and install a grommet or cable sleeve. Finish with edge-banding and two coats of clear sealant on the top so spills don’t stain.
Put the power strip on the wall behind the shelf, not on the desk surface — it keeps the front clean.
Avoid a shelf that’s too narrow for your laptop footprint — you’ll constantly slide the device to work.
5. Bookshelf-Desk Hybrid With Storage That Doesn't Block You
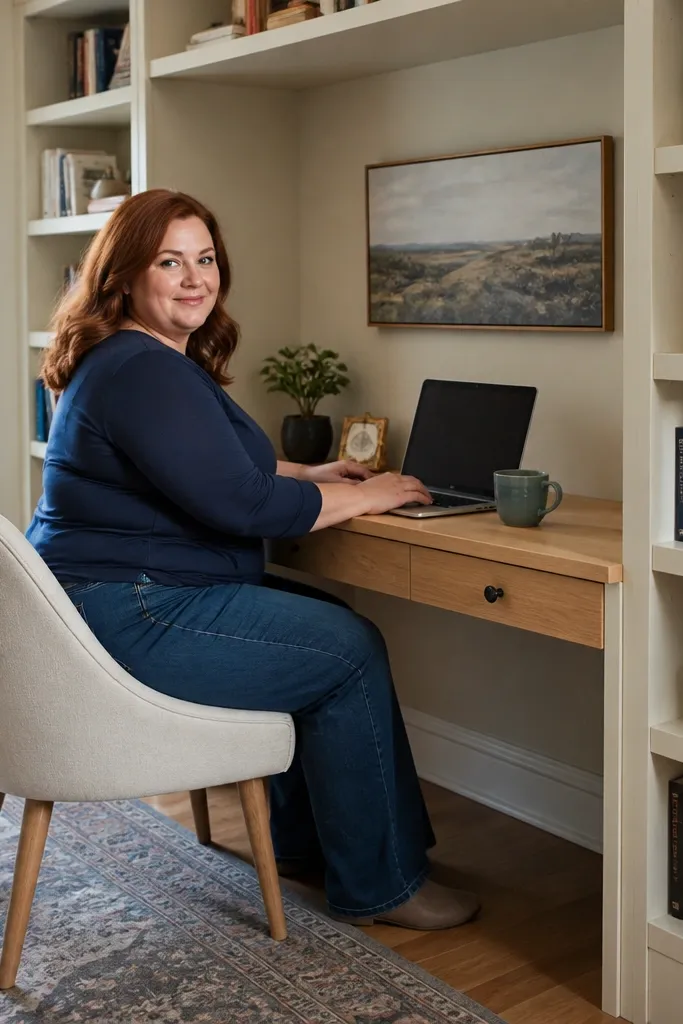
This setup is the “small room” version of a proper study station: books are close, but your legs still have room. The high-end feel comes from keeping shelf openings consistent and avoiding clutter in the knee area. Use open shelving for books and keep drawers shallow and centered so they don’t stick out into your movement. It works in living rooms and studios because it looks like furniture, not storage. Build it from plywood and add a back panel only where it helps stiffness, not everywhere.
Decide your desk depth first (50-55 cm) and build side frames with vertical rails for shelves at 25-30 cm intervals. Make sure the desk overhang doesn’t interfere with chair legs by leaving a clear 10-12 cm gap on the inside corners. Install a tabletop on top of the side frames using screws from underneath. Add open shelves on the sides, and keep the bottom “under-desk” area open or only for a thin footrest. Route cables through a cutout in the back panel and secure them with a cable clip.
Use a single shelf height for your most-used book size so everything lines up visually.
Avoid mixing random shelf heights — it reads like unfinished DIY and makes the desk look chaotic.
6. Drop-Leaf Desk for Tiny Rooms
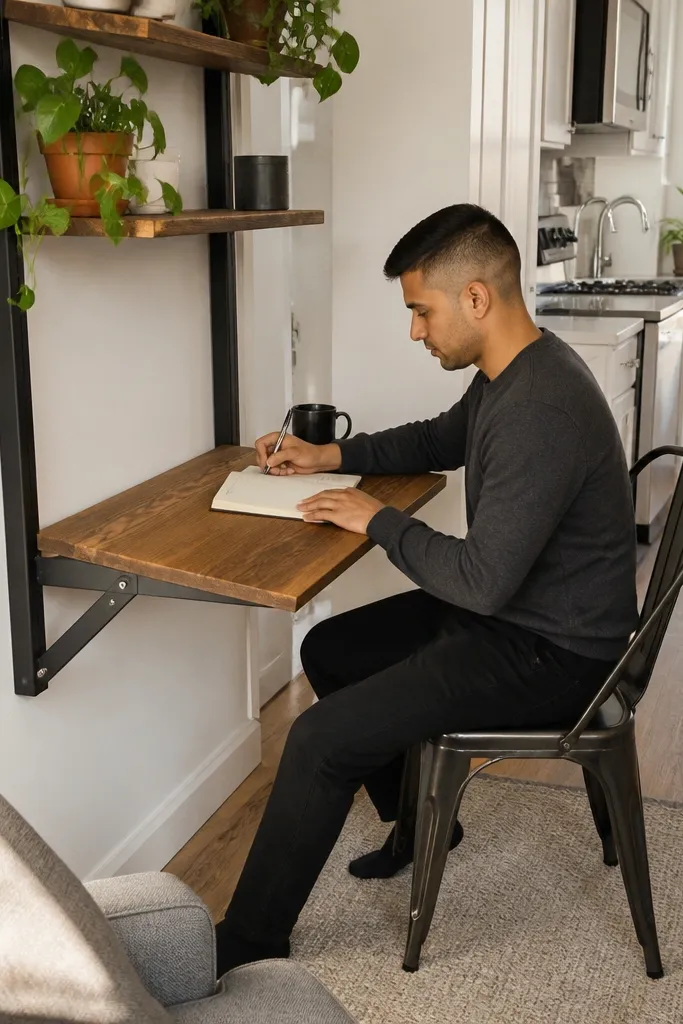
A drop-leaf desk is a space-saver, but it only looks high-end if the leaves lock rigidly. The common mistake is using flimsy hinges that wobble when you write. With proper drop-leaf hardware and a solid base, you get a desk that folds away but feels sturdy when down. This is perfect for kitchens, studio corners, and bedrooms where you need work space for short bursts. It’s a more technical build than a simple tabletop, but it’s very doable with careful measurements.
Pick a base width that matches your wall corner or free wall space, then set each leaf length so the desk is 50-65 cm wide when both are down. Install drop-leaf hinges with the correct leaf thickness and keep the hinge alignment perfectly level. Add a support cleat or leg that engages when the leaf is down to prevent wobble. Sand and edge-band the leaves so the fold line looks clean. Seal the top and underside, then add a small tray on the base for chargers so the “folded” storage stays tidy.
Use a clamp to hold the leaf in the down position while you tighten hinge screws — alignment stays crisp.
Avoid skipping the locking support — a drop-leaf without it feels like a toy.
7. L-Shaped Desk With One Side for Storage
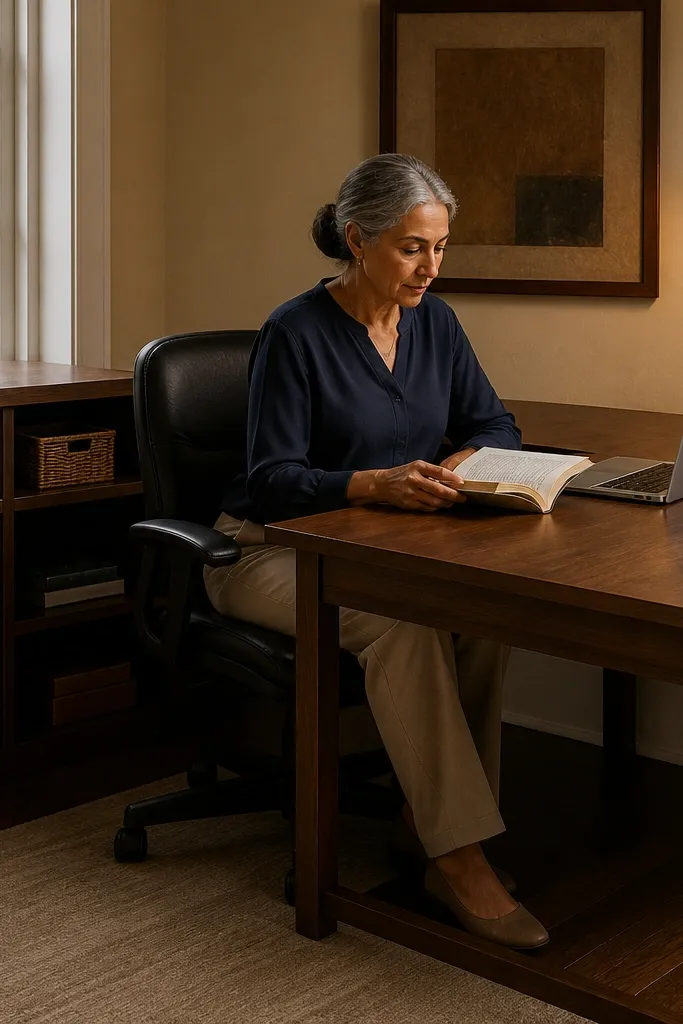
Build two desk sections: a 55 cm deep main desk and a 35-40 cm deep side desk for notes/books. Create a corner frame that ties both sections together and keeps the joint square; use plywood gussets if you want extra stiffness. Install the tabletop panels with consistent overhang (1-2 cm) so the edges match. Add a shallow storage shelf on the short side with a back rail so books don’t slide. Put your cable grommet on the main desk back edge so cords never cross the corner joint.
L-shaped desks make small study spaces feel bigger because you get two work zones: one for computer, one for notes. The high-end look comes from keeping the storage on one side and leaving the other side visually calm. This setup works best when you’re doing desk work plus reading — the books sit within reach without covering your monitor view. It’s also a good DIY choice because you can build it from two rectangles and one shared corner frame. Plan it so your chair sits in the open corner area.
Skip thisAvoid placing storage on both arms — it blocks your chair position and makes the desk feel cramped.
Editor's noteDry-fit the corner frame and check squareness with measuring diagonals — if they don’t match, fix it before screws go in.
8. Under-Desk Drawer Pedestal With Hidden Cable Run
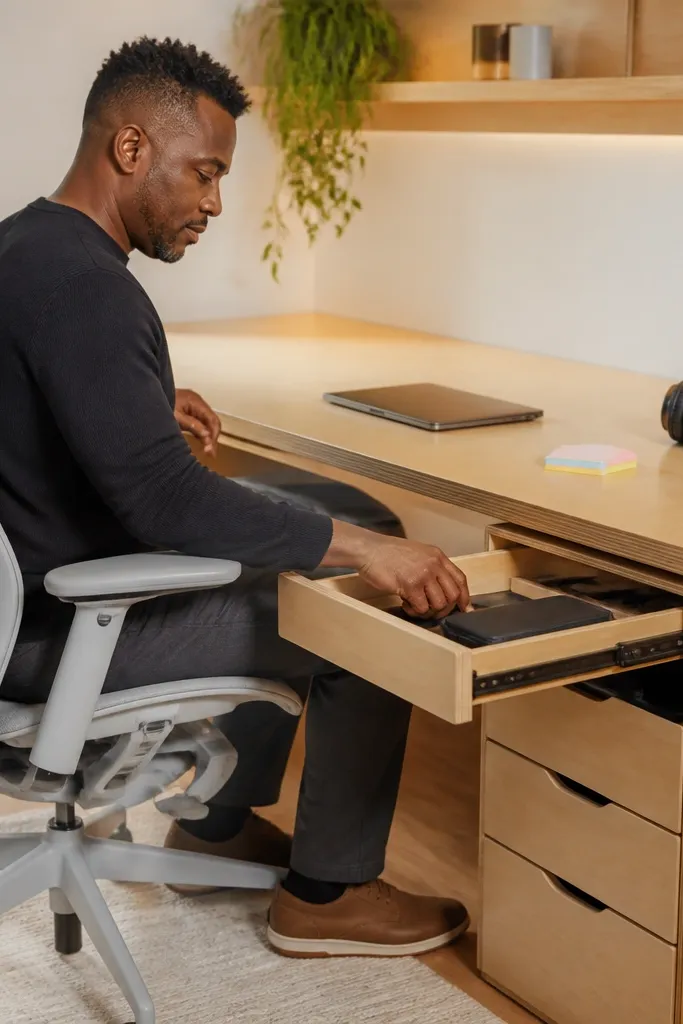
A drawer pedestal makes a small desk feel like a real workstation because you stop using the tabletop as storage. The high-end move is to keep cables routed inside the pedestal instead of hanging out behind the drawer. This build is best for people who have a lot of small items: chargers, headphones, sticky notes, and paper. It also keeps your floor cleaner because you aren’t stacking bags under the desk. Build it with smooth slides and seal the drawer edges so it doesn’t swell.
Choose a pedestal size that leaves clearance for your knees: aim for 45-55 cm height under the desk and a width of 25-35 cm. Mount drawer slides to the pedestal sides and align them with the tabletop underside. Build the drawer from 12 mm plywood and add a back stop so it doesn’t roll out too far. Drill a cable channel at the back of the pedestal and install a small cable grommet where cords enter. Seal everything and add a soft-close cam or dampers if you want a quieter close.
Use a drawer pull that matches your desk hardware finish, even if it’s just matte black — it reads more “designed.”
Avoid shallow, wobbly drawers with thin boards — they rack and look messy after a few weeks.
9. Monitor Shelf Desk Top With Raised Screen
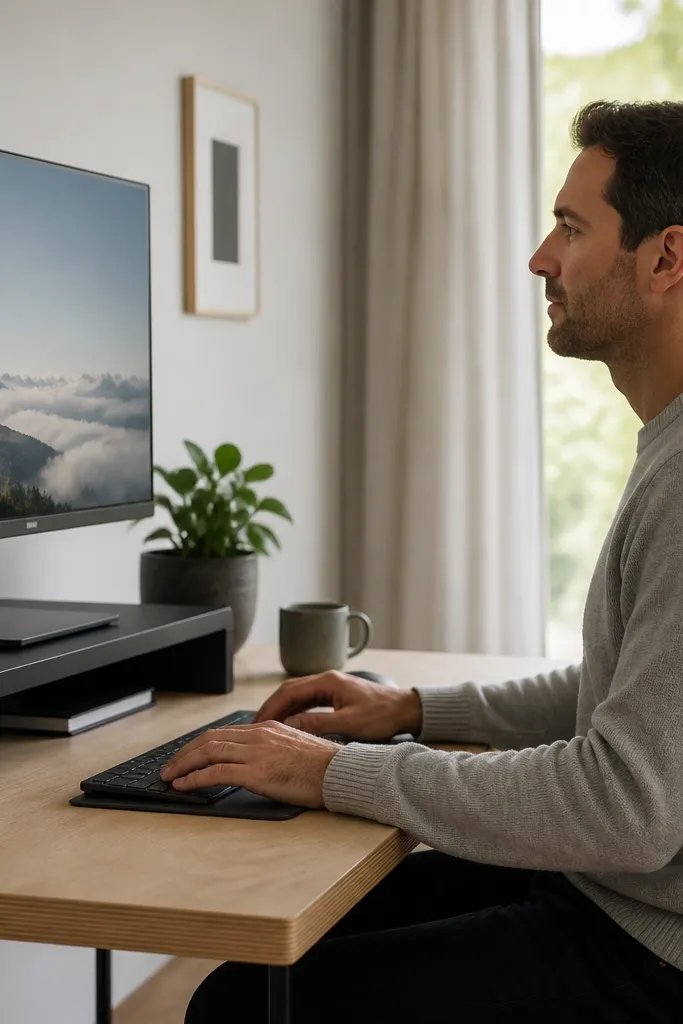
Most small desks fail because the screen sits too low. A monitor shelf fixes posture and makes the whole desk feel intentional, even if the table itself is small. You get a cleaner horizon for your eyes and you can store a notebook under the shelf lip. This is ideal for laptop+monitor setups or anyone who works with documents and needs a stable reading plane. Build the shelf as part of the desk top so it doesn’t wobble or slide around.
Select a tabletop depth of 50-60 cm, then design a monitor shelf that lifts the screen about 10-15 cm above the desk surface. Build a U-shaped shelf frame using 18 mm plywood so it supports the monitor base. Screw the shelf to the tabletop from underneath with at least two fixing points per side. Add a cable pass-through behind the shelf so power bricks and cords stay hidden. Finish with two coats of clear sealant, then add a felt strip where the monitor touches to prevent scratches.
Measure your monitor base footprint and leave 2-3 cm clearance on both sides for airflow and easier cable routing.
Avoid a shelf that’s too shallow — the monitor will hang off and the desk looks poorly planned.
10. Pegboard Back Panel for Tools and Supplies
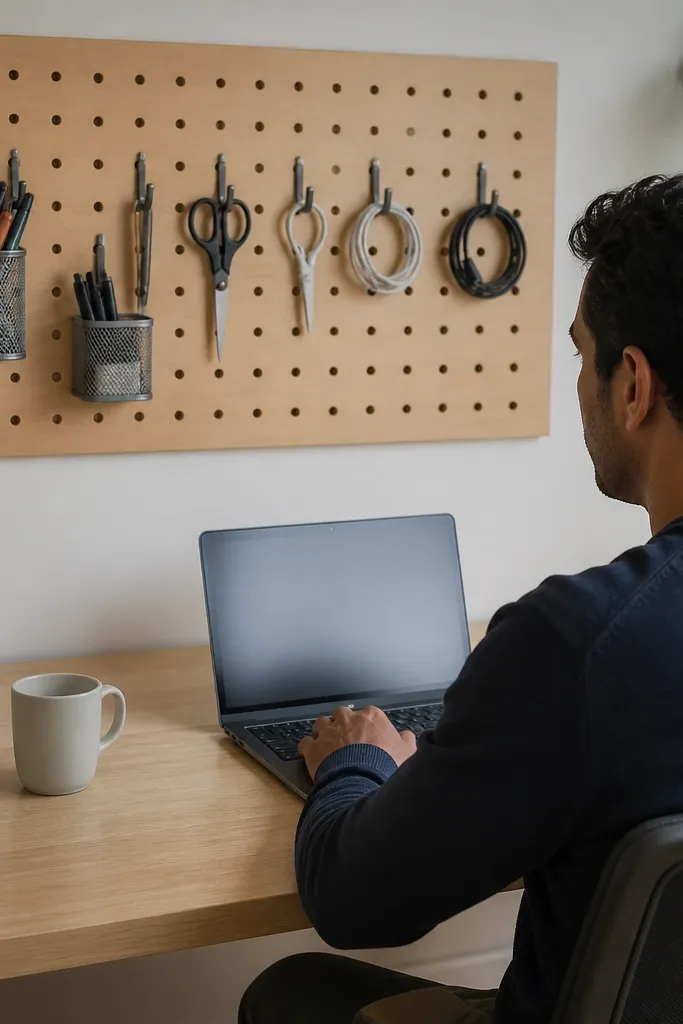
A pegboard back panel turns “desk mess” into a tidy, furniture-like wall feature. The high-end effect is visual: when pens, scissors, and charging cables have exact homes, the desk surface stays clean. This is great for small study corners because it adds function without taking floor space. Use it for supplies you grab daily, not for random items you’ll forget. It’s a straightforward build if you mount it level and keep the hooks consistent.
Mount a 6 mm thick pegboard to the wall studs, not drywall anchors. Align the top edge to your desk height so it looks intentional; use a level and mark stud positions first. Install the desk so the pegboard is behind the chair area, then add a cable run along the pegboard with cable clips. Paint the pegboard with a matte finish to reduce glare, then add hooks for scissors, tape, and a small tray for sticky notes. Keep the heaviest items on lower hooks to reduce strain on screws.
Use one color for hooks and trays (matte black works) so the wall looks designed instead of random hardware.
Avoid cluttering every hole — too many hooks make the whole wall look messy.
11. Slim Storage Tower Attached to the Desk Frame
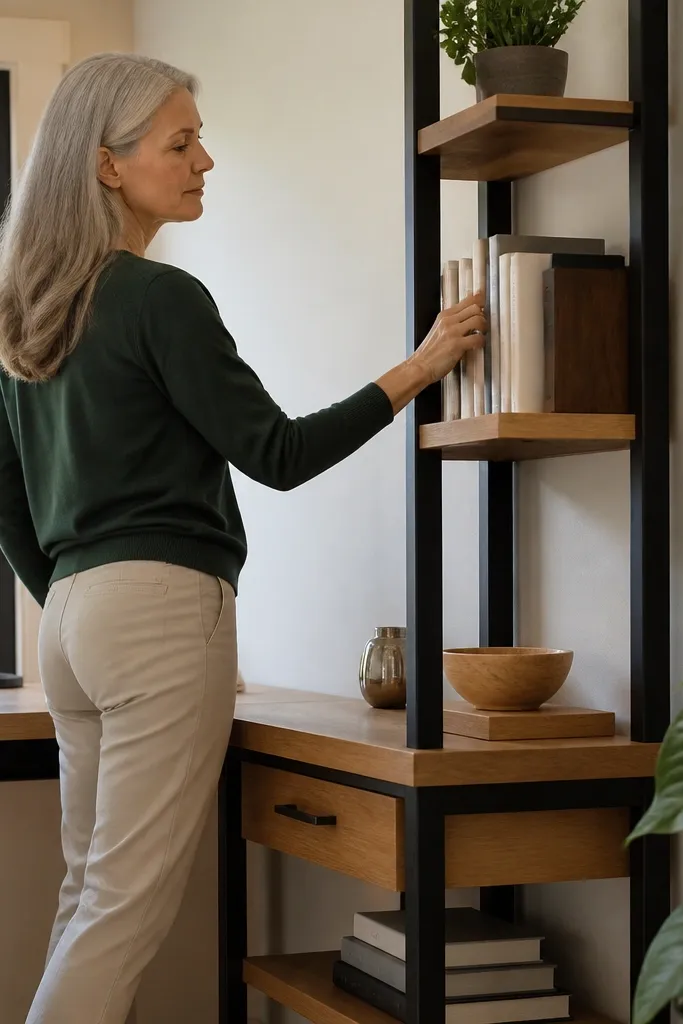
Build the desk frame first with a side panel that extends upward into the storage tower. Keep the tower width 20-30 cm so it stays slim and doesn’t block your knees. Add shelf supports at measured intervals for binders (about 32-34 cm height openings work for common folders) and for books. Attach a back panel or diagonal braces to prevent wobble. Finish edges with edge-banding and seal the top surfaces. Route cables through a cutout near the desk back so power strips sit inside the tower’s lower compartment.
A slim storage tower beside a desk gives you vertical capacity without eating desk surface. The high-end look comes from aligning the tower with the desk edges and using open shelves for quick-grab items. If you build it as a separate unit, it often ends up slightly misaligned and looks DIY. Attach it to the same frame so lines match. This setup works for students, crafters, and anyone who has paper, binders, or craft supplies. It also keeps your chair movement unobstructed.
Skip thisAvoid placing the tower too close to the chair — 2-3 cm less clearance turns into daily annoyance.
Editor's noteUse a single continuous baseboard line across desk and tower — alignment is what makes it look “expensive.”
12. Desk With Integrated Power Strip and Cable Grommets

Choose a tabletop that’s thick enough for a recessed power area (25 mm works well). Mark two grommet holes near the back edge and drill them cleanly with a hole saw. Install a recessed power strip box under the desk top and run cables through the grommets to the box. Secure all wires with cable clips to prevent movement. Finish by sealing the underside and edges, then do a quick pull test on every cable to confirm nothing gets pinched when you move the chair.
This is the simplest way to make a small desk feel high-end: hide the power. When cables disappear into a built-in grommet and the power strip sits under the top, your desk looks clean even when you’re actively charging. It also reduces wear on cables because nothing gets yanked across the edge. This works for study spaces where you have a laptop, phone, and one extra device like a lamp or router. It’s a safe DIY if you plan wire routing and don’t overload outlets.
Skip thisAvoid running loose cables across the desk edge — they look messy and get damaged fast.
Editor's noteUse a power strip with a flat plug or right-angle outlets so it fits the compartment without forcing the lid or underside panel.
13. Rolling Under-Desk Organizer for Supplies
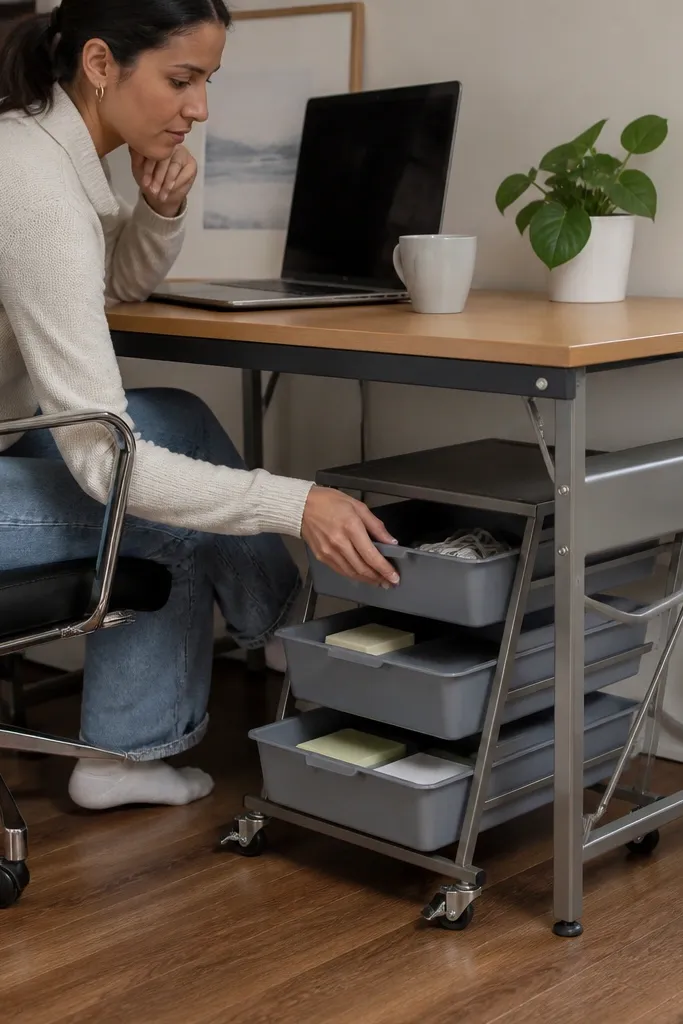
A rolling organizer under your desk makes a small study table feel bigger because you’re not forced to store everything on top. The high-end look is in how it stays controlled: bins that slide in and out, labels that match, and wheels that lock. This works when you want paper, notebooks, and chargers close but you hate clutter. It’s also easier than building a fixed pedestal. Choose the cart height so it clears your chair legs and doesn’t scrape the floor.
Measure the space under the desk and pick a cart height 2-3 cm lower than your chair leg clearance. Choose bins with consistent sizes and a lid-free front so you can grab quickly. Place the cart under the desk and mark where it sits so it doesn’t drift. Add a cable hook on the cart’s side and route charging cords through a short cable sleeve to the desk grommet. Keep one bin for “daily” items and one bin for “weekly” items to stop the cart from turning into a junk drawer.
Add a rubber mat under the cart — it reduces vibration and keeps it from rolling when you lean on the desk.
Avoid wheels without locks — a cart that creeps is annoying and makes the desk feel unstable.
14. Corner Floating Drawer for Pens and Notes
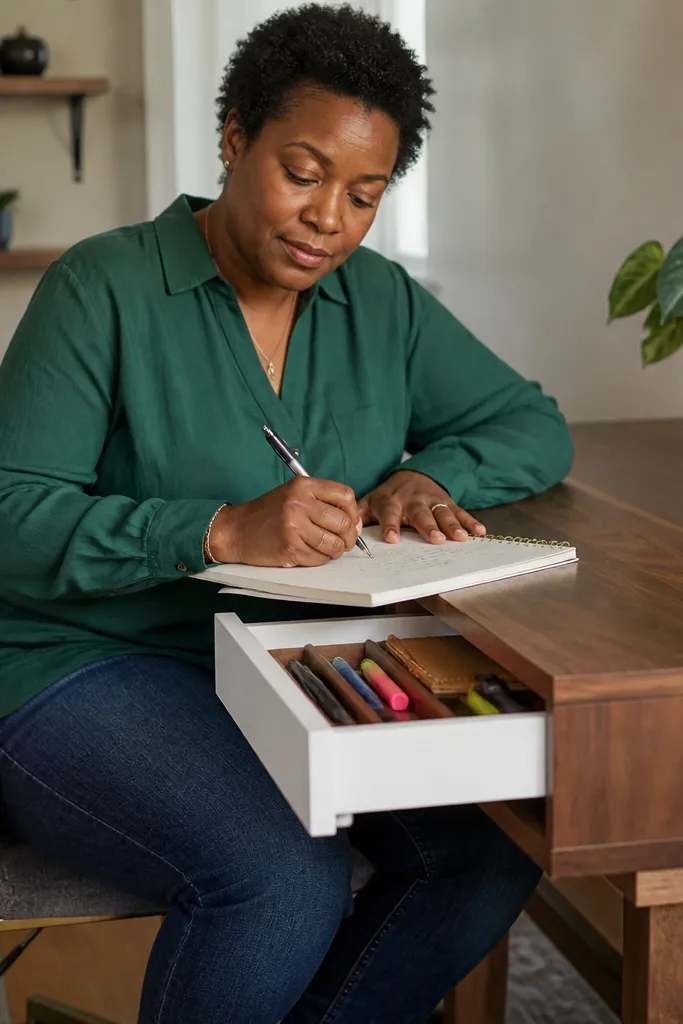
Pick a drawer width that fits your corner — 20-30 cm is enough for stationery. Use a simple undermount slide or side-mount slide designed for small drawers. Cut the drawer box from 12 mm plywood and add a thin front panel for a crisp face. Mark the mounting height so the drawer front clears your knees by at least 5 cm when seated. Install a small handle or pull, then seal the drawer edges and add a felt liner on the bottom.
This is a small upgrade with a big payoff: a tiny floating drawer at the desk corner keeps your daily tools in reach without taking up the main storage space. The high-end feel comes from smooth motion and clean alignment, not from drawer size. It’s perfect for pens, highlighters, sticky notes, and a small notebook you use every day. Build it so it doesn’t collide with chair legs and so the drawer face sits flush. If your desk surface is always covered, this fixes the habit.
Skip thisAvoid a drawer that sticks out too far — it will hit your chair arm or knees.
Editor's noteUse a magnetic catch instead of a flimsy latch if you want it to close quietly and stay aligned.
15. Cedar or Pine Accent Frame With Simple Desk Top
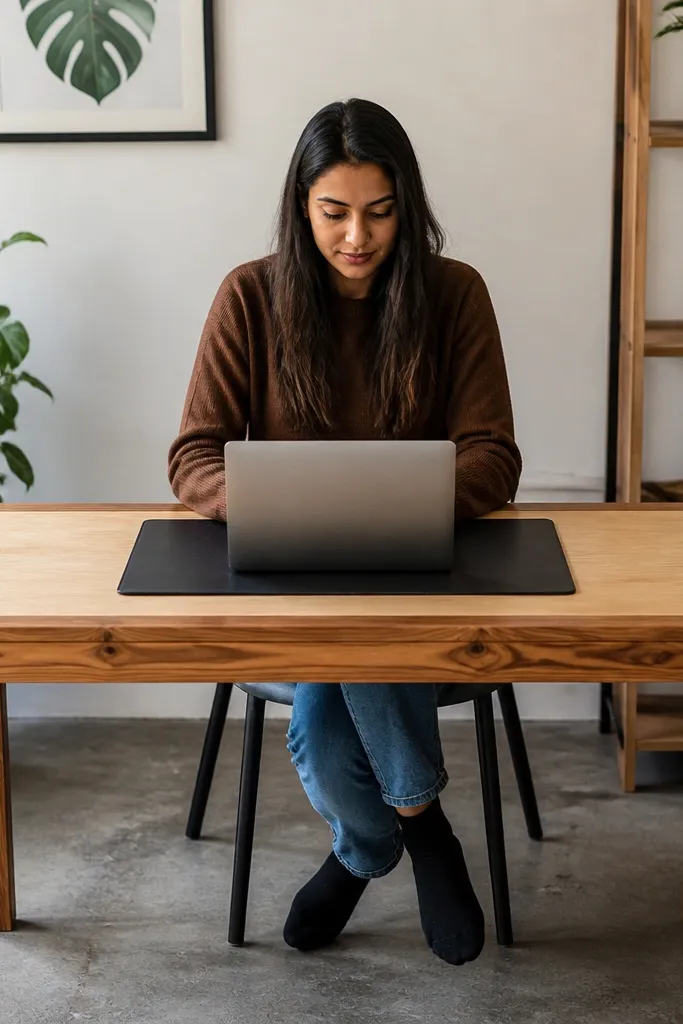
Cut your desktop from 18-25 mm plywood and sand the top smooth. Build an accent frame from 18-25 mm cedar or pine strips and miter the corners for tight joins. Attach the frame with wood glue and small nails or screws from underneath so hardware isn’t visible. Keep a consistent 5-7 mm reveal between the desktop edge and the frame for a clean shadow line. Sand the frame, then apply a clear topcoat or a light stain so the grain shows without looking blotchy.
A high-end look often comes from contrast, not complexity. This setup uses a simple plywood desktop but adds an accent frame in cedar or pine around the edges so it reads like a designed piece. It also hides edge-banding lines that can look DIY if you’re not perfect. This is great for small desks because the frame visually “finishes” the size and makes it feel intentional. It takes a bit more cutting, but it’s still beginner-friendly. You get warmth and a more furniture-like shadow line.
Skip thisAvoid painting the whole thing without sealing — soft woods absorb unevenly and can look patchy.
Editor's noteMiter corners look best when you test-fit with painters tape and clamp before you glue.
16. Slim Desk With Side Storage Niche for a Stool
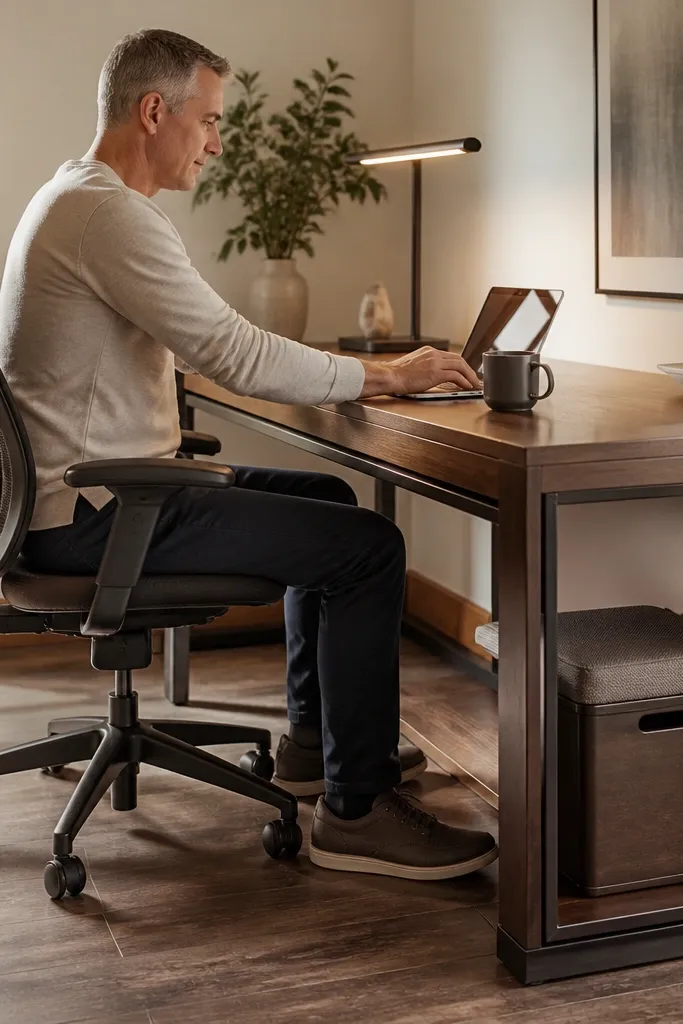
If your room is really tight, you need a desk that doesn’t fight your seating. This idea makes a narrow desk work by adding a side niche for a compact stool or footrest, so you don’t have to pull a bulky chair in and out. The high-end look is in keeping the niche flush and matching the finish so it looks like one piece. It’s good for apartments, study nooks, and anyone who prefers a stool or kneeling chair. DIY difficulty is moderate because you’re building a stable base and niche alignment.
Choose desk depth around 40-45 cm and set the height to match your stool seat position plus a small keyboard allowance. Build a base frame with an open side niche sized for your stool footprint (measure the stool width and add 1 cm clearance). Install the tabletop with screws through the frame and add a front apron if you want extra stiffness. Finish the niche with edge-banding and seal it like the rest of the desk. Add a cable grommet behind the work area and route wires down the back edge so they don’t snag on the niche.
Keep the niche opening smooth — sand the edges and round them slightly so you don’t catch your foot.
Avoid making the desk too narrow without checking keyboard depth — your hands will end up too far forward.
17. Pegboard + Small Desk Combo With a Reading Light Mount

Mount a pegboard panel to studs at a height that lines up behind your seated head and shoulders. Fix a reading light mount or bracket to the pegboard so the light stays angled at your work surface. Install the desk so the pegboard sits behind the chair back and doesn’t block your knees. Add two cable pass-through points near the desk back and route cords up to the light and charging area. Seal the desk and paint the pegboard with matte paint to reduce glare.
A good desk isn’t just storage. It’s lighting and daily organization in the same place. This combo uses a pegboard backing so you can mount a reading light, hang headphones, and keep supplies off the desk surface. The high-end look comes from consistent mounting — straight lines, same spacing, and a lamp that doesn’t wobble. This setup is ideal for studying at night because you get a fixed light position without cluttering the desk. It takes a few hours because you’re drilling and mounting, but it’s very manageable.
Skip thisAvoid mounting the light too high — you’ll end up shining at your eyes instead of the page.
Editor's noteUse a single cable sleeve color and keep it short between grommets and the lamp — it looks intentional.
18. Desk With Hidden Document Shelf Under the Top

Paper chaos is what makes desks look cheap. A hidden document shelf under the desktop keeps current papers flat and reachable without turning your desk into a stack. The high-end feel is that you can pull the shelf out slightly or access it from the front, while the top stays clean. This works for studying, studying with worksheets, and anyone who prints assignments. It’s a strong DIY because you’re building a simple internal shelf with supports and a neat finish. It also reduces the need for extra organizers.
Build a desk top with a 20-25 mm thick panel and plan an internal shelf about 10-12 cm below the top surface. Use side cleats or fixed supports made from 18 mm plywood so the shelf is stable. If you want quick access, leave a front opening and add a small pull tab on the shelf front edge. Seal the underside and shelf edges so paper won’t snag on raw wood. Install a front lip or small stop so sheets don’t slide out when you reach.
Round the front shelf edge slightly with sandpaper so paper corners glide instead of catching.
Avoid leaving the shelf too low — your knees will hit it and you’ll stop using it.
19. Rounded-Edge Desk Top With Soft Corners and Matte Finish

A desk looks high-end when it feels good to touch. People notice corners first — sharp edges scream “unfinished DIY.” This idea keeps the desk size small but makes it look furniture-grade by rounding corners and using a matte clear coat that hides fingerprints. The build is simple: you’re improving the finishing and edges, not adding complex storage. It works with any small desk plan you already have. If your current tabletop looks “cheap,” this is the fastest fix you can do.
Sand the tabletop edges and mark a radius for corner rounding (a 12-18 mm radius works well for desk corners). Use a router with a round-over bit or sand by hand using a sanding block for consistency. Edge-band if you’re using plywood and then sand the band flush so it doesn’t show a line. Apply a matte clear finish in thin coats, sanding lightly between coats with 220 grit. Let it cure fully before heavy use so the surface doesn’t feel tacky.
Do a final wipe with a tack cloth before the last coat; dust under matte finish shows up fast.
Avoid glossy clear coat on a study desk — glare makes it feel harsh and cheap.



