
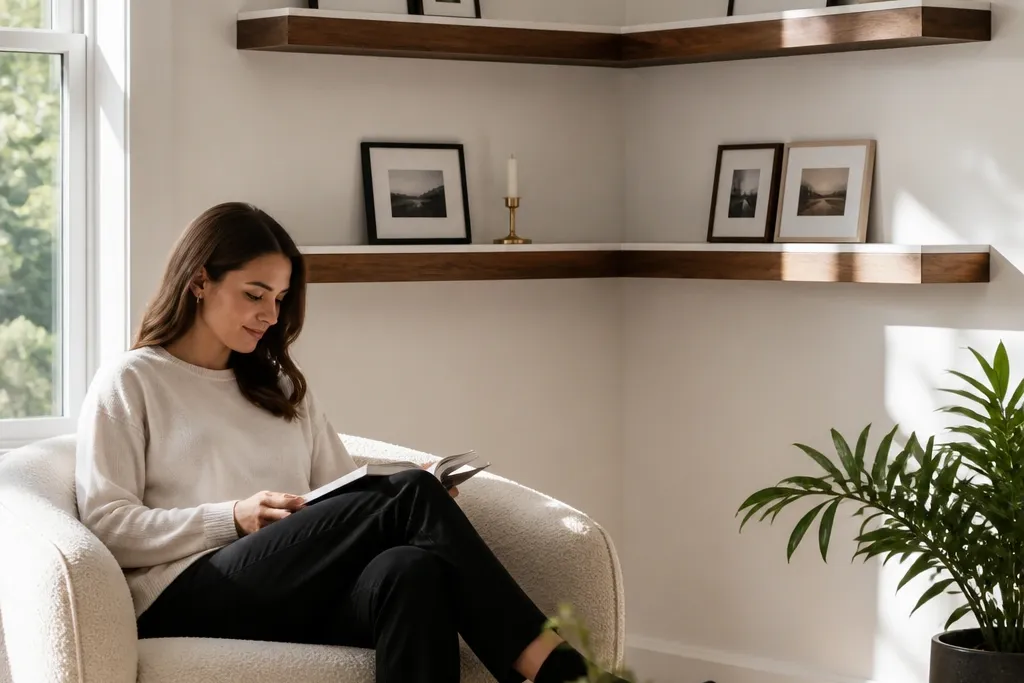
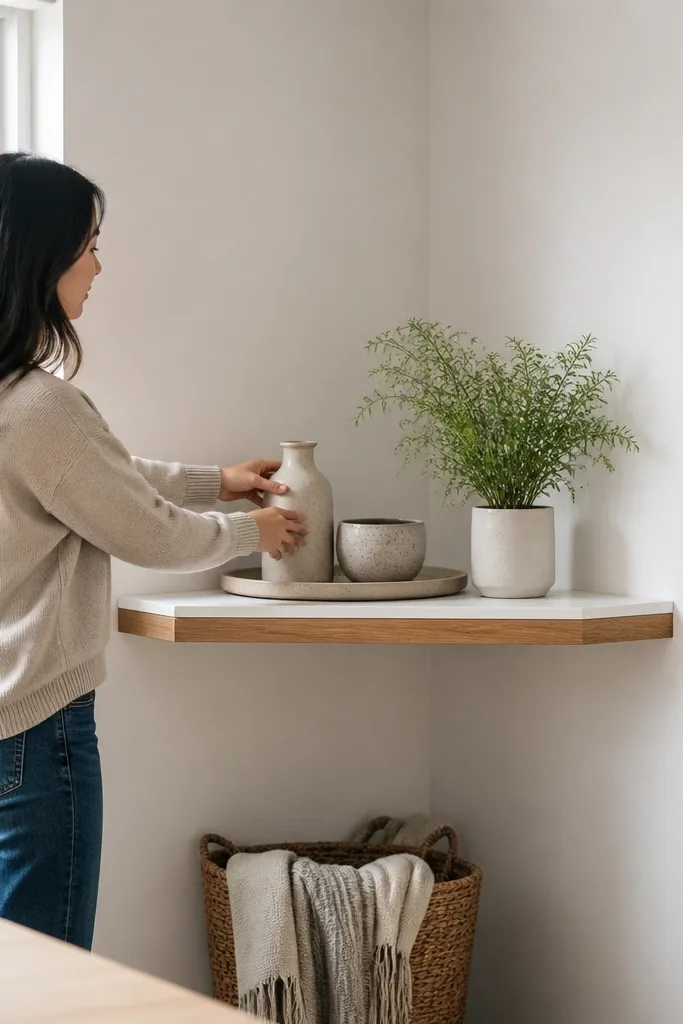
1. Double-Tone Corner Ledge with Shadow Gap
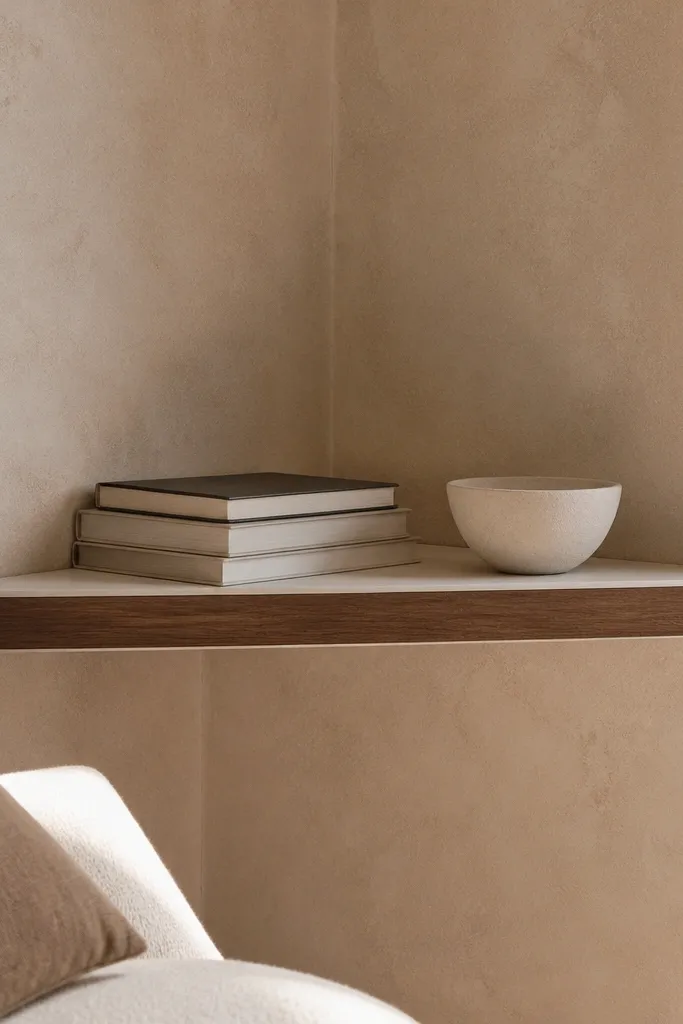
This is the high-end look that makes a corner feel designed instead of cluttered. The shelf surface is one color, the face edge is another, and you add a thin shadow gap so the shelf reads crisp from across the room. For a photo-friendly finish, use a matte white top and a warm oak or walnut stain on the front edge so the corner catches light without glare. It’s great for small framed photos, a candle tray, or a pair of slim vases because the ledge stays visually tidy. Skill level is intermediate because you’re building a clean edge and keeping the gap consistent along both runs.
1) Cut two shelf boards to match your corner depth (plan 6 inches for a sleek look) and length each side so they meet cleanly at the corner angle. 2) Build up the shelf face edge by attaching a stained hardwood strip to the front, then sand flush and route a tiny bevel so it doesn’t look flat. 3) Mount using a concealed French cleat system turned sideways: install the cleat into studs, hang the shelf, then add thin spacers behind the shelf to create a uniform shadow gap before final screws. 4) Finish with two coats of matte paint on top and a wipe-on poly over the stained edge.
Editor's noteMark the shadow gap with painter’s tape strips and measure from the same reference point on both sides before you tighten anything.
Skip thisAvoid skipping the shadow gap — without it, the shelf reads like a single flat board attached to the wall.
2. Walnut Shiplap-Style Corner Shelf with Hidden Rails

If you want corners to look architectural, this one gives texture without turning into farmhouse clutter. The shelf face uses shallow “panel” grooves that mimic shiplap, but the overall lines stay sleek because the shelf is still a single continuous run around the corner. Walnut stain makes it look expensive even when the wall is basic drywall. Use it for books stacked upright or a clean row of small glass bottles. It’s intermediate because you’ll cut the grooves accurately and still keep everything square.
1) Start with 3/4-inch plywood or solid wood for the base shelf, then cut a walnut-stained facing board that covers the front edge. 2) Use a router with a straight bit to cut shallow grooves across the facing board (keep them consistent width and depth). 3) Install hidden rail brackets: mount the rails into studs on both walls, then set the shelf base on top and lock it down from underneath. 4) Finish with walnut stain, then seal with two coats of satin clear to keep the grooves clean.
Editor's noteTest the groove depth on scrap — too deep looks cheap because it catches dust.
Skip thisDon’t mount on drywall anchors only. The rail system needs stud fastening to stay tight over time.
3. Marble-Look Epoxy Inlay Corner Shelf
This is the “high-end” trick that reads like custom stone without the cost. You build a normal floating shelf box, then pour a thin marble-look epoxy layer on top so the corner becomes a focal point. The wood sides keep it warm and DIY-friendly, while the epoxy gives that glossy, gallery-style surface. Put small sculptures, a watch stand, or a plant with a ceramic pot — the surface makes everything look curated. It’s advanced because epoxy needs careful mixing, level work, and dust control.
1) Build your shelf base from 3/4-inch plywood and mount it to studs with a hidden cleat or rails. 2) Mask off the top edges with tape and build a shallow dam so you can pour a 1/8-inch layer; use a level to confirm the shelf is perfectly flat. 3) Mix epoxy with white, gray, and a tiny amount of black pigment, then swirl using a toothpick pattern and pop bubbles with a heat gun at low settings. 4) After curing, sand the surface lightly and apply a final clear coat for uniform gloss.
Editor's noteUse a shop vac right next to where you pour — dust specks are the #1 reason epoxy corners look messy.
Skip thisDon’t pour thicker than 1/8-inch. Thick pours cure unevenly and can crack at the edges.
4. Black Oak Corner Shelf with Brass Pin Brackets Hidden Inside
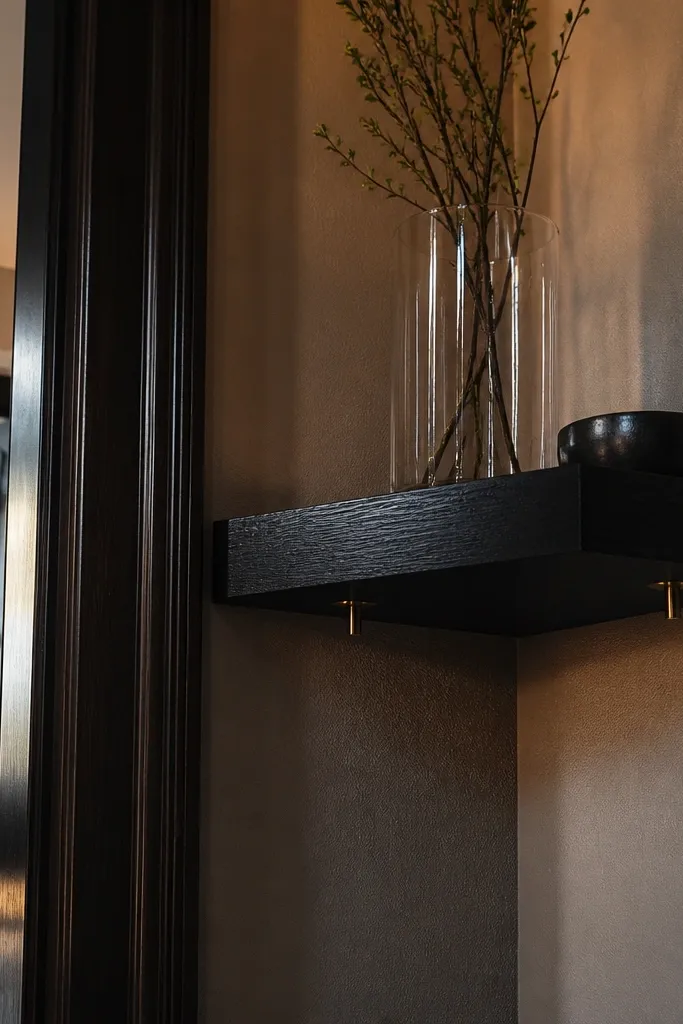
This look is bold but still clean because the hardware peeks out in a controlled way. The shelf top is black-stained oak, and the underside shows slim brass pins that catch light without cluttering the wall. Because the pins are only visible from below, the front stays “floating” and expensive-looking. It works best for entryways and kitchens where you want contrast. It’s intermediate: you’ll drill accurately and mount hardware into studs so it doesn’t wobble.
1) Stain the oak with a matte black wood stain, then seal with a satin topcoat so it doesn’t look like plastic. 2) Install concealed pin brackets: drill holes into the shelf underside spaced evenly, then mount matching hardware to a cleat or ledger behind the shelf. 3) Hang the shelf, then lock from inside the bracket so the front edge stays clean. 4) Finish by adding a final coat to the underside and wiping off any residue around the pin holes.
Use a drill stop collar so every pin hole depth matches — uneven depth makes the shelf sit like a slant.
Don’t leave the pin holes raw. Seal the edges so unfinished wood doesn’t darken unevenly.
5. Light Oak Corner Shelf with Beveled Backer Panel
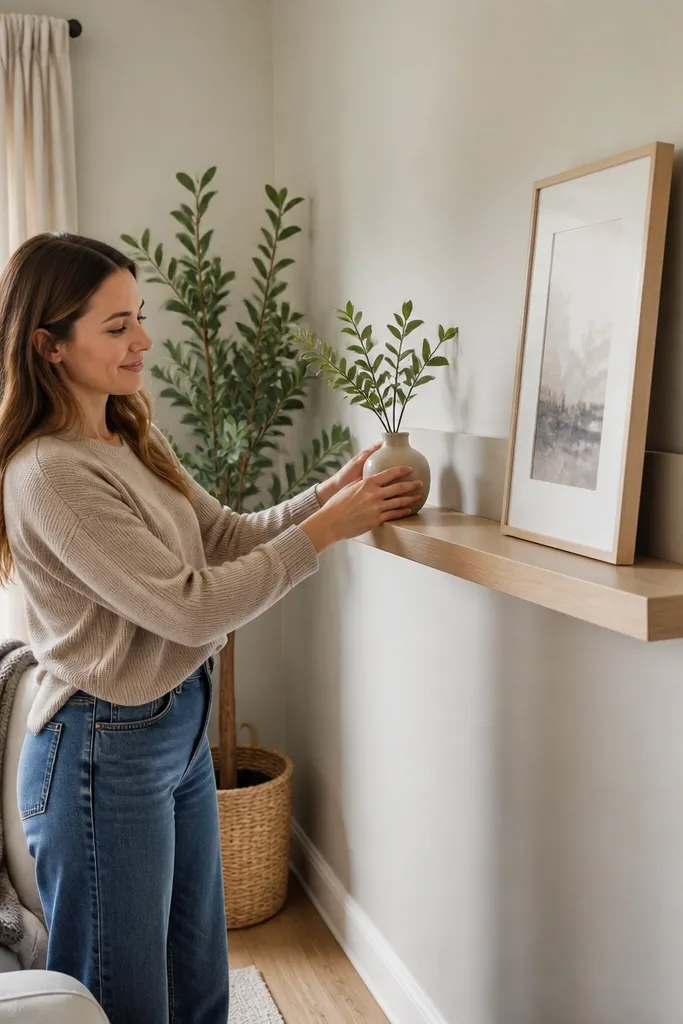
A beveled backer panel turns an ordinary shelf into a gallery ledge. The shelf sits forward, and a thin angled panel behind it creates depth, so the corner looks deeper and more intentional. Keep the shelf in light oak and the backer in a matching paint tone (warm white or soft greige) so the wall doesn’t swallow the shelf. This is great for small decor like framed prints, a minimalist clock, or a row of tiny bottles. Skill level is beginner to intermediate because the build is mostly straight cuts and simple mounting.
1) Cut your shelf board to depth (8 inches is a sweet spot for everyday decor) and length to span both walls. 2) Cut a backer panel strip, then bevel one long edge at about 45 degrees so it forms a clean angle behind the shelf. 3) Mount the shelf with a hidden rail system into studs, then screw the backer panel to the studs as well so it supports the look. 4) Finish with light oak stain and a satin clear coat; paint the backer panel with a durable wall paint finish.
Editor's noteDry-fit the backer panel before you stain anything so you can confirm the reveal width on both walls.
Skip thisAvoid painting the backer with glossy paint. Gloss highlights wall unevenness around the corner.
6. Thermofoil White Corner Shelf with Continuous LED Strip
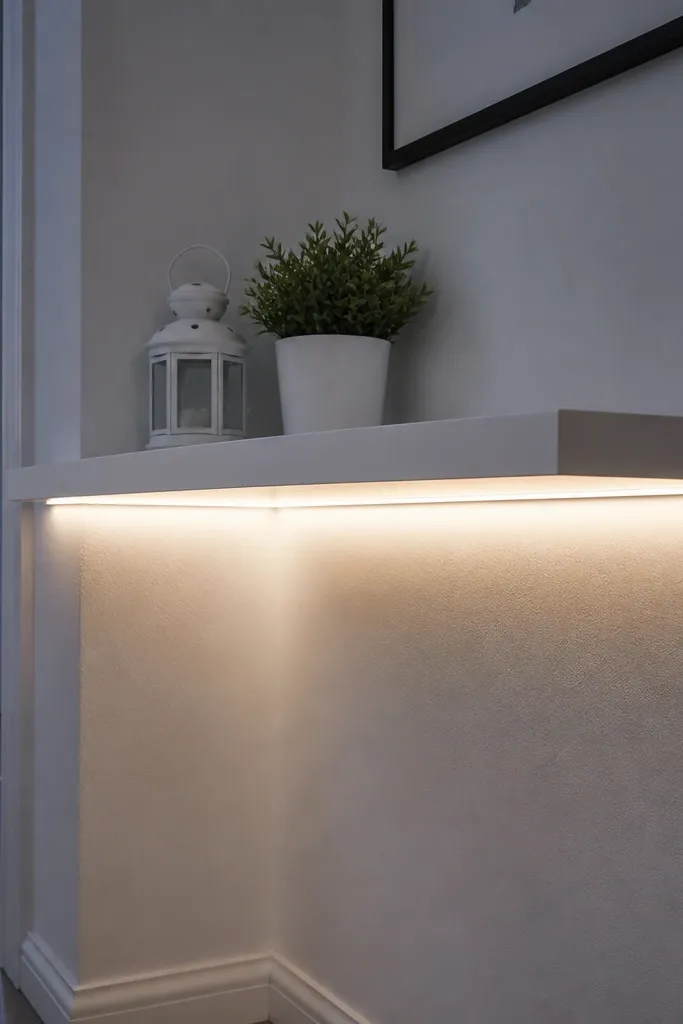
LED lighting makes floating corner shelves look high-end instantly because it creates a clean line of light with no visible fixtures. Use thermofoil or high-quality painted plywood for the shelf face so it stays smooth under the glow. The LED strip sits under the front edge, so the corner looks like a built-in display. This is perfect for nighttime mood and for showing small objects without harsh overhead lighting. Skill level is intermediate because wiring and heat management matter.
1) Build a 3/4-inch shelf base, then mount it using a concealed cleat into studs on both walls. 2) Route a shallow channel on the underside front edge for the LED strip and add a diffuser strip if you want softer light. 3) Connect a dimmable LED driver to a low-voltage run tucked behind the shelf, then secure the strip with aluminum channel for heat control. 4) Finish the shelf with a smooth white paint system and test the LED before you close any access gaps.
Use a 2700K LED color temperature so the display looks warm, not blue.
Don’t run the LED straight through a tight bend without checking the strip’s bend rating.
7. Walnut Corner Shelf with Steel Cable Back Support

Cable support gives you a floating look without heavy brackets and it can handle deeper shelves. The trick is hiding the cables behind a slim back rail so they disappear into the corner. Walnut keeps it warm and expensive-looking, while the cables add a modern edge. Use this for a 10-12 inch deep shelf where you want books or a stack of magazines without sag. This is intermediate because you’ll tension cables correctly and keep spacing even.
1) Install a back anchor rail into studs along both walls, aligned to the shelf’s underside. 2) Mount two or three cable lines per shelf run, then attach the shelf underside to cable endpoints so the shelf sits level. 3) Cut the walnut shelf to depth (10 inches) and sand to a consistent finish; drill cable attachment holes with a jig so spacing stays identical. 4) Add a satin clear coat, then tension cables gradually until the shelf is level.
Level the shelf with a laser or long spirit level before final tightening — cable tension changes the final angle.
Don’t put cable anchors in drywall alone. The back rail must hit studs.
8. Matte Black Floating Shelf with Hidden Stud Ledger
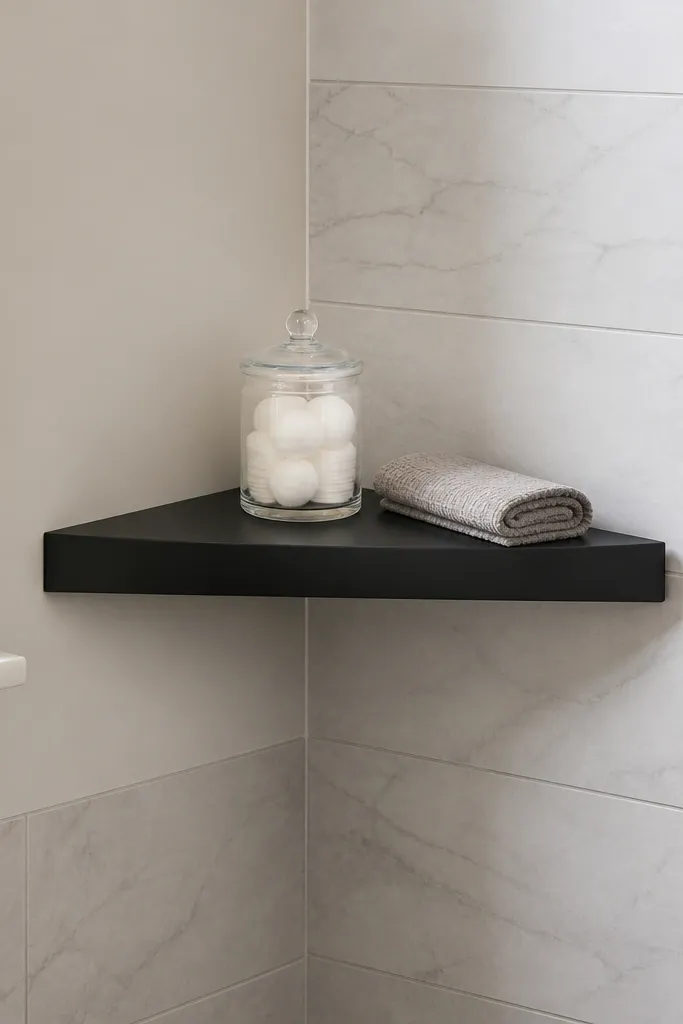
This is the clean, modern option when you want the wall to stay visually calm. The shelf is matte black, and the mounting uses a hidden ledger so nothing shows from the front. The shelf edge stays sharp, which makes it feel high-end even with simple decor. It works well in bathrooms and hallways because matte finishes hide small scuffs. Skill level is beginner to intermediate because the carpentry is straightforward, but you must get the ledger height right.
1) Decide your shelf depth (6-8 inches for a sleek corner) and mark the ledger line across both walls at the same height. 2) Screw a thin ledger into studs, then mount the shelf onto it using concealed brackets or a cleat hidden behind the shelf. 3) Use edge banding or a solid wood front strip so the front edge looks intentional, then paint with a durable matte cabinet paint. 4) Let paint cure fully before loading heavy items.
Editor's noteUse a long level across both walls — corner walls are rarely perfectly aligned.
Skip thisAvoid painting over dusty edges. Matte paint shows every speck.
9. Sandstone Texture Shelf Face with Floating Corner Frame
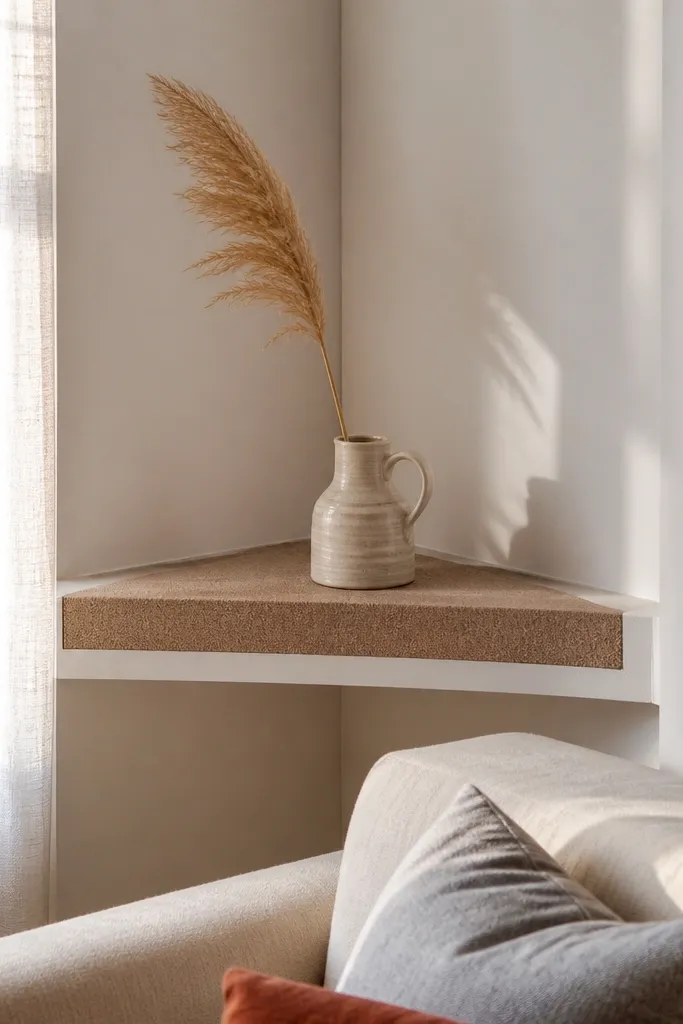
Texture reads expensive when it’s subtle and controlled. This shelf uses a textured front face (cement-style or fine sand texture) framed by a smooth wood or painted border so it looks like a built-in architectural panel. It’s a great choice for living rooms because it adds depth without adding clutter. Put a textured vase, a sculptural object, or a tall candle — the face gives everything a backdrop. Intermediate build because you’re applying texture and keeping the frame lines straight.
1) Build the shelf base from plywood and mount it with a hidden rail system into studs. 2) Create a front frame using 1/2-inch border strips, then apply a textured coating to a thin panel that sits behind the frame opening. 3) Attach the textured panel to the shelf face so it doesn’t flex, then sand only the edges that touch the frame. 4) Finish the border with stain or paint and seal the textured surface with a clear topcoat rated for scuffs.
Seal the textured panel in two light coats instead of one heavy coat so it doesn’t look glossy and wet.
Don’t skip sealing. Unsealed texture grabs dust and looks darker over time.
10. Two-Tier Corner Shelf with Offset Steps
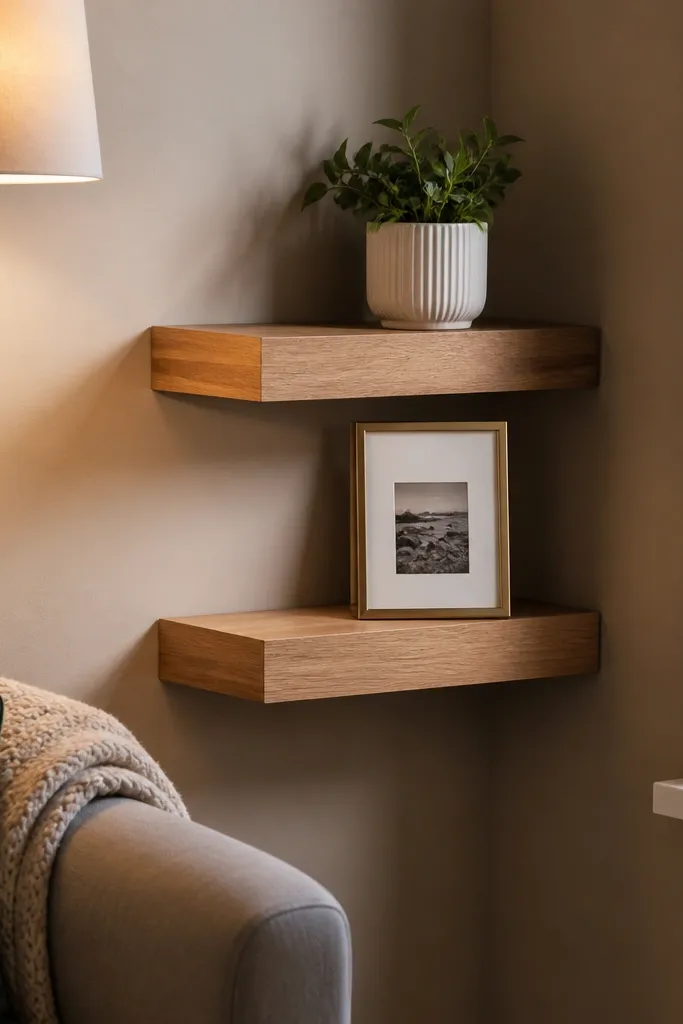
Staggered tiers stop corners from looking flat. Instead of two shelves sitting at the same alignment, you offset them so one sits slightly forward and higher, creating a step effect that looks custom. The look is photogenic because shadows fall differently on each tier. Use this for small plants on the upper shelf and books or framed photos on the lower one. It’s intermediate because you’re aligning multiple mounting points and keeping both tiers level.
1) Choose depths around 6-7 inches for both tiers so the corner stays airy. 2) Install hidden cleats for each tier into studs on both walls, then dry-fit the shelf positions before screwing anything permanently. 3) Cut two shelf boards and add a consistent edge finish (edge banding or solid trim). 4) Mount the upper shelf first, then align the lower shelf so the step gap looks intentional from the front.
Editor's noteUse a scrap spacer equal to your offset gap so both sides match visually.
Skip thisAvoid mounting both tiers to the same cleat line. Corner studs rarely line up perfectly across heights.
11. Corner Shelf with Integrated Planter Box
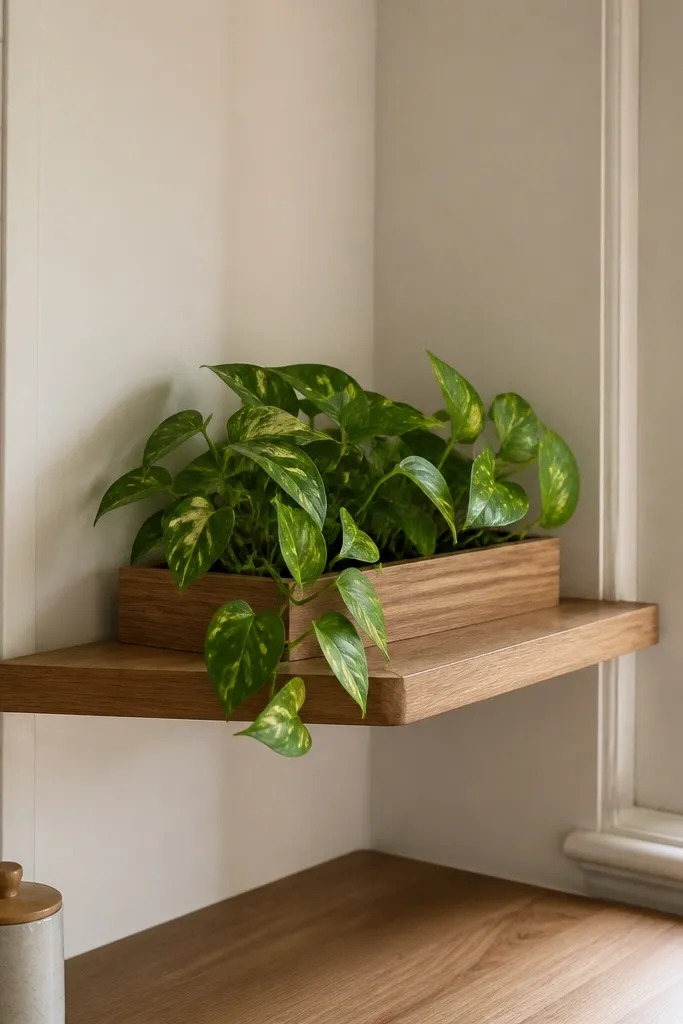
This one solves a common corner problem: plants look better when they have a dedicated landing spot. The shelf top includes a recessed planter box, so the container sits flush and doesn’t wobble or splash water onto the shelf. You get a high-end look because the planter is integrated, not an afterthought. It’s great for small pothos, a snake plant in a ceramic pot, or a low herb display. Skill level is intermediate because you’re cutting a recess and waterproofing the box.
1) Build and mount the corner shelf base with hidden rails into studs. 2) Cut a recess in the top board sized for your planter pot with about 1/2-inch clearance around the sides. 3) Line the recess with a waterproof layer (thin pond liner or epoxy barrier) and add a drainage strategy like a small hidden channel or choose a self-draining insert. 4) Seal the rest of the shelf with a clear finish that resists water spots.
Editor's notePick a planter pot first, then size the recess to it. Measuring the hole wrong is the fastest way to ruin the look.
Skip thisDon’t rely on a plain wood recess for water. Seal and line it or you’ll get swelling marks.
12. Pale Oak Corner Shelf with Invisible Corner Bracket Rail
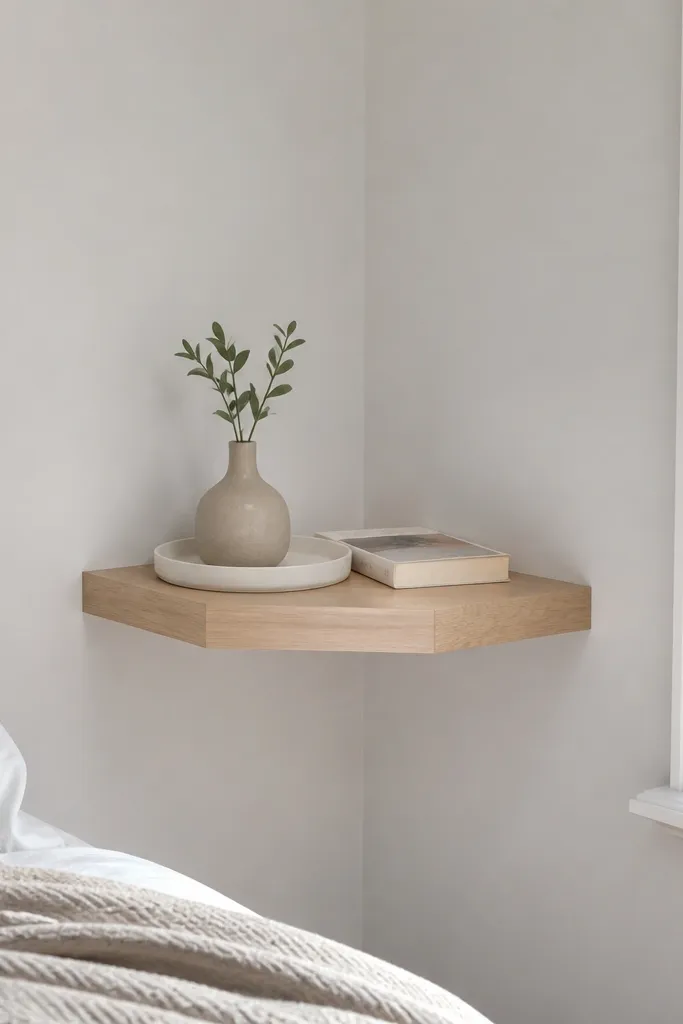
When you want the shelf to look like it’s floating from nowhere, a corner bracket rail is the cleanest route. The rail sits behind the shelf seam, so it’s hidden by the corner transition. The pale oak finish stays bright and works in small rooms because it doesn’t visually weigh down the wall. Style it with a slim tray and two objects with height differences so the corner stays balanced. Beginner to intermediate build because it’s mostly measuring and installing the rail correctly.
1) Cut the shelf so both sides meet at a square corner seam (no angled miter needed if your walls are true 90 degrees). 2) Mount a hidden bracket rail behind the seam into studs, then set the shelf on top and lock it from underneath. 3) Add a front edge strip to cover the plywood edge and keep the finish line crisp. 4) Sand, stain, and apply satin clear coat.
Check your corner angle with a framing square. If it’s not 90 degrees, adjust the shelf length so the seam stays tight.
Avoid forcing a shelf to fit a crooked corner. Fix the measurement first, then cut.
13. Stained Cedar Corner Shelf with Tongue-and-Groove Face
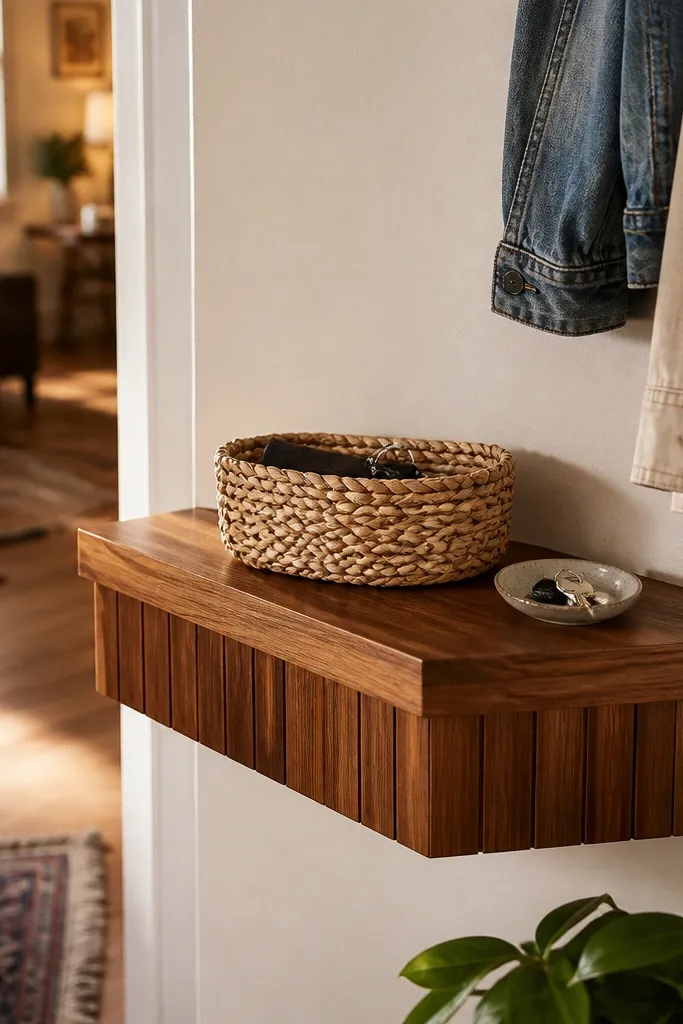
Tongue-and-groove on the shelf face makes the corner feel handcrafted without looking messy. Cedar is naturally warm and has a subtle grain that looks good even with simple decor. Stain it in a medium tone (not too dark) so the grooves still show. This is ideal for entryways where you want a cozy, “someone cared” vibe. Skill level is intermediate because you’ll cut a face panel with consistent groove lines and keep the shelf level.
1) Build the shelf base and mount it using hidden cleats into studs. 2) Create a tongue-and-groove face panel using a router jig or pre-grooved strips, then stain the face before attaching it. 3) Attach the face panel to the front edge so the bottom stays flush and the grooves align across both shelf runs. 4) Seal with a satin clear coat and let cure before loading heavy items.
Stain the face panel fully before assembly so the grooves don’t miss spots where you can’t reach.
Don’t attach the tongue-and-groove face after final clear coat. You’ll get uneven sheen at seams.
14. High-Contrast Corner Shelf with White Marbleboard + Dark Frame
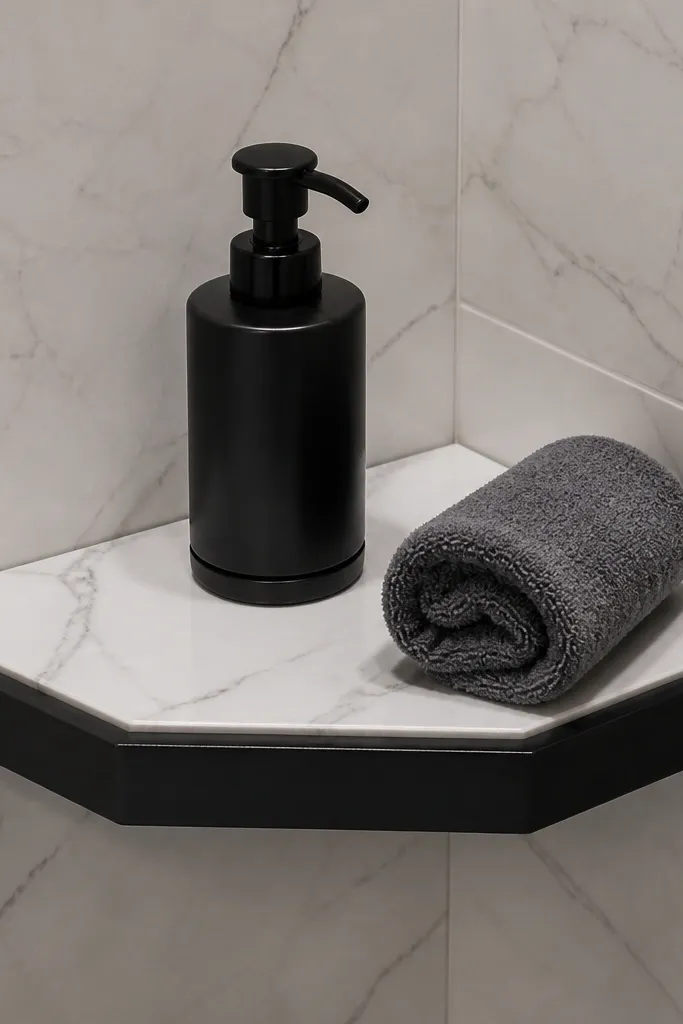
This is the “designer” look that comes from contrast and clean geometry. The top uses a marbleboard-style surface (real stone look or a high-quality laminate), framed by a dark wood or painted border. The frame makes the shelf feel intentional and keeps the wall from swallowing the top. It’s perfect for bathrooms and kitchens because the surface wipes clean. Intermediate build because you’re laminating or working with decorative surface board and keeping edges tight.
1) Mount your shelf base to studs with hidden cleats, then cut a frame border to cover the front and sides. 2) Cut the marbleboard top to size, test-fit, then glue and clamp it so there’s no lifting at the edges. 3) Use edge trim or a banding strip to hide layers and make the front line crisp. 4) Seal or protect the laminate edges with a suitable edge sealer so moisture doesn’t creep in.
Editor's noteClamp with cauls so you don’t dent the decorative surface around the edges.
Skip thisAvoid leaving raw laminate edges. They chip and look DIY fast.
15. Floating Corner Shelf Set in 3 Heights with Matching Back Panel
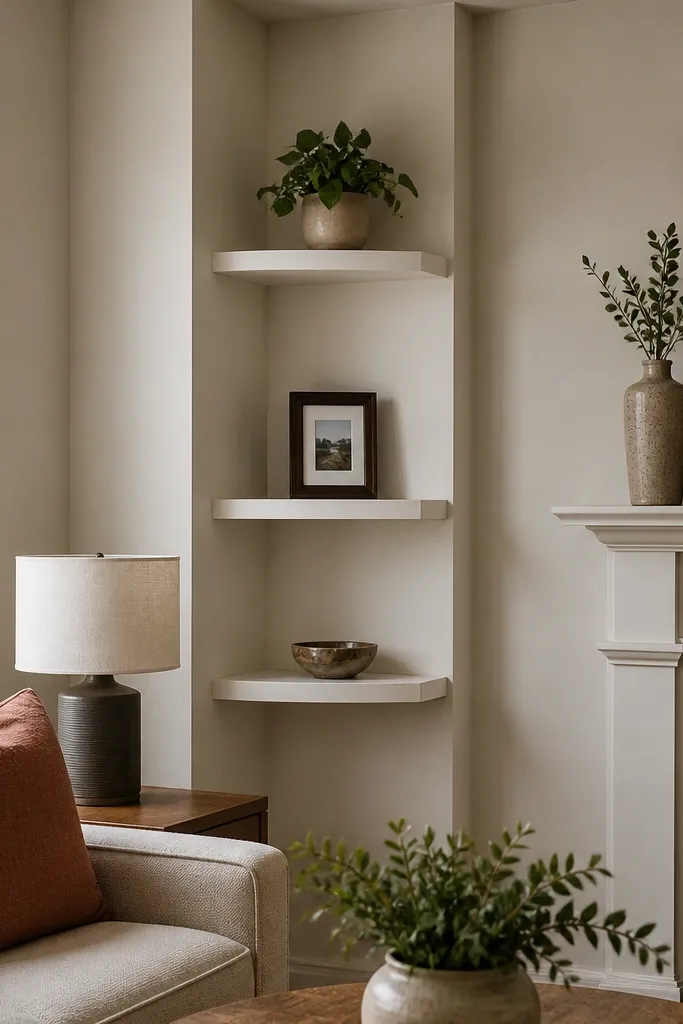
A set of three shelves makes the corner feel like a built-in display wall, not a single ledge. The key is using one continuous back panel behind the shelves so everything lines up and looks cohesive. It also gives you a place to hide wiring if you add LEDs later. Keep the shelves shallow (6-8 inches) so the corner stays open and the room doesn’t feel crowded. Skill level is intermediate because you’ll align multiple levels and cut the back panel accurately.
1) Measure the corner wall height and decide spacing for the three shelves (for decor, 10-12 inches between shelf tops looks balanced). 2) Install two hidden rail systems into studs, then mount shelf bases at each height. 3) Cut a back panel sheet and mount it behind the shelves so the panel edges disappear behind the shelf faces. 4) Finish all surfaces in one cohesive color scheme, then load decor after the finish cures fully.
Use a single laser line for shelf height so all three shelves stay aligned even if the corner walls are slightly off.
Avoid mounting shelves without a back panel if the wall is uneven. Gaps will show.
16. Sandstone Beige Corner Shelf with Curved Front Lip

Curving the front lip makes floating shelves look custom because it softens the geometry. Pair a warm beige finish with a thin curved edge and you get a “boutique” look that doesn’t scream DIY. The shelf reads clean from the front because the curve catches light smoothly. This is a great choice for bedrooms and reading nooks where you want warm, calm decor. Intermediate build because you’ll shape the front edge and keep the shelf face consistent across the corner.
1) Build the shelf base from plywood and mount using hidden cleats into studs. 2) Laminate a curved front strip (or use a rounded edge profile) along the front of the shelf, then sand to a consistent radius. 3) Apply a durable paint finish in a warm beige, then seal with a topcoat rated for furniture. 4) Add a thin spacer behind the shelf to create a shadow gap so the curve doesn’t blend into the wall.
Editor's noteSand the front lip last. Any sanding earlier will flatten the curve and ruin the look.
Skip thisDon’t use a high-gloss finish. Curved edges reflect too much and look cheap in corners.
17. Charcoal Stained Corner Shelf with Under-Mount Lighting Channel
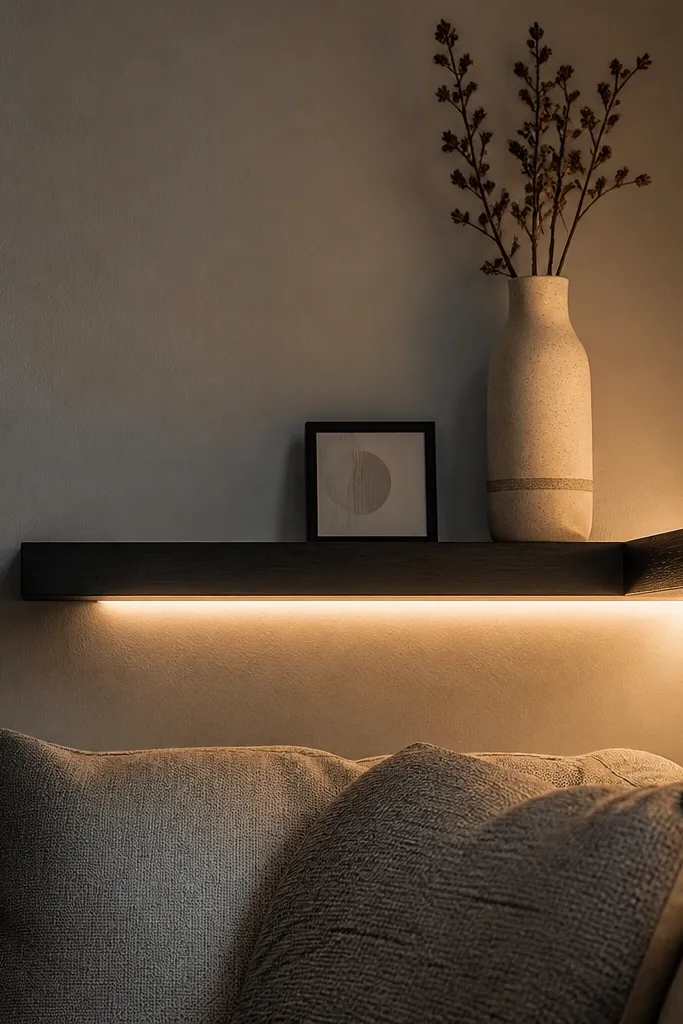
Charcoal stain plus hidden under-mount lighting gives a moody, high-end display without harsh overhead glare. The lighting channel is set into the shelf underside so you see a soft glow line, not the LED itself. This works especially well in corners where you don’t have good ambient light. Style it with a tall vase and a small tray so the glow frames the items. Skill level is intermediate because you’ll route a channel and wire cleanly.
1) Mount the shelf with hidden rails into studs, then confirm the shelf is level before routing. 2) Route a shallow underside channel for the LED strip and install an aluminum diffuser cover for even light. 3) Stain the shelf in charcoal, seal, and then install the LED after the stain cures. 4) Wire the LED to a driver, tuck connections behind a small access panel, and test the glow before final assembly.
Editor's noteUse a diffuser. Without it, you’ll see LED dots and the shelf won’t look expensive.
Skip thisAvoid wiring the LED after the finish. You’ll scratch the shelf while routing access.
18. Brushed Nickel Edge Trim Corner Shelf
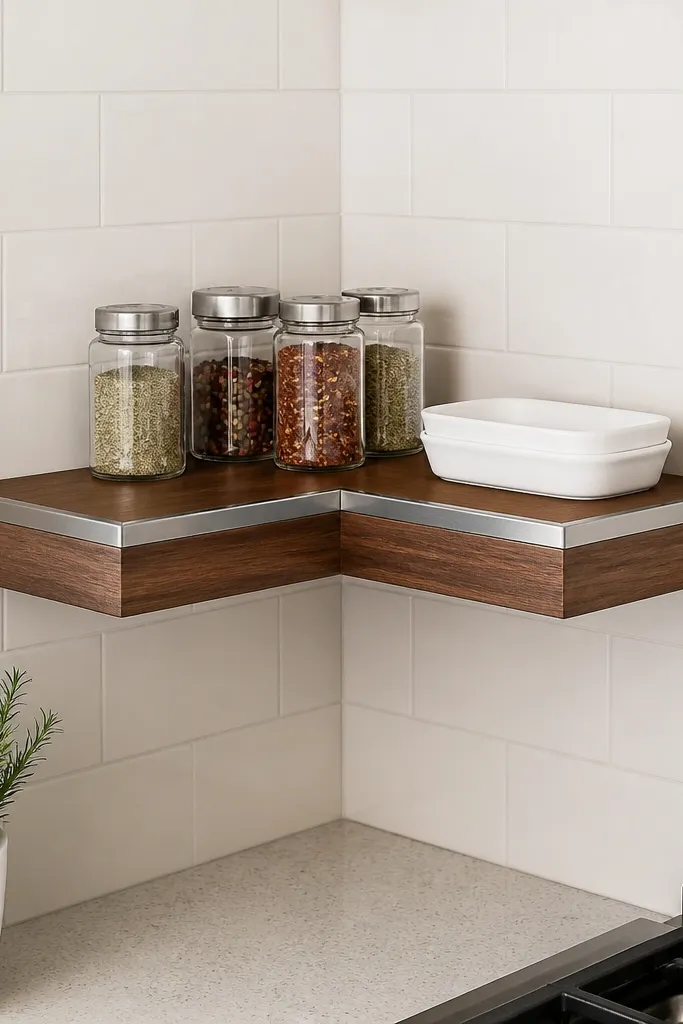
Edge trim is the fastest way to make a floating shelf look built-in. This design uses brushed nickel edge trim along the front line and corners so the shelf has a crisp, metallic frame. The wood can be walnut, oak, or painted — the trim does the heavy visual lifting. It looks great in kitchens and bathrooms where you have brushed metal fixtures. Intermediate build because you’ll measure trim lengths, miter cleanly if needed, and keep the shelf face flat.
1) Mount the shelf base with hidden cleats into studs and sand the front edge smooth. 2) Install brushed nickel edge trim using adhesive made for metal and wood, then secure with small brads if needed. 3) If you’re doing a corner seam, test-fit trim pieces so the metal line stays straight and doesn’t kink. 4) Finish with stain or paint on the shelf face, then seal carefully around the trim so you don’t fog the metal.
Wipe metal trim with a clean microfiber and alcohol before applying adhesive for better bond.
Don’t paint over trim edges unless you’re using trim made for paint. It chips and looks sloppy.
19. Clear-Finish Floating Corner Shelf with Doubled Laminate Core
If you want the shelf to look expensive because it looks thick and solid, build it with a doubled core and a clear finish. The shelf reads high-end when the thickness is obvious and the grain looks clean, not blotchy. Use a clear finish that stays smooth and doesn’t turn yellow fast. This works for minimalist rooms because the shelf becomes a natural material display. Skill level is intermediate because you’ll laminate or glue up thicker panels and handle finishing carefully.
1) Make the shelf body by gluing two layers of quality plywood together to get a thicker look (aim around 1.5 inches total). 2) Mount with hidden rails into studs so the heavy shelf has enough support. 3) Sand up to at least 180 grit, then apply a clear finish in thin coats; sand lightly between coats for a glassy surface. 4) Add corner trim only if needed to hide layers and keep edges crisp.
Editor's noteThin, even coats beat one thick coat. Thick clear finish drips on corners and looks uneven.
Skip thisAvoid cheap pine for a clear finish. It knots and turns blotchy under clear coats.
20. Two-Panel Corner Shelf with Picture Frame Sides
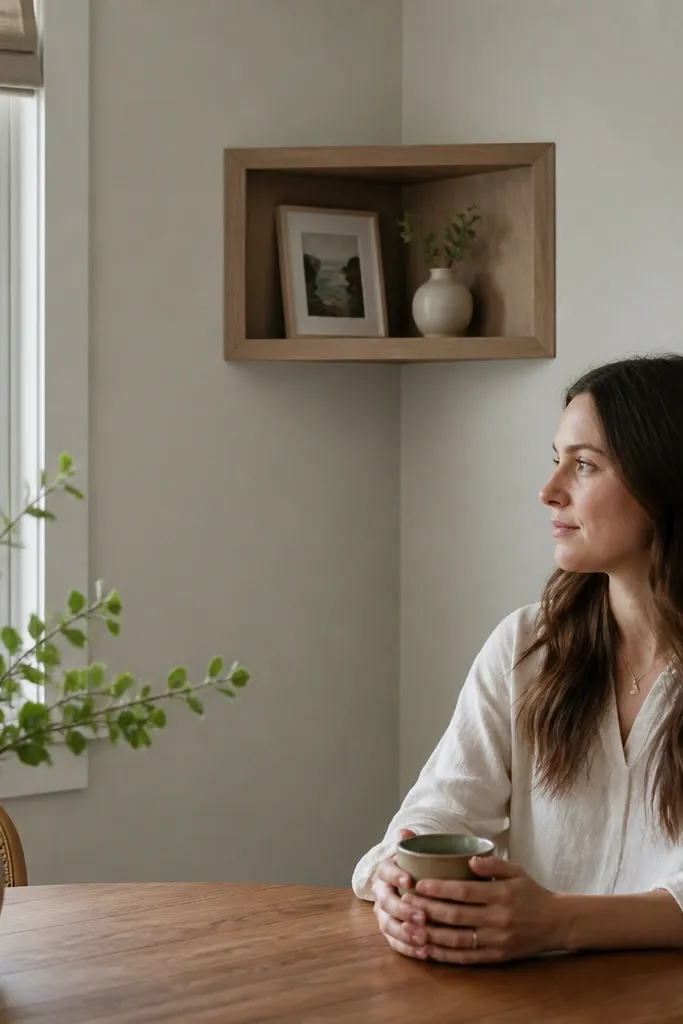
Picture-frame sides make even a simple shelf look like furniture. The front face is framed with thin trim, so the shelf edge looks intentional and the inside ledge feels like a display box. This is great for small rooms where you want corners to look “finished” without adding bulky cabinets. It also hides slight wall gaps because the frame covers them. Skill level is intermediate because you’ll cut trim accurately and keep the frame lines aligned across the corner.
1) Build the shelf base and mount with hidden cleats into studs on both walls. 2) Cut picture-frame trim pieces for the front sides of both runs, then join at the corner seam for a tight look. 3) Attach the trim around the shelf front edge, then sand flush at the seam. 4) Finish the shelf and trim in matching paint or stain, then seal with a durable topcoat.
Use a miter jig or an angle guide for corner trim so the frame lines don’t look wavy.
Avoid thick trim that hides the shelf depth. Keep it slim so the corner still feels open.



