
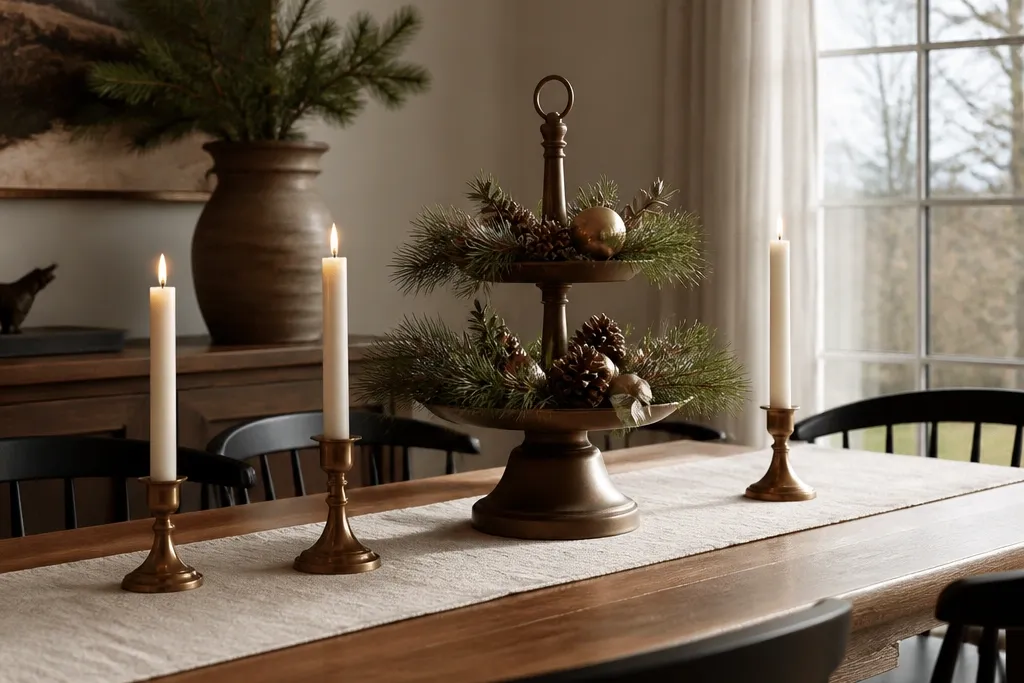
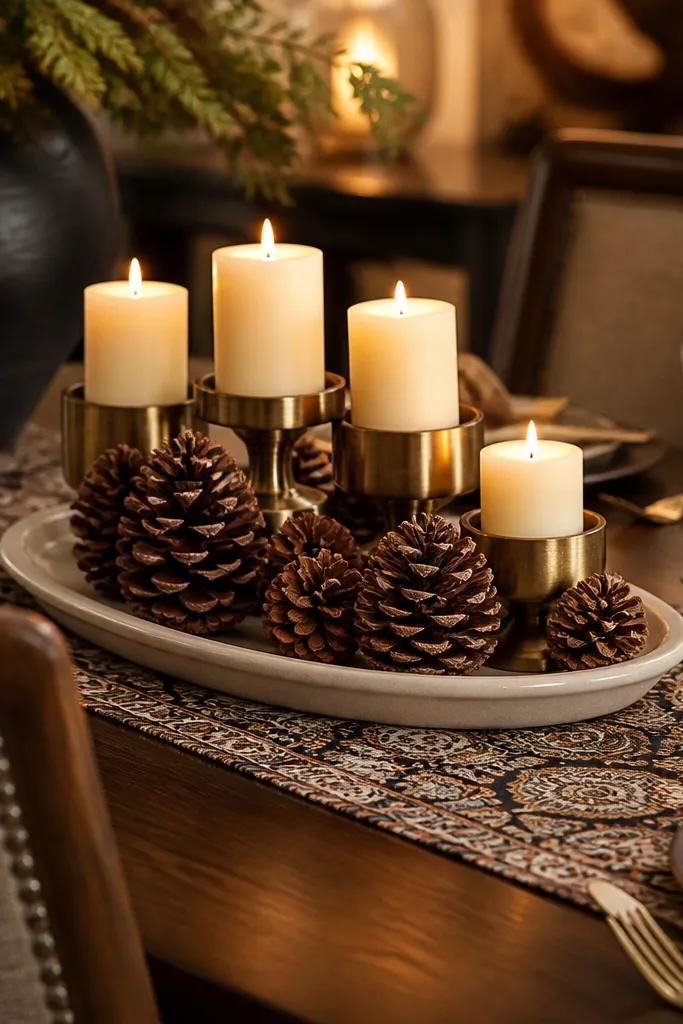
1. Cream + Pine Tiered Tray Centerpiece
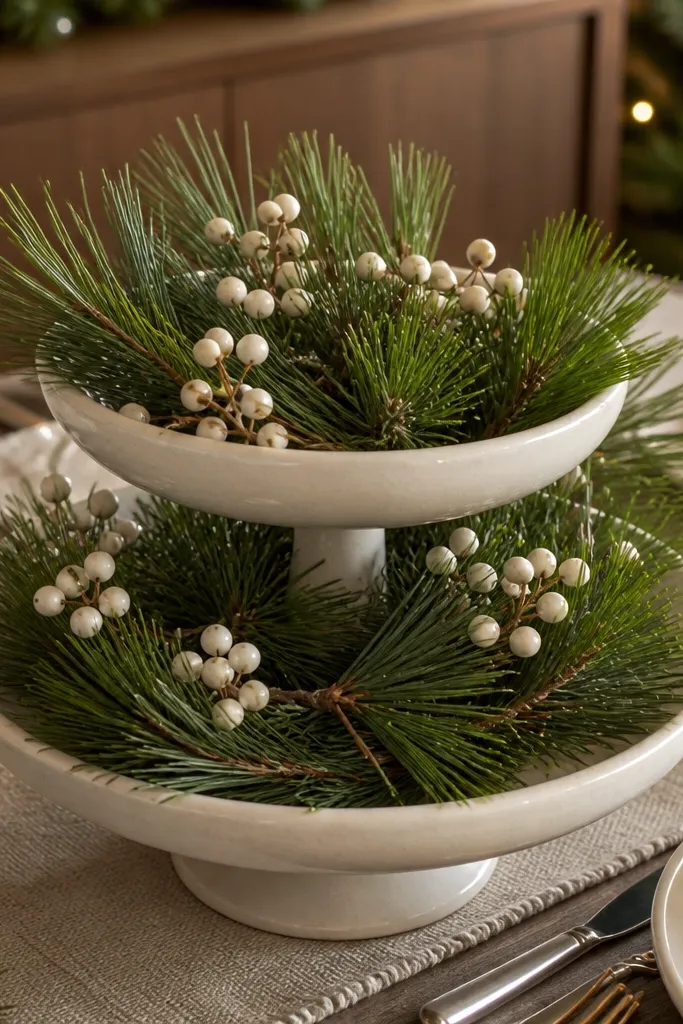
This centerpiece looks expensive because it uses height and repetition. A two-tier tray creates a natural pyramid, so your table doesn’t end up with one flat blob of decorations. The cream base keeps the holiday color clean, and pine sprigs add that real-looking texture that reads well under dining light. Add small ornaments in a tight palette (antique gold and matte white) so it looks curated instead of scattered. Skill level is beginner-friendly, and you can finish it in about 60-90 minutes with basic hot glue and a few spray-dye tweaks.
Start with a thrifted or store-bought tiered tray, ideally 14-18 inches wide for a small table or 18-22 inches for a bigger one. Wrap the bottom tier with a thin layer of faux pine garland, then secure sprigs with hot glue at the base so the leaves don’t shift. Fill the top tier with a mix of unscented white taper candles (or warm LED tapers) and 6-10 small ornaments spaced evenly, not bunched. Finish by tucking a few pine sprigs around the tray edges and adding one narrow ribbon strip around the top tier supports.
Editor's noteDust ornaments with matte white or antique gold spray paint before gluing so they match the tray color instead of clashing.
Skip thisDon’t pack the tray so tight that greenery disappears — leave small gaps for light to bounce.
2. Antique Gold Candle Cluster on a Wood Board
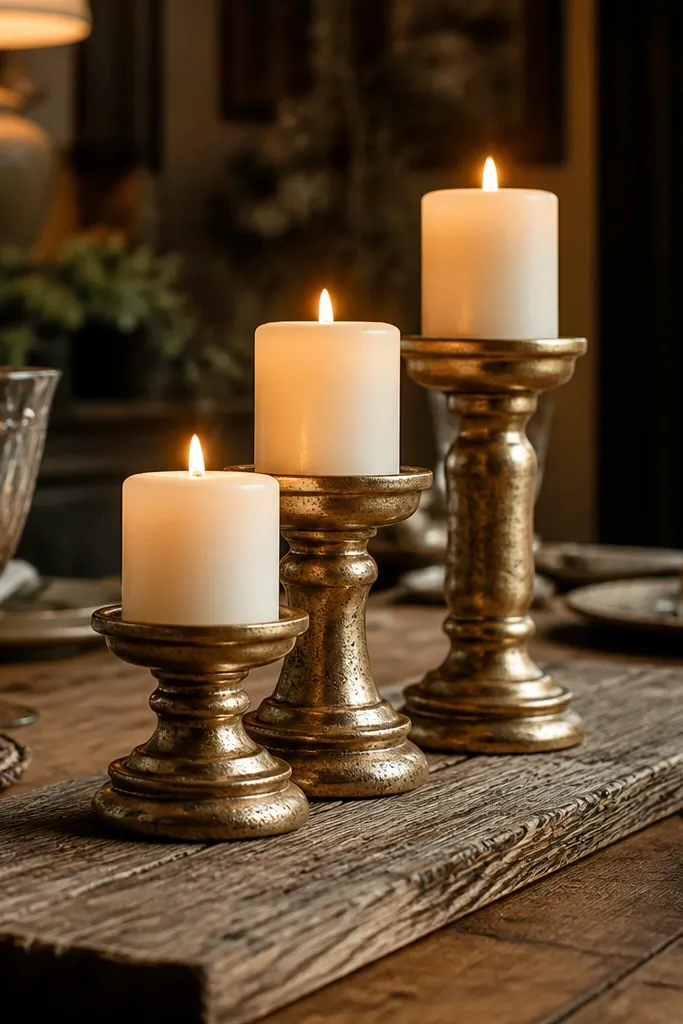
A candle cluster on a long board reads high-end because it’s framed. The board gives you a clean boundary, and the three-candle height variation makes the design look intentional from every seat. Antique gold tones look more premium than bright metallics, especially with warm lighting. This works best for rectangular dining tables where you want a centerpiece that doesn’t block conversation. It’s quick, photogenic, and easy to adjust for different table lengths.
Grab a reclaimed-look wood board (about 30-40 inches long) and place three candle cups or holders across the center line. Set the middle candle slightly taller, then place the two side candles lower by 2-3 inches using different-height holders or candle sizes. Tuck pine sprigs and small berry picks along both sides of the holders, securing with hot glue only where the stems touch the board. Finish by adding a thin line of gold ornament balls or gold-painted pinecones along the front edge.
Editor's noteUse LED pillar candles inside holders if you want the glow without worrying about wax drips on the board.
Skip thisDon’t center candles too close together; leave at least 6 inches between the candle flames/centers for a cleaner look.
3. Black Tray + Red Berry Runner Row
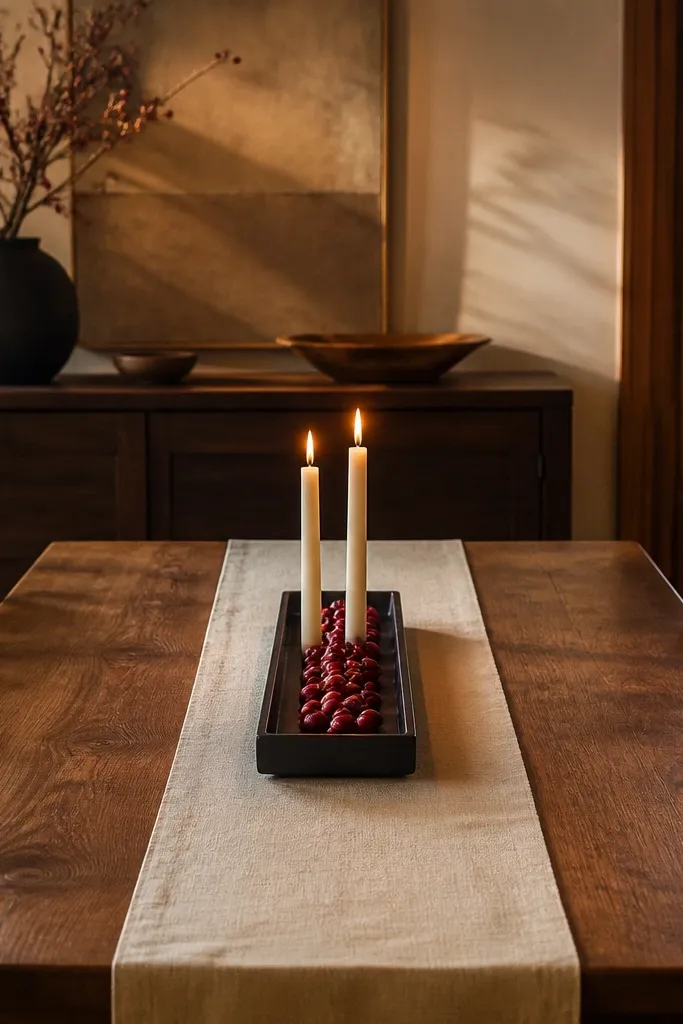
If your table runner makes everything look busy, this is the fix: a single black tray that holds one controlled row of red. The black base makes the red berries pop, and the cream candles soften the contrast for a more designer feel. This idea is great for people who want something that looks good but doesn’t require a full centerpiece build. It takes about 30-45 minutes and works with both faux and fresh-style berry picks.
Choose a black tray that’s about 18-24 inches long and set it centered on your runner. Place two small cream candles at the back corners of the tray, then line up red berry picks across the front in a gentle curve. Fill the negative space with 6-8 small cream ornaments or seed pods so the tray doesn’t look empty. Secure berry stems with hot glue to a thin foam strip or floral tape underneath so the row stays put.
Spritz berries with a tiny amount of clear matte spray so they look less plastic under warm bulbs.
Skip mixing multiple red shades; pick one red and stick to it across berries and ornaments.
4. Faux Magnolia + Warm LED Tapers in a Glass Vase
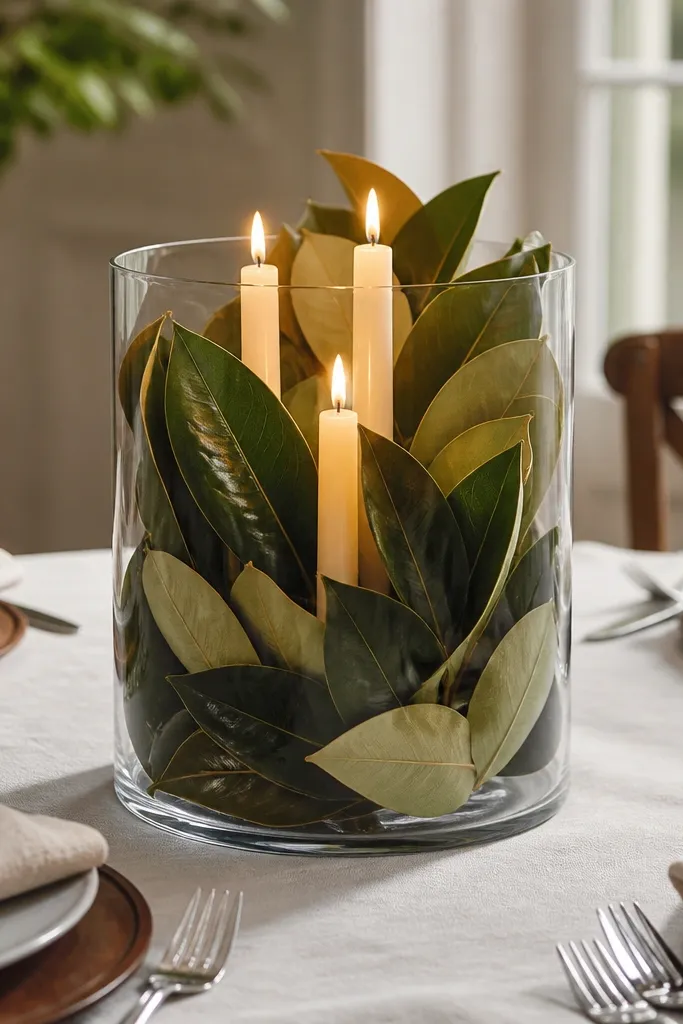
This centerpiece looks high-end because it uses negative space. A clear vase is visually light, so your table stays airy, but the magnolia leaves give it that premium, sculptural look. Warm LED tapers inside the vase add candlelight without the safety headache. It’s especially good for round tables where you want one statement piece that doesn’t sprawl. The build is simple and still looks like you spent way longer.
Use a tall clear glass vase or hurricane-style container (about 10-14 inches tall). Arrange faux magnolia leaves in a spiral around the inside edge, then add a few pine sprigs at the base for texture. Insert warm LED tapers so the flames sit above the leaf line. Tie a narrow ribbon around the vase neck, then tuck 3-5 small ornaments at the base where they catch the light.
Choose magnolia leaves with visible veining or you’ll lose the “real” look in photos.
Don’t overfill the vase — leave at least 1-2 inches of clear glass space so it doesn’t look like a stuffed centerpiece.
5. Red-and-Cream Paper Star Garland Bowl
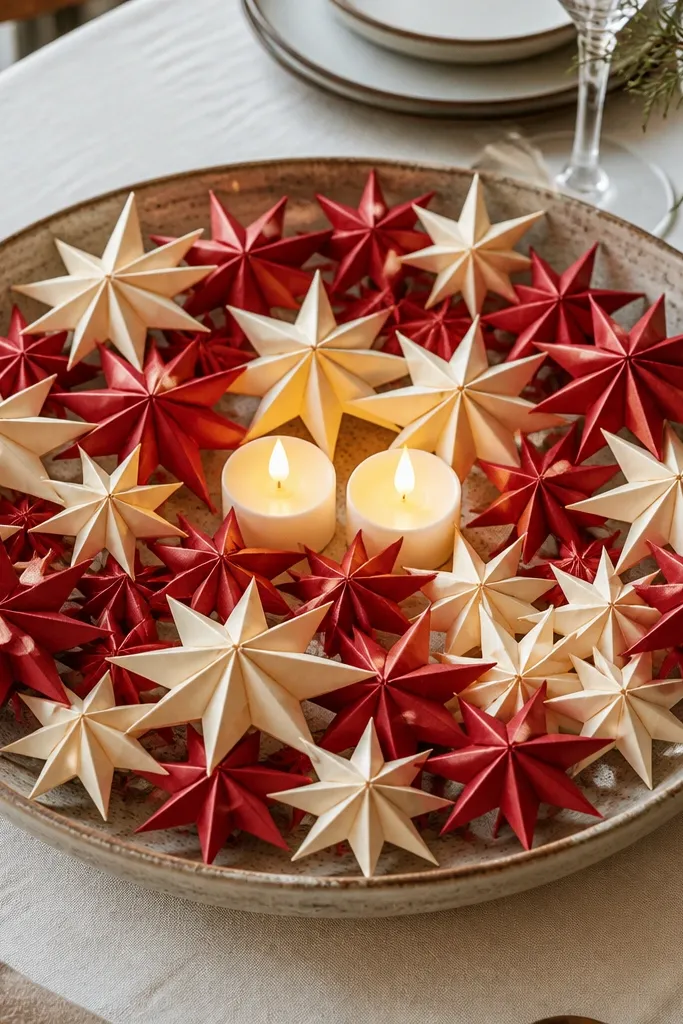
Paper can look expensive when you control the shape and color. This centerpiece uses a star garland packed into a shallow bowl so it reads like a sculptural ornament, not a craft project. The red-and-cream palette keeps it classic, while small candles add warmth. It’s budget-friendly because you can buy inexpensive paper garlands or make a small batch of stars and reuse them each year. Great for dining tables that already have a runner and need a focal point.
Pick a shallow bowl or wide ceramic dish around 12-16 inches wide. Line the bottom with a thin layer of floral foam or crumpled parchment for grip. Spiral the paper star garland into the bowl, stacking layers so the stars face upward. Add two small LED candles in the center gap, then tuck a few mini pine sprigs or faux berries between star layers to add texture.
Editor's noteSeal the paper stars with a light coat of matte craft spray so they don’t crinkle under handling.
Skip thisDon’t place the candles directly against paper; keep a small gap and use LED to avoid heat damage.
6. Birch-Log Votive Line with Evergreen Sprigs
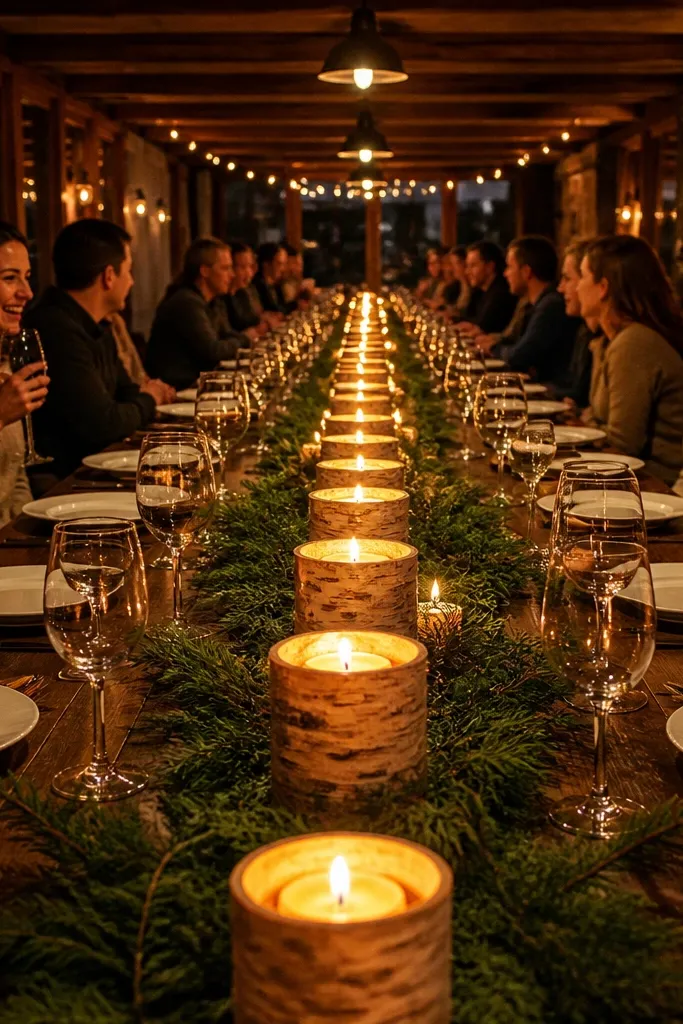
This one looks high-end because it’s made of repeatable units. Birch-log style votives create a warm, natural rhythm, and the evergreen sprigs fill the gaps so the line looks continuous. It’s a great choice for long tables because you can extend it without changing the design language. The visual effect is clean and cozy, not messy. Setup takes about 45 minutes if you already have a few votive holders and faux greenery picks.
Lay a long strip of faux evergreen (or a garland) along the center of your table. Place 5-9 birch-log votive holders spaced evenly, keeping the centers about 6 inches apart. Tuck sprigs between holders, and secure the greenery with florist tape or hot glue to the base strip. Finish by adding a few small pinecones or cinnamon-stick-style decor along the front edge.
Use a thin strip of clear acrylic or a runner under the votives if your table surface scratches easily.
Avoid random spacing; measure the gap between votives so the line looks intentional.
7. Terracotta Pot Topiary with Mini Ornaments
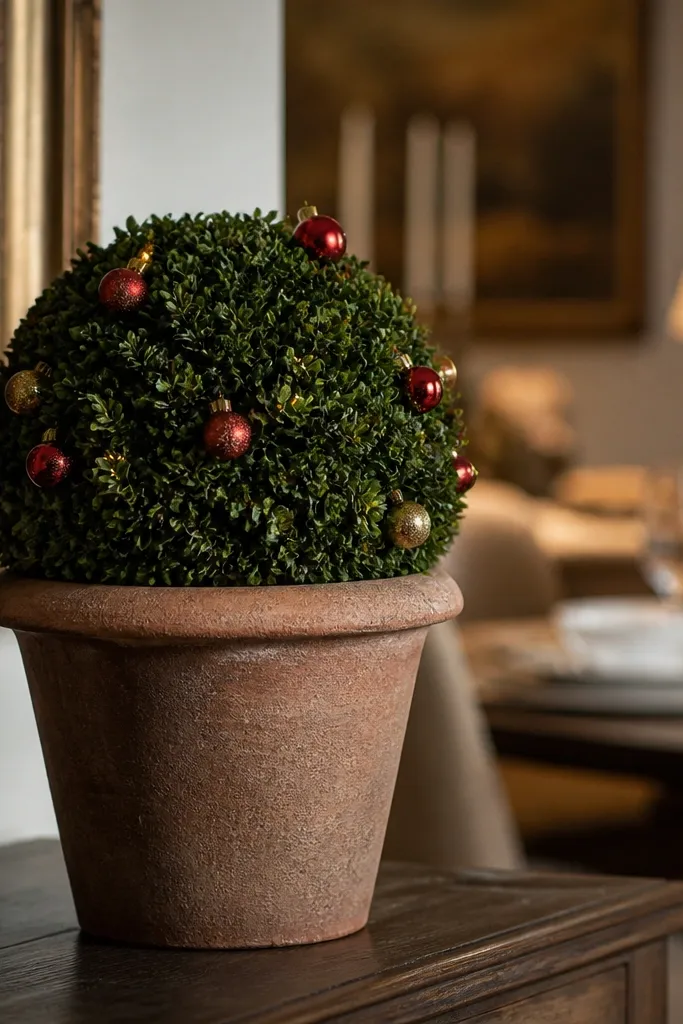
A terracotta pot looks expensive because it adds earthy weight. This centerpiece mimics a high-end holiday plant without the mess of soil, and it reads beautifully on sideboards too. The trick is to keep the top tight and let the ornaments do the work. Mini ornaments scattered on the top create a “grown” look when you keep them grouped by size. It’s a solid budget option if you want one piece that works year-round with simple seasonal swaps.
Use a terracotta pot (6-8 inches wide) and a faux evergreen topiary stem or make one from a foam ball wrapped in greenery. Anchor the foam in the pot with hot glue or foam adhesive so it doesn’t wobble. Add a handful of mini ornaments in matte white and deep red, placing them high on the topiary first. Finish by wrapping a thin ribbon around the pot rim and adding a small pinecone cluster near the base.
Editor's notePick ornaments with hooks that are easy to insert into greenery; you’ll get a cleaner look than glue-only decorations.
Skip thisDon’t overload the topiary — leave 25-30% greenery visible so it doesn’t look like a ball of ornaments.
8. Monochrome Green Wreath Band on the Table
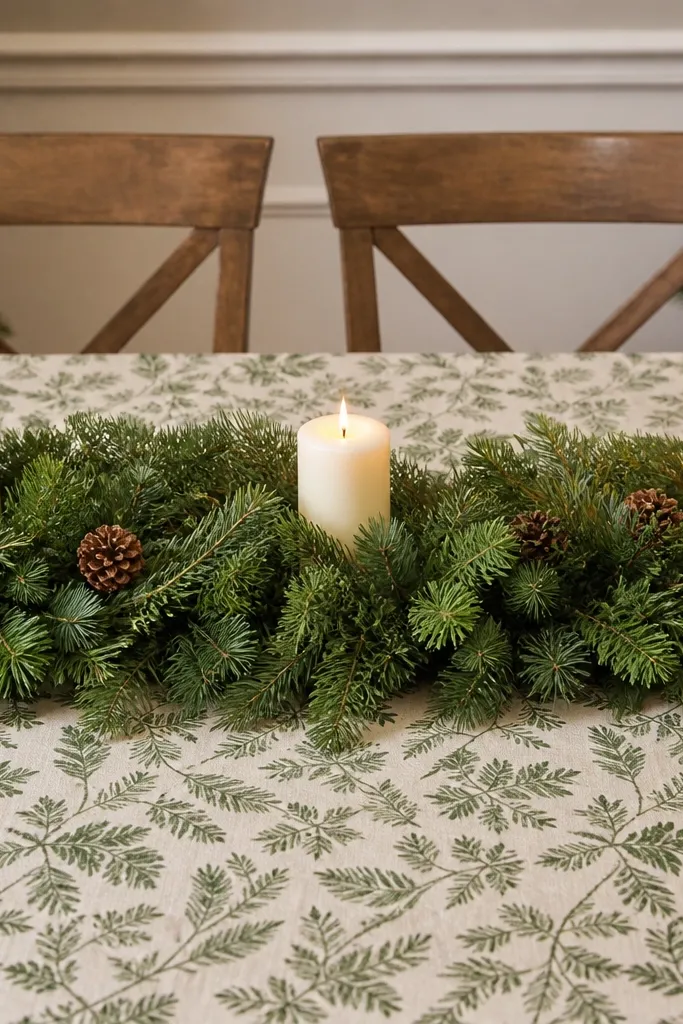
Instead of building a full centerpiece, this uses a wreath band as a moving “frame” across the table. Monochrome green looks expensive because it avoids color noise, and it lets your candles and pinecones carry the visual interest. This works especially well when you have a patterned tablecloth and don’t want the holiday decor to compete. It’s also easy to scale: move the band wider or narrower for your table size.
Create a long wreath band using a fake wreath laid flat or a long loop garland (about 70-90 inches depending on table). Center it on the table and secure ends with floral wire or zip ties under the band. Place 3-5 white taper candles across the band line, then tuck pinecones and small twinkle picks between leaves. Use a warm LED fairy light strand sparingly, just enough to highlight leaf tips.
Editor's noteIf your tablecloth is busy, choose candles in plain white or plain black — no prints.
Skip thisAvoid adding too many ornament colors; monochrome green needs only one accent.
9. Antler-Inspired Branch Centerpiece with Clear Orbs
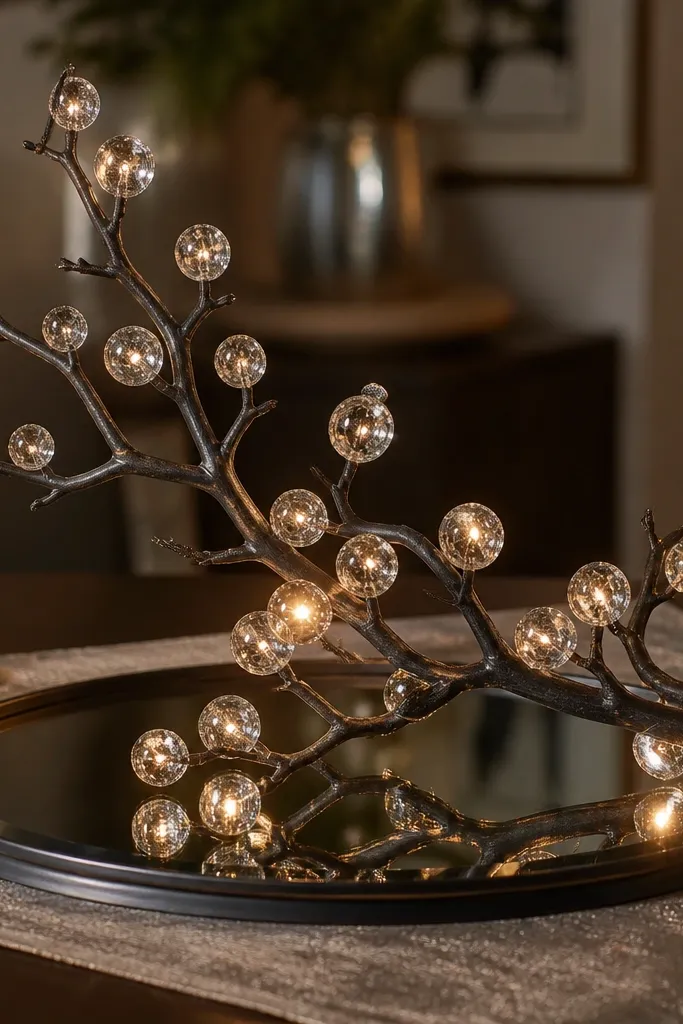
This gives you that luxury look without buying antlers. Clear or translucent ornaments catch candlelight and make the centerpiece feel more dimensional. The branch form adds an architectural line, and the tray keeps everything aligned. It’s a strong choice for modern dining rooms where you don’t want the traditional red-and-green overload. Total time is about an hour, and it photographs well because the glassy pieces create highlights.
Use a flat wood tray (24-30 inches long) and place a tall branch arrangement in the center, either faux or a cleaned real branch. Secure the branch base with a small foam block wrapped in greenery and hidden under the branch. Add 8-12 clear or translucent ornaments around the base, spacing them so each one catches light. Place two small warm LED candles at the front corners of the tray and tuck a few thin pine sprigs between ornaments.
Editor's noteWipe clear ornaments with a dry microfiber cloth before arranging so they sparkle under warm bulbs.
Skip thisDon’t use opaque ornaments too heavily; the luxury look comes from the light-catching clear pieces.
10. Cinnamon Stick + Greenery Tealight Row
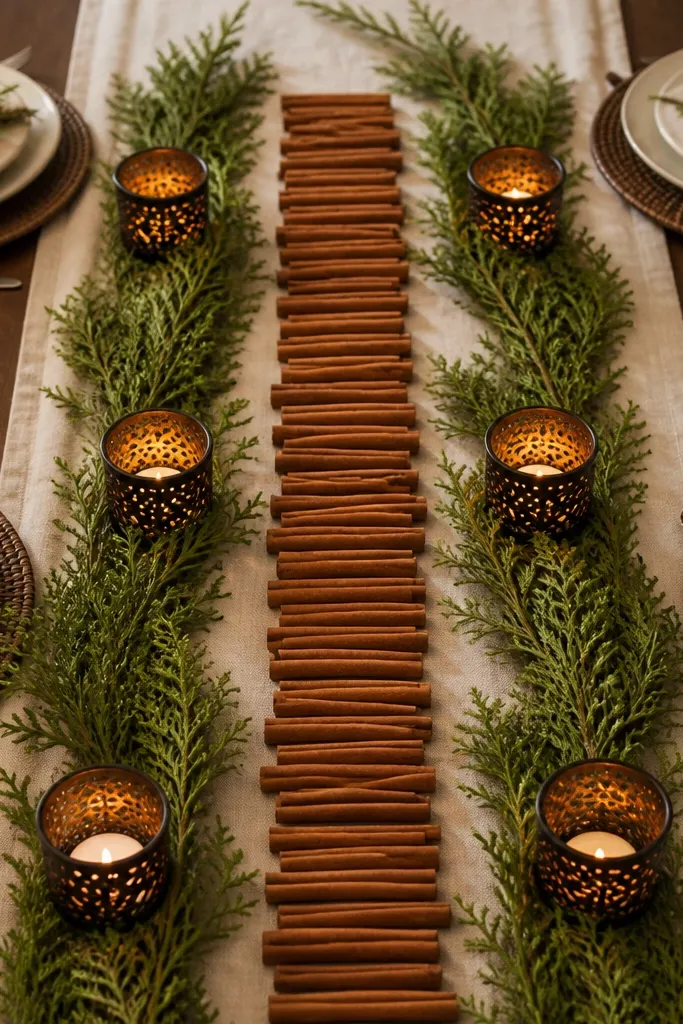
This one looks high-end because it’s linear and textured. Cinnamon sticks add a warm, natural element and make the centerpiece feel intentional, not random. Pair them with evergreen sprigs and small tealight holders for a tidy, symmetrical look. It’s budget-friendly and fast, and it works on narrow tables where you can’t fit a big centerpiece. If you want your table to smell like Christmas without real mess, stick to LED tealights.
Lay a thin strip of faux greenery across the center, then anchor it with florist tape. Place cinnamon sticks vertically or slightly angled along the front edge, keeping spacing even (about 1-2 inches between sticks). Nestle tealight holders between sticks so the candle faces sit above the greenery line. Finish by tucking 2-3 small pinecones at the ends of the row to frame it.
Editor's noteIf your cinnamon sticks shed, wipe them with a dry cloth and use LED lights only.
Skip thisDon’t run cinnamon sticks across the whole tabletop; keep them in a controlled row so the design stays clean.
11. Gold Pinecone Scatter on a White Runner Base
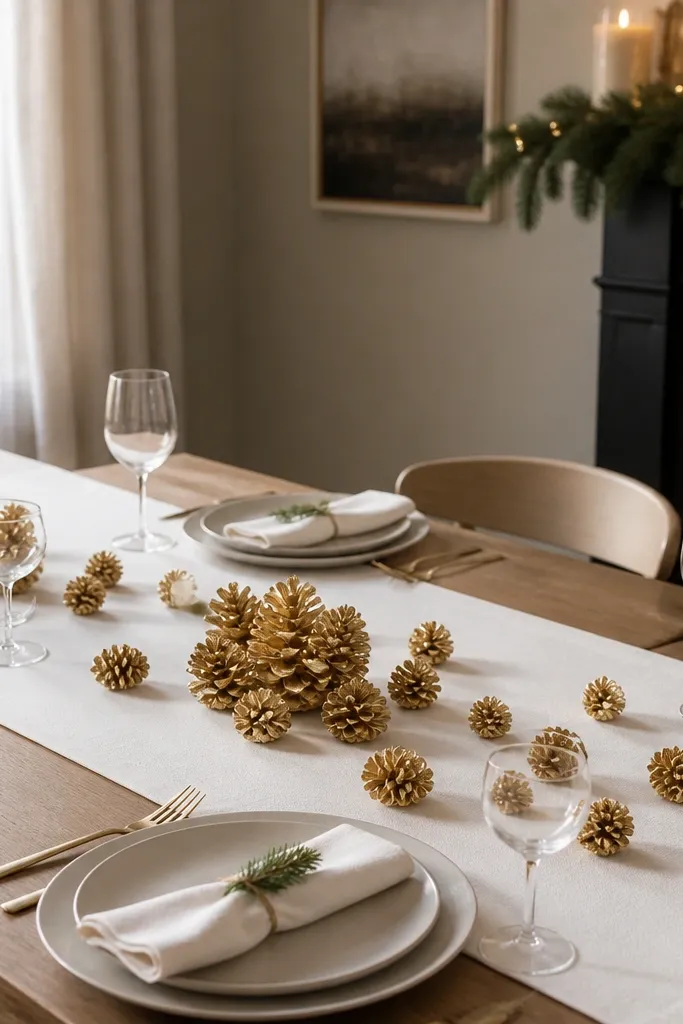
This is for people who want “high-end dining table decor” with almost no build. Gold pinecones give you shine and texture, and a white runner base keeps the whole thing crisp. The key is to scatter deliberately, not randomly. This works best when you already have a simple tablecloth and want Christmas to read as styled in photos. Time is about 20-30 minutes.
Start with a white runner placed centered and pressed flat. Scatter gold pinecones in a loose triangle pattern: a cluster near the center, a smaller cluster toward the back, and a few singles toward the front corners. Add 3-4 tiny cream candles (LED is easiest) spaced to match the pinecone clusters. Finish by adding one thin strip of greenery along the back edge of the runner, then step back and adjust spacing until the negative space looks balanced.
Use matte gold spray paint on pinecones for a softer, more expensive look than bright metallic.
Avoid covering the runner completely; leave 40-50% white space so it looks intentional.
12. Satin Ribbon Bow + Evergreen Ends on a Long Table
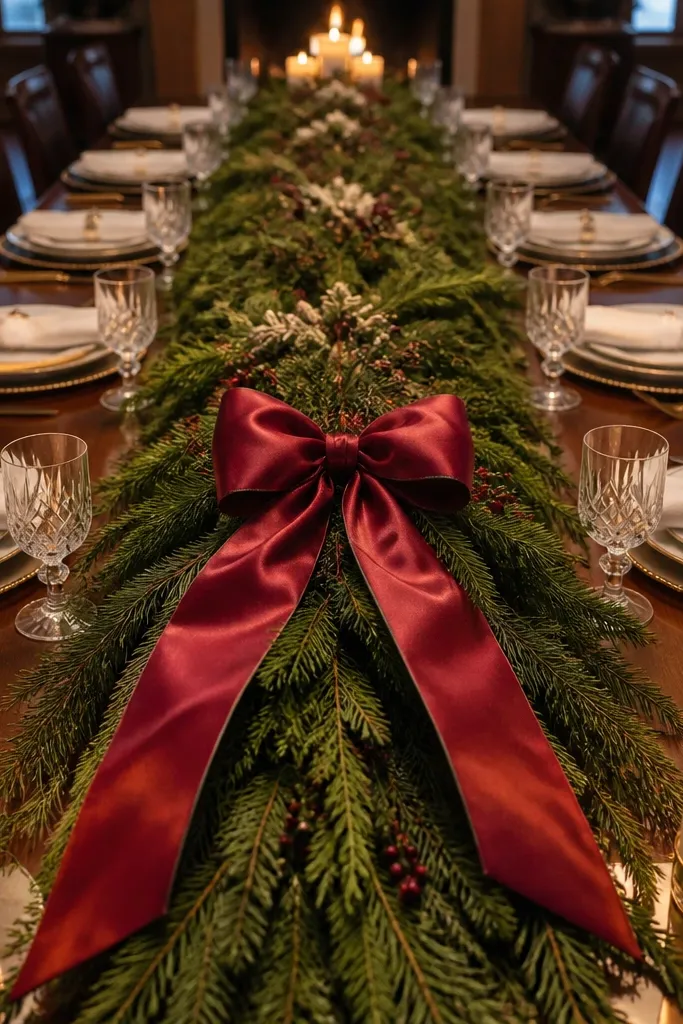
If your table is long, symmetry is what makes it look high-end. This setup uses a long evergreen garland with a big satin bow at the center and candles placed at both ends. The satin bow creates that “event” look, but because everything else stays simple, it doesn’t feel costume-y. It’s perfect when you want something that looks polished without needing a complicated centerpiece. Expect about 60 minutes for clean placement and secure anchoring.
Lay a long evergreen garland down the center line of your table and secure it with small pieces of floral tape under the garland. Place two taper candles near the left and right ends of the garland, keeping the candle heights equal. Make one large satin bow and pin it at the garland center using floral wire. Add small pinecones or berry picks only at the garland ends and around the bow so the middle stays clean.
Editor's noteChoose satin ribbon with a width of 2.5-3 inches; thin ribbon looks cheap fast.
Skip thisDon’t add extra ornaments everywhere; keep embellishments to the bow area and the ends.
13. White Ceramic Snowdrift Tray with Faux Fur Trim
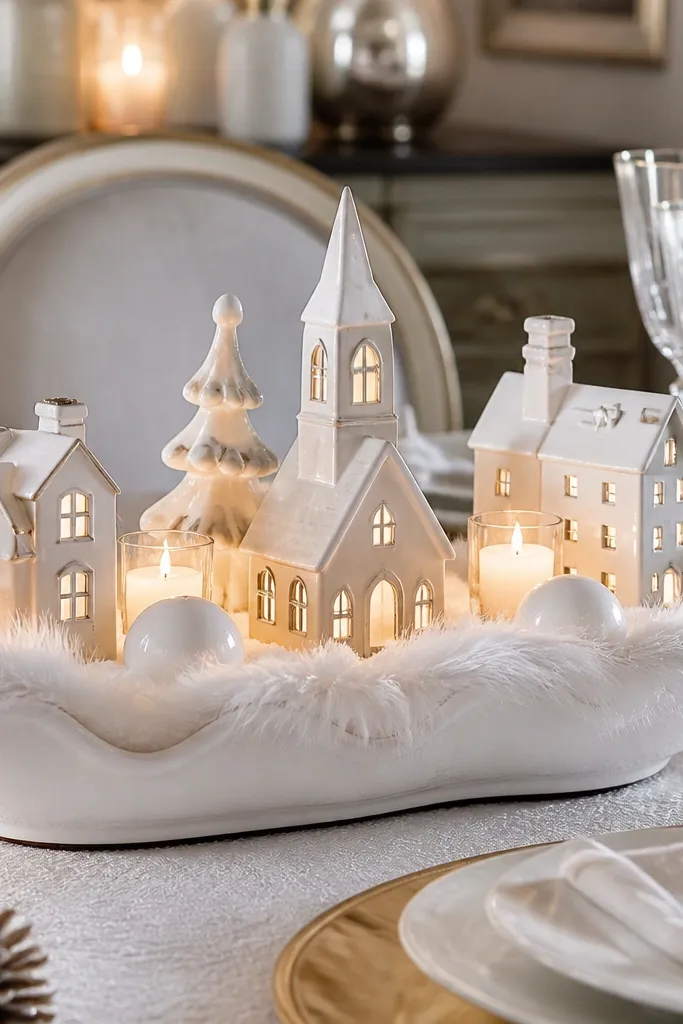
This looks like boutique holiday decor because it mixes smooth ceramic with soft texture. The “snowdrift” tray shape gives you instant depth, and faux fur trim makes it feel plush under warm candlelight. Small winter village pieces or mini houses read well on camera because the tray acts like a stage. It’s great for people who like themed decor but hate messy setups. Build time is about 45 minutes and the result stays tidy.
Use a white ceramic tray or platter with a raised edge (18-22 inches wide). Cut faux fur trim to fit the tray inner rim and hot glue it along the edge, keeping the fur direction consistent. Add a dusting of faux snow or white craft foam flakes in the center. Place mini houses or evergreen clusters so they sit in the snowdrift, then add 2-3 warm LED candles behind the houses for depth.
Brush faux snow lightly with a dry makeup brush so it doesn’t look chunky.
Don’t glue fur across the center; keep it to the rim so the tray still looks clean and staged.
14. Birch Candle Stands with Pinecone Caps
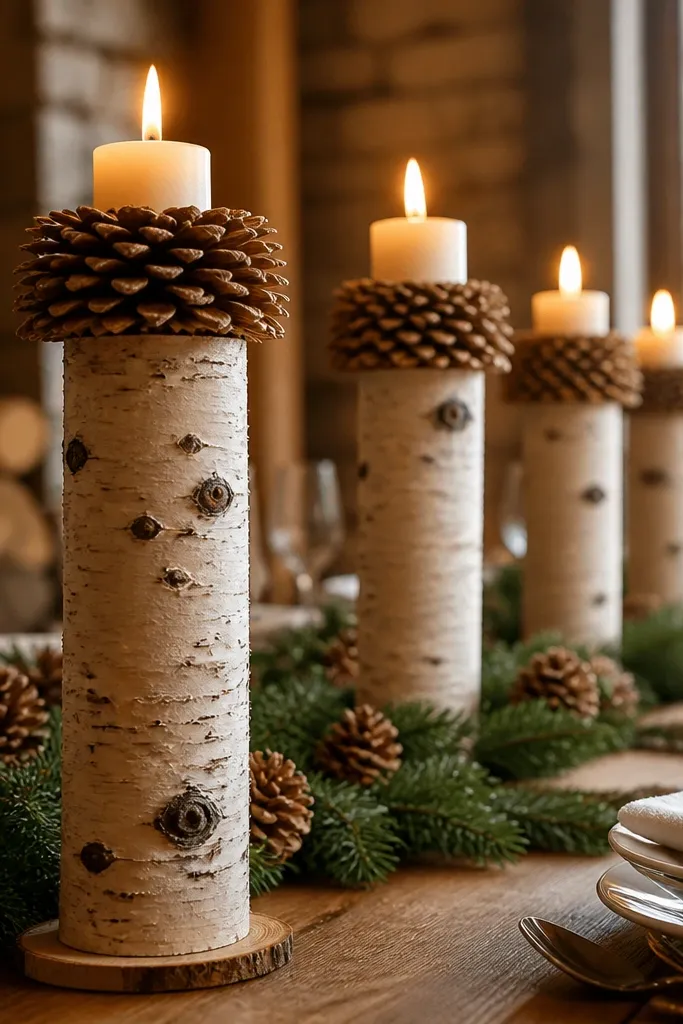
This idea works because it repeats a single material story. Birch-style stands add height and a natural look, while pinecone caps bring texture and that holiday cue. It’s “high-end” visually because it looks like a designed set, not random candles and ornaments. Great for dinner parties when you want a centerpiece that reads well even when you don’t want a lot of loose decor. Time is about 40 minutes.
Group 3-5 birch-style candle stands along a tray or directly down the center of the table. Add pinecone caps by gluing small pinecones into candle holder tops or attaching them with hot glue to a removable ring. Tuck tiny evergreen sprigs around the base of each stand to hide any gaps. Finish with two larger pinecones at opposite ends and keep the color palette to white, gold, and green.
Use a hot glue gun with a low-temp setting so you don’t warp plastic candle cups.
Avoid using pinecones and ornaments in multiple finishes; pick one finish family so it looks cohesive.
15. Terrarium-Style Clear Box with Floating Ornaments
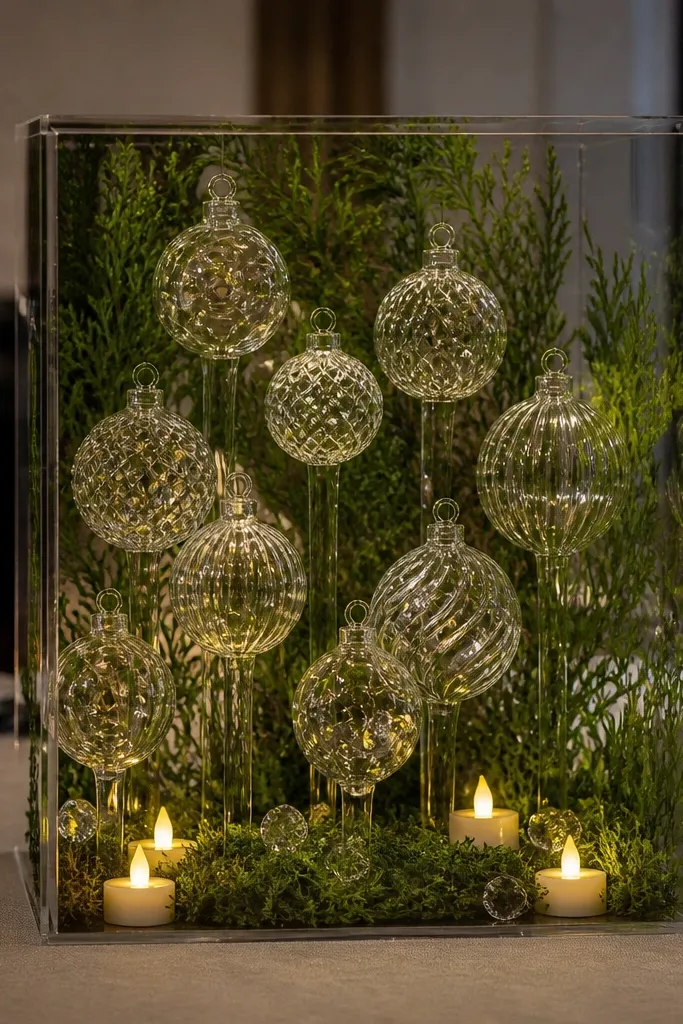
A clear box centerpiece looks expensive because it has a defined frame like a display case. Floating-style ornaments create motion and sparkle without needing a lot of loose pieces. The evergreen sprigs inside the box give depth, and the clear walls keep everything contained for kids and pets. This is ideal if you want high-end dining table decor that doesn’t get knocked over easily. Expect 60-75 minutes for a sturdy build.
Use a clear acrylic or glass display box roughly 16-20 inches wide. Add a base of floral foam or a shallow layer of clear gel (or just a foam pad) and secure it with hot glue. Insert faux evergreen sprigs around the edges, then place 10-15 ornaments so they appear to float above the base. Add one warm LED candle in a glass cup at the back so the glow reflects inside the box.
Editor's notePlace the LED candle slightly off-center toward the back so reflections look layered, not flat.
Skip thisDon’t use heavy, opaque decor inside the box; it kills the “display case” effect.
16. Greenery Swag Over Mirror Tray with Gold Candles
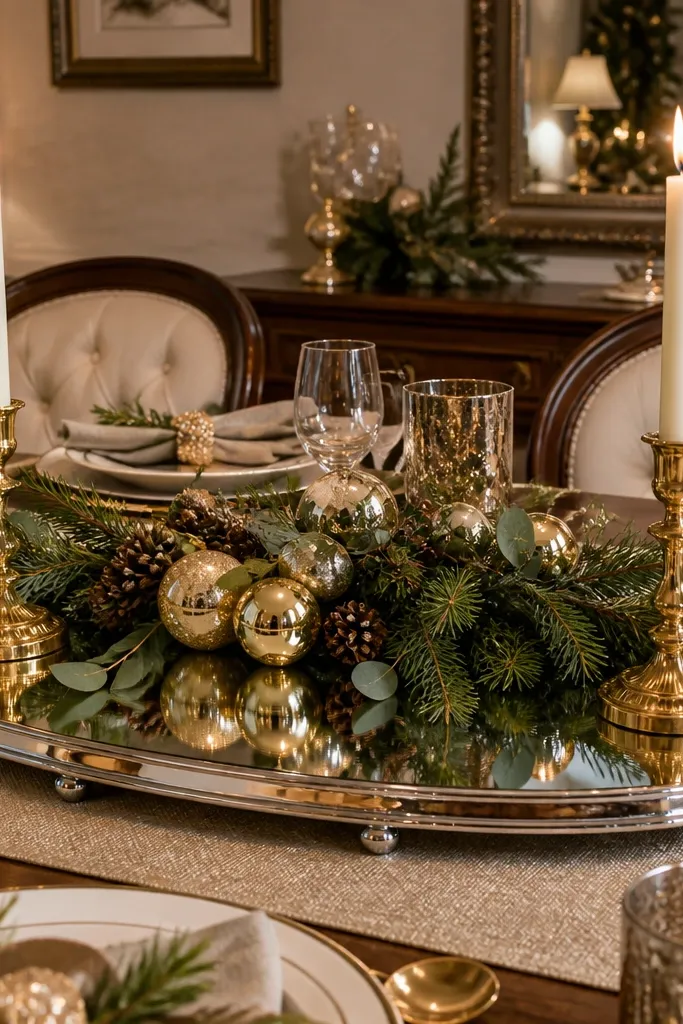
Mirror trays make everything look more expensive because they multiply light and add a clean shine. This centerpiece uses a greenery swag draped over the mirror tray, then anchors it with gold candle holders. The mirror also makes small ornaments look like they’re floating. It’s a strong choice for dining rooms with warm lighting or dark wood tables. Build time is about an hour, and the look stays photogenic all evening.
Use a mirror tray around 20-26 inches wide and place it centered on the dining table. Create a faux greenery swag using eucalyptus or pine garland, then drape it across the tray edge and pin it under the garland with floral wire. Add 3 gold candle holders in a triangle pattern, keeping the tallest in the back. Tuck small gold ornaments at the swag’s low points so they catch reflection.
Editor's noteWipe the mirror tray clean right before decorating so you don’t see fingerprints under candlelight.
Skip thisDon’t overcrowd the mirror; let the reflection do the work and keep ornament count controlled.
17. Pastel Plaid Napkin Roll with Pinecone Rings
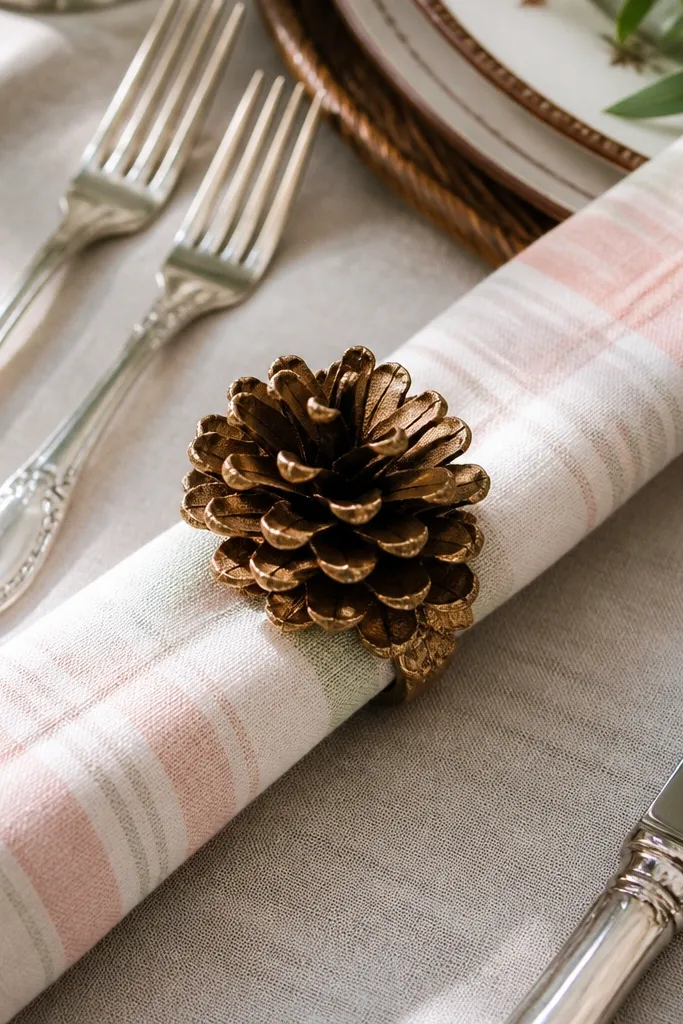
This one upgrades the whole table instead of just the centerpiece. High-end dining table decor often looks expensive because the place settings feel designed, and napkin styling is the easiest win. Pinecone rings add texture and a holiday signal without needing a full accessory set. The plaid keeps it cozy, and pastel tones make it budget-friendly and modern. Total time is about 30-45 minutes for a set of 6.
Use pastel plaid cloth napkins and roll each napkin tightly, then tie with a thin ribbon band. Make pinecone rings by hot gluing small pinecones to a thin foam or wire circle, then paint with matte gold or leave natural brown. Slide the pinecone ring onto the tied napkin so it sits at the front, not the side. Add one mini sprig tucked behind the ring for a clean profile.
Editor's noteUse ribbon in 1/4 to 1/2 inch width; thicker ribbon hides the roll shape.
Skip thisAvoid big bows on every napkin; one ribbon band per napkin is enough.
18. Evergreen + Dried Orange Slice Garland Candle Ledge
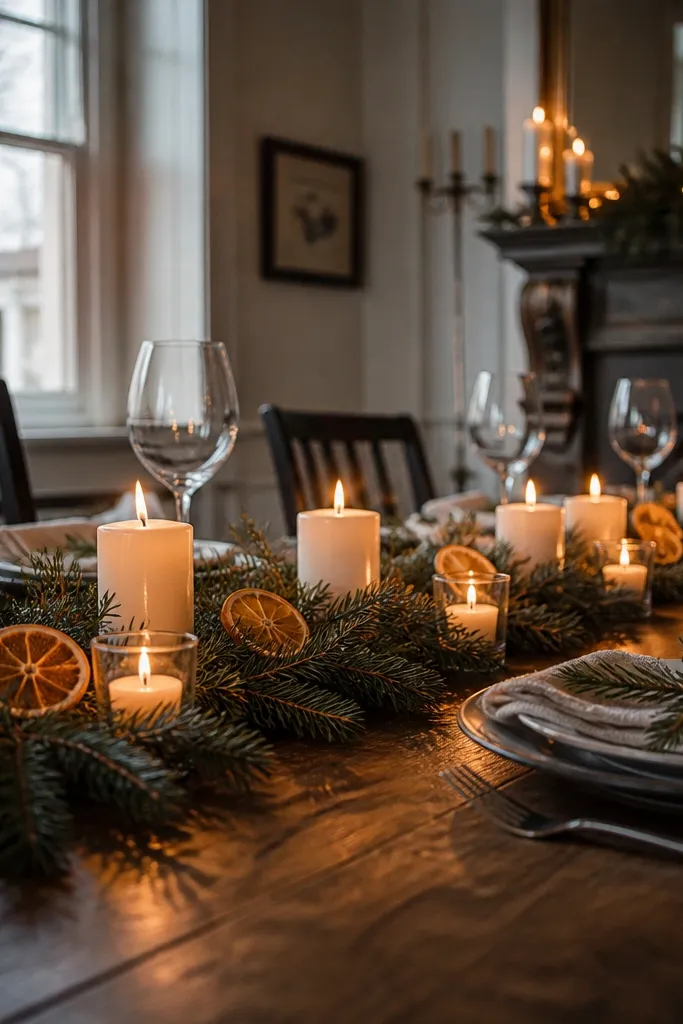
Dried orange slices look premium because they add a warm, natural color and a textured surface that catches light. This centerpiece uses a candle ledge effect: a garland line with candles along it, with orange slices as the visual punctuation. It’s great for tables where you want decor that stays low enough for easy conversation. The smell is optional, but the look is the point. Plan for about 60 minutes if you’re arranging slices and securing the garland.
Lay a long evergreen garland along the center of your table, then secure it with floral tape under the stems. Place warm LED candles evenly along the garland line so the flames sit above the leaf line. Tie dried orange slices into the garland with thin twine at 4-6 points, spacing them like commas across the center. Add two small cinnamon sticks or pinecones at the ends to frame the composition.
Editor's noteIf your orange slices are glossy, lightly rough them with fine sandpaper so they look more matte and natural.
Skip thisDon’t hang slices too close to the candle; keep at least 3-4 inches of clearance.
19. Matte Black Tray with White Candle Cups and Green Ornaments
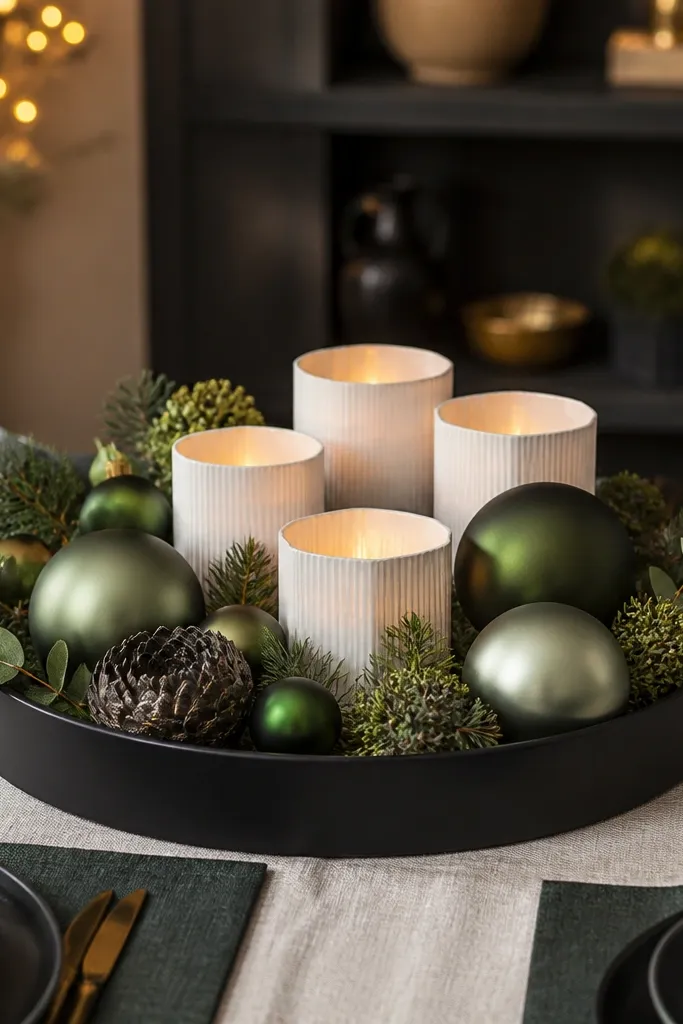
Matte black makes budget decor look expensive because it absorbs light and makes colors look intentional. This is a clean, modern take on Christmas table decor that still reads holiday through evergreen and ornament texture. White candle cups bring contrast, and green ornaments keep the theme cohesive. It’s ideal for dining rooms with black chairs, dark wood, or neutral tablecloths. Build time is about 35-50 minutes.
Find a matte black tray around 20-28 inches wide and place it centered. Set 3-5 white candle cups across the tray in a staggered pattern, taller in the back. Fill around the cups with green ornaments in two sizes only, spacing them so each ornament has breathing room. Tuck small evergreen sprigs between cups and ornaments, then secure any loose pieces with hot glue at stem bases.
Editor's noteUse two ornament finishes max — matte plus one subtle sheen — so it looks designed, not random.
Skip thisAvoid adding silver and red together; this palette is cleaner with only green and white.
20. Snowy Pine Cone Topper on a Simple Cake Stand
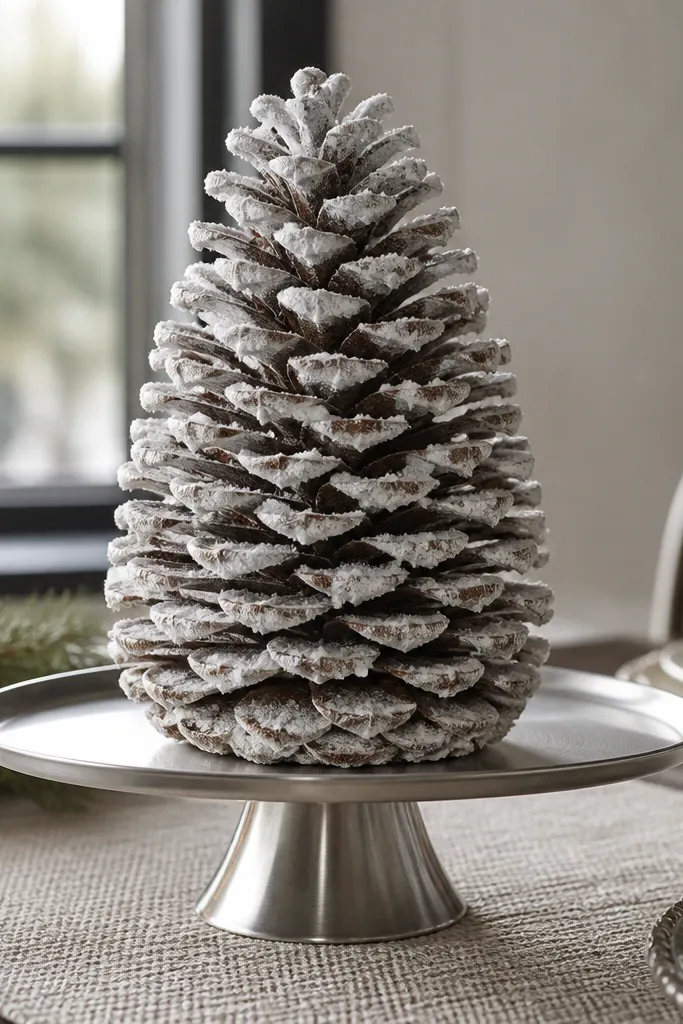
A cake stand centerpiece reads high-end because it lifts the decor and makes it feel like a dessert display. Pinecones dusted white add “snow” without needing real weather. The look stays photogenic because the stand creates a defined silhouette. This works on small tables or dining nooks where you want one strong focal point without a big footprint. Time is about 30-40 minutes if you already have a stand and pinecones.
Use a metal or ceramic cake stand 10-14 inches wide. Glue or hot-glue pinecones onto a small foam pad or directly onto a base layer so they sit stable. Dust pinecones with white craft paint mixed with a touch of baking soda for a snowy texture, then let it dry fully. Place 1-2 warm LED candles at the base around the pinecones, then add a few tiny evergreen sprigs between pinecones to fill gaps.
Dust in two light coats instead of one thick coat so the texture stays crisp.
Don’t use wet snow materials; they can stain the stand and tablecloth.



