
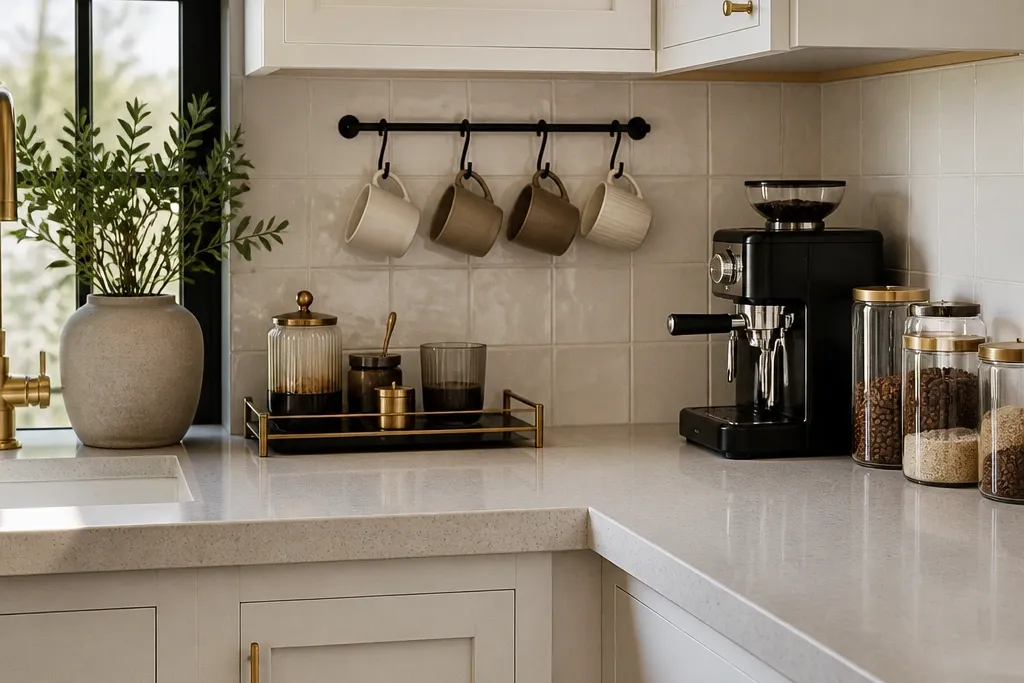
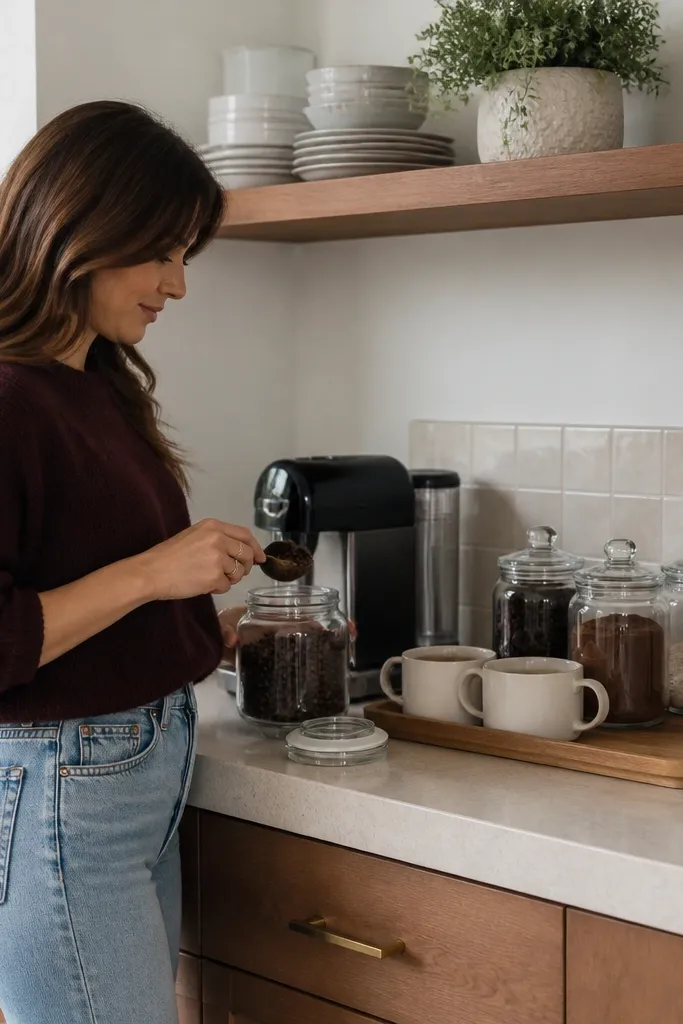
1. Matte Black Rail + White Shaker Corner Nook
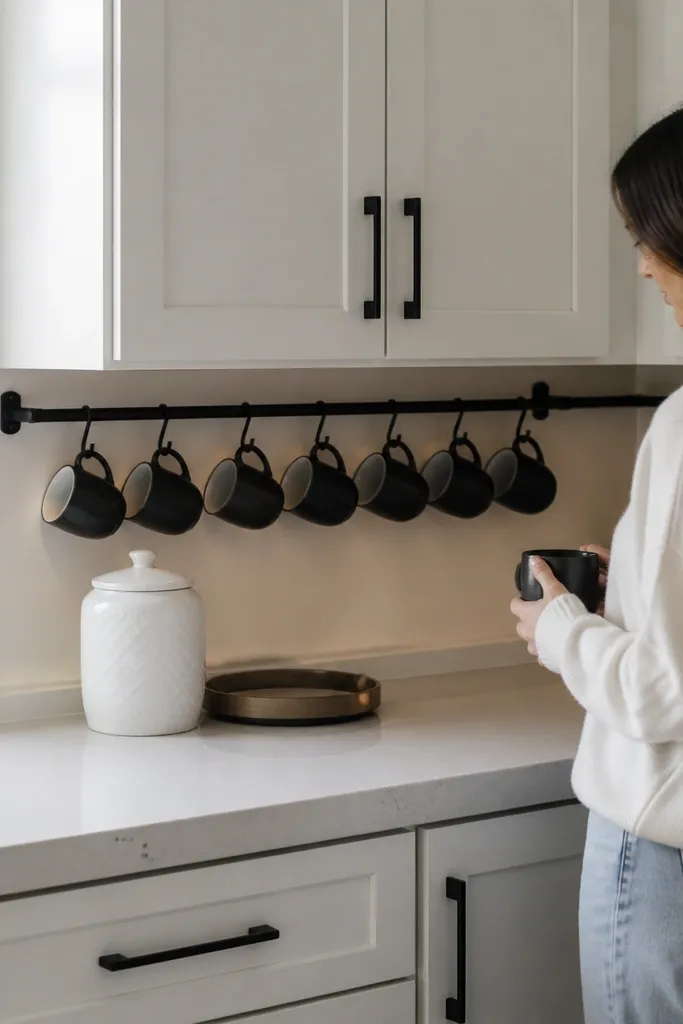
This setup looks expensive because it’s basically a mini built-in kitchen corner. The white shaker cabinetry makes the space feel architectural, while the matte black rail visually “frames” the mugs so they look intentional, not random. Keep the countertop simple: a light stone-look slab or sealed quartz-look laminate reads cleaner than wood stain in a corner. The key is closed storage below so the coffee bags, filters, and extra cups don’t show through. Skill level is moderate: you’re installing a rail and building around a corner footprint, but the finishes do most of the heavy lifting.
Start by marking your corner footprint and choosing a counter depth of 18 inches so mugs hang without hitting the return wall. Install a small shaker base cabinet on the main wall, then add a matching corner filler or L-shaped cabinet so there’s no ugly gap. Mount a matte black rail under the upper cabinet line at about 64 inches from the floor, then add a shallow shelf above it for a single canister set. Finish by placing one tray centered on the countertop with the kettle and two cups, leaving the rest of the counter empty.
Use cup hooks that match the rail spacing so every mug hangs at the same angle.
Don’t mix glossy black hardware with flat cabinet paint — it makes the corner look patched together.
2. Butcher Block Counter with Tile Backdrop and Brass Hooks
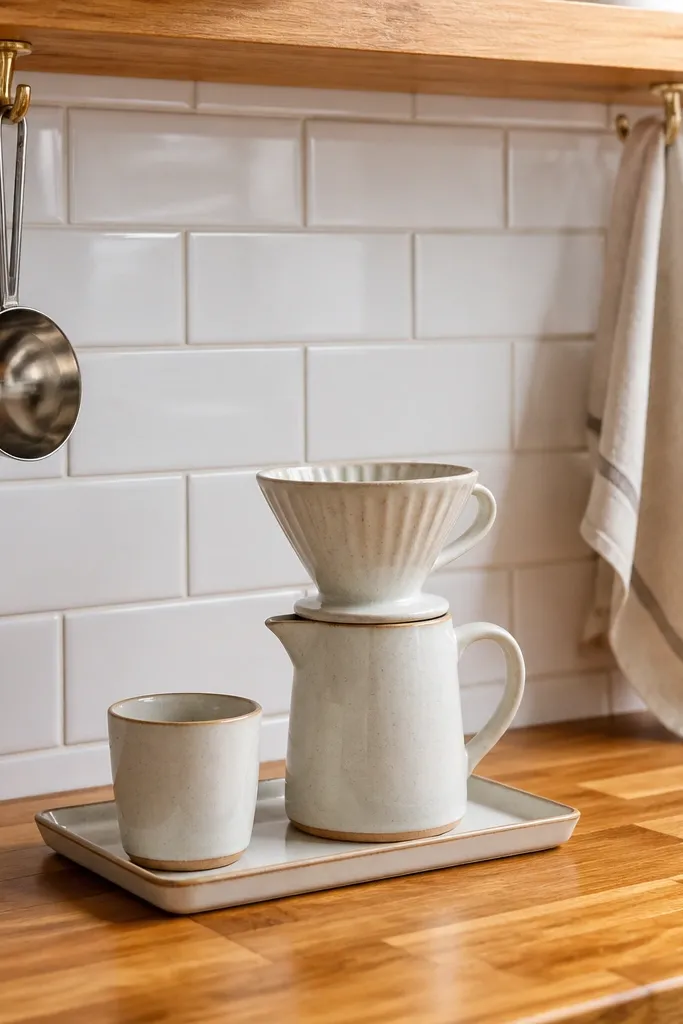
Butcher block always looks warmer than laminate, but it reads high-end when you pair it with a clean tile backdrop. The tile gives you a crisp, finished background that photographs well and hides wall imperfections. Brass hooks add that “hardware jewelry” effect — small, shiny points of contrast against the wood. The corner works because hooks keep cups off the counter, so the counter stays styled instead of cluttered. This is great for kitchens that already have warm wood tones or brass accents.
Seal butcher block with a food-safe finish before installation, then mount it as a drop-in or as a fixed top over a corner base. Choose a simple backsplash like 3x6 ceramic subway tile in a light tone, and grout it in a matching light color so lines look crisp. Install brass cup hooks spaced about 3 inches apart on a board or directly into studs behind a panel. Finally, set up your workflow: one canister for beans, one for filters, and a kettle on a tray — keep everything else in cabinet storage.
Stain the block slightly darker than you think you need — it looks richer next to light tile.
Don’t skip sealing; untreated block gets blotchy around spills and steam.
3. Two-Tone Corner Cabinet with Stone-Look Counter
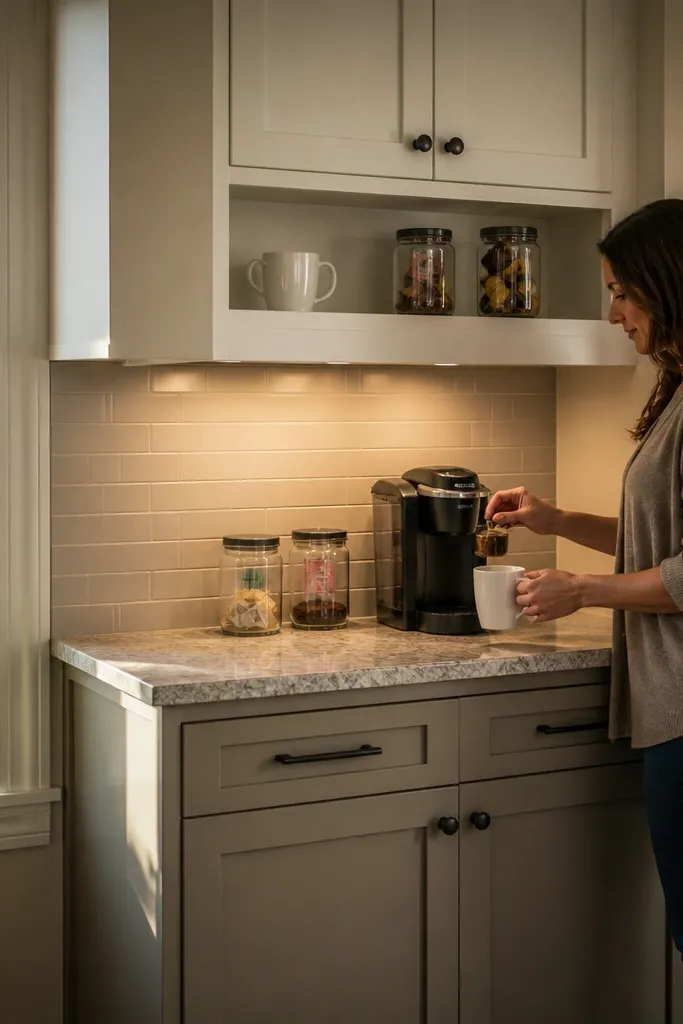
Two-tone corners read custom because your eye has a clear “plan” to follow: light upper surfaces and deeper lower storage. Use a stone-look countertop (quartz-look laminate or a real slab) to anchor the station and make it feel more substantial than wood-only builds. The trick is to keep the upper area open enough to show styled items but controlled: one height of canisters, one line of mugs. Dark lower cabinets hide coffee bags and tools, so the corner stays calm and expensive-looking.
Pick a light paint for uppers (a warm off-white) and a darker paint for lowers (charcoal or deep olive). Build or buy the corner cabinet base, then install uppers above it with a consistent reveal line around the corner. Mount a small shelf for mugs at about 10-12 inches above the counter surface so cups sit in a neat row. Use a stone-look top with a 1-inch overhang on the main wall side only, then finish with matte black knobs or bar pulls across both cabinet tones.
Editor's noteKeep the canisters in one shape family — cylinder + straight-lid looks cleaner than mixed styles.
Skip thisDon’t put your grinder on an open shelf — it breaks the “furniture” look fast.
4. Corner Shelf Ladder with Glass Canisters
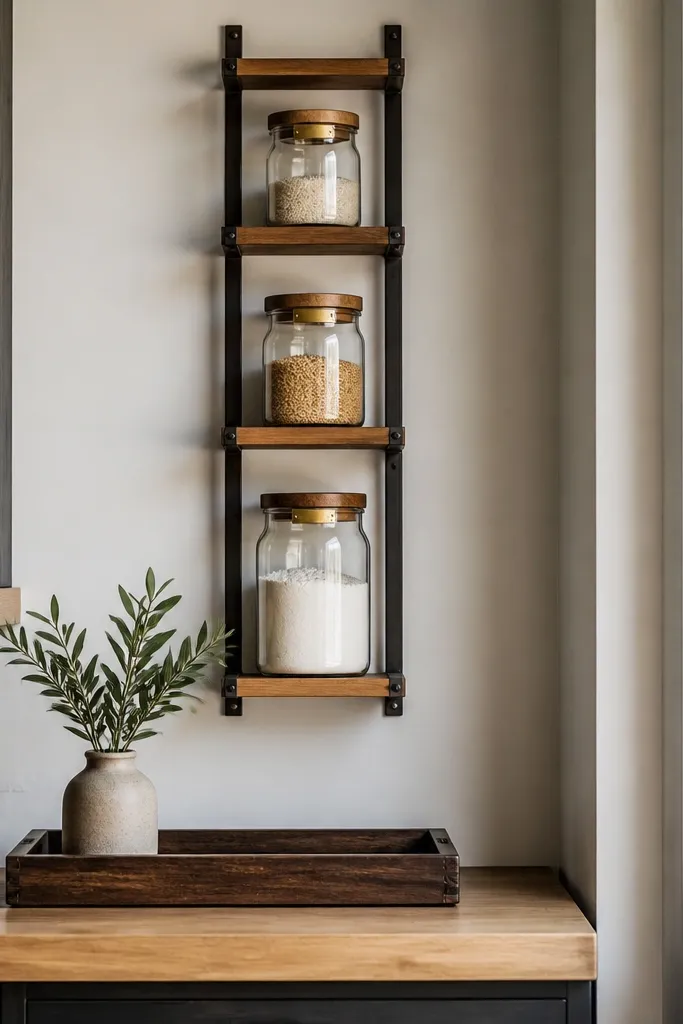
A shelf ladder in the corner creates vertical rhythm, which makes the station look styled rather than utilitarian. Glass canisters give you that high-end coffee bar feel because they show labels and contents in a clean grid. Keep the countertop narrow but intentional: a slim 16-inch depth works if you use a tray and keep the daily items small. This works best in small kitchens where you can’t spare a wide cabinet footprint. The ladder also makes the corner feel taller, which reads more premium in photos.
Choose a ladder shelf with a footprint that fits your corner turn without blocking walk space; plan for about 48 inches of height so it clears upper cabinets. Paint or stain it to match your kitchen hardware finish, then mount it securely into studs. Place two or three glass canisters on the middle rungs, grouped by function: beans, sugar, filters. Hang mugs on hooks or a rail below the shelf so the countertop stays clear. Put the kettle and cups on a single tray that you can lift away when you need to clean.
Label canisters with black vinyl or printed labels in a consistent font size to make the glass look “designed.”
Avoid stacking canisters by height chaos — align them so the top edges form a straight visual line.
5. Corner Picture Frame Paneling Behind the Coffee Zone

Paneling makes a coffee station look like it belongs in a showroom. The framed pattern gives you texture without clutter, and it photographs well because light catches the edges. In a corner, the paneling also hides patchy drywall or uneven paint lines, so the whole area reads finished. Pair it with simple open shelving and matching jars, and you get that high-end “built-in wall” vibe. This is a great option if your kitchen has flat walls and you want one small upgrade that changes the feel quickly.
Install a corner paneling section using MDF picture-frame panels or thin wall molding strips. Keep the panel size consistent: use 2-3 inch wide trim strips and leave a centered panel area behind the countertop zone. Paint everything in a satin finish so it’s wipeable. Mount two floating shelves above the counter for mugs and coffee tools, then add a small ledge or tray to corral the daily setup. Finish by setting three matching canisters and one small coffee scoop so the shelf looks curated but not crowded.
Use a painter’s caulk line between trim and wall — it makes the corners look sharp in close photos.
Don’t put paneling right behind the kettle steam path — keep the hot area off the textured trim.
6. Rattan Woven Basket Lower Drawer + Hidden Storage
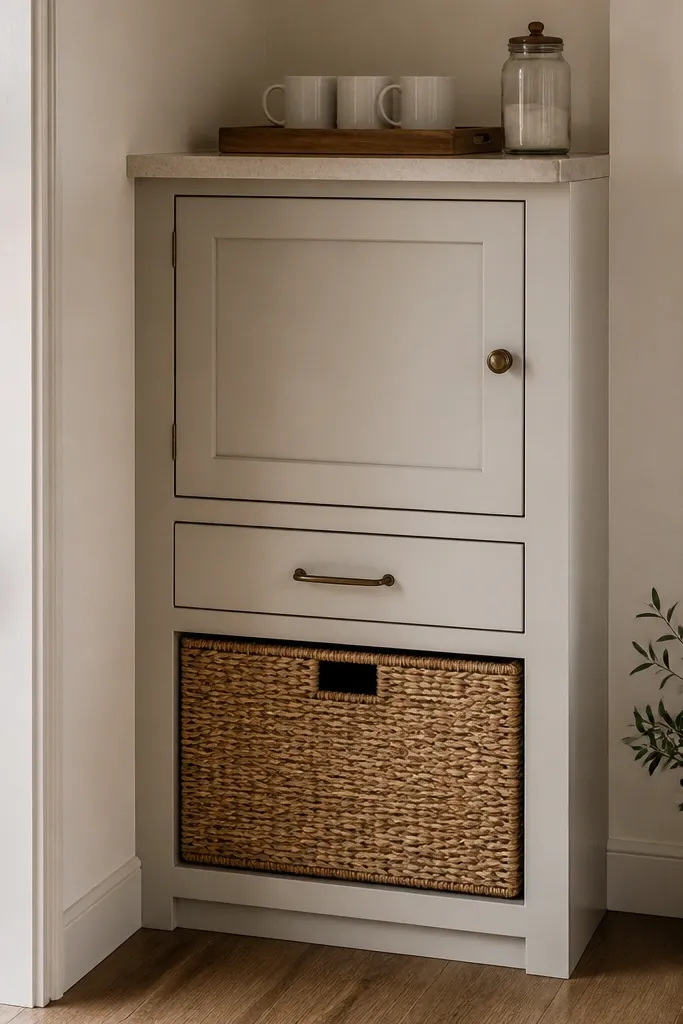
This is a DIY trick that makes a corner station look expensive without building a full cabinet renovation. A rattan-front drawer adds texture and warmth, while the rest of the cabinet stays closed and neat. The look comes from contrast: woven texture on the lower storage, smooth countertop and clean wall. Keep the countertop minimal so the rattan reads intentional instead of “decor.” This works well in kitchens with natural materials, like wood floors or light oak cabinets.
Replace or add a drawer front on your base cabinet with a rattan insert or a rattan-faced panel. Choose a drawer that can hold bags flat, like 14-16 inches deep, and keep the drawer opening centered on the corner unit. Install a sealed countertop above and add a small rail for mugs at about 62 inches from the floor. Use two canisters on the counter: one for beans and one for sugar or pods, then store filters and extras in the drawer. Seal the rattan with a clear protective coat so coffee spills wipe clean.
Editor's noteKeep the rattan color close to your cabinet wood tone — mismatched undertones look cheap fast.
Skip thisDon’t display paper bags on the counter when you have a textured drawer — it breaks the layered look.
7. Corner Countertop with Built-In Spice-Style Coffee Drawer
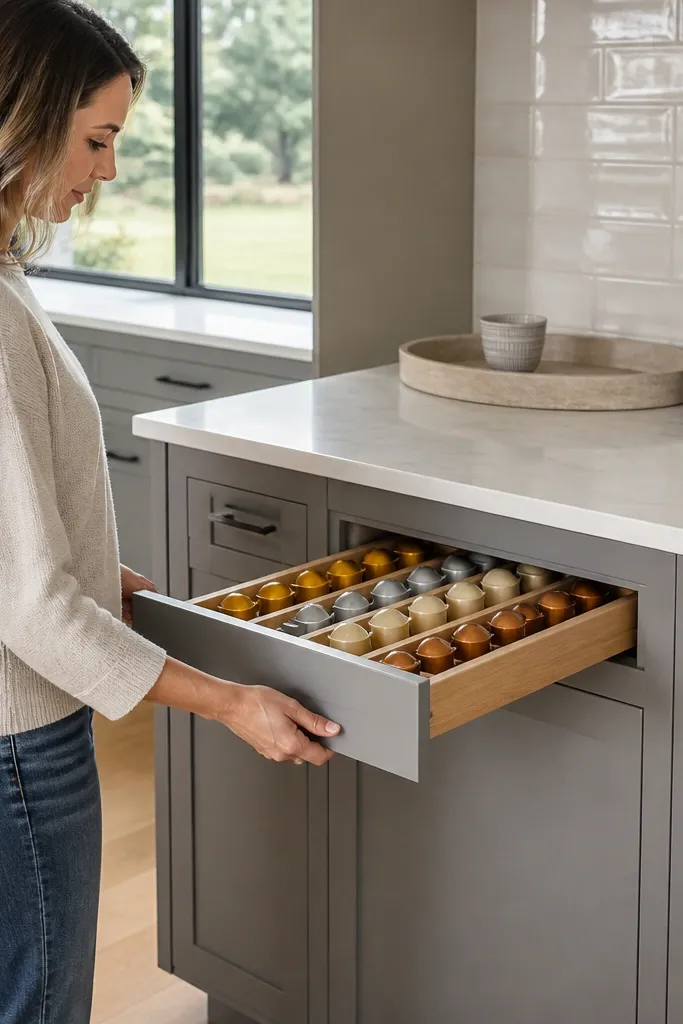
A pull-out drawer built into the corner base makes the station look like it was designed for coffee, not borrowed from somewhere else. The drawer can organize pods, liners, and sweeteners so your countertop stays photogenic. The high-end look comes from clean lines and a “machine room” feel: tools live behind the front panel. Pair it with a small back ledge for mugs and a single tray for the kettle and cups. This setup works for people who use pods and accessories often and hate visual clutter.
Start with a corner base cabinet that has space for a pull-out drawer insert, then measure the opening so your drawer front aligns with cabinet reveals. Install drawer slides rated for full extension, and build a divider system: one side for pods, one side for filters, one shallow tray for stir sticks. Mount a small rail or hooks for mugs on the return wall so mugs don’t crowd the counter. Add a countertop tray centered on the main run, then store everything else in the drawer. Finish by adding a small magnetic strip inside the drawer for scoops and small tools.
Editor's noteUse drawer dividers with removable lids or clear bins so you can change contents without re-building.
Skip thisDon’t let the drawer front sit proud — uneven reveals make the whole corner look off.
8. Black Steel Frame Counter with Floating Glass Shelf
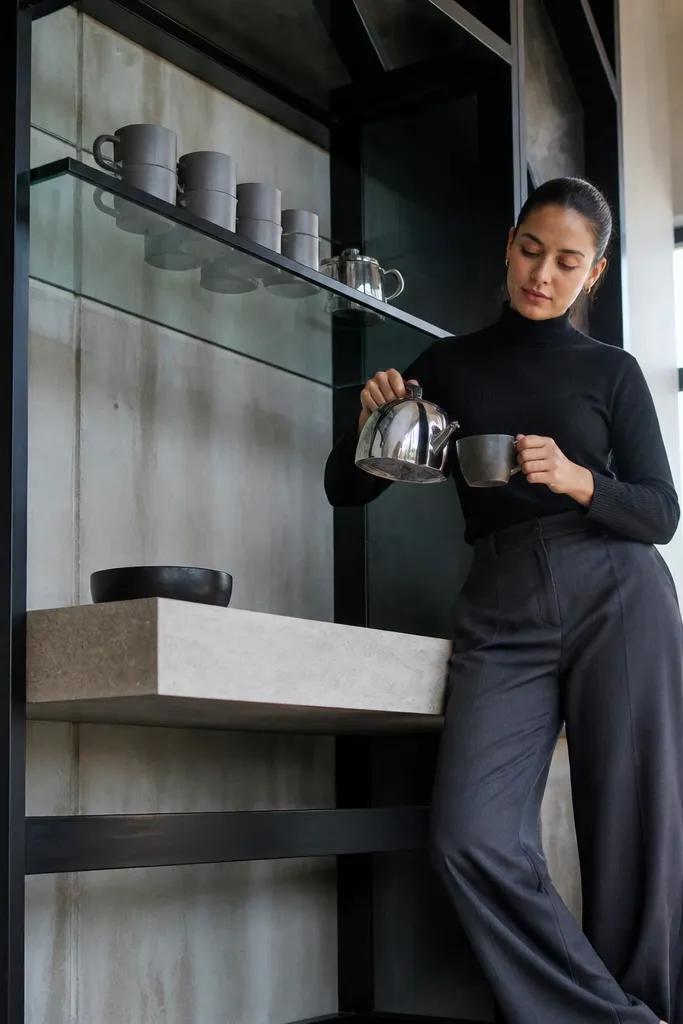
If you want “expensive” to read instantly, black steel framing gives you that industrial-lux look. A floating glass shelf above the corner keeps the station light and airy, so it doesn’t feel bulky. The steel also hides how the cabinet attaches, which makes the build look intentional. Keep the counter surface simple and matte: use a light wood top or a thin stone-look slab. This is best for modern kitchens with black accents, or for anyone who wants the coffee station to look like a designed bar.
Build a simple black steel frame for the corner counter base, using steel angle or a small powder-coated metal kit. Attach the frame to studs and level it carefully, then mount a countertop top on top of the frame. Install a floating glass shelf with proper brackets into studs, aiming to keep the shelf about 10 inches above your mug display line. Add two small black canisters and a tray on the counter; store pods in a closed bin inside the base. Finish with a cable tidy: run the grinder cord into a concealed power strip outlet inside the base.
Use a matte finish on canisters to reduce glare from glass shelves in photos.
Avoid placing tall items on the glass shelf — it makes the corner look crowded.
9. White Marble Look Top with Under-Shelf Lighting
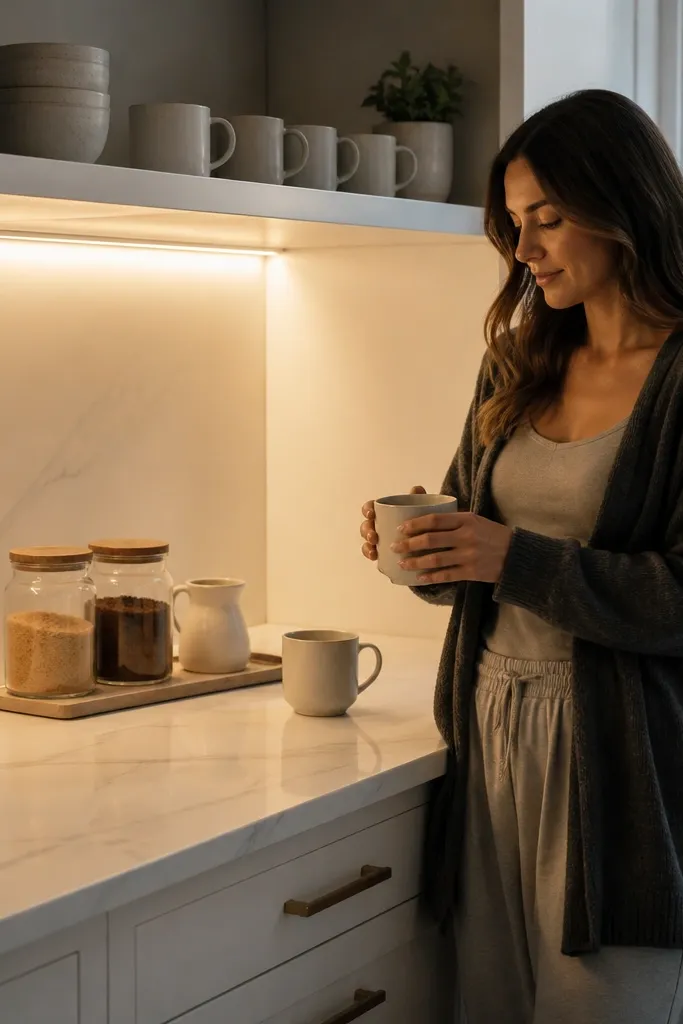
Under-shelf lighting is the cheat code for high-end coffee station ideas because it makes even simple shelves look custom. Pair warm LED strips with a marble-look top and clean white cabinetry, and the corner instantly reads like a boutique coffee bar. The lighting also helps you style: you can place canisters and mugs so shadows fall neatly instead of harsh overhead glare. Keep the countertop restrained so the light doesn’t reveal clutter. This works in corners where overhead lighting is weak or uneven.
Install a marble-look top (quartz-look laminate or real stone) on a corner base, then add two open shelves above it for mugs and canisters. Mount LED strip lights under the shelves using a low-profile aluminum channel so the light line looks straight. Set the color temperature around 2700K for a warm, cozy look. Wire the LED to a switch or a plug-in transformer hidden in the cabinet. Place a tray at the center of the counter and keep items to three groups: kettle, cups, and one container set.
Use frosted LED diffusers — they prevent bright dots that make the build look DIY.
Don’t rely on overhead light alone — if the shelves aren’t lit, the corner won’t read premium.
10. Corner Window Sill Coffee Bar with Roman Shade
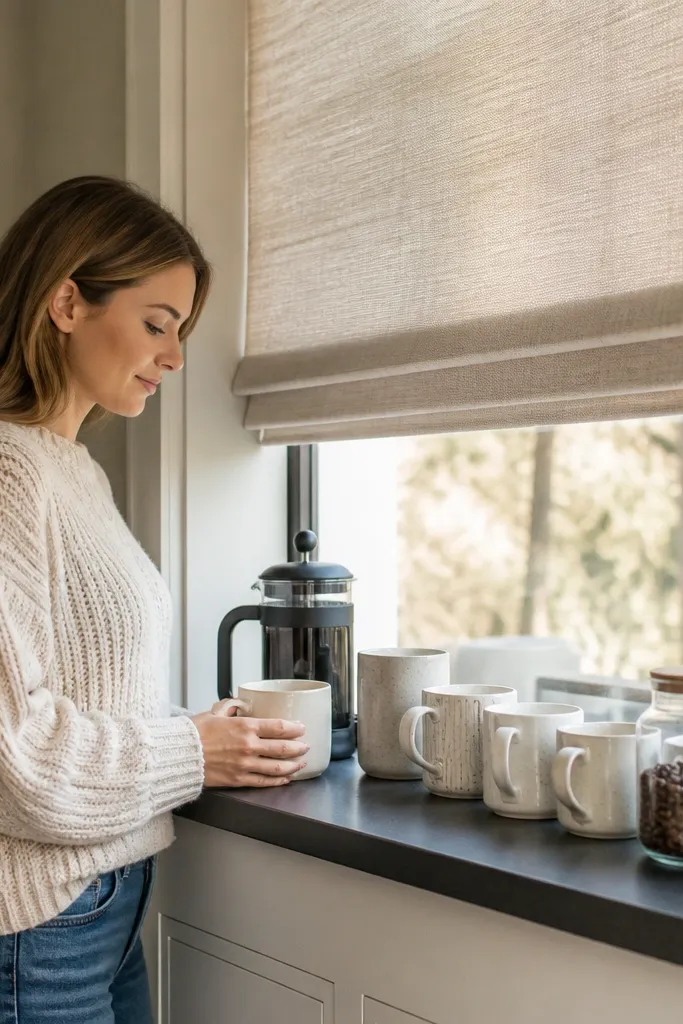
When a corner has a window, using the sill as a coffee station turns it into a natural display wall. The look becomes high-end because sunlight makes the coffee tools look intentional and the window frames everything. A roman shade adds softness and hides the mess behind when you’re not using it. Keep the counter shallow and use wall storage for mugs so the window area stays clean. This is a strong option for breakfast nooks and kitchens with an L-shaped layout.
Measure the window ledge and set your countertop surface to a depth of 15-18 inches so it doesn’t block the window opening. Mount two slim rails or hooks on the adjacent wall for mugs, then add a single shelf under the window line for canisters. Use a heat-safe mat under the kettle, and place only the daily items on the sill. Install a roman shade in a wipeable fabric or vinyl blend, and keep the shade cord out of the coffee zone. Finish by styling the items in a straight line facing the room so the corner reads like a display.
Editor's noteChoose canisters in matte ceramic or stoneware so they don’t glare in direct sun.
Skip thisDon’t place paper filters loose on the sill — wind and sunlight mess with the look.
11. Oak Slat Back Panel with Hidden Magnet Strip
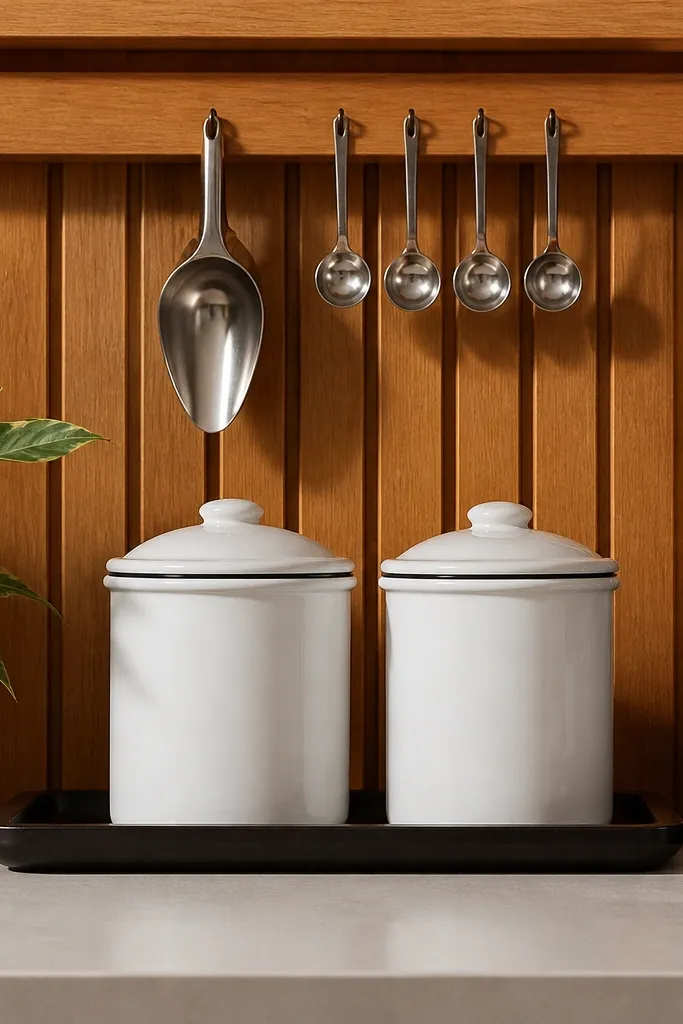
A slat panel gives you texture without the visual noise of patterned tile. It also creates a “designed backdrop” behind the coffee station, which is what makes high-end coffee station ideas look expensive. Add a hidden magnet strip for metal tools like scoops and small spoons, so the front stays clean. Oak slats feel warm and modern, especially when paired with matte black hooks and neutral canisters. This setup is best for kitchens that already have wood tones or want a warmer look than painted walls.
Cut and mount oak slats horizontally or vertically in a corner panel area, leaving a small gap between slats for shadow lines. Seal the slats with a clear matte finish so spills wipe without soaking in. Mount matte black hooks into the slat panel at mug height and install a magnet strip behind the slats or under a thin cover strip. Place a sealed oak or laminate countertop on the corner base and keep a tray centered for kettle and cups. Store beans and supplies in closed cabinets below, and keep only three items on the counter.
Use the same hook style for every mug — matching silhouettes look more expensive than mixed hooks.
Avoid mixing slat direction with other decor patterns — pick one direction and commit.
12. Corner Floating Cabinets with Open Cup Shelf
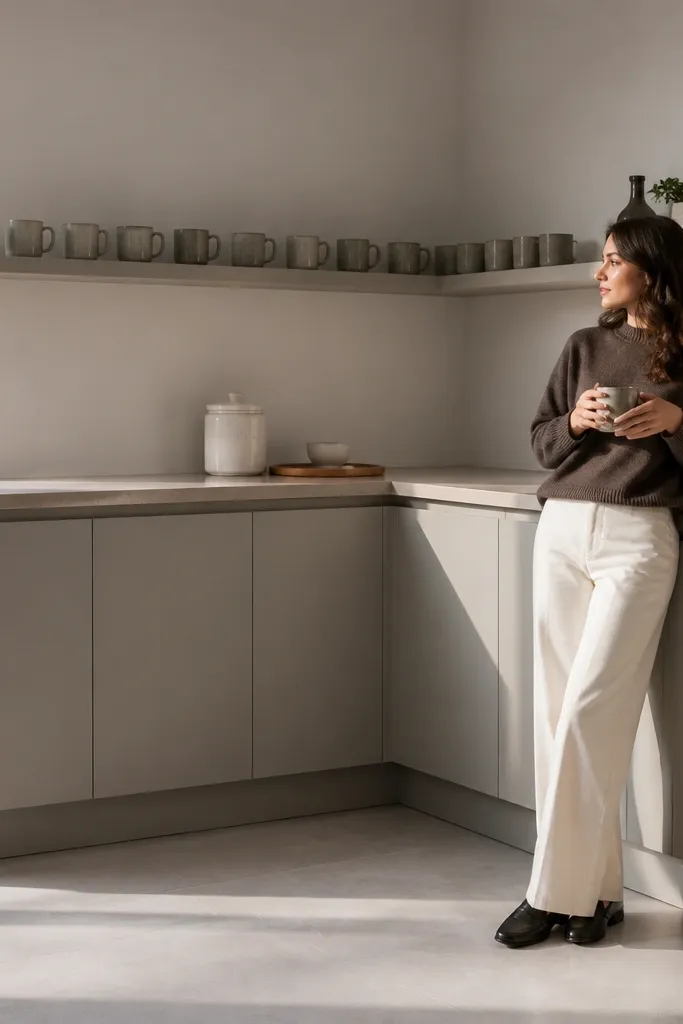
Floating cabinets make a corner coffee station look like furniture because the base doesn’t clutter the floor line. The open cup shelf adds a display element, while the closed cabinets hide everything else. This is one of the cleanest looks for high-end coffee station ideas because it reduces visual weight. Use a light countertop and a simple backdrop so the open shelf doesn’t look like a random shelf. It works in modern kitchens, small spaces, and hallways that connect to dining areas.
Install a base support ledger into studs so floating cabinets sit level and don’t sag. Use corner cabinet units with a consistent reveal, then add an open shelf section on the return wall for cups. Mount the open shelf about 6-8 inches above the countertop so mugs fit without crowding. Choose a counter tray large enough to hold kettle and cups without touching the walls. Add a power strip inside the cabinet for the grinder and route cords behind the cabinet face.
Use shims behind the cabinets during installation — tiny leveling errors show up instantly in corner lines.
Don’t put the grinder on the countertop if you want the floating look to stay clean.
13. Dark Walnut Counter with White Enamel Canisters
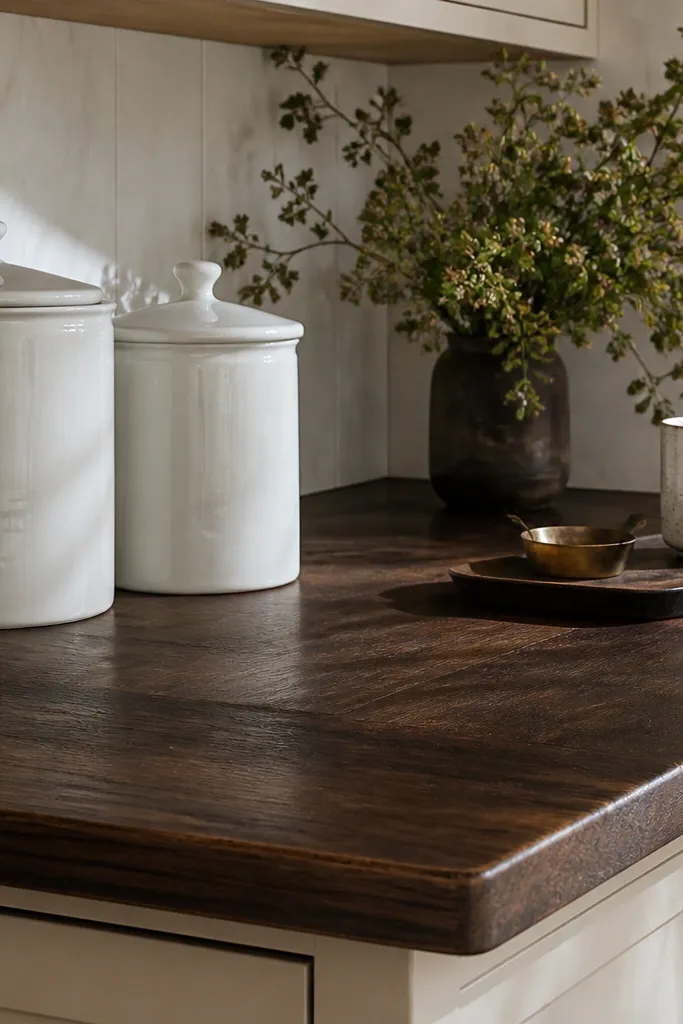
Dark walnut reads premium fast, but it only looks high-end when the styling is restrained. White enamel canisters create a crisp contrast that makes the corner feel like a curated coffee corner. The look is photogenic because enamel has a gentle sheen that catches light without looking glossy. Keep the rest of the station simple: one tray, two cups, one scoop container. This is perfect for kitchens with warm floors or dark cabinet faces.
Use a sealed walnut countertop or a walnut-stained butcher block top with a satin finish. Mount it over a corner base cabinet and keep the countertop depth at 18 inches for easy mug clearance. Place a small backsplash panel behind the counter in a light neutral (matte paint or easy-clean board). Arrange canisters in a tight group on one side of the counter and keep the tray centered. Store everything else in the base cabinet so the walnut doesn’t get visually busy.
Editor's notePick enamel canisters with the same lid shape so the top silhouettes align.
Skip thisAvoid mixing warm woods and cool metals without intent — choose brass or black, not both.
14. Corner Mosaic Tile Side Splash + Matching Tray
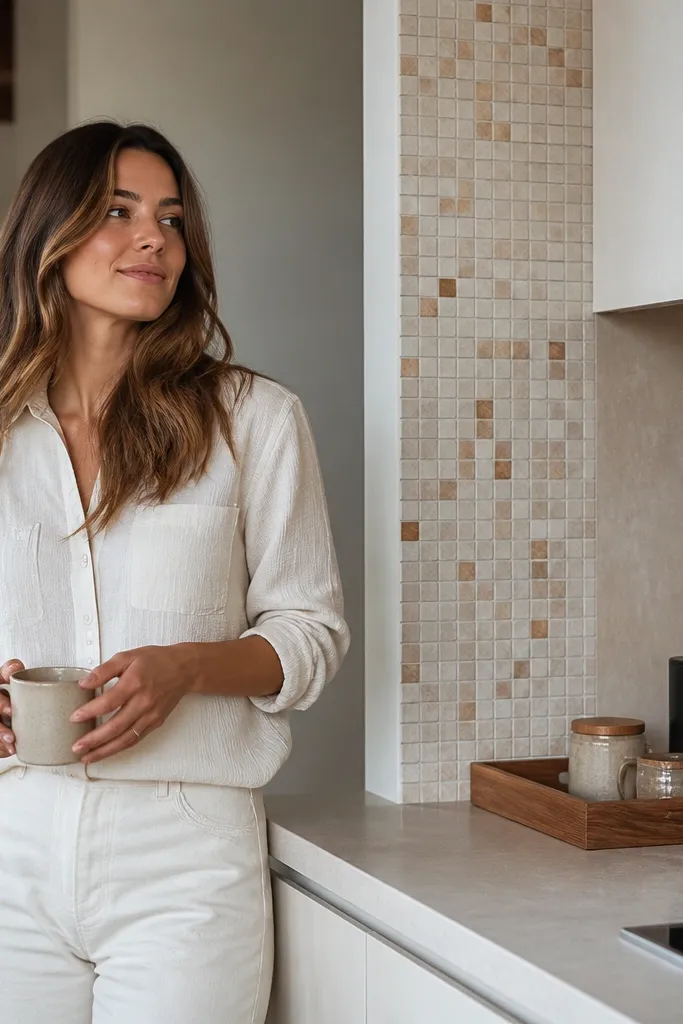
Most DIY coffee stations fail because the backsplash is either missing or too plain. A small mosaic tile side splash makes the corner feel designed, especially when you keep the rest of the station minimal. Choose a mosaic with a tight color palette — think white, cream, and a hint of warm brown — so it doesn’t look busy. The mosaic also hides wall imperfections and adds texture that reads expensive in photos. This setup is great for renters because you can keep it small and focused on the corner zone.
Use peel-and-stick mosaic tile only if the wall is smooth and painted well; otherwise, install thinset tile for a more permanent finish. Cover the backsplash area from counter height up 10-14 inches, focusing on the corner and one adjacent wall. Seal the countertop and add a heat mat under the kettle. Choose one tray whose color matches one mosaic tile tone, then place only kettle and cups on it. Store coffee supplies in closed bins inside the cabinet so the mosaic remains the star.
Keep the mosaic height consistent across both walls so the corner lines look intentional.
Don’t cover the entire wall with mosaic — a small accent reads higher-end than a full patchwork.
15. Corner Coffee Station with Built-In Outlet + Hidden Cable Route
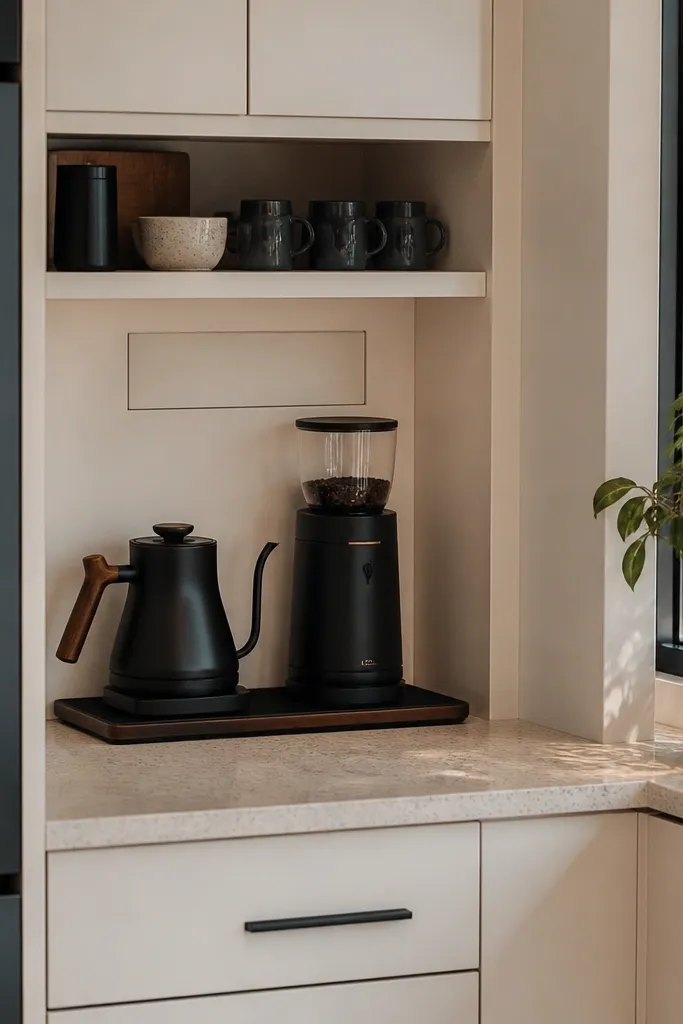
A coffee station looks expensive when you can’t see the mess. Built-in outlets and a hidden cable route remove the visual clutter that screams “DIY.” Put your grinder, kettle, and small appliances in a consistent zone, then run cords behind the cabinet face or into a concealed channel. This corner setup works for anyone who uses counter appliances daily and hates tangled cords. It also improves safety because cords aren’t stretched across the counter edge.
Plan for one outlet inside the base cabinet near the corner, about 6-10 inches above the bottom so it’s accessible but hidden. Install a low-profile cable raceway behind the cabinet panel so cords drop straight down and disappear. Put a countertop tray center-stage and keep cords routed behind the tray zone. Add a small shelf above for cups and a closed cabinet below for filters and backups. If you’re not comfortable with electrical work, hire it out — the clean finish depends on correct placement.
Editor's noteUse a cord management brush or fabric cord cover inside the cabinet so cords don’t snag when you open doors.
Skip thisDon’t run cords across the open corner gap — it breaks the clean, custom look instantly.
16. Corner Ledge Shelf with Stacked Books for a Clean Coffee Stack
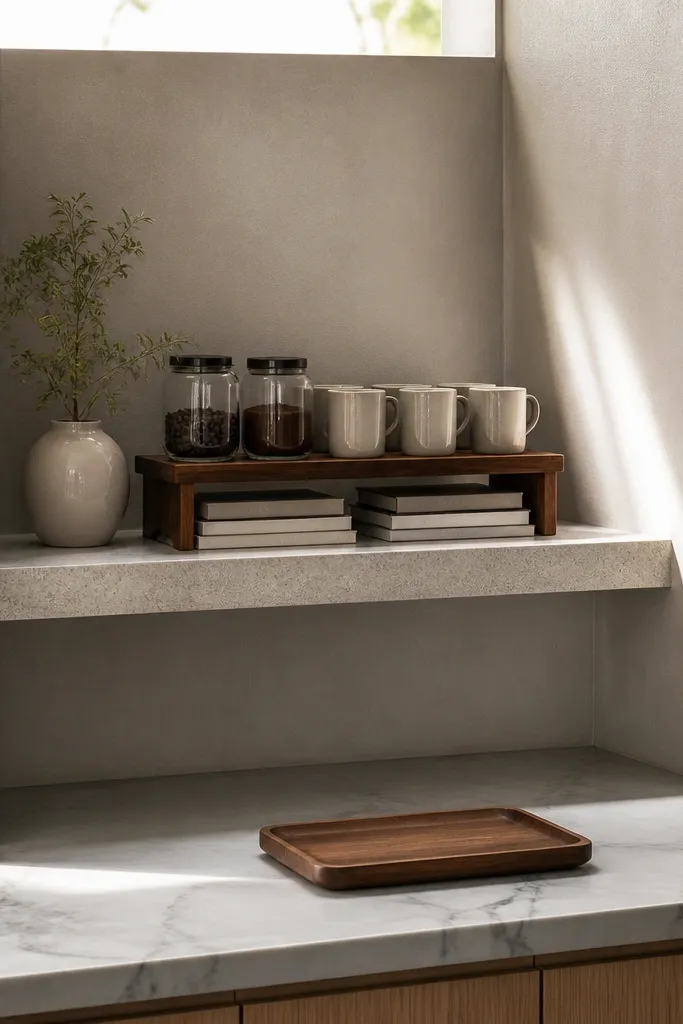
This one is for corners that don’t have enough wall space for cabinets. A properly sized ledge shelf turns the corner into a display without looking like random floating shelves. The trick is to build a clean platform: a ledge shelf plus a controlled stack of books or a single wood riser to set height for jars and cups. It looks high-end because everything has consistent vertical alignment and the countertop stays mostly empty. Use it in small kitchens, apartments, and spaces where you want impact without heavy construction.
Install a corner ledge shelf with a depth of 6-8 inches and a length that covers the mug display area, keeping it level across both walls. Create a coffee stack on the ledge using two matching-height risers, then place canisters and a scoop in a straight line. Use a tray on the countertop for kettle and cups so the daily workflow looks intentional. Hang mugs on a small rail or hooks so cups aren’t crowding the counter edge. Finish by storing pods and filters in a closed bin inside the nearest cabinet.
Editor's noteChoose books with similar spine colors or use a single wood riser so the stack looks like design, not clutter.
Skip thisDon’t place tall items on the ledge that block the corner — keep display height under 10 inches.
17. Corner Countertop with Built-In Plant Shelf for Steam-Friendly Styling
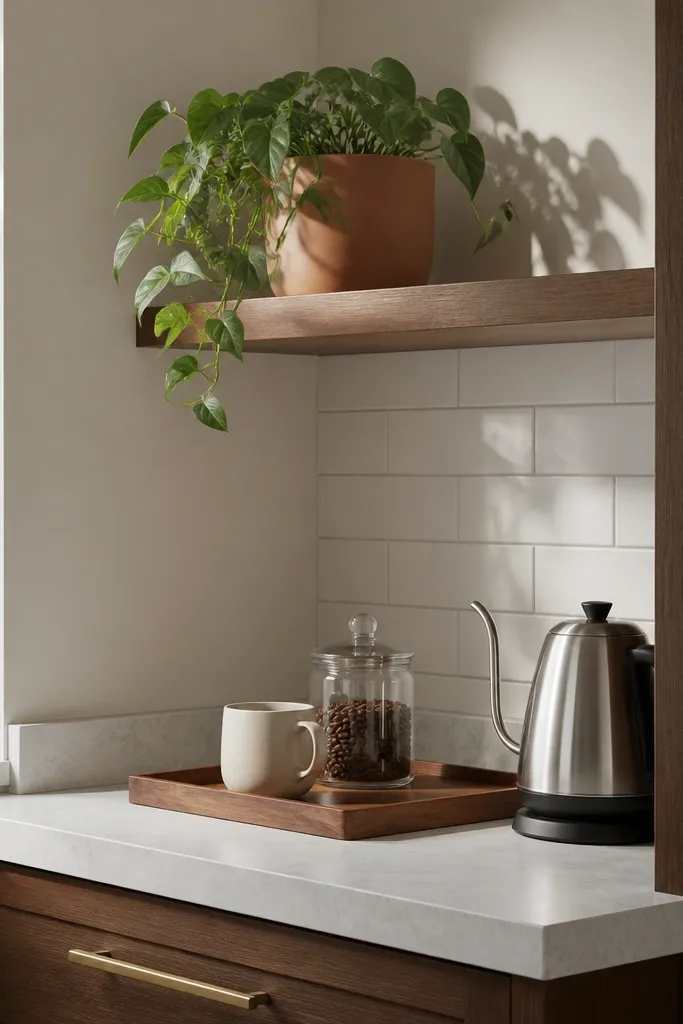
Adding a plant shelf above a coffee station makes the corner feel lived-in but still styled. The key is steam management: put the plant higher and away from direct kettle spray, then keep the coffee zone clean and dry. This works because plants create a natural vertical layer, which makes the corner look fuller and more expensive in photos. Choose a hardy plant in a matte ceramic pot to match the rest of your palette. It’s best when you want the coffee station to look like part of the room, not a standalone gadget table.
Build a small shelf above the coffee station that sits at least 18 inches above the countertop. Use a sealed wood or metal shelf so humidity doesn’t warp it. Place the plant on the upper shelf and keep the coffee daily items on a tray on the counter. Mount a mug rail on the return wall to keep cups off the counter. Store supplies in closed cabinets below so the plant shelf doesn’t compete with coffee tools.
Use a saucer and wipeable pot surface so any watering doesn’t stain the shelf.
Don’t place the plant right next to where steam hits — leaves will spot and the look turns messy.
18. Corner Counter with Vertical Mug Display and Hidden Latch Cabinet
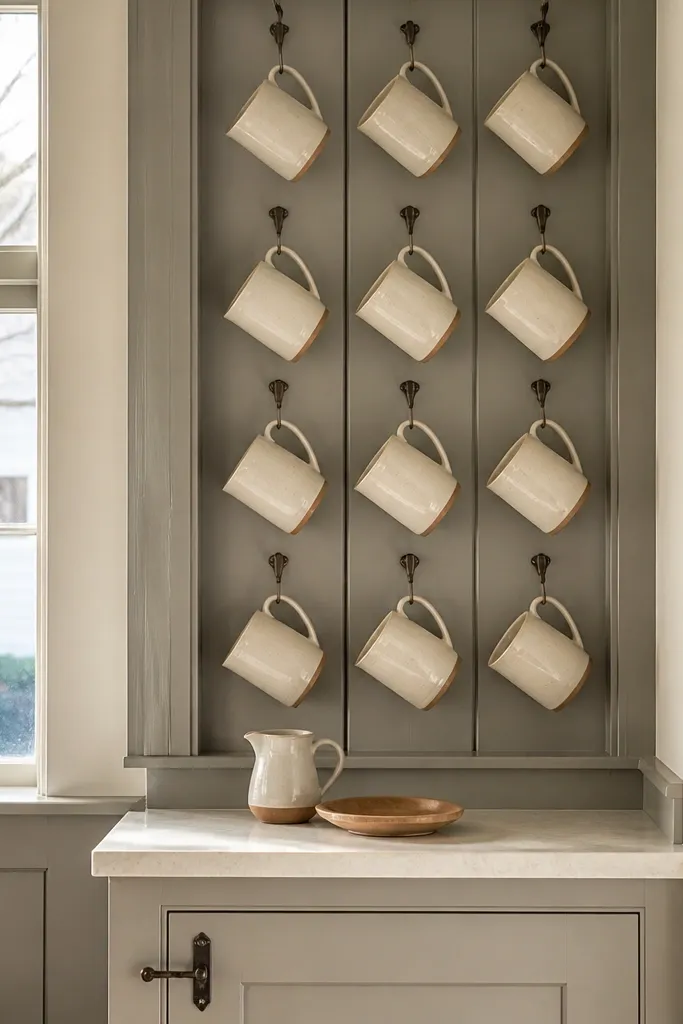
A vertical mug display panel looks high-end because it turns mugs into décor with structure. Add closed storage with a latch or soft-close door so the station stays clean when you aren’t using it. The vertical design also makes the corner more usable: you get cup storage without consuming countertop space. Choose a panel color that matches your kitchen — matte black, warm white, or stained wood — and keep your mug shapes consistent. This is a strong pick for busy households that need quick access without clutter.
Mount a vertical slat or metal panel in the corner zone, with a mug rail line that sits about 60-66 inches from the floor. Use hooks spaced so mugs hang with equal gaps and don’t touch each other. Put a base cabinet under the panel with a hidden latch door so the panel looks uninterrupted when closed. Install a compact countertop that’s 16-18 inches deep and centered around a tray. Route the grinder cord behind the cabinet and plug into a hidden outlet inside the base.
Editor's noteUse identical mug hook spacing — even spacing is the difference between “organized” and “designed.”
Skip thisAvoid mixing mug sizes without adjusting hook spacing — it looks sloppy fast.
19. Corner Coffee Station with Faux Stone Columns on the Return Side
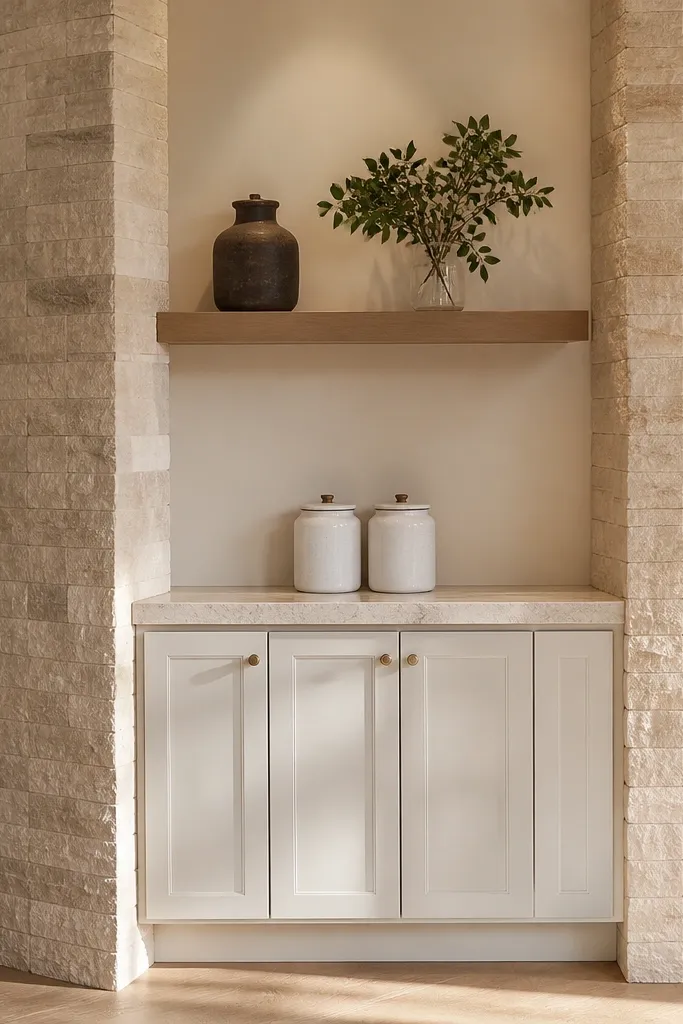
Framing makes the station look like a feature, and faux stone columns do that without building a full remodel. Put the columns on the return side so they visually anchor the corner and give you a strong background for photos. Keep the countertop simple and the canisters minimal so the columns don’t feel like overkill. This is a good option for people who want a dramatic look but still want functional storage in the base cabinets. It also hides wall texture issues where corner drywall transitions.
Install two faux stone column posts on the return wall area, positioned so they flank the countertop edge by a few inches. Use a mounting method that reaches studs or anchors — don’t rely on drywall alone. Choose a light countertop and keep the backsplash area between columns simple (painted panel or small tile). Mount a mug rail on the wall between columns or just above the countertop line. Finish by placing canisters and a tray so the arrangement sits centered between the columns.
Editor's noteUse a grout-like caulk line between faux stone pieces so seams look intentional.
Skip thisDon’t overload the countertop — columns already create “visual weight.”
20. Corner Coffee Station with Floating Ledge + Hidden Bin for Pods
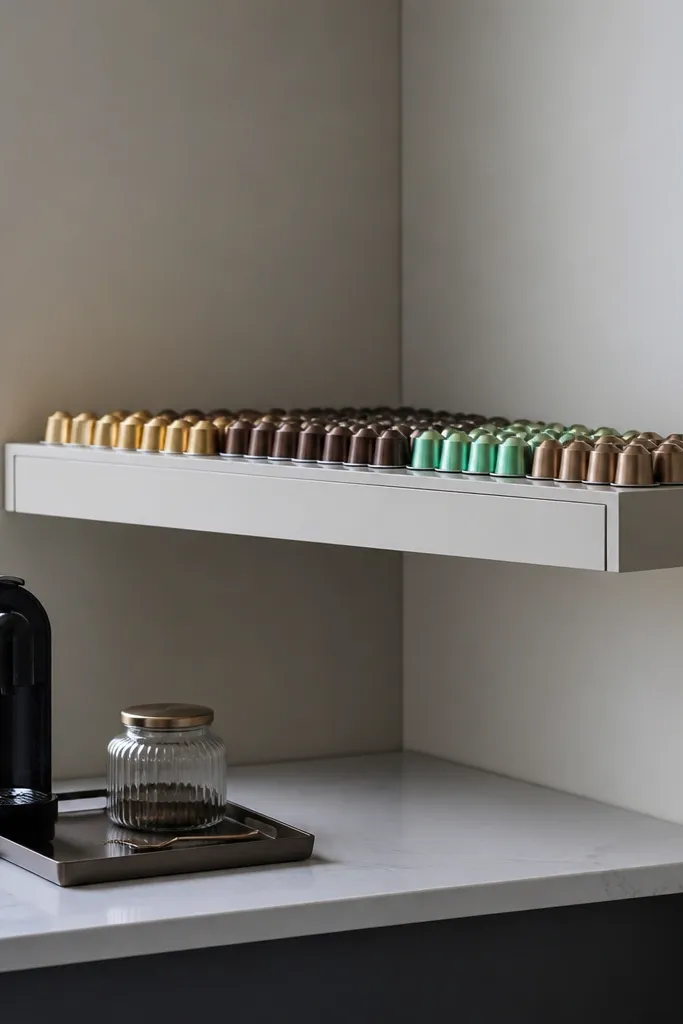
This is a clean approach for high-end coffee station ideas when you don’t want to install cabinets. A floating ledge shelf gives you a display surface, but the pods stay hidden in a bin below so the corner doesn’t look like a retail aisle. The look comes from two things: the shelf is uncluttered, and the storage is contained. It’s ideal for corners beside a pantry or fridge where closed storage is limited. You get the styled look without the mess showing.
Install a floating ledge shelf in the corner with a depth of 7-9 inches, then mount hooks or a small rail under it for mugs. Place an enclosed pod bin on the countertop or on a lower cabinet shelf so it’s not visible from the front. Style the ledge with two canisters and one small accessory tray, keeping the rest empty. Use a tray on the countertop for the kettle and cups so daily items stay in one zone. Add a non-slip pad under the pod bin and tray so nothing slides when you move it.
Editor's noteChoose a pod bin with a matte finish that matches your canisters so it disappears visually.
Skip thisDon’t display loose pods in open baskets — they look messy even when organized.



